Introduction
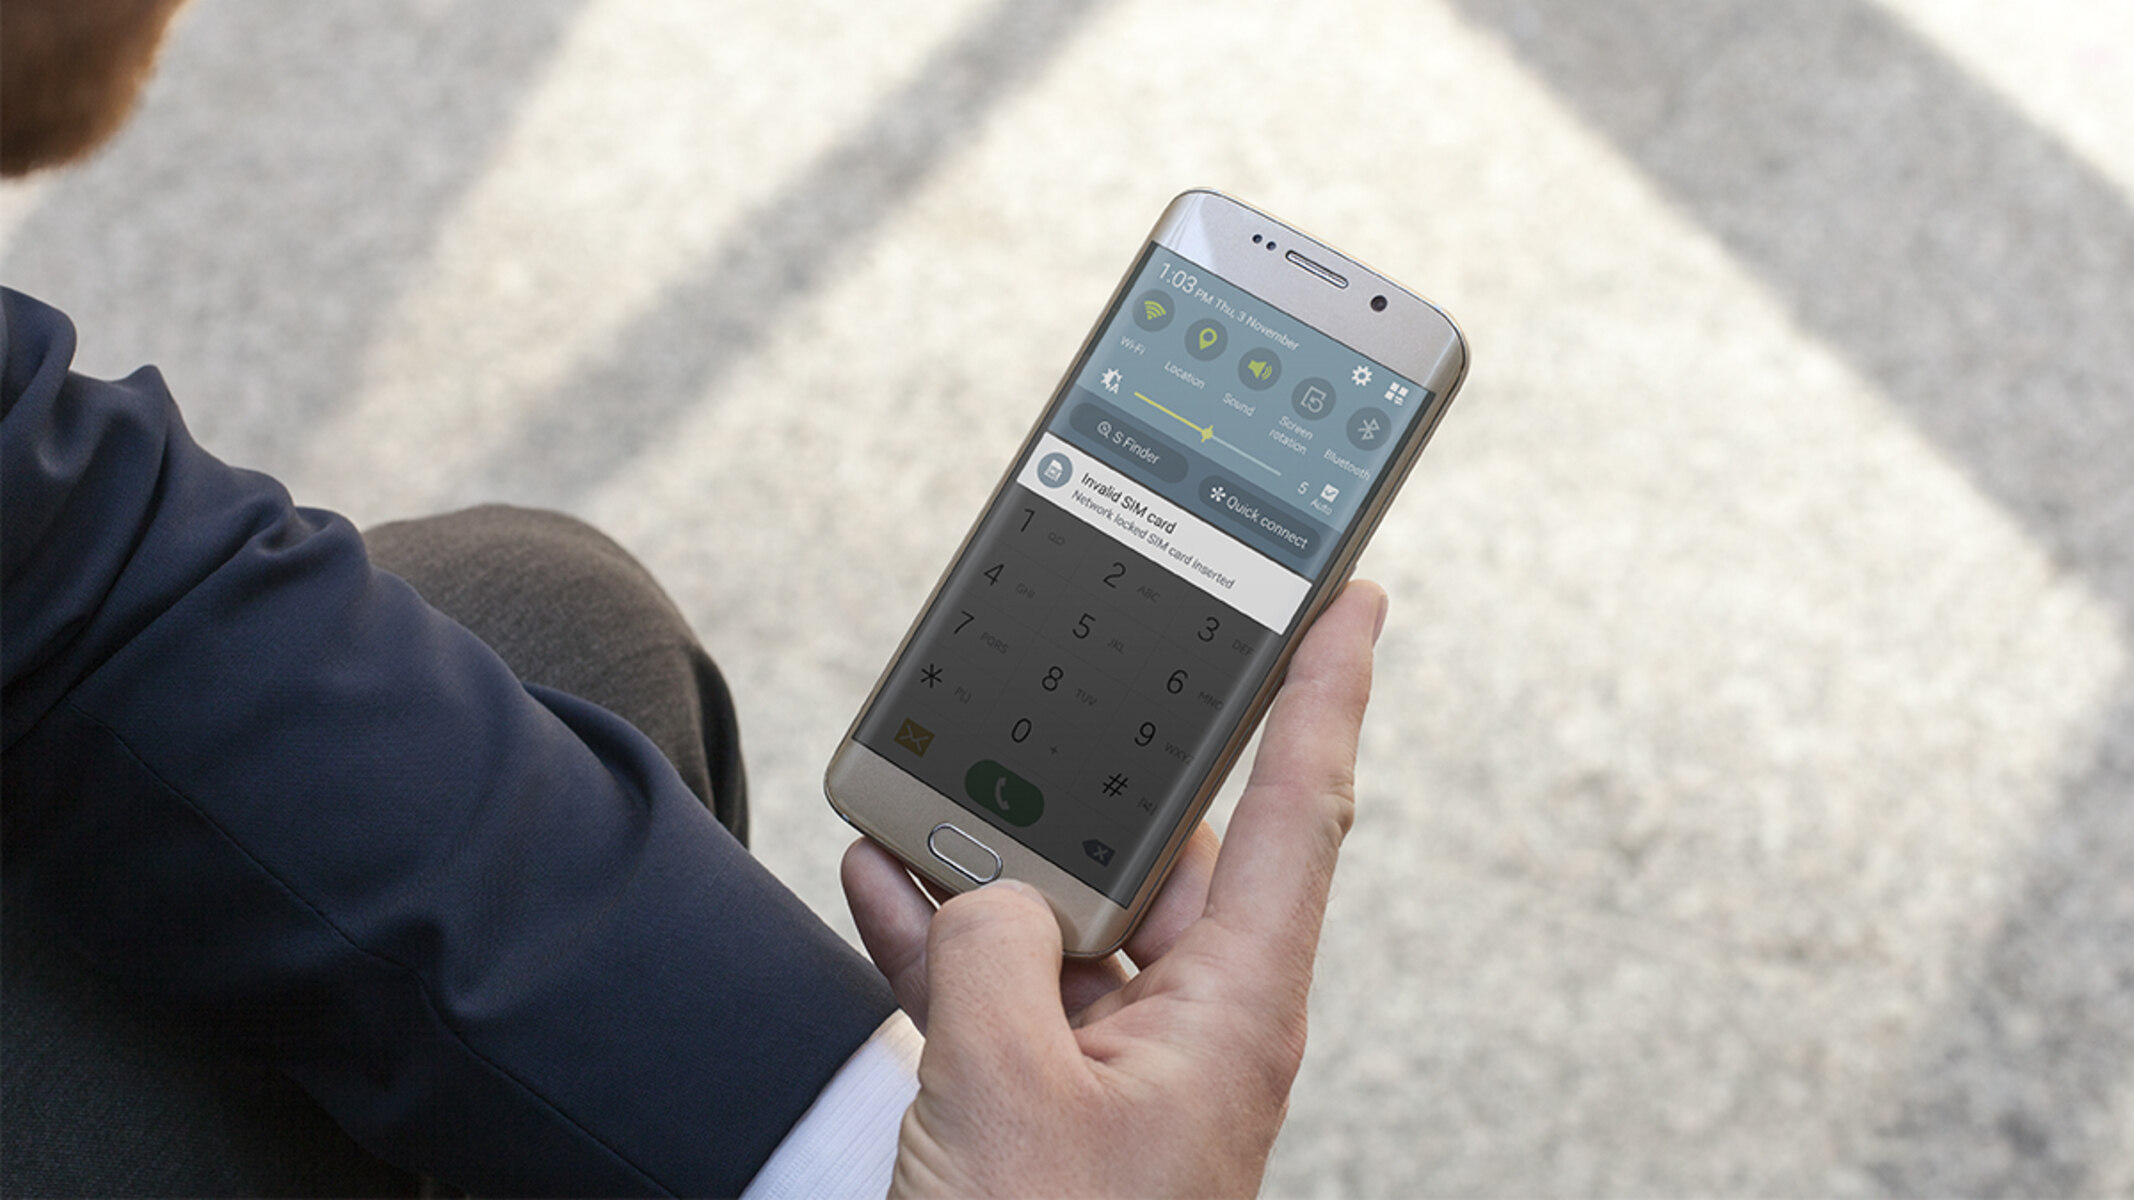
Are you experiencing the frustrating “No SIM Card” error on your Android device? This common issue can be a major inconvenience, preventing you from making calls, sending messages, and accessing mobile data. Before you panic, it’s important to remember that there are several simple solutions that can help you resolve this problem.
The “No SIM Card” error typically occurs when your Android device fails to detect a SIM card or encounters issues with the SIM card itself. This could be due to various reasons, such as a loose connection, dust or debris in the SIM card slot, or a software glitch. Fortunately, most of these issues can be easily resolved without the need for professional assistance.
In this article, we will guide you through the steps to fix the “No SIM Card” error on your Android device. Whether you’re using a smartphone or tablet, these troubleshooting methods are applicable to a wide range of Android devices and can help you regain access to your network.
Before proceeding with the solutions, it’s important to note that the specific steps may vary slightly depending on your device’s make and model, as well as the version of the Android operating system. Be sure to adapt the instructions accordingly or refer to your device’s user manual for more detailed guidance.
Now let’s dive into the various methods you can try to fix the “No SIM Card” error and get your Android device back up and running!
Check SIM Card
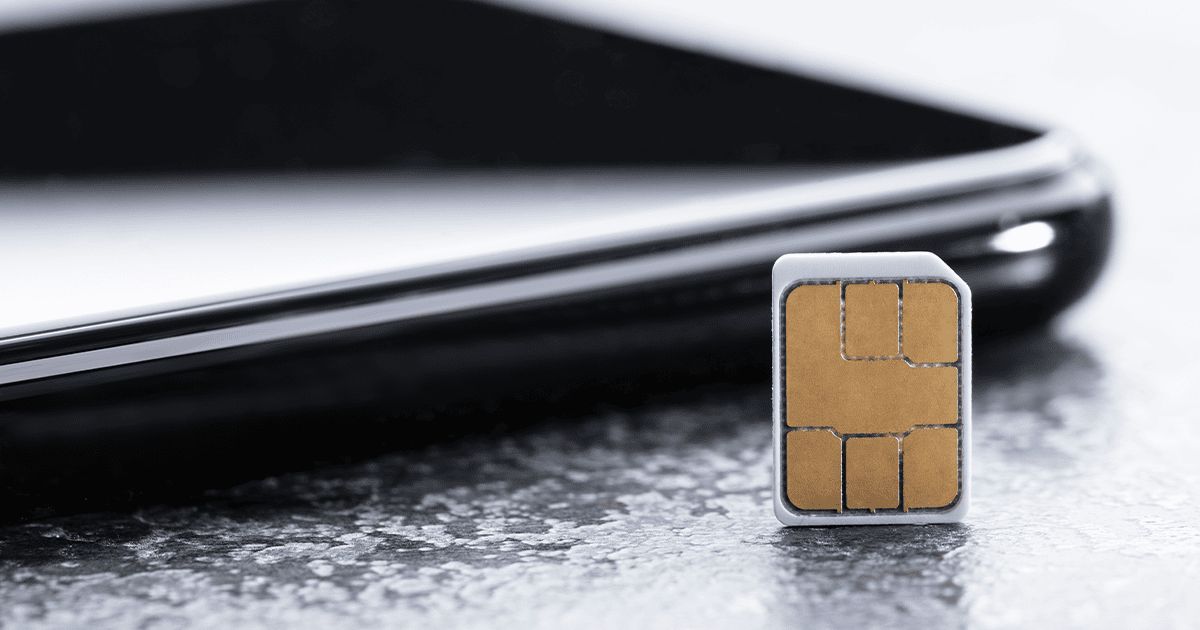
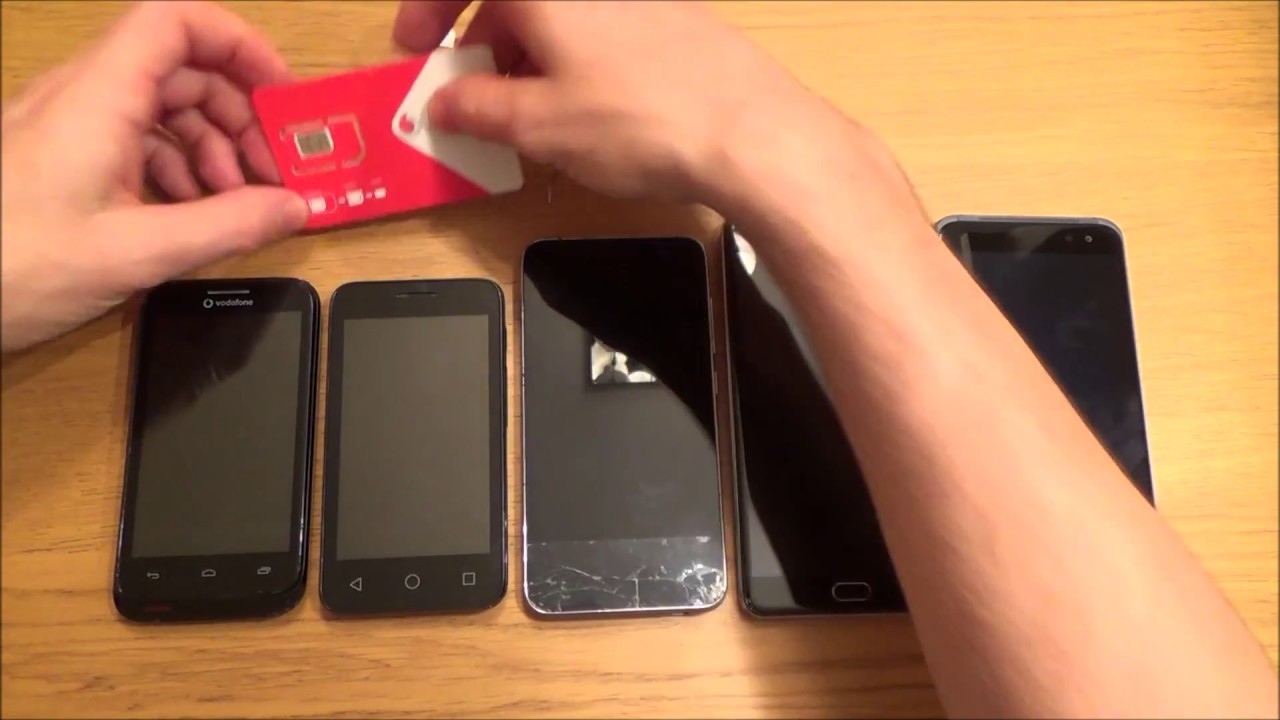
The first step in troubleshooting the “No SIM Card” error on your Android device is to check the SIM card itself. Sometimes, a loose or improperly inserted SIM card can cause this issue. Follow these steps to ensure that your SIM card is inserted correctly:
- Power off your device: Before checking the SIM card, make sure your device is turned off to avoid any potential damage.
- Locate the SIM card slot: Depending on your device, the SIM card slot may be located on the side, back, or under the battery cover. Refer to your device’s user manual for the exact location.
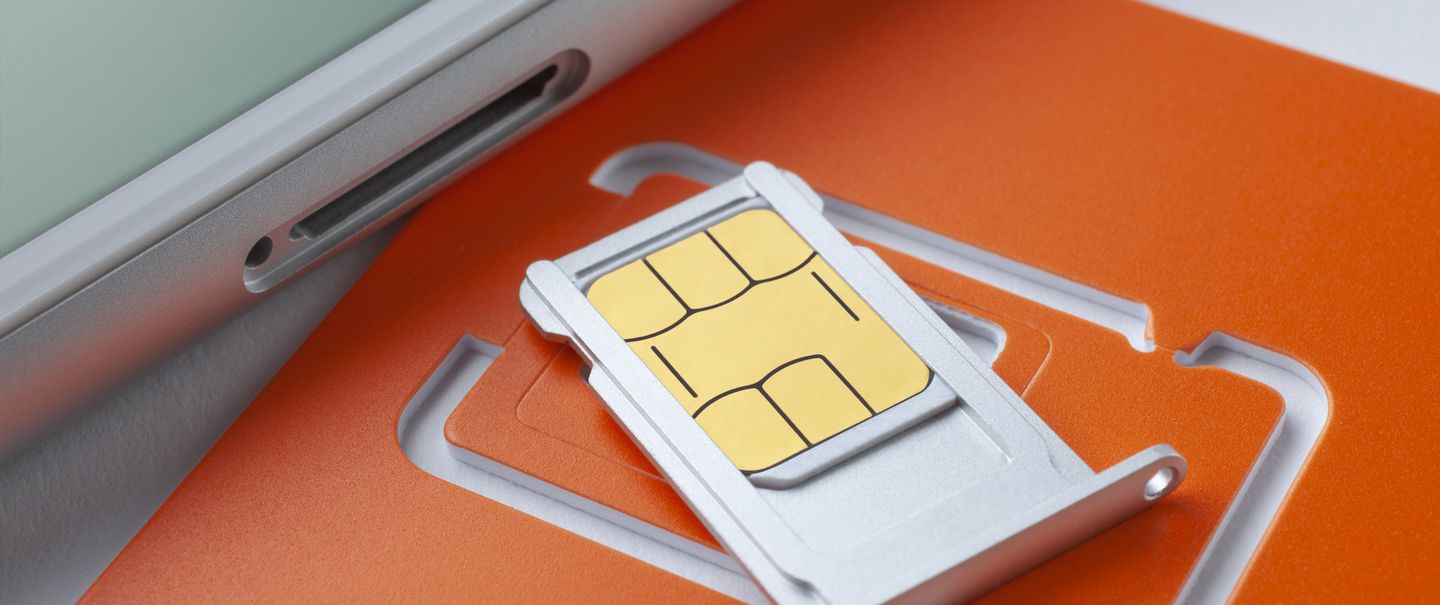
- Remove the SIM card: Use an ejector tool or a small paperclip to gently push the SIM card tray’s release button. Carefully remove the SIM card from the tray.
- Check the SIM card: Inspect the SIM card for any visible damage, such as scratches or bent pins. If there are any issues with the card, contact your network provider to obtain a replacement SIM card.
- Clean the SIM card and tray: If there is no visible damage, use a clean, soft cloth to wipe the SIM card and tray. This will remove any dust or debris that might be obstructing proper contact.
- Reinsert the SIM card: Align the SIM card with the designated slot and gently slide it back into place. Make sure it is inserted firmly and securely.
- Power on your device: After inserting the SIM card, power on your device and check if the “No SIM Card” error is resolved.
If this method doesn’t resolve the issue, don’t worry. There are several other troubleshooting steps you can try to fix the “No SIM Card” error on your Android device. Let’s explore them in the following sections.
Restart your Phone
One of the simplest and most effective solutions to fix the “No SIM Card” error on your Android device is to restart your phone. Restarting your device can help resolve minor software glitches or temporary issues that may be causing the error. Here’s how you can restart your phone:
- Hold down the power button: Locate the power button on your device. Press and hold it until you see the power menu appear on your screen.
- Select “Restart” or “Reboot”: Depending on your device, the option may be labeled differently. Look for the option that allows you to restart your device and select it.
- Wait for your phone to reboot: Your device will begin the restart process. This may take a few moments. Once your phone has fully rebooted, check if the “No SIM Card” error has been resolved.
If the error persists after restarting your phone, don’t worry. There are still other troubleshooting methods to try. Keep reading to explore additional solutions.
Airplane Mode
If you’re still encountering the “No SIM Card” error on your Android device, another solution you can try is enabling and disabling Airplane Mode. This method can help reset your device’s network connections and refresh the SIM card detection. Follow these steps to use Airplane Mode:
- Open the Quick Settings menu: Swipe down from the top of your device’s screen to access the Quick Settings menu. This can vary depending on the make and model of your Android device.
- Enable Airplane Mode: Look for the Airplane Mode icon, which usually resembles an airplane. Tap on the icon to enable Airplane Mode. This will turn off all wireless connections, including cellular data and Wi-Fi.
- Wait for a few seconds: Leave your device in Airplane Mode for about 10 to 15 seconds.
- Disable Airplane Mode: Tap on the Airplane Mode icon again to disable it. This will re-enable your wireless connections.
Once you’ve disabled Airplane Mode, wait for your phone to reconnect to the network. Check if the “No SIM Card” error has been resolved. In some cases, enabling and disabling Airplane Mode can re-establish the network connection and resolve any temporary issues causing the error.
If this method doesn’t solve the problem, there are still more troubleshooting steps to explore. Let’s move on to the next section.
Clear Cache and Data of Phone App
If the “No SIM Card” error persists on your Android device, clearing the cache and data of the Phone app can help resolve any software conflicts or corrupted files that may be causing the issue. Here’s how you can clear the cache and data of the Phone app:
- Go to Settings: Open the Settings app on your Android device. You can usually find it in your app drawer or by swiping down from the top of the screen and tapping on the gear icon.
- Select Apps or Application Manager: The exact name of this option may vary depending on your device. Look for an option that allows you to manage your apps.
- Find the Phone app: Scroll through the list of apps or use the search bar to locate the Phone app. Tap on it to access the app settings.
- Clear the cache: Tap on the option to clear the cache. This will remove temporary files and data stored by the app.
- Clear the data: If clearing the cache doesn’t resolve the issue, you can also try clearing the data. However, keep in mind that clearing the data will reset your preferences and settings for the Phone app.
- Restart your device: After clearing the cache and data, restart your device to allow the changes to take effect.
Once your device restarts, check if the “No SIM Card” error has been resolved. Clearing the cache and data of the Phone app can help eliminate any conflicting files or settings that may be causing the error.
If this method doesn’t solve the issue, don’t worry. There are still more troubleshooting methods to explore. Keep reading to find the solution that works for you.
Update your Phone Software
If you’re still facing the “No SIM Card” error on your Android device, it’s worth checking if there are any available software updates for your phone. Updating your device’s software can help fix bugs, improve stability, and address compatibility issues that may be causing the error. Here’s how to update your phone software:
- Go to Settings: Open the Settings app on your Android device.
- Scroll down and select “About phone” or “System.”
- Tap on “Software update” or “System update.”
- Check for updates: Your device will now check for any available updates. If an update is available, you will be prompted to download and install it.
- Follow the on-screen instructions: Depending on your device, you may need to connect to Wi-Fi, plug in your phone, or free up storage space to proceed with the update.
- Wait for the update to complete: The update process may take some time, so be patient and ensure that your device is connected to a stable internet connection.
- Restart your device: After the update is installed, restart your device to apply the changes.
Once your device restarts, check if the “No SIM Card” error has been resolved. Updating your phone software can often resolve software-related issues and provide a more stable and optimized experience.
If updating your phone software didn’t fix the error, don’t worry. There are still other troubleshooting steps to try. Let’s move on to the next section.
Reset Network Settings
If you’re still encountering the “No SIM Card” error on your Android device, resetting your network settings can help resolve any configuration or connectivity issues that may be causing the problem. Keep in mind that resetting network settings will remove all saved Wi-Fi networks, Bluetooth pairings, and mobile data settings. Here’s how you can reset your network settings:
- Go to Settings: Open the Settings app on your Android device.
- Scroll down and select “System” or “System & Device” depending on your device.
- Tap on “Advanced” or “Additional settings” to access more options.
- Select “Reset options” or “Reset.”
- Tap on “Reset Wi-Fi, mobile & Bluetooth” or a similar option.
- Confirm the reset: You may be prompted to enter your device PIN, pattern, or password to proceed with the network reset. Enter the required information and confirm the reset.
- Restart your device: After the network settings are reset, restart your device to apply the changes.
Once your device restarts, check if the “No SIM Card” error has been resolved. Resetting the network settings can help clear any network-related configuration issues that may be affecting the SIM card detection.
If the error persists after resetting the network settings, there are still other troubleshooting methods to explore. Let’s move on to the next section.
Insert SIM Card Again
If you’re still experiencing the “No SIM Card” error on your Android device, it’s worth trying to remove and re-insert the SIM card. Sometimes, a faulty or improperly inserted SIM card can cause this issue. Here’s how you can insert the SIM card again:
- Power off your device: Before removing the SIM card, make sure your device is turned off to avoid any potential damage.
- Locate the SIM card slot: The SIM card slot can vary in location depending on your device. It is typically located on the side or back of your device, or under the battery cover. Refer to your device’s user manual to find the exact location.
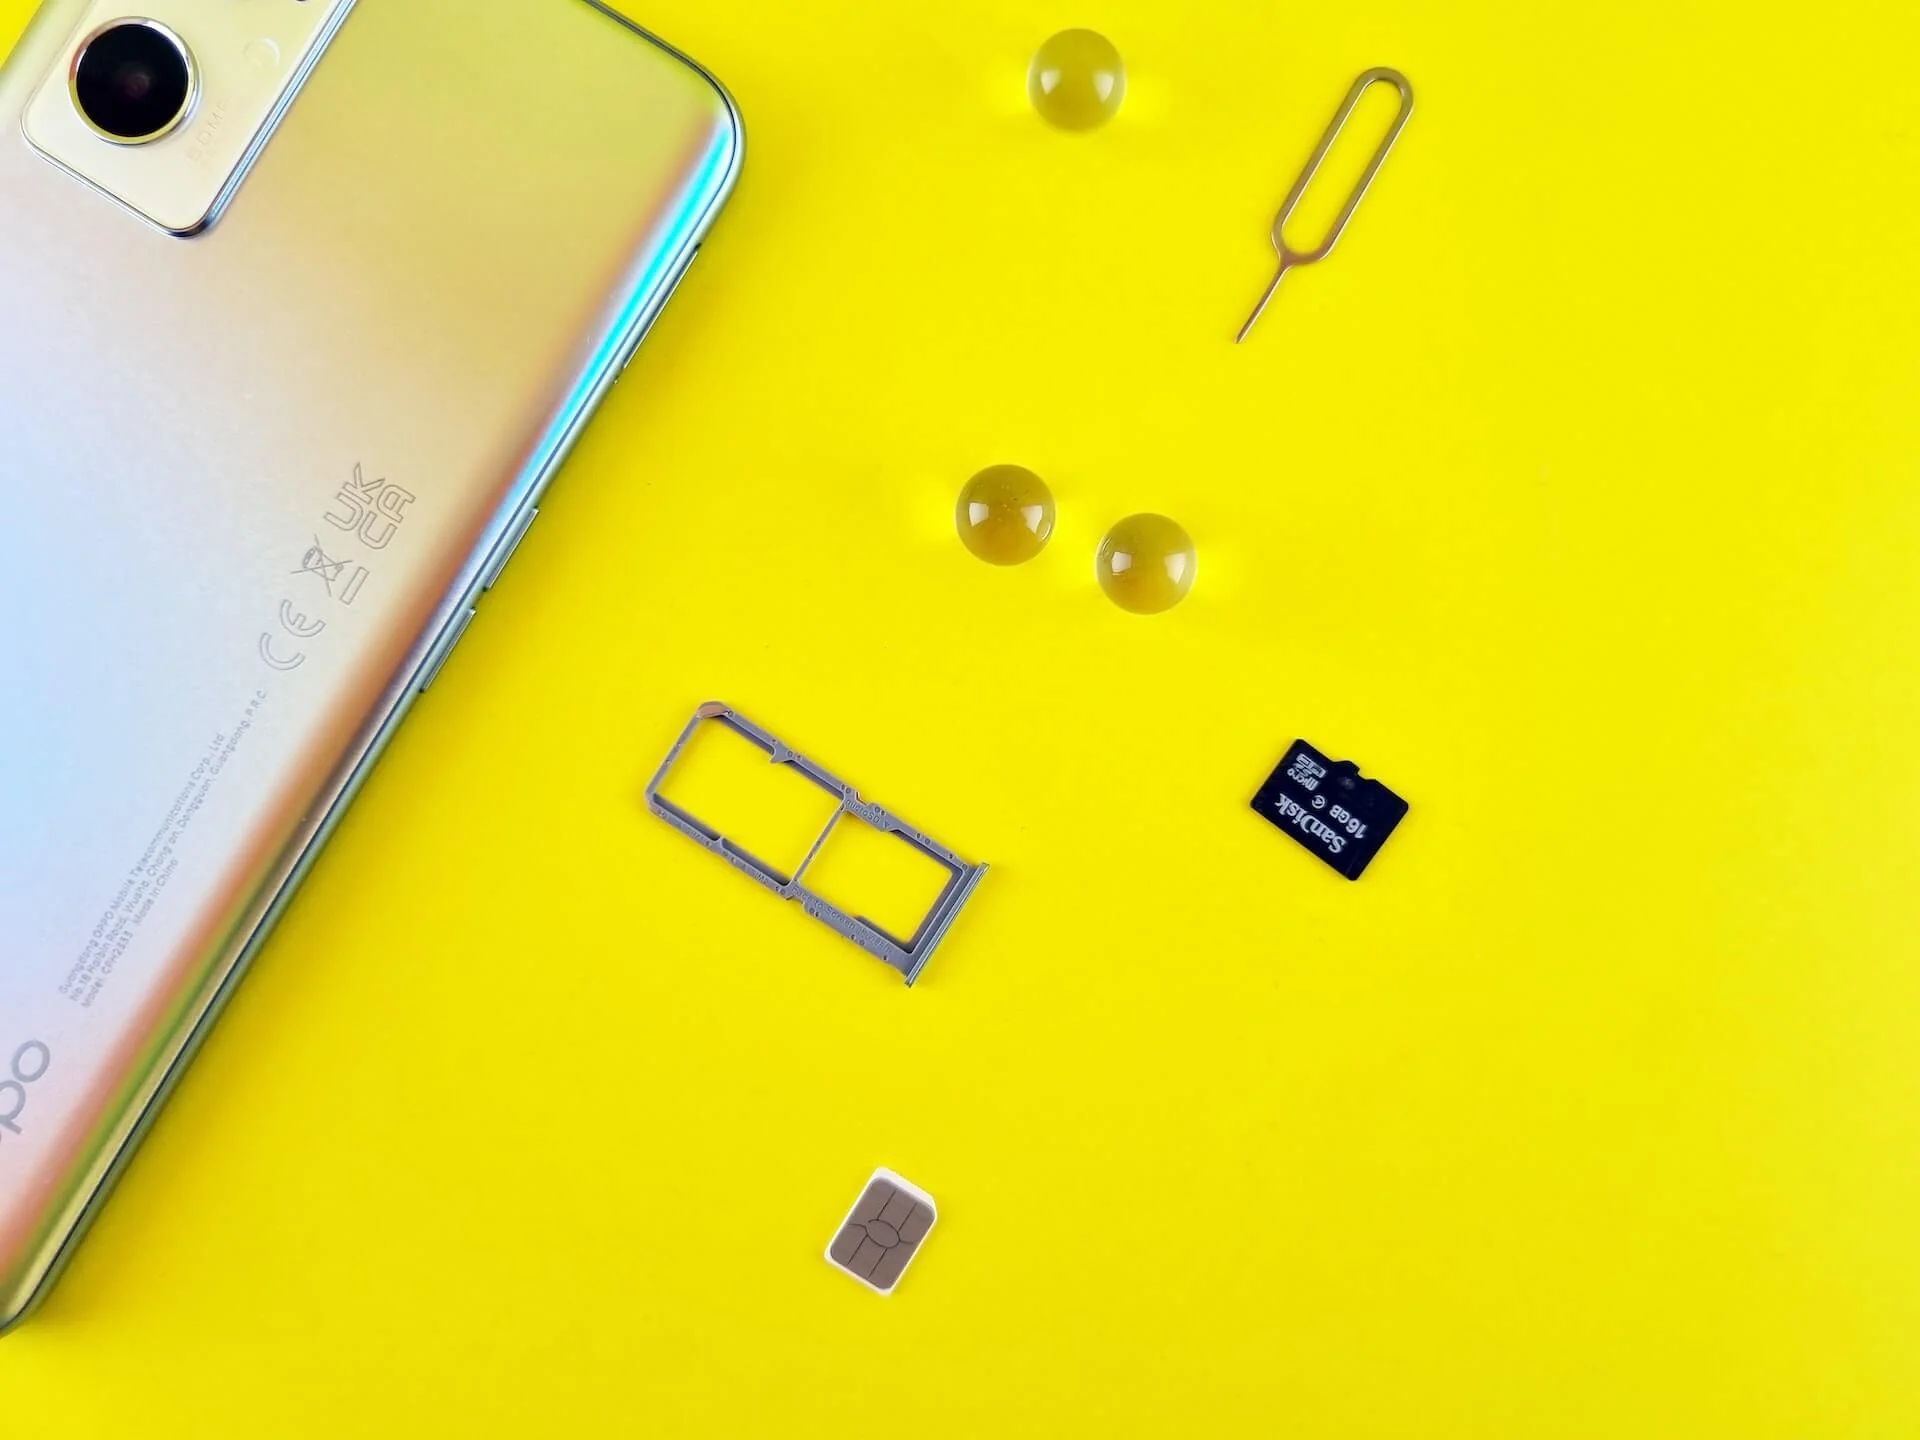
- Remove the SIM card: Use an ejector tool or a small paperclip to gently push the SIM card tray’s release button. Carefully remove the SIM card from the tray.
- Inspect the SIM card: Check for any signs of damage, such as scratches or bent pins. If the SIM card looks damaged, contact your network provider for a replacement.
- Clean the SIM card and tray: If there is no visible damage, use a clean, soft cloth to wipe the SIM card and tray. Remove any dust or debris that might be obstructing proper contact.
- Reinsert the SIM card: Align the SIM card with the designated slot and carefully slide it back into place. Make sure it is inserted fully and securely.
- Power on your device: After inserting the SIM card, power on your device and check if the “No SIM Card” error is resolved.
If the issue persists, don’t worry. There are still other troubleshooting methods to explore. Let’s move on to the next section.
Check SIM Card Slot
If you’re still facing the “No SIM Card” error on your Android device, it’s important to check the SIM card slot itself. Sometimes, the issue may lie with the slot rather than the SIM card. Here are the steps to check the SIM card slot:
- Power off your device: Before examining the SIM card slot, ensure that your device is turned off.
- Locate the SIM card slot: The SIM card slot is usually located on the side, back, or under the battery cover of your device. Refer to the user manual or the manufacturer’s website for the precise location.
- Inspect the slot: Examine the SIM card slot for any visible signs of damage, such as bent pins or dirt accumulation. If you notice any issues, it’s advisable to contact a technician or your device’s manufacturer for assistance.
- Clean the slot: If the SIM card slot appears dirty or dusty, use a can of compressed air or a soft brush to carefully remove any debris. Be gentle to avoid causing further damage.
- Reinsert the SIM card: After inspecting and cleaning the slot, reinsert the SIM card into the slot, ensuring it is properly aligned and firmly inserted.
- Power on your device: Turn on your device and see if the “No SIM Card” error persists.
If the error continues after checking the SIM card slot, there are still additional troubleshooting steps to explore. Let’s move on to the next section for further solutions.
Replace SIM Card
If you’ve tried all the previous solutions and are still encountering the “No SIM Card” error on your Android device, it’s possible that the SIM card itself is faulty or damaged. In such cases, it’s recommended to replace the SIM card. Here’s how you can replace your SIM card:
- Contact your network provider: Reach out to your network provider and explain the issue you’re experiencing. They will guide you through the process of obtaining a new SIM card.
- Visit a store or order online: Depending on your network provider’s policies, you may either need to visit a physical store or request a replacement SIM card online. Follow the instructions provided by your provider to obtain a new SIM card.
- Deactivate the old SIM card: Once you have the new SIM card, make sure to deactivate the old one. This will prevent any unauthorized use and ensure a smooth transition to the new card.
- Insert the new SIM card: Follow the instructions provided with the replacement SIM card to correctly insert it into your device’s SIM card slot.
- Activate the new SIM card: After inserting the new SIM card, you may need to activate it. This process typically involves contacting your network provider’s customer service or using an online activation portal.
- Restart your device: Once the new SIM card is activated, restart your device and check if the “No SIM Card” error has been resolved.
Replacing the SIM card can often solve issues related to a faulty or damaged card. If the error persists even after replacing the SIM card, it’s advisable to reach out to your network provider for further assistance or consider visiting a professional technician to diagnose any hardware-related issues.
Conclusion
The “No SIM Card” error on your Android device can be frustrating, but there are several troubleshooting methods you can try to resolve the issue. In this article, we have outlined various solutions that can help you fix the problem and regain access to your network.
From checking the SIM card and restarting your phone to clearing the cache, updating your phone software, and resetting network settings, these steps cover the most common causes of the “No SIM Card” error. By following these methods, you increase the chances of resolving the issue on your Android device.
If the error persists, it’s important to consider factors such as a faulty SIM card or a damaged SIM card slot. In such cases, contacting your network provider for a replacement SIM card or seeking professional assistance may be necessary.
Remember, the specific steps may vary depending on your device’s make and model, as well as the version of the Android operating system. Always consult your device’s user manual or reach out to the manufacturer’s support for specific guidance.
We hope that this guide has been helpful in troubleshooting the “No SIM Card” error on your Android device. If you have any further questions or need additional assistance, don’t hesitate to consult with your network provider or seek professional help.