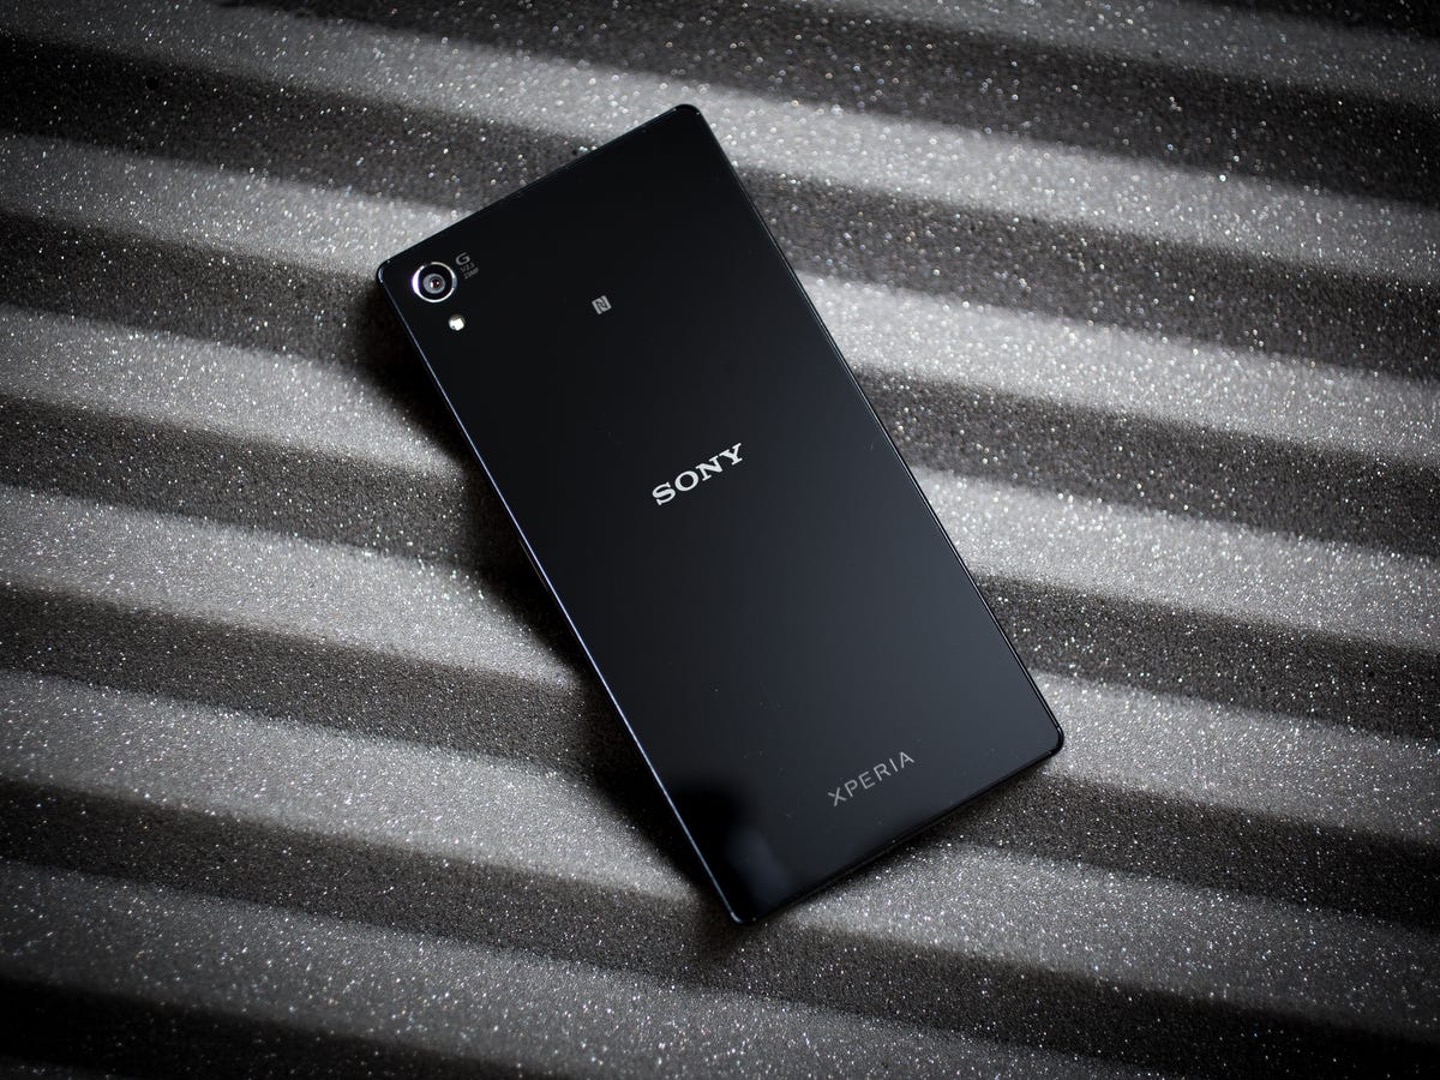
Introduction
Are you tired of your Xperia's battery draining faster than you can say "charge"? If so, it might be time for a battery swap. Whether you're a tech-savvy enthusiast or a novice, changing your Xperia's battery can be a rewarding and cost-effective DIY project. By following a few simple steps, you can breathe new life into your device and enjoy extended battery life.
In this comprehensive guide, we'll walk you through the process of swapping your Xperia's battery like a pro. You'll learn how to safely power off your device, remove the back cover, replace the old battery with a new one, and power on your Xperia with renewed energy. With the right tools and a bit of patience, you can give your Xperia a fresh lease on life and bid farewell to those pesky low battery warnings.
So, grab your toolkit and get ready to embark on a battery-swapping adventure. It's time to take control of your Xperia's power and ensure that it keeps up with your busy lifestyle. Let's dive into the step-by-step process and unleash the full potential of your device with a brand-new battery.
Tools and Materials Needed
Before embarking on the battery replacement journey for your Xperia, it's essential to gather the necessary tools and materials. Here's what you'll need to ensure a smooth and successful battery swap:
1. Replacement Battery:
- The most crucial component for this DIY project is, of course, the replacement battery for your Xperia. Ensure that you purchase a high-quality, compatible battery that meets the specifications of your device. It's advisable to acquire a genuine or OEM (Original Equipment Manufacturer) battery to guarantee optimal performance and compatibility.
2. Screwdriver Set:
- A precision screwdriver set is indispensable for removing the screws that secure the back cover of your Xperia. Look for a set that includes various screwdriver tips to accommodate different screw sizes commonly found in mobile devices.
3. Plastic Opening Tools:
- To safely pry open the back cover of your Xperia without causing damage, plastic opening tools are essential. These tools help in gently separating the back cover from the device's body, minimizing the risk of scratches or dents.
4. Adhesive Strips or Double-Sided Tape:
- Depending on the design of your Xperia, you may need adhesive strips or double-sided tape to reattach the back cover securely. These adhesives ensure that the back cover remains firmly in place after the battery replacement.
5. Tweezers:
- Tweezers can be handy for handling small components and connectors inside your Xperia. They provide precision and control when disconnecting and reconnecting delicate cables during the battery replacement process.
6. Anti-Static Wrist Strap (Optional):
- While not mandatory, an anti-static wrist strap can be beneficial for grounding yourself and minimizing the risk of static discharge that could potentially damage sensitive electronic components in your Xperia.
7. Clean Workspace:
- Prepare a clean, well-lit workspace with ample room to maneuver. A clutter-free environment reduces the likelihood of misplacing small screws or components during the battery replacement.
By ensuring that you have these tools and materials at your disposal, you'll be well-equipped to tackle the battery replacement process with confidence and precision. With everything in place, you're ready to proceed to the next step and power off your Xperia in preparation for the battery swap.
Step 1: Power Off Your Xperia
Before diving into the battery replacement process, it's crucial to power off your Xperia to ensure safety and prevent any potential damage to the device or yourself. Follow these steps to gracefully power down your Xperia:
-
Save and Close Applications: Begin by saving any unsaved data and closing all running applications on your Xperia. This ensures that no critical information is lost during the power-off process.
-
Press and Hold the Power Button: Locate the power button on your Xperia, typically situated along the device's edge or on the top. Press and hold the power button until the power-off menu or prompt appears on the screen.
-
Select "Power Off": Once the power-off menu is displayed, select the "Power Off" option to initiate the shutdown process. Confirm the action if prompted to ensure that your Xperia begins the power-off sequence.
-
Wait for Shutdown: Allow your Xperia to complete the power-off sequence. Depending on the device model and running applications, the shutdown process may take a few moments. Ensure that the device's screen turns off, indicating that it has powered down successfully.
-
Verify Power Off: After the screen has turned off, verify that your Xperia is completely powered down by ensuring that no indicator lights or display activity is present. This step is crucial to prevent any accidental power-related mishaps during the battery replacement process.
By following these steps to power off your Xperia, you can proceed with the battery replacement process confidently, knowing that your device is safely shut down. With your Xperia powered off, you're now ready to move on to the next step and begin the exciting journey of swapping out the old battery for a fresh, rejuvenating replacement.
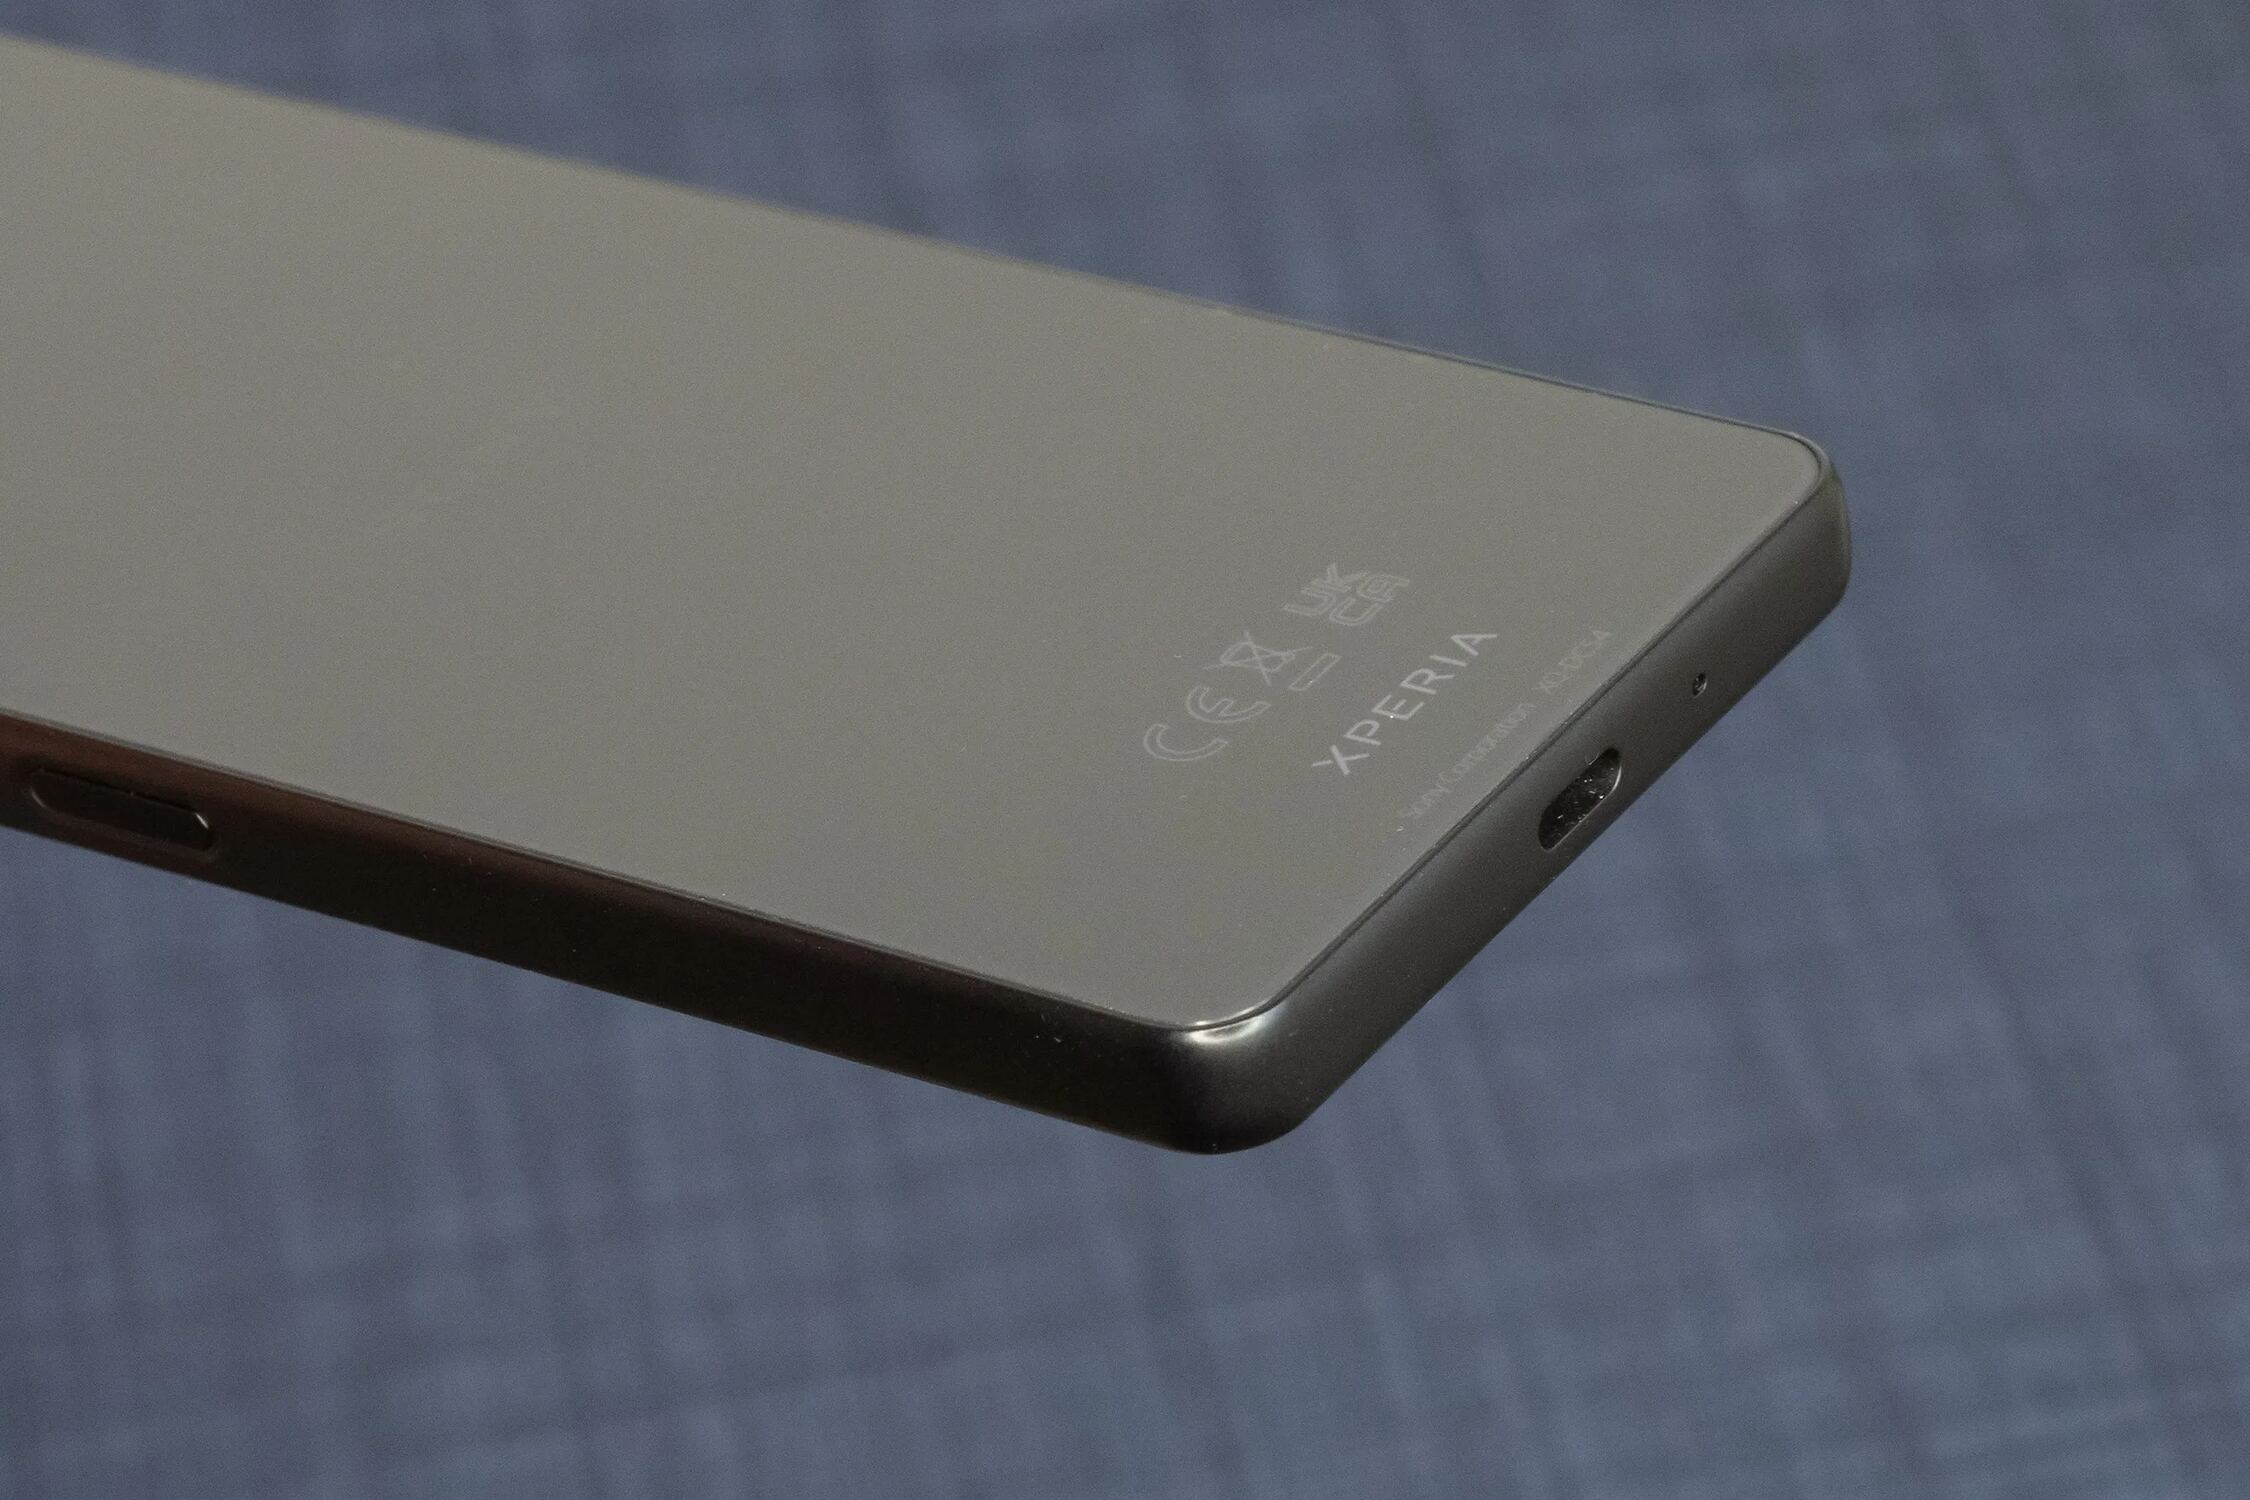
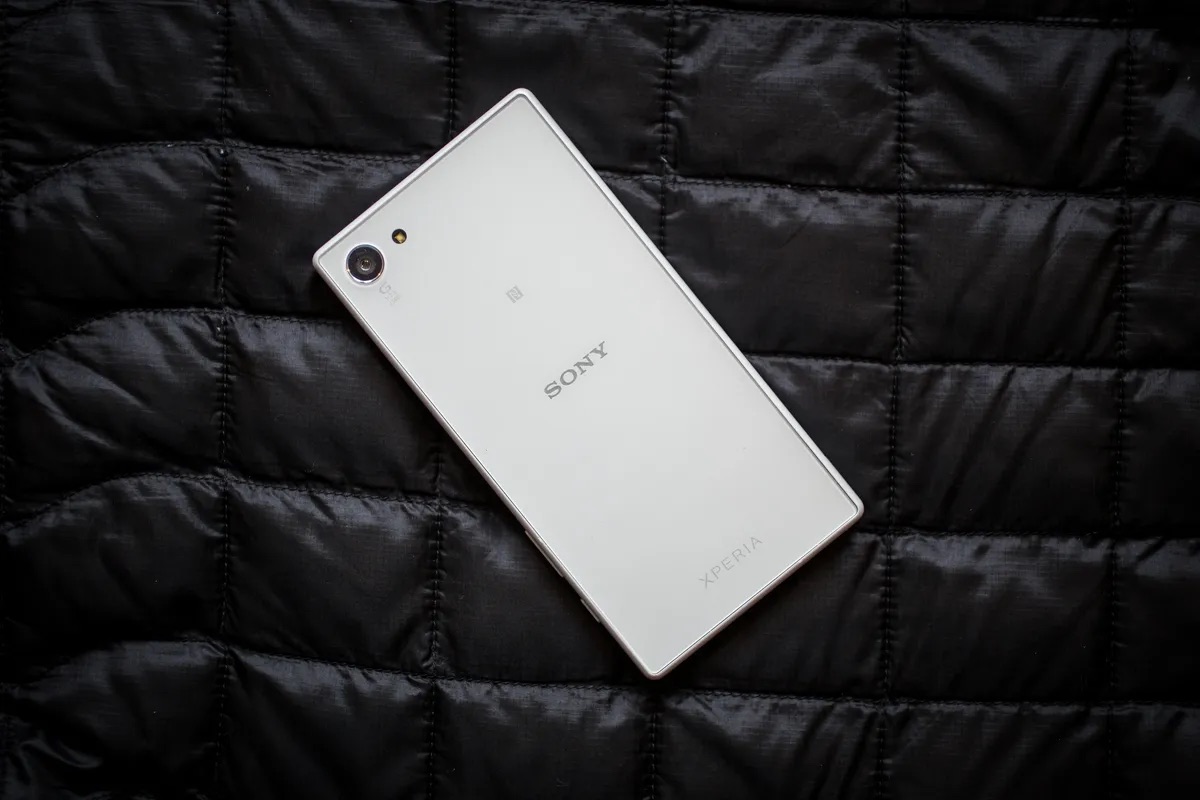
Step 2: Remove the Back Cover
With your Xperia safely powered off, the next step in the battery replacement process is to delicately remove the back cover of your device. The back cover shields the internal components, including the battery, and accessing it is the initial phase of the battery swap. Follow these detailed steps to remove the back cover of your Xperia like a pro:
-
Identify the Notch or Slot: Examine the edges of your Xperia to locate the small notch or slot designed for prying open the back cover. This notch is strategically positioned to facilitate the removal of the cover without causing damage to the device.
-
Use Plastic Opening Tools: Carefully insert a plastic opening tool into the identified notch or slot. Gently apply pressure to create a slight separation between the back cover and the body of your Xperia. It's essential to exercise patience and precision to avoid bending or warping the back cover during this process.
-
Work Along the Edges: Once you've initiated a separation at one point, continue to slide the plastic opening tool along the edges of your Xperia. Gradually release the clips securing the back cover to the device's frame. Take your time and ensure that the separation is uniform to prevent any undue stress on the cover.
-
Mind the Adhesive (If Applicable): In some Xperia models, adhesive may be used to secure the back cover in addition to the clips. If you encounter resistance while attempting to remove the cover, it's likely that adhesive is present. Apply gentle, consistent pressure and use the plastic opening tools to carefully release the adhesive bond without causing damage to the cover or the device.
-
Lift Off the Back Cover: Once all the clips and adhesive have been carefully disengaged, gently lift the back cover away from your Xperia. Exercise caution to avoid any sudden movements that could potentially damage the internal components or cables connected to the cover.
By following these meticulous steps, you can successfully remove the back cover of your Xperia, gaining access to the internal components, including the old battery awaiting its well-deserved replacement. With the back cover removed, you're now poised to proceed to the next step and bid farewell to the old battery, making way for a rejuvenating new power source for your beloved Xperia.
Step 3: Take Out the Old Battery
With the back cover of your Xperia delicately removed, the next crucial step in the battery replacement process is to carefully extract the old battery from its housing. This phase requires precision and attentiveness to ensure the safe removal of the old battery and pave the way for the installation of its rejuvenating replacement. Follow these detailed steps to expertly take out the old battery from your Xperia:
-
Identify the Battery Location: Upon exposing the internal components of your Xperia by removing the back cover, locate the battery, which is typically situated near the center or bottom of the device. Take note of any adhesive or connectors securing the battery in place.
-
Disconnect the Battery Connector: Using a pair of tweezers or your fingertips, gently disconnect the battery connector from the motherboard of your Xperia. Exercise caution and ensure a firm grip on the connector to avoid damaging the delicate pins or connectors.
-
Release Adhesive (If Applicable): In some Xperia models, adhesive may be used to secure the battery to the device's frame. If adhesive is present, carefully release the bond by applying consistent, gentle pressure and using plastic opening tools as needed. Take care to avoid bending or damaging the battery during this process.
-
Lift Out the Battery: Once the battery connector and any adhesive have been safely disengaged, carefully lift the old battery out of its housing. Exercise patience and precision to prevent any accidental damage to the battery or the internal components of your Xperia.
-
Handle with Care: As you remove the old battery, be mindful of its fragility and handle it with the utmost care. Avoid bending, puncturing, or exposing the battery to excessive force or heat, as these actions can pose safety hazards.
By meticulously following these steps, you can expertly take out the old battery from your Xperia, setting the stage for the exciting installation of its revitalizing replacement. With the old battery safely removed, you're now ready to proceed to the subsequent step and usher in a new era of power for your cherished Xperia.
Step 4: Insert the New Battery
With the old battery gracefully removed from your Xperia, it's time to usher in a new era of power by expertly inserting the fresh replacement battery. This pivotal step in the battery replacement process requires precision, care, and attention to detail to ensure the seamless integration of the new battery into your device. Follow these meticulous steps to skillfully insert the new battery into your Xperia:
-
Verify Compatibility: Before proceeding, double-check that the replacement battery is compatible with your specific Xperia model. Ensure that the battery specifications align with the requirements of your device to guarantee optimal performance and safety.
-
Position the New Battery: Carefully position the new battery in the designated housing within your Xperia. Align the battery in the same orientation as the old battery, taking note of any notches or alignment markers to ensure a proper fit.
-
Secure the Battery Connector: If applicable, reconnect the battery connector to the motherboard of your Xperia. Exercise caution and ensure a secure connection to prevent any issues with power delivery or device functionality.
-
Address Adhesive (If Applicable): If the new battery requires adhesive for secure placement, carefully apply adhesive strips or double-sided tape to the designated areas within the device's housing. Ensure that the adhesive is positioned to align with the contact points on the new battery, facilitating a secure and stable fit.
-
Gently Place the Battery: With the battery connector secured and any adhesive in place, gently lower the new battery into its housing. Exercise patience and precision to avoid any undue pressure on the battery or the internal components of your Xperia.
-
Verify Alignment and Fit: Once the new battery is in place, verify that it sits flush within the housing and aligns correctly with any guiding markers or notches. Confirm that the battery is securely positioned and does not exhibit any movement or instability within the device.
By meticulously following these steps, you can expertly insert the new battery into your Xperia, setting the stage for a rejuvenated power source that will breathe new life into your device. With the new battery seamlessly integrated, you're now poised to proceed to the subsequent step and restore the protective back cover to its rightful place, bringing your Xperia one step closer to a revitalized and enduring power performance.
Step 5: Replace the Back Cover
With the new battery seamlessly integrated into your Xperia, the next crucial step in the battery replacement process is to delicately replace the back cover of your device. The back cover serves as a protective shield for the internal components, and securely reattaching it is essential to safeguard the newly installed battery and ensure the structural integrity of your Xperia. Follow these detailed steps to expertly replace the back cover of your Xperia and conclude the battery replacement process with finesse:
-
Align the Back Cover: Position the back cover carefully, ensuring that it aligns with the edges and contours of your Xperia. Take note of any guiding markers or notches that facilitate proper alignment, allowing the cover to fit seamlessly into place.
-
Apply Gentle Pressure: Once the back cover is aligned, apply gentle, even pressure along the edges to initiate the reattachment process. Start from one edge and gradually work your way around the perimeter of your Xperia, ensuring that the cover begins to securely seat into its original position.
-
Engage the Clips: As you apply pressure, listen for the audible clicks or subtle indications that the clips securing the back cover are reengaging with the device's frame. These clips play a vital role in ensuring a snug and secure fit for the cover, minimizing the risk of any movement or instability.
-
Verify Uniform Seating: Throughout the reattachment process, verify that the back cover is seating uniformly and without any gaps or unevenness. Consistent pressure and attention to detail are crucial to achieving a seamless and secure fit for the cover, preserving the integrity of your Xperia.
-
Address Adhesive (If Applicable): If adhesive strips or double-sided tape were used to secure the back cover, ensure that the adhesive is making firm contact with the device's frame. Apply gentle pressure to encourage a strong bond between the cover and the device, enhancing the overall stability and protection.
-
Inspect for Stability: Once the back cover is in place, gently test its stability by applying light pressure along the edges. Verify that the cover remains firmly seated and does not exhibit any movement or flexing. A stable and secure attachment is essential to safeguard the internal components and the newly installed battery.
By meticulously following these steps, you can expertly replace the back cover of your Xperia, concluding the battery replacement process with precision and care. With the back cover securely reattached, your Xperia is now poised to be powered on, heralding the dawn of a rejuvenated and enduring battery performance.
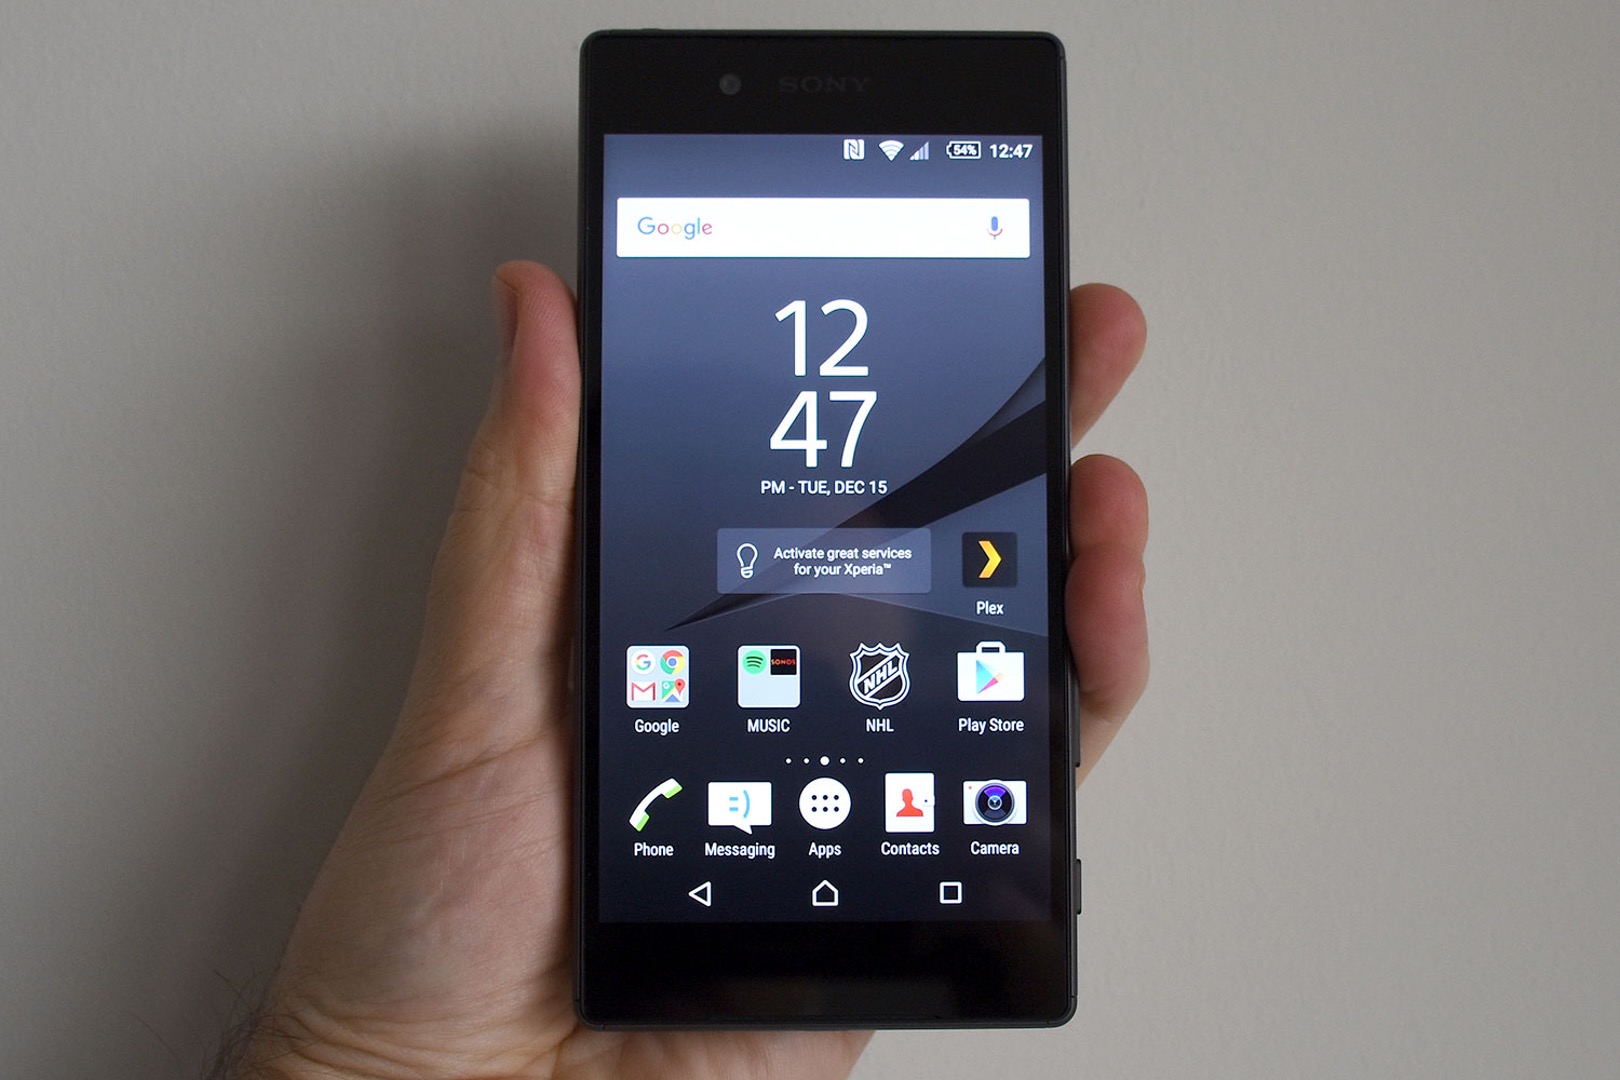
Step 6: Power On Your Xperia
With the new battery seamlessly integrated and the protective back cover securely reattached, the final step in the battery replacement process is to power on your Xperia. This pivotal moment marks the culmination of your meticulous efforts and heralds the dawn of a rejuvenated and enduring battery performance for your beloved device. Follow these essential steps to power on your Xperia and bask in the anticipation of experiencing its renewed vitality:
-
Press and Hold the Power Button: Locate the power button on your Xperia, typically situated along the device's edge or on the top. Press and hold the power button for a few seconds to initiate the power-on sequence. As you do so, anticipate the familiar vibrational feedback or visual indicators signaling the device's activation.
-
Observe the Startup Sequence: Upon pressing the power button, observe your Xperia as it begins the startup sequence. The device's screen should illuminate, displaying the manufacturer's logo or the customary boot-up animation. Take note of any indications that the device is initializing and preparing to become fully operational.
-
Monitor the Power-Up Process: As your Xperia powers on, monitor the sequence of events, including the appearance of the device's lock screen or home screen. Observe any loading indicators or transitional animations that signify the device's progression towards full functionality. It's normal for the startup process to take a brief moment as the device initializes its system and services.
-
Unlock and Verify Functionality: Once your Xperia has completed the power-up process, unlock the device using your preferred method, such as a PIN, pattern, or biometric authentication. Upon accessing the home screen, take a moment to verify the device's functionality, including the responsiveness of the touchscreen, the stability of wireless connectivity, and the overall performance.
-
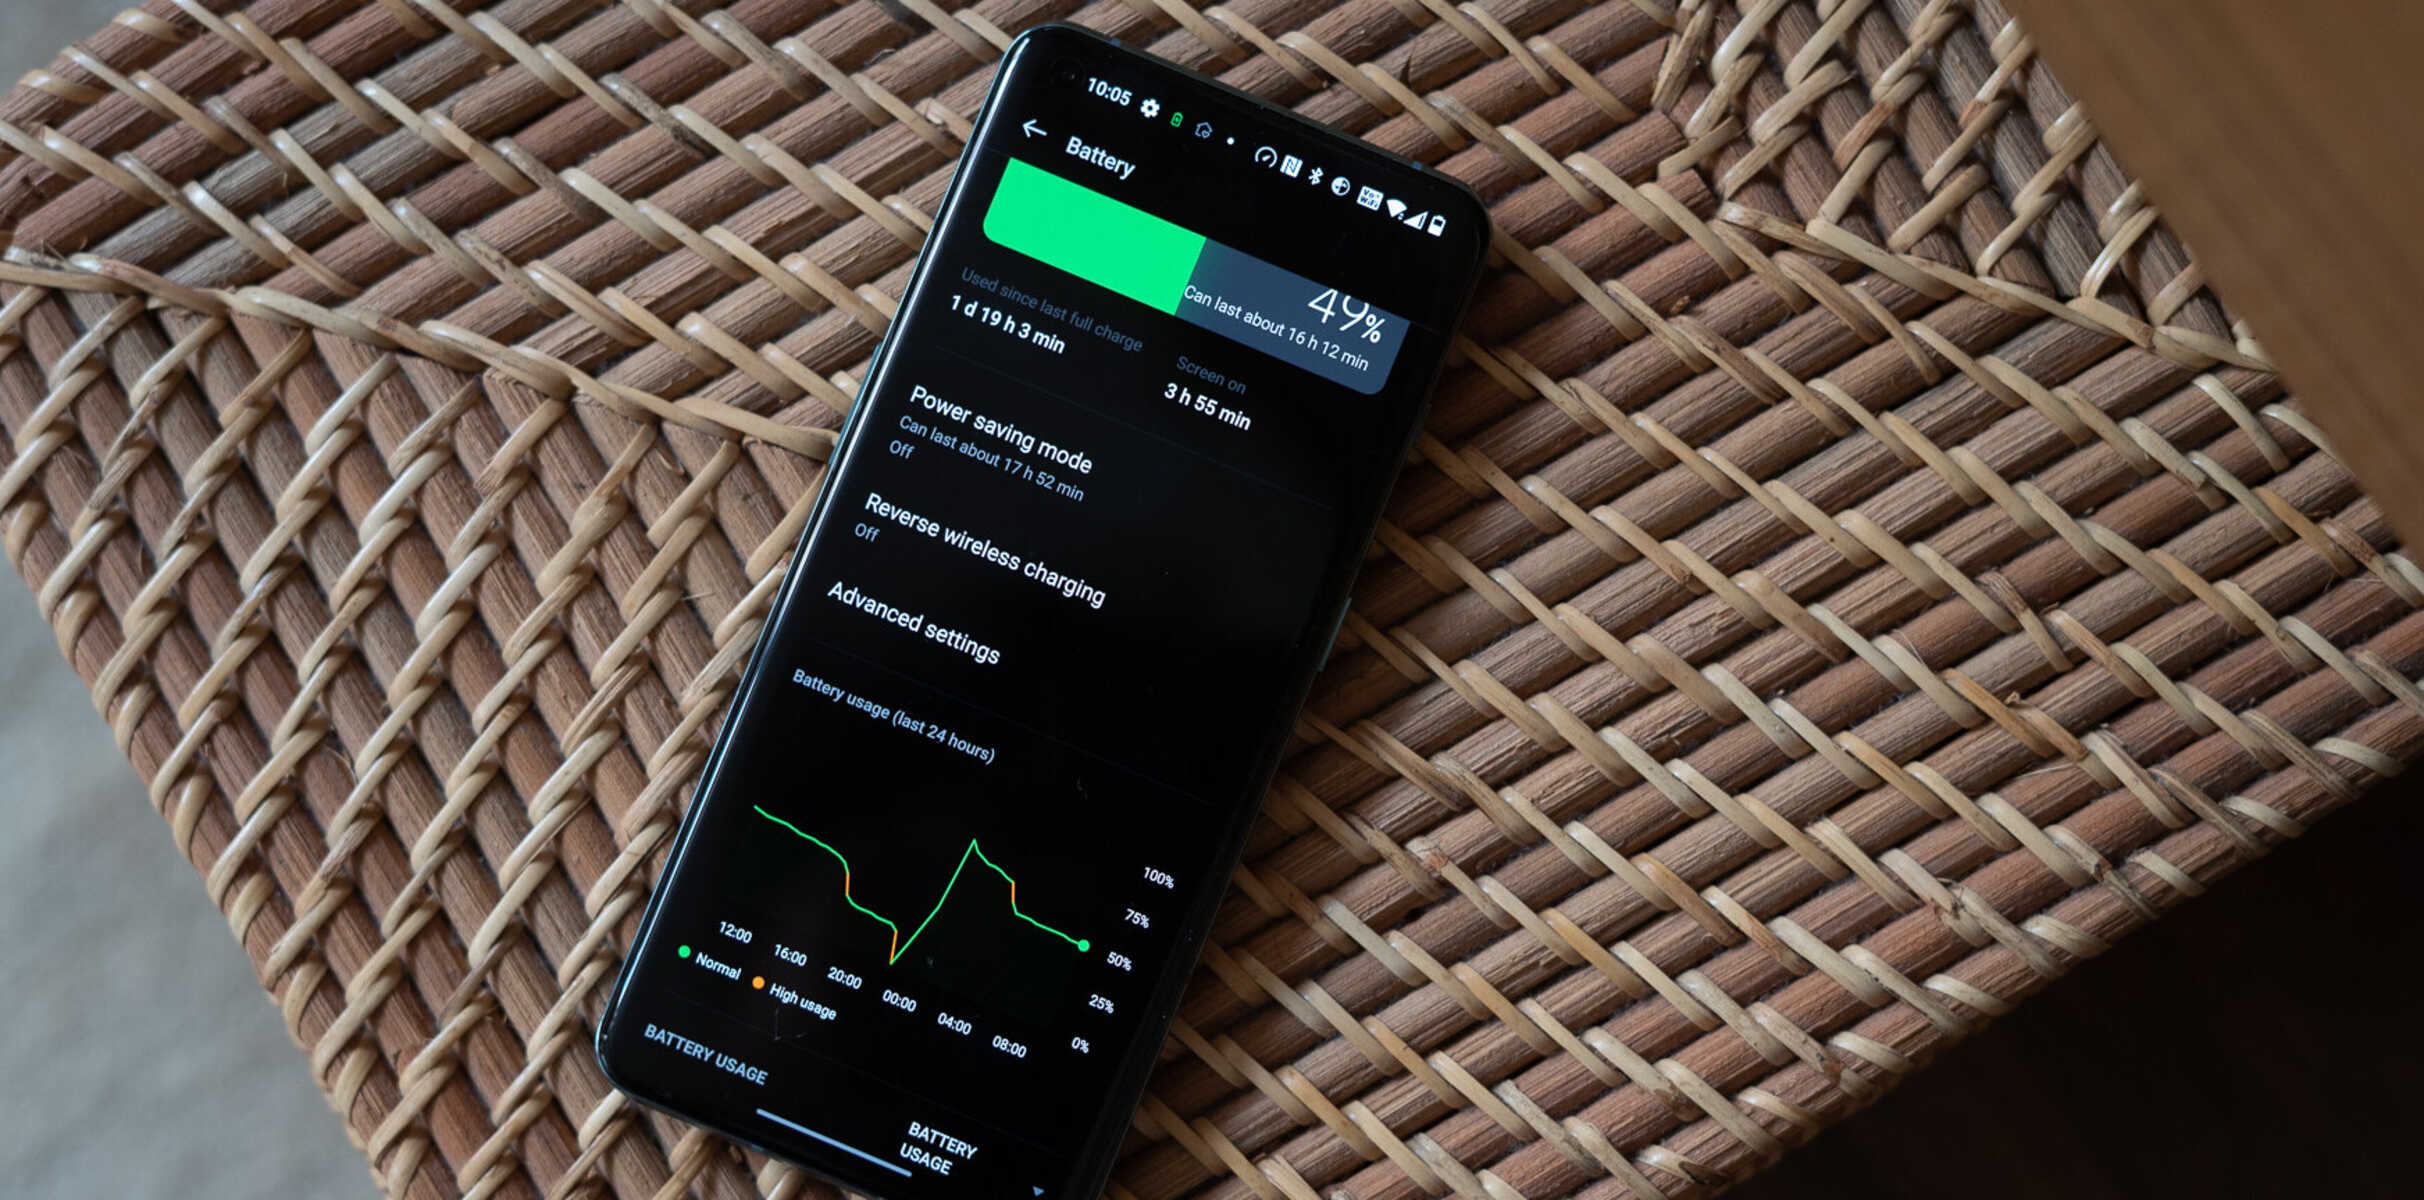
Check Battery Status: After powering on your Xperia, navigate to the device's settings or status indicators to check the battery status. Verify that the new battery is recognized and displaying an appropriate charge level. This confirmation provides assurance that the battery replacement was successful and that your Xperia is ready to embark on its revitalized power journey.
By meticulously following these steps, you can expertly power on your Xperia, culminating the battery replacement process with a sense of accomplishment and anticipation. With the device now awakened and ready to serve, you can revel in the satisfaction of bestowing upon your Xperia a fresh lease on power, ensuring that it remains a reliable companion throughout your daily endeavors.
Conclusion
Congratulations! You've successfully navigated the intricate process of swapping your Xperia's battery like a seasoned pro. By meticulously following each step of this comprehensive guide, you've not only revitalized your device but also empowered yourself with the knowledge and confidence to undertake future DIY projects with ease.
As you reflect on the journey from powering off your Xperia to delicately replacing the back cover, you've embraced the essence of hands-on device maintenance. The careful handling of tools, the precision in disconnecting and reconnecting components, and the attention to detail in aligning the new battery all underscore your dedication to ensuring the optimal performance of your Xperia.
With the new battery seamlessly integrated and the protective back cover securely reattached, your Xperia stands poised to embark on a revitalized power journey. As you power on your device and witness its renewed vitality, you're greeted with the assurance that your efforts have not only extended the lifespan of your Xperia but also contributed to a sustainable approach to device maintenance.
Beyond the tangible outcome of a rejuvenated battery, this DIY endeavor has instilled in you a sense of empowerment and resourcefulness. You've transcended the realm of passive device usage and embraced an active role in preserving and enhancing the functionality of your Xperia. This newfound confidence and skill set are invaluable assets that will serve you well in your ongoing technological adventures.
As you bid farewell to the old battery and usher in a new era of power for your cherished Xperia, remember that the knowledge and experience gained from this endeavor are enduring. Whether it's a battery replacement, a screen repair, or a device customization project, you now possess the foundation to approach such tasks with proficiency and assurance.
So, take a moment to revel in the satisfaction of a job well done. Your Xperia now stands as a testament to your dedication to maintaining its peak performance. With a rejuvenated battery and a wealth of newfound expertise, you're well-equipped to navigate the ever-evolving landscape of mobile technology with confidence and ingenuity.