Introduction
Welcome to the ultimate guide on how to replace the screen of your Xperia Z! Whether you've accidentally dropped your phone or the screen has become unresponsive, fear not, as this comprehensive walkthrough will demystify the process of swapping out the screen on your beloved device.
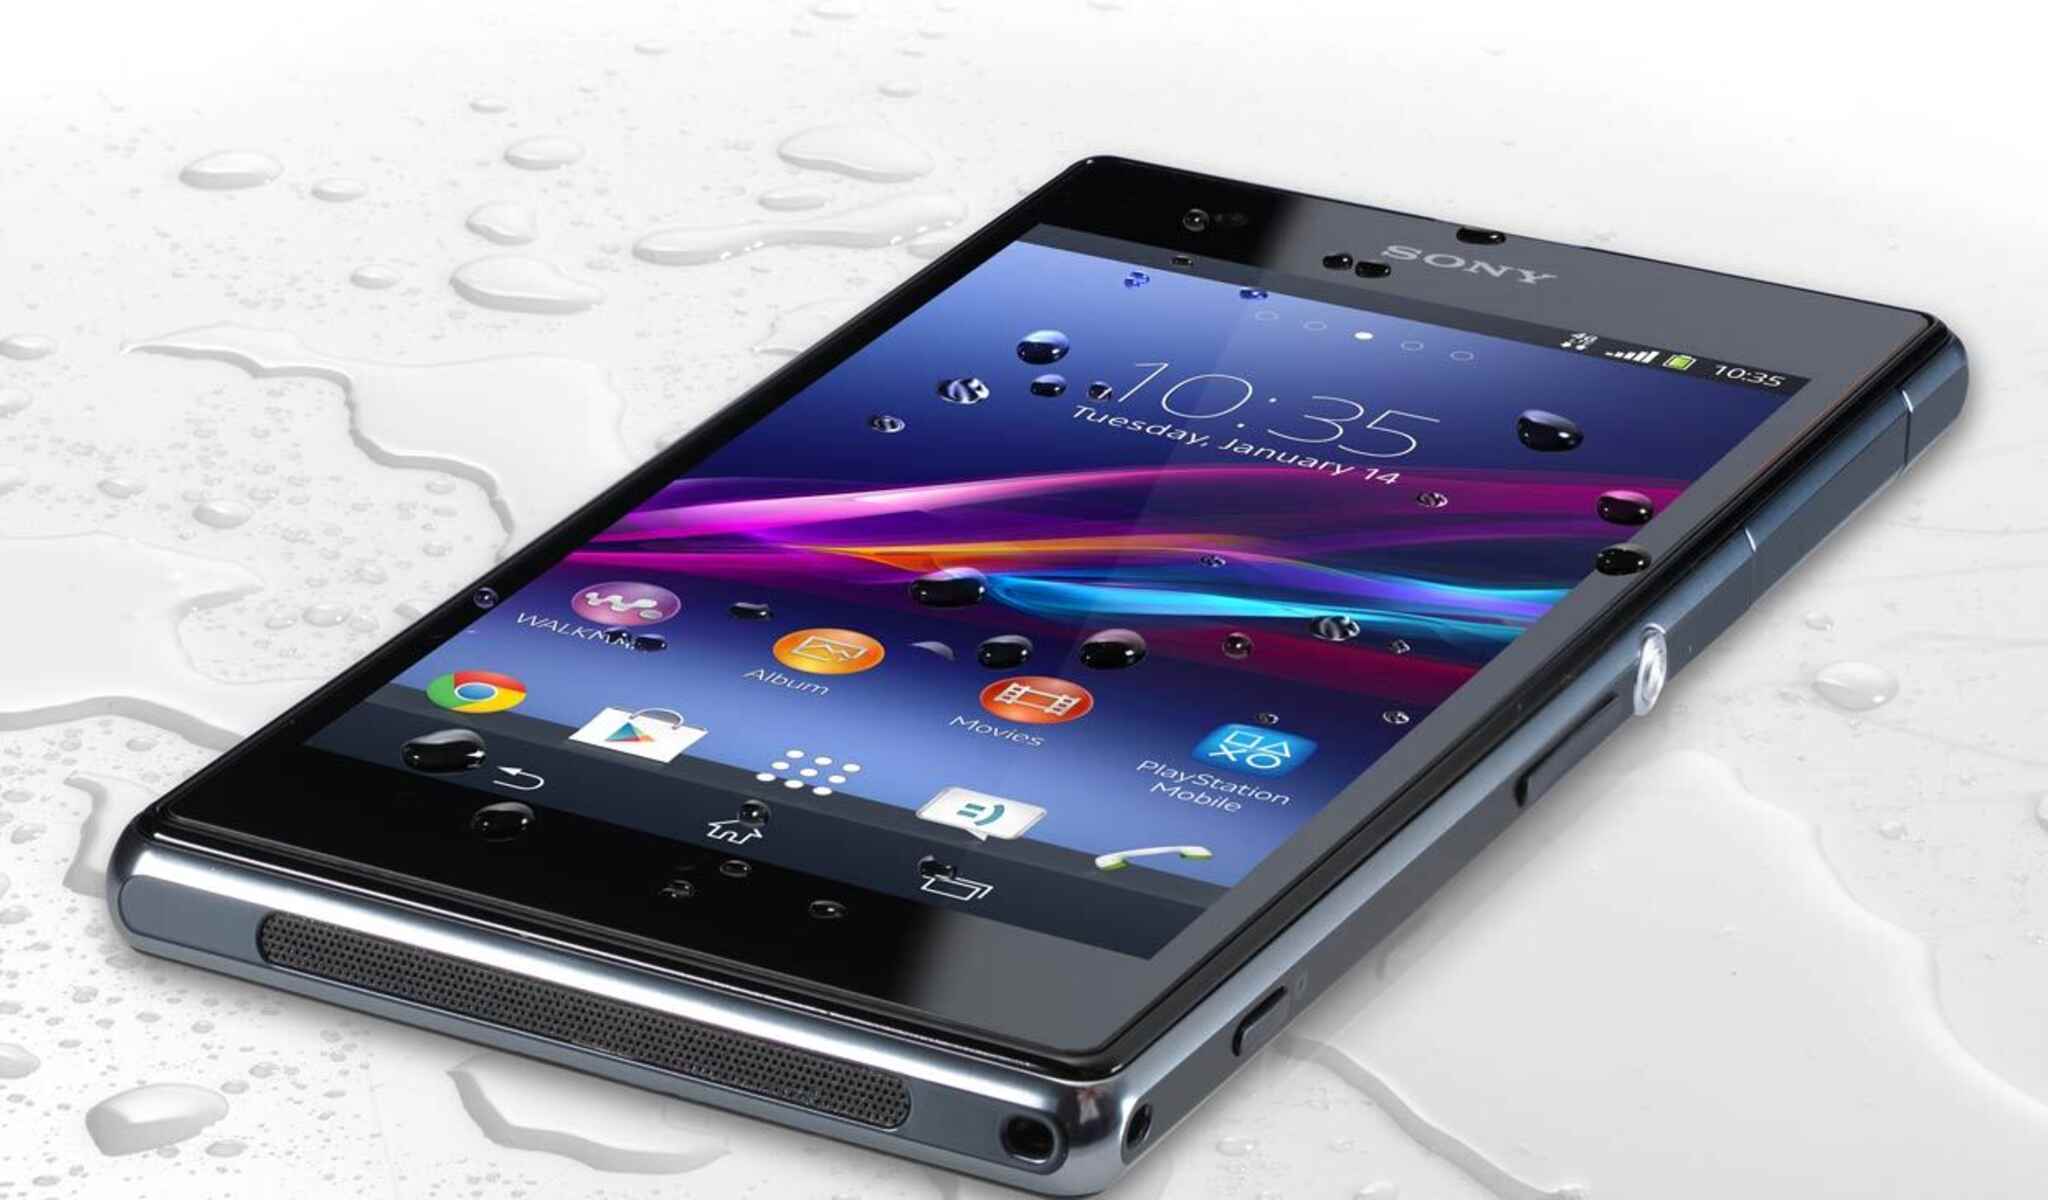
The Xperia Z is a sleek and powerful mobile device, boasting a stunning display that enhances the user experience. However, as with any electronic gadget, accidents happen, and screens can crack or malfunction. Instead of feeling disheartened or burdened by the cost of professional repairs, you can take matters into your own hands and replace the screen yourself.
By following this step-by-step guide, you'll not only save money but also gain a sense of accomplishment and empowerment as you successfully restore your Xperia Z to its former glory. This process may seem daunting at first, but with the right tools, a steady hand, and a bit of patience, you'll be amazed at how achievable and rewarding this DIY repair can be.
So, grab your toolkit, clear a well-lit workspace, and let's embark on this journey to rejuvenate your Xperia Z. With each step, you'll gain valuable insights into the intricate craftsmanship of your device, fostering a deeper understanding and appreciation for its design and functionality.
Are you ready to unveil the inner workings of your Xperia Z and emerge victorious with a brand-new screen? Let's dive in and equip ourselves with the knowledge and skills needed to conquer this repair challenge. Get ready to witness the transformation of your Xperia Z as we embark on this screen-swapping adventure together!
Tools and Materials Needed
Before delving into the screen replacement process, it's crucial to gather the essential tools and materials to ensure a smooth and successful repair. Here's a comprehensive list of what you'll need:
Tools:
-
Precision Screwdriver Set: A set of precision screwdrivers is indispensable for removing the tiny screws securing the Xperia Z's components. Ensure that the set includes various Phillips and flathead screwdriver sizes to accommodate different screw types.
-
Plastic Opening Tools: These non-conductive and non-marring tools are designed to safely pry open the Xperia Z without causing damage to the delicate components or the new screen.
-
Tweezers: Precision tweezers are invaluable for handling small components and connectors during the disassembly and reassembly process.
-
Suction Cup: A reliable suction cup will aid in lifting the old screen from the Xperia Z's frame, facilitating a controlled and safe removal process.
-
Heat Gun or Hair Dryer: To soften the adhesive securing the old screen, a heat gun or hair dryer can be used to gently warm the edges of the device, making it easier to detach the screen without causing damage.
-
Spudger or Opening Picks: These tools are ideal for prying apart connectors and separating adhesive during the disassembly process.
-
Microfiber Cloth: Keeping a microfiber cloth handy will help maintain a clean workspace and ensure that the new screen is free from smudges and debris during installation.
Materials:
-
Replacement Screen: Acquire a high-quality replacement screen compatible with the Xperia Z model. Ensure that the screen is sourced from a reputable supplier to guarantee optimal performance and durability.
-
Adhesive Strips or Liquid Adhesive: Depending on the replacement screen type, you may need adhesive strips or liquid adhesive to securely affix the new screen to the device's frame.
-
Isopropyl Alcohol: This is essential for cleaning the device's frame and removing any residual adhesive before installing the new screen.
-
Safety Glasses and Gloves: Prioritize safety by wearing protective glasses and gloves to prevent any mishaps during the repair process.
By assembling these tools and materials, you'll be well-prepared to embark on the Xperia Z screen replacement journey with confidence and precision. With everything at your disposal, you're now ready to proceed to the next step and begin the disassembly process.
Let's move forward and delve into the intricate process of removing the Xperia Z's back cover to gain access to the internal components.
Step 1: Removing the Back Cover
The first step in replacing the screen of your Xperia Z involves delicately removing the back cover to gain access to the internal components. This process requires precision and patience to avoid damaging the device's exterior. Here's a detailed guide on how to accomplish this crucial initial step:
-
Power Off the Device: Before initiating any disassembly, ensure that your Xperia Z is powered off to prevent any potential electrical hazards during the repair process.
-
Locate the Notch: Positioned on the left-hand side of the device, near the middle, you'll find a small notch. This notch serves as the entry point for prying off the back cover.
-
Utilize a Plastic Opening Tool: Gently insert a plastic opening tool into the notch, ensuring that it is securely positioned. Exercise caution to avoid applying excessive force, as this may cause damage to the back cover or the device's internal components.
-
Pry Open the Cover: With the opening tool in place, carefully apply pressure to pry open the back cover. Gradually work your way around the edges, using additional plastic opening tools as needed to prevent the cover from snapping back into place.
-
Lift Off the Back Cover: Once the back cover is loosened from the device's frame, lift it off slowly, taking care not to snag it on any internal components or connectors.
-
Set Aside the Cover: Place the removed back cover in a safe and clean location, ensuring that it remains free from dust or debris that could compromise its integrity.
By following these meticulous steps, you'll successfully remove the back cover of your Xperia Z, paving the way for the subsequent stages of the screen replacement process. With the back cover safely detached, you're now ready to proceed to the next phase of this DIY repair endeavor.
Now that the back cover has been expertly removed, let's delve into the intricate process of extracting the old screen from your Xperia Z. This pivotal stage will set the foundation for seamlessly installing the new screen and revitalizing your device.
Step 2: Removing the Old Screen
With the back cover successfully removed, the next critical phase in the Xperia Z screen replacement process involves delicately extracting the old screen from the device's frame. This step demands precision and care to avoid causing any damage to the internal components or the new screen. Here's a comprehensive guide on how to expertly remove the old screen from your Xperia Z:
-
Disconnect the Battery: Before proceeding with the screen removal, it's imperative to disconnect the battery to eliminate any risk of electrical mishaps. Using a plastic opening tool, carefully detach the battery connector from the device's motherboard.
-
Heat the Edges: To soften the adhesive securing the old screen, gently warm the edges of the device using a heat gun or hair dryer. This process helps loosen the adhesive, making it easier to detach the screen without causing damage.
-
Utilize a Suction Cup: Once the adhesive is sufficiently warmed, affix a reliable suction cup to the surface of the old screen. Ensure that the suction cup is securely attached to facilitate a controlled and safe removal process.
-
Carefully Lift the Screen: With the suction cup in place, exert gentle and consistent upward pressure to lift the old screen from the Xperia Z's frame. Exercise caution to avoid applying excessive force, as this may lead to unintended damage to the screen or the device's internal components.
-
Insert a Spudger or Opening Pick: As the screen begins to lift, carefully insert a spudger or opening pick between the frame and the old screen. Gradually work your way around the edges, gently separating the adhesive to facilitate the screen removal process.
-
Detach the Screen Connectors: As the old screen loosens from the frame, locate and carefully detach any connectors or ribbons securing the screen to the device. Exercise patience and precision to avoid causing any damage to the connectors or the motherboard.
-
Remove the Old Screen: Once all connectors are detached and the adhesive is sufficiently loosened, lift the old screen away from the device's frame, ensuring a smooth and controlled removal process.
By meticulously following these detailed steps, you'll expertly remove the old screen from your Xperia Z, setting the stage for seamlessly installing the new screen and rejuvenating your device. With the old screen safely detached, you're now prepared to embark on the next phase of this DIY repair journey.
Step 3: Installing the New Screen
With the old screen successfully removed, it's time to embark on the pivotal phase of installing the new screen on your Xperia Z. This step requires precision, patience, and attention to detail to ensure a seamless and secure fit for the replacement screen. Here's a comprehensive guide on how to expertly install the new screen and breathe new life into your device:
-
Prepare the Device Frame: Before proceeding with the installation, meticulously clean the device's frame using isopropyl alcohol and a microfiber cloth. Ensure that all residual adhesive and debris are removed, creating a pristine surface for the new screen to adhere to.
-
Connect the Screen: Carefully align the connectors on the new screen with the corresponding ports on the device's motherboard. Exercise caution and precision to avoid damaging the connectors during the reattachment process.
-
Secure the Screen: Once the connectors are aligned and in place, gently press down on the new screen to ensure a secure connection. Take care to avoid applying excessive force, as this may lead to unintended damage to the connectors or the screen itself.
-
Apply Adhesive: Depending on the type of replacement screen, apply the appropriate adhesive strips or liquid adhesive to the edges of the device's frame. Ensure that the adhesive is evenly distributed to facilitate a secure bond between the new screen and the frame.
-
Position the New Screen: With the adhesive in place, carefully position the new screen onto the device's frame, ensuring that it aligns perfectly with the edges. Exercise patience and precision to achieve a seamless fit, minimizing any potential misalignment or air gaps.
-
Secure the Screen in Place: Once the new screen is positioned, apply gentle and consistent pressure along the edges to secure it to the device's frame. Take care to maintain even pressure to ensure a uniform and secure bond between the screen and the frame.
-
Reconnect the Battery: After the new screen is securely in place, reattach the battery connector to the device's motherboard. Ensure that the connection is secure and stable to restore power to the device.
By meticulously following these detailed steps, you'll expertly install the new screen on your Xperia Z, ushering in a revitalized and enhanced visual experience. With the new screen seamlessly integrated into your device, you're now ready to proceed to the final phase of this DIY repair endeavor.
Let's move forward and explore the crucial process of reattaching the back cover to complete the screen replacement journey and unveil the transformed Xperia Z in all its glory.
Step 4: Reattaching the Back Cover
With the new screen seamlessly installed and the internal components carefully reconnected, the final phase of the Xperia Z screen replacement process involves delicately reattaching the back cover to restore the device to its original form. This pivotal step requires precision and attention to detail to ensure a secure and seamless fit for the back cover. Here's a comprehensive guide on how to expertly reattach the back cover and complete the screen replacement journey:
-
Position the Back Cover: Align the back cover with the device's frame, ensuring that it fits snugly and aligns perfectly with the edges. Take care to position the cover accurately to minimize any potential misalignment.
-
Apply Even Pressure: Once the back cover is positioned, apply gentle and consistent pressure along the edges to secure it to the device's frame. Ensure that the cover sits flush with the device, creating a seamless and uniform exterior.
-
Check for Secure Fit: After applying pressure, carefully inspect the edges and corners of the device to ensure that the back cover is securely in place. Verify that there are no gaps or uneven areas, indicating a secure and stable attachment.
-
Reconnect the Battery (if disconnected): If the battery was disconnected during the screen replacement process, reattach the battery connector to the device's motherboard. Ensure that the connection is secure and stable to restore power to the device.
-
Power On the Device: Once the back cover is securely reattached and all internal components are in place, power on your Xperia Z to verify that the new screen functions flawlessly. Test the touch responsiveness and display quality to confirm the successful installation of the replacement screen.
By meticulously following these detailed steps, you'll expertly reattach the back cover of your Xperia Z, completing the screen replacement journey with finesse and precision. With the back cover seamlessly integrated and the device powered on, you can revel in the satisfaction of successfully rejuvenating your Xperia Z and restoring its visual appeal and functionality.
Now that the screen replacement journey is complete, take a moment to admire your handiwork and appreciate the newfound vibrancy of your Xperia Z's display. With the skills and knowledge gained from this DIY repair endeavor, you've not only saved money but also gained a deeper understanding of your device's inner workings. Embrace the sense of accomplishment and empowerment that comes with mastering the art of screen replacement, and continue to explore the world of mobile device maintenance and customization with confidence and enthusiasm.
Conclusion
Congratulations on successfully completing the screen replacement journey for your Xperia Z! By meticulously following each step of this comprehensive guide, you've not only revitalized your device but also gained valuable insights into its intricate design and functionality. As you reflect on this DIY repair endeavor, it's essential to acknowledge the sense of accomplishment and empowerment that accompanies mastering the art of screen replacement.
Through this hands-on experience, you've transcended the realm of a typical smartphone user and delved into the realm of device maintenance and customization. The skills and knowledge acquired during this process have equipped you with the confidence to tackle future repair challenges and explore the world of mobile device enhancement with enthusiasm and assurance.
As you power on your Xperia Z and behold the vibrant display of the new screen, take pride in the fact that you've not only saved money but also nurtured a deeper connection with your device. The journey from removing the back cover to delicately installing the replacement screen has fostered a profound appreciation for the craftsmanship and engineering behind the Xperia Z.
Moving forward, you now possess the expertise to navigate the intricate internals of your device, paving the way for future customization and maintenance endeavors. Whether it's replacing a battery, upgrading components, or personalizing the aesthetics of your Xperia Z, you're now equipped with the skills and confidence to embark on diverse repair and enhancement projects.
Embrace this newfound knowledge and expertise as you continue to explore the dynamic world of mobile devices. Your Xperia Z stands as a testament to your dedication and resourcefulness, embodying the potential for continual evolution and personalization.
As you revel in the seamless functionality and visual allure of your rejuvenated Xperia Z, remember that you've not only repaired a device but also embarked on a transformative journey of skill acquisition and self-empowerment. Let this experience serve as a testament to your ability to conquer challenges and emerge victorious, infusing every interaction with your Xperia Z with a profound sense of pride and accomplishment.
With the completion of this screen replacement journey, you've unlocked a world of possibilities and embarked on a path of continual learning and mastery. Embrace the confidence and expertise you've gained, and let your Xperia Z stand as a testament to your ingenuity and determination.