Introduction
Welcome to our guide on how to transfer money from Facebook Pay to Cash App. In this digital age, online payment platforms have made it easier than ever to send and receive money with just a few clicks. Facebook Pay and Cash App are two popular options that offer convenience and security when it comes to managing your transactions.
Facebook Pay is a feature within the Facebook app that allows you to securely send and receive money to friends and family, make purchases, and donate to causes. On the other hand, Cash App is a widely used mobile payment service that enables users to send and receive money, make purchases, and invest in stocks and cryptocurrency.
While both platforms offer their own unique features, there may be occasions when you want to transfer funds from your Facebook Pay account to your Cash App account. Whether you need to split a bill, repay a friend, or simply move money between these two platforms, this guide will walk you through the process step by step.
Before we delve into the details, it’s important to note that to transfer money from Facebook Pay to Cash App, you need to have your bank account linked to both platforms. This ensures secure and seamless transfers between the two wallets.
Now that you have an understanding of what Facebook Pay and Cash App offer, let’s proceed with the necessary steps to set up Facebook Pay and connect it to your Cash App account. From there, we’ll show you how to transfer funds between the two platforms, making it easy for you to manage your finances and make payments hassle-free.
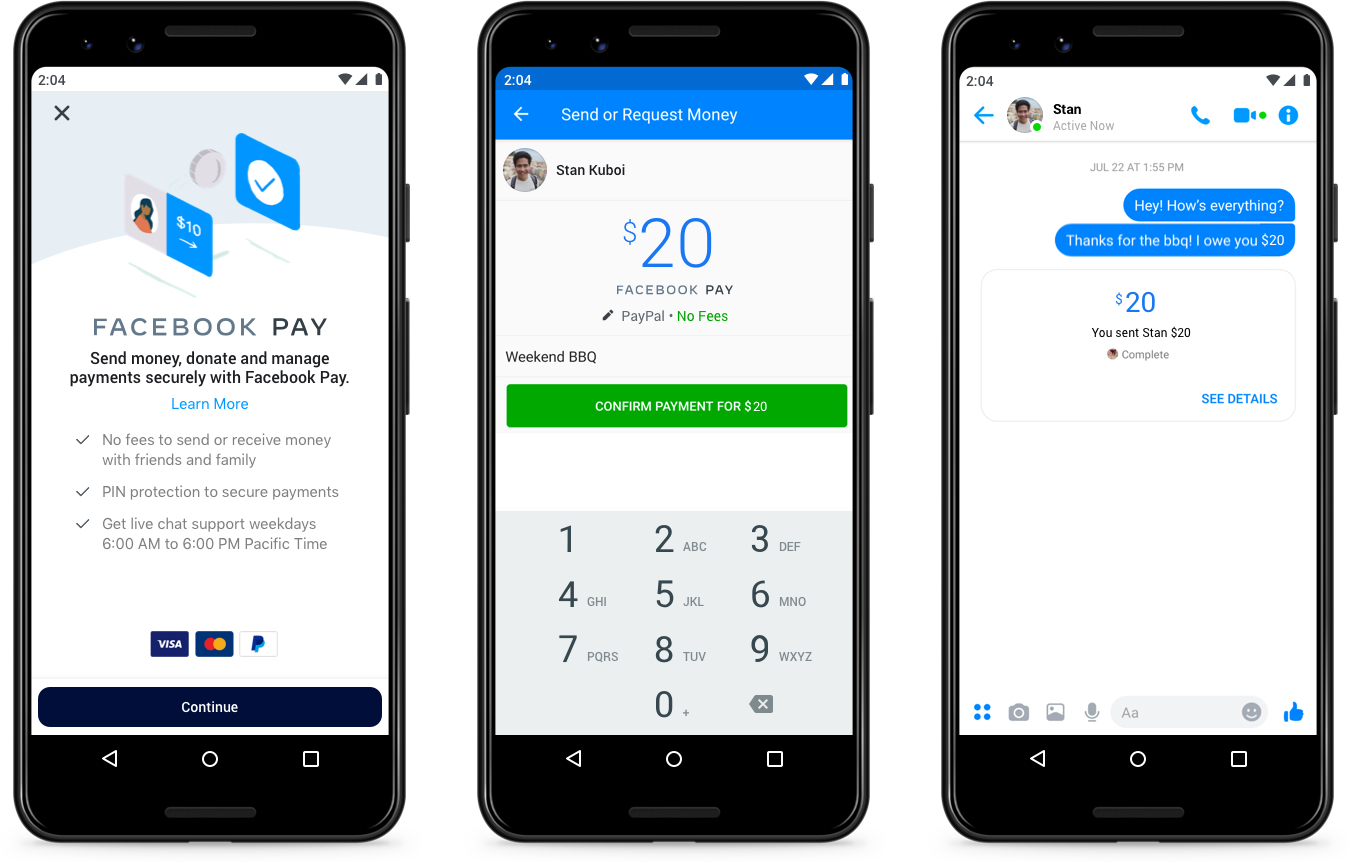
Setting up Facebook Pay
Before you can transfer money from Facebook Pay to Cash App, you need to set up and activate your Facebook Pay account. Follow these steps to get started:
- Open the Facebook app on your mobile device and navigate to the settings menu.
- Scroll down and select “Facebook Pay” from the list of options. If you do not see this option, it may not be available in your region, or you may need to update your Facebook app.
- Tap on “Set Up Facebook Pay” and enter your payment card information. You can choose to add a debit card, credit card, or both, depending on your preference.
- Once your card(s) are added, you will need to set up a personal identification number (PIN) for security purposes. This PIN will be required whenever you make a transaction using Facebook Pay.
- Review the transaction terms and conditions and tap “Agree” to proceed.
- Your Facebook Pay account is now set up and ready to use. You can send and receive money, make purchases, and donate to causes through this feature in the Facebook app.
It is important to note that Facebook Pay is currently only available for personal use and is not intended for business transactions. Additionally, ensure that you link a valid payment card to your Facebook Pay account to facilitate the transfer of funds.
Now that you have successfully set up Facebook Pay, the next step is to link your bank account to the platform. This will allow you to add funds to your Facebook Pay balance and transfer them to your Cash App account seamlessly.
Adding your bank account to Facebook Pay
In order to transfer money from Facebook Pay to Cash App, you’ll need to link your bank account to your Facebook Pay profile. Follow the steps below to add your bank account:
- Open the Facebook app on your mobile device and navigate to the settings menu.
- Scroll down and select “Facebook Pay” from the list of options.
- Tap on the “Settings” gear icon in the top right corner of the screen.
- Select “Payment Accounts” and then click on “Add Bank Account.”
- Choose your bank from the list of provided options. If your bank is not listed, you can manually enter the routing and account numbers for your bank account.
- Follow the prompts to authenticate and verify your bank account. This may involve entering a one-time passcode or logging in to your online banking portal.
- Once your bank account is verified, it will be added to your Facebook Pay profile.
By adding your bank account to Facebook Pay, you can easily transfer funds from your bank to your Facebook Pay balance. This will ensure that you have sufficient funds available for transferring to your Cash App account.
Note: Before linking your bank account, ensure that you have a compatible bank that supports transfers to and from Facebook Pay. Some banks may have certain restrictions or additional security measures you need to fulfill.
Now that you’ve successfully linked your bank account to Facebook Pay, you can proceed to the next step of adding funds to your Facebook Pay balance.
Adding funds to your Facebook Pay balance
In order to transfer money from Facebook Pay to Cash App, you’ll need to have funds available in your Facebook Pay balance. Follow these steps to add funds to your Facebook Pay account:
- Open the Facebook app on your mobile device and navigate to the settings menu.
- Scroll down and select “Facebook Pay” from the list of options.
- Tap on the “Add Money” option.
- Enter the amount you wish to add to your Facebook Pay balance. You can choose to enter a specific amount or select from predefined options.
- Select your linked bank account from the available options. If you haven’t linked a bank account yet, follow the steps mentioned earlier to add your bank account to Facebook Pay.
- Review the transaction details, including the amount and the source account, and confirm the transaction to add the funds to your Facebook Pay balance.
- Once the transaction is processed successfully, the funds will be added to your Facebook Pay balance, which you can then use for various transactions, including transferring money to Cash App.
Adding funds to your Facebook Pay balance ensures that you have sufficient funds to transfer to your Cash App account. It is important to note that there may be certain limits and fees associated with adding funds to your Facebook Pay account, depending on the payment method and your location.
Now that you have funds available in your Facebook Pay balance, you can proceed to connect your Cash App account to Facebook Pay and initiate the transfer of money between the two platforms.
Connecting your Cash App account to Facebook Pay
Before you can transfer money from Facebook Pay to Cash App, you’ll need to connect your Cash App account to Facebook Pay. Follow the steps below to link the two platforms:
- Open the Facebook app on your mobile device and navigate to the settings menu.
- Scroll down and select “Facebook Pay” from the list of options.
- Tap on the “Connect to Cash App” option.
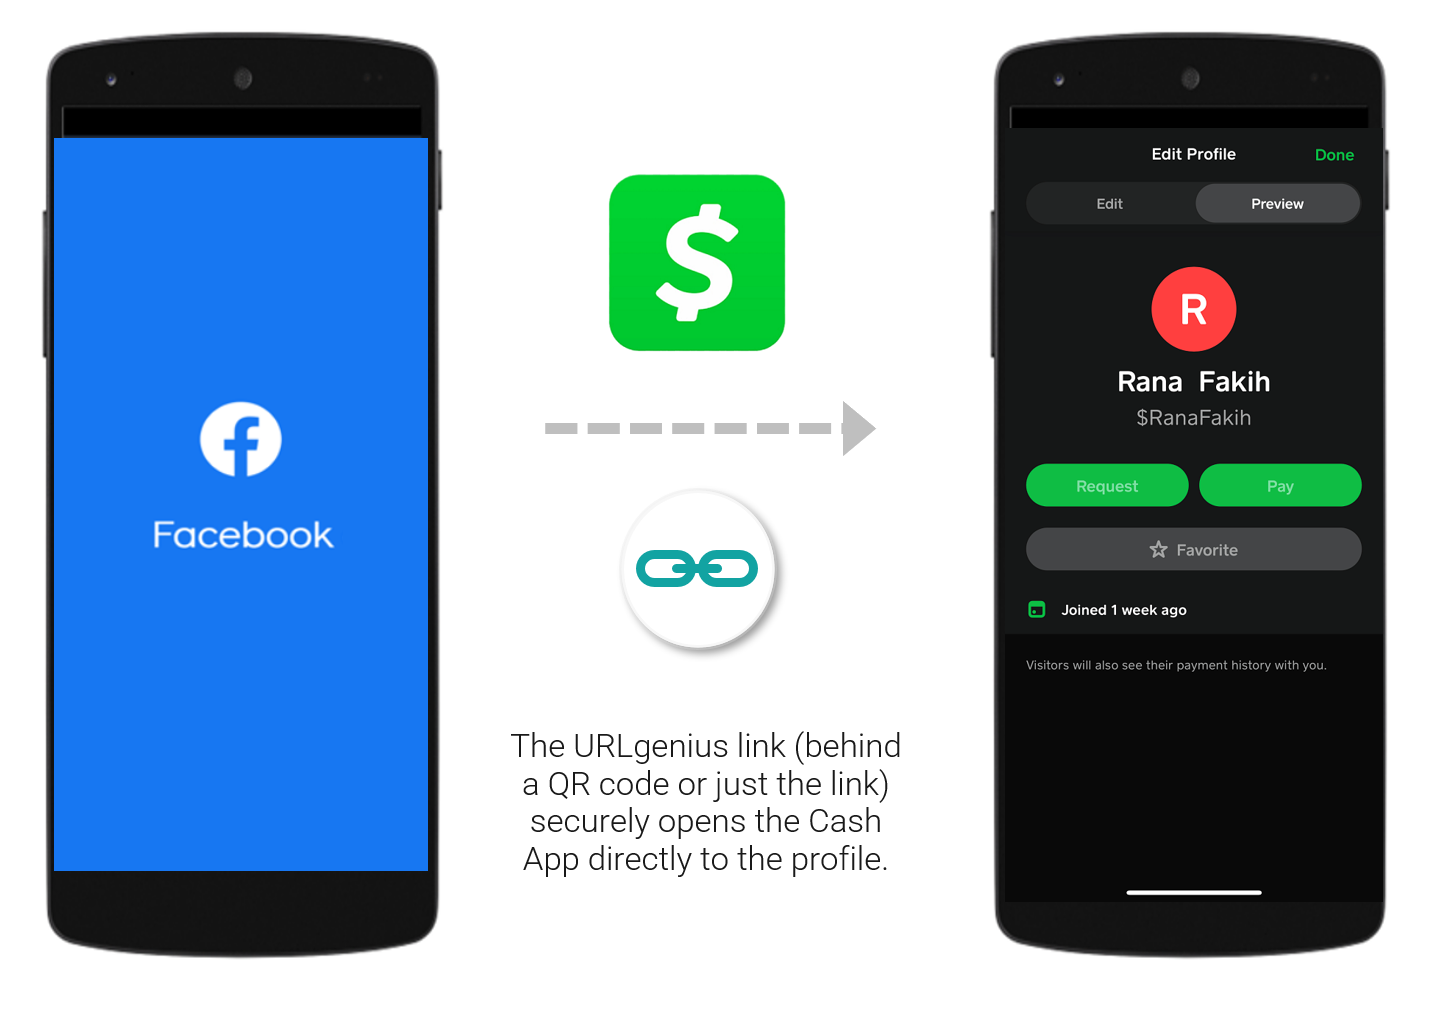
- You will be redirected to the Cash App login page. Enter your Cash App account credentials to log in.
- Once logged in, you’ll be prompted to grant permission for Facebook Pay to access your Cash App account. Review the permissions and tap on “Agree” to proceed.
- Your Cash App account is now connected to Facebook Pay. This allows for seamless transfers of funds between the two platforms.
By linking your Cash App account to Facebook Pay, you can easily transfer money from your Facebook Pay balance to your Cash App account and vice versa. This offers flexibility in managing your finances and facilitates quick and convenient transactions.
If you don’t have a Cash App account, you can download the app from your device’s app store and sign up for an account. Once you have a Cash App account, you can follow the steps above to connect it to Facebook Pay.
Now that your Cash App account is successfully linked to Facebook Pay, you’re ready to proceed with transferring money from your Facebook Pay balance to your Cash App account.
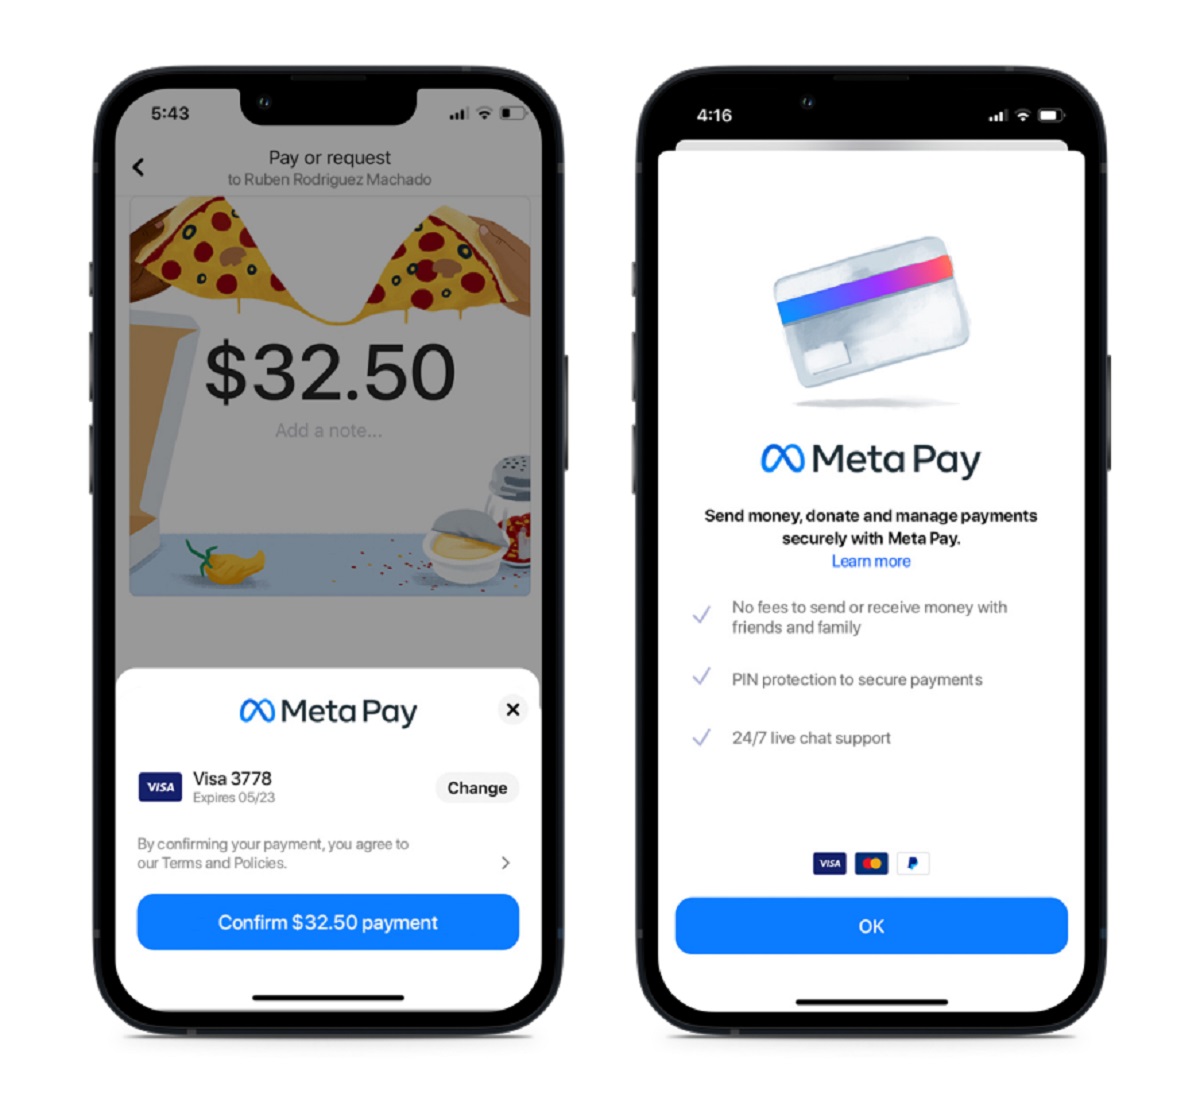
Transferring Money from Facebook Pay to Cash App
Now that you have set up and connected your Facebook Pay and Cash App accounts, you can easily transfer money between the two platforms. Follow these steps to transfer funds from your Facebook Pay balance to your Cash App account:
- Open the Facebook app on your mobile device and navigate to the settings menu.
- Scroll down and select “Facebook Pay” from the list of options.
- Tap on the “Send Money” option.
- Enter the recipient’s Cash App tag or the email/phone number associated with their Cash App account. If you’re transferring money to your own Cash App account, you can enter your own details.
- Choose the amount you want to transfer from your Facebook Pay balance to your Cash App account.
- Review the transaction details and tap on “Send” to initiate the transfer. You may be prompted to enter your Facebook Pay PIN or authenticate the transaction using your biometric data, depending on your device settings.
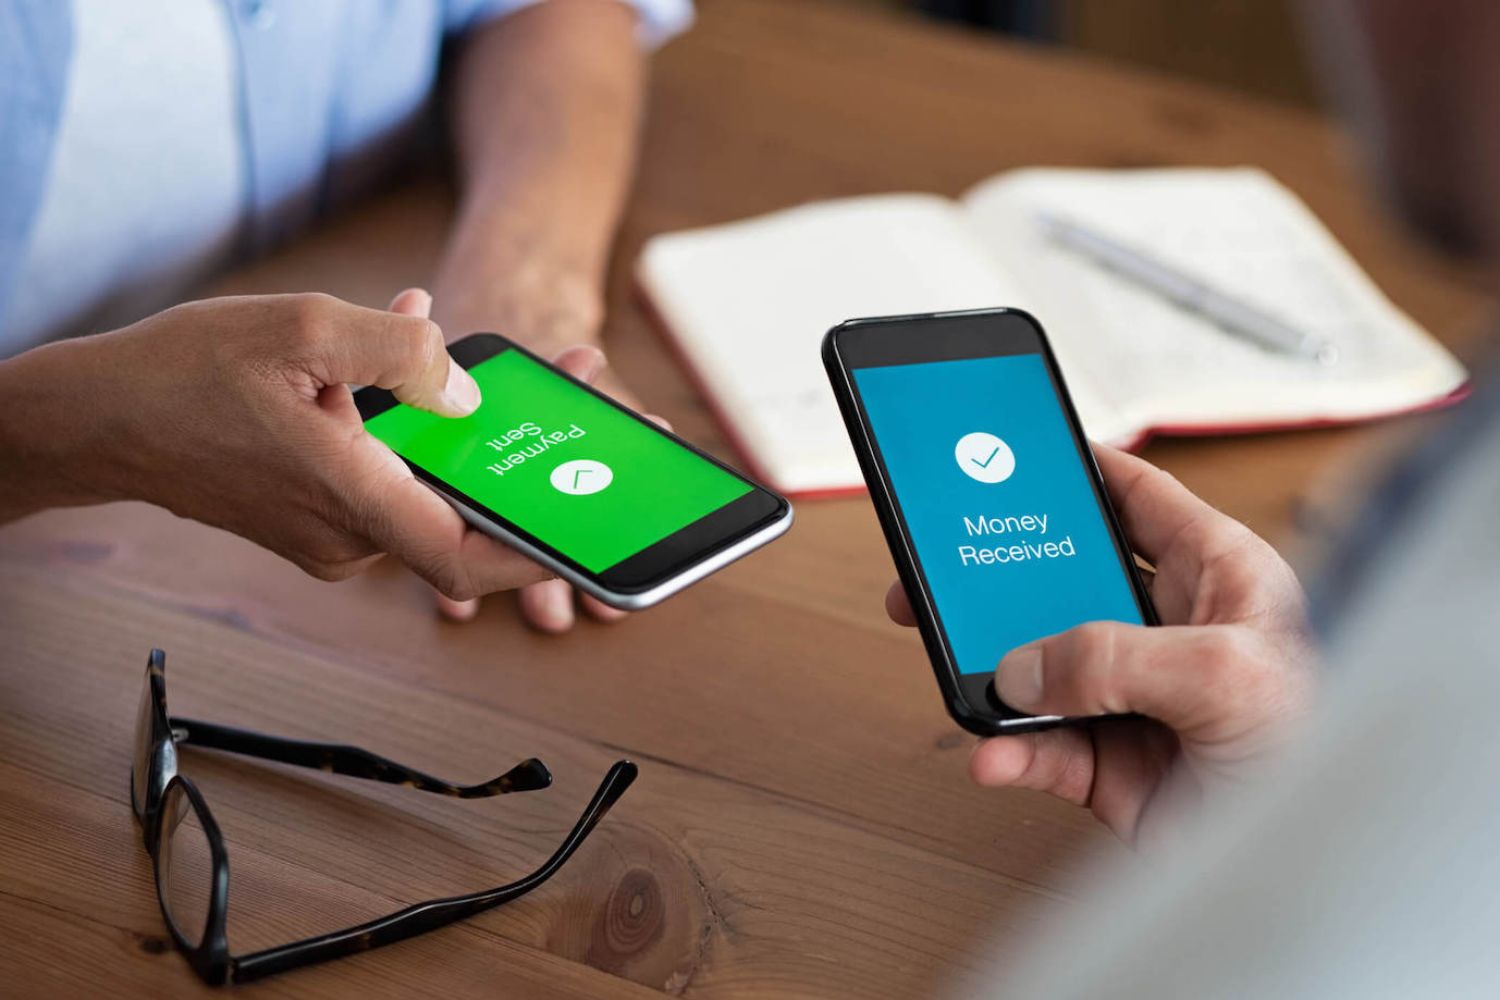
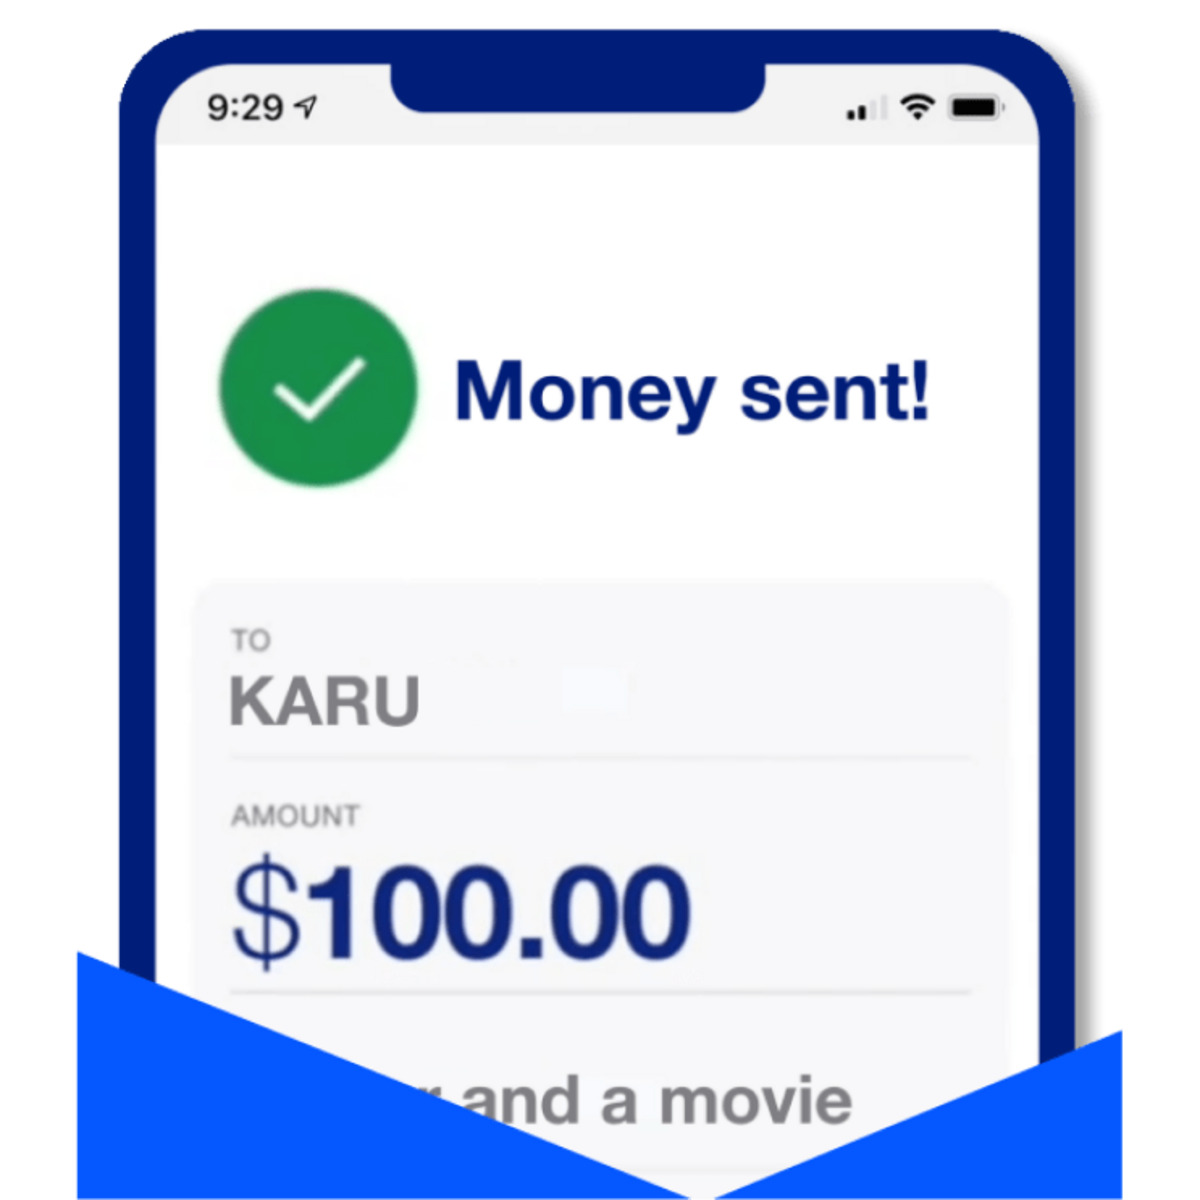
- Once the transfer is complete, the funds will be transferred from your Facebook Pay balance to your Cash App account. You can then use these funds within the Cash App ecosystem for various transactions or transfer them to your linked bank account if desired.
It’s important to note that there may be certain transfer limits and fees associated with transferring money from Facebook Pay to Cash App. These limits and fees can vary based on factors such as your location, account status, and the specific terms and conditions of both platforms.
Additionally, make sure that the recipient’s Cash App account details are entered correctly to ensure the funds are transferred to the intended recipient.
Now that you’ve successfully transferred money from your Facebook Pay balance to your Cash App account, you can utilize the funds for various transactions within the Cash App ecosystem or transfer them to your linked bank account.
Potential Issues and Troubleshooting
While transferring money from Facebook Pay to Cash App is generally a straightforward process, there may be some potential issues that you could encounter. Here are some common problems you may face and troubleshooting steps to help resolve them:
- Incorrect recipient details: Double-check the Cash App tag, email, or phone number you entered when initiating the transfer. Ensure that the information is accurate to avoid sending funds to the wrong recipient.
- Insufficient funds in your Facebook Pay balance: If you don’t have enough funds in your Facebook Pay balance to complete the transfer, you’ll need to add funds to your balance before initiating the transfer.
- Transaction limits: Both Facebook Pay and Cash App may have daily, weekly, or monthly transaction limits. If you exceed these limits, you won’t be able to transfer the desired amount. Check the limits for both platforms and consider splitting larger transfers into multiple transactions.
- Bank connection issues: If you encounter problems connecting your bank account to Facebook Pay, ensure that you have entered the correct account information and that your bank supports transfers to Facebook Pay.
- App updates: Make sure you have the latest version of both the Facebook app and the Cash App installed on your device. Outdated versions may cause compatibility issues or lack certain features needed for the transfer.
- Payment card issues: If you’re using a payment card to add funds to your Facebook Pay balance, ensure that the card is valid, not expired, and has sufficient funds available for the transaction.
- Slow transaction processing: In some cases, transfers from Facebook Pay to Cash App may take longer than expected due to various factors, such as network connectivity or server issues. If the transfer is delayed, be patient and monitor the transaction in your transaction history.
If you encounter persistent issues or have specific questions regarding the transfer process, it’s recommended to reach out to the customer support teams of both Facebook Pay and Cash App. They can provide further assistance and guidance tailored to your particular situation.
By being aware of these potential issues and following the troubleshooting steps, you can ensure smoother transfers between Facebook Pay and Cash App.
Conclusion
Transferring money from Facebook Pay to Cash App is a convenient and efficient way to manage your finances and make transactions seamlessly between the two platforms. By following the steps outlined in this guide, you can successfully set up Facebook Pay, link your bank account, add funds to your Facebook Pay balance, connect your Cash App account, and transfer money between the two platforms.
It’s important to remember that you need to have both your bank account linked to Facebook Pay and your Cash App account connected to Facebook Pay before initiating the transfer. This ensures that your funds can flow smoothly between the two platforms, allowing you to make use of the various features and benefits each platform offers.
Throughout the process, be mindful of any potential issues that may arise, such as incorrect recipient details, insufficient funds, transaction limits, bank connection issues, or app updates. By addressing these issues through careful troubleshooting, you can overcome any obstacles you may encounter along the way.
While this guide has provided you with a comprehensive overview of transferring money from Facebook Pay to Cash App, it’s always a good idea to consult the official documentation and customer support of both platforms for any specific concerns or inquiries you may have.
With the knowledge and steps outlined in this guide, you are now equipped to confidently transfer money from your Facebook Pay balance to your Cash App account. Enjoy the convenience and flexibility as you manage your finances and make transactions with ease!