Introduction
Welcome to our guide on how to remove a card from Facebook Pay. Facebook Pay is a convenient and secure way to make payments and purchases within the Facebook platform. However, there may come a time when you need to remove a card from your Facebook Pay account. Whether you want to switch to a different card or you no longer wish to use Facebook Pay, we’ve got you covered.
In this article, we will walk you through five different methods to remove a card from Facebook Pay. You can choose the method that best suits your needs and preferences. Whether you are using the Facebook app on your mobile device or accessing Facebook Pay through the desktop version, we will provide step-by-step instructions to help you successfully remove your card.
It is important to note that when you remove a card from Facebook Pay, it will no longer be associated with your account. This means you won’t be able to use it for future purchases or payments within Facebook. However, if you wish to add the card back at a later time, you can easily do so following the same steps in reverse.
Now, let’s dive into the different methods you can use to remove a card from Facebook Pay. Whether you’re a tech-savvy individual or new to the platform, we’ve got you covered with easy-to-follow instructions. Choose the method that aligns with your device and preferences, and let’s get started!
Method 1: Removing a Card through Facebook Pay Settings
If you prefer accessing Facebook Pay settings directly, this method is for you. Here’s how you can remove a card from Facebook Pay using the platform’s settings:
- Open the Facebook app on your mobile device and log in to your account.
- In the navigation menu, tap on the three horizontal lines in the bottom-right corner to open the menu options.
- Scroll down and tap on “Settings & Privacy” to expand the options.
- Tap on “Settings” to access your account settings.
- In the settings menu, scroll down and tap on “Facebook Pay” under the “Payment Settings” section.
- On the Facebook Pay screen, you will see the cards linked to your account. Tap on the card that you want to remove.
- A confirmation pop-up will appear, asking if you want to remove the card. Tap on “Remove Card” to proceed.
- Facebook will ask you to confirm your decision. Tap on “Remove” to complete the process.
And that’s it! The card you selected will now be removed from your Facebook Pay account. You will no longer be able to use it for payments or purchases within Facebook. If you change your mind later, you can always add the card back using the same process in reverse.
Keep in mind that removing a card from Facebook Pay does not remove it from your actual financial institution. If you want to completely remove the card from your Facebook account, make sure to contact your bank or card issuer separately.
Method 2: Removing a Card through Facebook App Settings
If you prefer accessing your Facebook settings directly through the app, you can remove a card from Facebook Pay using the following steps:
- Open the Facebook app on your mobile device and log in to your account.
- Tap on the three horizontal lines in the bottom-right corner to open the menu options.
- Scroll down and tap on “Settings & Privacy” to expand the options.
- Select “Settings” to access your account settings.
- Scroll down further and tap on “Pay” under the “Your Facebook Information” section.
- On the following screen, tap on the “Edit” button next to the card you want to remove.
- A confirmation prompt will appear asking if you want to remove the card. Tap on “Remove Card” to proceed.
- Confirm your decision by tapping on “Remove” again.
That’s it! The card you selected will now be removed from your Facebook Pay account. Please note that removing the card from Facebook Pay does not delete it from your bank or financial institution. If you want to completely remove the card, make sure to contact your bank or issuer separately.
Remember, you can always add a card back to your Facebook Pay account at any time by following the same steps in reverse.
Now that you know how to remove a card from Facebook Pay through the app settings, let’s explore another method to give you more flexibility in managing your payment options.
Method 3: Removing a Card through Facebook Messenger Settings
If you prefer using Facebook Messenger to access your account settings, you can also remove a card from Facebook Pay through the Messenger app. Here’s how:
- Launch the Facebook Messenger app on your mobile device and log in to your account.
- Tap on your profile picture in the top-left corner to open the settings menu.
- Scroll down and tap on “Facebook Pay” under the “Payments” section.
- On the Facebook Pay screen, you will see the cards linked to your account. Tap on the card you wish to remove.
- Tap on the menu icon (three dots) in the top-right corner of the card.
- A dropdown menu will appear. Tap on “Remove Card” to proceed.
- A confirmation dialog will appear, asking if you want to remove the card. Tap on “Remove” to confirm.
Great! You have successfully removed the selected card from your Facebook Pay account using Facebook Messenger. Please note that removing the card from Facebook Pay does not delete it from your actual financial institution. If you want to completely remove the card, be sure to contact your bank or card issuer separately.
Remember, if you change your mind or want to add the card back later, you can simply follow the same steps in reverse to link it again to your Facebook Pay account.
Now that you know how to remove a card through Facebook Messenger settings, let’s explore another method that allows you to remove a card using the desktop version of Facebook Pay.
Method 4: Removing a Card through Facebook Pay on Desktop
If you prefer using Facebook Pay on your desktop or laptop, you can remove a card from your account by following these steps:
- Open a web browser on your computer and navigate to www.facebook.com.
- Log in to your Facebook account using your credentials.
- Click on the small arrow in the top-right corner of the Facebook homepage to open a dropdown menu.
- From the dropdown menu, select “Settings & Privacy” and then click on “Settings”.
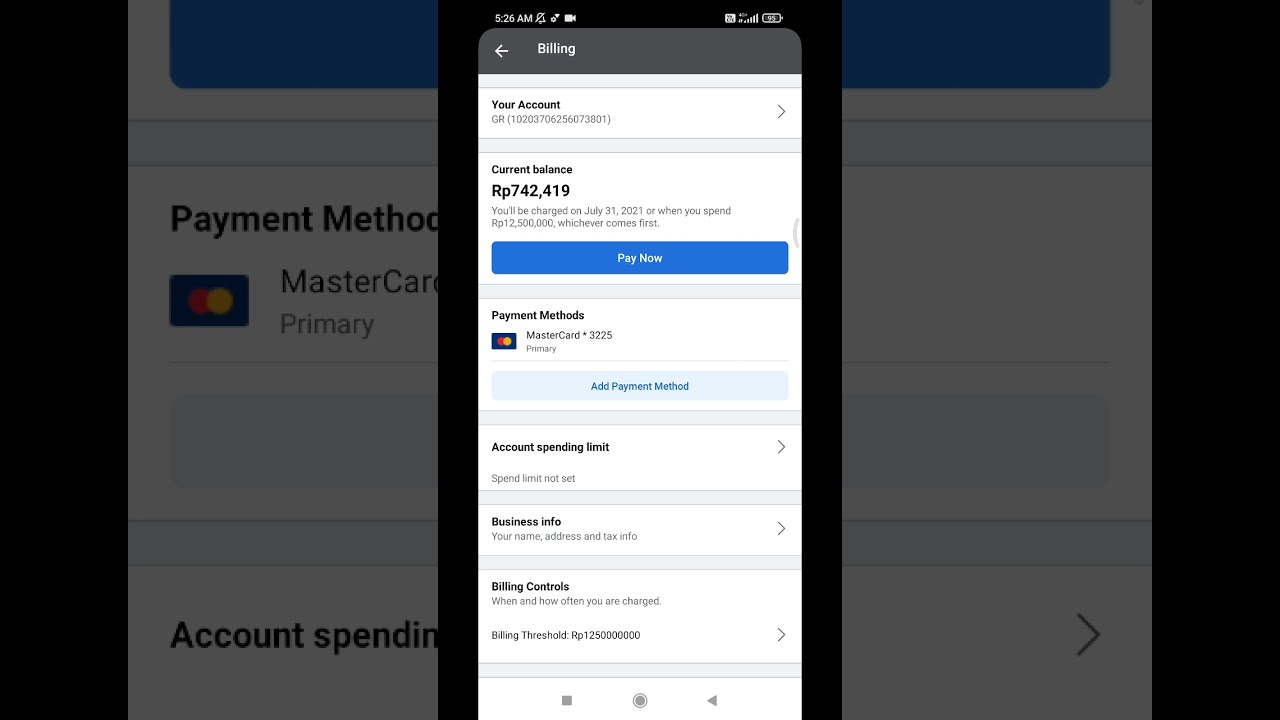
- In the left-hand menu, click on “Payments” to access your payment settings.
- On the Payments settings page, you will see the payment methods associated with your account. Find the card you want to remove and click on the “Remove” button next to it.
- A confirmation pop-up will appear, asking if you want to remove the card. Click on “Remove” to confirm.
- After confirming, the selected card will be removed from your Facebook Pay account.
Well done! You have successfully removed the selected card from Facebook Pay using the desktop version of Facebook. It’s important to note that removing the card from Facebook Pay does not delete it from your bank or financial institution. If you want to completely remove the card, make sure to contact your bank or card issuer separately.
If you decide to re-link the card at a later time, you can easily do so by following the same steps and adding the card information again.
Now that you know how to remove a card through Facebook Pay on desktop, let’s explore another method that involves seeking assistance from Facebook Pay customer support.
Method 5: Removing a Card through Facebook Pay Customer Support
If you’re encountering difficulties or facing specific issues while trying to remove a card from Facebook Pay, you can reach out to Facebook Pay customer support for assistance. Here’s how:
- Open a web browser on your computer or mobile device and go to the Facebook Pay Help Center.
- On the Help Center page, you will find various topics and FAQs related to Facebook Pay. Scroll down and click on the “Contact us” button at the bottom of the page.
- A form will appear, prompting you to provide details about your issue. Select the appropriate topic and describe your problem, mentioning that you want to remove a card from your Facebook Pay account.
- Once you have filled in the information, click on the “Submit” or “Send” button to send your request to Facebook Pay customer support.
- Wait for a response from Facebook Pay customer support. They will review your request and provide you with further instructions on how to proceed with removing the card.
By contacting Facebook Pay customer support, you can receive personalized assistance and guidance tailored to your specific situation. They will help you resolve any issues you may encounter during the card removal process.
Remember to provide clear and concise information in your request to help Facebook Pay customer support assist you more effectively. Be patient while waiting for a response, as it may take some time for them to review and address your inquiry.
Now that you know how to seek help from Facebook Pay customer support, you have a comprehensive set of methods to remove a card from Facebook Pay. Choose the method that aligns with your preferences and device, and successfully manage your payment options on the platform.
Conclusion
Removing a card from Facebook Pay is a simple process that can be done through various methods. Whether you prefer accessing Facebook Pay settings directly, using the Facebook app, Facebook Messenger, or the desktop version of Facebook, we have provided step-by-step instructions to guide you through the removal process.
Remember, when you remove a card from Facebook Pay, it will no longer be associated with your account and cannot be used for future purchases or payments within the platform. However, if you change your mind or want to add the card back at a later time, you can easily do so by following the same steps in reverse.
While removing a card from Facebook Pay only removes it from your account within the platform, it is important to note that it does not delete the card from your actual financial institution. If you want to completely remove the card, be sure to contact your bank or card issuer separately.
If you encounter any difficulties or specific issues during the card removal process, don’t hesitate to reach out to Facebook Pay customer support. They are there to assist you and provide personalized guidance to resolve any problems you may face.
We hope this guide has been helpful in showing you how to remove a card from Facebook Pay. By managing your payment options effectively, you can have better control over your transactions while using the Facebook platform. Choose the method that suits you best and enjoy a convenient and secure payment experience!