Introduction
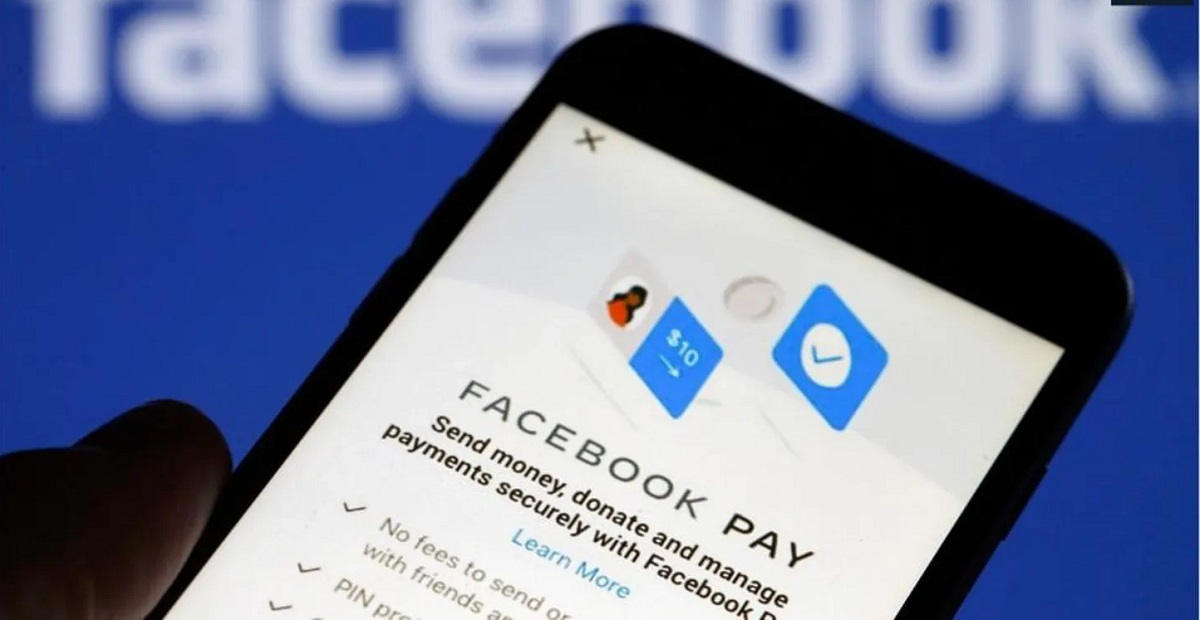
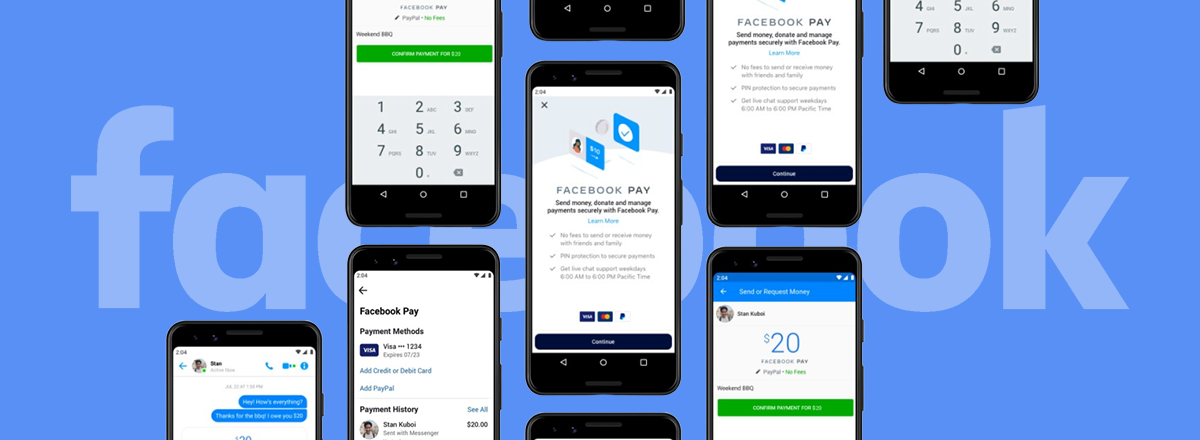
Facebook Pay is a convenient and secure way to make payments and send money to friends and businesses within the Facebook app. If you want to change your card on Facebook Pay, whether it’s because your current card expired or you simply want to use a different one, you’re in the right place. In this guide, we’ll walk you through the steps to change your card on Facebook Pay effortlessly. With just a few clicks, you’ll have your new card linked to your Facebook Pay account.
Having your preferred card linked to Facebook Pay ensures a seamless payment experience, allowing you to make purchases, donate to fundraisers, and send money without any hassle. Whether you’re using Facebook Pay to shop on the platform’s marketplace, send money to a friend, or support a cause, having the correct card details is crucial.
Facebook Pay provides a secure platform to handle your payment information and ensures the privacy of your financial data. By allowing you to have control over your card details, it enhances your online payment experience and allows you to manage your transactions more effectively. So, let’s dive into the step-by-step guide and easily change your card on Facebook Pay.
Step 1: Accessing Facebook Pay settings
To change your card on Facebook Pay, you’ll first need to access the settings for this feature. Follow these simple steps to get started:
- Open the Facebook app on your mobile device and log in to your account.
- Navigate to the menu by tapping on the three horizontal lines in the upper-right corner of the screen.
- Scroll down and select “Settings & Privacy.”
- In the dropdown menu, tap on “Settings.”
- Scroll down and select “Facebook Pay” from the list of available options.
Once you’ve reached the Facebook Pay settings, you’re one step closer to changing your card details. Stay with us as we move on to the next step and guide you through the process of removing your existing card.
Step 2: Removing existing card
Before adding a new card to Facebook Pay, you’ll need to remove the existing card associated with your account. Follow these steps to remove your current card:
- Once you’re on the Facebook Pay settings page, you should see the card that is currently linked to your account.
- Tap on the card to select it and view the details.
- Scroll down and select “Remove Card” or a similar option, depending on your device.
- You may be prompted to confirm the removal. If so, confirm your choice and proceed.
- Once the card is successfully removed, you’ll receive a confirmation message.
Removing the existing card makes way for adding your new card to Facebook Pay. Now, let’s move on to the next step and guide you through the process of adding a new card to your account.
Step 3: Adding a new card
Now that you’ve successfully removed the existing card from Facebook Pay, it’s time to add a new card to your account. Follow these steps to add a new card:
- On the Facebook Pay settings page, tap on the “Add a New Card” or similar option.
- A form will appear where you can enter your new card details.
- Start by selecting your card type (Visa, Mastercard, etc.) from the options provided.
- Enter the card number, expiration date, and CVV (security code) of your new card.
- If applicable, enter your name as it appears on the card.
- Provide the billing address associated with the card.
- Double-check that all the details are accurate and complete.
- Once you’ve entered all the required information, tap on “Save” or a similar option to add the new card to your Facebook Pay account.
Your new card is now linked to Facebook Pay. However, before it can be used for transactions, it needs to be verified.
Note: The steps to add a new card may vary slightly depending on the version of the Facebook app you are using or your device’s operating system.
Let’s move on to the next step and guide you through the verification process to ensure your new card is ready for use on Facebook Pay.
Step 4: Verifying the new card
After adding a new card to your Facebook Pay account, it’s important to verify the card to ensure its legitimacy and security. Here’s how you can verify your new card:
- Once you’ve added the new card, Facebook will attempt to verify it automatically.
- Facebook Pay may send a verification code to your mobile number or email address associated with your account.
- Check your email or SMS messages for the verification code.
- Enter the code in the specified field on the Facebook Pay settings page.
- If the code is entered correctly, your new card will be verified and ready to use.
Verification may vary depending on the specific verification process implemented by Facebook. In some cases, you may be asked to take additional steps to verify your card, such as providing further identification or completing a transaction. Follow the on-screen instructions provided by Facebook Pay during the verification process.
Once your new card is successfully verified, you’re one step closer to completing the process. Now, let’s move on to the final step and set your new card as the default option for Facebook Pay.
Step 5: Setting the new card as default
Now that your new card is added and verified, you can set it as the default card for your Facebook Pay transactions. Follow these steps to make your new card the default option:
- On the Facebook Pay settings page, locate the section for “Default Payment Method” or a similar option.
- Tap on the option to select it.
- You should see a list of the cards associated with your account.
- Select the new card that you added earlier as your preferred payment method or default card.
Setting your new card as the default option ensures that it will be used automatically for any transactions or payments made through Facebook Pay. This saves you the trouble of selecting your payment method each time you make a purchase or send money.
Congratulations! You’ve successfully changed your card on Facebook Pay. Now, whenever you use Facebook Pay for purchases, donations, or money transfers, your new card will be the default payment method.
It’s worth noting that Facebook Pay allows you to add multiple cards to your account. This means you can have different payment methods available to choose from if needed. Simply repeat the steps to add and verify any additional cards.
Remember, it’s always a good idea to keep your card details up to date in any payment platform, including Facebook Pay, to ensure a smooth and secure experience.
Now that you’re familiar with the process of changing your card on Facebook Pay, you have the flexibility to manage your payment methods according to your preferences. Enjoy the convenience and ease of using Facebook Pay for your transactions, and don’t hesitate to explore other features and benefits offered by this secure payment platform.
Frequently Asked Questions
Here are some common questions regarding changing cards on Facebook Pay:
-
Can I change my card on Facebook Pay on a computer?
Yes, you can access your Facebook Pay settings and change your card details through the Facebook website on a computer. Simply follow the steps mentioned earlier in this guide. -
Can I add multiple cards to Facebook Pay?
Yes, Facebook Pay allows you to add multiple cards to your account. This provides flexibility in choosing different payment methods for your transactions. -
Is it safe to link my card with Facebook Pay?
Facebook Pay prioritizes the security and privacy of your payment information. They employ measures to protect your data and use encryption technology to safeguard your card details. However, it’s always important to monitor your transactions and take necessary precautions to protect your financial information. -
What if I encounter issues while adding or removing my card on Facebook Pay?
If you face any difficulties during the process, you can visit the Facebook Help Center for assistance. They provide detailed guides and troubleshooting steps to resolve common issues. -
Will changing my card on Facebook Pay affect my other Facebook services?
No, changing your card details on Facebook Pay will only affect your payment information within the Facebook Pay feature. Your other Facebook services, such as messaging, posting, and profile settings, will not be affected.
If you have any further questions or concerns, it’s recommended to refer to the official Facebook support resources for the most accurate and up-to-date information.
Now that you have a better understanding of changing your card on Facebook Pay and have answers to frequently asked questions, you can confidently manage your payment methods and enjoy the convenience of Facebook Pay.
Conclusion
In conclusion, changing your card on Facebook Pay is a straightforward process that allows you to update your payment information easily. By following the step-by-step guide provided in this article, you can remove your existing card, add a new card, verify it, and set it as the default payment method on Facebook Pay.
Facebook Pay provides a convenient way to make purchases, send money, and donate to fundraisers within the Facebook app. Keeping your card details up to date ensures a seamless and secure payment experience, allowing you to transact with ease and peace of mind.
Remember to verify your new card after adding it to Facebook Pay to ensure its legitimacy and security. Additionally, take advantage of the option to add multiple cards to your account, providing flexibility in choosing payment methods for different transactions.
While Facebook Pay prioritizes the protection of your payment information, it’s always good practice to monitor your transactions and take necessary precautions to safeguard your financial data online.
If you encounter any difficulties during the process of changing your card on Facebook Pay, don’t hesitate to consult the official Facebook Help Center or support resources for further assistance.
We hope this guide has been helpful in guiding you through the process of changing your card on Facebook Pay. Enjoy the convenience and ease of using Facebook Pay for your transactions, and make the most out of this secure payment platform within the Facebook ecosystem.


