Introduction
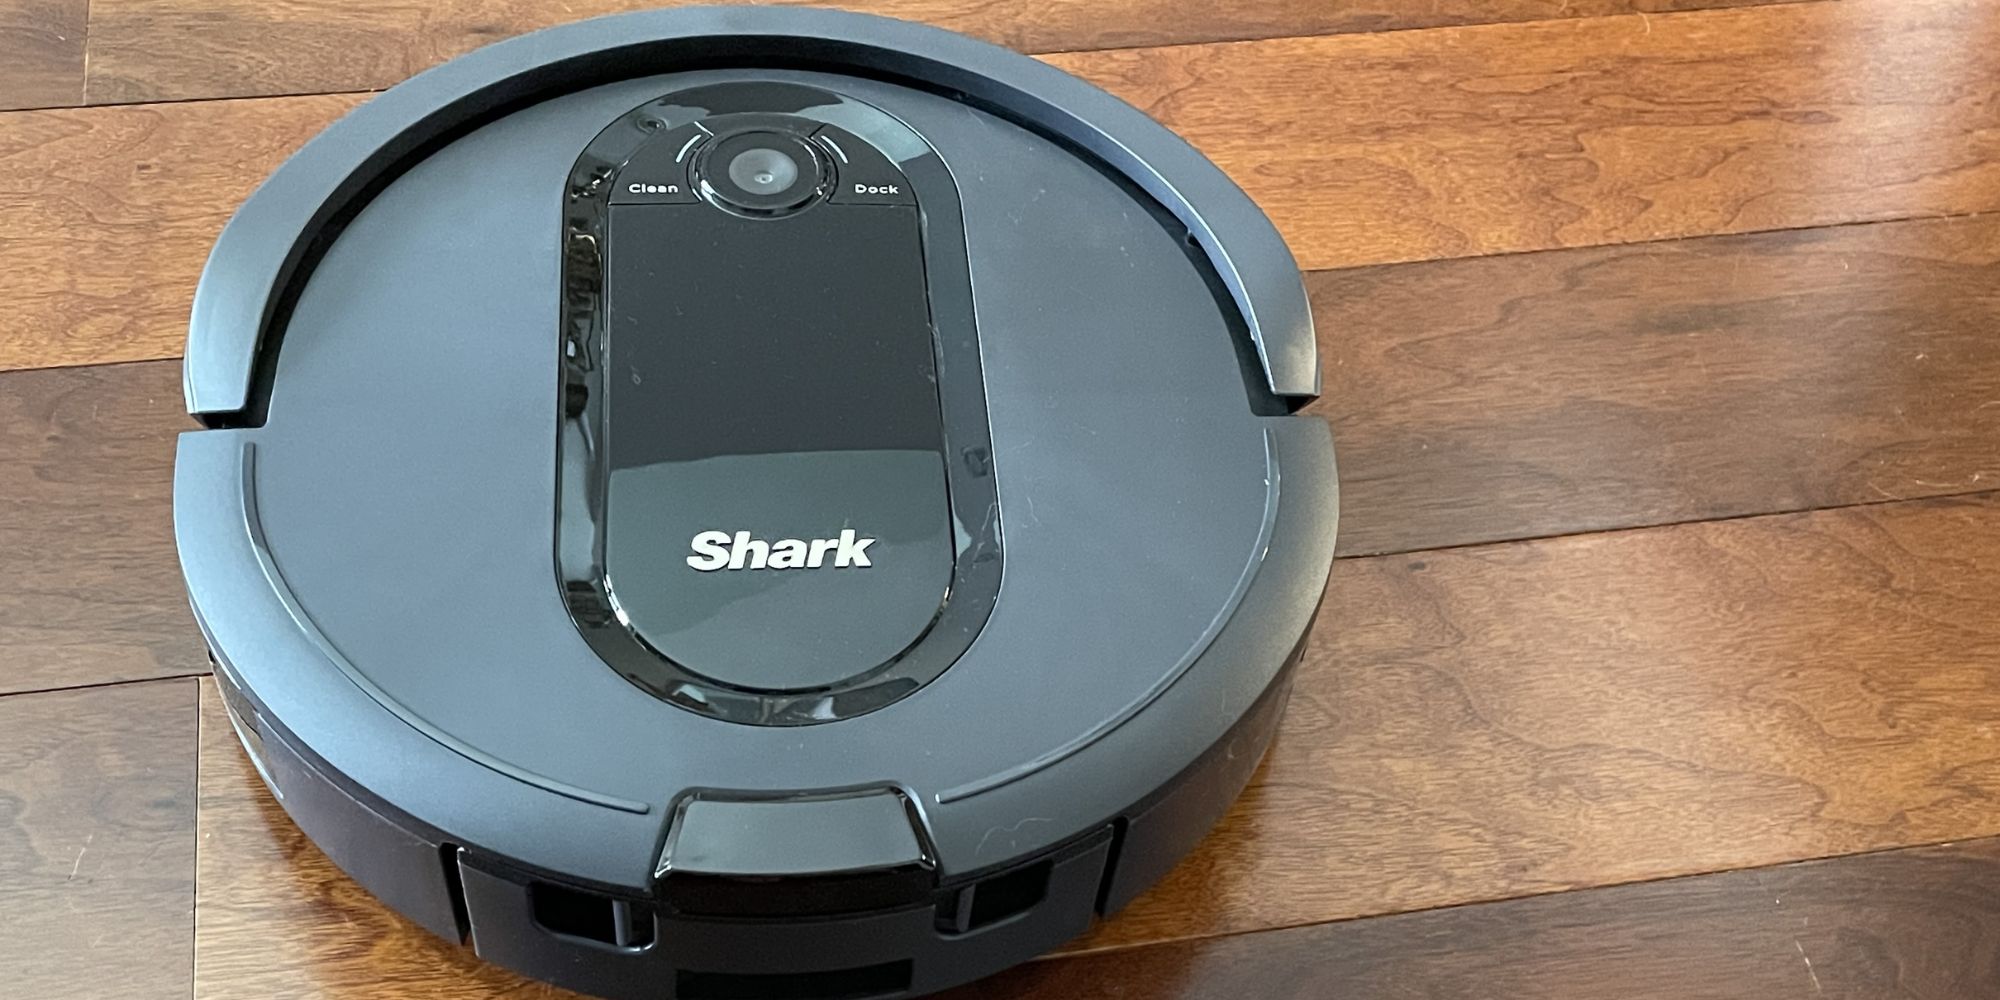
Welcome to the world of hassle-free cleaning with robot vacuums! Shark robot vacuums are designed to make your life easier by automating the tedious task of cleaning your floors. However, it can be frustrating when your Shark robot vacuum refuses to charge. If you’re facing this issue, don’t worry, you’re not alone. There could be several reasons why your Shark robot vacuum is not charging, ranging from simple fixable issues to more complex technical problems.
In this article, we will explore the common reasons why your Shark robot vacuum is not charging and provide you with troubleshooting steps to help you resolve the issue. From checking the power source to examining the charging contacts and assessing the battery, we will cover all the possible solutions to get your Shark robot vacuum back up and running.
Before we dive into the troubleshooting steps, it’s important to note that while these solutions are effective for most cases, there might be instances where professional assistance is required. If you’re unsure about performing any of the troubleshooting steps or if your Shark robot vacuum is still not charging after trying these solutions, it’s best to reach out to Shark’s customer support for further guidance.
Now, let’s get started with the common reasons why your Shark robot vacuum is not charging and how to fix them.
Common Reasons for Shark Robot Vacuum Not Charging
There can be several reasons why your Shark robot vacuum is not charging. Understanding these common issues will help you identify the root cause and take appropriate action to resolve the problem. Here are some potential culprits:
- Faulty power source: One of the most common reasons for a Shark robot vacuum not charging is a faulty power source. Ensure that the power outlet you are using is functional by plugging in another device or using a different outlet.
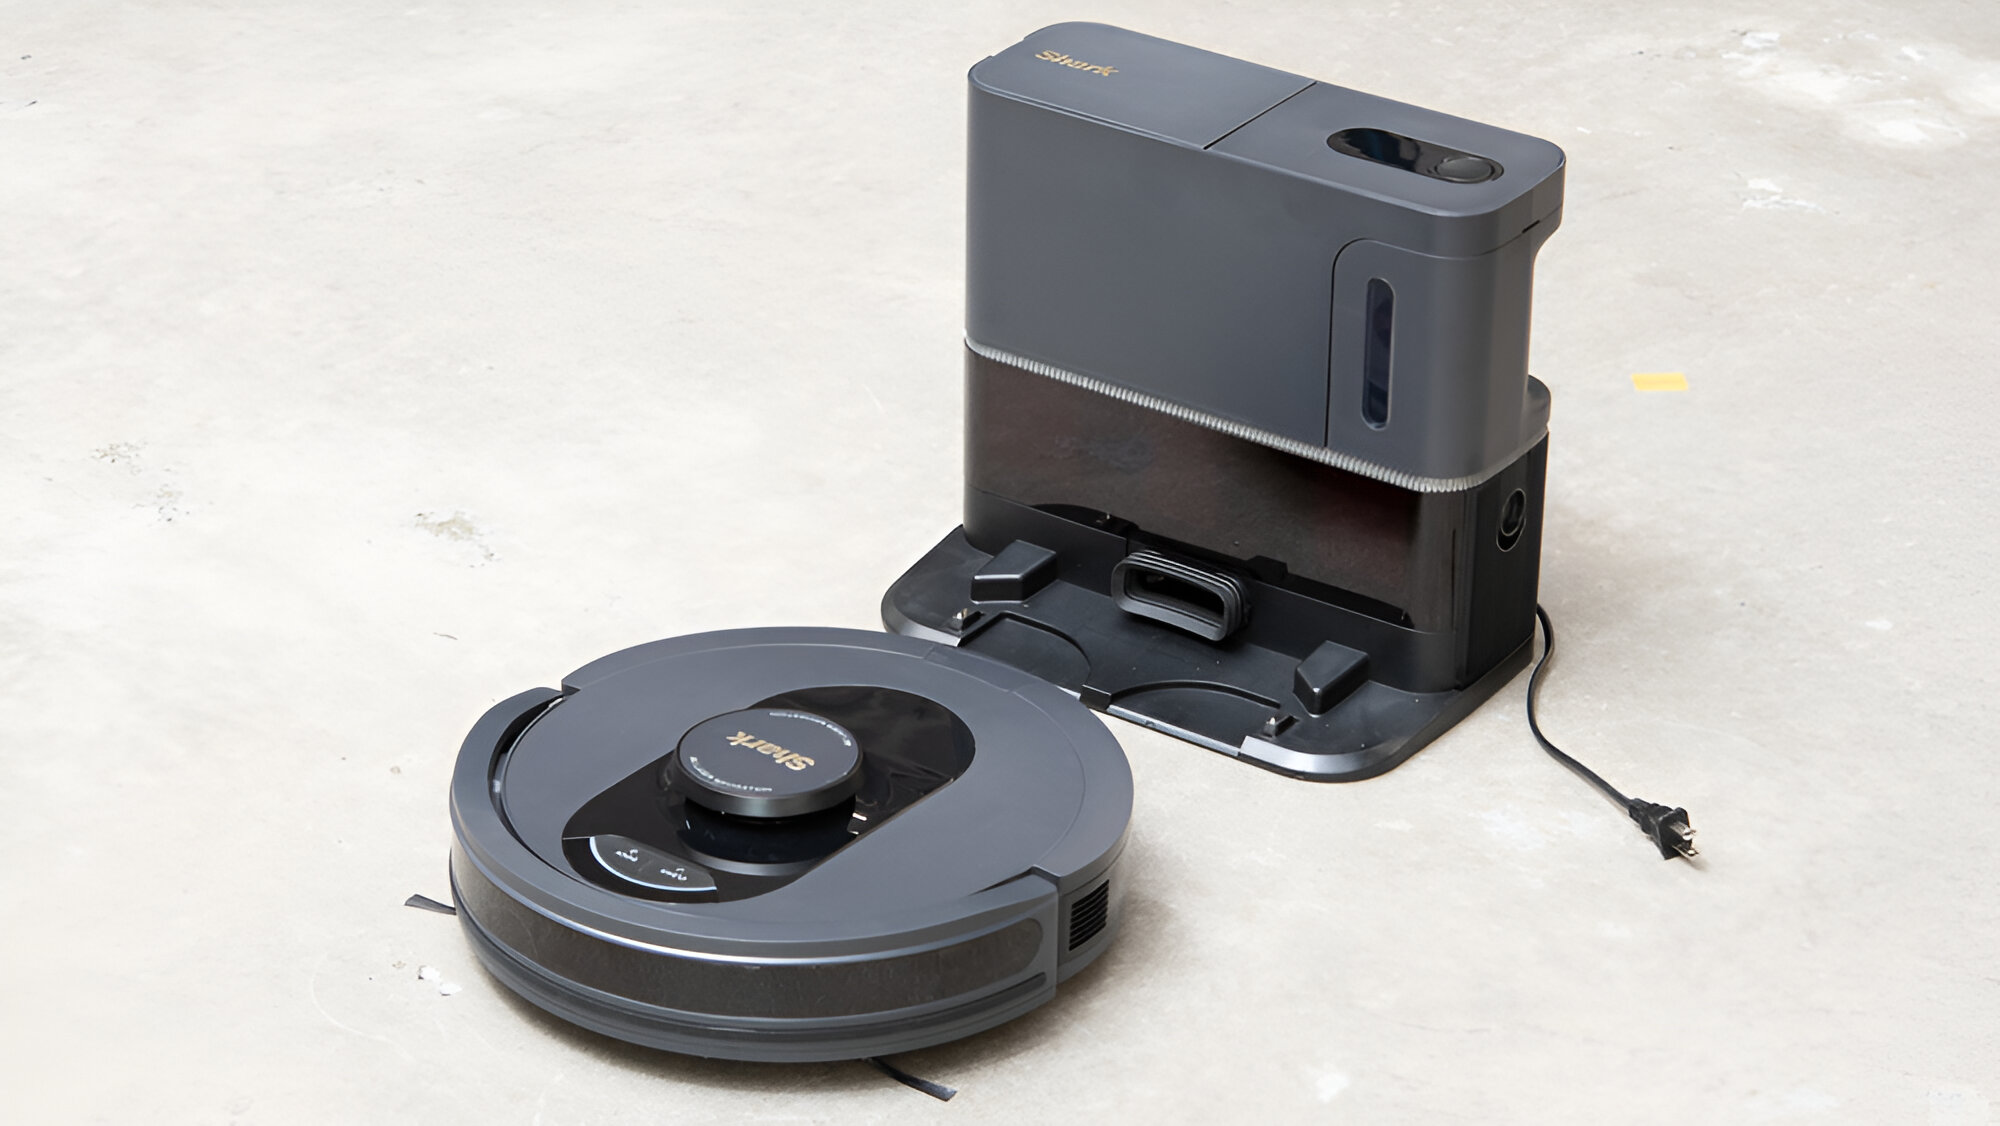
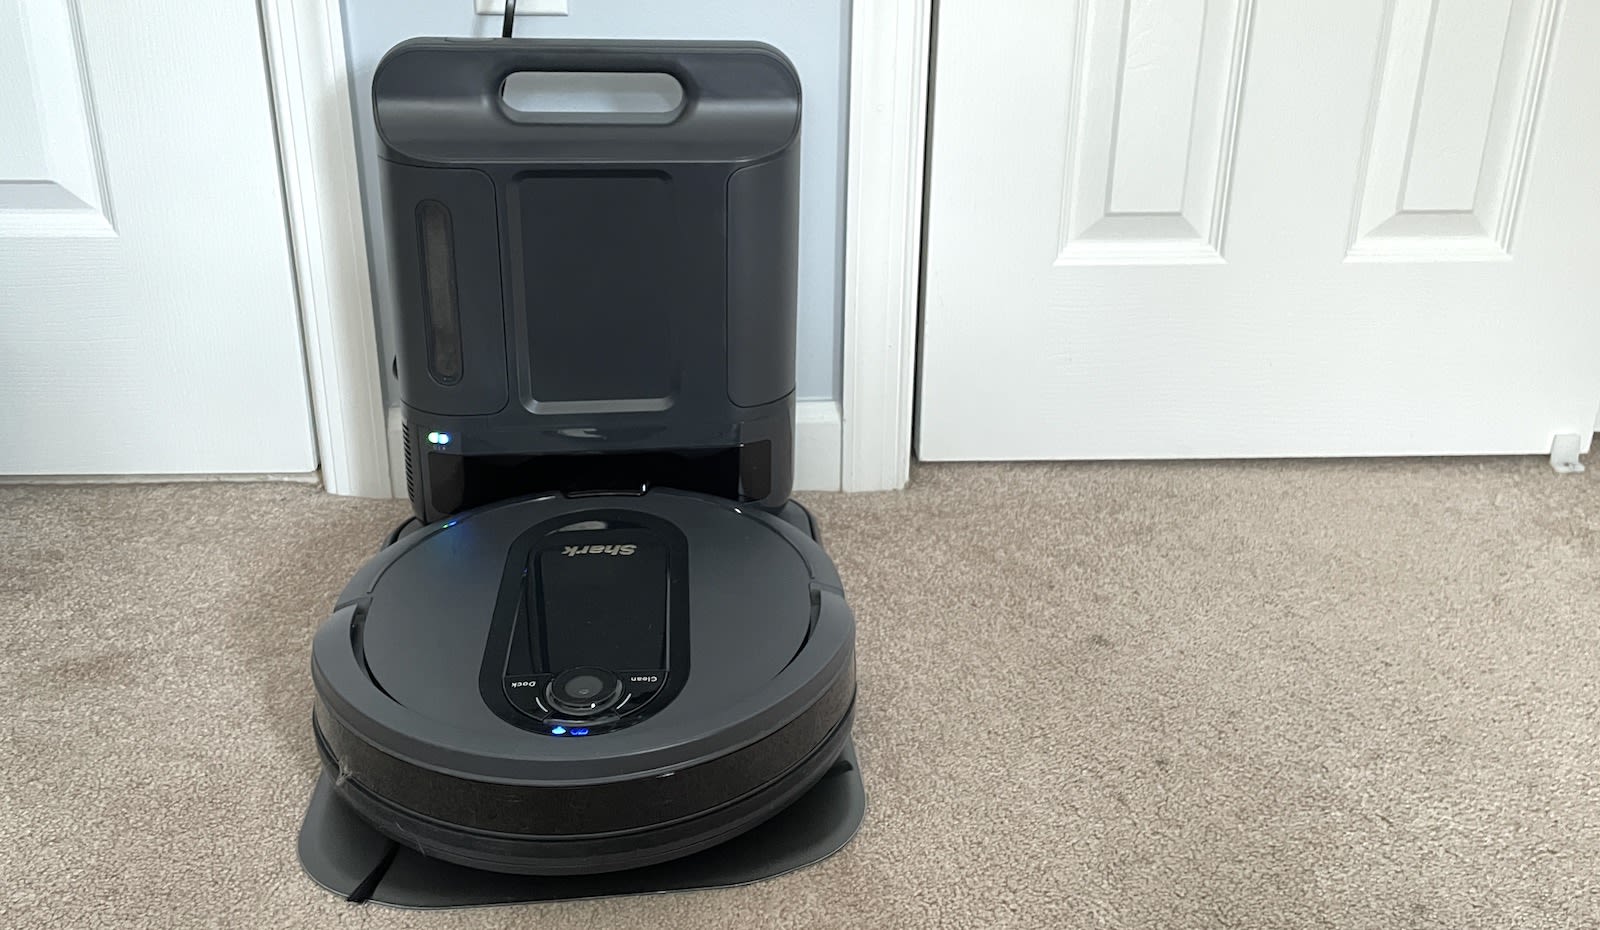
- Charging dock issues: The charging dock is the base where the robot vacuum connects to recharge. Inspect the charging dock for any loose connections or damage. Also, ensure that there are no obstructions around the dock that could prevent proper docking.
- Dirty or damaged charging contacts: The charging contacts on both the robot vacuum and the charging dock must be clean and in good condition to establish a proper connection. Wipe the charging contacts with a clean cloth and ensure there is no debris or damage that may hinder charging.
- Battery or connector problems: A worn-out or faulty battery can prevent the robot vacuum from charging. Check the battery for any signs of damage or leakage. Additionally, inspect the connectors on the robot vacuum and the charging dock to ensure they are securely connected and undamaged.
- Reset needed: In some cases, a simple reset can resolve the charging issue. Refer to your Shark robot vacuum’s user manual for instructions on how to perform a reset. This will reset the robot vacuum’s internal circuitry and may fix any software or firmware glitches affecting the charging process.
These are the common reasons why your Shark robot vacuum may not be charging. By understanding these issues, you can now proceed to troubleshoot and resolve the problem. In the following sections, we will provide detailed steps to help you diagnose and fix the specific issue you are facing with your Shark robot vacuum.
Check the Power Source
Before diving into complex troubleshooting steps, always start with the basics, and in this case, it’s checking the power source. Many times, the issue lies with the power outlet or the power supply itself. Follow these steps to ensure that the power source is not the cause of your Shark robot vacuum not charging:
- Try a different power outlet: Unplug the charging dock from the current power outlet and plug it into a different one. Make sure the new outlet is functioning properly by plugging in another device and confirming that it powers on. If the robot vacuum starts charging in the new outlet, the previous power outlet may be the problem.
- Use a different power cord: If possible, try using a different power cord. Sometimes, the power cord itself can become damaged or faulty, preventing proper charging. Replace the power cord and see if the robot vacuum starts charging. If it does, the original power cord was the issue.
- Inspect the power supply: Take a closer look at the power supply that connects to the charging dock. Check for any signs of damage, such as frayed wires or a loose connection. If you notice any issues, replace the power supply with a new one that is compatible with your Shark robot vacuum.
- Consider voltage requirements: Ensure that the power outlet and power supply meet the voltage requirements of your Shark robot vacuum. Using an incorrect voltage can cause charging problems and potentially damage the vacuum. Refer to the user manual or the Shark website for the correct voltage specifications.
By checking the power source and confirming that it is not the cause of the charging issue, you have eliminated one potential problem. If the Shark robot vacuum is still not charging after trying these steps, proceed to the next troubleshooting method to investigate further.
Inspect the Charging Dock
The charging dock serves as the base where your Shark robot vacuum connects to recharge. If there are any issues with the charging dock, it can prevent the robot vacuum from charging properly. Follow these steps to inspect the charging dock for any potential problems:
- Check the power connection: Ensure that the charging dock is properly connected to a power source. Verify that the power cord is securely plugged into both the charging dock and the power outlet.
- Look for physical damage: Inspect the charging dock for any signs of physical damage, such as cracks or breakages. If you notice any damage, it may be affecting the charging process. Replace the charging dock if necessary.
- Clean the charging area: Over time, dirt and debris can accumulate on the charging contacts, hindering the charging process. Gently clean both the charging contacts on the robot vacuum and the corresponding contacts on the charging dock using a clean, dry cloth. This will ensure a strong connection between the two.
- Remove obstructions: Clear any obstructions around the charging dock area. Objects blocking the robot vacuum from docking properly can interfere with the charging process. Ensure there is enough space for the robot vacuum to dock without any obstacles.
- Test with a different dock: If possible, try using a different charging dock. Borrow one from a friend or family member, or reach out to Shark customer support for assistance. Testing with a different dock will help determine if the issue lies with the original charging dock or if it is a problem with the robot vacuum itself.
By inspecting the charging dock and addressing any potential issues, you can rule out problems related to the docking process. If your Shark robot vacuum still doesn’t charge after these steps, continue to the next troubleshooting method for further investigation.
Examine the Charging Contacts
The charging contacts are crucial for establishing a proper connection between your Shark robot vacuum and the charging dock. If the charging contacts are dirty or damaged, it can prevent the robot vacuum from charging correctly. Follow these steps to examine and address any issues with the charging contacts:
- Power off the robot vacuum: Before inspecting the charging contacts, make sure to turn off the robot vacuum and disconnect it from the charging dock for safety purposes.
- Inspect the robot vacuum’s charging contacts: Carefully examine the charging contacts on the robot vacuum itself. Look for any signs of dirt, debris, or corrosion. If you notice any buildup or damage, gently clean the charging contacts using a soft, damp cloth and mild soap. Be cautious not to apply excessive pressure or use abrasive cleaners that may further damage the contacts.
- Inspect the charging dock’s contacts: Similarly, examine the charging contacts on the docking station. Wipe them clean using the same soft cloth and mild soap. Ensure that there is no residue or damage that could interfere with the charging process.
- Check for bent or damaged contacts: Inspect both the robot vacuum’s charging pins and the corresponding contacts on the docking station. Look for any signs of bending, misalignment, or damage. If you notice any issues, use a non-metallic tool to carefully straighten the contacts. Avoid using excessive force or sharp objects that may cause further damage.
- Reconnect and test: Once you have cleaned and inspected the charging contacts, reconnect the robot vacuum to the charging dock and test if it starts charging. Ensure that the robot vacuum is properly aligned with the dock and that the contacts make a secure connection.
By examining and addressing any issues with the charging contacts, you can eliminate potential obstacles that may be preventing your Shark robot vacuum from charging effectively. If the robot vacuum still doesn’t charge after these steps, proceed to the next troubleshooting method for further investigation.
Assess the Battery and Connectors
The battery and connectors play a crucial role in the charging process of your Shark robot vacuum. If the battery is worn out or the connectors are damaged, it can prevent the robot vacuum from charging properly. Follow these steps to assess the battery and connectors:
- Inspect the battery: Carefully examine the battery of your Shark robot vacuum. Look for any signs of damage, leakage, or bloating. A damaged battery may need to be replaced. Contact Shark customer support or refer to the user manual for instructions on obtaining a replacement battery.
- Check the battery connectors: Inspect the connectors where the battery connects to the robot vacuum. Ensure that they are clean, undamaged, and making a secure connection. If there is any dirt or debris, gently clean the connectors with a soft cloth.
- Examine the connectors on the charging dock: Similarly, inspect the connectors on the charging dock that connect with the robot vacuum’s battery. Ensure that they are clean, undamaged, and making a secure connection with the battery. Clean any dirt or debris gently with a soft cloth.
- Check the battery and connector alignment: Ensure that the battery and connectors on both the robot vacuum and the charging dock are properly aligned. Misalignment can prevent the battery from charging correctly. Adjust the positioning if necessary.
- Test the battery with a voltage meter: If possible, use a voltage meter to test the battery’s voltage level. Compare it to the manufacturer’s specifications to determine if the battery is operating within the acceptable range. A significantly low voltage reading may indicate a faulty battery that needs to be replaced.
By assessing the battery and connectors, you can determine if these components are causing the charging issue with your Shark robot vacuum. If the problem persists even after checking and addressing these aspects, proceed to the next troubleshooting method for further investigation.
Test and Reset the Robot Vacuum
If you’ve gone through the previous troubleshooting steps and your Shark robot vacuum is still not charging, it may be time to perform a test and reset. This step can help resolve any software or firmware issues that are preventing the robot vacuum from charging properly. Follow these steps to test and reset your Shark robot vacuum:
- Disconnect from the charging dock: Start by disconnecting the robot vacuum from the charging dock.
- Power off the robot vacuum: Make sure the robot vacuum is turned off. If it is currently running, press and hold the power button until it shuts down.
- Remove the battery (if applicable): If your Shark robot vacuum has a removable battery, carefully remove it from the vacuum.
- Wait for a few minutes: Allow the robot vacuum to sit without power for a few minutes. This step helps discharge any residual energy and allows for a clean reset.
- Re-insert the battery (if applicable): After a few minutes, re-insert the battery into the robot vacuum if it was removed earlier. Make sure it is securely in place.
- Connect to the charging dock: Finally, reconnect the robot vacuum to the charging dock. Ensure that it is properly aligned and the charging contacts make a secure connection.
- Power on the robot vacuum: Press the power button to turn on the robot vacuum. It should start the charging process automatically if the reset was successful.
- Observe for charging: Monitor the robot vacuum to see if it starts charging. Check the LED indicators or display panel, if applicable, to verify if it is receiving power.
- Run a test: Once the robot vacuum starts charging, you can run a test by using it for a short cleaning session. Observe if it functions correctly and if the battery is holding a charge.
Performing a test and reset can often resolve minor software or firmware glitches that affect the charging process. If your Shark robot vacuum still fails to charge after these steps, it is advisable to contact Shark’s customer support for further assistance.
Reach Out to Customer Support
If you have followed all the troubleshooting steps mentioned earlier and your Shark robot vacuum is still not charging, it may be time to reach out to Shark’s customer support. The company’s customer support team is equipped to provide professional assistance and guidance to help resolve the issue. Here’s what you can do:
- Gather necessary information: Before contacting customer support, gather all the relevant information about your Shark robot vacuum, including the model number, purchase date, and a detailed description of the charging issue you are experiencing. This information will help expedite the troubleshooting process.
- Visit the Shark website: Start by visiting the Shark website and navigating to their customer support section. Look for resources such as FAQs, troubleshooting guides, and user manuals specific to your model. These resources may have additional steps or solutions that could resolve the charging issue.
- Reach out via phone or email: If the troubleshooting steps and website resources do not resolve the issue, contact Shark’s customer support directly via phone or email. Provide them with all the necessary information and explain the steps you have already taken to troubleshoot the problem.
- Follow their instructions: Shark’s customer support team will guide you through additional troubleshooting steps or recommend a course of action based on your specific situation. Follow their instructions carefully and provide any requested information or documentation promptly.
- Consider warranty coverage: If your Shark robot vacuum is still within the warranty period, customer support may initiate a repair or replacement process. Be prepared to provide proof of purchase and adhere to any warranty terms and conditions.
- Document communication: Keep a record of all communication with Shark’s customer support, including dates, names of representatives, and any case or reference numbers provided. This documentation will be helpful if further follow-ups or escalations are needed.
Remember, Shark’s customer support team is there to assist you and find a resolution to the charging issue with your robot vacuum. Their expertise and guidance can often help identify the root cause and offer a solution that restores your robot vacuum’s charging functionality.
If all else fails, and your Shark robot vacuum is no longer under warranty, you may also consider consulting with a professional repair service that specializes in robotic appliances. They may be able to diagnose the issue further and provide a repair solution.
Conclusion
Dealing with a Shark robot vacuum that refuses to charge can be frustrating, but don’t lose hope. By following the troubleshooting steps outlined in this article, you can address common issues and increase the chances of resolving the problem.
From checking the power source and inspecting the charging dock to examining the charging contacts and assessing the battery, each step is designed to help you identify and fix the specific issue causing your Shark robot vacuum not to charge.
However, it’s important to note that while these troubleshooting steps are effective in most cases, there may be instances where further professional assistance is required. If you’ve followed all the steps and your Shark robot vacuum is still not charging, don’t hesitate to reach out to Shark’s customer support. They have the expertise and knowledge to guide you through the process and find a solution.
Remember, proper maintenance and care of your robot vacuum can also help prevent charging issues in the future. Regularly clean the charging contacts, keep the charging dock area clear of obstructions, and ensure that the power source meets the voltage requirements.
With persistence and the right troubleshooting steps, you can get your Shark robot vacuum back up and running, ensuring that your cleaning routine remains as convenient and efficient as ever.


