Introduction
Welcome to our guide on where to mount your liquid CPU cooler fan. Choosing the right position for your CPU cooler fan is crucial for optimal cooling performance and maintaining a stable temperature for your processor. The placement of the fan can impact the overall airflow within your computer case, affecting both CPU temperature and system stability.
When it comes to mounting the CPU cooler fan, there are various options depending on the type of case you have and your cooling requirements. In this guide, we will explore different mounting configurations and their benefits to help you make an informed decision.
Before we dive into the mounting options, it’s important to note that every computer case is unique, and the compatibility of your liquid CPU cooler will depend on the case size and design. Ensure that your case supports liquid cooling and that there is enough space and clearance for the fan and radiator.
Additionally, consider the orientation of the CPU socket on your motherboard. Some coolers may have specific installation requirements based on the socket position, so it’s essential to consult the manufacturer’s guidelines.
Now, let’s explore the various mounting positions for your liquid CPU cooler fan and their advantages.
Things to Consider Before Mounting the CPU Cooler Fan
Prior to mounting your CPU cooler fan, there are a few key factors to consider to ensure the best performance and compatibility.
Firstly, assess the size and dimensions of your computer case. The available space inside the case will determine where you can mount the fan. Measure the clearances around the CPU socket and determine if there is sufficient room for the fan and radiator to fit comfortably.
Secondly, take into account the airflow requirements of your system. Identify the primary source of cool air intake and the direction of exhaust. This will help you determine the optimal position for the CPU cooler fan to maximize the airflow and ventilation.
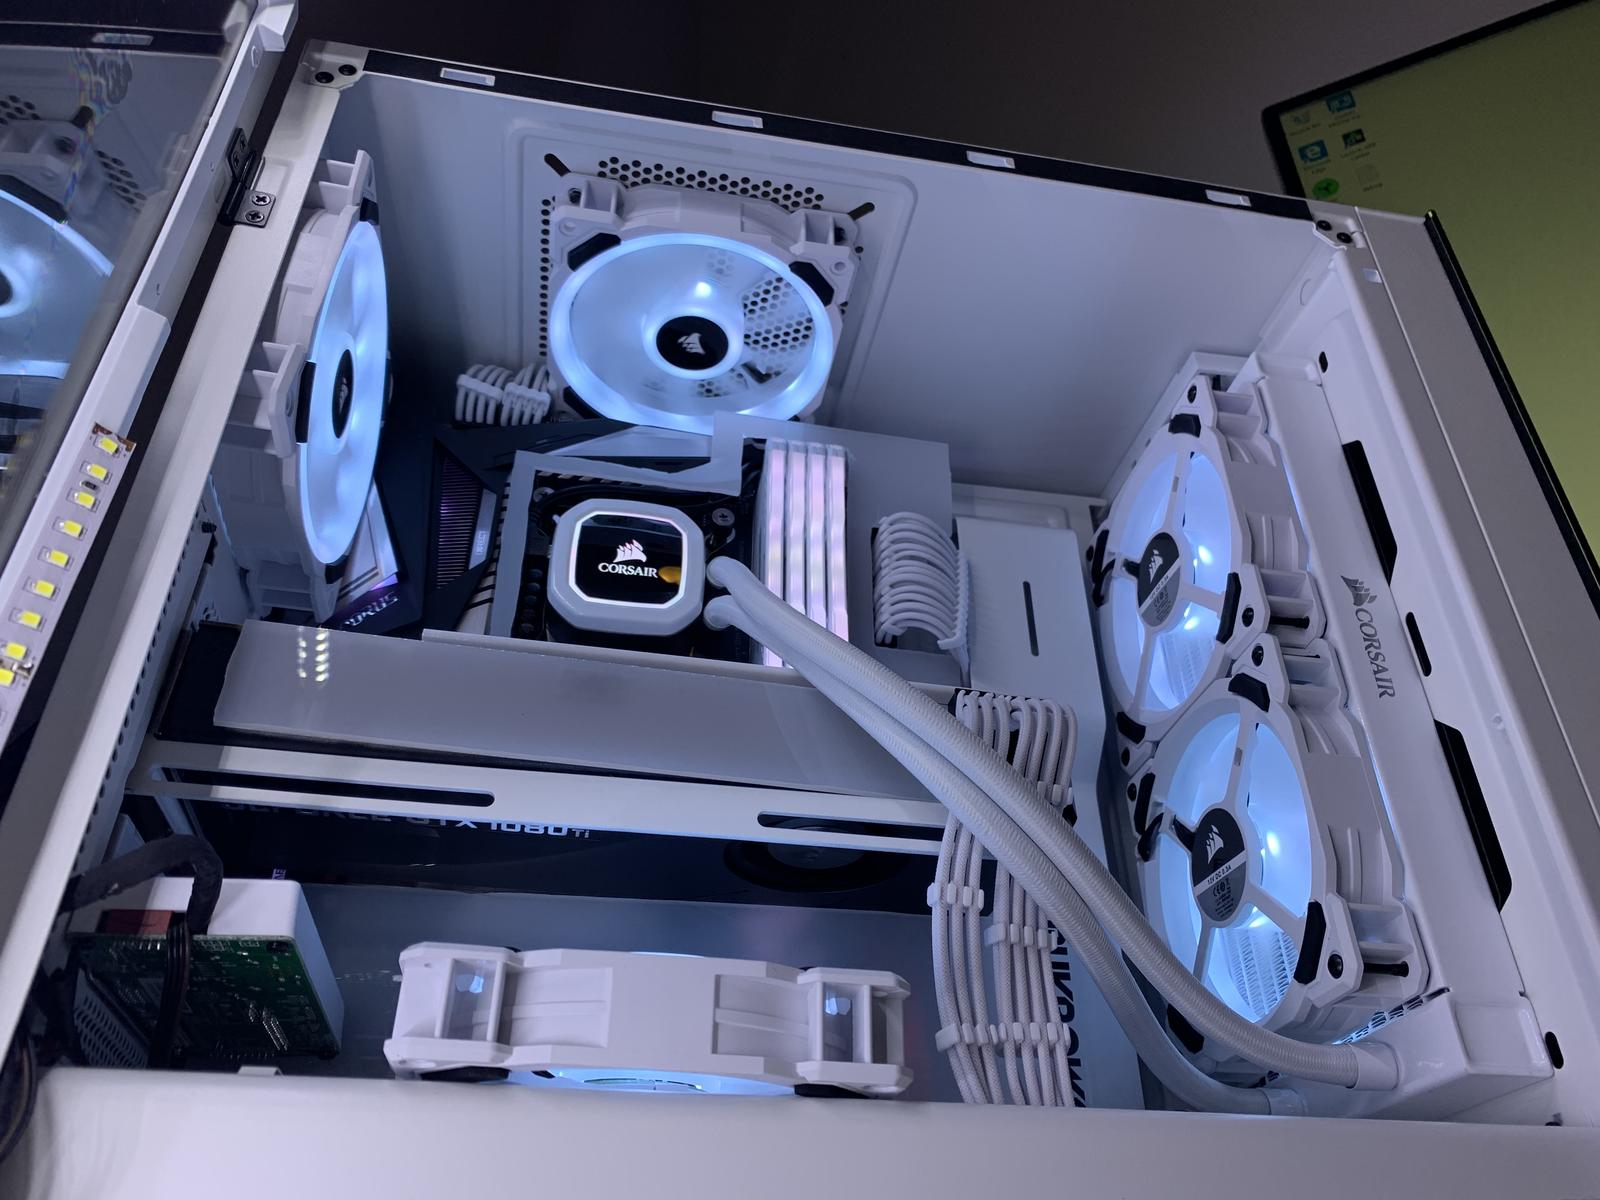
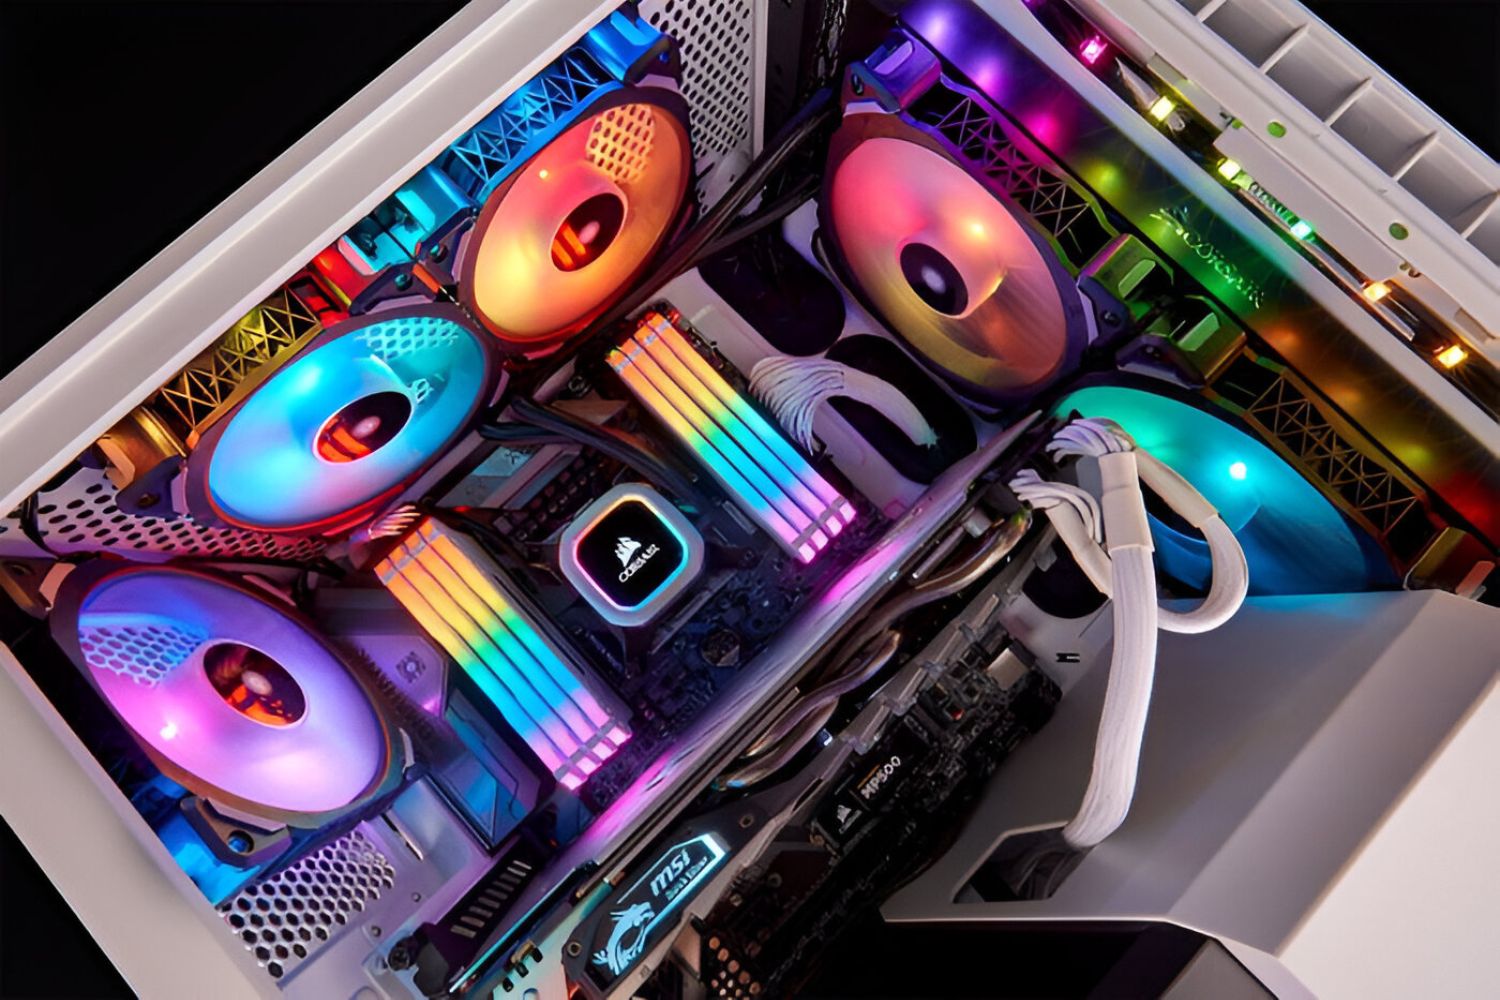
Thirdly, consider the type of liquid cooling solution you have. Some coolers feature a single fan, while others may have a dual-fan or even a triple-fan configuration. The number of fans will impact the cooling performance and, consequently, the position of the fan within the case.
Additionally, evaluate the noise level generated by the CPU cooler fan. Mounting it in certain positions might result in more audible noise levels, especially if the fan is close to other components or obstructed in any way. Finding a balance between cooling performance and noise reduction is important for an efficient and quiet system.
Lastly, take note of any other components in your system that could potentially obstruct the CPU cooler fan. For example, large graphics cards or bulky RAM modules may limit the available space or interfere with the airflow. Ensure that there is ample room for the fan and radiator without any obstruction for optimal cooling performance.
By considering these factors, you can make an informed decision about the mounting position of your CPU cooler fan. Now, let’s explore the various options available for mounting the fan in different positions within your computer case.
Mounting the Fan on the Front of the Case
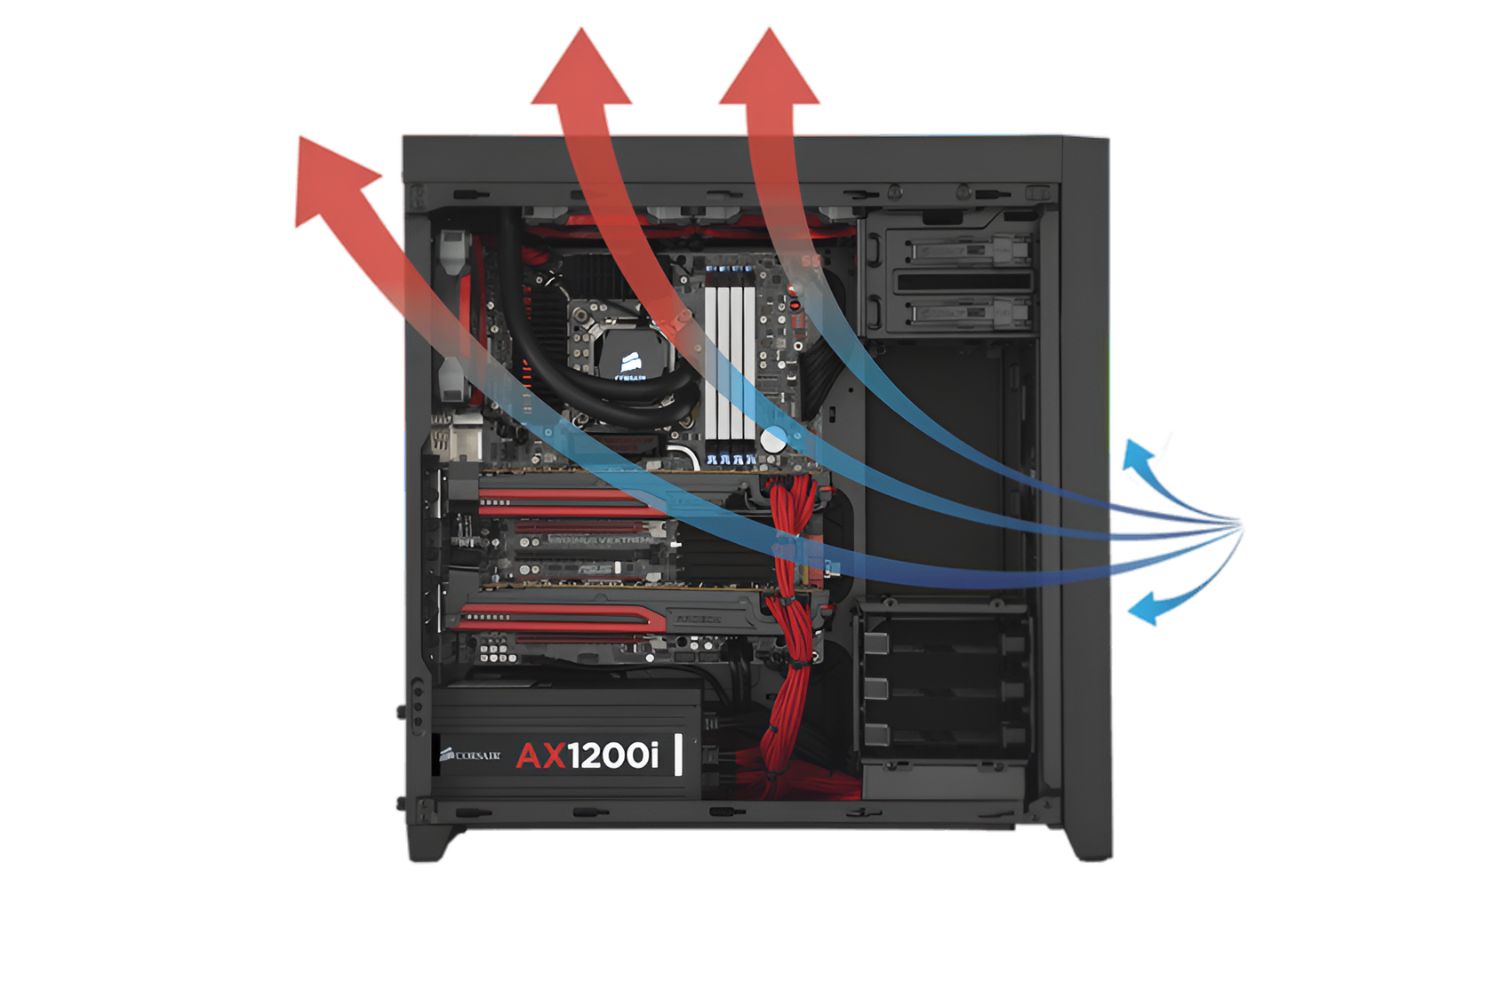
Mounting the CPU cooler fan on the front of the case is a popular choice for many users. This position allows for easy intake of cool external air, which can directly flow over the radiator and cool the CPU.
To mount the fan on the front, ensure that your computer case has sufficient space and mounting points specifically designed for front intake cooling. Most modern cases provide dedicated space for front-mounted fans or radiators.
One of the main advantages of this placement is that it helps create a positive pressure airflow configuration inside the case. Positive pressure occurs when there is more intake airflow than exhaust airflow, which helps prevent the accumulation of dust by pushing air out of unfiltered gaps and cracks in the case.
However, there are a few considerations to keep in mind when mounting the fan in the front. If you have a large GPU or other components that generate significant heat, they might obstruct the airflow from the front fan, reducing cooling efficiency. In such cases, you may need to reposition or adjust the fan placement to avoid any obstruction.
Another potential limitation is the length of the graphics card or the size of the case itself. Some cases have limited space in the front, making it challenging to accommodate larger radiators or multiple fan configurations.
Ultimately, mounting the fan on the front of the case can provide efficient cooling, particularly if you have multiple front intake fans or a high-quality liquid CPU cooler. Make sure to evaluate the available space and consider the potential airflow obstructions before finalizing the placement.
Mounting the Fan on the Top of the Case
Mounting the CPU cooler fan on the top of the case is another popular option, especially for systems with larger cases or those looking for a different airflow configuration.
To mount the fan on the top, check if your case has dedicated mounting points or space designed for top-mounted cooling. Some cases come with removable magnetic or clip-on dust filters that can help prevent dust accumulation when mounting the fan on the top.
One of the main advantages of top-mounted fans is their ability to exhaust hot air directly from the CPU cooler. This positioning takes advantage of the natural tendency of heat to rise, allowing the fan to push the heated air out of the case efficiently.
Top-mounted fans can also help with cooling other components, such as the motherboard’s VRM (Voltage Regulator Module) or RAM modules, by providing additional airflow over these areas.
However, there are a few considerations when mounting the fan on the top. Firstly, check if your CPU cooler has clearance from other components, especially tall RAM modules. Some coolers might be too high and can interfere with the top-mounted fan if there isn’t sufficient clearance.
Additionally, mounting the fan on the top can potentially increase noise levels. As hot air rises and escapes from the top of the case, it can pass through the fan blades, causing increased noise compared to other mounting configurations. Consider using a fan with lower noise levels or adjusting the fan speed via fan control software to mitigate this issue.
Lastly, be mindful of dust accumulation when positioning the fan on the top. Hot air naturally carries more dust particles, and when the fan is mounted on top, it can act as an entry point for dust. Using dust filters or regularly cleaning the filters can prevent excessive dust buildup within the case.
Overall, mounting the fan on the top of the case can provide effective cooling by expelling hot air from the CPU cooler directly. Consider the available space, noise levels, and potential dust accumulation when deciding on this placement.
Mounting the Fan on the Rear of the Case
Mounting the CPU cooler fan on the rear of the case is a common configuration that offers efficient cooling for your system.
To mount the fan on the rear, check if your case has a dedicated rear fan mount. Most cases come with pre-installed rear exhaust fans or mounting points specifically designed for rear cooling.
The rear position is particularly effective in creating a direct exhaust path for the CPU cooler. As the fan expels hot air from the CPU, it is immediately pushed out through the rear of the case, promoting efficient heat dissipation.
This mounting position also helps create a balanced airflow within the case when combined with front intake fans. The front fans bring in cool air, while the rear fan expels the hot air, ensuring proper ventilation and preventing heat buildup.
When mounting the fan on the rear, be aware of potential obstacles that may obstruct the airflow, such as cable management or other components. Ensure that there is ample clearance for the fan to exhaust the hot air without any obstructions.
Keep in mind that the rear position may have some limitations in terms of cooling performance compared to other mounting options. Since the fan is typically smaller in size, it may not provide the same airflow and cooling capability as larger front or top-mounted fans.
Additionally, consider the noise levels when choosing the rear mounting position. As the fan is closer to the user, it can be more noticeable compared to other fan placements. Consider using fans with lower noise levels or adjusting the fan speed to strike a balance between cooling performance and noise reduction.
In summary, mounting the fan on the rear of the case offers effective heat dissipation by creating a direct exhaust path for the CPU cooler. Ensure there is sufficient clearance and consider noise levels when selecting this placement.
Mounting the Fan on the Side of the Case
Mounting the CPU cooler fan on the side of the case can provide additional targeted cooling for specific components, such as the CPU or GPU.
Before proceeding with this placement, check if your case has a side panel fan mount or ventilation holes specifically designed for side fans. Some cases come with optional side panel fans or provide mounting points for additional airflow.
The side placement can be beneficial for cooling components that generate significant heat, such as high-performance graphics cards. As the fan blows cool air directly onto the GPU, it helps to reduce its temperature and enhance overall system performance.
Moreover, side-mounted fans can assist in expelling hot air from the CPU cooler and other components. By creating a cross-flow of cool air intake from the front and exhaust from the side, this configuration enhances overall airflow within the case.
When considering side-mounted fans, pay attention to potential clearance issues with other components. Ensure that there is sufficient space between the fan and the CPU cooler, GPU, or any other obstructive elements to prevent any interference.
It’s important to note that mounting fans on the side may not be available or applicable to all cases and can depend on the case design and dimensions. Some smaller or compact cases may not have dedicated side panel fan mounts or may have limited space for side-mounted fans.
Additionally, consider the noise levels when mounting fans on the side. Since the fan is positioned closer to the user, it may be more audible compared to other fan placements. Select fans with lower noise levels or adjust the fan speed to maintain a quiet computing environment.
To sum up, mounting the fan on the side of the case enables targeted cooling for specific components and enhances overall airflow within the case. Ensure sufficient clearance and consider noise levels when opting for this placement.
Mounting the Fan on the Bottom of the Case
Mounting the CPU cooler fan on the bottom of the case is a less common but viable option for cooling enthusiasts looking for unique airflow configurations.
Before proceeding with this placement, check if your case has a dedicated bottom fan mount or ventilation holes specifically designed for bottom-mounted fans. Not all cases provide this option, so ensure your case supports bottom-mounted fans.
The bottom placement can offer several benefits. Firstly, it allows for efficient intake of cooler air from the floor or surface beneath the case. This cooler air can then be directed towards the CPU cooler, helping to lower the overall temperature of the processor.
Additionally, bottom-mounted fans can aid in cooling other components, such as the power supply unit (PSU) or the GPU. By creating a steady flow of cool air from the bottom to the top of the case, it helps maintain optimal operating temperatures.
When considering bottom-mounted fans, pay attention to potential clearance issues. Ensure that there is ample space between the fan and nearby obstructions, such as cables or the floor surface, to prevent any blockage to the airflow.
It’s important to note that the bottom placement may have limitations in certain scenarios. For instance, if your case sits directly on a carpet or soft surface, it can restrict the airflow to the fan, resulting in reduced cooling efficiency. In such cases, consider using an elevated platform or invest in a case with elevated feet to ensure proper airflow.
Consider noise levels when opting for bottom-mounted fans. As these fans are closer to the surface beneath the case, they may generate more noticeable vibrations or noise. It’s recommended to use fans with lower noise levels or employ vibration-dampening measures to minimize any potential disturbances.
In summary, mounting the fan on the bottom of the case can provide efficient intake of cool air and aid in cooling various components. Ensure sufficient clearance, consider the case surface, and address noise concerns when opting for this placement.
Conclusion
Choosing the right position to mount your liquid CPU cooler fan is essential for maintaining optimal cooling performance and temperature control. Each mounting option – front, top, rear, side, and bottom – offers distinct advantages and considerations.
Mounting the fan on the front of the case allows for efficient intake of cool external air, creating a positive pressure airflow configuration. However, potential obstructions like large GPUs should be taken into account.
Mounting the fan on the top of the case takes advantage of natural heat rising and provides direct exhaust for the CPU cooler. Consider clearance, noise levels, and dust accumulation when opting for this position.
Mounting the fan on the rear of the case creates a direct exhaust path and promotes balanced airflow. Ensure sufficient clearance and evaluate noise levels for this configuration.
Mounting the fan on the side of the case provides targeted cooling for components like the CPU or GPU and enhances overall airflow. However, consider clearance, case limitations, and noise levels when opting for this placement.
Mounting the fan on the bottom of the case offers efficient intake of cool air and aids in cooling various components. Ensure sufficient clearance, consider the case surface, and address noise concerns for this position.
Remember to consider factors like case size, airflow requirements, liquid cooling compatibility, noise levels, and potential component obstructions before deciding on the mounting position.
Ultimately, the ideal placement for your CPU cooler fan depends on your specific case, cooling needs, and system configuration. Take the time to assess these factors and choose the option that best suits your requirements for optimal cooling performance and stability.


