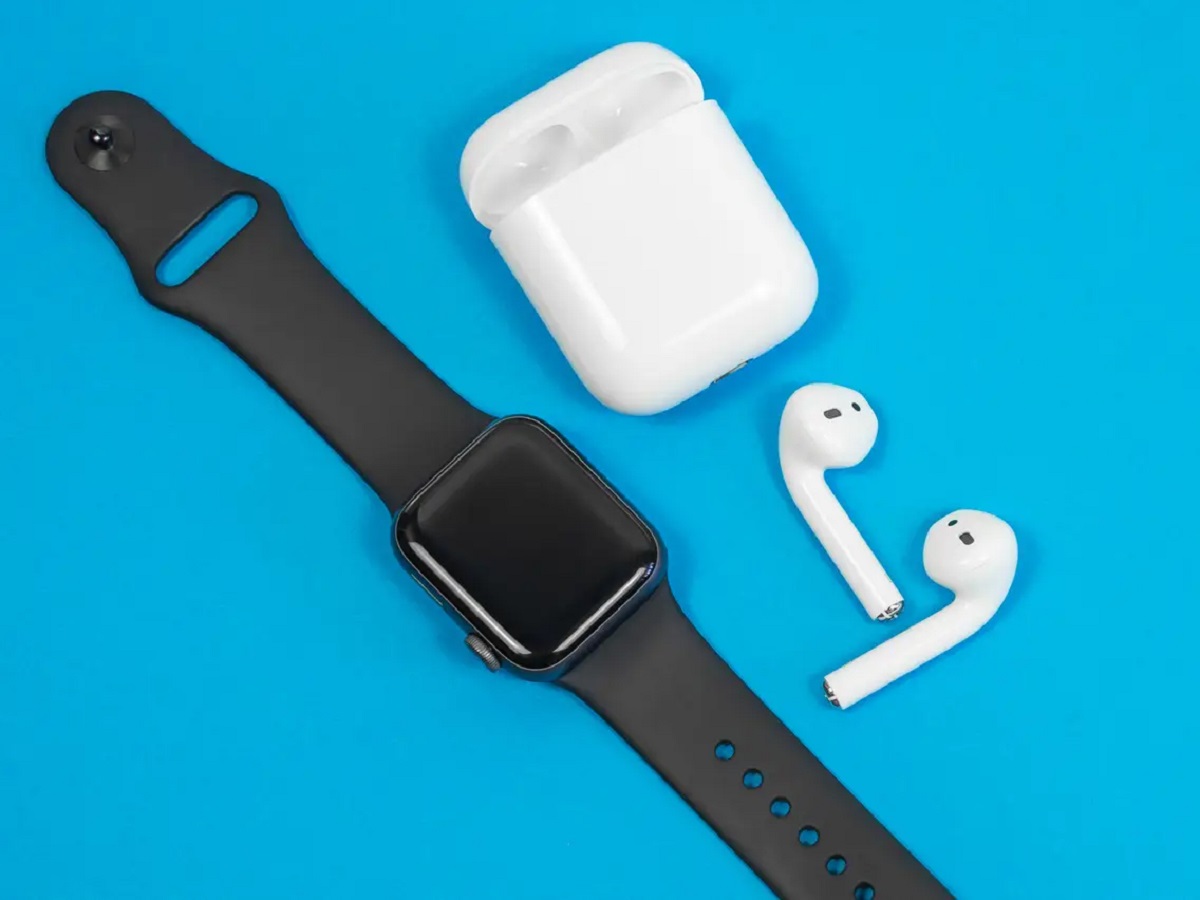
Introduction
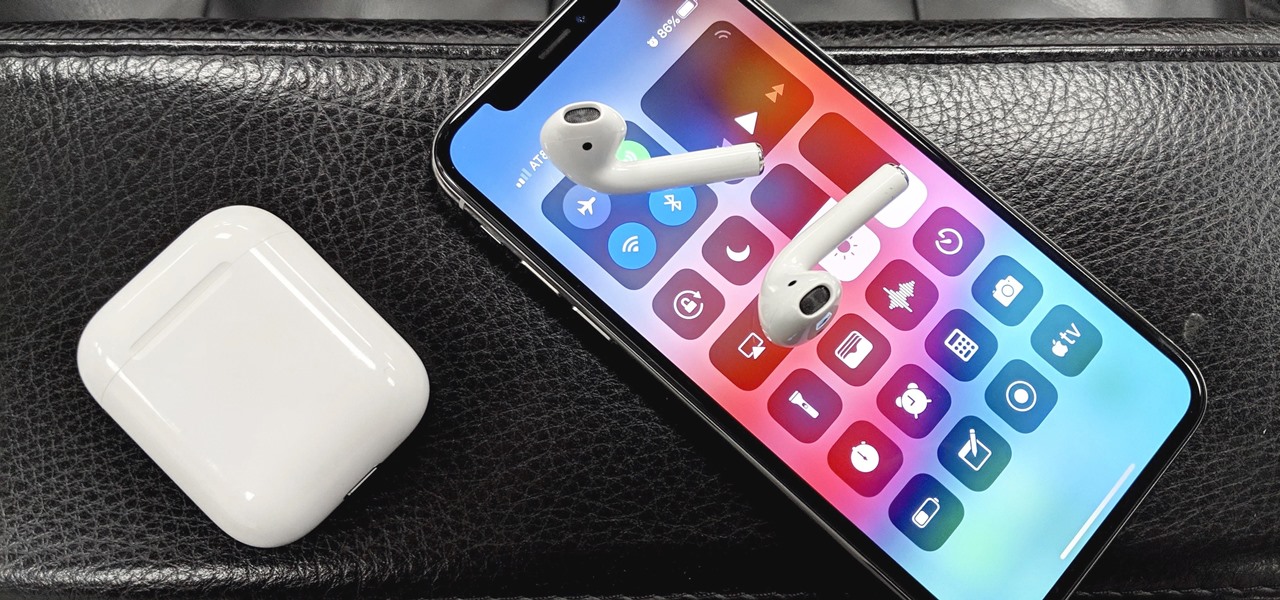
Having trouble connecting your AirPods can be frustrating, especially when you’re eager to use them. However, rest assured that there are several solutions to this common issue that you can try before panicking or contacting Apple Support. This article will guide you through the steps to troubleshoot and resolve connectivity problems with your AirPods.
Whether you’re facing a sudden connection failure or struggling to pair your AirPods with your device for the first time, these troubleshooting methods will help you get back to enjoying your wireless listening experience. Before diving into the solutions, let’s explore some of the most common problems you might encounter when trying to connect your AirPods.
It’s important to note that the troubleshooting steps mentioned here are applicable to all AirPods models, including the AirPods Pro and the second-generation AirPods. So, regardless of the specific model you own, you can use the methods outlined in this article to troubleshoot connection issues.
Now, let’s move forward and address the common problems you may encounter when attempting to connect your AirPods to your device.
Common Issues
Before diving into the troubleshooting methods, it’s important to understand the common issues you may encounter when trying to connect your AirPods. By identifying these problems, you’ll be better equipped to apply the appropriate solutions.
1. AirPods not appearing in the Bluetooth settings: One of the most common issues is when your AirPods are not visible in the Bluetooth settings of your device. This can happen due to various reasons, such as a low battery, proximity to other connected devices, or outdated software.
2. Intermittent connectivity: Another issue you might face is when your AirPods are constantly connecting and disconnecting, causing interruptions in audio playback. This can be caused by Bluetooth interference, outdated firmware, or software glitches.
3. Only one AirPod connecting: Some users encounter a situation where only one AirPod connects to their device, while the other remains unresponsive. This can be due to an issue with the AirPod itself or a connection problem between the AirPod and the charging case.
4. Poor sound quality: If you’re experiencing poor sound quality despite a successful connection, it could be related to audio settings, equalizer settings, or sound quality limitations of certain apps or devices.
5. Automatic disconnection: Occasionally, you might find that your AirPods disconnect from your device without any manual intervention. This can occur due to software glitches, a weak Bluetooth connection, or interference from other devices.
Keep in mind that these issues can vary based on the specific circumstances and configurations of your devices. Now that we’ve covered the common problems, let’s delve into the troubleshooting methods you can try to resolve these issues and get your AirPods connected again.
Check AirPods and Case
When you’re experiencing connectivity issues with your AirPods, it’s important to start by checking the physical condition of both the AirPods and the charging case. Here are some steps you can take:
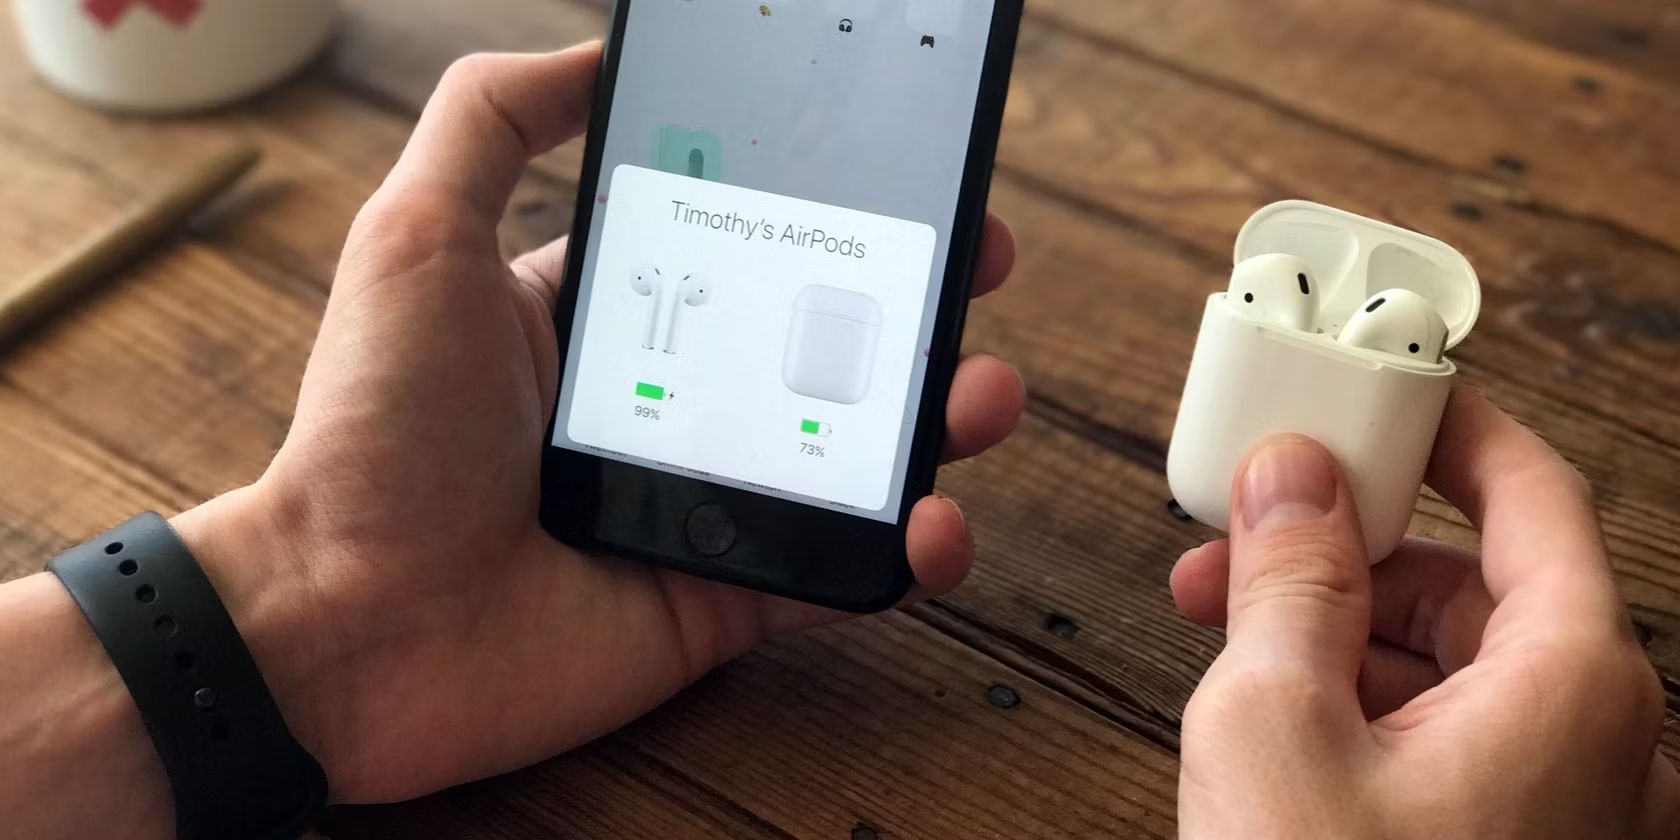
1. Check battery levels: Ensure that both your AirPods and the charging case have sufficient battery levels. If they are low on charge, it may prevent them from connecting or cause intermittent connectivity issues. Place your AirPods into the charging case and verify the battery percentage by opening the lid near your iPhone or checking the battery widget on your device.
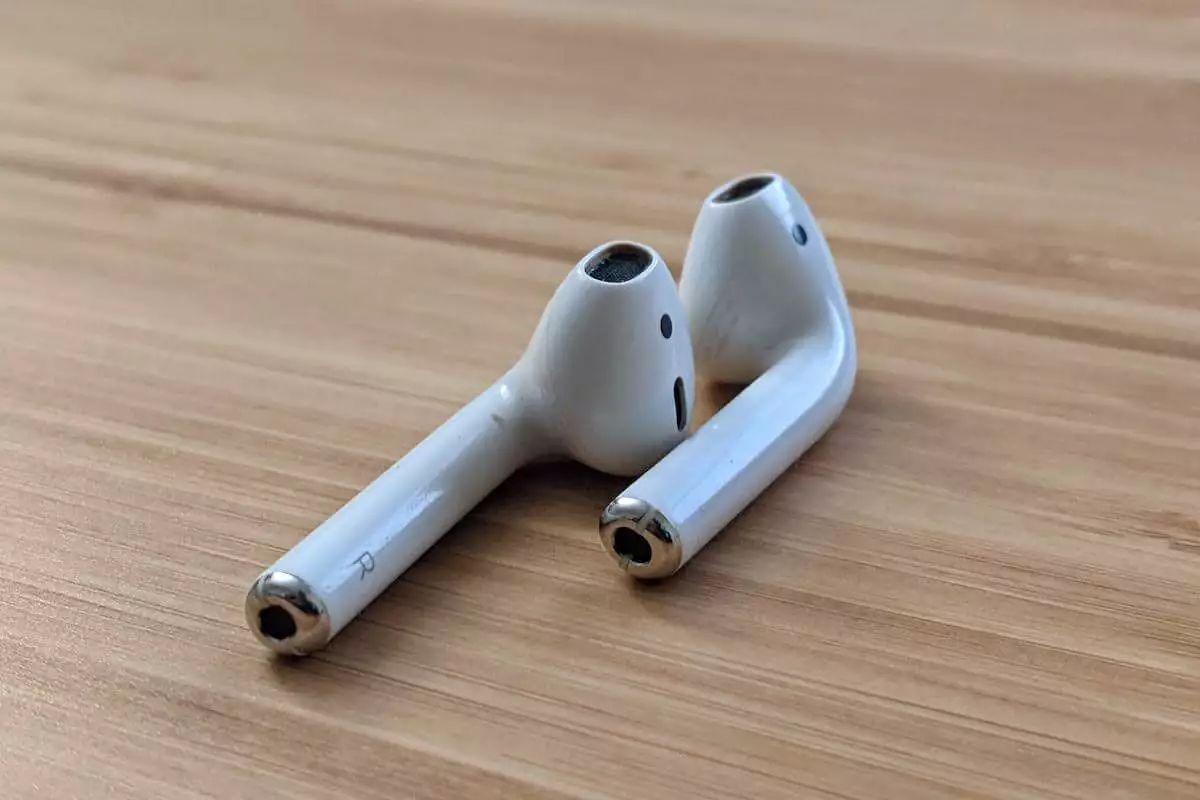
2. Clean your AirPods and charging case: Over time, dirt, debris, and earwax can accumulate on the AirPods and charging case, affecting their performance. Gently clean both the AirPods and the charging case using a soft, lint-free cloth. Avoid using any liquids or abrasive materials that could damage them.
3. Ensure proper placement: Make sure that each AirPod is properly placed in the corresponding slot of the charging case. Also, check for any visible damage or debris that may obstruct the charging contacts. If necessary, gently remove and reinsert the AirPods to ensure a secure connection.
4. Verify LED light status: Open the lid of your AirPods charging case and check the LED light located on the front. If the LED light is not showing any response, it could suggest a power or connectivity issue. In such cases, you may need to charge your AirPods or refer to the next troubleshooting step.
By thoroughly inspecting your AirPods and charging case, you can identify any physical issues that may be impeding the connection. Once you’ve ensured that the physical components are in good condition, it’s time to move on to checking the Bluetooth settings and connections on your device.
Check Bluetooth Settings and Connections
When troubleshooting connectivity issues with your AirPods, it’s crucial to examine the Bluetooth settings and connections on your device. Here are some steps to follow:
1. Enable Bluetooth: Ensure that Bluetooth is turned on and enabled on your device. On an iPhone or iPad, go to Settings > Bluetooth and toggle the switch to the “On” position. On an Android device, navigate to Settings > Connected devices > Bluetooth and toggle the switch accordingly.
2. Forget AirPods: If your AirPods are already paired with your device but are not connecting, try “forgetting” them in your Bluetooth settings. In the Bluetooth menu, look for your AirPods and tap on the (i) icon next to their name. Then, select “Forget This Device” and confirm the action. This will remove the AirPods from your device’s memory.
3. Re-pair AirPods: After forgetting your AirPods, place them back in the charging case, ensure the lid is open, and hold down the setup button on the back of the case until the LED light starts to flash white. Now, go to your device’s Bluetooth settings and look for your AirPods in the list of available devices. Tap on them to initiate the pairing process. Follow the on-screen prompts to complete the pairing.
4. Check for interference: Bluetooth connectivity can be affected by interference from other devices, such as Wi-Fi routers, microwaves, or other Bluetooth devices. Move away from potential sources of interference and try reconnecting your AirPods.
5. Restart your device: Sometimes, a simple restart can resolve connectivity issues. Restart your iPhone, iPad, or Android device and then attempt to connect your AirPods again.
6. Update software: Make sure that your device’s operating system and AirPods firmware are up to date. Check for any available updates in your device’s settings and install them if necessary. Updating the software can address known compatibility issues and improve connectivity.
By checking your Bluetooth settings and connections, you can eliminate any issues related to device pairing and interference. If these steps don’t resolve the problem, move on to the next troubleshooting methods to further troubleshoot your AirPods’ connectivity.
Restart Your Devices
If you’re still facing connectivity issues with your AirPods, restarting your devices can often provide a quick fix. Here’s how you can do it:
1. Restart your iPhone or iPad: If you’re using AirPods with an iPhone or iPad, start by pressing and holding the power button until the “slide to power off” option appears. Slide the power button to turn off your device. After a few seconds, press and hold the power button again until the Apple logo appears, indicating that your device is restarting.
2. Restart your Android device: For Android users, the method may vary depending on the device manufacturer and version of Android. In general, you can press and hold the power button until the power menu appears. Then, select the “Restart” or “Reboot” option to initiate the restart process.
3. Restart your AirPods: While your device is restarting, you can also restart your AirPods. Simply remove both AirPods from the charging case, wait for a few seconds, and then place them back into the case. Close the lid and wait for a few seconds before opening it again. This will initiate the connection process between your AirPods and your device.
4. Reconnect your AirPods: Once your devices have restarted, go to your device’s Bluetooth settings and attempt to connect your AirPods again. Follow the usual pairing process, making sure to keep the AirPods close to your device during the connection process.
Restarting your devices can help refresh the Bluetooth connection and resolve any temporary glitches or conflicts that may be causing connectivity issues. If the problem persists, you may need to forget and re-pair your AirPods or consider resetting them as a last resort, which will be covered in the next troubleshooting section.
Forget and Re-pair AirPods
If restarting your devices did not solve the connectivity issues with your AirPods, forgetting and re-pairing them can help establish a fresh connection. Here’s how you can do it:
1. Open Bluetooth settings: Start by opening the Bluetooth settings on your device. On an iPhone or iPad, go to Settings > Bluetooth. On an Android device, navigate to Settings > Connected devices > Bluetooth.
2. Forget your AirPods: In the list of available Bluetooth devices, locate your AirPods and tap the (i) icon next to their name. Then, select “Forget This Device” and confirm the action. This will remove the AirPods from your device’s memory.
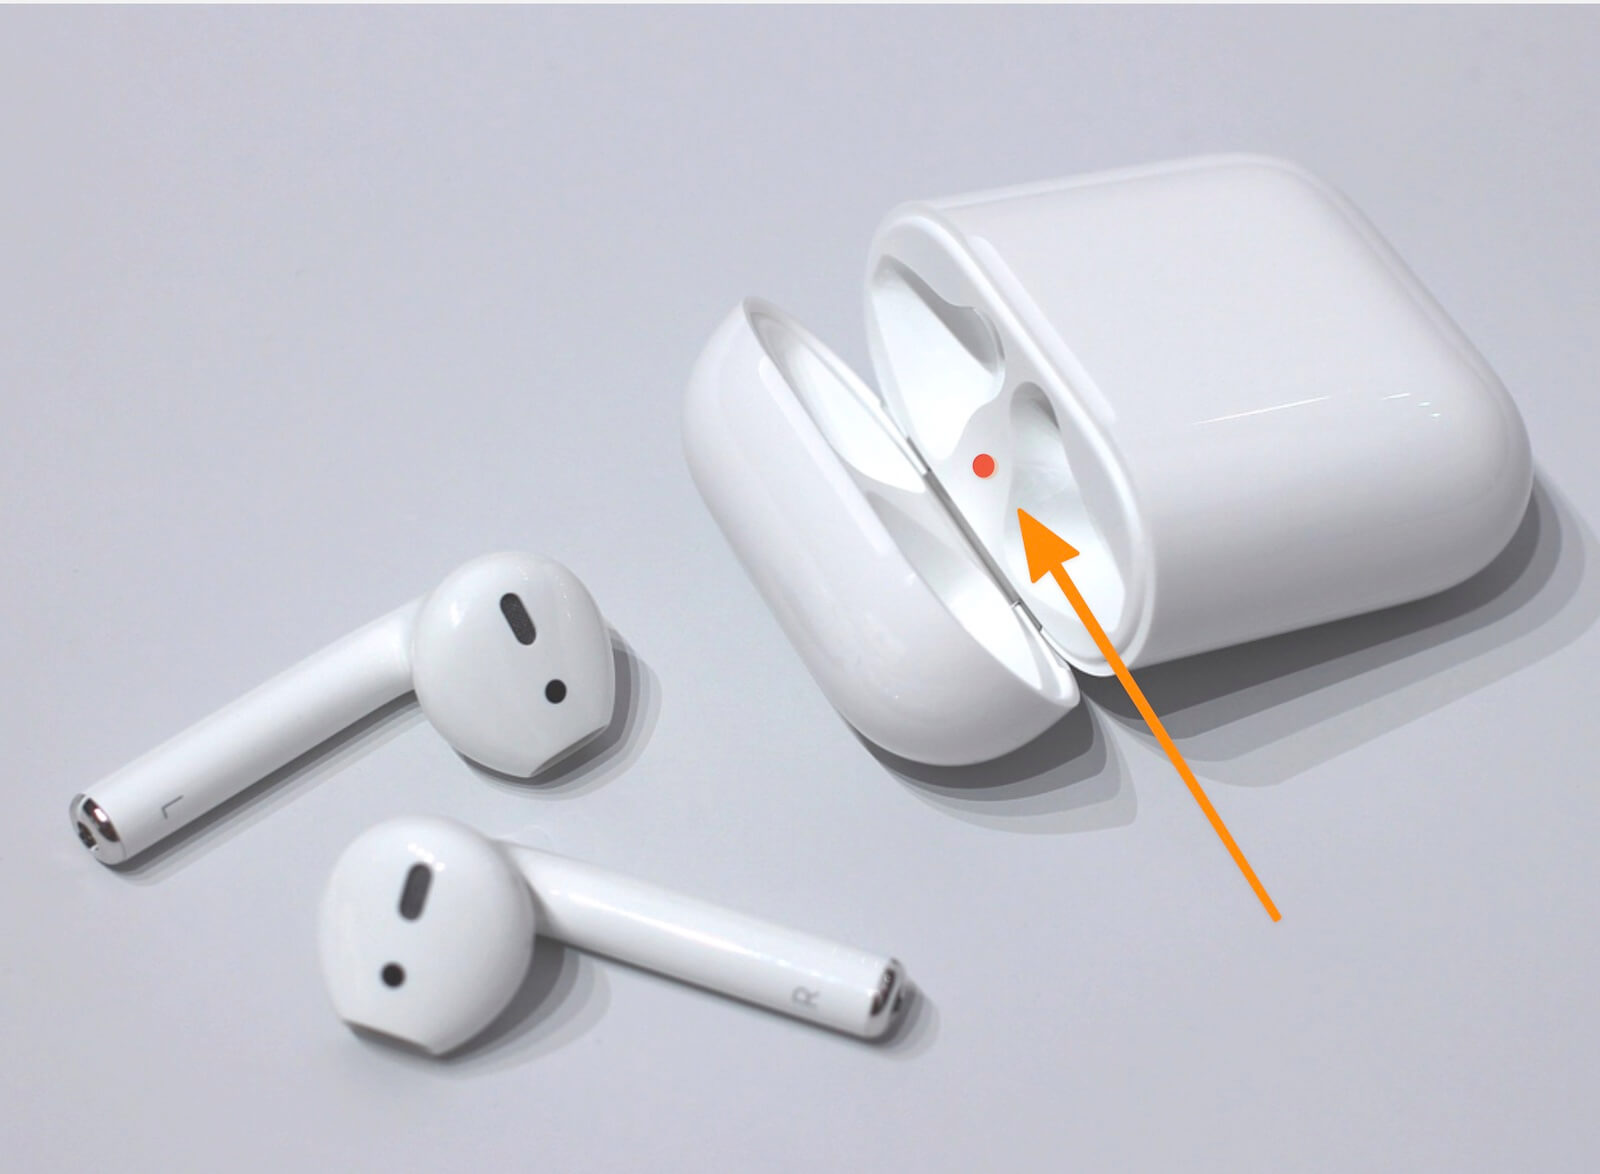
3. Place AirPods in the charging case: Place both AirPods back into the charging case and ensure that the lid is open.
4. Reset the AirPods: On the back of the charging case, look for the setup button. Press and hold this button until the LED light on the front of the case starts flashing white. This indicates that the AirPods have been reset and are ready to be paired.
5. Re-pair the AirPods: On your device, go back to the Bluetooth settings and look for your AirPods in the list of available devices. Tap on them when they appear to initiate the pairing process. Follow the on-screen instructions to complete the pairing.
By forgetting and re-pairing your AirPods, you establish a fresh connection between the devices, which can often resolve connectivity issues. This process will also ensure that you are using the latest firmware version for your AirPods.
If re-pairing your AirPods did not solve the problem, there is another troubleshooting method you can try – resetting your AirPods to their factory settings.
Reset AirPods
If you’re still experiencing connectivity issues with your AirPods, resetting them to their factory settings can help resolve any persistent problems. Here’s how you can reset your AirPods:
1. Place AirPods in the charging case: Open the lid of the charging case and place both AirPods inside. Ensure that the lid is open during the entire reset process.
2. Locate the setup button: On the back of the charging case, you’ll find a small button called the setup button. It’s usually located towards the bottom of the case.
3. Press and hold the setup button: Press and hold the setup button on the back of the charging case for about 15 seconds until you see the LED light on the front of the case flashing amber. The light will turn white after a few seconds, indicating that the reset process is complete.
4. Reconnect AirPods: Now, go to your device’s Bluetooth settings and pair your AirPods as you would with a new device. Open the lid of the charging case and hold it near your device to establish the connection.
Note: Resetting your AirPods will remove them from all devices linked to your iCloud account. You will need to reconnect them to all your devices individually.
Resetting your AirPods will bring them back to their factory settings, eliminating any customized settings or pairing information. This can often help resolve persistent connectivity issues that other troubleshooting methods may not address.
If you’ve followed all the troubleshooting steps and your AirPods still won’t connect or maintain a stable connection, it’s recommended to contact Apple Support for further assistance. They can provide more in-depth troubleshooting guidance or arrange a repair or replacement if necessary.
Update Software
Outdated software can sometimes cause connectivity issues with your AirPods. It’s crucial to ensure that both your device’s operating system and your AirPods’ firmware are up to date. Here’s how you can update the software:
1. Update device software: Start by checking for any available software updates for your iPhone, iPad, or Android device. On an iPhone or iPad, go to Settings > General > Software Update. If an update is available, follow the on-screen instructions to download and install it. On an Android device, the process may vary depending on the manufacturer and version of Android. Typically, you can find software update options in the Settings or System menu.
2. Update AirPods firmware: AirPods receive firmware updates periodically, and having the latest firmware version can improve connectivity and performance. To update the firmware, ensure that your AirPods are connected to your device and charging in the case. Keep them close to your device with a stable internet connection. Apple automatically pushes firmware updates to AirPods when they are connected to an iOS device. If an update is available, it will download and install automatically.
Note: You need to keep your AirPods connected to your device and charging in the case for the firmware update to be installed successfully.
Updating your device software and AirPods firmware can address any compatibility issues and ensure that you have the latest bug fixes and performance enhancements. This can significantly improve the reliability and stability of the connection between your AirPods and your device.
If you follow these steps and still experience connectivity issues, it’s recommended to contact Apple Support or refer to their online resources for further assistance.
Contact Apple Support
If you’ve exhausted all the troubleshooting methods mentioned above and are still unable to resolve the connectivity issues with your AirPods, it’s time to seek assistance from Apple Support. Here are the steps to contact Apple Support:
1. Visit the Apple Support website: Go to the official Apple Support website at https://support.apple.com/ on your computer or mobile device.
2. Select the appropriate product: Click on the “AirPods” category or use the search function to find support articles specifically related to AirPods. Apple’s support website provides detailed articles, troubleshooting guides, and frequently asked questions that might help you find the solution to your problem.
3. Contact Apple Support: If you’re unable to resolve the issue through the support articles, you can contact Apple Support directly for personalized assistance. On the Support website, click on “Contact Support” or look for a “Chat” or “Phone” option, depending on your region and the available support options.
4. Provide relevant details and explain the issue: When contacting Apple Support, be prepared to provide relevant details about your AirPods model, device, and the specific connectivity issue you’re facing. Explain the steps you’ve already taken to troubleshoot the problem, as this will help the support team diagnose the issue more effectively.
5. Follow the recommended solutions: The Apple Support team will guide you through additional troubleshooting steps or provide specific instructions to resolve the connectivity issue. Follow their recommendations carefully and provide any necessary feedback or updates on the situation.
Apple Support is dedicated to helping customers resolve their technical issues, and they have the expertise to address various concerns with AirPods. Don’t hesitate to reach out to them if you’re unable to solve the problem on your own.
Remember, while waiting for support, continue to keep your AirPods charged in their case, as this can help ensure a stable connection once the issue is resolved.
By seeking assistance from Apple Support, you can rely on their expertise and resources to resolve any persistent connectivity issues with your AirPods.