Introduction
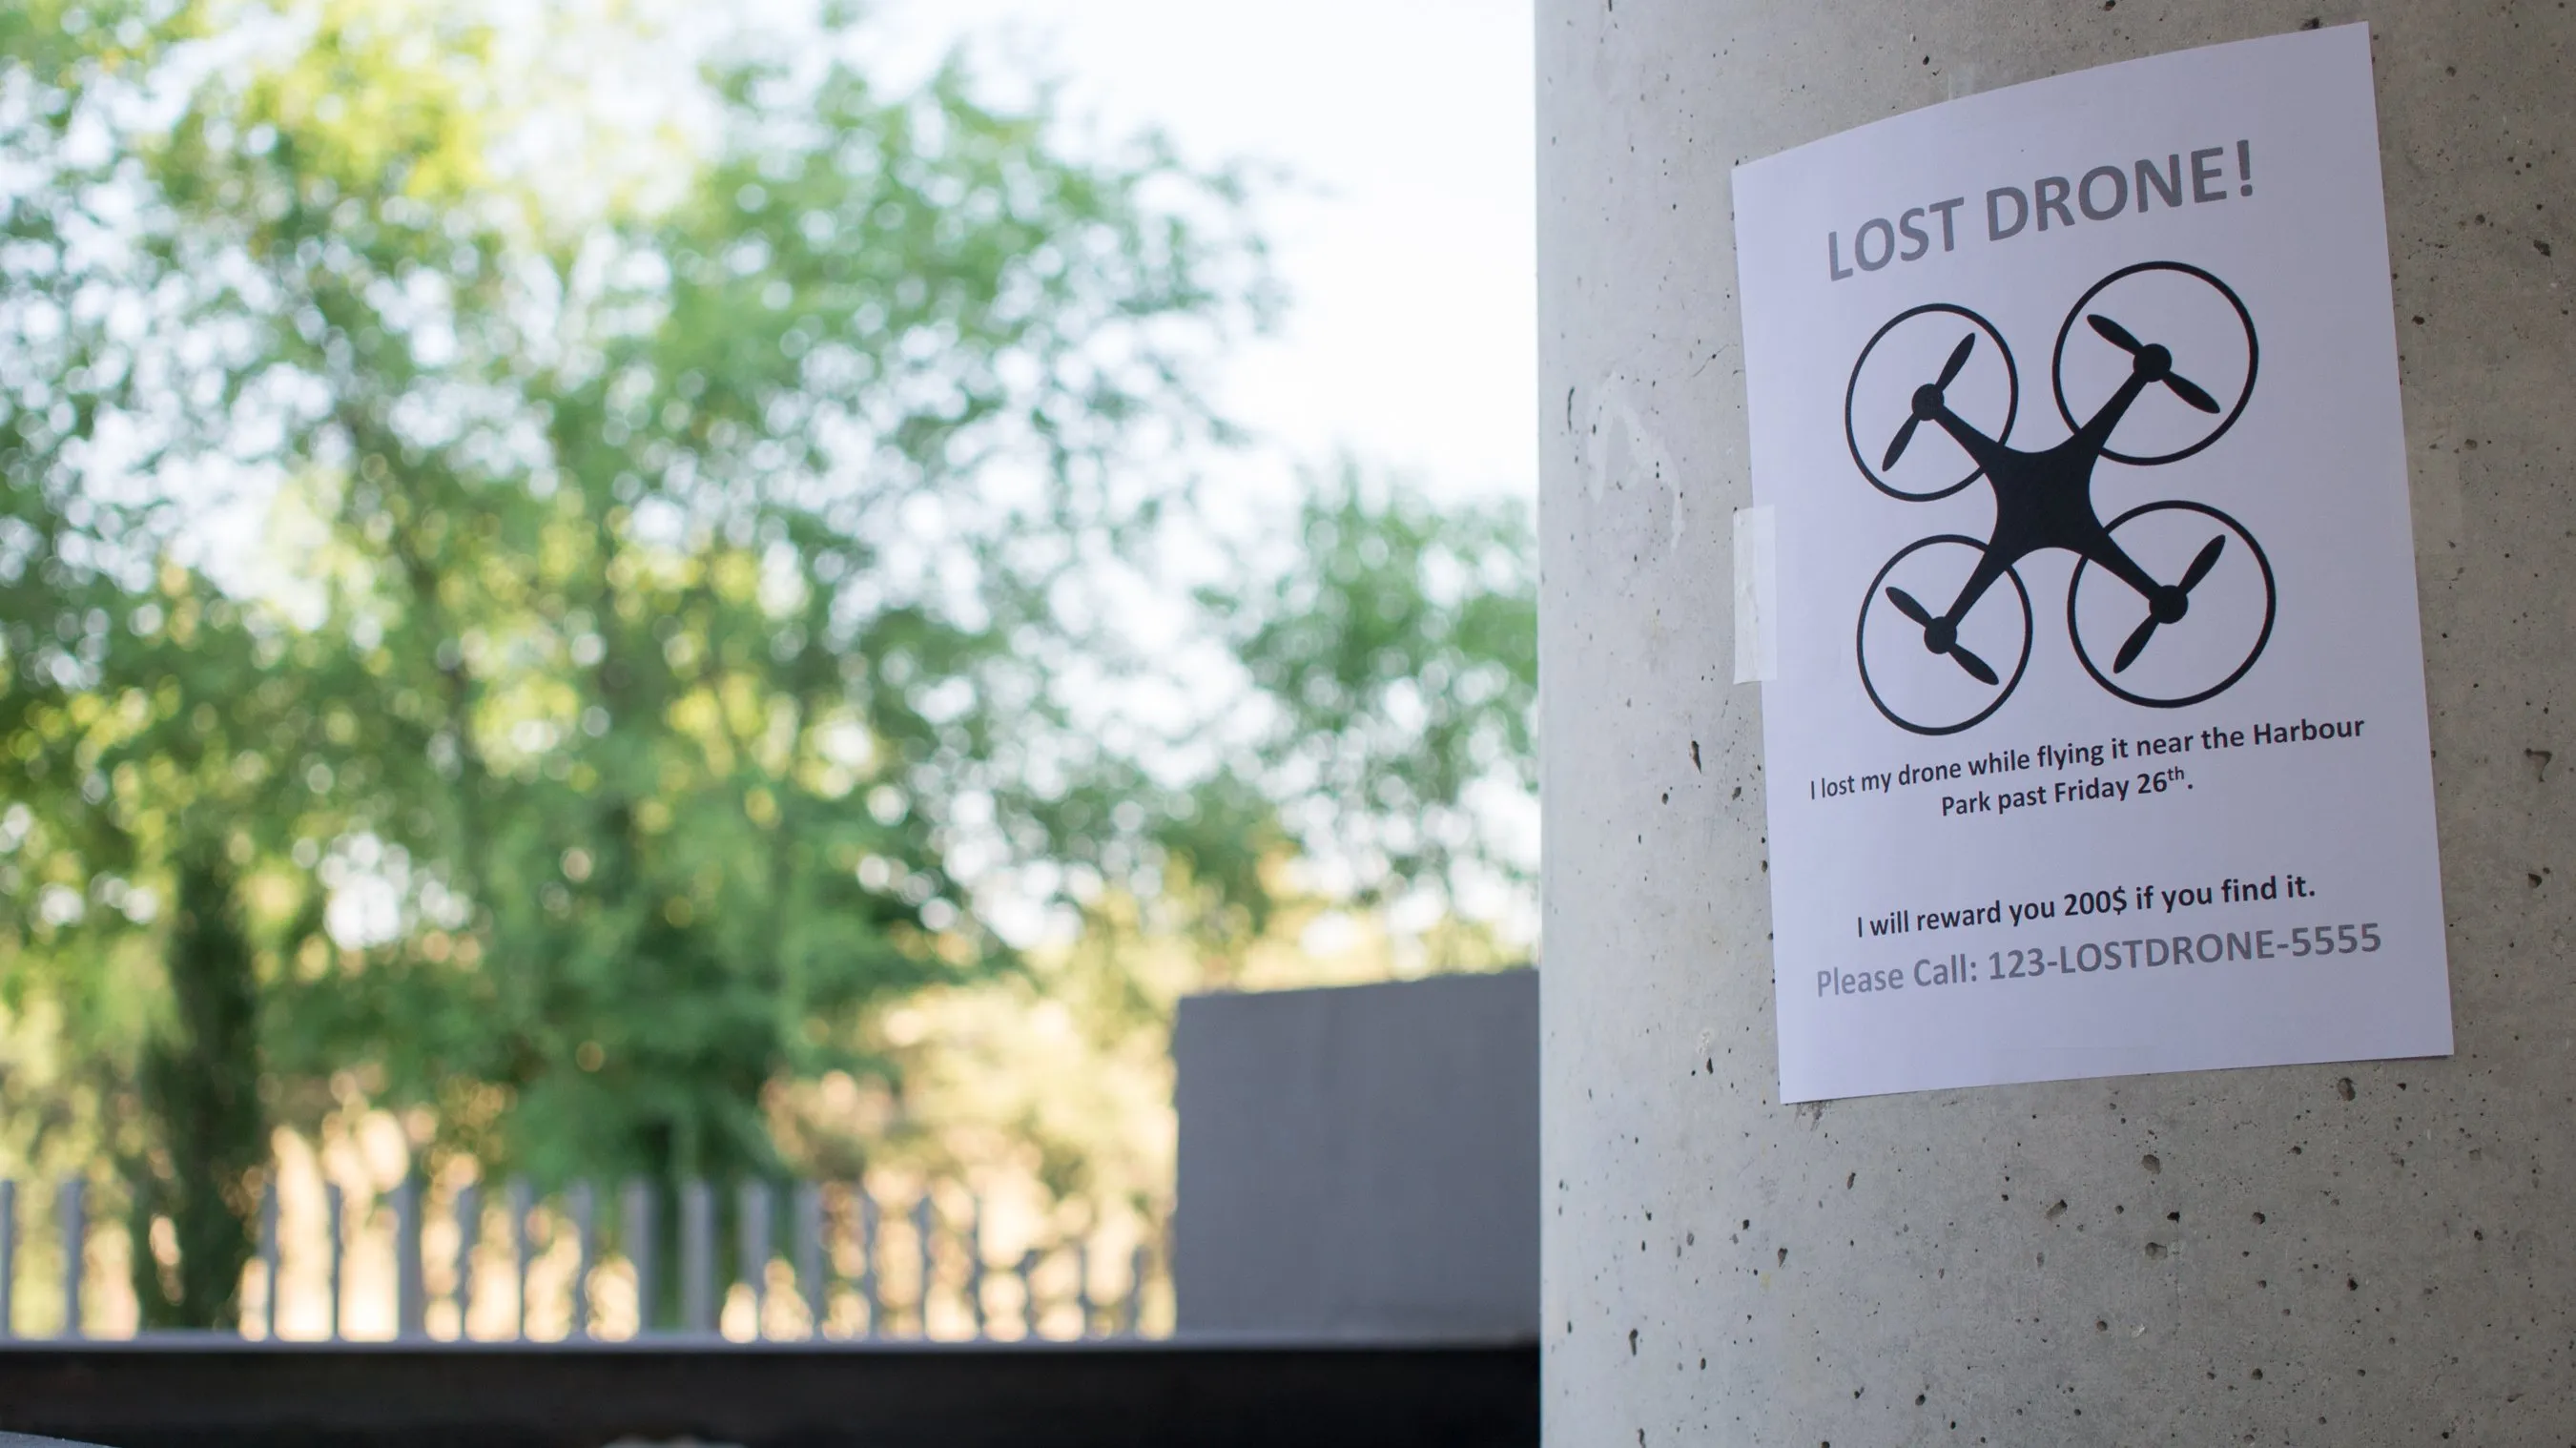
Imagine a beautiful day out with your drone, capturing stunning aerial footage, when suddenly disaster strikes – your drone falls into the water. The feeling of panic sets in as you scramble to figure out what to do next. Don’t worry, this situation is not uncommon, and with the right steps, you can salvage your drone and potentially save it from permanent damage.
When a drone falls into the water, it is crucial to act quickly and follow a set of guidelines to increase the chances of successfully recovering and repairing your device. In this article, we will guide you through the necessary steps to take if your drone has taken an unexpected dive.
Before we dive into the specifics, it’s important to note that safety should always be the priority. If the water you are dealing with is deep, fast-moving, or poses any threats, do not attempt to retrieve your drone yourself. Instead, consider enlisting the help of professionals who specialize in underwater drone recovery.
Assuming the water is safe and you are ready to take matters into your own hands, let’s explore the steps you need to follow to recover and potentially revive your waterlogged drone.
Assess the Situation
After your drone has fallen into the water, the first and most important step is to assess the situation. Take a moment to evaluate the depth, clarity, and flow of the water. This will help you determine the difficulty level of the retrieval process.
If the water is shallow and clear, you may have a better chance of seeing and reaching your drone. However, if the water is deep or murky, it could be more challenging to locate and retrieve your device.
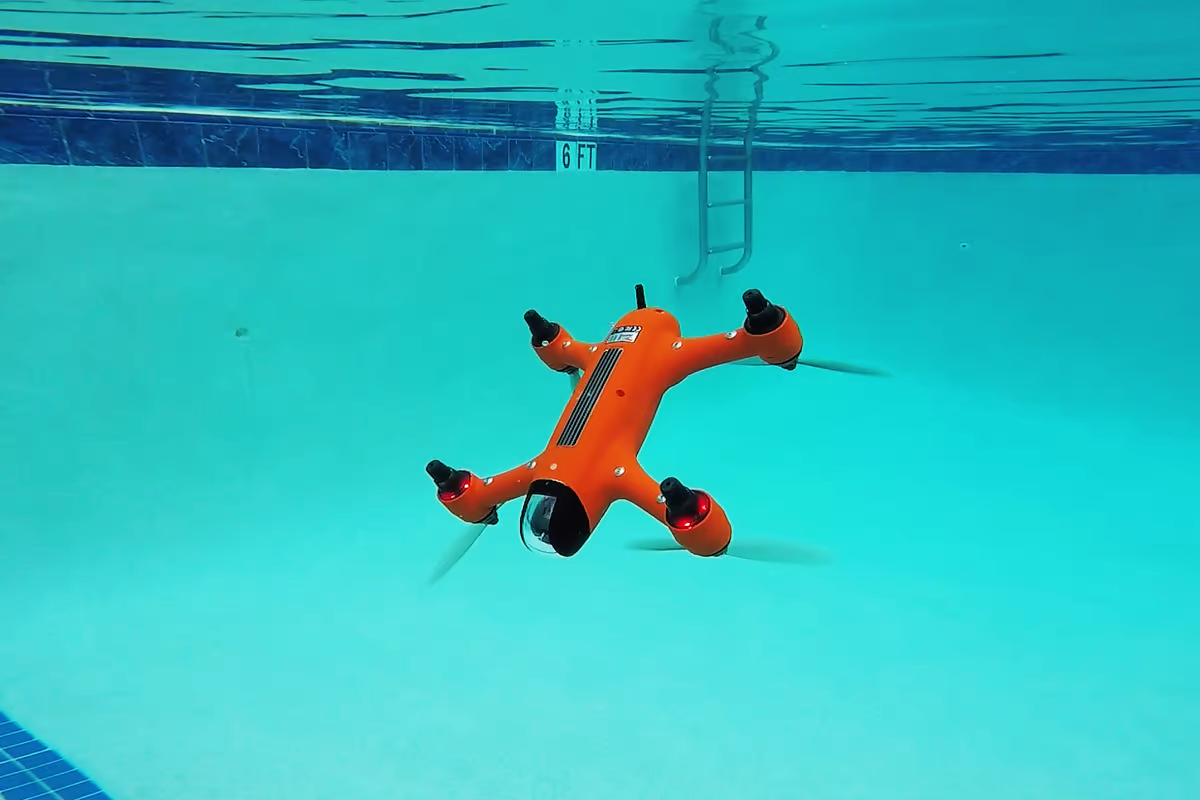
Consider the location of the accident as well. Is the water in a controlled environment, such as a pool or lake, or is it in a natural or unpredictable body of water like the ocean or a river? This will also impact your approach to recovery.
Additionally, it’s crucial to assess the condition of the drone itself. Is it still floating on the surface, or has it sunk to the bottom? Is it fully submerged or partially submerged? Understanding the position and state of your drone will help you plan the retrieval process.
Keep in mind that the longer your drone stays in the water, the higher the risk of permanent damage. Remember not to turn on or operate the drone while it is wet, as this can cause irreparable harm. Stay calm and move to the next step: retrieving your drone from the water.
Retrieve the Drone
Once you have assessed the situation and are ready to retrieve your drone from the water, there are a few methods you can try depending on the circumstances.
If the water is shallow and clear, you may be able to wade into the water and reach your drone by hand. Be cautious of any potential hazards or sharp objects that may pose a safety risk. Use a gentle and steady approach to avoid causing further damage to the drone.
In case the water is deeper or the drone is out of reach, you can use a long pole or an extendable device to hook and retrieve your drone. Attach a sturdy hook or fishing line to the pole and carefully maneuver it towards the drone. Once you have hooked onto the drone, slowly and carefully pull it towards you, making sure to keep a secure grip.
For situations where the water is too deep or the drone is fully submerged, you may need to employ a method such as using a net or a grappling hook. These tools can help you capture the drone and bring it to the surface. Remember to be patient and take your time to avoid dislodging or damaging the drone further.
It’s important to note that if you’re unable to retrieve the drone yourself, you can consider seeking professional help. There are services available specifically for underwater drone recovery that have the equipment and expertise to retrieve and salvage drones from various water conditions.
Once you have successfully retrieved the drone, it’s time to move on to the next step: drying and assessing the damage.
Dry the Drone
After retrieving your drone from the water, the next crucial step is to dry it thoroughly. Water can seep into the internal components and cause damage if not addressed promptly. Here’s what you should do:
1. Gently shake off any excess water from the drone. Be careful not to shake it too forcefully, as this could potentially damage delicate parts.
2. Use absorbent materials such as a clean towel or cotton cloth to carefully wipe down the exterior of the drone. Pay close attention to any areas where water may have accumulated, such as crevices or battery compartments. Ensure that the cloth is clean and free of lint to avoid leaving residue on the drone.
3. If you have access to a can of compressed air, use it to blow out any remaining water or moisture from the drone’s crevices and openings. Make sure to hold the can upright and follow the manufacturer’s instructions to prevent any damage.
4. Find a well-ventilated area and allow the drone to air dry naturally. Avoid using direct heat sources such as hair dryers, as excessive heat can potentially damage the drone’s electronic components.
5. Let the drone dry for at least 24 to 48 hours, or longer if needed. Patience is key during this process, as rushing to power on the drone prematurely could cause further damage.
Remember, the drying process is crucial in preventing any potential short circuits or corrosion from occurring inside the drone. Taking the time to ensure that the device is thoroughly dry before proceeding to the next steps will increase the chances of a successful recovery.
After the drone is dry, the next step is to remove the battery.
Remove the Battery
Once the drone is dry, it’s important to remove the battery immediately. Water can cause irreversible damage to the battery and potentially pose a safety risk if not handled properly. Follow these steps to safely remove the battery:
1. Ensure that the drone is turned off and disconnected from any power source before attempting to remove the battery. This will minimize the risk of electric shock.
2. Locate the battery compartment on your drone. Depending on the model, it may be located on the bottom or back of the device. Refer to the drone’s user manual if you’re unsure of its specific location.
3. Carefully open the battery compartment using the designated access point, such as a latch or screw. Take your time and avoid using excessive force to prevent any damage to the compartment or the drone itself.
4. Once the compartment is open, locate the battery and gently disconnect it from the drone. Most drones have a connector or a clip that secures the battery in place. Follow the manufacturer’s instructions to ensure a proper and safe disconnection.
5. After removing the battery, set it aside in a safe and dry location. Avoid placing it near any source of heat or direct sunlight, as this can cause further damage.
By removing the battery, you eliminate the risk of any electrical connection or short circuiting while you continue to work on restoring the drone. With the battery removed, you can focus on cleaning and drying it separately.
Next, we’ll discuss the steps to rinse and dry the battery to further ensure that it functions properly after being submerged in water.
Rinse and Dry the Battery
After removing the battery from your drone, it’s essential to rinse and dry it thoroughly to prevent any potential damage or corrosion. Here’s what you should do:
1. Rinse the battery with fresh water. Find a container or basin large enough to submerge the battery completely. Use room temperature or lukewarm water to gently rinse away any residue or impurities that may have accumulated during the drone’s exposure to water. Avoid using soap or cleaning agents, as they may leave behind a residue that could affect the battery’s performance.
2. After rinsing, pat the battery dry with a clean towel or cloth. Remove any excess water on the battery’s surface, taking care not to rub too forcefully. Ensure that the cloth is clean and lint-free to avoid leaving debris on the battery.
3. Place the battery in a well-ventilated area and let it air dry naturally. Make sure the battery is placed on a clean and dry surface, away from direct sunlight or heat sources. Allow the battery to dry completely before attempting to use or charge it.
4. Monitor the battery’s drying progress closely. Depending on the size and type of battery, it may take several hours or even up to a day for it to dry completely. Avoid rushing this process as it is crucial to ensure the battery is thoroughly dry and free from any moisture.
5. Once the battery is completely dry, inspect it for any signs of damage or corrosion. Look for any discoloration, bulging, or unusual odors. If you notice any of these signs, it’s best to seek professional assistance or consider replacing the battery to avoid potential risks.
By rinsing and drying the battery, you give it the best chance of functioning properly and safely. Remember to never attempt to charge or use a wet battery, as it can lead to further damage or even a safety hazard.
Now that the drone and the battery have been dried and inspected, let’s move on to the next step: inspecting and cleaning the drone itself.
Inspect and Clean the Drone
After drying the drone and removing the battery, the next step is to thoroughly inspect and clean the device. This will help identify any potential damage or areas that require attention. Follow these steps to inspect and clean your drone:
1. Carefully examine the exterior of the drone for any visible signs of damage. Look for cracks, dents, or scratches that may have occurred during the fall or in the retrieval process. Take note of any loose screws or parts as well.
2. Inspect the drone’s camera, propellers, and gimbal. Ensure they are free from any water, debris, or obstructions. Check for any signs of corrosion or damage that may affect their functionality.
3. Use a soft brush or compressed air to gently remove any dirt or debris from the drone’s crevices or hard-to-reach areas. Be cautious not to apply excessive force to fragile parts, such as the camera lens or gimbal mechanism.
4. If there are any stubborn dirt or residue on the drone, lightly dampen a clean cloth with isopropyl alcohol or a mild cleaning solution. Gently wipe the affected areas to remove the dirt, being careful not to saturate the drone with excessive liquid.
5. Pay attention to the drone’s connectors and ports. Ensure they are clean and dry. Use a clean, dry cloth or cotton swab to remove any moisture or debris that may have accumulated in the connections.
6. Lastly, reassemble any parts of the drone that were removed during the inspection. Make sure all screws or clips are securely fastened before proceeding to the next step.
By inspecting and cleaning the drone, you are not only ensuring its external appearance but also identifying any potential issues that may affect its performance. Cleaning the drone will help maintain its functionality and reduce the risk of further damage caused by debris or moisture.
With the inspection and cleaning complete, the next step is to test the drone to see if it functions properly.
Test the Drone
Now that you have dried, inspected, and cleaned your drone, it’s time to put it to the test. Testing the drone will help determine if it has been successfully restored and if any further repairs or adjustments are needed. Follow these steps to test your drone:
1. Reinsert the dry battery into the drone, making sure it is securely connected. Ensure the battery is fully charged before proceeding with the test.
2. Turn on the drone and observe its startup sequence. Look for any abnormal sounds, warning lights, or error messages that may indicate a problem. If any issues arise, consult the manufacturer’s troubleshooting guide or consider seeking professional assistance.
3. Once the drone is powered on, test its various functions and controls. Check if the propellers spin smoothly and freely without any resistance. Test the camera and gimbal movements to ensure they are functioning properly. Try using the drone’s different flight modes and flight stability features to evaluate their performance.
4. Take the drone for a test flight in a controlled and open area, away from obstacles and people. Start with short and low-altitude flights to assess stability and maneuverability. Gradually increase the flight duration and altitude to evaluate how the drone performs under different conditions.
5. During the flight, pay attention to the drone’s responsiveness, stability, and the quality of captured footage. Keep an eye out for any abnormal behaviors or signs of malfunction, such as erratic movements or loss of control.
6. After the test flight, land the drone safely and inspect it again for any signs of damage or issues that may have surfaced during the flight. Check the battery level and ensure it hasn’t discharged excessively during the test.
By testing the drone, you can assess its functionality and performance after the water incident. This will help you determine if further repairs or adjustments are necessary before using the drone for any important missions or projects.
If the drone passes the test and functions as expected, congratulations! You have successfully recovered and restored your waterlogged drone. If any issues persist or emerge during the testing process, it’s advisable to seek professional help or contact the drone manufacturer for further guidance.
Now let’s move on to the final section, where we’ll discuss some preventative measures to avoid future accidents.
Prevent Future Accidents
While accidents happen, there are several proactive measures you can take to prevent your drone from falling into the water in the future. By implementing these preventative strategies, you can reduce the risk of water-related accidents and ensure the longevity of your drone. Here’s what you can do:
1. Understand the drone’s limitations and capabilities: Familiarize yourself with the drone’s specifications, including its maximum flight range, battery life, and waterproof capabilities. This will help you make informed decisions and avoid pushing the drone beyond its limits.
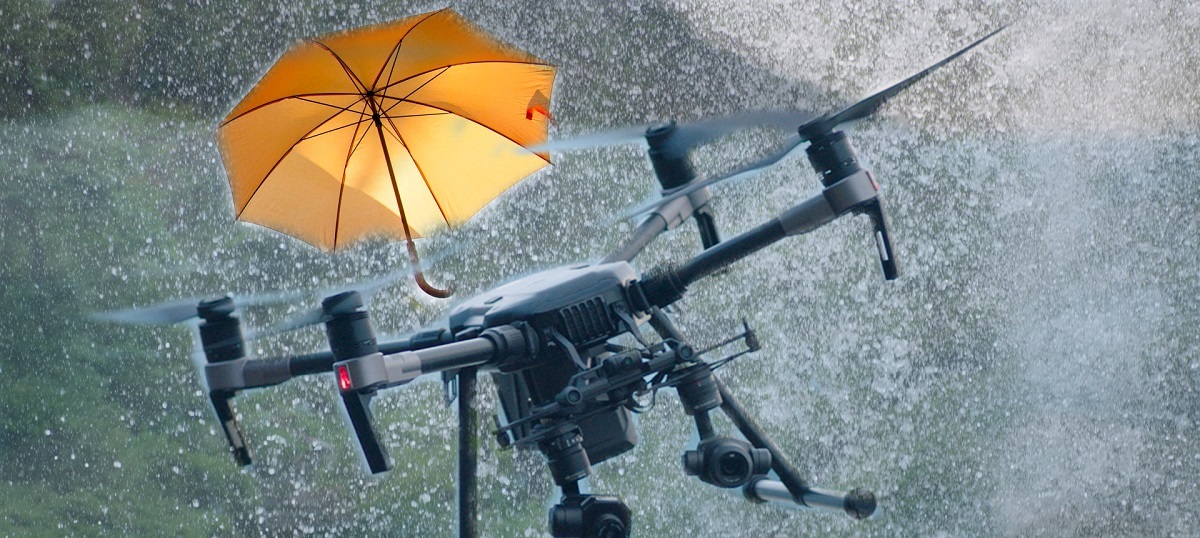
2. Check weather conditions: Before each flight, check the weather forecast to ensure ideal conditions for flying. Avoid flying in strong winds, heavy rain, or near bodies of water without proper precautions.
3. Inspect the drone before each flight: Take the time to conduct a pre-flight inspection to ensure all components are in working order. Check for any loose connections, damaged parts, or signs of wear and tear that may compromise the drone’s stability or functionality.
4. Calibrate and update firmware regularly: Follow the manufacturer’s instructions on calibrating the drone’s sensors and updating the firmware. This ensures accurate flight performance and addresses any potential software glitches that could affect the drone’s behavior in-flight.
5. Fly in open spaces: Choose open and unobstructed areas for flying your drone whenever possible. This reduces the risk of collisions with obstacles and provides ample control and maneuvering space.
6. Be mindful of battery life: Monitor the battery level during each flight and ensure there is enough power for a safe return. Avoid pushing the battery to its limits as it may run out of power while flying over water.
7. Use propeller guards: Consider using propeller guards if you are flying near water or in confined spaces. Propeller guards add an extra layer of protection and can prevent direct contact between the drone’s propellers and any potential hazards.
8. Invest in a flotation device: If you frequently fly your drone over water, consider investing in a flotation device specifically designed for drones. These devices can keep your drone afloat in case of an emergency landing or accidental water entry.
By following these preventative measures, you can greatly minimize the chances of your drone falling into the water and ensure a safer and more enjoyable flying experience.
With these guidelines in mind, you are now well-equipped to handle a drone falling into the water, recover it, and take the necessary steps to potentially bring it back to life. Remember, safety, patience, and careful handling are crucial throughout the process.
Happy flying!
Conclusion
Accidents happen, and having your drone fall into the water can be a heart-stopping moment. However, with the right knowledge and action, you can increase your chances of recovering and potentially reviving your waterlogged drone.
In this article, we have discussed the step-by-step process to follow if your drone falls into the water. From assessing the situation and retrieving the drone to drying it, removing the battery, inspecting and cleaning, and finally testing its functionality, each step is vital in the recovery process.
Remember to prioritize safety throughout the entire process. If the water is deep, fast-moving, or poses any risks, seek professional help rather than attempting to retrieve the drone yourself. It’s always better to be safe than sorry.
Additionally, we covered preventative measures to avoid future accidents, such as understanding the drone’s limitations, conducting pre-flight inspections, flying in open spaces, and monitoring battery life. By implementing these precautions, you can reduce the risk of accidents and extend the lifespan of your drone.
While drone accidents can be stressful, it’s important to approach the situation with calmness and patience. Rushing the recovery process or attempting to power on a wet drone can lead to further damage. Take your time, follow the steps, and seek professional help if needed.
With the information and guidance provided in this article, you are now better equipped to handle the unexpected event of your drone falling into the water. By following these steps and implementing preventative measures, you can salvage your waterlogged drone and continue capturing breathtaking aerial footage in the future.
Happy flying and safe adventures!


