Introduction
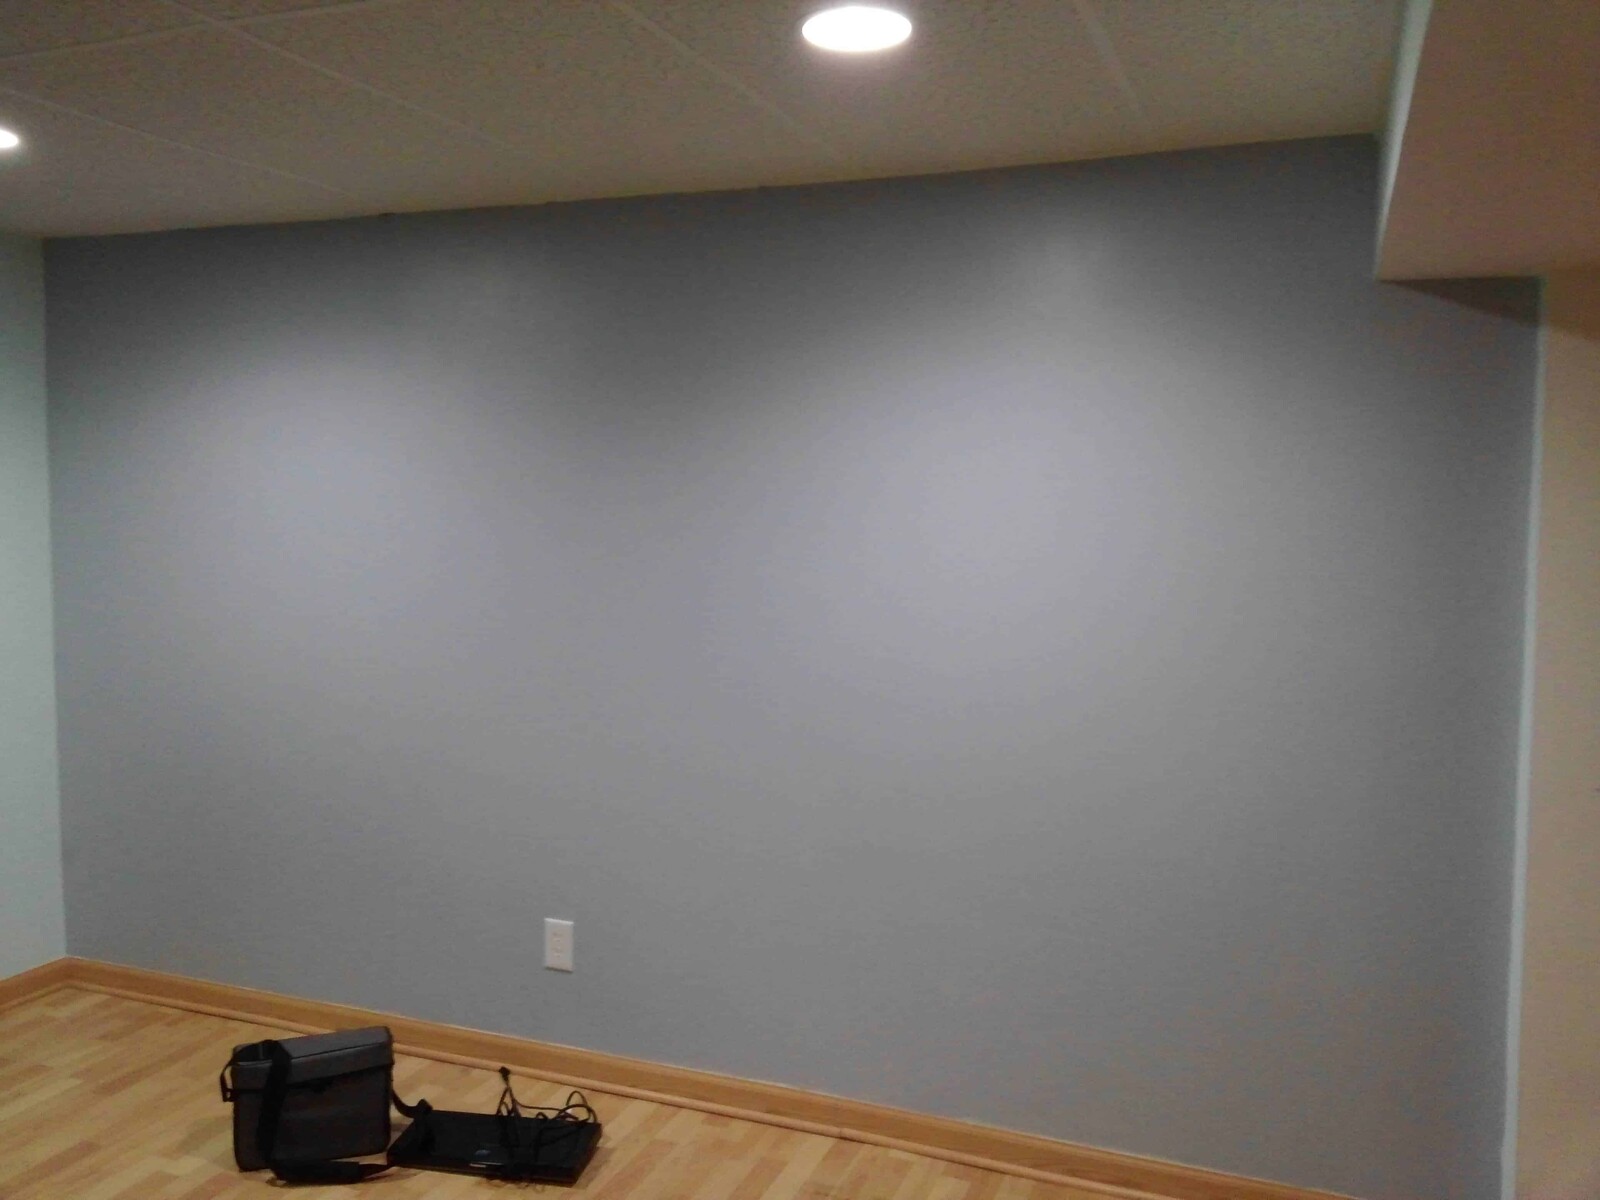
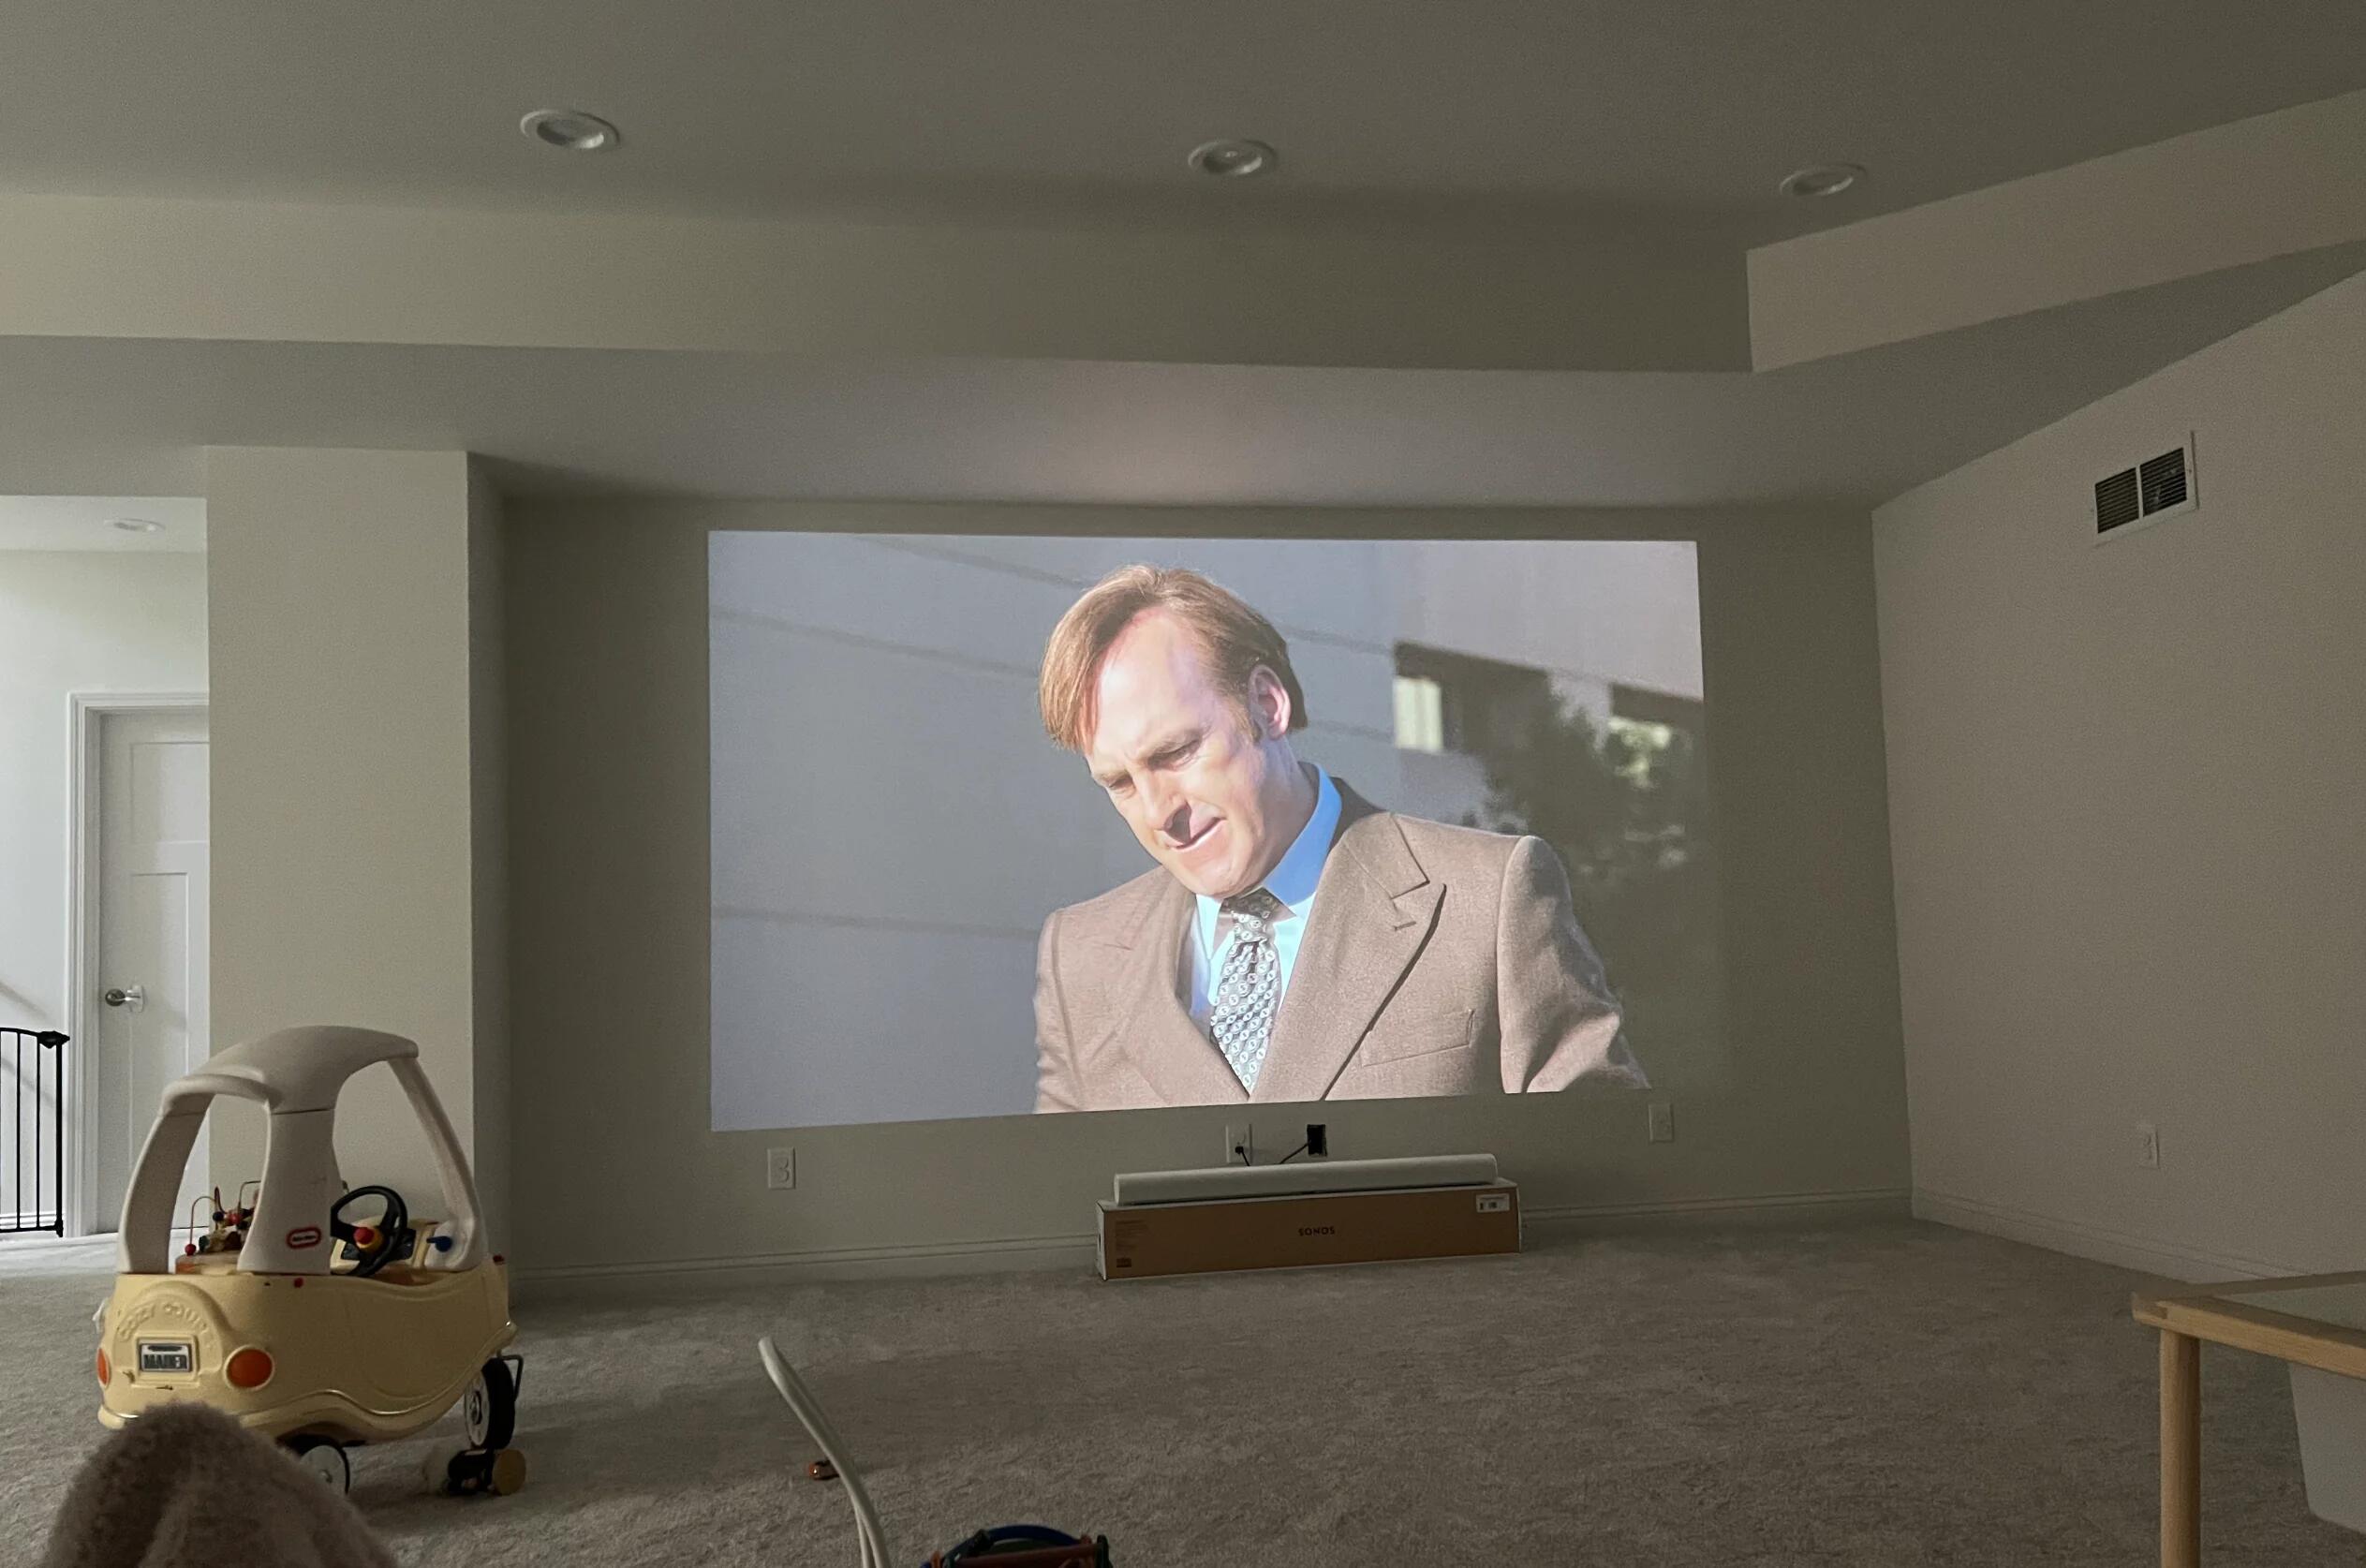
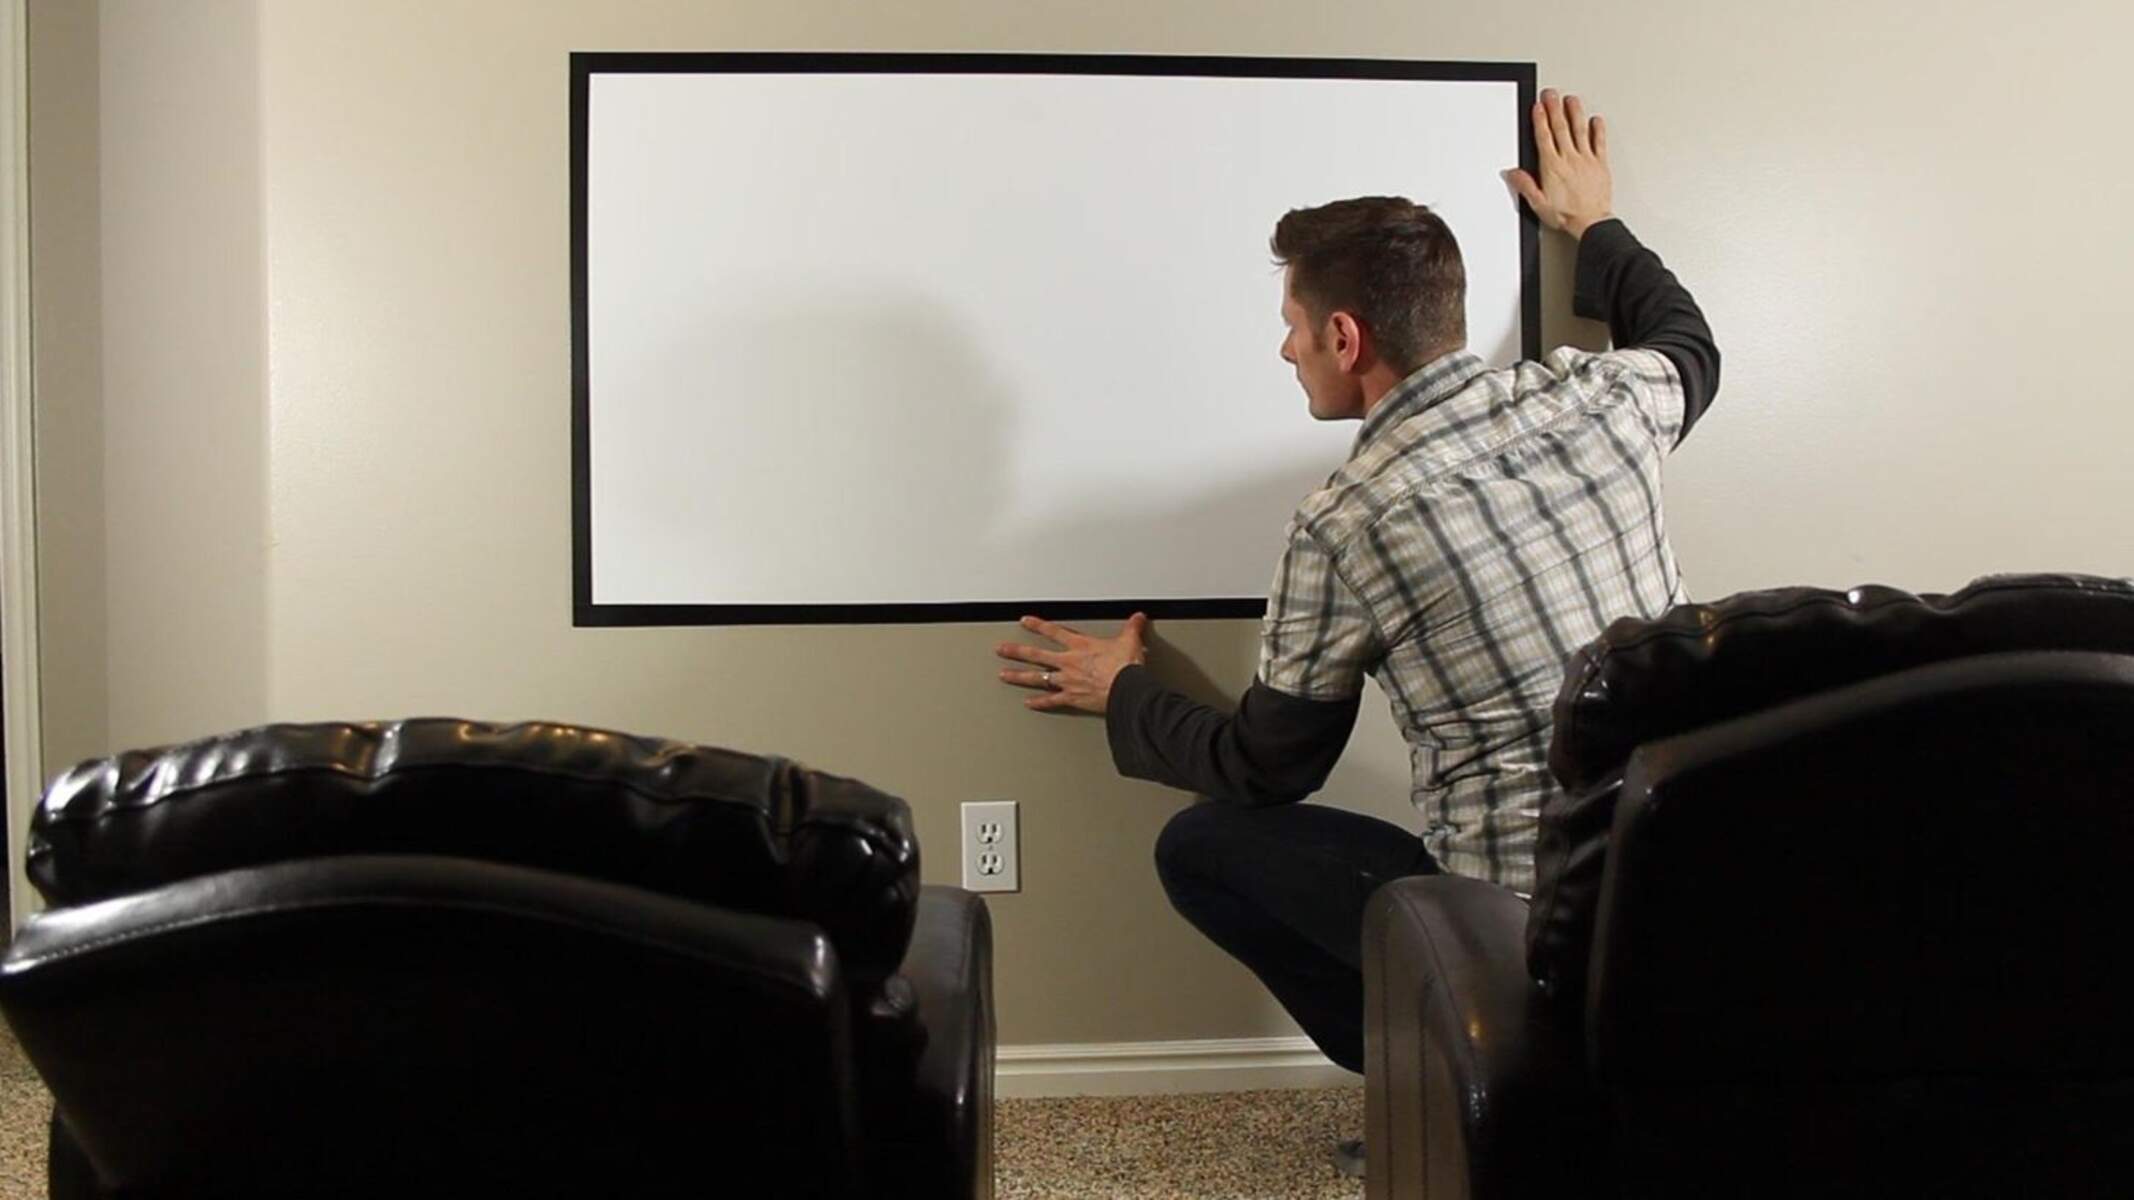
Welcome to the world of projectors and screens, where movie nights, presentations, and immersive gaming experiences come to life. When setting up a projector, one crucial component to consider is the type of paint used for the screen. While many opt for traditional projector screens, others prefer to paint directly onto a wall or a specially designed surface. In this article, we will explore the various factors to consider when choosing paint for a projector screen, the different types of paint available, and some DIY recipes for those feeling adventurous.
Choosing the right paint for your projector screen is essential for optimizing image quality, contrast, and brightness. Factors such as ambient light, surface material, and personal preferences all play a role in determining the most suitable paint option. Whether you are a DIY enthusiast looking to create your own projector screen or a professional seeking the best paint for a commercial installation, understanding the differences between the available paint types is key.
Two commonly used types of paint for projector screens are acrylic and latex. Acrylic paint offers a smooth and even surface, which can enhance image clarity and color accuracy. Latex paint, on the other hand, is versatile and readily available, making it a popular choice for DIYers. Additionally, there is a special category of paint known as high-gain projector screen paint, which is specifically designed to increase screen brightness and reflectivity.
For those who enjoy exploring their creative side and want to experiment with DIY projector screen paints, there are various homemade recipes available. These recipes often involve mixing different types of paint with reflective additives or using specific ratios of paint and other materials to achieve desired screen properties. However, it is important to note that DIY options may not offer the same level of performance as commercially available projector screen paints.
In the following sections, we will delve deeper into each type of paint, outlining their features, pros, and cons. We will also provide step-by-step instructions for painting a projector screen and offer maintenance tips to ensure its longevity. So, whether you are a movie enthusiast, gamer, or professional presenter, read on to discover the ideal paint choice for your projector screen needs.
Factors to Consider When Choosing Paint for a Projector Screen
When selecting the right paint for your projector screen, several essential factors should guide your decision. These factors will ensure optimal image quality, durability, and overall performance. Let’s explore the key considerations you need to keep in mind:
- Ambient Light: Consider the lighting conditions in the room where the projector screen will be installed. If the room is prone to glare or has a significant amount of natural light, you may need a paint that provides a higher level of screen brightness and reflection to combat the light interference.
- Surface Material: The type of surface you are painting on is crucial. A smooth and flat surface is ideal for projecting images without distortions or irregularities. If you are painting on a textured wall, consider using a thicker paint to compensate for the unevenness.
- Image Quality: The paint color and finish can significantly impact image quality. Consider using a neutral color such as gray or white to enhance color accuracy and contrast. Matte or eggshell finishes are typically recommended as they minimize glare and provide a more immersive viewing experience.
- Paint Coverage: Some paints may require multiple coats to achieve an even and vibrant surface. Take into account the paint’s coverage capacity and factor in the number of coats needed to achieve the desired effect. This will ensure that the resulting screen is not patchy or uneven.
- Budget: Paint prices can vary greatly, from budget-friendly options to higher-end, specialized projector screen paints. Determine your budget and consider the quality and performance of the paint in relation to your investment. Keep in mind that higher-quality paints may provide better overall image quality and longevity.
By carefully considering these factors, you can make an informed decision when choosing the appropriate paint for your projector screen. Each factor plays a vital role in achieving optimal image performance and ensuring a satisfactory viewing experience. Now that we have explored the key factors to consider, let’s delve into the different types of paint available for projector screens.
Acrylic Paint
Acrylic paint is a popular choice for projector screens and offers several advantages for those looking to achieve high-quality image projection. Here are some key features and considerations when using acrylic paint for your projector screen:
Smooth and Even Surface: Acrylic paint provides a smooth and even surface when applied correctly. This ensures that the projected image appears sharp and clear without any inconsistencies or texture-related distortions.
Color Accuracy and Vibrancy: Acrylic paint is available in a wide range of colors, allowing you to choose the best shade for your projector screen. Opting for neutral colors, such as shades of gray or white, can enhance color accuracy and improve overall image vibrancy.
High Opacity and Coverage: Acrylic paint offers excellent opacity, meaning it can easily cover the surface and hide any previous colors or imperfections. This ensures an even application and prevents any underlying colors from affecting the projected image.
Fast Drying Time: One of the standout features of acrylic paint is its quick drying time. This allows you to complete the painting process more efficiently, reducing the waiting time before you can begin projecting onto the screen.
Durability: Acrylic paint is known for its durability, making it a reliable choice for long-term use. It is resistant to cracking and peeling and can withstand regular cleaning without significant damage to the painted surface.
While acrylic paint offers many benefits for projector screens, it also has a few considerations to keep in mind. Firstly, when applying acrylic paint, it is important to ensure that the surface is properly prepared, clean, and smooth. Any imperfections or dirt can affect the final result.
Secondly, acrylic paint is known to have a higher level of sheen compared to matte finishes. This may cause slight reflections and glare under certain lighting conditions. If you are concerned about glare, choosing a paint with a matte finish or using a screen paint additive can help minimize this issue.
Overall, acrylic paint is a versatile option for projector screens, providing a smooth and vibrant surface for optimal image projection. Its durability and color range make it a popular choice among DIY enthusiasts and professionals alike.
Latex Paint
Latex paint is a versatile and widely available option for painting projector screens. It offers several advantages and considerations that make it a popular choice among DIYers. Let’s explore the key features and considerations of using latex paint for your projector screen:
Versatility and Availability: Latex paint is readily available in most paint stores, making it easily accessible for anyone wanting to create a DIY projector screen. It comes in a wide range of colors and finishes, allowing you to customize your screen to suit your preferences.
Easy Application: Latex paint is relatively easy to apply, even for beginners. It typically comes in a water-based formula, which makes it smooth and easy to work with. The paint can be conveniently applied with a roller or brush, providing a consistent and even coat.
Cost-Effective Option: Compared to specialized projector screen paints, latex paint is generally more affordable. This makes it an attractive choice for those on a budget or looking for a cost-effective alternative without compromising too much on image quality.
Quick Drying Time: Similar to acrylic paint, latex paint also has a relatively fast drying time. This means that you can complete your projector screen project more efficiently and with less waiting time before you can start enjoying your projected images.
Reflective Properties: One consideration with latex paint is its reflective properties. Latex paint tends to have a higher level of sheen or gloss compared to other paint types. This can result in some glare or reflections, which may affect the overall image quality, especially in rooms with bright ambient light.
To minimize the reflective properties of latex paint, you can consider using a matte finish or adding a screen paint additive to reduce glare. These adjustments can help enhance the viewing experience and improve the image quality projected onto the screen.
Overall, latex paint is a versatile option for those looking to create their own projector screen. Its ease of application, availability, and cost-effectiveness make it a popular choice among DIY enthusiasts. However, if you are looking for the highest level of image quality and performance, specialized projector screen paints may be a more suitable option.
High-Gain Projector Screen Paint
High-gain projector screen paint is a specialized type of paint designed to maximize screen brightness and reflection. This type of paint is formulated to enhance image quality and provide a more immersive viewing experience. Here are some key features and considerations when using high-gain projector screen paint:
Increased Screen Brightness: The primary purpose of high-gain projector screen paint is to amplify the brightness of the projected image. It achieves this by increasing the screen’s reflectivity, allowing for a brighter and more vibrant display, even in rooms with high ambient light.
Improved Contrast Ratio: High-gain projector screen paint not only enhances screen brightness but also improves the contrast ratio. This means that the darker areas of the projected image will appear deeper and more defined, resulting in enhanced image clarity and depth.
Narrow Viewing Angle: One consideration when using high-gain projector screen paint is the narrow viewing angle. This means that the optimal viewing experience is limited to a specific range of angles. Deviating from this range may result in decreased image quality and brightness. Proper seating arrangement and positioning are crucial to fully benefit from the paint’s high-gain properties.
Specialized Formulation: High-gain projector screen paint is formulated using specific materials and additives to enhance screen reflectivity. The exact composition may vary depending on the brand or manufacturer, but the goal is to achieve the highest level of screen gain possible.
Application Techniques: Applying high-gain projector screen paint typically requires specific techniques to achieve optimal results. It is recommended to follow the manufacturer’s instructions carefully and ensure proper surface preparation for a smooth and even application.
Consider Ambient Light: When using high-gain projector screen paint, it is crucial to consider the ambient light conditions in the room. While this paint is designed to perform well in rooms with bright light, excessive lighting or direct sources of light may still cause glare or washout on the screen.
High-gain projector screen paint is an excellent choice for those who prioritize screen brightness and want to create a more immersive viewing experience. However, it is important to note that the narrow viewing angle and potential glare issues make proper seating arrangement and lighting control essential for optimal results.
If you are looking for a projector screen paint that provides maximum brightness and contrast, especially for larger screens or commercial installations, high-gain projector screen paint can be an ideal solution. It can significantly enhance the overall visual impact and make your projected content truly captivating.
DIY Projector Screen Paint Recipes
If you’re feeling adventurous and want to explore a DIY approach to creating your projector screen paint, there are various recipes available that you can try. These DIY options often involve mixing different types of paint with reflective additives or using specific ratios of paint and other materials to achieve desired screen properties. Here are a few popular DIY projector screen paint recipes:
1. Silver Screen Recipe: This recipe is a classic choice for DIY projector screen paint. Mix flat finish white latex paint with metallic silver paint, typically in a 4:1 ratio. The white paint serves as a base, while the silver paint adds reflectivity and brightness to the screen. Apply the mixture evenly on the surface and allow it to dry completely.
2. Black Widow Recipe: The Black Widow recipe is known for enhancing contrast and deep blacks. It involves mixing flat black latex paint with a pearlescent or metallic silver paint. The ratio can vary, but a common recommendation is 8 parts black paint to 1 part silver paint. Stir the mixture thoroughly and apply it evenly on the surface.
3. Gain Enhancer Recipe: This recipe focuses on increasing screen gain. Start with a matte white latex paint as the base and add a screen paint additive or mica powder. The recommended ratio is about 1 tablespoon of additive per quart of paint. Mix well to ensure the additive is evenly distributed throughout the paint. Apply the mixture on the surface, aiming for a smooth and consistent coat.
4. Color Enhancer Recipe: If you want to experiment with different color tones, this recipe can help enhance the colors projected on your screen. Start with a neutral gray latex paint as the base and add small amounts of desired pigments or colorants. Mix thoroughly, ensuring the color is evenly distributed. Apply the paint mixture with smooth, even strokes, and allow it to dry completely.
It’s important to note that while these DIY recipes offer a creative approach to projector screen painting, they may not provide the same level of performance as commercially available projector screen paints. The reflectivity, brightness, and overall image quality may not match professional-grade options. However, they can be an affordable and fun alternative for those looking to experiment and customize their projector screen on a budget.
Before attempting a DIY projector screen paint recipe, it’s recommended to thoroughly research and gather all the necessary materials. Additionally, ensure your surface is properly prepared and follow the painting instructions to achieve the best possible results.
Now that you have some DIY projector screen paint recipes under your belt, let’s move on to the steps involved in painting a projector screen.
Steps to Paint a Projector Screen
Creating your own painted projector screen can be a rewarding and cost-effective option. Whether you’re using specialized projector screen paint or a DIY recipe, here are the general steps to follow when painting a projector screen:
1. Prepare the Surface: Start by ensuring that the surface you will be painting on is clean, smooth, and free from any debris. Use sandpaper or a sanding block to remove any imperfections and create a smooth surface for the paint to adhere to.
2. Prime the Surface (if necessary): Depending on the type of surface you’re working with, you may need to apply a primer before painting. A primer helps improve paint adhesion and can create a more even and durable finish. Follow the manufacturer’s instructions for the primer application.
3. Mix the Paint: If you’re using a commercially available projector screen paint, follow the mixing instructions provided. For DIY projector screen paint recipes, ensure that all the ingredients are mixed thoroughly to achieve a consistent color and texture.
4. Apply the Paint: Use a high-quality brush or roller to apply the paint in smooth, even strokes. Start from one corner of the screen and work your way across, keeping the application as consistent as possible. If necessary, apply multiple coats, allowing each coat to dry completely before adding the next.
5. Allow for Drying Time: It is crucial to allow sufficient drying time between each coat of paint and after the final coat. Follow the manufacturer’s recommendations for the specific paint you are using. This will ensure that the paint properly adheres to the surface and achieves its optimal finish.
6. Test the Projection: Once the paint has fully dried, test the projection of your chosen content onto the screen. Make any necessary adjustments to the projector positioning or room lighting to optimize the image quality and clarity.
7. Fine-Tune and Enjoy: Assess the projection quality and make any additional adjustments needed. This may include optimizing the screen placement, seating arrangement, or ambient lighting conditions. Once you’re satisfied with the results, sit back, relax, and enjoy your homemade projector screen.
Following these steps will help you achieve a smooth and well-painted projector screen. Whether you opt for a professional-grade paint or a DIY recipe, proper surface preparation and careful application are key to achieving optimal image quality and longevity.
Now that your projector screen is painted and ready for use, it’s important to understand how to maintain and care for it to ensure its longevity. We’ll cover some maintenance tips in the next section.
Maintenance Tips for Your Painted Projector Screen
After investing time and effort into painting your projector screen, it’s crucial to maintain and care for it properly. Here are some maintenance tips to ensure its longevity and optimal performance:
1. Regular Cleaning: Dust, fingerprints, and smudges can accumulate on the painted surface over time, affecting image quality. Use a soft, lint-free microfiber cloth or screen cleaning solution specifically designed for painted surfaces to gently wipe away any dirt or marks. Avoid using harsh chemicals or abrasive materials that could damage the paint.
2. Gentle Cleaning Techniques: When cleaning the screen, use gentle, circular motions to avoid any scratching or rubbing that could potentially damage the painted surface. Start from the top and work your way down, ensuring you cover the entire surface evenly.
3. Avoid Excessive Pressure: While cleaning, avoid applying excessive pressure to the painted screen. Exerting too much force could result in smudging or streaking, compromising the screen’s clarity and image quality.
4. Mindful Handling: When moving or storing your projector screen, handle it with care to prevent any accidental scratches or dents. Use soft, clean gloves or handle it with clean hands to minimize the transfer of oils and dirt onto the surface.
5. Protect from Direct Sunlight: Prolonged exposure to direct sunlight can cause the paint to fade over time. If possible, position your projector screen away from windows or use curtains or blinds to block out direct sunlight. This will help preserve the vibrancy and longevity of the paint.
6. Control Room Lighting: In order to enhance the image quality, it is important to control the ambient lighting in the room. Excessive room lighting or glare can diminish the clarity and contrast of the projected image. Consider using dimmable lights or installing blackout curtains to create a more optimal viewing environment.
7. Avoid Harsh Cleaning Agents: Harsh cleaning agents, such as solvents or alcohol-based solutions, can damage the painted surface and compromise the overall performance of the screen. Stick to mild, non-abrasive cleaning solutions specifically formulated for painted surfaces.
8. Periodic Touch-Ups: Over time, the painted surface may experience wear and tear. To maintain optimal screen performance, consider periodically inspecting the surface for any areas that may require touch-ups. Follow the original paint instructions or consult with a professional to ensure a seamless blend and consistent image quality.
By following these maintenance tips, you can prolong the life of your painted projector screen and ensure that it continues to deliver impressive image quality for your viewing pleasure. Regular cleaning, mindful handling, and controlling the surrounding environment are key to maintaining the screen’s performance and preserving its vibrant colors and clarity.
Now that we have covered maintenance tips for your painted projector screen, it’s time to wrap up this guide. Happy projecting!
Conclusion
Choosing the right paint for your projector screen is crucial for achieving optimal image quality and creating a memorable viewing experience. Whether you opt for acrylic paint, latex paint, or high-gain projector screen paint, each option has its own advantages and considerations.
Acrylic paint offers a smooth and even surface with excellent color accuracy and durability. It is a popular choice among DIY enthusiasts for its versatility and vibrant results. Latex paint, on the other hand, provides a cost-effective option that is easily accessible and easy to apply. While it may have some reflective properties, it can still deliver satisfactory image performance when properly applied.
For those seeking maximum screen brightness and reflection, high-gain projector screen paint is designed specifically to enhance these aspects. It can provide a captivating viewing experience but requires careful seating arrangement and lighting control due to its narrow viewing angle.
Alternatively, if you enjoy experimenting and want to get creative, DIY projector screen paint recipes can be a fun and budget-friendly option. Mixing different paint types or adding reflective additives allows for customization, although the performance may not match that of specialized projector screen paints.
Regardless of the paint type you choose, proper maintenance is essential for preserving the quality of your painted projector screen. Regular cleaning with gentle techniques, mindful handling, and protecting from direct sunlight are key to its longevity.
Whether you’re a movie enthusiast, gamer, or professional presenter, understanding the different types of paint available and following the recommended steps will help you create a projector screen that delivers stunning visuals and an immersive viewing experience.
Now that you have the knowledge to choose the right paint, paint the screen, and maintain it, it’s time to bring your visual content to life. Enjoy your DIY projector screen and immerse yourself in the world of captivating visuals and unforgettable entertainment.


