Introduction
Are you looking to transform a plain wall into a stunning work of art? Creating a wall mural is a fantastic way to add personality and style to any space. And with the help of a projector, you can easily transfer an image onto the wall for precise outlines and accurate proportions.
In this article, we will guide you through the process of painting a wall mural using a projector. Whether you’re a seasoned artist or a beginner, this technique will allow you to bring your visions to life with ease and precision.
By using a projector, you can bypass the need for meticulous measuring and freehand sketching. Instead, you can focus on the artistic aspect of the project, directing your attention towards creating intricate details and adding vibrant colors.
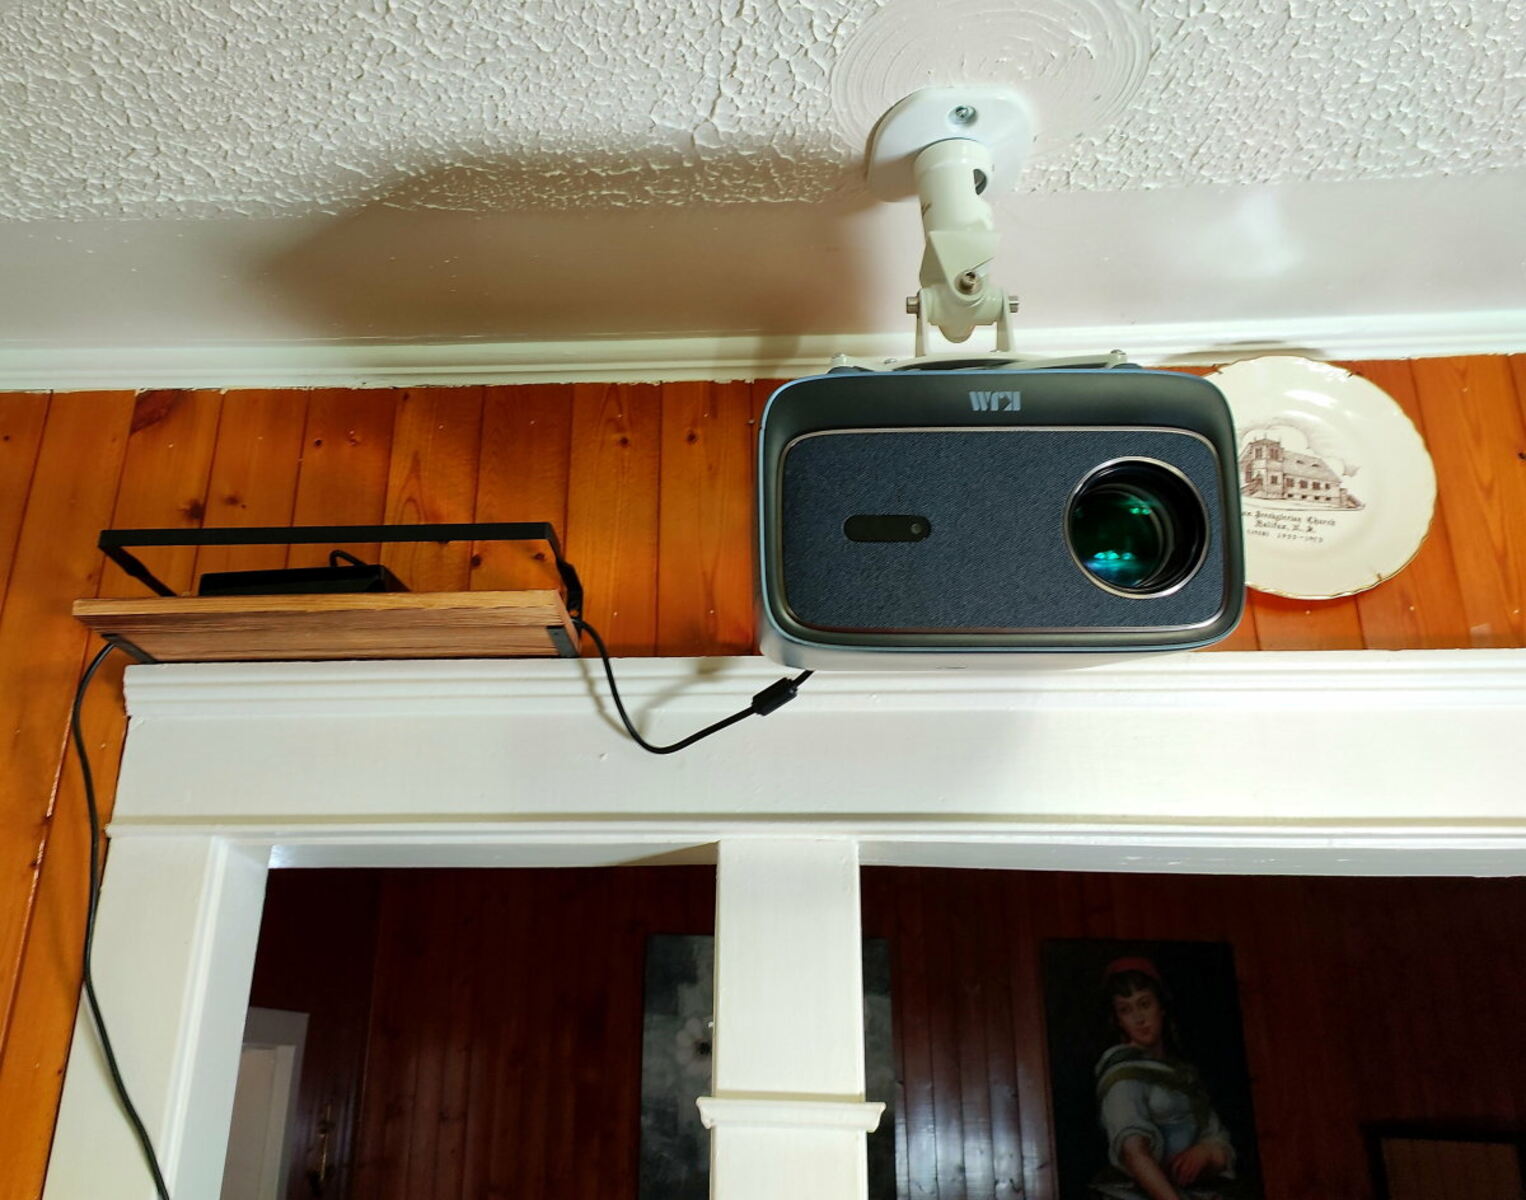
Before we get started, it’s important to choose the right projector for your wall mural project. Consider the brightness, resolution, and portability factors to ensure optimal performance and ease of use. Once you have your projector, you can begin the exciting process of finding the perfect image for your wall mural.
Whether you want to recreate a favorite photograph, illustrate a captivating scene, or let your imagination run wild with abstract designs, there are endless possibilities for your wall mural. Look for high-quality images with clear outlines and appealing compositions that align with your vision.
With the image in hand, it’s time to turn your attention to the wall and projector setup. Prepare the surface by cleaning and priming it, ensuring a smooth and even canvas to work on. Set up your projector, adjusting the distance and angle to achieve the desired size and positioning of the image on the wall.
Now that you have your wall prepped and your projector ready, it’s time to gather your paints and brushes. Use high-quality acrylic paints that offer a wide range of colors and durability. Select brushes of various sizes to accommodate both broad strokes and intricate details.
Stay tuned as we guide you through the process of projecting and tracing your image onto the wall, painting the outlines and base colors, adding details and shading, and adding those final finishing touches to complete your wall mural masterpiece.
Choosing the Right Projector for Your Wall Mural Project
When it comes to painting a wall mural with a projector, selecting the right projector is crucial. With so many options available in the market, it’s important to consider certain factors that will ensure the success of your project. Here are some key points to keep in mind when choosing a projector for your wall mural:
Brightness: Look for a projector with high brightness levels. This is especially important if you plan to work on your wall mural in a well-lit room. A projector with at least 3,000 lumens will ensure that the projected image remains vibrant and visible.
Resolution: Opt for a projector with a high-resolution display. A higher resolution will result in clearer and more detailed projections, allowing you to capture intricate designs accurately. Look for projectors with resolutions of Full HD (1920 x 1080 pixels) or higher for optimal clarity.
Portability: Consider the portability of the projector. If you foresee yourself moving the projector frequently or working on murals in various locations, a lightweight and compact projector will make the process much easier. Look for projectors that are easy to transport and set up.
Keystone Correction: Ensure that the projector you choose has keystone correction capabilities. Keystone correction corrects image distortion caused by projecting at an angle. This feature will allow you to project and trace your image accurately onto the wall, even if the projector is not perfectly aligned.
Connectivity Options: Check the connectivity options of the projector. Make sure it is compatible with the devices you plan to use, such as laptops or smartphones, to project your image. HDMI and USB ports are common connectivity options that provide versatility and ease of use.
Image Adjustments: Look for projectors that offer various image adjustments. These adjustments, such as focus, zoom, and aspect ratio, will allow you to customize the size and proportions of the projected image on the wall. Having control over these settings will ensure accurate scaling and positioning of your mural.
Take your time to research and read reviews before making your final decision. Consider your specific project requirements and budget to find a projector that meets your needs. Remember, choosing the right projector will greatly enhance your experience and the quality of your wall mural project.
Finding the Perfect Image for Your Wall Mural
Once you have your projector ready, it’s time to find the perfect image for your wall mural. The image you choose will set the tone and style of your mural, so it’s important to consider a few key factors:
Subject Matter: Think about the theme or subject matter you want to portray in your mural. Whether it’s a serene nature scene, an abstract design, or a vibrant urban landscape, your chosen image should align with your vision and personal style.
Composition: Look for images with strong compositions. Consider the placement of objects, the balance of negative and positive space, and the overall visual flow. A well-composed image will translate beautifully onto your wall and captivate viewers.
Resolution: Choose an image with a high resolution. This will ensure that the projected image remains sharp and detailed, allowing for accurate tracing and painting. Higher resolution images provide more clarity and allow you to capture finer details in your mural.
Contrast and Colors: Pay attention to the contrast and colors in the image. Images with a wide range of colors and strong contrast will make your mural visually striking. Consider how the colors will complement the existing decor or create a focal point in the room.
Size and Proportions: Consider the size and proportions of the image in relation to your wall. Think about whether you want the image to fill the entire wall or be a smaller focal point. Keep in mind that larger images may require more time and effort to complete.
Personalization: Feel free to add your own touch to the image. You can modify colors, adjust elements, or even combine multiple images to create a unique composition. Don’t be afraid to unleash your creativity and make the mural truly your own.
Source of Images: There are numerous sources where you can find images for your wall mural. You can explore stock photo websites, art platforms, or even consider creating your own artwork or photographs. Ensure that you have the necessary permissions or licenses if using copyrighted images.
Take your time to browse through different images and gather inspiration. Create a mood board or collection of images to help you visualize the final result. Remember, finding the perfect image is an important step in creating a captivating and meaningful wall mural.
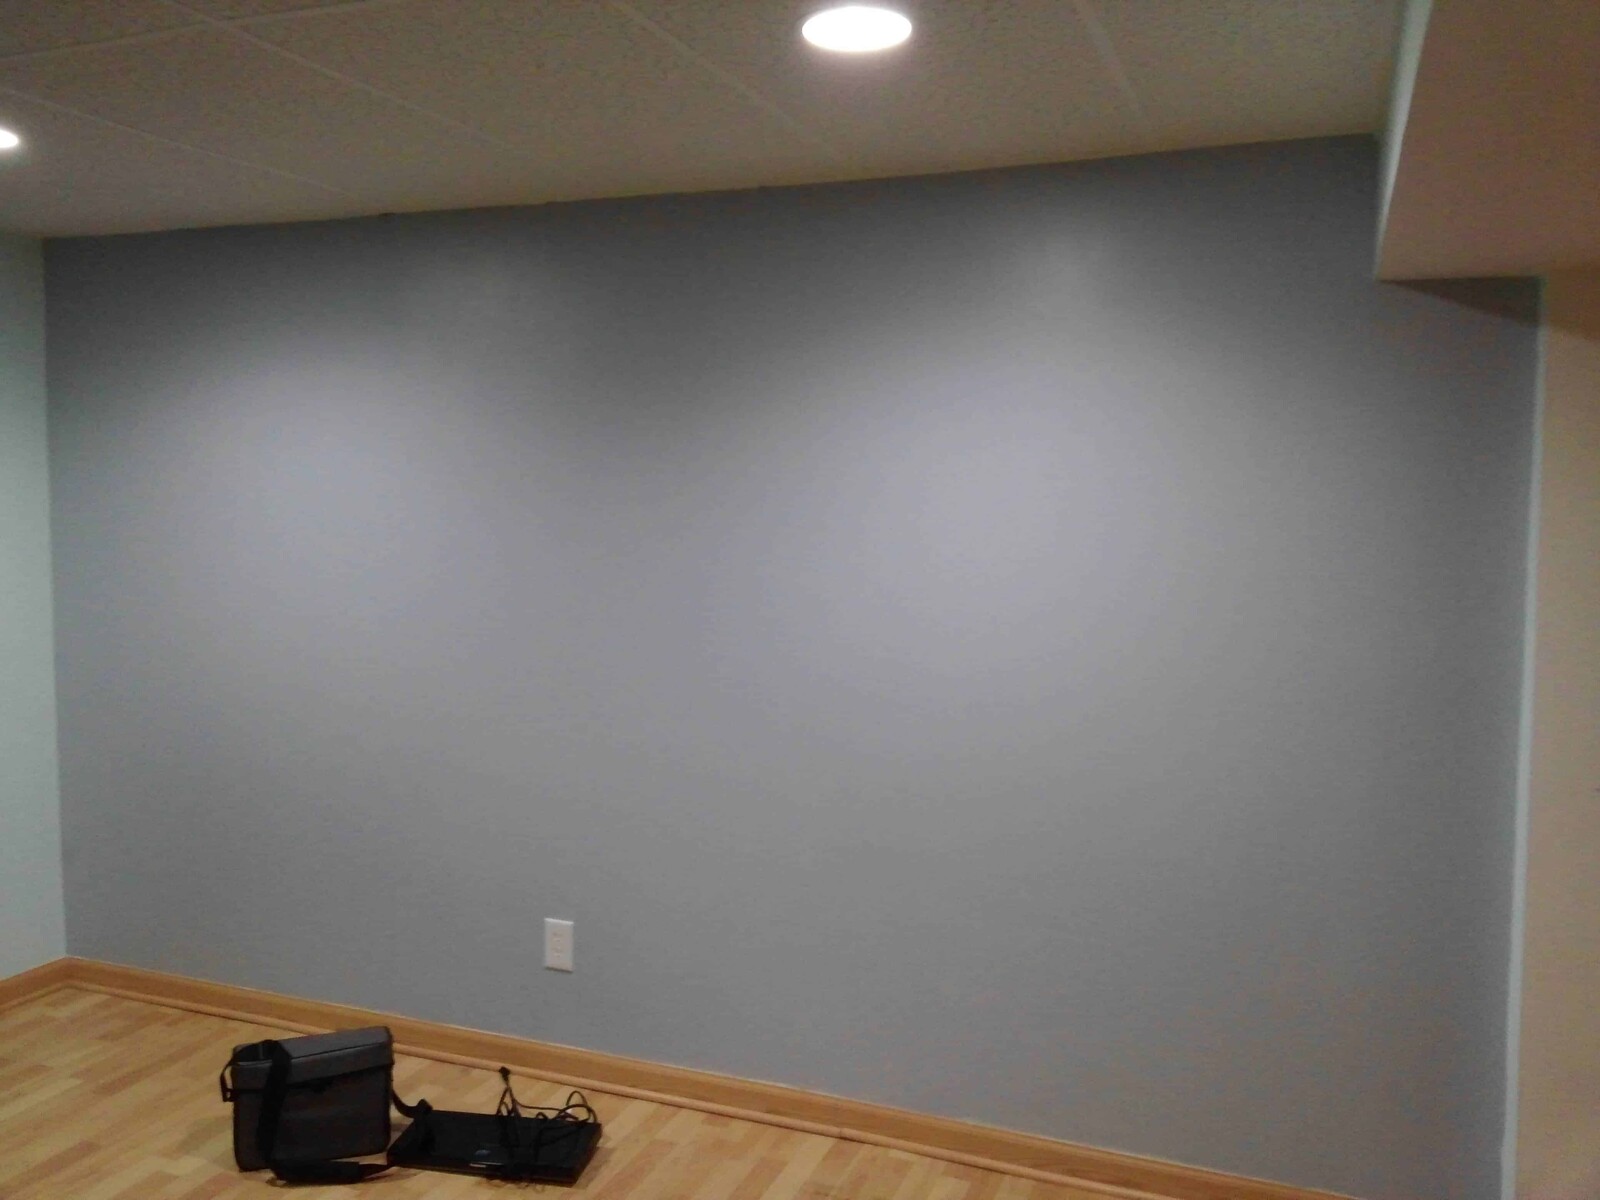
Preparing the Wall and Projector Setup
Before you can begin projecting your chosen image onto the wall, it’s important to properly prepare the surface and set up your projector. Follow these steps to ensure a smooth and successful wall mural project:
Clean the Wall: Start by thoroughly cleaning the wall where you’ll be painting your mural. Remove any dust, dirt, or grease using a mild detergent and a soft cloth. A clean surface will ensure better paint adhesion and a smooth finish.
Fix Any Imperfections: Inspect the wall for any imperfections such as cracks, holes, or uneven surfaces. Repair these issues using a spackling compound or filler. Allow it to dry completely and then sand it smooth. This step will give you a clean and even canvas to work on.
Prime the Wall: Apply a primer coat to the wall to create a sealed surface for the paint. Priming helps improve paint adhesion, enhances color vibrancy, and ensures a consistent finish. Choose a primer suitable for your wall type and follow the manufacturer’s instructions for application.
Set up the Projector: Position the projector at the desired distance from the wall. Adjust the projector’s height and angle to achieve the desired size and positioning of the image on the wall. Use a tripod or secure the projector on a stable surface to prevent any vibrations or movement during the tracing and painting process.
Test the Projection: Before starting the tracing process, test the projection to ensure that the image is clear, focused, and properly aligned on the wall. Adjust the projector settings, such as zoom and focus, until you achieve the desired result. Take your time to make necessary adjustments to ensure accuracy.
Secure the Image: Once you are satisfied with the projection, secure the image by gently taping the edges of the projected image onto the wall using painter’s tape. This will keep the image in place and prevent any accidental movements or shifts during the tracing process.
Create a Work Area: Set up your painting supplies in a well-ventilated area near the wall mural. Cover the floor and surrounding areas with drop cloths or plastic sheets to protect them from any accidental paint splatters or spills.
Prepare Paint and Brushes: Gather your acrylic paints and brushes. Squeeze the desired colors onto a palette or paper plates for easy access. Ensure that you have a variety of brushes in different sizes to accommodate both large areas and intricate details.
By properly preparing the wall and setting up your projector, you are ready to move on to the exciting step of projecting and tracing the image onto the wall. Ensure that you have a clear and clean workspace to ensure a successful and enjoyable wall mural painting experience.
Setting Up Your Paints and Brushes
Now that you have your wall prepared and your projector set up, it’s time to gather your paints and brushes to bring your wall mural to life. Setting up your paint and brush station properly will ensure a smooth and enjoyable painting process. Follow these steps to get your paint and brushes ready:
Choose High-Quality Acrylic Paints: Acrylic paints are versatile and commonly used for wall murals due to their vibrant colors and durability. Select high-quality acrylic paints that offer a wide range of colors. Consider the size of your mural and estimate the amount of paint you will need.
Organize Your Paints: Squeeze out the desired colors of paint onto a palette or paper plates. Arrange the colors in a logical order that makes it easy for you to access and mix the shades you require. Remember to leave some space on the palette for blending and mixing colors.
Prepare Your Brushes: Select a variety of brushes that suit your mural’s needs. Have a mix of different brush sizes, including larger brushes for broad strokes and smaller brushes for intricate details. Arrange your brushes so that they are easily accessible during the painting process.
Keep Water Handy: Have a container of water nearby to rinse your brushes between color changes. This will help keep your colors clean and prevent unwanted mixing. Make sure to change the water regularly to maintain its cleanliness.
Have Paper Towels or Rags: Keep some paper towels or rags close by to wipe excess paint off your brushes or to fix any mistakes. This will help you maintain clean and precise brushwork. It’s also useful for blotting excess water from your brushes before dipping them into paint.
Create a Mixing Area: Designate a separate area on your palette or a clean surface for mixing colors. Use a palette knife or a clean brush to mix and blend colors to achieve the desired shades and hues for your mural. Experiment with different color combinations to bring your vision to life.
Protect Your Work Area: Place a drop cloth or plastic sheet under your paint station to protect your working surface from accidental spills or drips. This will make cleaning up much easier once the painting is complete.
By properly setting up your paints and brushes, you’ll have all the necessary tools at your disposal to tackle your wall mural with ease and creativity. With your palette organized, brushes ready, and mixing area prepared, you’re now ready to move on to the next step: projecting and tracing your image onto the wall.
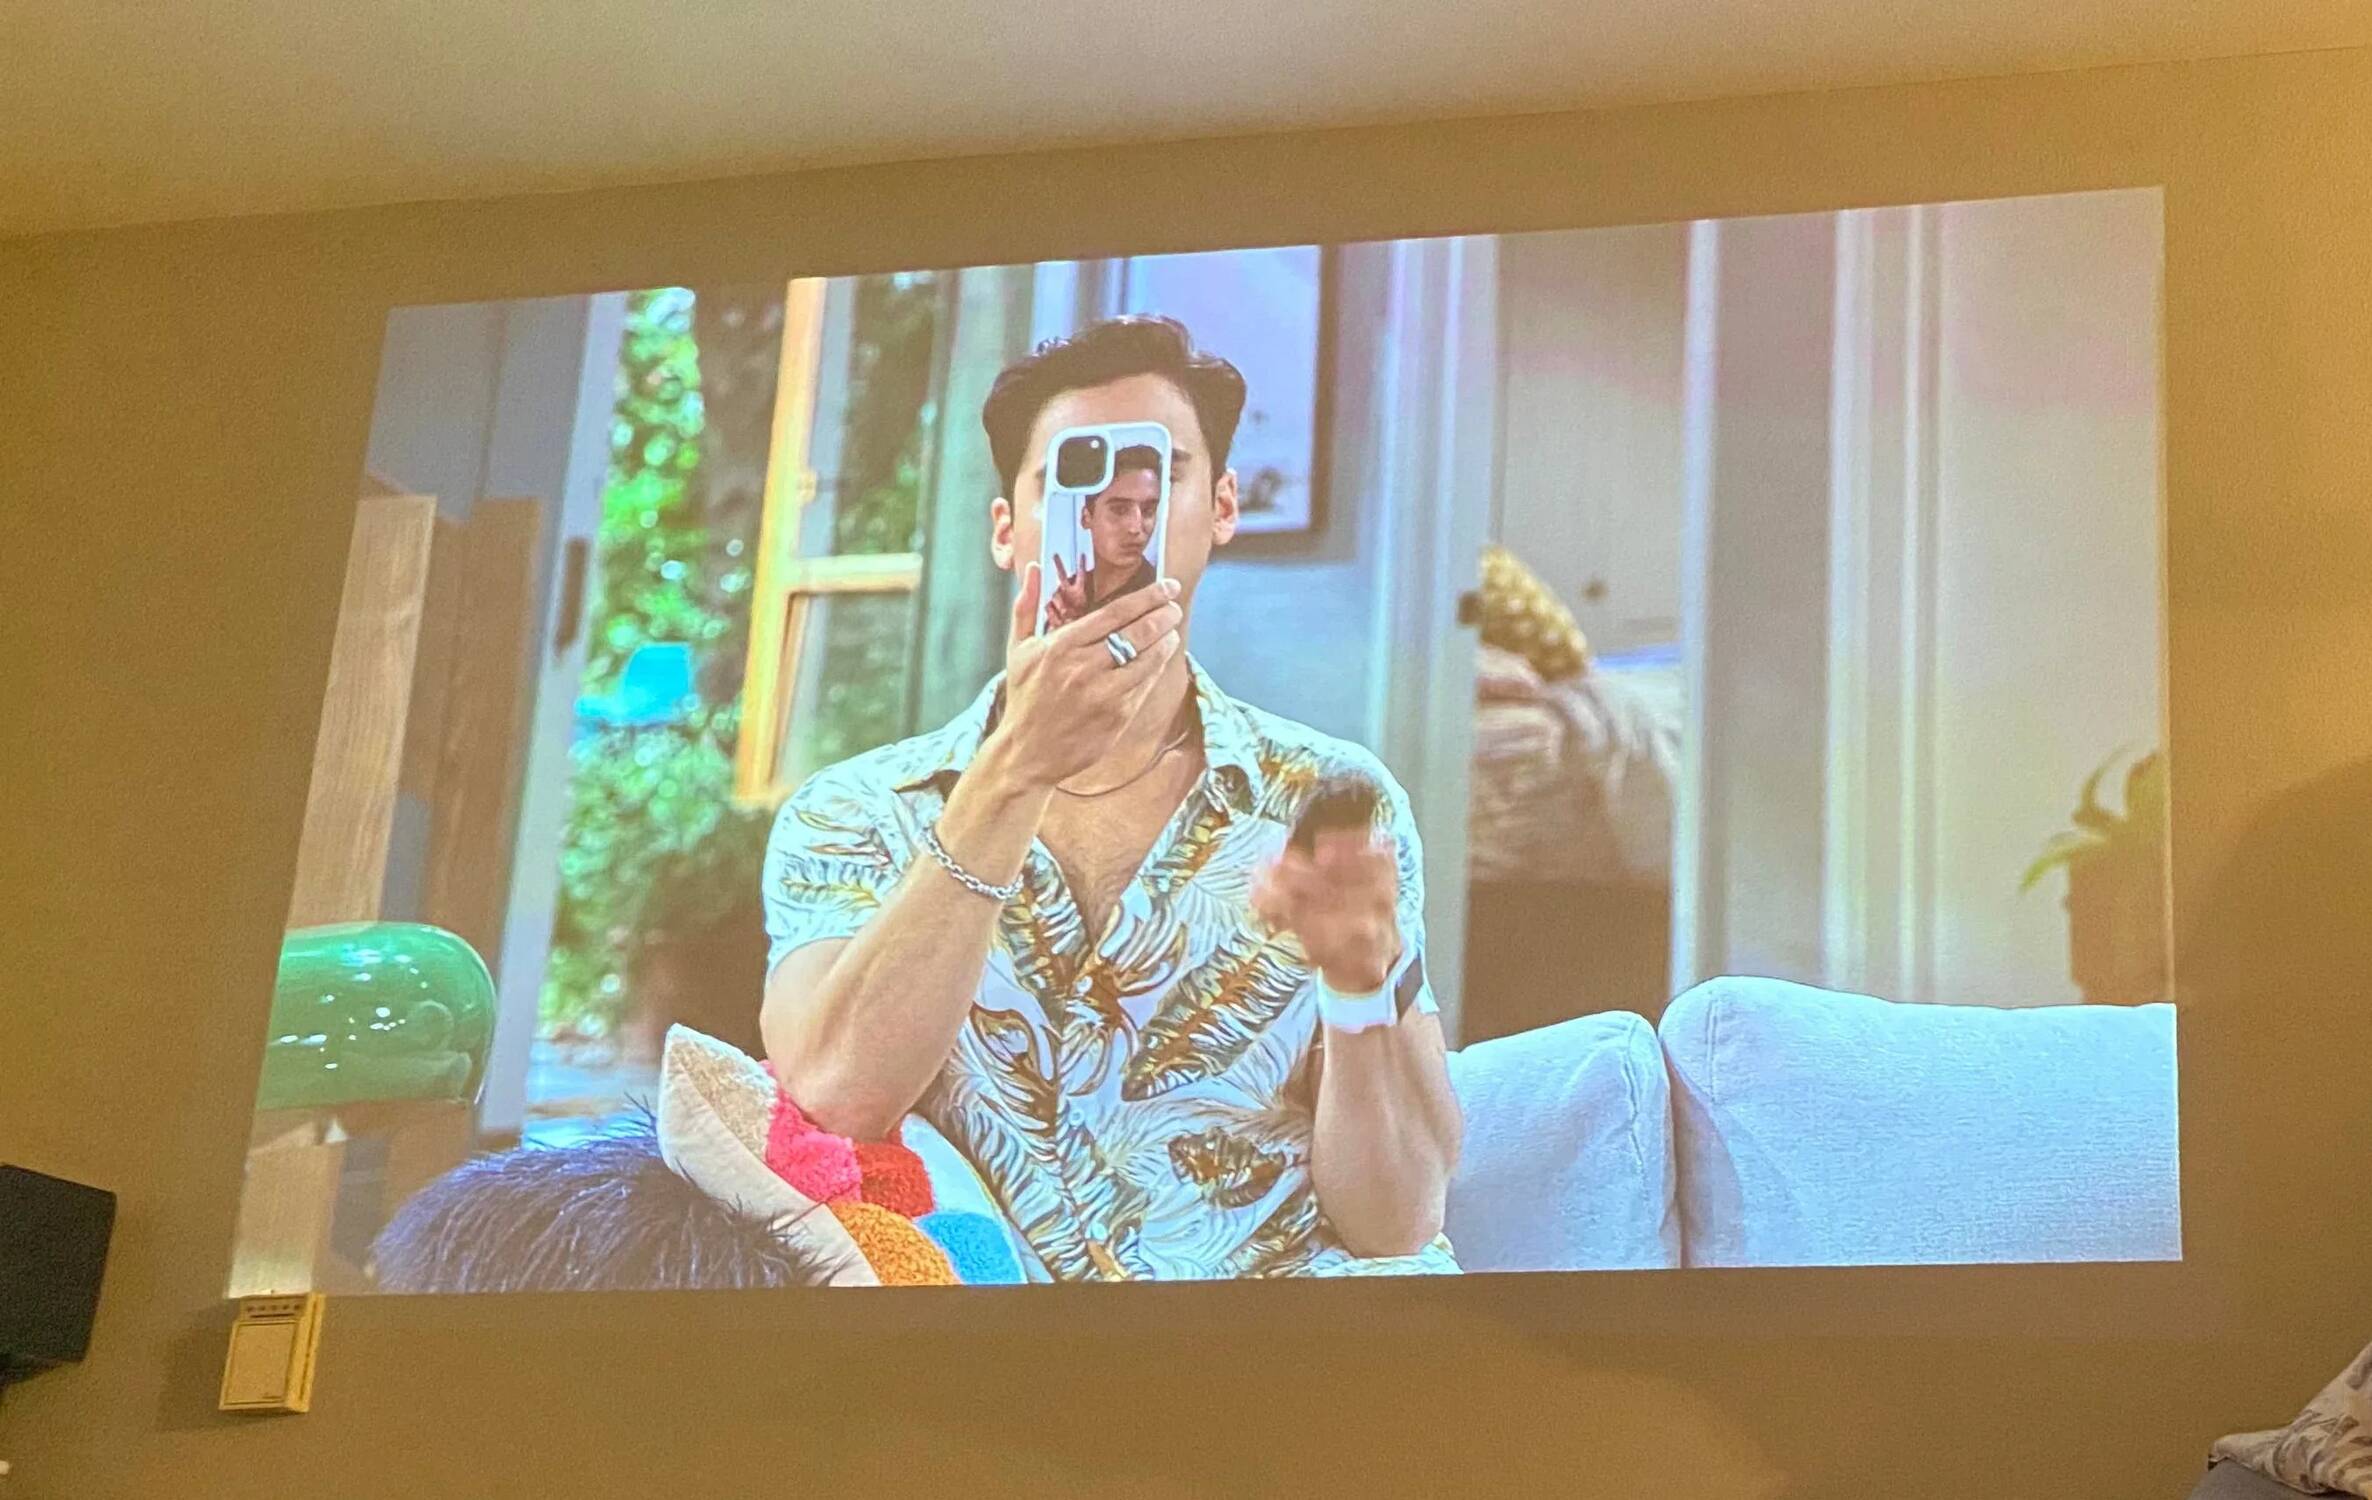
Projecting and Tracing Your Image onto the Wall
With your paints and brushes set up, it’s time to project and trace your chosen image onto the wall. This step is crucial as it provides you with the precise outlines and proportions to guide your painting process. Follow these steps to project and trace your image:
Ensure Proper Lighting: Make sure the room is dimly lit to enhance the visibility of the projected image. Eliminate any direct light sources that may interfere with the projection. This will allow you to clearly see the outlines and details as you trace them on the wall.
Turn on the Projector: Switch on the projector and adjust the focus and zoom settings until the image appears sharp and clear on the wall. Take your time to align the projected image correctly with the desired placement on the wall.
Adjust the Size: Use the projector’s distance and zoom settings to adjust the size of the projected image on the wall. Make sure it fits well within the boundaries you have set for your mural. Take measurements and compare against your initial plans, ensuring that the proportions are accurate.
Secure the Tracing Paper: Attach a sheet of tracing paper onto the wall, making sure it aligns properly with the projected image. Use painter’s tape to secure it in place, ensuring that it does not move or shift during the tracing process.
Begin Tracing: Take a pencil or fine-tip marker and start tracing the outlines of the projected image onto the tracing paper. Take your time and be precise, capturing all the details and contours of the image. Reference the projected image closely, making sure to trace all the elements accurately.
Trace Major Shapes First: Start by tracing the major shapes and forms of the image. Focus on capturing the main outlines and proportional relationships between different objects or elements. This will serve as a foundation for adding details and colors in the next stages.
Work systematically: Break the image down into smaller sections and trace them systematically, moving from one area to another. This will help you stay organized and ensure that you don’t miss any parts of the image. Take breaks if necessary to rest your hand and avoid smudging any traced lines.
Refine Details: Once the main outlines are traced, go back and add finer details to your mural. Pay attention to textures, smaller objects, and intricate features. Take your time to ensure accuracy and reproduce the image faithfully.
Remove Tracing Paper: Once you have finished tracing the entire image, carefully remove the tracing paper from the wall. Be gentle to avoid tearing the paper or disturbing the traced lines. You should now have the outlines of your image directly on the wall, ready for the painting process.
Projecting and tracing your image onto the wall serves as the foundation for creating your wall mural. With the outlines in place, you can now focus on adding colors, shading, and details to bring your mural to life. Ready your paints, brushes, and creativity as you move on to the next step in the process.
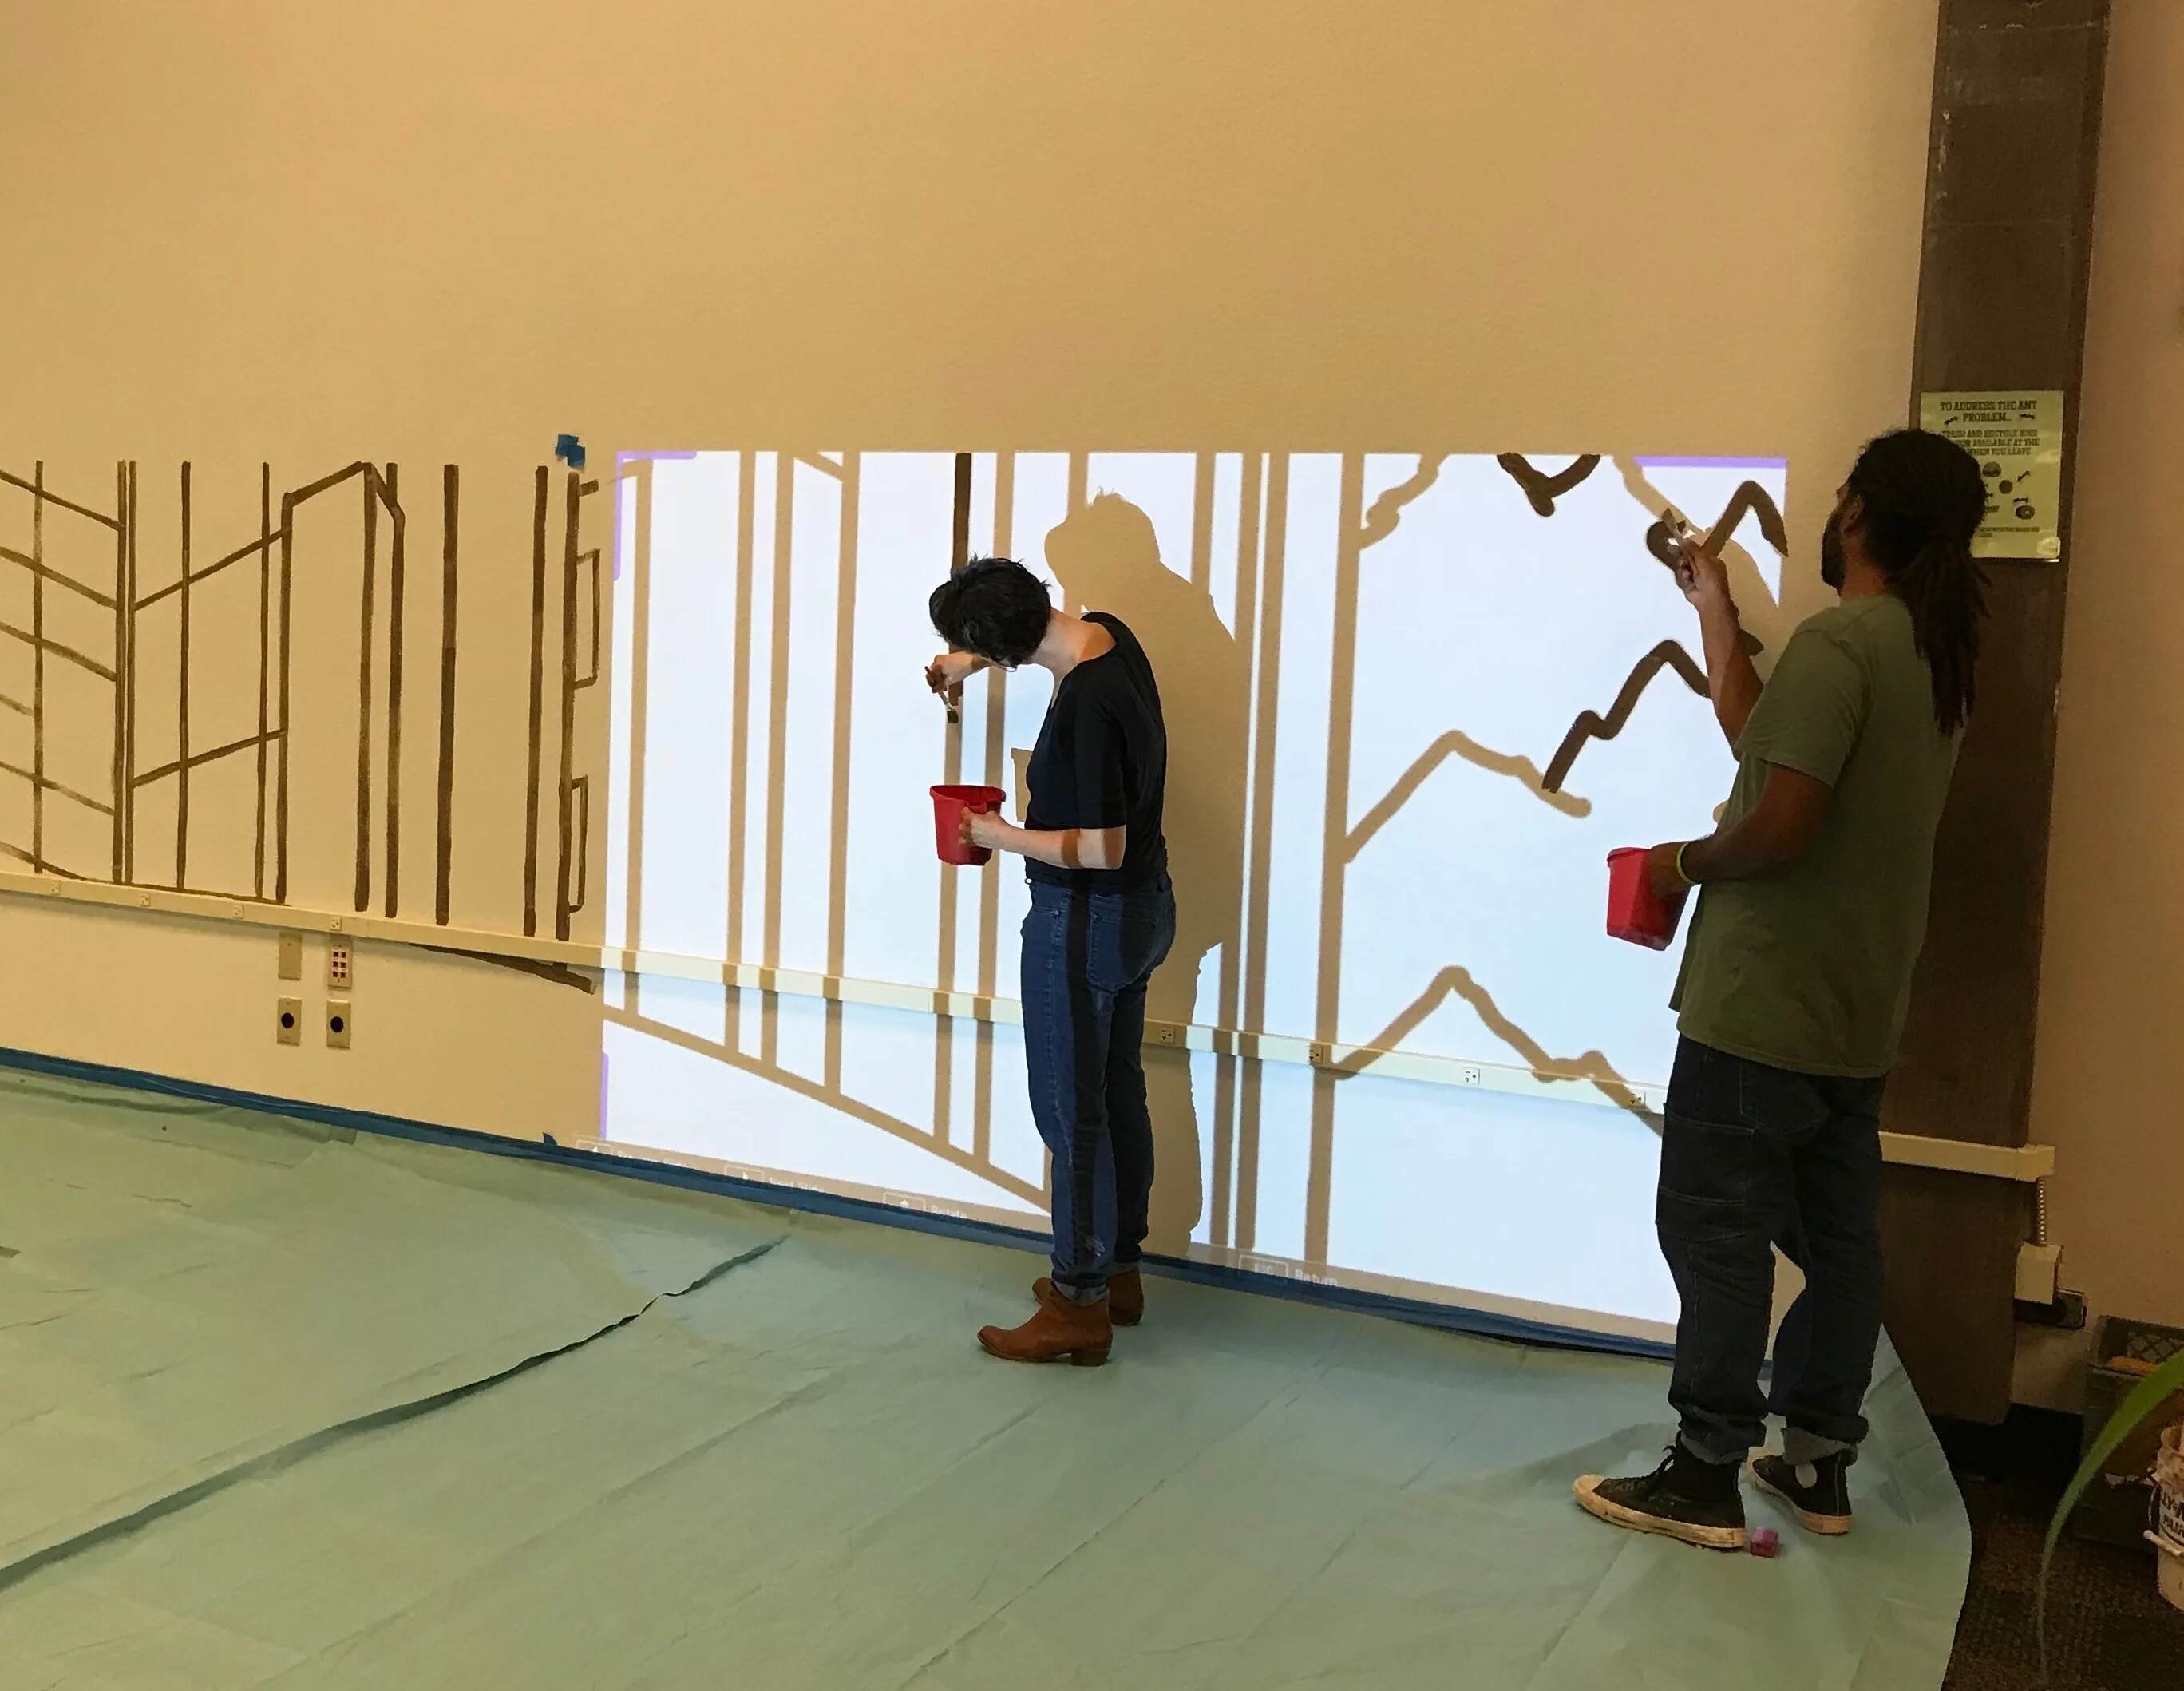
Painting the Outlines and Base Colors
With the traced outlines of your image on the wall, it’s time to start painting the outlines and base colors of your wall mural. This step will bring the initial structure and foundation to your artwork. Follow these steps to paint the outlines and base colors:
Gather Your Paints and Brushes: Ensure that you have all the necessary paints and brushes ready for this stage. Refer to your color palette and select the paints that match the base colors of your image. Use larger brushes for filling in larger areas and smaller brushes for more intricate details.
Start with the Outlines: Begin by painting the outlines of your image using a small brush and a dark color such as black or a deep tone that matches the overall color scheme. Use steady strokes to trace the lines accurately, following the traced outlines on the wall. This will define the shapes and contours of your mural.
Focus on Larger Areas: After completing the outlines, move on to filling in the larger areas with their respective base colors. Use larger brushes to cover these areas efficiently. Apply the paint in smooth and consistent strokes, ensuring even coverage and staying within the traced lines.
Blend Colors: If your mural requires blending or gradients, work on those areas while the base colors are still wet. Use a clean, damp brush to gently blend the colors together, creating a smooth transition between different shades. This technique will add depth and dimension to your mural.
Work from Background to Foreground: Start with the background and gradually work your way towards the foreground elements of your mural. This approach allows for better layering and ensures that the objects appear in the correct depth order. Let each layer of paint dry before moving on to avoid smudging or altering previously painted areas.
Refine Outlines and Details: As you paint, continually refer to your traced outlines to ensure accuracy. If needed, you can go back and touch up the outlines or add any missing details. Pay attention to the smaller elements and finer details that make your mural come to life. Use smaller brushes to achieve precision in these areas.
Create Depth and Shadows: To add depth and realism to your mural, incorporate shades and shadows. Observe the light source in your reference image and paint shadows accordingly. Use darker tones or mix in a bit of black or a complementary color to create believable shadows. This technique will make your mural visually compelling and three-dimensional.
Allow Paint to Dry: Once you’ve finished painting the outlines and base colors, allow the paint to dry completely. This may take several hours or overnight, depending on the type of paint and the layer thickness. Avoid touching the painted areas until they are dry to prevent smudging or unintentional damage.
Painting the outlines and base colors of your wall mural sets the stage for the next stages of adding details, shading, and highlights. Take your time and enjoy the process, as this is where your mural will begin to truly take shape.
Adding Details and Shading to Your Wall Mural
Now that you have painted the outlines and base colors of your wall mural, it’s time to add details and shading to bring your artwork to life. This stage will add depth, texture, and realism to your mural. Follow these steps to add details and shading:
Refer to Your Reference Image: Use your reference image as a guide to identify the intricate details and shading areas of your mural. Take note of the light source and how it affects the objects and surfaces within the image.
Choose the Right Brushes: Select smaller brushes that allow for fine detail work. Different brush shapes and sizes will give you the versatility needed to achieve various textures and effects. Consider it as you accumulate your brushes.
Add Texture: Use different brush techniques to create texture. You can use stippling, cross-hatching, or dry brushing to imitate different surfaces such as grass, fur, or bark. Experiment with various brush strokes to achieve the desired texture for each element in your mural.
Create Highlights and Shadows: Observe how the light interacts with the objects in your reference image. Add highlights using lighter colors or by adding white to your base colors. Apply these lighter tones to the areas that would catch the most light. For shadows, mix darker colors or add black or a complementary color to your base colors. Apply them to the areas that would be in shadow.
Blend Colors: To create smooth transitions between different shades or colors, use blending techniques. Blend the colors together using a clean, damp brush or by layering translucent glazes. This will soften any harsh edges and make your mural appear more realistic.
Layer and Build Depth: Add depth by layering colors and adjusting the opacity or transparency. This technique allows you to create depth within your mural. Apply thin layers of paint to gradually build up the desired effect, focusing on the areas that require more dimension.
Detail Small Elements: Pay attention to the smaller elements and finer details in your mural. Use a steady hand and small brushes to capture intricate features and delicate textures. It’s these details that will make your mural stand out and come to life.
Take Breaks: Painting details and shading can be time-consuming and requires focus. Take regular breaks to give your eyes and hands some rest. Step back and observe your mural from a distance to get a fresh perspective on your progress.
Review and Adjust: Continuously assess your work and make any necessary adjustments. Stand back and evaluate the overall composition and balance of your mural. Consider stepping away for a moment and then coming back to view it with a fresh eye. This will help you identify any areas that may need refinement or additional detailing.
Adding details and shading is an essential step to bring depth, realism, and visual interest to your wall mural. Enjoy the process of intricately painting each element, bringing your vision to life one brushstroke at a time.
Cleaning Up and Adding Finishing Touches
As you near the completion of your wall mural, it’s important to take the time to clean up any paint spills or smudges and add those final touches that will elevate your artwork. Follow these steps to clean up and add the finishing touches to your wall mural:
Clean Up Spills and Smudges: Check your mural for any accidental paint spills or smudges. Use a clean, damp cloth or sponge to gently wipe away any marks or mistakes. Be careful not to disturb the painted areas.
Touch Up Outlines: Inspect the outlines of your mural and touch up any areas where the lines may have become faint or uneven during the painting process. Use a fine brush and a dark color to redefine and sharpen these lines, enhancing the overall clarity and impact of your mural.
Add Highlights and Details: Identify areas in your mural where highlights or additional details can enhance the visual impact. Use lighter colors or white acrylic paint to add highlights that catch the light and bring certain elements forward.
Smooth Transitions: Blend any rough or harsh transitions between colors by softly brushing over the areas with a clean, dry brush. This will help to create seamless transitions and a more cohesive appearance.
Enhance Textures: Consider adding additional texture to certain areas of your mural to create depth and interest. This can be achieved by using different brush techniques or by applying thicker layers of paint in specific areas that would benefit from added texture.
Check for Balance and Composition: Step back and assess the overall balance and composition of your mural. Ensure that each element is positioned harmoniously within the composition and that the colors and details work together cohesively.
Protect Your Mural: Once you are satisfied with your wall mural, consider adding a protective finish to seal the paint and ensure its longevity. There are various options available, such as a clear coat of varnish or a protective mural sealer. Follow the manufacturer’s instructions for application.
Document and Share: Take photos of your completed wall mural to document your artistic achievement. Share your work with others, whether it’s through social media, your personal portfolio, or by inviting friends and family to admire your masterpiece in person.
Enjoy Your Artwork: Step back and admire your completed wall mural. Take pride in your accomplishment and the hours of dedication you put into creating it. Allow yourself to bask in the joy of bringing your artistic vision to life on the walls of your space.
By cleaning up and adding those final finishing touches, you can elevate your wall mural to its fullest potential. This attention to detail ensures that your artwork shines and brings joy to all who view it.
Conclusion
Creating a wall mural with the help of a projector is an exciting and rewarding process. From choosing the right projector to adding the final touches, each step plays a crucial role in bringing your vision to life on the walls of your space.
By carefully selecting a projector that meets your brightness, resolution, and portability needs, you set a strong foundation for the success of your wall mural project. The projector allows you to accurately project and trace your chosen image onto the wall, providing a precise outline for your artwork.
Finding the perfect image is an essential step as it sets the mood and theme for your wall mural. Consider the subject matter, composition, and size of the image to ensure that it aligns with your vision and fits well within the space you have available.
Preparing the wall and setting up your projector allows you to create a clean and stable canvas for your mural. Properly cleaning, priming, and securing the projection ensures optimal conditions for painting and tracing the image.
As you begin painting the outlines and base colors, the architecture and primary colors of your mural take shape. This stage brings the initial structure and foundation to your artwork, setting the stage for the subsequent layers and details.
Adding details and shading adds depth, texture, and realism to your wall mural. This step allows you to capture intricate features, create highlights and shadows, and refine the overall composition and balance of your artwork.
Finally, cleaning up any paint spills or smudges and adding those final finishing touches elevates your wall mural to its fullest potential. Touching up outlines, adding highlights, and protecting your artwork ensures its longevity and enhances its visual impact.
Creating a wall mural with a projector is a journey of creativity and self-expression. Enjoy every step of the process, from the initial projection to the final brushstroke. Embrace the opportunity to transform a plain wall into a stunning work of art that reflects your unique style and personality.
So, go ahead and embark on your wall mural adventure! Let your imagination run wild, and watch as your walls come alive with color, creativity, and your artistic vision.