Introduction
When it comes to optimizing the performance of your MacBook, monitoring the RAM usage is vital. RAM, or Random Access Memory, is the temporary storage space that your MacBook uses to run all its active processes and programs. If your RAM usage is too high, it can lead to sluggish performance and decreased efficiency.
Fortunately, checking your RAM usage on a MacBook is a straightforward process. In this article, we will explore various methods that allow you to monitor your MacBook’s RAM usage effectively. Whether you prefer using built-in tools or third-party applications, we’ve got you covered.
By regularly checking your RAM usage, you can identify any resource-hungry applications or processes that may be causing performance issues. This knowledge will empower you to optimize your MacBook’s performance and ensure a smooth and seamless user experience.
So, if you’re ready to take control of your MacBook’s RAM usage, let’s dive into the different methods you can use to monitor it.
Method 1: Activity Monitor
Built right into macOS, Activity Monitor is a powerful utility that provides detailed information about the processes running on your MacBook, including RAM usage. To check your RAM usage using Activity Monitor, follow these steps:
- Open the Applications folder on your MacBook and then navigate to the Utilities folder. Alternatively, you can search for Activity Monitor using Spotlight.
- Launch Activity Monitor.
- In the Activity Monitor window, click on the “Memory” tab at the top. Here, you will see a breakdown of your MacBook’s RAM usage.
- The main sections to focus on are “Memory Used” and “Swap Used.” “Memory Used” shows the amount of RAM being actively used by applications and processes, while “Swap Used” represents the portion of virtual memory that macOS has transferred to the hard drive. This value should ideally be as low as possible, as excessive swap usage indicates that your MacBook is running out of physical RAM.
- You can also sort the processes by clicking on the column headers. To quickly identify any memory-hogging processes, click on the “Memory” column to sort the processes in descending order based on their RAM usage.
- If you notice any processes consuming an unusually large amount of memory, you may consider quitting or force-quitting them to free up resources and improve performance. However, exercise caution when terminating processes, as abruptly closing essential system processes can lead to instability.
Activity Monitor provides a comprehensive overview of your MacBook’s RAM usage, allowing you to make informed decisions about managing system resources. Keep in mind that RAM usage will fluctuate depending on the applications and processes you have running at any given time.
Method 2: Terminal
If you prefer a command-line interface, you can use the Terminal app on your MacBook to check the RAM usage. Here’s how:
- Open the Applications folder on your MacBook and then navigate to the Utilities folder. Alternatively, you can search for “Terminal” using Spotlight.
- Launch Terminal.
- In the Terminal window, type the following command and press Enter:
top -o MEM - You will see a live display of the processes running on your MacBook, sorted by memory usage. The process consuming the most memory will be listed at the top.
- To exit the live view, press
Ctrl + Con your keyboard.
Using Terminal gives you a quick and efficient way to monitor your MacBook’s RAM usage without the need for a graphical user interface. It can be especially useful if you’re comfortable with command-line tools or need to automate RAM monitoring tasks.
Keep in mind that the displayed memory usage in Terminal may differ slightly from what you see in Activity Monitor. This discrepancy is due to the calculations and rounding methods employed by each tool. However, the overall trends and relative comparisons should align.
Now that you know how to check your MacBook’s RAM usage using Terminal, you can keep a close eye on your system’s resources and take necessary actions to optimize performance.
Method 3: About This Mac
Another built-in method to check your MacBook’s RAM usage is by using the “About This Mac” feature. Follow these steps to access this information:
- Click on the Apple menu icon in the top-left corner of your screen.
- Select “About This Mac” from the dropdown menu. A new window will open.
- In the “Overview” tab, you will see a summary of your MacBook’s specifications, including the amount of installed RAM.
- Click on the “Memory” tab to view more detailed information about your RAM.
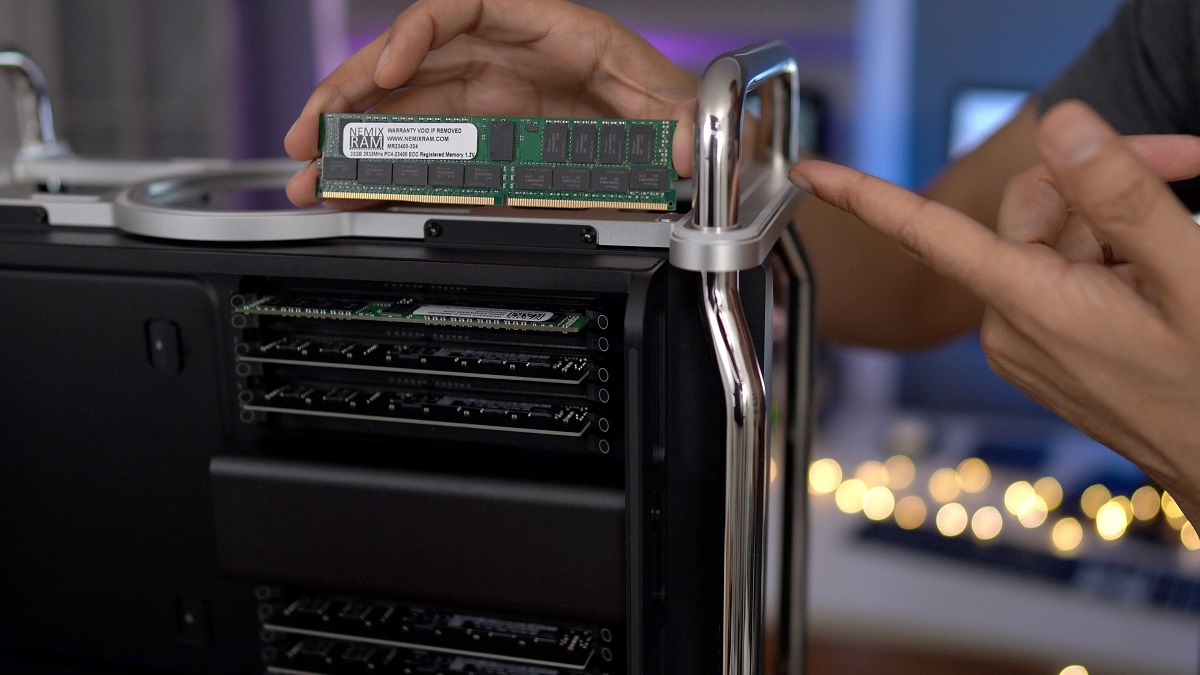
- Here, you can see the total amount of RAM installed, the type of RAM, and the speed at which it operates.
- You can also check if there are any RAM upgrade options available by clicking the “Memory Upgrade Instructions” link.
The “About This Mac” method provides a simple and quick way to check your MacBook’s RAM configuration without the need to dive into technical tools. It is especially useful if you want to gather basic information about your system’s memory setup.
Keep in mind that this method primarily focuses on providing information about the installed RAM and doesn’t give real-time updates on RAM usage or individual process details.
Now you know how to access your MacBook’s RAM information using the “About This Mac” feature, enabling you to get a broad overview of your system’s memory configuration.
Method 4: Third-Party Apps
In addition to the built-in methods, there are several third-party applications available that offer advanced features and real-time monitoring of your MacBook’s RAM usage. These apps provide more detailed insights and customization options. Here are a few popular options to consider:
- iStat Menus: iStat Menus is a comprehensive system monitoring app that displays various system statistics in your menu bar, including RAM usage. It provides real-time updates, customizable alerts, and the ability to track specific applications.
- Memory Clean 3: Memory Clean 3 is a dedicated app that focuses on optimizing and freeing up memory resources on your MacBook. It allows you to monitor RAM usage and quickly clear inactive memory to improve performance.
- MenuMeters: MenuMeters is a lightweight and customizable menu bar app that provides detailed information about your MacBook’s system resources, including RAM usage. It offers real-time monitoring and can be customized to display the information you find most valuable.
When choosing a third-party app, it’s important to research and read reviews to ensure it is reputable, compatible with your macOS version, and meets your specific needs. Be cautious when installing and granting access to any third-party applications, as they may require additional permissions to function properly.
By using third-party apps, you can have more control over monitoring and managing your MacBook’s RAM usage. These tools often offer additional features beyond RAM monitoring, giving you a comprehensive system monitoring solution.
Remember that while third-party apps may provide more detailed insights, they are not necessarily required to effectively monitor and manage your MacBook’s RAM. The built-in methods discussed earlier can be sufficient for most users.
Now that you’re aware of some popular third-party apps, you can explore these options and choose the one that best suits your preferences and needs for monitoring your MacBook’s RAM usage.
Conclusion
Checking your MacBook’s RAM usage is crucial for optimizing performance and ensuring efficient resource allocation. By being aware of how much RAM is being utilized and which processes are consuming the most memory, you can make informed decisions to improve your MacBook’s overall speed and responsiveness.
In this article, we explored four different methods to monitor your MacBook’s RAM usage:
- Using the built-in Activity Monitor tool to get detailed insights into your system’s memory usage.
- Utilizing the Terminal app for a command-line interface approach to monitoring RAM usage.
- Accessing the “About This Mac” feature to obtain basic information about your MacBook’s RAM configuration.
- Exploring third-party apps that offer advanced features and real-time monitoring of RAM usage.
Each method has its advantages, and the choice of which one to use depends on your preferences and specific monitoring needs. While the built-in methods provide basic and reliable information, third-party apps offer more advanced features and customization options.
Regularly monitoring your MacBook’s RAM usage allows you to identify any resource-hungry applications or processes that may be slowing down your system. By taking appropriate actions, such as quitting or optimizing memory usage, you can enhance overall performance and ensure a smooth user experience.
Remember to find a balance between monitoring your RAM and other system resources, as excessive monitoring or always keeping an eye on memory usage may not be necessary for everyday usage.
In conclusion, with the methods discussed in this article, you have the tools and knowledge to effectively monitor and manage your MacBook’s RAM usage. By doing so, you can optimize performance and ensure that your MacBook operates at its best.