Introduction
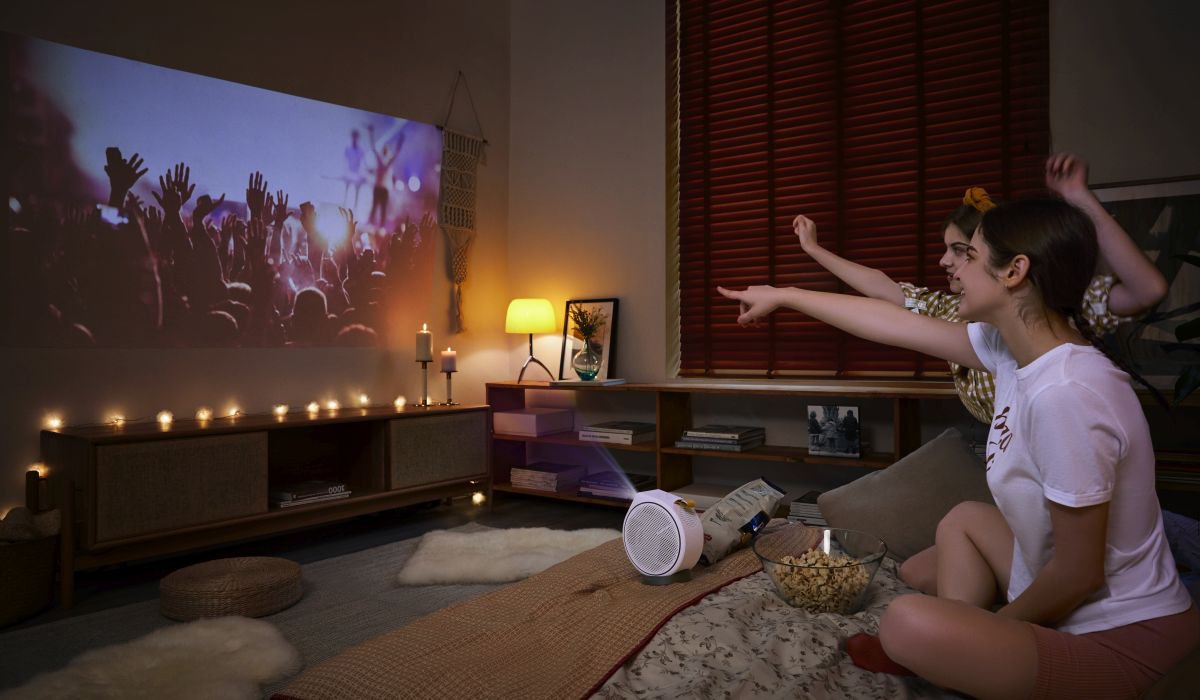
Welcome to the world of projectors! Whether you’re a movie enthusiast, a gamer, or a presenter, projectors offer a larger-than-life visual experience that simply can’t be matched by traditional screens. But with so many options and technical jargon to navigate, setting up and using a projector might seem daunting at first.
In this guide, we will walk you through the ins and outs of using a projector, from choosing the right one for your setup to troubleshooting common issues. Whether you’re a beginner or already have some experience with projectors, this article will provide you with the knowledge and tips you need to make the most out of your projector setup.
We’ll start by helping you choose the right projector for your needs. There are various factors to consider, such as brightness, resolution, and connectivity options. We’ll break down these technical specifications and explain how they affect your viewing experience.
Next, we’ll dive into the basics of projector setup. From finding the ideal location to connecting your projector to different devices, we’ll guide you through the necessary steps to get your projector up and running smoothly. We’ll also discuss the importance of properly positioning your projector for optimal image quality.
Once your projector is set up, we’ll explore how to adjust its settings. This includes configuring the display mode, aspect ratio, and keystone correction to suit your preferences and content. We’ll explain how these settings can enhance your viewing experience and provide a step-by-step guide to navigate the projector’s menu.
Additionally, we’ll cover the use of projector mounts and screens. Mounting your projector on the ceiling or wall can help maximize space and create a seamless setup. We’ll discuss different mounting options and offer tips on choosing the right screen for your projector, whether it’s a traditional fixed screen or a portable one.
Furthermore, we’ll explore the different projection options available with projectors. This includes front projection, rear projection, and short-throw projection, each with its own advantages and considerations. We’ll help you understand the differences and determine which option best suits your needs.
Finally, we’ll address common projector issues and provide troubleshooting tips. From image quality problems to connectivity issues, we’ll offer solutions to help you tackle these challenges and ensure a smooth and enjoyable projection experience.
By the end of this guide, you’ll have a comprehensive understanding of how to use your projector effectively, troubleshoot problems, and make the most of its features. So, let’s dive in and embark on an exciting journey into the world of projectors!
Choosing the Right Projector for Your Setup
When it comes to selecting a projector, there are several factors to consider to ensure it meets your specific needs and provides an immersive viewing experience. Let’s explore the key considerations:
Brightness: The brightness of a projector is measured in lumens. The higher the lumen rating, the brighter the projector’s image will be. Consider the amount of ambient light in your viewing area and choose a projector with a brightness level that suits your environment. For dark or dimly lit rooms, a projector with 1500-2000 lumens will suffice. However, for brightly lit spaces or outdoor use, opt for a higher lumen output in the range of 3000-4000 lumens.
Resolution: The resolution determines the level of detail and clarity in the projected image. The most common resolutions are 1080p (Full HD) and 4K (Ultra HD). If you plan to use the projector for movies, gaming, or high-quality presentations, a higher resolution will offer a more immersive experience. However, if you have budget constraints or plan to use the projector for basic presentations or casual gaming, a 1080p resolution should suffice.
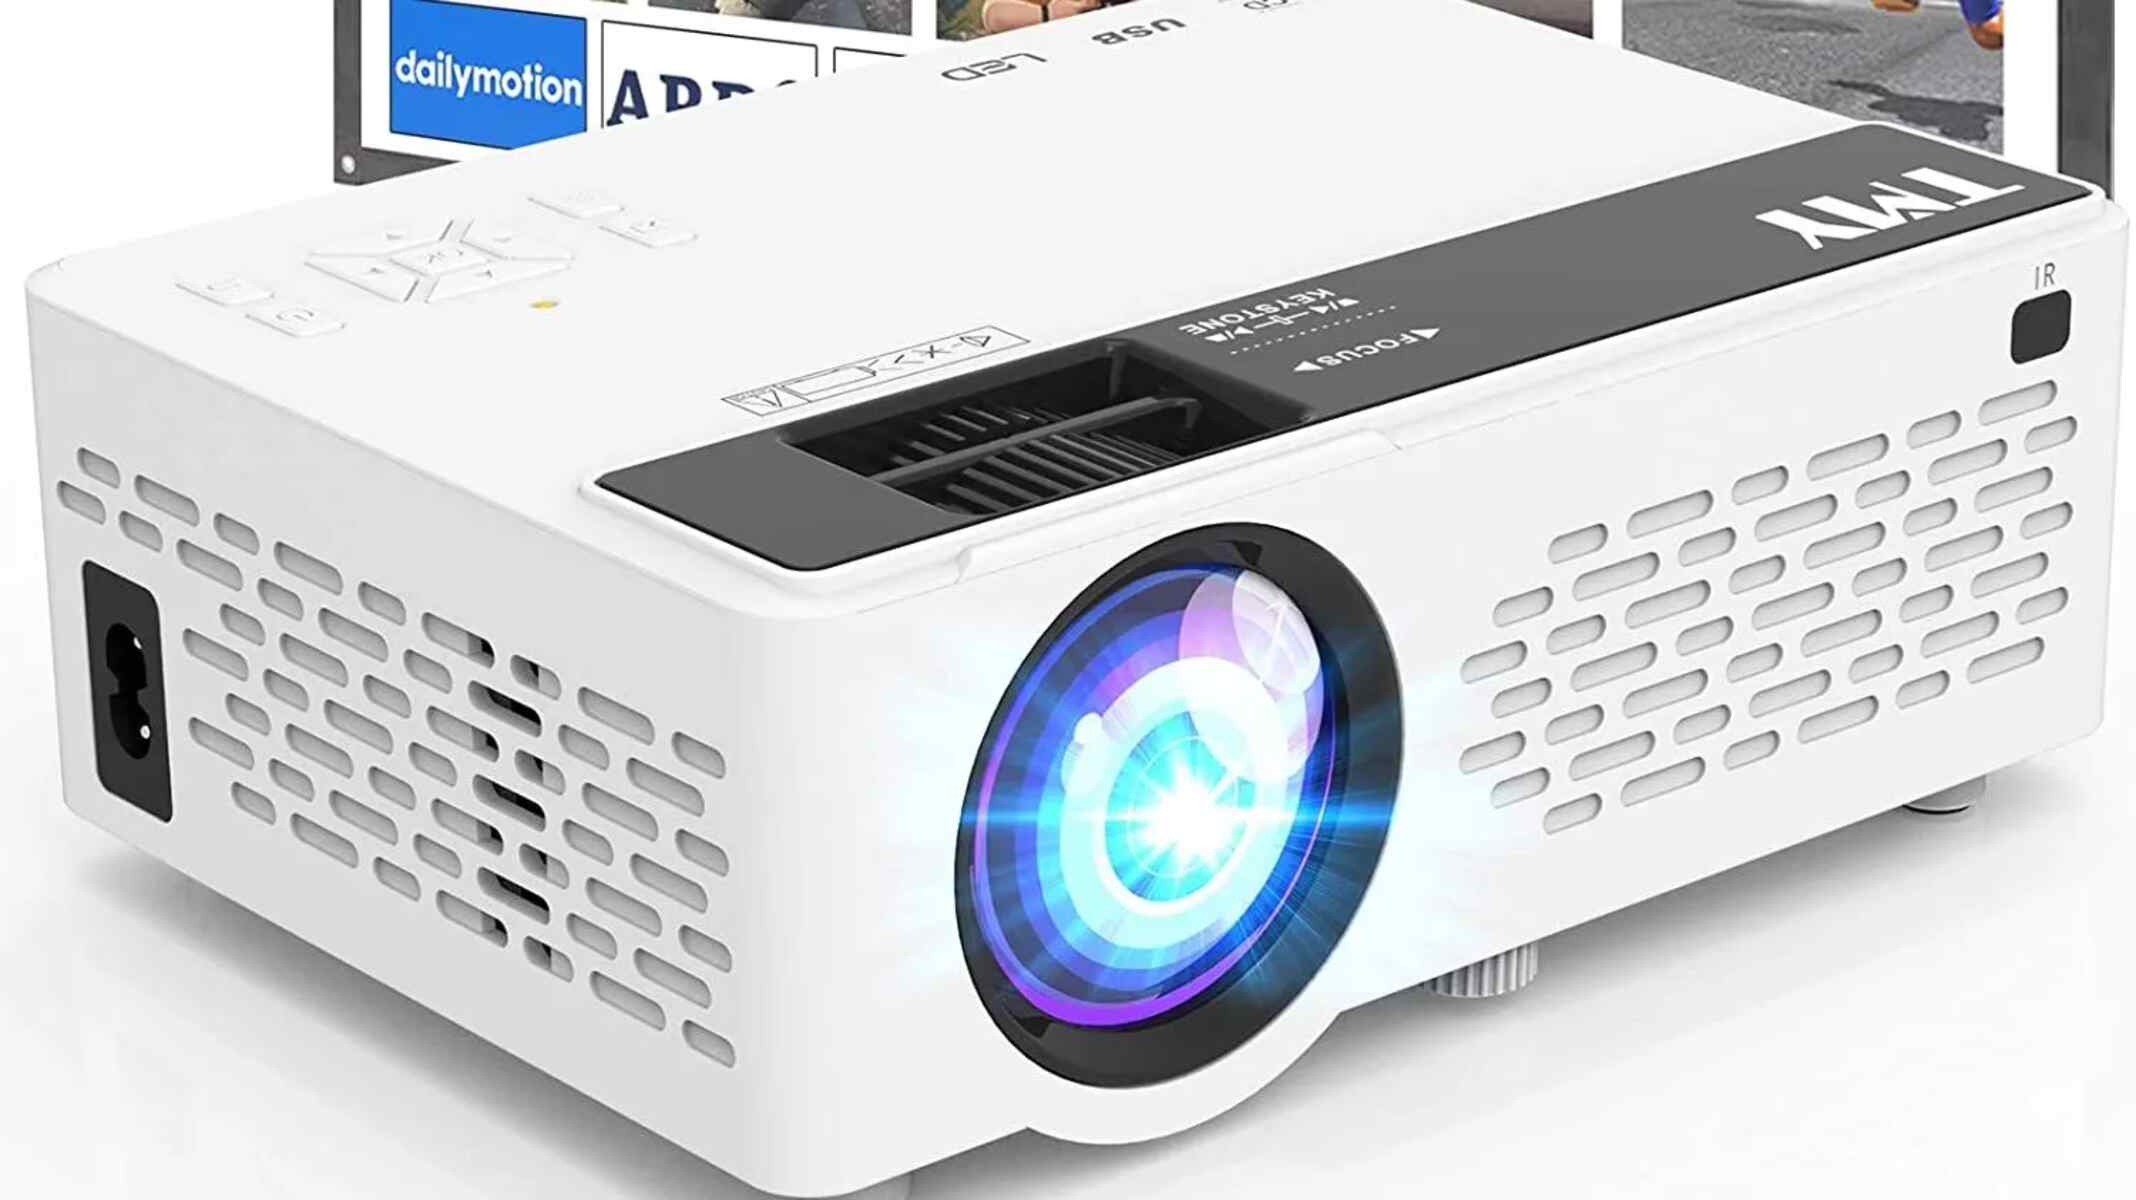
Connectivity Options: Consider the devices you’ll be connecting to the projector. Most projectors come with HDMI, VGA, and USB ports. HDMI ports are essential for connecting modern devices like laptops, gaming consoles, and media players. VGA ports are useful for older laptops and computers. USB ports allow convenient playback of media files directly from a USB drive. Make sure the projector you choose has the necessary connectivity options to support your devices.
Throw Distance: The throw distance refers to the distance between the projector and the screen, affecting the size of the projected image. Measure the distance between the projector and your desired screen location to ensure the projector’s throw distance matches your setup. If you have limited space, consider a short-throw projector, which can project large images from a shorter distance.
Contrast Ratio: The contrast ratio defines the difference between the darkest and brightest parts of the image. A higher contrast ratio results in richer colors and more detail in the projected image. Look for projectors with a higher contrast ratio to enhance your viewing experience, especially for movies and gaming.
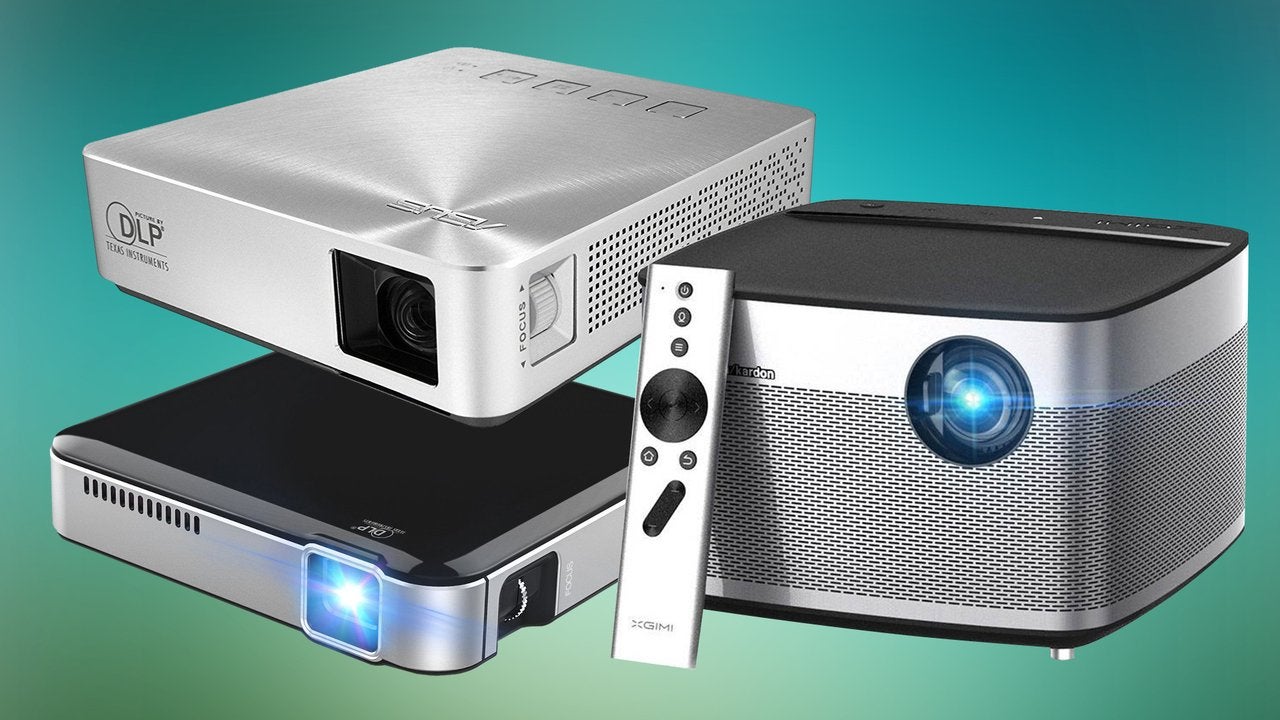
Special Features: Some projectors offer additional features and technologies that can enhance your viewing experience. These may include built-in speakers, 3D capabilities, wireless connectivity, and smart features. Consider your specific requirements and preferences when evaluating these extra features.
By taking these factors into account, you can choose a projector that suits your setup and delivers impressive visual performance. Keep in mind that balancing your budget with the desired features will help ensure you get the best value for your investment.
Understanding the Basics of Projector Setup
Setting up a projector may seem like a complex task, but with a little guidance, it can be a straightforward process. Let’s delve into the fundamental steps involved in setting up your projector:
Finding the Ideal Location: Start by selecting the optimal location for your projector. Consider factors such as the size of the room, the distance between the projector and the screen, and the availability of power outlets. Take measurements to ensure the projection size fits within your desired screen area.
Mounting or Placement: Decide whether you want to mount the projector on the ceiling or place it on a stable surface. Mounting provides a more permanent and tidy setup, keeping the projector out of the way. If you choose to place the projector on a surface, make sure it’s stable and at the appropriate height and distance from the screen.
Connecting Devices: Connect your devices, such as laptops, gaming consoles, or DVD players, to the projector. Use appropriate cables, such as HDMI or VGA, to establish a connection. Ensure all devices are powered off before making the connections.
Powering On: Once all connections are made, plug in the power cable of the projector, and then turn on the projector and the connected devices. Allow the projector to warm up properly before accessing any settings or projecting content.
Positioning the Image: Adjust the position of the projector to properly align the projected image with your screen or surface. Use the projector’s lens shift or zoom function, if available, to fine-tune the image. Ensure the image is centered and free from distortion or keystone effects.
Focusing and Keystone Correction: Use the projector’s focus adjustment ring to make the projected image sharp and clear. If the projector is tilted or not aligned perfectly, use the keystone correction feature to correct any trapezoidal distortion and ensure a rectangular image.
Screen Considerations: If you’re projecting onto a wall, ensure it’s clean and suitable for projection. Alternatively, you can use a projector screen for a better viewing experience. Screens provide a flat, smooth surface that enhances image quality and ensures consistent brightness and color accuracy.
Audio Setup: If the projector has built-in speakers, you can utilize them for audio playback. However, for a more immersive sound experience, consider connecting external speakers or a sound system to the projector for better audio quality.
Testing and Adjusting: Once everything is set up, project a test image or play a video to check the quality and alignment. Adjust the projector’s focus, zoom, and other settings as needed for optimal image quality.
With a clear understanding of these basic setup steps, you’ll be able to configure your projector correctly and enjoy a seamless projection experience. Remember to consult the projector’s user manual for specific instructions and recommendations based on the model you’re using.
Connecting and Positioning Your Projector
Connecting and properly positioning your projector are crucial steps in setting up an optimal viewing experience. Let’s walk through the process:
Connecting Devices: Begin by connecting your video source, such as a laptop, Blu-ray player, or streaming device, to the projector. Most projectors have multiple input ports, such as HDMI, VGA, and USB. Use the appropriate cable for your device and connect it securely to the corresponding port on the projector.
Powering On: After all the devices are connected, plug in the power cord of the projector and any additional audio equipment if necessary. Make sure all connected devices are powered off before powering on the projector.
Setting the Input Source: Turn on the projector and navigate to the input source menu. Select the correct input source that corresponds to the connected device. This ensures that the projector displays the content from the desired video source.
Positioning the Projector: Choose the location for your projector, keeping in mind factors such as the projection distance, the screen size you want to achieve, and the available space. If your projector has a zoom feature, adjust it to achieve the desired image size on your screen.
Height and Angle: Position the projector at the appropriate height and angle to ensure that the projected image is projected straight onto the screen without any distortions. If necessary, use a tripod or adjustable mount to achieve the desired height and angle adjustment.
Keystone Correction: If the projector is not positioned directly in front of the screen or if the projection angle is causing a distorted image, use the keystone correction feature on your projector. This will correct any keystone distortion and make the image appear rectangular and properly aligned.
Focusing the Image: Use the focus ring on the projector lens to adjust the image’s sharpness. Turn the focus ring until the projected image appears clear and well-defined. Fine-tune the focus until you achieve the desired level of sharpness.
Testing and Adjustments: Once everything is connected and positioned, project a test image or video onto the screen. Check the quality of the image, making sure there are no blurriness, distortions, or color abnormalities. Make any necessary adjustments to the positioning, focus, or keystone correction until the image appears crisp and accurately projected on the screen.
Securing the Cables: After finalizing the projector’s position, ensure that all cables are properly secured and not in the way of foot traffic or other potential hazards. Use cable management solutions or adhesive clips to keep the cables organized and prevent them from being accidentally pulled or tripped over.
By following these steps, you can successfully connect and position your projector for an optimal viewing experience. Keep in mind that adjustments may be needed as you fine-tune the setup to accommodate your specific space and preferences.
Adjusting the Projector Settings
Once your projector is set up and positioned correctly, it’s time to adjust the settings to optimize the image quality and tailor it to your preferences. Here are the key settings you should consider:
Display Mode: Most projectors offer various display modes, such as Cinema, Dynamic, Game, or Presentation. Each mode is designed to enhance the image quality based on the content you’re viewing. Experiment with different modes to find the one that suits your specific needs and provides the desired color saturation, brightness, and contrast.
Aspect Ratio: The aspect ratio determines the shape of the projected image. The two most common aspect ratios are 16:9 (widescreen) and 4:3 (standard). Choose the aspect ratio that matches your content and screen. For movies and newer content, 16:9 is recommended, while 4:3 is suitable for older content or certain presentation formats.
Keystone Correction: If your projector is not perfectly aligned with the screen, keystone correction can help correct any distortion that causes a trapezoidal effect on the image. Adjust the vertical or horizontal keystone correction settings until the projected image appears as a rectangle with straight, even edges.
Image Positioning and Sizing: Use the projector’s zoom and focus functions to adjust the image size and ensure it fits perfectly within your desired screen area. Zoom in or out to achieve the desired image size without moving the projector. Fine-tune the focus to make the image sharp and clear.
Brightness and Contrast: If your projector offers manual control over brightness and contrast, you can adjust these settings to optimize the image quality. Increase the brightness for well-lit environments or decrease it for darker settings. Adjust the contrast to enhance the distinction between light and dark areas of the image.
Color Adjustments: Some projectors provide color adjustment options, including color temperature, saturation, and hue. These settings enable you to fine-tune the color reproduction to ensure accurate and vibrant colors. Experiment with these settings to achieve the desired color balance and accuracy.
Frame Rate and Motion Enhancement: If you’re using your projector for gaming or watching fast-paced content, such as sports or action movies, make sure it offers a high enough frame rate and motion enhancement features. These settings can minimize motion blur and provide smooth, fluid movement on the screen.
Noise Reduction: Some projectors have noise reduction features that reduce visual artifacts and image distortion. Enable this setting if you notice any unwanted noise or interference in the projected image. Experiment with different noise reduction levels to find the balance between reducing noise and maintaining image clarity.
Updating Firmware: Periodically check for firmware updates for your projector. Manufacturers often release firmware updates to improve performance, fix bugs, or add new features. Updating the projector’s firmware can ensure you have the latest enhancements and optimize the projector’s functionality.
Take your time to explore and experiment with different projector settings to customize the image quality to your liking. While the default settings are usually suitable for most scenarios, fine-tuning can greatly enhance your viewing experience and make the content come to life on the big screen.
Utilizing Projector Mounts and Screens
When setting up a projector, the choice of mounting and the type of screen can significantly impact your viewing experience. Let’s explore how you can make the most of projector mounts and screens:
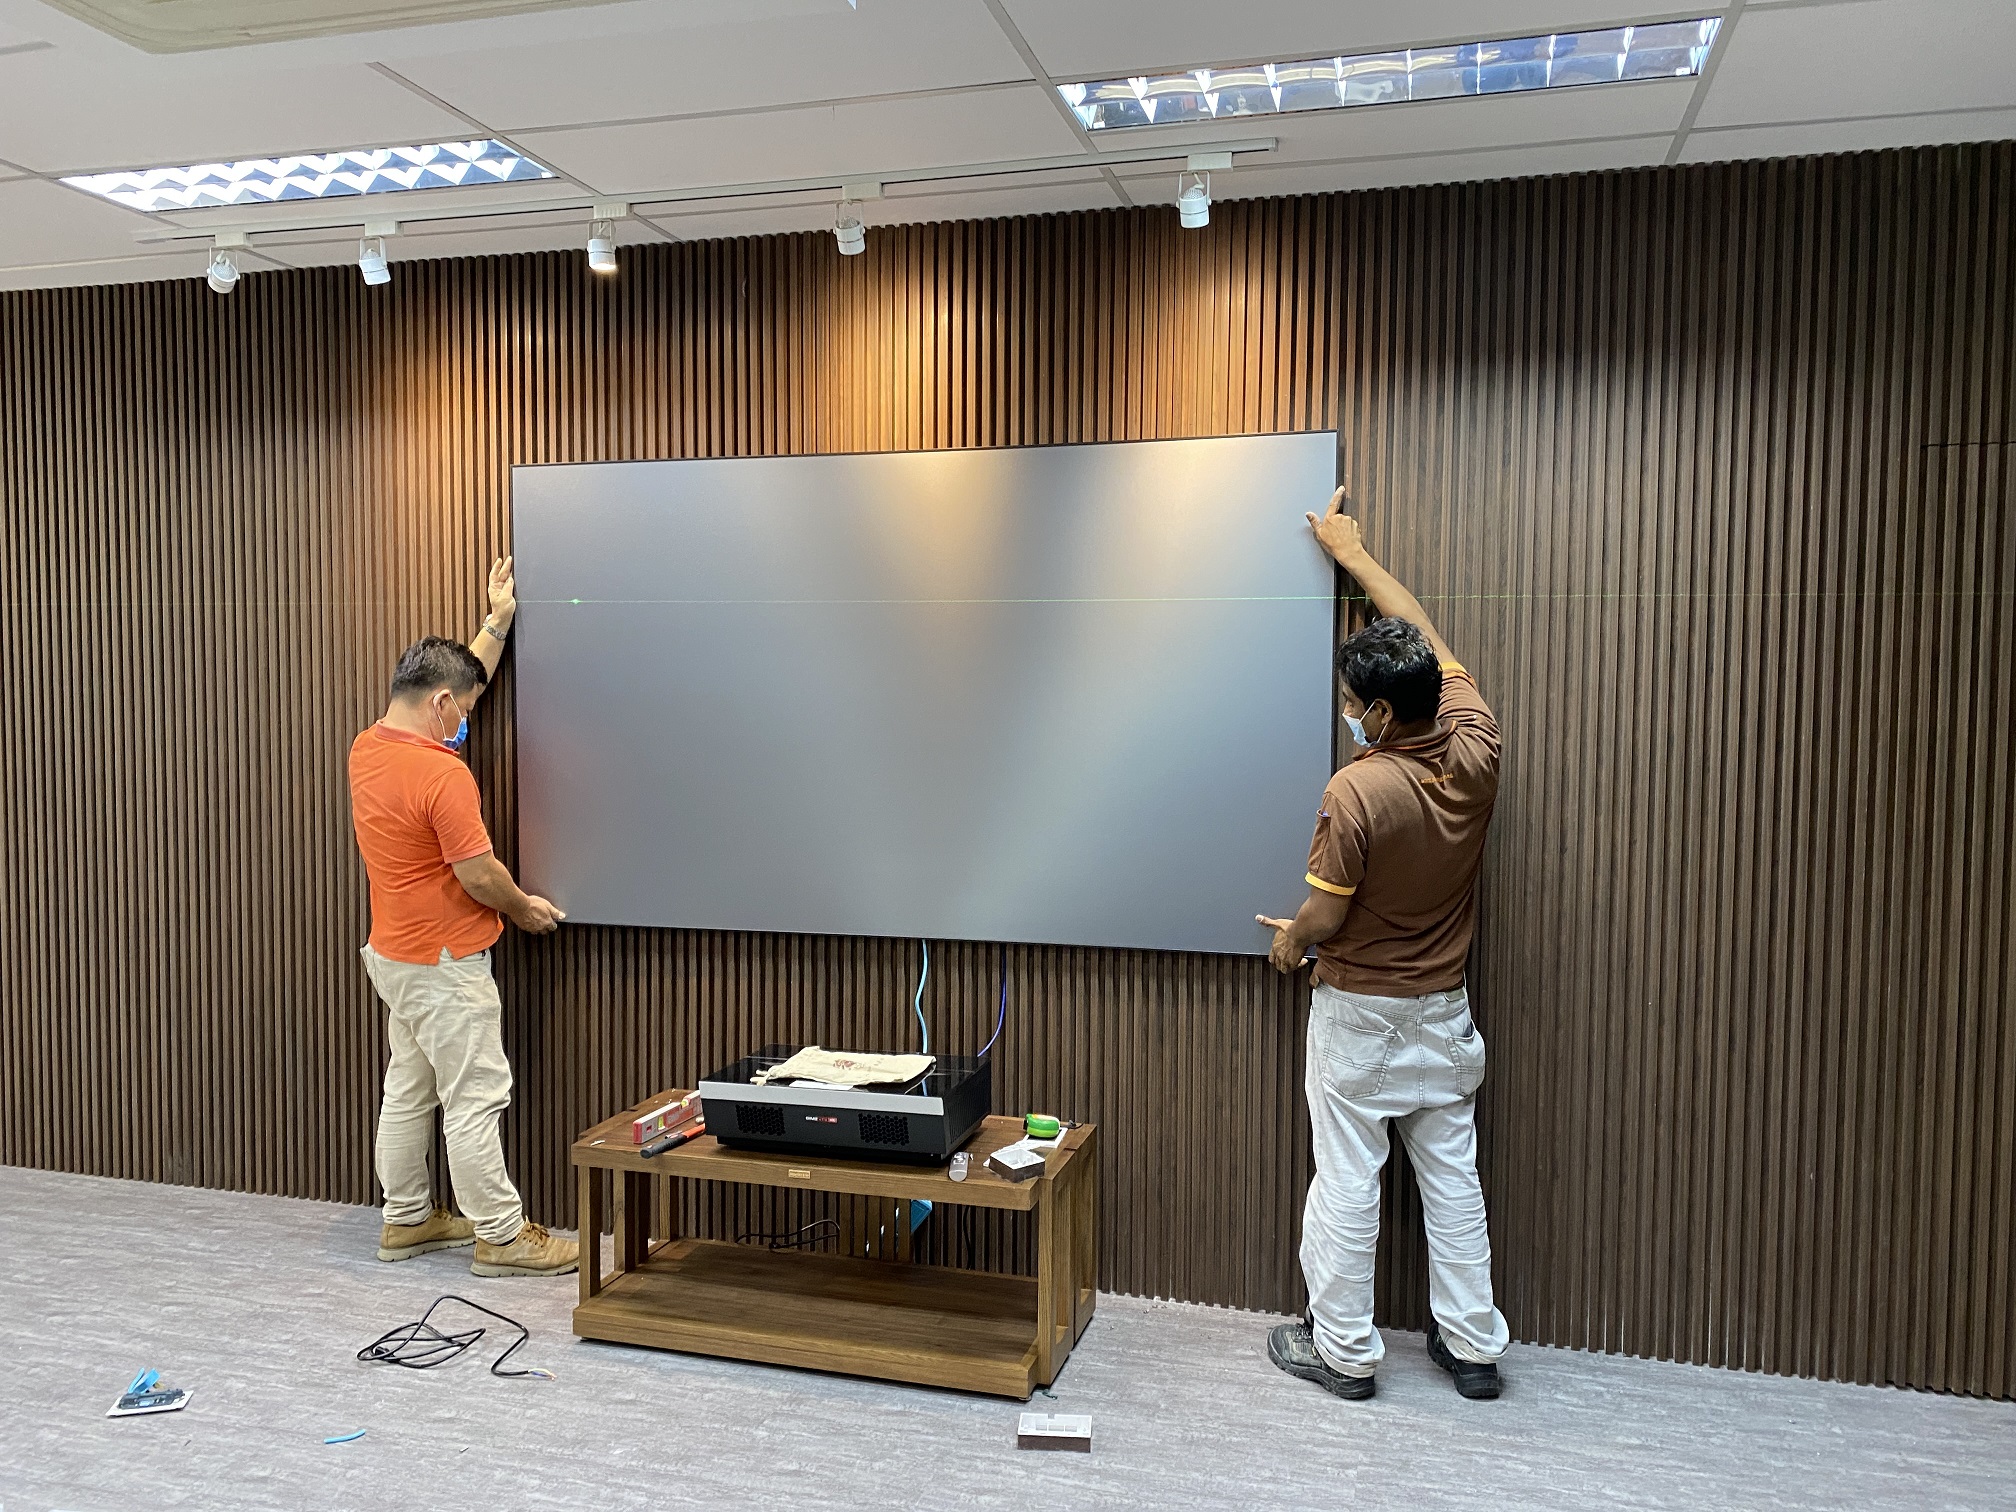
Projector Mounts: Mounting your projector on the ceiling or wall can offer numerous benefits. It provides a fixed and secure installation, frees up valuable floor space, and allows for optimal positioning. Choose a projector mount that is compatible with your projector model and offers the necessary adjustments for tilt, swivel, and height. Ensure that the mount is securely attached to a stable surface to prevent any vibrations or movement during projection.
Fixed Screens: Fixed screens are designed to be permanently mounted on a wall or in a fixed position. These screens offer a sturdy and flat surface for projection, ensuring optimal image quality. Fixed screens are available in various sizes and materials, such as vinyl, tensioned fabric, or framed screens. Consider factors such as room size, seating distance, and the projector’s throw ratio when selecting the appropriate screen size for your setup.
Motorized Screens: Motorized screens offer the convenience of retracting and extending at the touch of a button. These screens are ideal for dedicated home theaters or spaces where a hidden setup is desired. Motorized screens can be wall or ceiling-mounted and come in various sizes and aspect ratios. Some models even offer additional features like remote control, automatic tensioning, or masking systems to adjust the screen’s dimensions for different content formats.
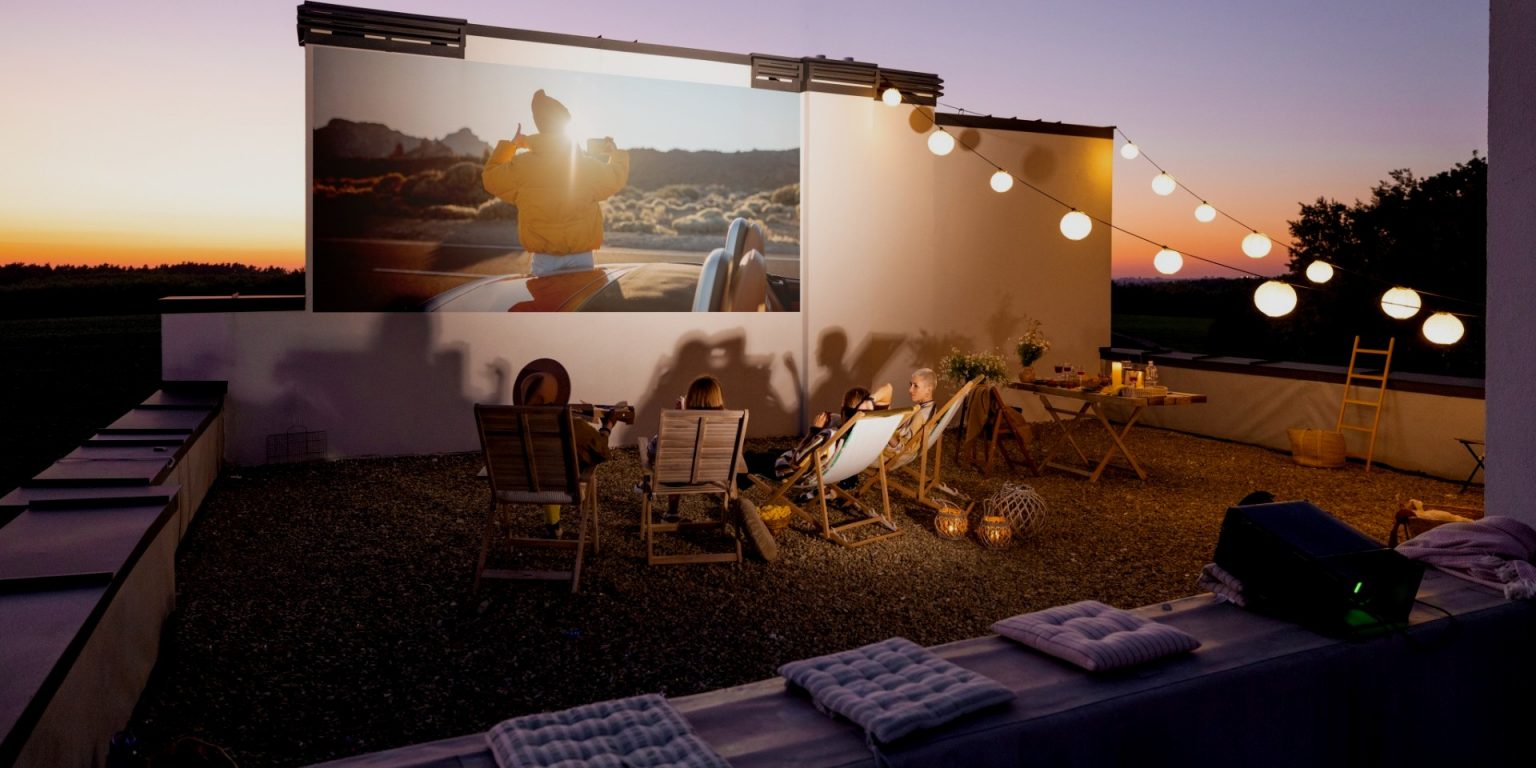
Portable Screens: If you need a screen that you can easily move and set up in different locations, consider a portable screen. These screens are lightweight, foldable, and come with a carrying case for convenient transportation. Portable screens are perfect for presentations, outdoor movie nights, or classrooms where mobility is essential. Look for screens that are quick to assemble, stable, and offer good image quality.
Ambient Light Rejection (ALR) Screens: ALR screens are designed to mitigate the impact of ambient light and enhance image contrast in rooms with less-than-ideal lighting conditions. These screens possess specialized coatings or materials that help absorb or diffuse the ambient light, allowing the projected image to appear more vibrant and clear. ALR screens are especially beneficial in rooms with windows or where controlling ambient light is challenging.
Dual or Multi-Format Screens: If you frequently watch content in different aspect ratios, consider a dual or multi-format screen. These screens feature adjustable masks or framing systems that allow you to change the screen’s dimensions to match specific content formats, such as 16:9, 4:3, or even wider formats. This flexibility ensures that you can enjoy content in its intended aspect ratio without any black bars or image distortion.
Screen Placement: Whether using a fixed, motorized, or portable screen, make sure it is positioned at the appropriate height and distance from the projector. Align the screen with the projector’s lens to ensure that the projected image conforms to the screen size and shape without any image cutoff or cropping. Consider the viewing angles of your audience when determining the best placement for the screen.
By utilizing projector mounts and screens effectively, you can create an immersive and professional projection setup. Choose the mounting and screen options that best suit your needs, room layout, and budget, and enjoy a high-quality viewing experience with your projector.
Understanding the Different Projection Options
Projectors offer various projection options to suit different viewing environments and requirements. Let’s take a closer look at each option:
Front Projection: Front projection is the most common and widely used projection method. In front projection, the projector is placed in front of the screen and projects the image onto it. This setup allows for a large, immersive display and is suitable for home theaters, classrooms, conference rooms, and other indoor applications. With front projection, the audience sits or stands on the opposite side of the screen.
Rear Projection: Rear projection involves placing the projector behind a specially designed translucent or reflective screen. The image is projected onto the screen from behind, and the audience views the image from the front. Rear projection setups offer a cleaner and more streamlined appearance since the projector is hidden from view. This makes rear projection ideal for retail displays, trade shows, exhibitions, and performance stages where the projector’s visibility can be distracting or obstructive.
Short-Throw Projection: Short-throw projectors are designed to project large images from a short distance. These projectors have a shorter throw ratio, meaning they can produce a big screen image even when placed close to the screen. Short-throw projectors are suitable for small or limited spaces, such as classrooms, small meeting rooms, or living rooms. They reduce the risk of shadows or obstructions caused by people walking in front of the projector. Short-throw projectors also minimize the risk of accidental eye contact with the bright projection light.
Ultra-Short Throw Projection: Ultra-short throw projectors take short-throw projection to the next level by allowing even closer placement to the screen. With ultra-short throw projectors, the projector is typically placed within inches of the screen or wall. This setup is highly desirable for home theaters and living rooms where space is limited. Ultra-short throw projectors also eliminate the risk of shadows, offer easier installation, and provide a seamless integration between the projector and the room’s decor.
Ceiling-Mounted Projection: Ceiling-mounted projection involves mounting the projector on the ceiling for overhead projection. This setup is popular in home theaters, conference rooms, or any space where having the projector out of sight is a priority. Ceiling-mounted projectors are often paired with motorized screens for a sleek, automated setup. This arrangement allows for a clutter-free environment and optimal positioning for consistent image projection.
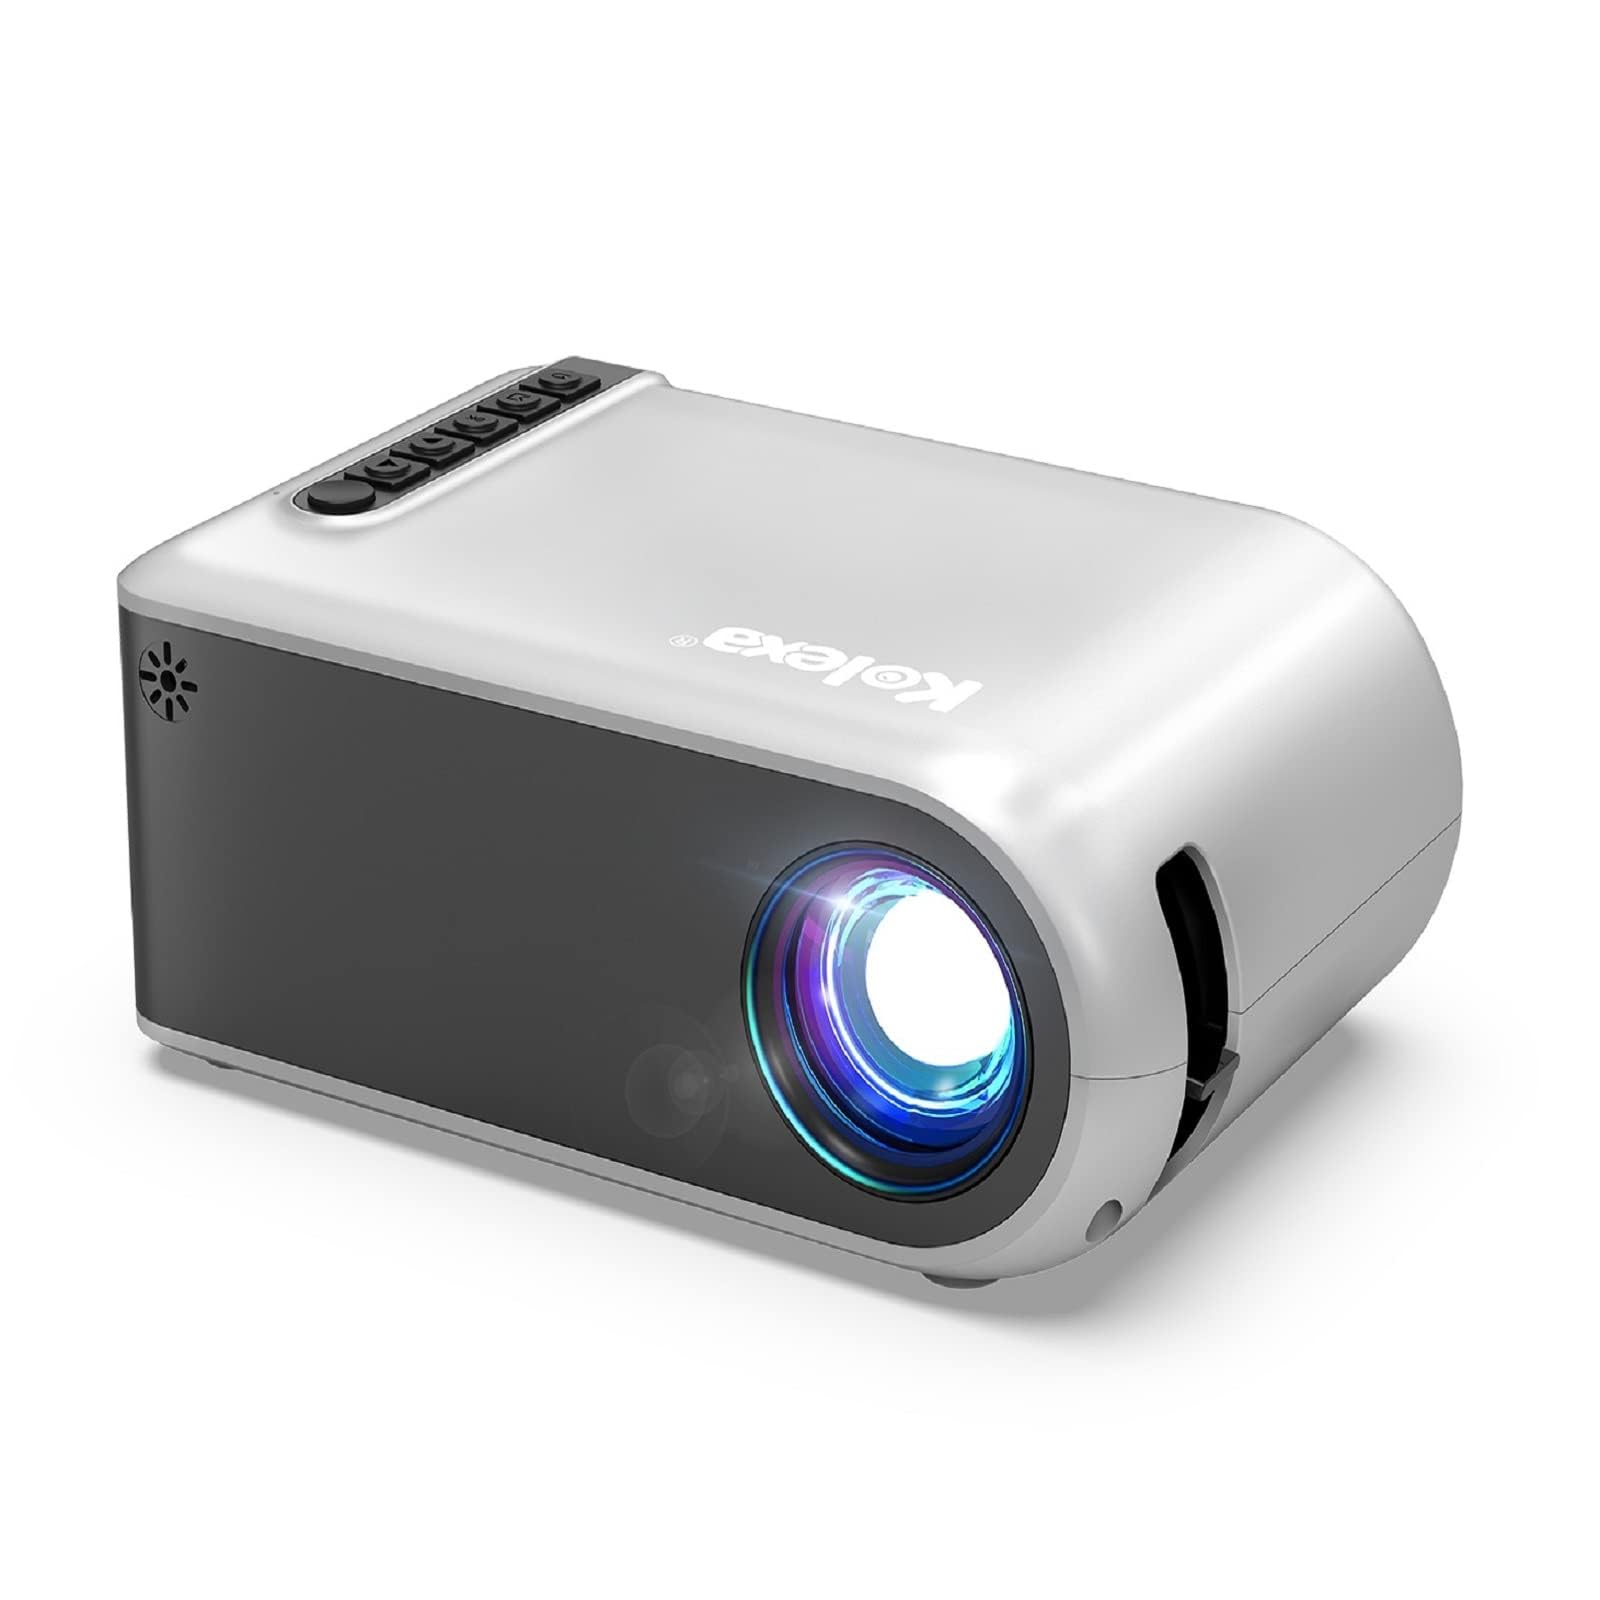
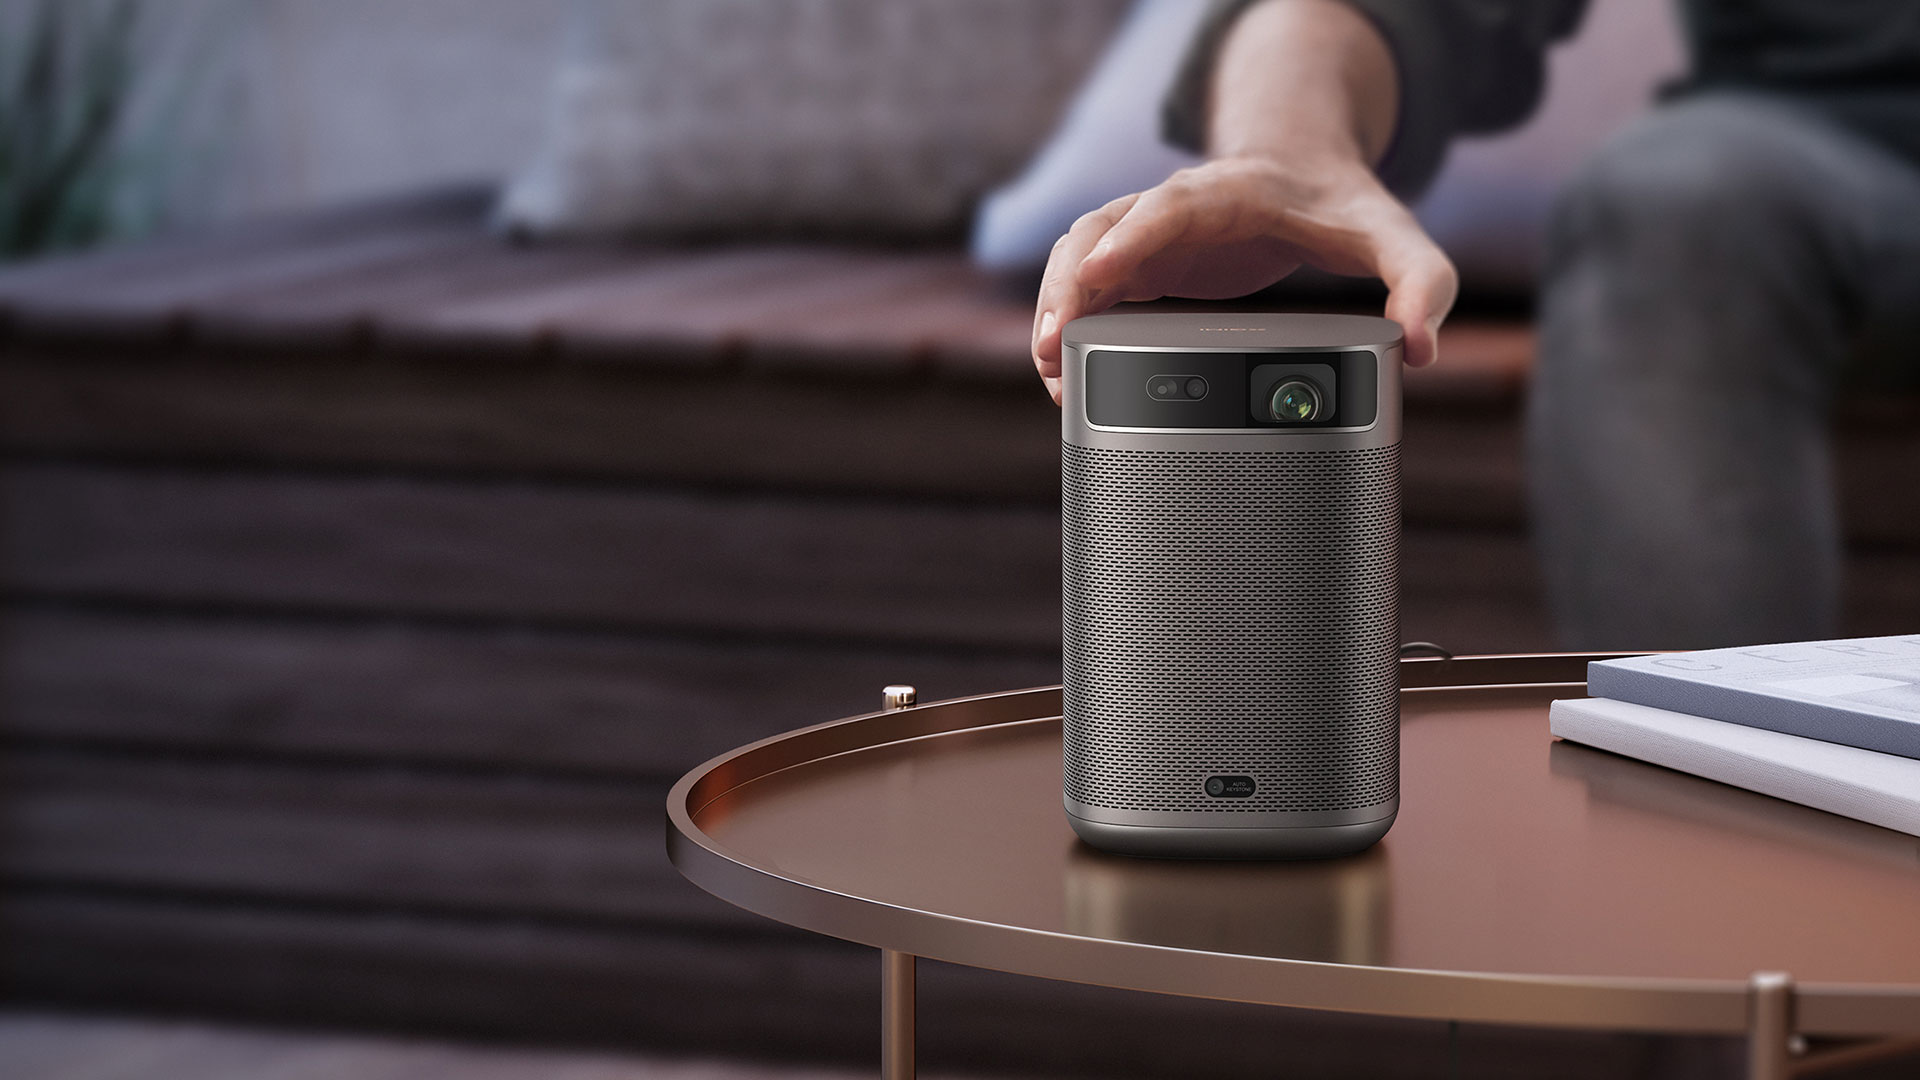
Portable Projection: Portable projectors offer flexibility and convenience for on-the-go projection needs. These compact projectors are lightweight and easy to transport, making them ideal for business presentations, outdoor movie nights, or impromptu gatherings. Portable projectors often come with built-in batteries, wireless connectivity options, and compact designs that can fit in a backpack. They provide the flexibility to project on various surfaces or even walls, making them suitable for a wide range of environments and scenarios.
Understanding the different projection options gives you the flexibility to choose the setup that best suits your needs and space constraints. Whether you opt for front projection, rear projection, short-throw projection, or portable projection, each option brings its own advantages and allows for a unique viewing experience.
Troubleshooting Common Projector Issues
While projectors can provide an incredible visual experience, they can sometimes encounter issues that may disrupt your viewing or presentation. Here are some common projector problems and troubleshooting steps to help you resolve them:
No Power: If your projector doesn’t turn on, check if it’s properly connected to a power source. Ensure that the power cord is securely plugged into both the projector and the outlet. If you’re using a power strip or surge protector, test it with another device to ensure it’s functioning correctly. If the projector still doesn’t power on, try a different power outlet or consult the projector’s user manual for specific troubleshooting steps.
No Image or Blank Screen: If the projector powers on but you’re not seeing an image, check the cables connecting the projector to the video source. Ensure that both ends of the cables are securely plugged in. If using HDMI or VGA connections, verify that the input source on the projector matches the connected device. Additionally, check the video source to ensure it’s outputting a signal. If you’re using a laptop, double-check that the display output settings are configured properly. Lastly, check the projector’s lamp or bulb, as a burned-out lamp can cause a blank screen.
Poor Image Quality: If the projected image appears blurry or distorted, first check the projector’s focus adjustment. Adjust the focus ring on the projector lens until the image becomes sharper. If the image is still unclear, check the projector’s distance from the screen and make sure it’s within the recommended range. Verify that the projector and the screen are parallel to each other to prevent any keystone distortion. Additionally, check the resolution settings on the video source and ensure it aligns with the projector’s native resolution.
Image Cutoff or Overscan: If the projected image is cut off or extends beyond the edges of the screen, it may be due to incorrect aspect ratio settings. Check both the projector and the video source to ensure that the aspect ratios are set correctly. If overscan occurs, try adjusting the zoom or positioning of the projected image using the projector’s controls. In some cases, this issue can also be resolved by changing the screen size or position, or by adjusting the projector’s zoom or focus.
No Audio or Poor Sound Quality: If you’re not hearing any sound or the audio quality is poor, check the audio connections between the projector and the external speakers or audio system. Ensure that the audio cables are securely connected to the appropriate ports on both devices. If connected through HDMI, verify that the audio output on the video source is set to the correct HDMI output. Make sure the volume on both the projector and the audio source is turned up. If audio is still problematic, test the speakers with another audio source to rule out any issues with the speakers themselves.
Overheating: If the projector becomes hot or shuts down unexpectedly, it may be overheating. Ensure that the projector has ample space for ventilation and that the air vents are not blocked. Clean the air filters regularly to prevent dust buildup, as clogged filters can cause overheating. If the ambient temperature is too high, consider lowering the room temperature or using a cooling fan to aid in heat dissipation. If the issue persists, you may need to contact the manufacturer for further guidance.
Unresponsive or Frozen Projector: Occasionally, projectors may freeze or become unresponsive. Try turning off the projector, disconnecting it from the power source, and waiting for a few minutes before reconnecting and powering it back on. This can help reset the projector’s internal system. If the problem persists, consult the projector’s user manual for instructions on how to perform a factory reset or contact the manufacturer’s support team for assistance.
Remember, troubleshooting steps can vary based on the projector model and manufacturer. Always refer to the user manual or consult the manufacturer’s support resources if you encounter persistent issues or need further assistance.
Conclusion
Congratulations! You have now gained a comprehensive understanding of how to use and optimize your projector setup. By following the guidelines outlined in this guide, you can choose the right projector for your needs, properly set it up, and troubleshoot common issues that may arise. Whether you’re a movie enthusiast, a gamer, or a presenter, a projector can elevate your visual experience and captivate your audience.
Remember to consider important factors like brightness, resolution, connectivity options, and throw distance when choosing a projector. Understanding the basics of projector setup, including finding the ideal location, connecting devices correctly, and adjusting projector settings, will contribute to a seamless installation process.
Additionally, utilizing projector mounts and screens can enhance your viewing experience and provide a more professional setup. Whether you opt for front projection, rear projection, short-throw projection, or portable projection, selecting the right projection option will cater to your specific needs and space limitations.
If you encounter any issues along the way, don’t worry! By troubleshooting common projector problems such as power issues, image quality concerns, or audio difficulties, you’ll be able to rectify those issues and optimize your projection experience.
Now that you have the knowledge and tools to make the most out of your projector, it’s time to start enjoying immersive movie nights, engaging presentations, or thrilling gaming sessions. Explore the possibilities, experiment with settings, and have fun creating a larger-than-life visual experience with your projector.
Remember to refer to the user manuals and support resources provided by the projector manufacturer for detailed instructions and recommendations specific to your model. As technology evolves, stay updated with the latest firmware and software updates to ensure your projector is always performing at its best.
Enjoy your projector setup and let your creativity shine on the big screen!


