Introduction
Welcome to the world of modern technology, where data storage and transfer are essential aspects of our digital lives. One common and convenient method to manage and store data is through the use of SD (Secure Digital) cards. SD cards have become a popular choice among users due to their compact size and high storage capacity.
In this article, we will explore how to effectively use an SD card on your computer. Whether you want to transfer files, backup data, or expand your storage options, knowing how to work with an SD card is essential. We will guide you through the process of checking SD card compatibility, inserting the card into your computer, accessing its contents, transferring files, and safely ejecting the card. Additionally, we will provide troubleshooting tips for common SD card issues that you may encounter.
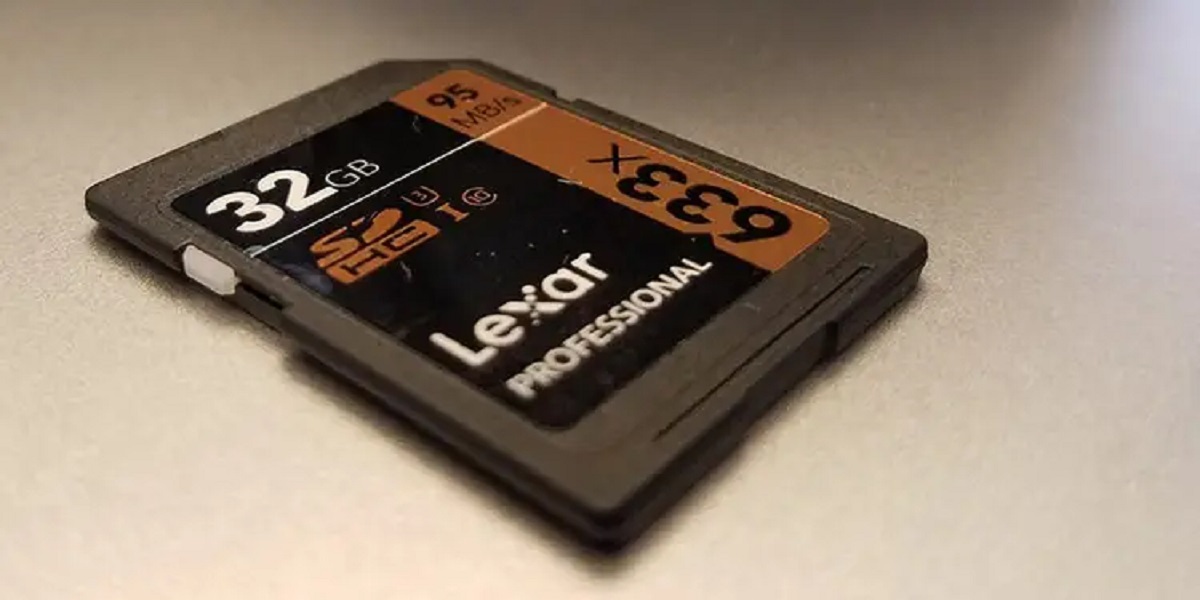
Before we dive into the practical aspects, it’s important to note that SD cards come in various types and sizes. The most common types include SD, SDHC (Secure Digital High Capacity), and SDXC (Secure Digital Extended Capacity). Each type has different storage capacities and file system formats, so it’s crucial to ensure compatibility between your SD card and your computer.
Now that we have a general overview, let’s delve into the details and learn how to make the most of your SD card on your computer.
Checking SD Card Compatibility
Before using an SD card on your computer, it’s important to ensure compatibility between the card and your system. This step is crucial to avoid any potential issues or data loss. Here’s how you can check SD card compatibility:
- Operating System Compatibility: Start by confirming whether your computer’s operating system supports SD cards. Most modern operating systems, including Windows, macOS, and Linux, have built-in support for SD cards. However, it’s always a good idea to check the system requirements and specifications to be certain.
- Card Format: SD cards come in different formats, such as SD, SDHC, and SDXC. Ensure that your computer’s SD card slot or reader supports the format of your SD card. SDHC and SDXC cards, for instance, may not be compatible with older card readers or devices.
- File System Format: SD cards typically use FAT32 or exFAT file systems. Check if your computer supports the file system format used by your SD card. Most modern operating systems can read and write to both FAT32 and exFAT formats, but it’s worth confirming.
- Device Drivers: Ensure that your computer has the necessary device drivers installed to recognize and interact with SD cards. Typically, these drivers are pre-installed on most systems. However, if you encounter any issues, you may need to update or reinstall the drivers.
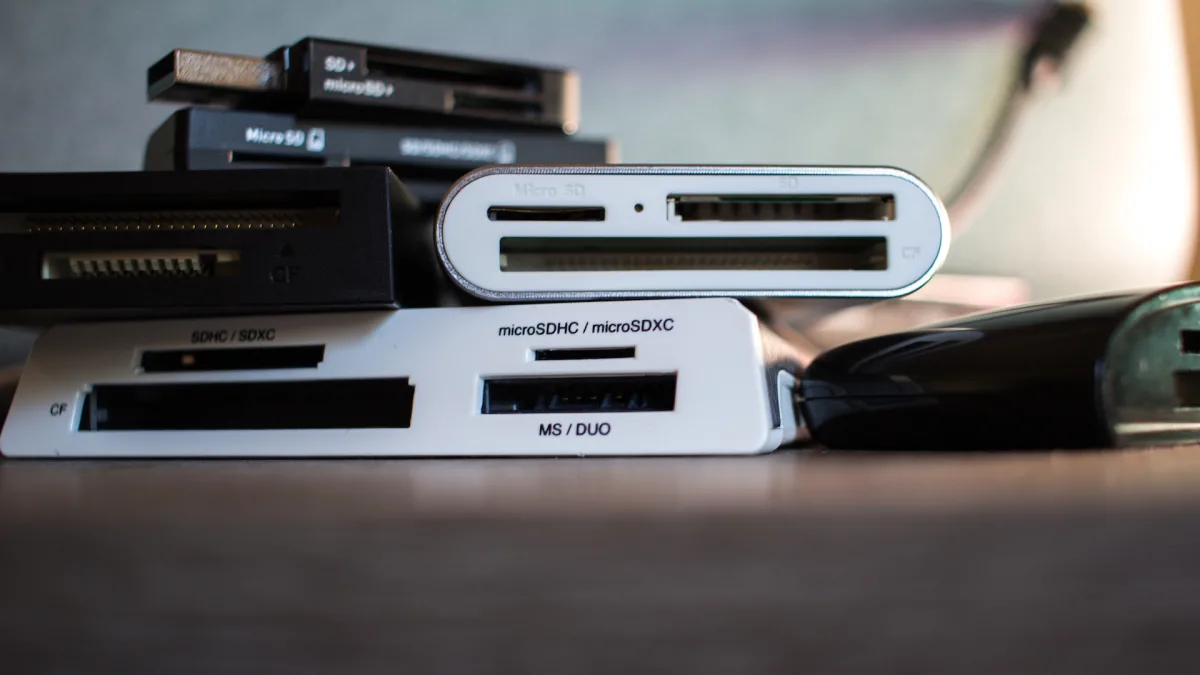
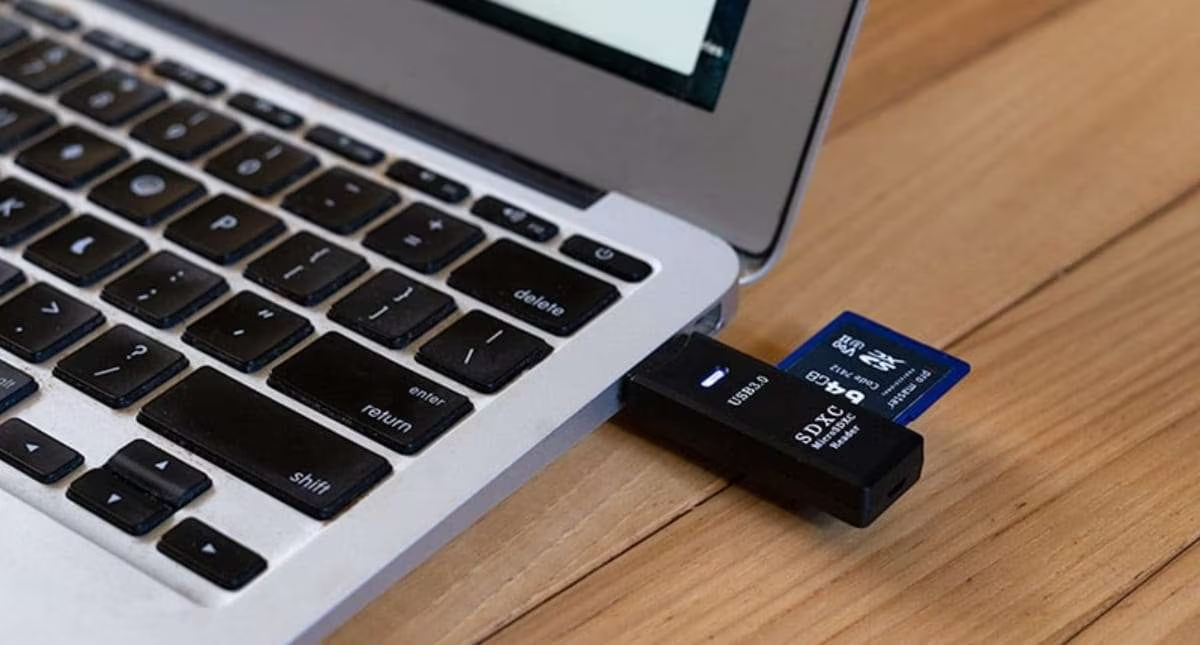
By verifying the compatibility of your SD card and computer, you can ensure a smooth experience when using the card. If your computer is not compatible, don’t worry! You can explore alternative options like using an SD card adapter or an external SD card reader that is compatible with your system.
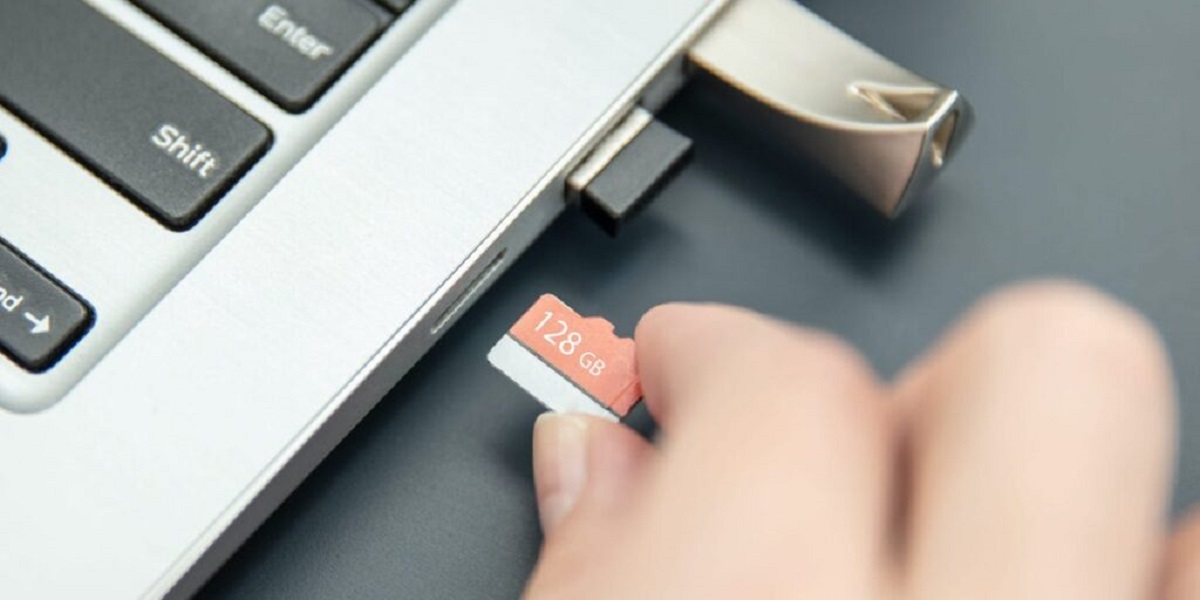
Inserting the SD Card
After confirming the compatibility, it’s time to insert the SD card into your computer. Follow these steps to properly insert the SD card:
- Locate the SD Card Slot: Firstly, identify the SD card slot on your computer. It is typically located on the side or front of laptops or on the front panel of desktop computers. If your computer doesn’t have a built-in SD card slot, you can use an external card reader connected via USB.
- Prepare the SD Card: Remove the SD card from its packaging and handle it carefully. Ensure that the metal contacts on the card are clean and free from dust or debris. If necessary, use a soft cloth or compressed air to gently clean them.
- Insert the SD Card: Orient the SD card correctly. Look for the tiny arrow or label on the SD card indicating the correct orientation. Align the card with the slot on your computer and gently insert it. Do not force it; it should slide in smoothly.
- Secure the SD Card: Once the card is inserted, you may hear a click or feel a slight resistance when it reaches the correct position. This indicates that the card is securely inserted into the slot. However, if your computer has a spring-loaded slot, gently push the card until it locks into place.
After inserting the SD card, your computer’s operating system should detect and recognize the card automatically. It may open a window displaying the contents of the card or prompt you to choose an action. If nothing happens, don’t worry. We will cover accessing the SD card in the next section.
Accessing the SD Card
Now that you have inserted the SD card into your computer, it’s time to access its contents. Follow these steps to access the SD card:
- Open File Explorer: On Windows, open File Explorer by clicking the folder icon in the taskbar or by pressing the Windows key + E on your keyboard. On macOS, open Finder by clicking the smiley face icon in the dock or by pressing Command + Space and typing “Finder”.
- Locate the SD card: In the navigation pane of File Explorer or Finder, you should see a list of drives and devices. Look for the SD card, which is typically labeled with its storage capacity or the name you gave it when formatting. Click on the SD card to open it.
- Browse and access files: Once the SD card is open, you can browse its contents just like you would with any other folder on your computer. You can open, copy, move, or delete files and folders as needed.
- Organize files: To keep your files organized on the SD card, you can create new folders by right-clicking within the SD card window and selecting “New Folder”. Give the folder a name and start organizing your files into the appropriate folders.
Remember that the process may vary slightly depending on your operating system. Additionally, if you’re unable to locate the SD card or encounter any difficulties accessing its contents, ensure that the card is properly inserted and try restarting your computer. If the issue persists, you may need to troubleshoot common SD card issues, which we will cover in a later section.
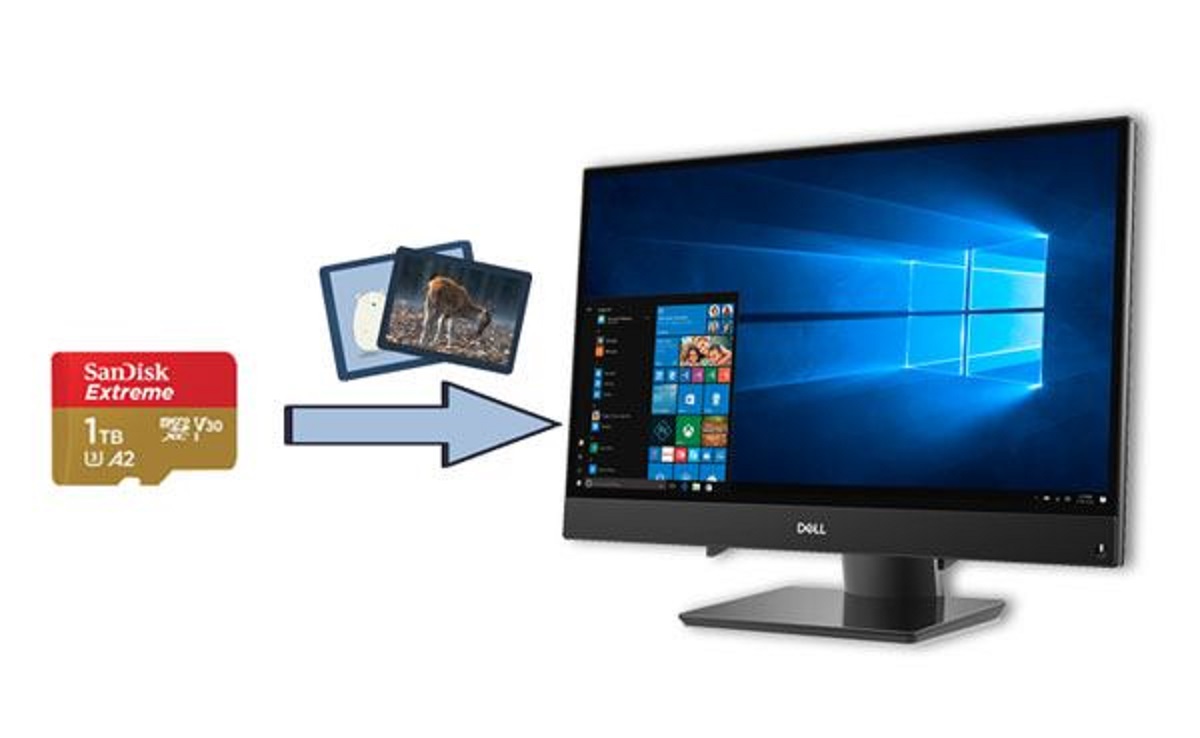
Transferring Files to and from the SD Card
Transferring files to and from the SD card is a common task when using it on your computer. Whether you want to backup important data or free up space on your device, here are the steps to transfer files:
- To SD Card: To transfer files from your computer onto the SD card, follow these steps:
- Navigate to the location of the file(s) you want to transfer.
- Select the file(s) you wish to transfer by clicking and dragging to highlight them or by holding down the Ctrl key and clicking on individual files.
- Right-click on the selected file(s) and choose the “Copy” option.
- Navigate to the open SD card window in File Explorer or Finder.
- Right-click within the SD card window and choose the “Paste” option to transfer the files onto the SD card.
- From SD Card: To transfer files from the SD card onto your computer, follow these steps:
- Navigate to the open SD card window in File Explorer or Finder.
- Select the file(s) you want to transfer from the SD card.
- Right-click on the selected file(s) and choose the “Copy” option.
- Navigate to the location on your computer where you want to transfer the files.
- Right-click within the destination folder and choose the “Paste” option to transfer the files from the SD card to your computer.
Transferring files to and from the SD card follows the same principles as transferring files between folders on your computer. The process is straightforward and allows you to manage your data conveniently.
It’s worth noting that large file transfers or a high number of files may take some time, depending on the speed of your SD card and your computer’s hardware. Be patient and avoid interrupting the transfer process to avoid potential data corruption or loss.
Safely Ejecting the SD Card
Once you have finished using the SD card and transferring files, it is important to safely eject it from your computer. This ensures that any pending data writes are completed and prevents potential data corruption. Follow these steps to safely eject the SD card:
- Close any open files: Before ejecting the SD card, make sure that you have closed any files or folders that you were working with on the card. This ensures that all changes are saved properly.
- Find the eject option: Locate the SD card in File Explorer or Finder. In Windows, right-click on the SD card and select the “Eject” option. On macOS, click the eject icon (usually an upward-pointing arrow) next to the SD card’s name in Finder.
- Wait for the confirmation: Once you have initiated the ejection process, wait for your computer to confirm that it is safe to remove the SD card. In Windows, you may see a notification or a message in the system tray indicating that the SD card can be safely removed. On macOS, the SD card icon will disappear from the desktop.
- Physically remove the SD card: Gently grasp the edge of the SD card and carefully pull it out of the card slot. Be mindful not to damage the card or the slot while removing it.
By following these steps, you can ensure that your data remains intact and avoid any potential data loss or damage to the SD card. It is important to note that abruptly removing the SD card without properly ejecting it can lead to data corruption and may render the card unusable.
Troubleshooting Common SD Card Issues
While using an SD card on your computer, you may encounter some common issues that hinder its functionality. Here are a few troubleshooting tips to help you resolve these issues:
- SD Card Not Recognized: If your computer fails to recognize the SD card, try the following:
- Ensure that the SD card is properly inserted into the card slot or reader.
- Restart your computer and see if it detects the SD card upon startup.
- Try using a different card reader or SD card slot if available.
- Update the device drivers for your SD card reader or try reinstalling them.
- Read/Write Errors: If you encounter read or write errors while accessing the SD card, try these solutions:
- Check if the SD card is write-protected. Look for a physical switch on the side of the card and ensure it is in the unlocked position.
- Use disk utility software to repair any potential file system errors on the SD card.
- Try using a different USB cable or card reader to eliminate hardware-related issues.
- Backup your data and consider formatting the SD card if the errors persist. Note that formatting erases all data on the card.
- Slow Performance: If the SD card’s performance is sluggish, consider the following steps:
- Ensure that you are using a high-speed and reliable SD card that meets your device’s requirements.
- Close any unnecessary applications or processes that might be accessing the SD card simultaneously.
- Periodically clean the metal contacts on the SD card with a soft cloth to ensure optimal connectivity.
- Consider defragmenting or optimizing the file system of the SD card for better performance.
If you have tried these troubleshooting tips and still experience issues with your SD card, it may be a sign of a failing or damaged card. In such cases, it is recommended to back up your data and consider replacing the SD card to avoid potential data loss.
Conclusion
Using an SD card on your computer can greatly expand your storage options and simplify data transfer. By following the steps outlined in this article, you can effectively utilize an SD card in your computer workflow.
We started by checking the SD card compatibility with your computer, ensuring that it supports the card’s format and file system. Then, we learned how to properly insert the SD card into the designated slot or a card reader. Once the card was inserted, we discussed how to access its contents through File Explorer or Finder.
Transferring files to and from the SD card was covered next, providing you with a clear understanding of the process for both directions. Remember to safely eject the SD card before physically removing it from your computer to avoid data corruption.
Lastly, we addressed common troubleshooting tips to resolve issues that may arise when using an SD card. From unrecognized cards to read/write errors and slow performance, these troubleshooting steps can help you overcome obstacles and optimize your experience with the SD card.
Now armed with this knowledge, you can confidently use an SD card on your computer to store and transfer files, backup important data, and effortlessly expand your storage capacity. Embrace the convenience and flexibility of SD cards, and make the most of your digital experience.