Introduction
Welcome to the fascinating world of digital photography! In today’s digital age, almost everyone owns a digital camera or uses their smartphone to capture precious moments. Whether you’re a photography enthusiast or a beginner looking to learn how to make the most of your digital camera, you’ve come to the right place.
In this step-by-step guide, we will walk you through the process of using a digital camera effectively. From understanding the various camera modes to mastering focus and composition techniques, you’ll become equipped with the knowledge and skills needed to capture stunning photographs.
Before we dive into the technical details, let’s discuss why digital photography is so popular. The advent of digital cameras has revolutionized the way we take, store, and share photos. Unlike film cameras, digital cameras allow you to instantly preview your images, delete unwanted shots, and experiment with different settings. This instant feedback empowers you to enhance your skills and creativity, making the learning process more dynamic and engaging.
Nowadays, digital cameras come in a wide range of models and features, catering to the needs of beginners and professionals alike. Whether you’re using a compact point-and-shoot camera or a high-end DSLR, the basic principles of photography remain the same. Understanding these principles and how to apply them will enable you to capture remarkable images that stand out.
Throughout this guide, you’ll find practical tips, techniques, and step-by-step instructions that will help you navigate your digital camera with confidence. We will cover everything from getting to know your camera, adjusting settings, choosing the right lens, and capturing the perfect shot. We’ll also explore post-processing techniques and how to share your photos with the world.
So grab your digital camera, make sure it’s fully charged, and let’s embark on an exciting journey into the world of digital photography. By the end of this guide, you’ll have the skills and knowledge to capture breathtaking photos that tell your unique story.
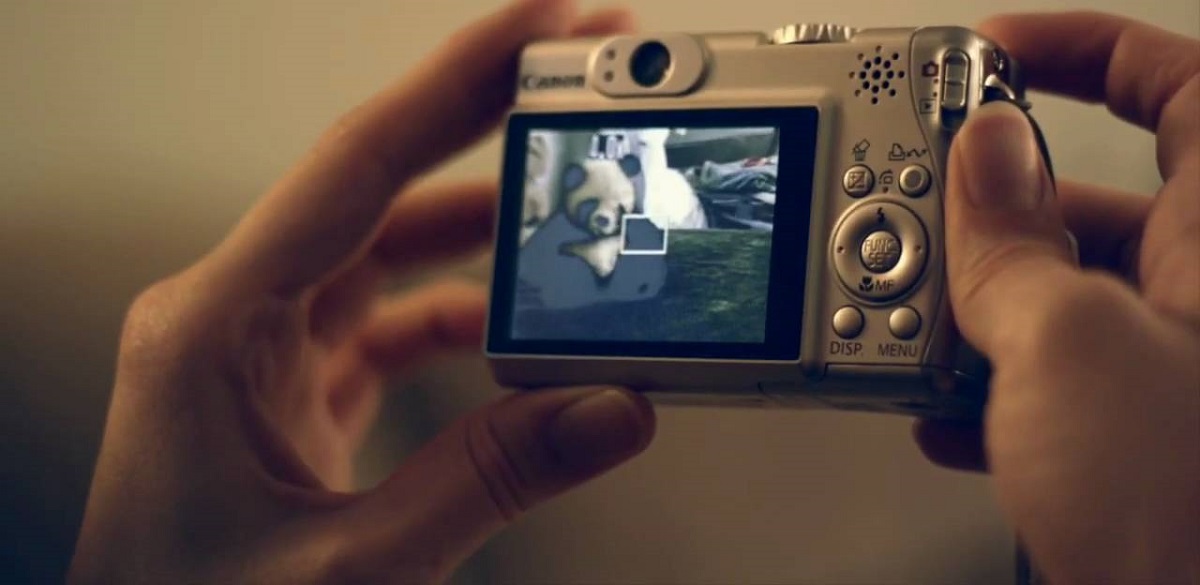
Step 1: Getting to Know Your Digital Camera
Before you can start capturing amazing photos, it’s crucial to familiarize yourself with your digital camera. Each camera has its own unique features and settings, and understanding them will be the foundation for mastering the art of photography.
Begin by reading the camera’s manual. It may seem like a tedious task, but this valuable resource will provide you with essential information about your camera’s specific functions and controls. Take the time to explore each section and make notes of any terms or concepts that are unfamiliar to you.
Next, get hands-on with your camera. Familiarize yourself with the physical buttons, dials, and menu options. These controls allow you to navigate through the camera’s functions and make adjustments to settings such as exposure, ISO, and white balance.
Take some test shots to see how the camera performs. Experiment with different shooting modes like auto, manual, aperture priority, and shutter priority. By doing so, you’ll gain a better understanding of how these modes affect the overall outcome of your photos.
Additionally, pay attention to the camera’s display screen and viewfinder. These tools allow you to preview your shots and make necessary adjustments before capturing the image. Familiarize yourself with the information displayed, such as exposure settings, focus points, and histograms.
Understanding the basic camera terminology is also essential. Terms like aperture, shutter speed, and focal length may initially seem intimidating, but they are fundamental to photography. Take the time to research and understand these terms, as they will greatly enhance your ability to control and manipulate your camera’s settings.
Lastly, don’t hesitate to experiment with different features and settings. Digital cameras provide a plethora of options to choose from, such as scene modes, creative filters, and various shooting modes. Gradually explore each of these features and learn how they can enhance your photography.
By taking the time to get to know your digital camera, you’ll become more comfortable and efficient when it comes to capturing images. Once you are familiar with your camera’s capabilities, you’ll be ready to move on to the next step, which is understanding the camera modes.
Step 2: Understanding the Camera Modes
One of the key aspects of getting the most out of your digital camera is understanding the different camera modes it offers. These modes allow you to customize your settings based on the specific shooting conditions and desired outcome.
Most digital cameras come with a variety of modes, including auto, manual, aperture priority, shutter priority, and various scene modes. Let’s explore each of these modes in detail:
- Auto Mode: This mode is perfect for beginners or those who want the camera to handle all the settings automatically. In auto mode, the camera analyzes the scene and determines the optimal exposure, focus, and other vital settings. While convenient, it offers limited control over the creative aspects of photography.
- Manual Mode: For advanced photographers seeking full control, manual mode is the way to go. In this mode, you have the freedom to adjust shutter speed, aperture, ISO, and other settings according to your preference. Manual mode requires a solid understanding of the exposure triangle and is ideal for capturing challenging lighting situations or achieving specific creative effects.
- Aperture Priority Mode: In aperture priority mode, you set the desired aperture value, and the camera automatically determines the appropriate shutter speed for proper exposure. This mode is excellent for controlling depth of field, allowing you to achieve either a shallow depth of field with a blurred background or a greater depth of field for sharper foreground and background details.
- Shutter Priority Mode: Shutter priority mode puts you in control of the shutter speed while the camera adjusts the aperture accordingly. This mode is useful in capturing fast-moving subjects or freezing motion with a faster shutter speed or creating a sense of motion with a slower shutter speed.
- Scene Modes: Scene modes are designed to optimize settings for specific types of scenes or subjects. Common scene modes include landscape, portrait, sports, night, and macro. These modes simplify the process by setting the appropriate combination of settings for the specific scene, making it easier for beginners to achieve good results.
Understanding and utilizing the different camera modes will allow you to make the most of your digital camera’s capabilities. Each mode offers unique advantages and control, empowering you to capture the desired shots in various shooting conditions.
Experiment with each of the camera modes and practice shooting in different scenarios to develop a better understanding of their effects. As you gain experience, you’ll become more comfortable switching between modes to adapt to different shooting situations and achieve your creative vision.
Now that you have a grasp of the camera modes, let’s move on to the next step, which is adjusting the camera settings to further customize your photography experience.
Step 3: Adjusting the Camera Settings
In order to capture the perfect shot with your digital camera, it’s important to have a good understanding of the camera settings and how they affect your images. This step will guide you through the process of adjusting various settings to achieve your desired results.
The first setting to consider is the ISO. ISO determines the camera’s sensitivity to light. A lower ISO value (e.g., ISO 100-400) is ideal for bright conditions, while a higher ISO (e.g., ISO 800-3200) is suitable for low-light situations. However, keep in mind that higher ISO values can introduce digital noise to your images, so choose the ISO setting that balances sufficient light and acceptable noise levels.
White balance is another crucial setting to consider. It ensures colors appear accurate in different lighting conditions. Generally, you can use the automatic white balance setting, which adjusts the color temperature based on the scene. However, for more precise color reproduction, you can manually set the white balance depending on the light source (e.g., daylight, cloudy, incandescent).
Exposure compensation allows you to adjust the exposure level of your images. It comes in handy when the camera’s built-in metering system doesn’t accurately determine the correct exposure. By using the exposure compensation dial, you can increase or decrease the exposure value (+/- EV) to avoid underexposed or overexposed photos.
Focus mode determines how the camera focuses on the subject. There are typically three focus modes: single-shot autofocus (AF-S), continuous autofocus (AF-C), and manual focus (MF). Single-shot autofocus is ideal for stationary subjects, while continuous autofocus is preferable for tracking moving subjects. Manual focus gives you complete control over focusing, allowing you to precisely focus on your intended subject.
Another setting to take note of is metering mode. The camera’s metering mode determines how it evaluates the light in a scene to calculate the ideal exposure. Common metering modes include evaluative/matrix metering, center-weighted average metering, and spot metering. Experiment with these metering modes to find the one that best suits the shooting situation and your desired outcome.
Lastly, familiarize yourself with the drive mode options of your camera. Drive modes allow you to control the timing of multiple shots. Some common options include single shot, continuous shooting, self-timer, and bracketing. Each mode serves a different purpose, so it’s essential to understand when and how to use them effectively.
By adjusting these camera settings, you’ll have greater control over the outcome of your images. Take the time to explore and experiment with each setting to understand how they impact the final result. As you gain experience, you’ll develop a better sense of which settings work best for different scenarios, allowing you to capture stunning photographs in any situation.
Now that you’re familiar with adjusting the camera settings, let’s move on to the next step, which is choosing the right lens to complement your photography needs.
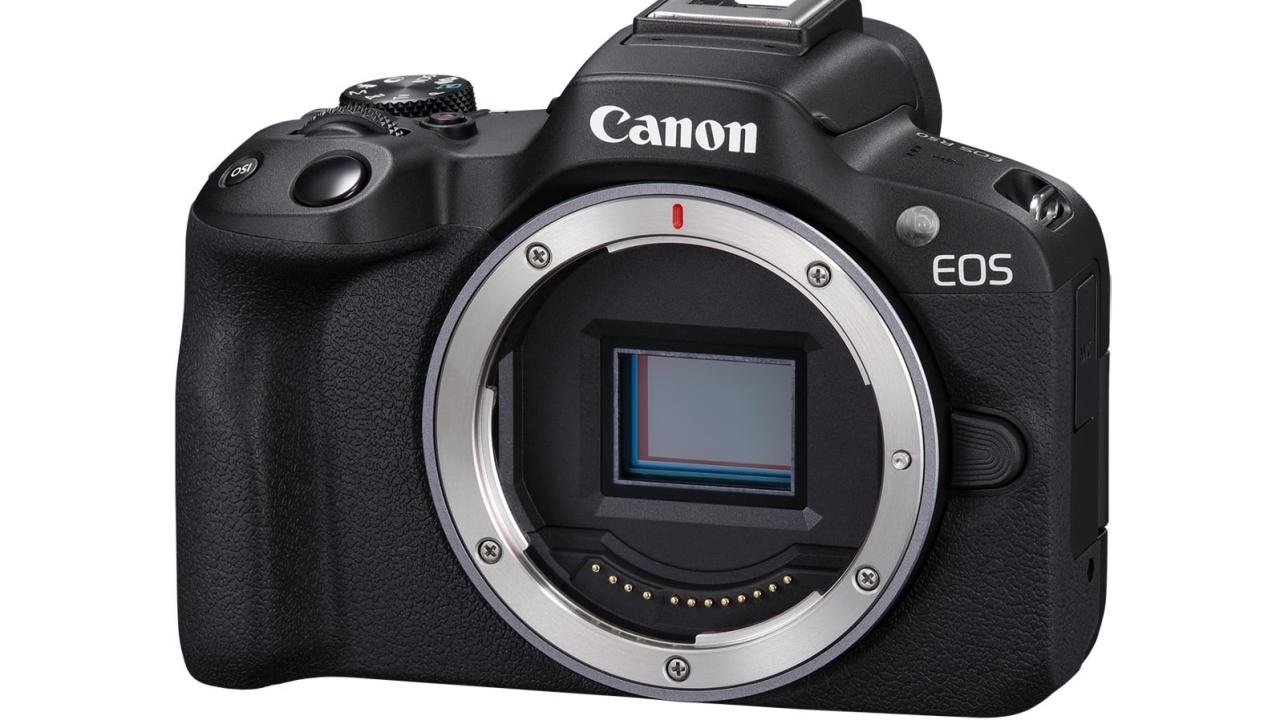
Step 4: Choosing the Right Lens
The right lens can make a significant difference in the quality and impact of your photographs. When it comes to photography, one size does not fit all. Different lenses offer distinct focal lengths, aperture ranges, and optical qualities that can greatly enhance your shooting capabilities.
The most common types of camera lenses include:
- Standard Zoom Lens: This versatile lens has a focal length range of around 24mm to 70mm, making it suitable for a wide range of subjects. It’s a popular choice for everyday photography, including portraits, landscapes, and street photography.
- Telephoto Lens: A telephoto lens has a longer focal length, usually above 70mm, allowing you to capture subjects from a distance. It’s ideal for wildlife, sports, and portrait photography, as it allows you to isolate your subject and achieve a shallow depth of field.
- Wide-Angle Lens: With a focal length shorter than the standard lens, a wide-angle lens captures a wider field of view. It’s excellent for landscape photography, architecture, and capturing expansive scenes where you want to include as much as possible in the frame.
- Macro Lens: Macro lenses are designed for close-up photography, capturing tiny details and magnifying small subjects. They offer a 1:1 ratio, allowing you to capture intricate details of flowers, insects, or small objects.
- Prime Lens: Prime lenses have a fixed focal length, meaning they don’t zoom in or out. They often offer wider maximum apertures, allowing for greater control over depth of field and better low-light performance. Prime lenses are favored for their sharpness, image quality, and suitability for various genres such as portraits and street photography.
When choosing a lens, consider your photography goals and shooting style. Think about the type of subjects you plan to capture and the desired effects you want to achieve. If you’re just starting out, a versatile zoom lens is a practical choice, as it covers a wide range of focal lengths. As you advance, you may want to invest in specialized lenses that cater to your specific needs.
It’s also essential to consider the aperture of the lens. A wider maximum aperture (lower F-number) allows for better low-light performance and creates a more pronounced separation between the subject and the background. However, wider aperture lenses tend to be more expensive. Choose an aperture that suits your shooting conditions and creative preferences.
Furthermore, consider the weight and build quality of the lens. Consider whether you require a lightweight and compact lens for portability or a more robust lens for durability in challenging environments.
Before purchasing a lens, do some research, read reviews, and try them out if possible. This will help you determine the right lens to meet your specific needs and budget.
Remember, choosing the right lens is crucial in capturing stunning photographs. Each lens has its own unique characteristics, and by selecting the correct one for the situation, you’ll have better control over your composition and the ability to unleash your creative vision.
Now that you know how to choose the right lens, let’s move on to the next step, which is setting up the shot to capture that perfect image.
Step 5: Setting Up the Shot
Setting up the shot is a crucial step in capturing an excellent photograph. It involves carefully considering various elements such as composition, lighting, and framing to create a visually appealing image that effectively communicates your intended message. Here are some key considerations to keep in mind when setting up your shot:
Composition: Composition refers to how the elements within the frame are arranged. It plays a vital role in creating a visually pleasing and engaging photograph. Consider the rule of thirds to position your subject off-center, using the intersecting points of the grid as guides. Experiment with different perspectives, angles, and leading lines to add depth and visual interest to your image.
Lighting: Lighting is one of the most critical factors in photography. Pay attention to the quality, direction, and intensity of the light. Soft, diffused lighting is ideal for achieving flattering portraits, while hard, directional light can enhance texture and create dramatic effects. Experiment with different lighting conditions and learn to control and manipulate light to convey the desired mood in your photographs.
Framing: Carefully consider what elements you include within the frame and how they interact with each other. Use natural frames such as archways or branches to draw attention to your subject. Look for interesting foreground or background elements that can add depth and context to your shot. Remember, what you choose to exclude from the frame is just as important as what you include.
Perspective: Experiment with different perspectives to add visual interest to your photographs. Get down low to capture a unique view from a worm’s eye perspective or consider shooting from elevated positions for a bird’s eye view. Changing your perspective can transform an ordinary scene into something captivating and extraordinary.
Subject Placement: Position your subject thoughtfully within the frame to create a balanced and visually pleasing composition. Consider the direction in which your subject is looking or moving and leave space in front of them to create a sense of anticipation or movement.
Background: Pay attention to the background of your shot as it can either enhance or distract from your subject. Look for clean, uncluttered backgrounds that don’t compete for attention with your main subject. Adjust your position or use a wider aperture to blur the background and create a pleasing bokeh effect.
By carefully considering these elements when setting up your shot, you can create visually compelling photographs that capture the attention of viewers and effectively convey your message or story.
Now that you know how to set up your shot, let’s move on to the next step, where we’ll explore techniques for focusing and composing your photographs.
Step 6: Focus and Composition Techniques
In this step, we will delve into focus and composition techniques that will elevate your photographs and make them more visually appealing. By mastering these techniques, you’ll be able to create images with strong focal points, balanced compositions, and a captivating visual flow.
Focus Techniques:
– Auto Focus: Most digital cameras offer auto-focus functionality, which allows the camera to automatically lock onto a subject and adjust the focus. Use the autofocus mode when shooting moving subjects or situations where you need to quickly capture a shot.
– Manual Focus: Manual focus puts you in complete control of the focus. It’s ideal for situations where the autofocus might struggle, such as low-light environments or when shooting subjects with low contrast. Use the camera’s focus ring or the focus magnifier on the screen/viewfinder to fine-tune the focus manually.
– Selective Focus: By using a wide aperture (smaller F-number), you can achieve a shallow depth of field, resulting in a sharp subject against a blurred background. This technique is commonly used in portrait photography, where the subject stands out and is not distracted by the background.
Composition Techniques:
– Rule of Thirds: Dividing your frame into a 3×3 grid (implying nine equal-sized boxes) helps you place key elements off-center. Position your subject at or near the intersection points, as this creates more visually balanced and interesting compositions.
– Leading Lines: Utilize natural or man-made lines within your frame to guide the viewer’s eye and create a sense of depth and movement. Leading lines can be roads, fences, or even the curves of a river. Experiment with different angles and perspectives to maximize the impact of leading lines.
– Symmetry and Patterns: Symmetrical compositions are visually pleasing and can create a sense of balance and harmony. Look for patterns, reflections, or architectural elements where symmetry can be emphasized. However, don’t be afraid to break the symmetry for a more dynamic composition.
– Negative Space: Negative space refers to the empty areas surrounding your subject. Utilizing negative space can help bring focus to your subject and create a sense of minimalism or isolation. Play with different compositions to find the right balance between subject and negative space.
– Foreground Interest: Adding interesting elements in the foreground can create depth and add context to your composition. Look for objects like rocks, flowers, or architectural features that can anchor the viewer’s attention and provide a sense of scale.
Remember, focus and composition techniques are not strict rules but rather guidelines to help you create visually appealing photos. Experiment with different techniques, and don’t be afraid to break the rules once you understand them.
Now that you’re familiar with focus and composition techniques, let’s move on to the next step, which is taking the shot and capturing your vision.
Step 7: Taking the Shot
After understanding the technical aspects and composition techniques, it’s time to put them into practice and capture the shot you envision. This step focuses on the process of actually taking the photograph, ensuring that you make the most out of every opportunity to create a compelling image.
Here are some key considerations when taking the shot:
Timing: Pay attention to the timing of your shot, especially when capturing fast-moving subjects or fleeting moments. Anticipate the action or emotion you want to capture and be ready to press the shutter button at the right moment. Patience and observation skills are crucial to capturing that perfect moment.
Stability: Keep your camera steady to avoid blurry images. When shooting handheld, maintain a firm grip and brace yourself or use a tripod for added stability. Use the camera’s built-in stabilizer feature or choose a faster shutter speed to minimize the effects of camera shake.
Exposure: Determine the most appropriate exposure settings based on the available light and your desired outcome. Use the camera’s light meter or histogram to ensure proper exposure. Consider using exposure compensation to adjust the exposure if necessary.
Framing and Composition: Apply the composition techniques we discussed earlier to frame your subject and create a visually pleasing image. Experiment with different angles, perspectives, and focal lengths to find the most impactful composition. Take your time to compose the shot, paying attention to details in the background, foreground, and overall framing.
Focusing: Ensure that your subject is in clear focus. Use the appropriate focus mode for the situation, whether it’s auto-focus or manual focus. Utilize the camera’s focus points to accurately focus on the subject and achieve the desired depth of field.
Patience and Experimentation: Don’t be afraid to take multiple shots and experiment with different settings and compositions. Photography is a creative process, and sometimes the best shots come from trying something new or capturing unexpected moments. Be patient, stay open to new ideas, and continuously refine your technique.
Remember, taking the shot is the culmination of all the preparation and technical knowledge you’ve acquired. It’s your opportunity to bring your vision to life and create visually stunning and meaningful photographs.
Now that you’re familiar with the process of taking the shot, let’s move on to the next step, which involves reviewing and editing your photos to enhance their overall quality and impact.
Step 8: Reviewing and Editing Your Photos
Reviewing and editing your photos is an essential step in the digital photography process. It allows you to fine-tune your images, enhance their overall quality, and bring out the best in every shot. In this step, we’ll explore how to effectively review and edit your photos to achieve stunning results.
Reviewing:
Begin by transferring your photos to a computer or other device for a larger and more detailed view. Look through your images and quickly identify the ones that stand out to you. Pay attention to composition, lighting, focus, and any other elements that contribute to a strong image.
Next, take a closer look at each selected image. Zoom in to check for sharpness and detail. Use the histogram to analyze the exposure and ensure no important details are overexposed or underexposed. Delete any images that are out of focus, poorly composed, or lack visual interest.
Consider seeking feedback from others, such as fellow photographers or trusted friends, to gain different perspectives and insights on your photos. Their constructive criticism and suggestions can help you improve your photography skills and develop a better eye for capturing compelling images.
Editing:
After the reviewing process, it’s time to edit your photos to enhance their visual impact. Photo editing software, such as Adobe Lightroom or Photoshop, provides a wide range of tools and features to adjust various aspects of your images.
– Exposure and Contrast: Depending on the image, you may need to fine-tune the exposure and contrast to make the subject stand out and improve overall image quality. Adjust the brightness, contrast, and levels to correct any underexposure or overexposure issues.
– Color Correction: Use the white balance adjustment to ensure accurate colors in your photos. Adjust the temperature and tint sliders to correct any color casts caused by different lighting conditions. Experiment with saturation and vibrance to make colors pop or produce a more muted, moody effect.
– Sharpening and Noise Reduction: Apply appropriate sharpening to enhance details in your images. Use noise reduction tools to reduce digital noise in high ISO or low-light situations. Be careful not to overdo these adjustments, as it can result in an unnatural appearance.
– Cropping and Straightening: Consider cropping your photos to improve composition or remove distractions. Additionally, use the straighten tool to correct any uneven horizons or tilted angles.
– Selective Adjustments: Utilize adjustment brushes or local adjustment tools to make specific edits to certain areas of your image. This allows you to bring attention to certain details or adjust specific tonal or color ranges independently.
Remember, editing should be done in moderation, with the aim of enhancing the image while maintaining its authenticity. It’s crucial to strike a balance between making subtle adjustments and preserving the integrity of the original scene.
Once you’re satisfied with your edits, don’t forget to save a copy of the edited photo and export it in a suitable file format for sharing or printing.
Now that you’ve learned how to review and edit your photos, let’s move on to the next step, which involves transferring your photos to a computer for further organization and storage.
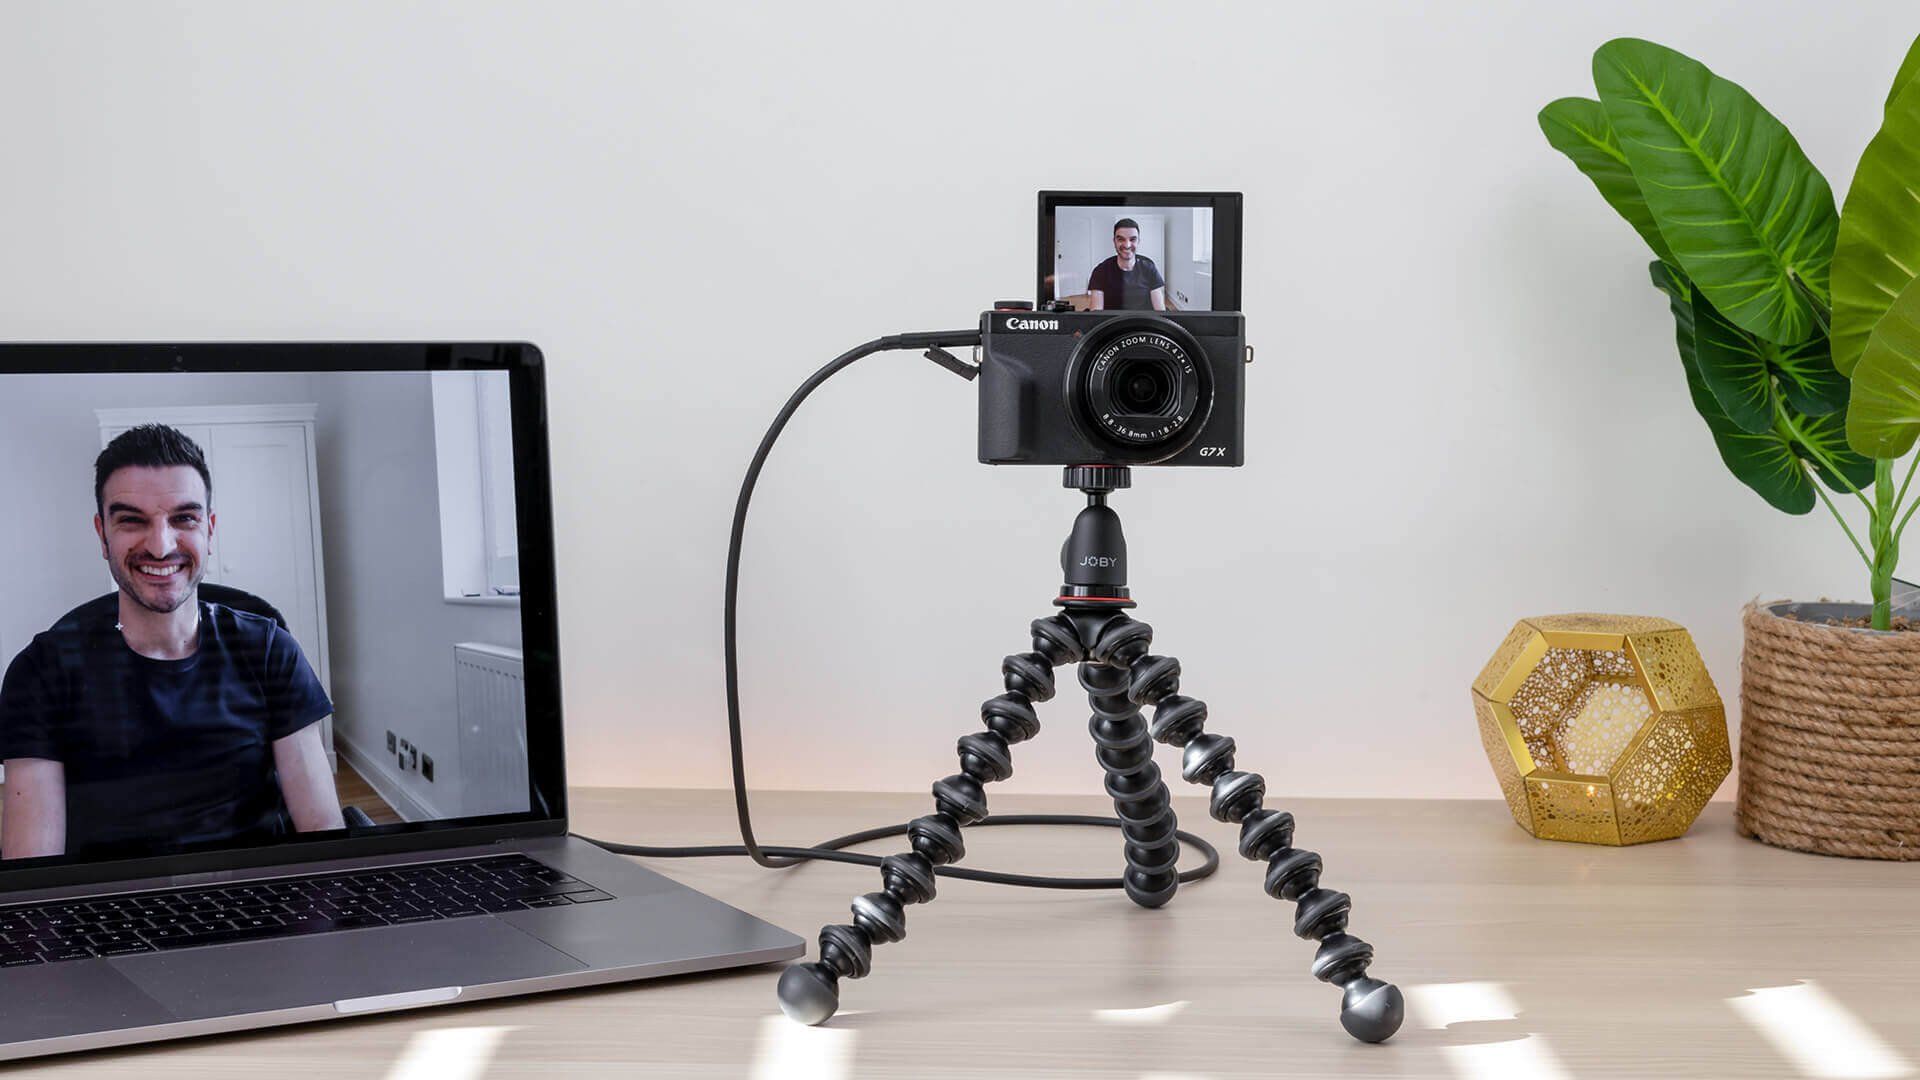
Step 9: Transferring Your Photos to a Computer
Transferring your photos to a computer is an important step in the digital photography workflow. It allows you to organize, store, and further process your images on a larger screen with more advanced software tools. In this step, we will explore the process of transferring your photos from your camera to a computer.
There are several methods to transfer your photos:
1. USB Cable: Most digital cameras come with a USB cable that allows you to connect your camera directly to your computer. Simply plug one end of the cable into your camera and the other end into an available USB port on your computer. Once connected, your computer should recognize your camera as an external storage device, and you can then navigate to the desired destination folder and transfer your photos.
2. Memory Card Reader: If your camera uses a removable memory card, such as an SD card, you can use a memory card reader to transfer your photos. Remove the memory card from your camera and insert it into the card reader. Connect the card reader to an available USB port on your computer. Your computer will detect the memory card as a removable storage device, and you can then copy and paste your photos to the desired location.
3. Wi-Fi or Bluetooth: Some modern cameras offer wireless connectivity options, such as Wi-Fi or Bluetooth, which allow you to transfer photos wirelessly to your computer. To use this method, ensure that both your camera and computer are connected to the same Wi-Fi network or have Bluetooth pairing enabled. Follow the instructions provided by your camera’s manufacturer to establish the wireless connection and transfer your photos.
Regardless of the method you choose, remember to properly organize your photos in a logical folder structure on your computer. Create folders for different events, dates, or subjects to ensure easy access and efficient organization of your images.
After transferring your photos, make it a good practice to back up your images regularly. Store them on external hard drives, cloud storage, or other backup solutions to protect against potential data loss. Having multiple copies of your photos is essential to safeguard your precious memories.
Now that your photos are safely transferred to your computer, let’s proceed to the final step, which involves printing and sharing your photos with others.
Step 10: Printing and Sharing Your Photos
After capturing and editing your photos, it’s time to bring them to life and share them with others. This step focuses on the final stage of the digital photography process: printing and sharing your photos.
Printing:
Printing your photos allows you to showcase your work in a tangible and physical form. Here are a few things to consider when printing your photos:
- Print Size: Determine the size that best suits your intended display or use. Consider framing larger prints for wall display or opt for smaller prints for albums or gift purposes.
- Paper Selection: Choose the type of paper that complements your photo’s style and aesthetic. From glossy to matte finishes, each paper type gives a distinct look and feel to your images.
- Print Lab Selection: Select a reputable print lab or use a professional photo printing service to ensure high-quality prints. Research various options, read reviews, and compare pricing and turnaround times before making a decision.
- Color Accuracy: Calibrate your monitor to ensure accurate colors when printing. This way, the printed photos will match what you see on your screen.
Experiment with different print sizes and paper types to see how they enhance the overall look of your images. Display your printed photos proudly, whether it’s in frames, photo albums, or even creating a personalized photo book.
Sharing:
Sharing your photos allows you to connect with others and showcase your work to a wider audience. Here are a few ways to share your photos:
- Online Platforms: Utilize various online platforms, such as social media sites, photography communities, or personal websites, to display and share your photos. Engage with the photography community, connect with fellow photographers, and receive feedback on your work.
- Slideshows and Presentations: Create captivating slideshows or presentations to showcase your photos. Whether it’s for a personal gathering, exhibition, or professional presentation, this medium allows you to tell a story and captivate your audience.
- Printed Photo Books: Compile your best photos into a professionally printed photo book. This offers a tangible and visually appealing way to share your work with others, making for a beautiful keepsake or a thoughtful gift.
- Exhibitions and Galleries: Consider hosting your own photography exhibition or submitting your work to local galleries. This allows you to reach a wider audience and get your photos recognized by art enthusiasts.
Sharing your photos not only allows you to receive recognition and feedback but also provides an opportunity to inspire and connect with others through your creative vision.
Now that you’ve completed the digital photography process, take pride in your work and continue to explore and refine your skills. Photography is a journey of constant learning and growth, and with each photo you capture, you’re one step closer to capturing memorable moments and creating stunning images.
Conclusion
Congratulations! You’ve reached the end of this step-by-step guide on using a digital camera effectively. By following these instructions, you’ve gained the knowledge and skills necessary to capture stunning photographs and unleash your creativity through the lens.
We started by getting to know your digital camera, understanding its modes, adjusting settings, and choosing the right lens to suit your photography needs. Then, we explored the importance of setting up the shot, focusing and composing techniques, and taking the shot itself.
We also covered the essential steps of reviewing and editing your photos, transferring them to a computer for further organization and storage, and finally, printing and sharing your images with others.
Remember, photography is a continuous learning process. Keep practicing, exploring new techniques, and experimenting with different subjects and genres. Pay attention to your surroundings and seek inspiration from other photographers and artists. The more you engage with photography, the more your skills will evolve.
Additionally, don’t forget to enjoy the journey. Photography is not just about capturing images, but also about capturing moments, emotions, and stories. Be patient, embrace mistakes, and celebrate small successes along the way.
Now, armed with your newfound knowledge and passion for digital photography, go out and explore the world through your camera’s lens. Capture the beauty that surrounds you, tell your unique stories, and create images that evoke emotions and inspire others.
Photography is a powerful form of self-expression, so embrace the art and immerse yourself in its limitless possibilities. Happy shooting!