Introduction
Welcome to our guide on how to remove the infrared filter from a digital camera. Infrared photography is a fascinating technique that allows you to capture stunning images using the infrared spectrum of light. However, most digital cameras come with an infrared filter built into their sensors, which blocks the infrared light to produce visually appealing images in normal lighting conditions.
But what if you want to experiment with infrared photography? Removing the infrared filter from your digital camera can open up a whole new world of creative possibilities. By removing this filter, you can capture unique and ethereal images that showcase the hidden beauty of infrared light.
In this guide, we will take you through the step-by-step process of removing the infrared filter from your digital camera. We’ll also discuss the tools you’ll need, precautions to take, and test your camera afterward to ensure everything is working correctly. So, whether you’re a photography enthusiast looking to explore new techniques or a professional wanting to expand your creative options, let’s dive into the world of removing the infrared filter from a digital camera.
What is an Infrared Filter?
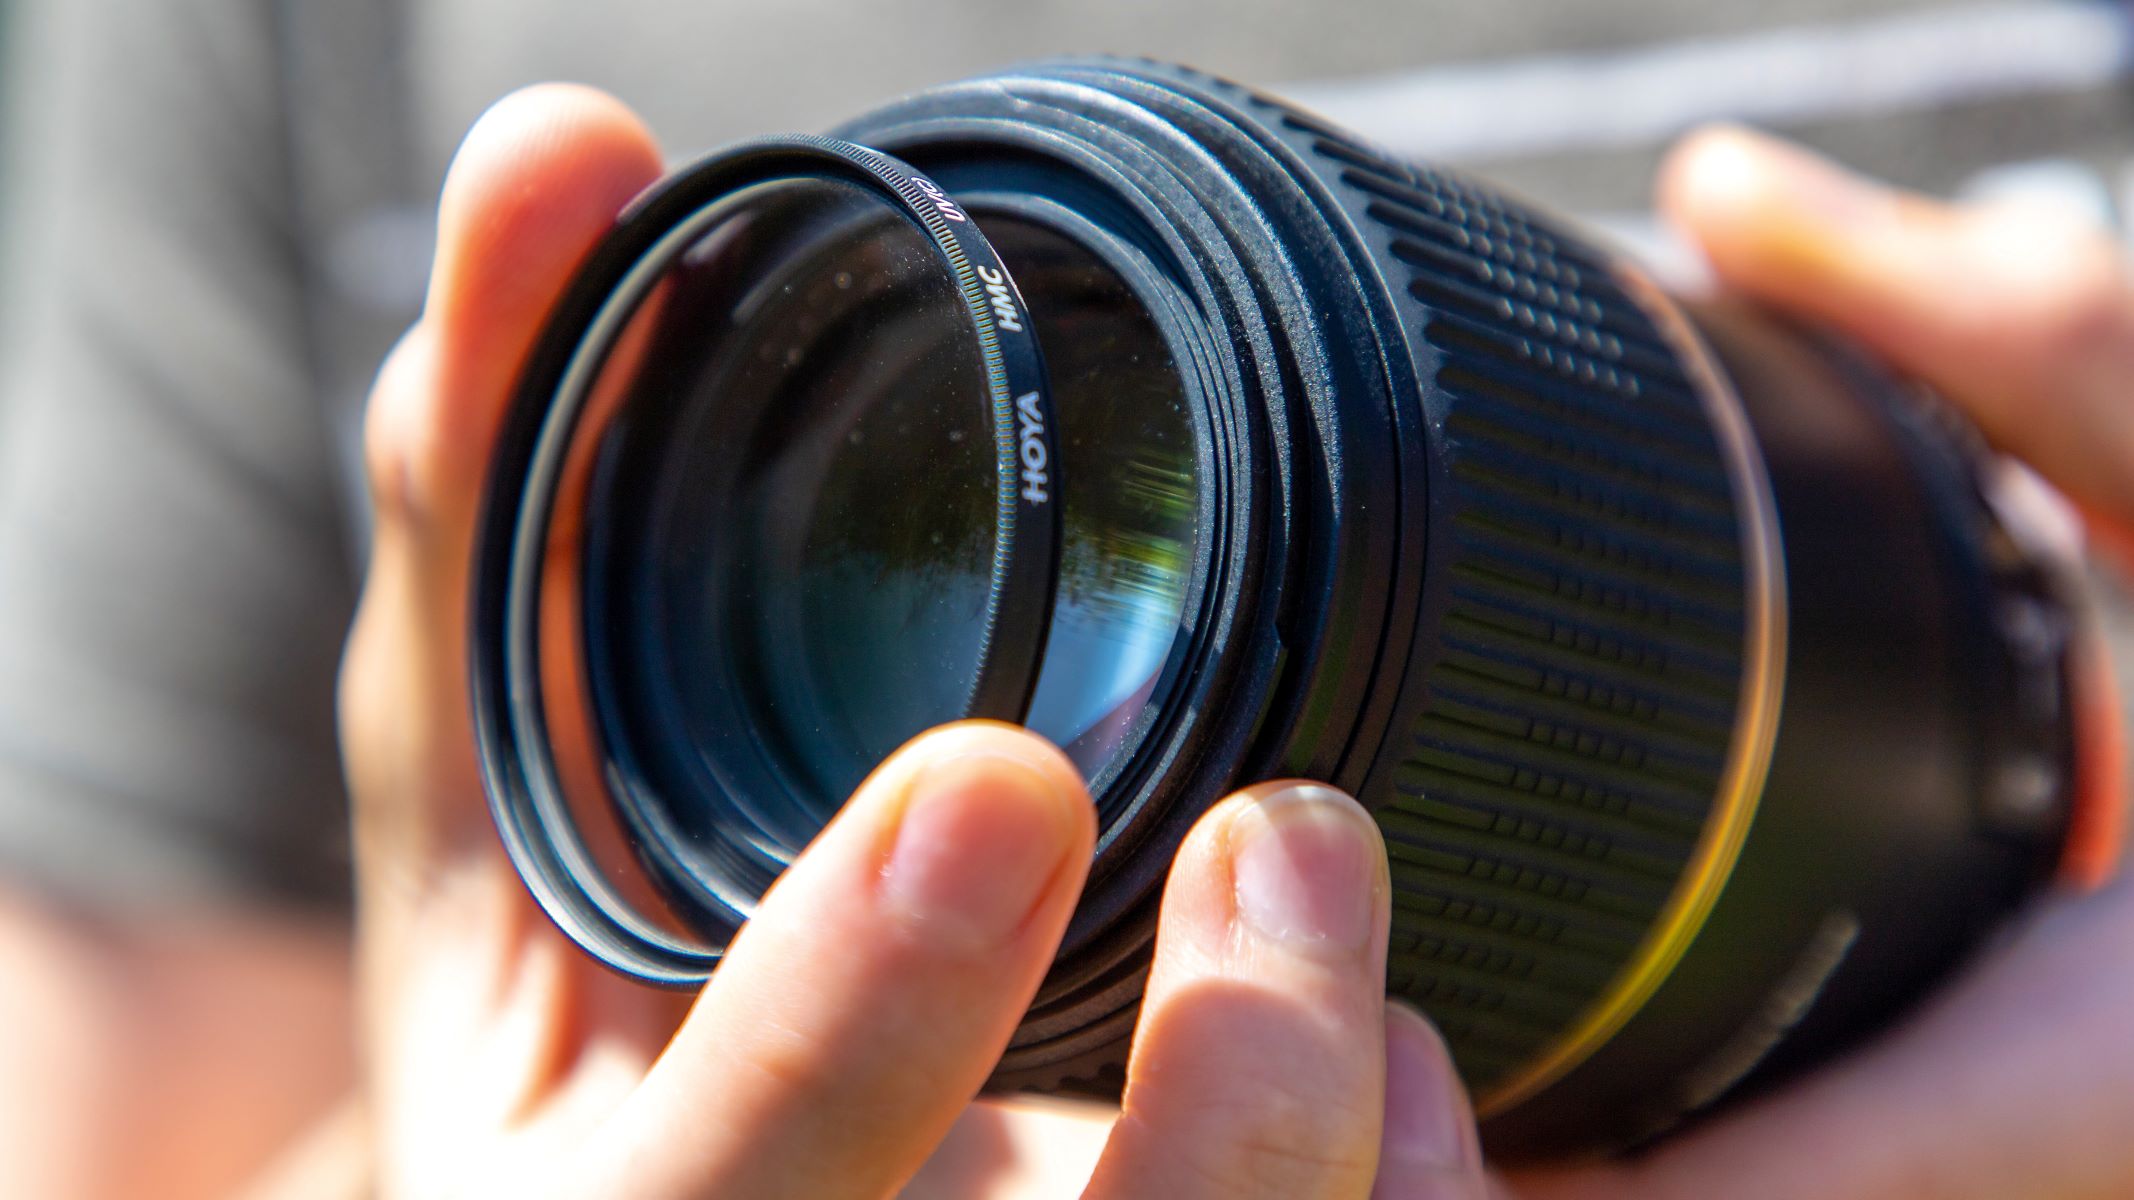
An infrared filter is a component found in digital cameras that blocks infrared light from reaching the camera’s sensor. Infrared light is part of the electromagnetic spectrum with longer wavelengths than visible light, making it invisible to the human eye. Digital camera sensors are designed to capture visible light, so they include an infrared filter to ensure accurate color reproduction.
The purpose of the infrared filter is to eliminate or reduce the effects of infrared radiation on the captured image. Without the filter, infrared light can cause a reddish or pinkish cast on photos that are not visible to the naked eye. By blocking infrared light, the filter helps produce more vibrant and natural-looking images in normal lighting conditions.
However, for some photographers and enthusiasts, the absence of infrared light can limit creative possibilities. Infrared photography is known for its ability to capture striking and otherworldly images, revealing a different perspective of the world. By removing the infrared filter from a digital camera, photographers can tap into this unexplored realm of infrared photography.
It’s important to note that not all cameras have removable infrared filters. Some models have integrated filters that cannot be taken out or modified. If you’re considering removing the infrared filter from your camera, make sure to check the camera’s compatibility and whether it can be modified.
Now that we have a basic understanding of what an infrared filter is and its purpose let’s move on to why you might want to remove this filter from your digital camera, unlocking the potential for infrared photography.
Why Remove the Infrared Filter?
The decision to remove the infrared filter from your digital camera is driven by the desire to explore the captivating world of infrared photography. By removing this filter, you can unlock a range of creative possibilities and capture stunning images that showcase the hidden beauty of infrared light.
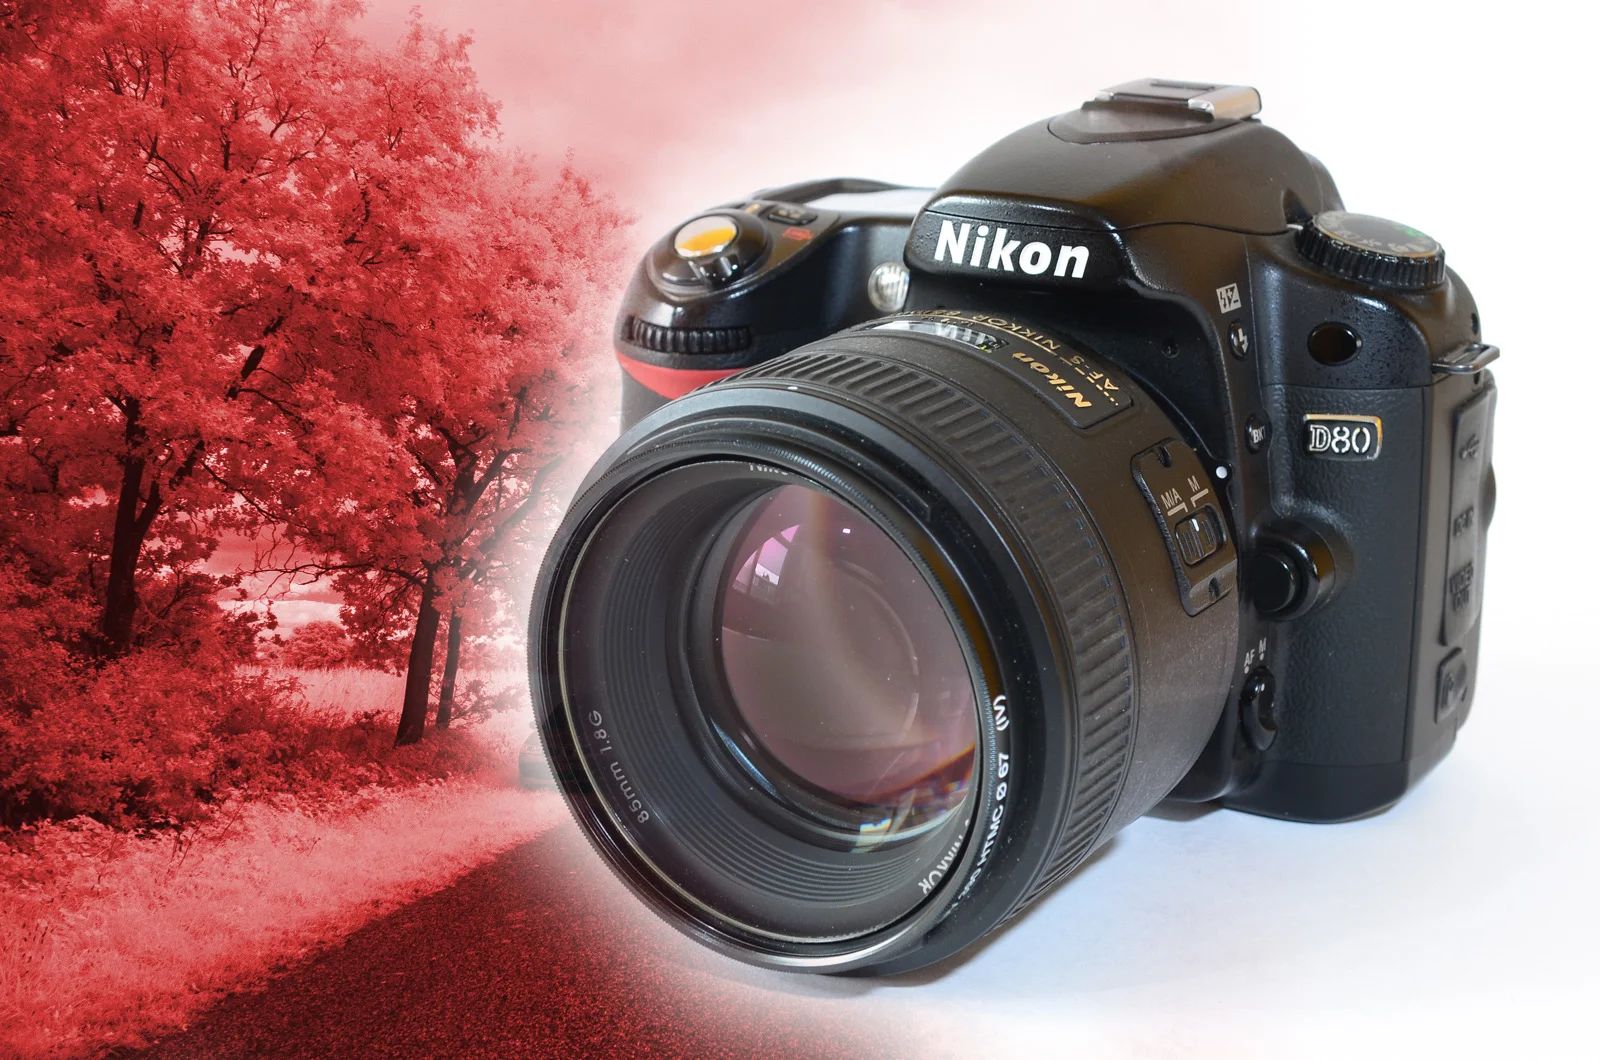
Infrared photography offers a unique and ethereal aesthetic that is difficult to replicate with traditional photography techniques. With the absence of the infrared filter, the camera can capture the infrared wavelengths of light, revealing a different perspective of the world. The resulting images often feature dreamlike qualities, with foliage appearing white or light-toned, skies becoming dark and dramatic, and architectural details taking on a surreal appearance.
Beyond its artistic and aesthetic merits, infrared photography can also be used for practical purposes. Infrared light has the ability to penetrate fog, haze, and other atmospheric conditions, allowing photographers to capture crisp and clear images even in challenging situations. This makes infrared photography useful in landscape photography, as well as in documenting architectural structures, where details can be accentuated by the unique rendering of infrared light.
Moreover, removing the infrared filter expands your creative options and allows you to experiment with different styles and genres. You can explore portrait photography with a unique infrared glow, capture black and white images with dramatic contrast, and even delve into infrared astrophotography, revealing a different perspective of the night sky.
It’s important to note that removing the infrared filter is a modification that requires expertise and careful handling. Infrared photography is not suitable for every situation, and the resulting images may vary based on environmental factors and lighting conditions. Therefore, knowing when and how to utilize infrared photography is crucial to achieving the desired results.
With an understanding of the creative possibilities and unique aesthetics that infrared photography offers, let’s now explore the tools needed and the step-by-step guide to removing the infrared filter from your digital camera.
Tools Needed for Removing the Infrared Filter
Removing the infrared filter from a digital camera is a delicate process that requires the right tools to ensure a successful modification. Here are the essential tools you’ll need before you begin:
- Screwdriver set: A precision screwdriver set with various sizes and types of screwdrivers will be necessary for accessing different parts of the camera. Make sure to choose a set that includes small and fine-tipped screwdrivers to handle delicate screws.
- Tweezers: Fine-tipped tweezers will come in handy for handling small and delicate components. They can assist in removing screws, connectors, or other parts during the modification process.
- Anti-static gloves: Static electricity can damage sensitive electronic components in the camera. Wearing anti-static gloves will help minimize the risk of static discharge when handling the internal parts.
- Cleaning materials: It’s crucial to keep the camera components free from dust, debris, and fingerprints during the modification process. Microfiber cloths, lint-free wipes, and lens cleaning solution can be useful for cleaning delicate surfaces without leaving scratches.
- Adhesive remover: In some cases, the infrared filter may be attached to the camera sensor using adhesive. An adhesive remover can help soften and dissolve the adhesive, making it easier to remove the infrared filter without causing damage.
- Camera manual or online guide: Every camera model is unique, and having access to the camera’s manual or an online guide specific to your camera make and model will provide detailed instructions and insights into the internal components of your camera.
Having these tools ready will ensure that you have everything you need to safely and effectively remove the infrared filter from your digital camera. Before proceeding with the modification, it’s essential to familiarize yourself with the camera’s internal structure and follow the manufacturer’s guidelines to avoid any potential damage or voiding the warranty.
Now that you have the necessary tools at your disposal, let’s dive into the step-by-step guide on removing the infrared filter from your digital camera.
Step-by-Step Guide to Removing the Infrared Filter
Removing the infrared filter from a digital camera requires precision and attention to detail. Follow these step-by-step instructions to safely remove the infrared filter:
- Prepare your workspace: Find a clean, well-lit area where you can work without distractions. Lay down a soft cloth or mat to protect the camera from scratches.
- Power off the camera: Before starting the modification, ensure the camera is turned off to prevent accidental damage or injury.
- Remove the camera battery: Removing the battery will eliminate the risk of electrical shock during the modification process.
- Refer to the camera manual: Consult the camera manual or an online guide specific to your camera make and model for detailed instructions on accessing the internal components. Each camera model may have a different approach for disassembly.
- Remove the camera back cover: Carefully unscrew and remove the back cover of the camera using the appropriate screwdriver. Keep track of the screws and consider using a magnetic tray or container to avoid losing them.
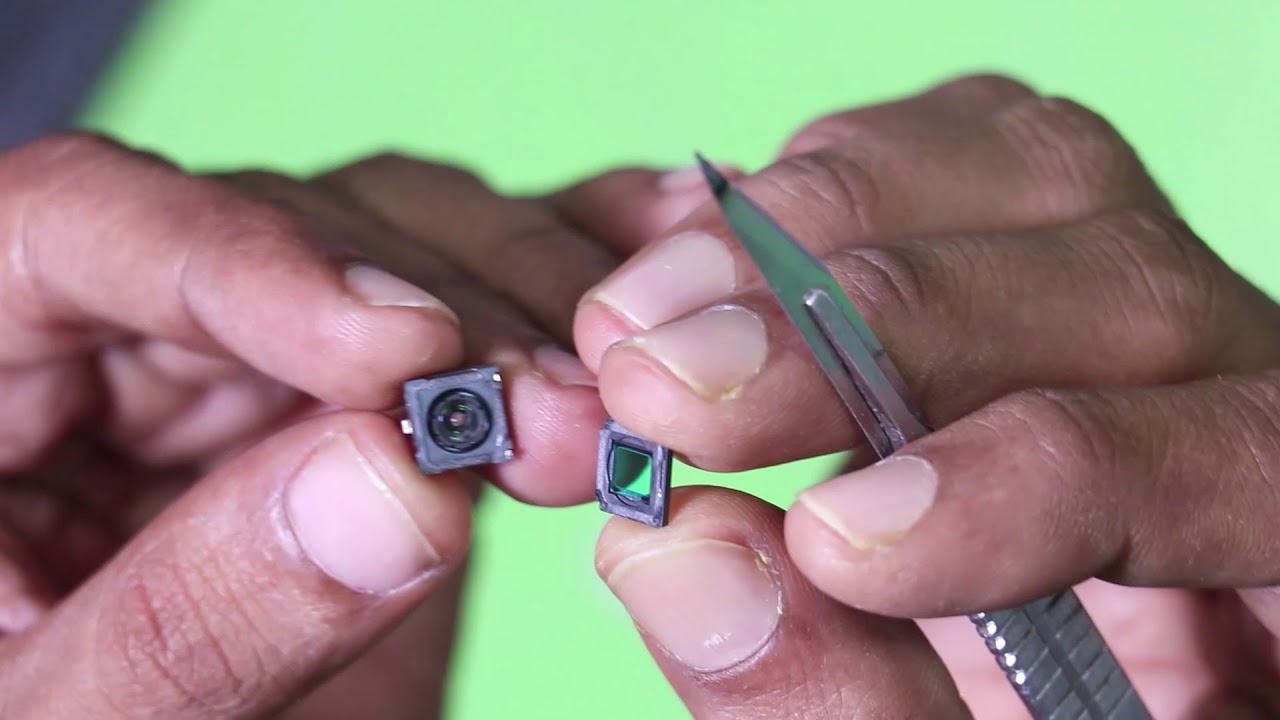
- Identify the infrared filter: Locate the infrared filter, which is typically positioned between the lens and the camera sensor. The filter may be a glass plate or a film-like component.
- Unscrew and detach the infrared filter: Use the appropriate screwdriver to carefully unscrew any fasteners holding the infrared filter in place. Once the screws are removed, gently lift the infrared filter out of its position. Be cautious not to damage or scratch the camera’s sensor or other internal components.
- Clean the sensor area: Take a lint-free cloth or a swab dampened with lens cleaning solution and gently clean the camera’s sensor area to remove any dust particles or debris left behind. Use caution and be gentle to avoid damaging the sensor.
- Reassemble the camera: Follow the reverse steps of the disassembly process to put the camera back together. Make sure all connectors are properly aligned, and screws are tightened securely but not overtightened.
- Test the camera: After reassembling the camera, insert the battery, power it on, and test its functionality. Take some test shots to ensure the camera is working correctly without any issues.
It’s important to note that the process of removing the infrared filter may vary depending on the camera’s make and model. It’s always best to follow the manufacturer’s guidelines or consult with professionals if you’re uncertain about any step in the process.
Now that you have successfully removed the infrared filter, let’s discuss some precautions you should take during the process to avoid potential pitfalls.
Precautions to Take While Removing the Infrared Filter
Removing the infrared filter from a digital camera requires caution and careful handling. Here are some essential precautions to consider to ensure a successful modification:
- Static electricity: Before touching any internal components, make sure to discharge any static electricity from your body. You can do this by wearing anti-static gloves, working on an anti-static mat, or frequently touching a grounded metal object.
- Delicate handling: The internal components of a camera are sensitive and can be easily damaged. Handle the camera and its parts with care, using fine-tipped tweezers or your fingers when necessary. Avoid applying excessive force or bending any cables.
- Keep track of screws: During the disassembly process, it’s crucial to keep track of the screws and other small components. Consider using a magnetic tray or container to secure the screws and prevent them from getting lost or misplaced.
- Clean workspace: Maintain a clean and organized workspace, free from dust, debris, and other potential contaminants. Use lint-free wipes or cloths to clean the camera’s internal parts and ensure they are free from fingerprints or smudges.
- Follow the camera manual: Each camera model may have specific instructions for disassembly and reassembly. Consult the camera manual or an online guide for accurate guidance on accessing the internal components and removing the infrared filter.
- Avoid contact with the sensor: The camera’s sensor is a delicate and essential component. Take extra care to avoid touching or damaging the sensor during the modification process. If necessary, use a lint-free cloth or swab dampened with lens cleaning solution for sensor cleaning.
- Proceed at your own risk: Modifying your camera by removing the infrared filter may void the warranty. Understand the risks involved before proceeding, and consider consulting with professionals if you’re uncertain about any step in the process.
By following these precautions, you can minimize the risk of damaging your camera and ensure a smooth modification process. Remember to proceed with patience, taking your time to handle each step carefully.
Now that we’ve covered the precautions, let’s move on to the next crucial step: testing the camera after removing the infrared filter.
Testing the Camera After Removing the Infrared Filter
After successfully removing the infrared filter from your digital camera, it’s essential to test its functionality to ensure everything is working properly. Follow these steps to test the camera:
- Power on the camera: Insert the battery and power on the camera. Ensure that it starts up without any issues.
- Check the viewfinder or LCD screen: Look through the viewfinder or check the LCD screen to ensure that the camera’s display is clear and without any abnormalities.
- Test different shooting modes: Take a few test shots using different shooting modes, such as automatic, aperture priority, or manual mode. Check if the camera properly adjusts settings and captures images as expected.
- Inspect the images: Transfer the test images to a computer and inspect them for any abnormalities, such as color shifts, artifacts, or unusual patterns. Pay close attention to details to ensure that there are no issues with the camera’s imaging process.
- Verify autofocus and image stabilization: Test the autofocus and image stabilization functions, if your camera has these capabilities. Ensure that they are operating correctly and producing sharp and focused images.
- Perform a sensor cleaning: It’s common for dust or debris to accumulate on the camera’s sensor during the modification process. If necessary, follow the camera’s manual instructions for sensor cleaning, ensuring that any foreign particles are removed without damaging the sensor.
- Repeat test shots: Take several more test shots in different lighting conditions and environments to thoroughly evaluate the camera’s performance. Look out for any issues related to exposure, white balance, or sharpness.
If any issues are detected during the testing process, consult the camera’s manual or reach out to a professional for assistance. It’s crucial to ensure that the camera is functioning properly before using it for important projects or photo shoots.
Now that you’ve tested the camera and ensured that it is in working order, you can embark on your adventurous journey into the realm of infrared photography. Let your creativity soar and capture the stunning and unique images that only infrared light can reveal.
Conclusion
Removing the infrared filter from a digital camera can be a transformative experience for photographers looking to explore the captivating world of infrared photography. By unlocking the potential of capturing images in the infrared spectrum, you can create ethereal and otherworldly photographs that showcase a unique perspective of the world.
In this guide, we’ve discussed the concept of the infrared filter and its purpose in digital cameras. We explored the reasons why you might consider removing this filter, including the artistic and creative possibilities that infrared photography provides.
We also provided a step-by-step guide for safely removing the infrared filter from your digital camera, highlighting the tools needed and the precautions to take throughout the process. Remember to proceed with caution, following the manufacturer’s guidelines and considering professional assistance if needed.
After successfully removing the infrared filter, we emphasized the importance of testing the camera’s functionality to ensure it is in proper working condition. By conducting various tests and inspecting the images, you can identify any potential issues and address them promptly.
Now that you have the knowledge and skills to remove the infrared filter from your digital camera, it’s time to embark on your journey into the fascinating world of infrared photography. Explore different subjects, experiment with lighting conditions, and let your creativity shine through the unique perspective offered by infrared light.
Remember, practice and experimentation are key to mastering the art of infrared photography. Embrace the challenges and rewards that come with it, and continue to refine your skills as you capture breathtaking images that showcase the hidden beauty of the infrared spectrum.