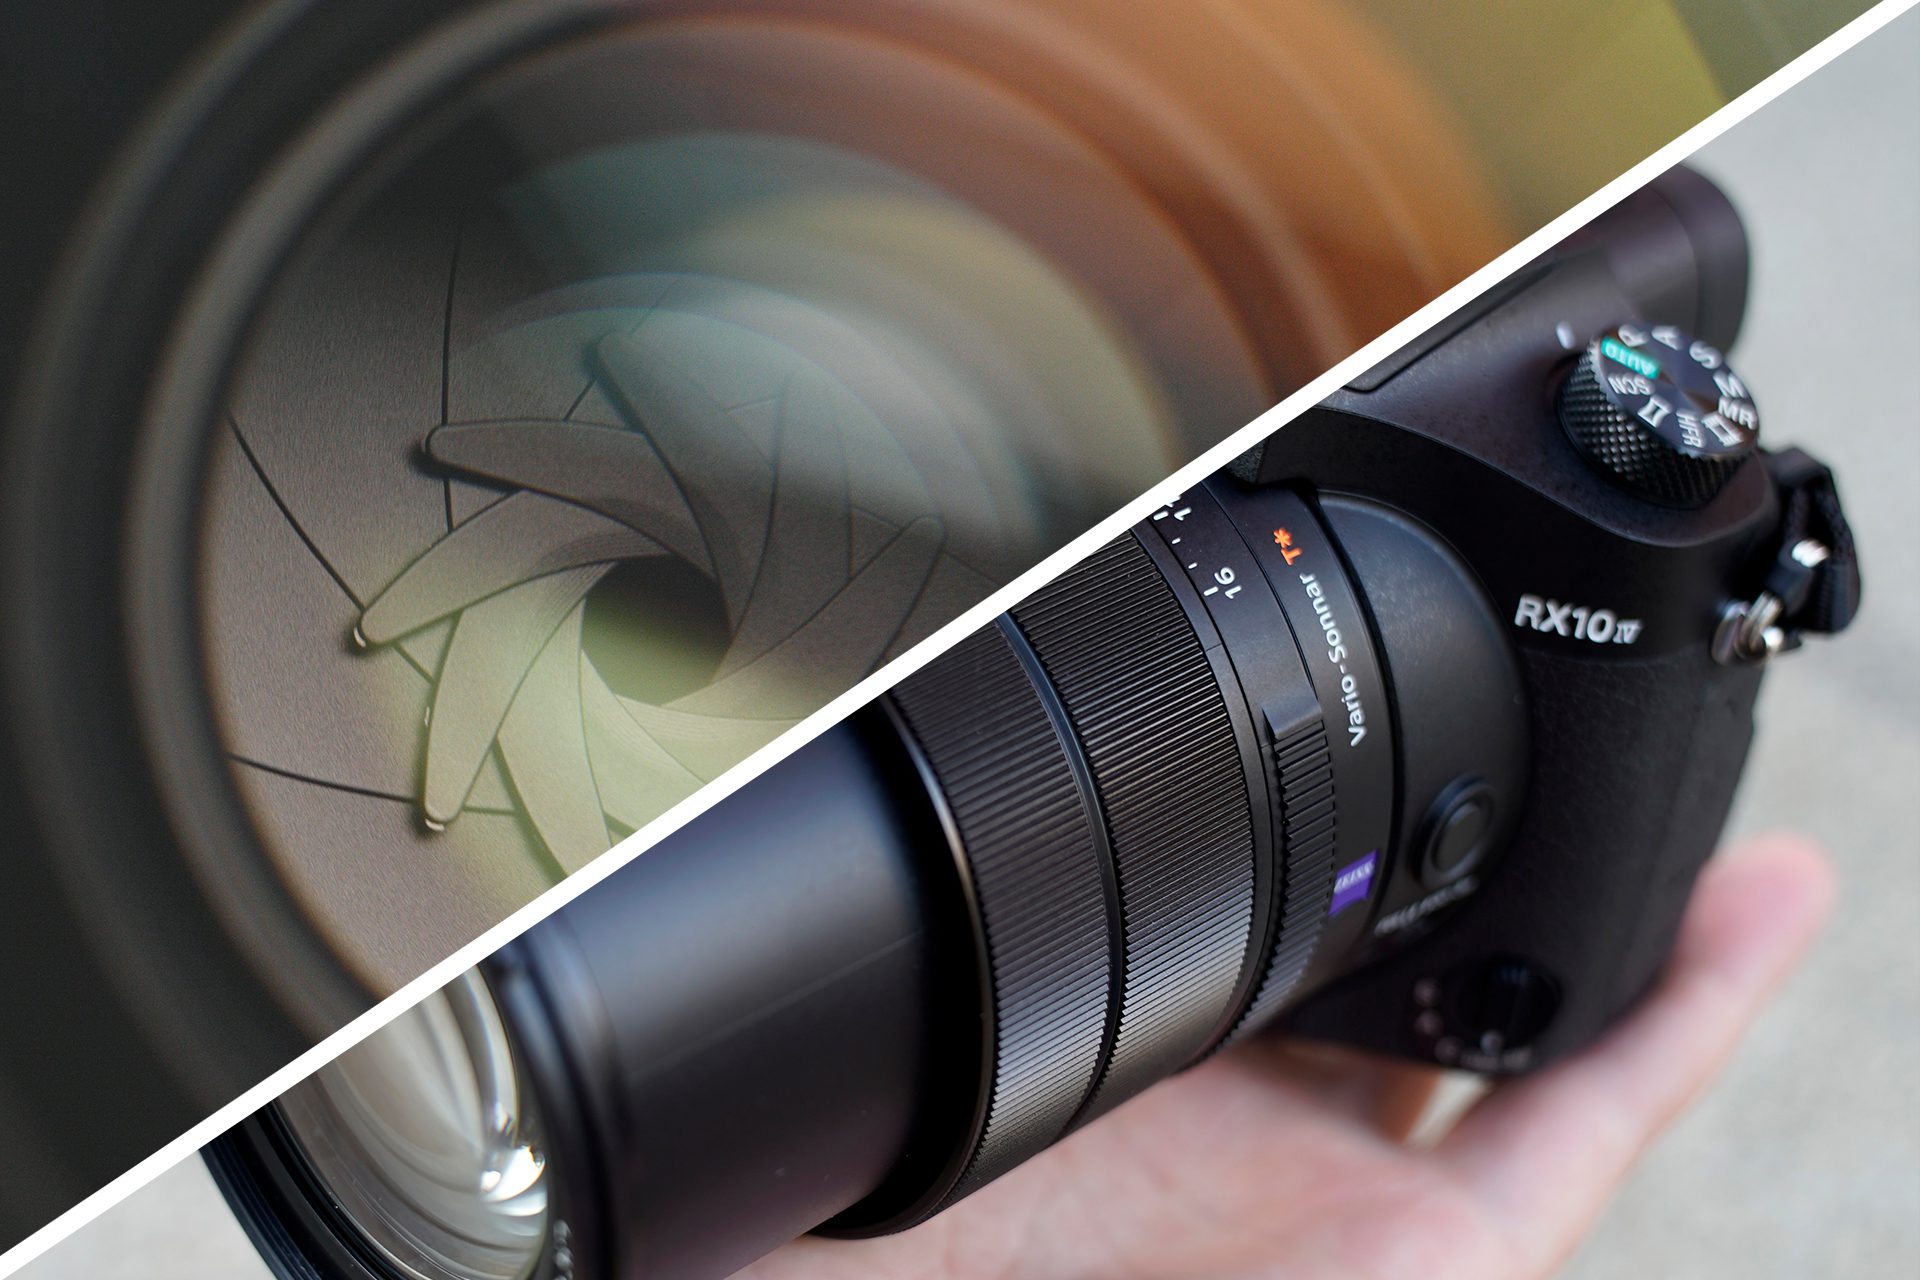
Introduction
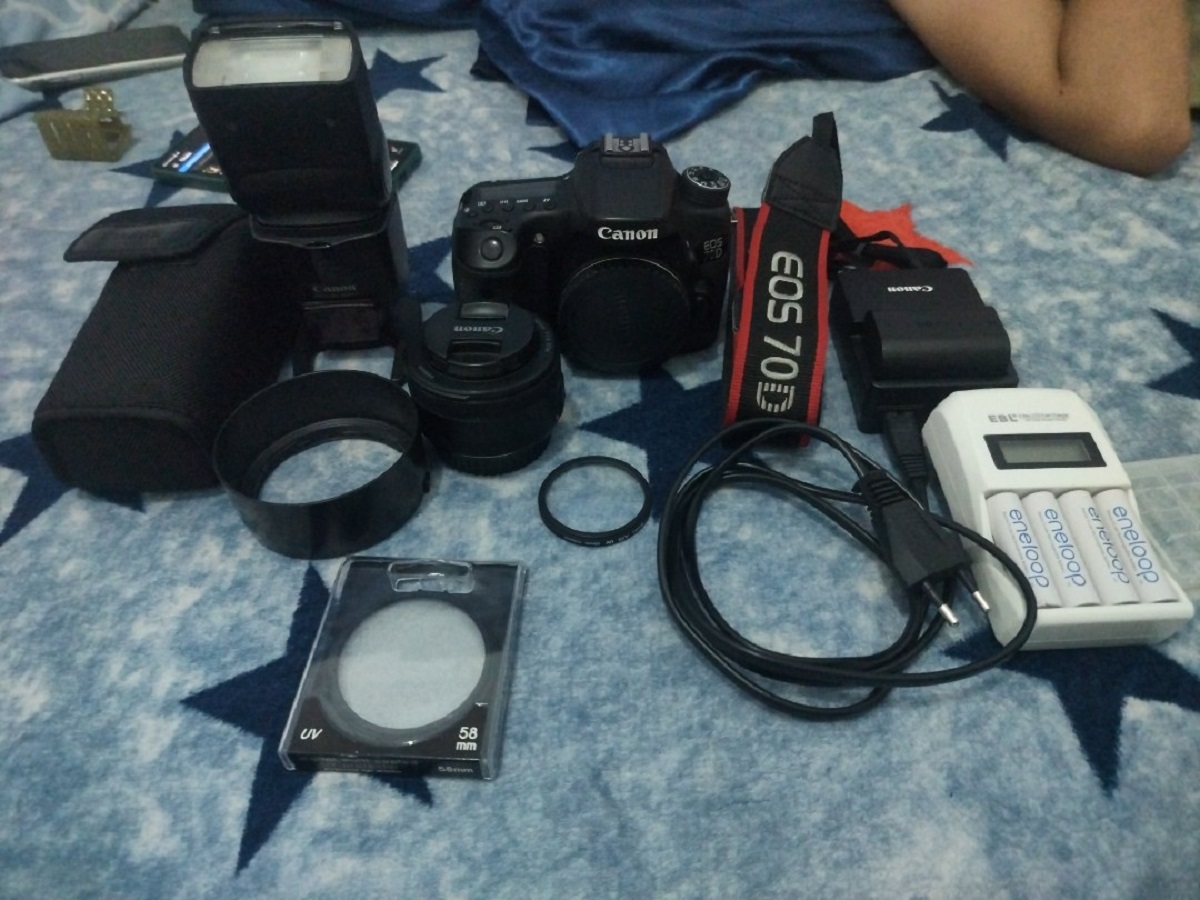
A digital camera is a powerful tool for capturing stunning photographs, and its versatility can be enhanced by using various accessories. One such accessory is an external flash, which provides additional light to improve the quality and versatility of your photos. But how does a user attach an external flash to a digital camera? The answer lies in the connection point.
The connection point on a digital camera serves as the interface between the camera body and the external flash. It allows for secure attachment and communication between the two devices, enabling the camera to trigger the flash when needed. Understanding this connection point is crucial for photographers who wish to take their photography to the next level.
In this article, we will explore the various aspects of the connection point on a digital camera, including its types, benefits, and how to attach an external flash. Whether you’re a photography enthusiast or a professional photographer, this information will help you unlock the full potential of your camera.
By utilizing an external flash, photographers can overcome lighting challenges and achieve desired results in different scenarios. From low-light conditions indoors to capturing subjects in bright sunlight, an external flash opens up a world of creative possibilities. Let’s dive deeper into understanding the connection point that makes it all possible.
Understanding the Connection Point on a Digital Camera
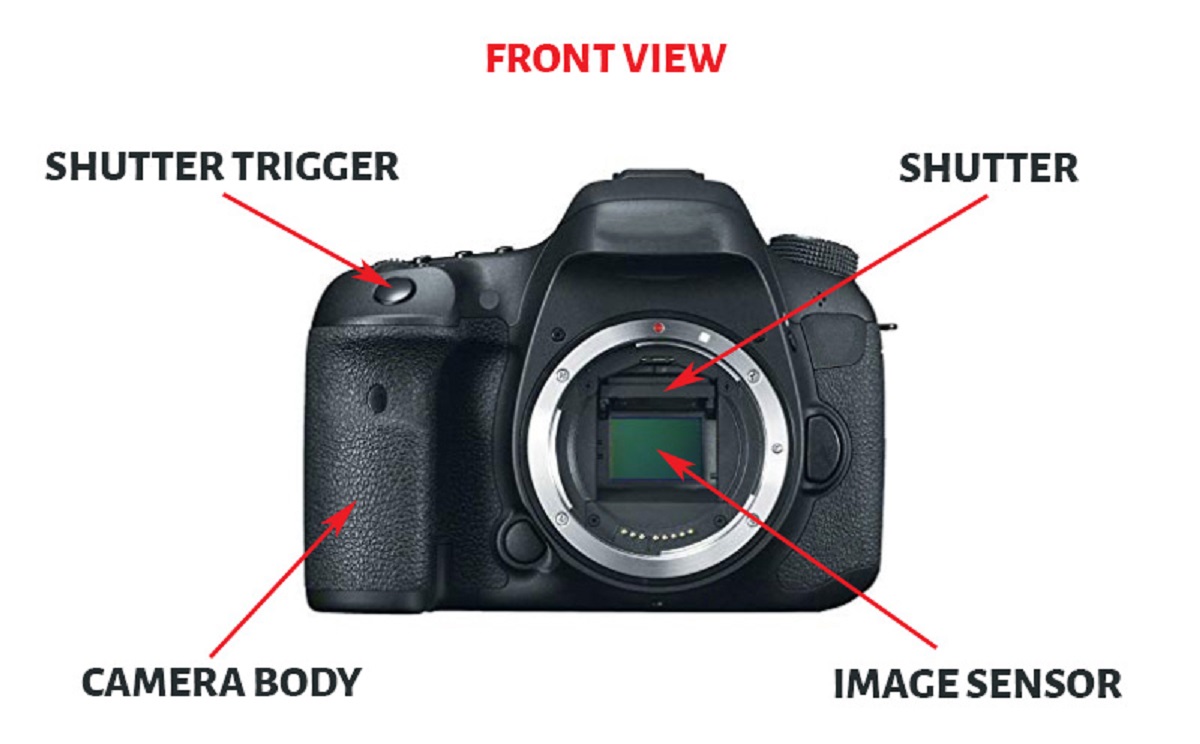
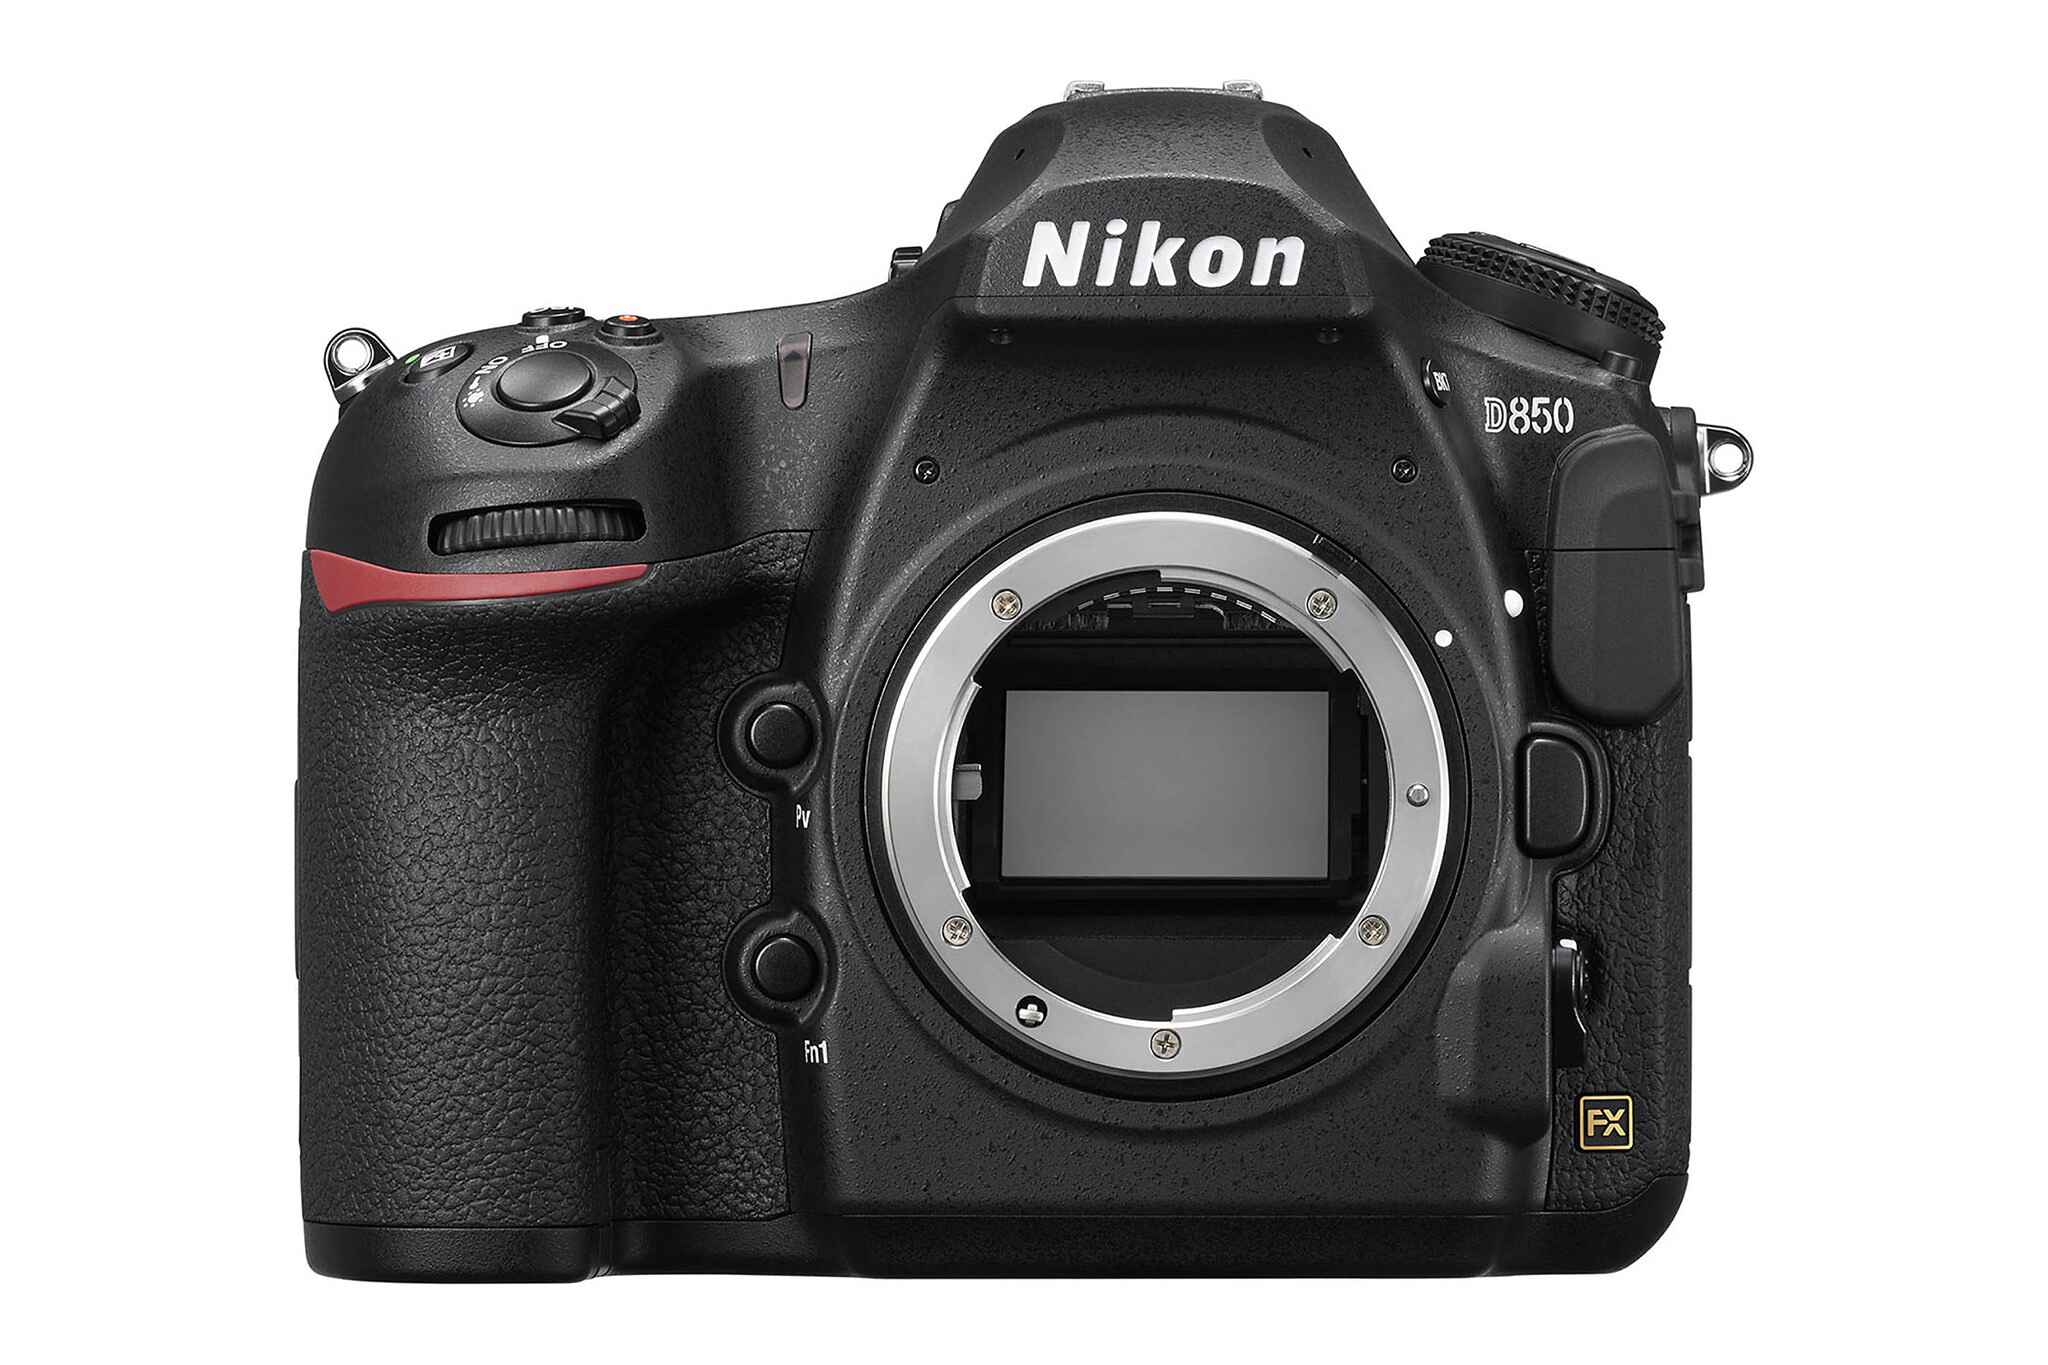
The connection point on a digital camera is a crucial component that enables the attachment of an external flash. It is typically located on the top of the camera body, near the hot shoe or accessory port. This connection point serves as both a physical and electrical interface, allowing the camera and flash to communicate and synchronize their operations.
Physically, the connection point consists of a socket or metal contacts that provide a secure and stable attachment for the external flash. This ensures that the flash remains firmly in place during use, preventing any accidental detachment that could disrupt the photographic process. Some cameras may also have additional locking mechanisms to further enhance stability.
Electrically, the connection point allows for the exchange of information between the camera and flash. This communication is essential for ensuring that the flash fires at the right moment, synchronizing with the camera’s shutter speed and exposure settings. Through this connection, the camera can directly control the flash, adjusting its power output, triggering mechanisms, and other settings.
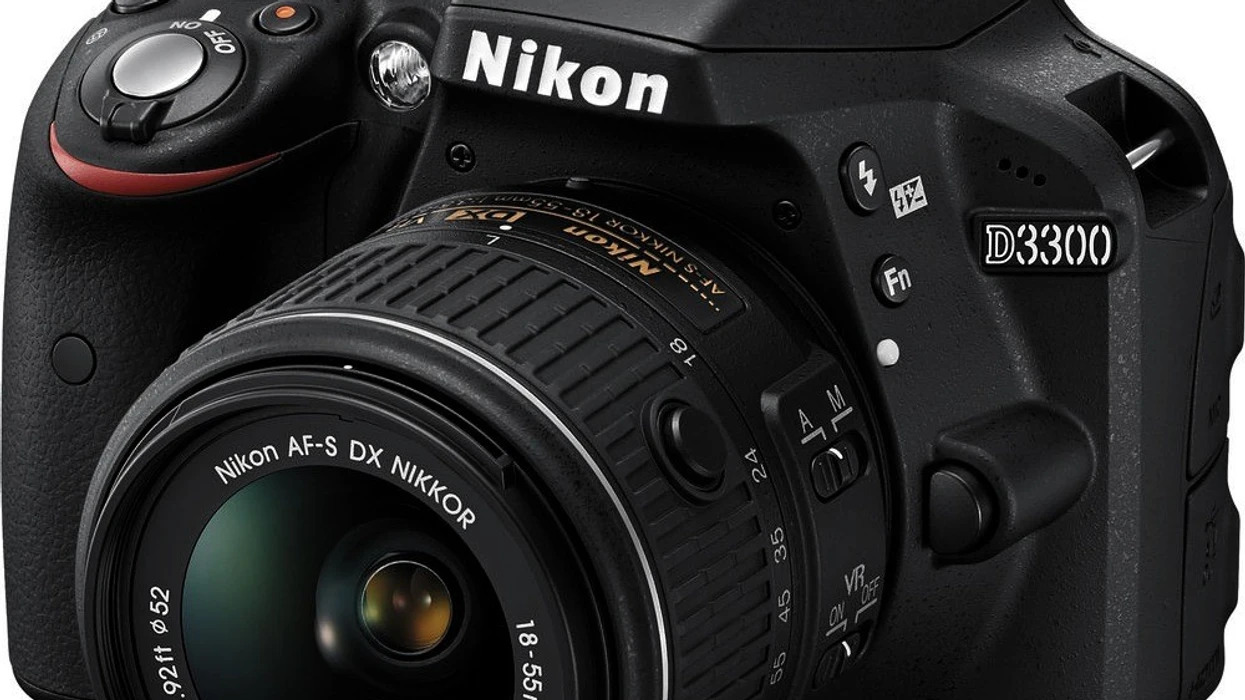
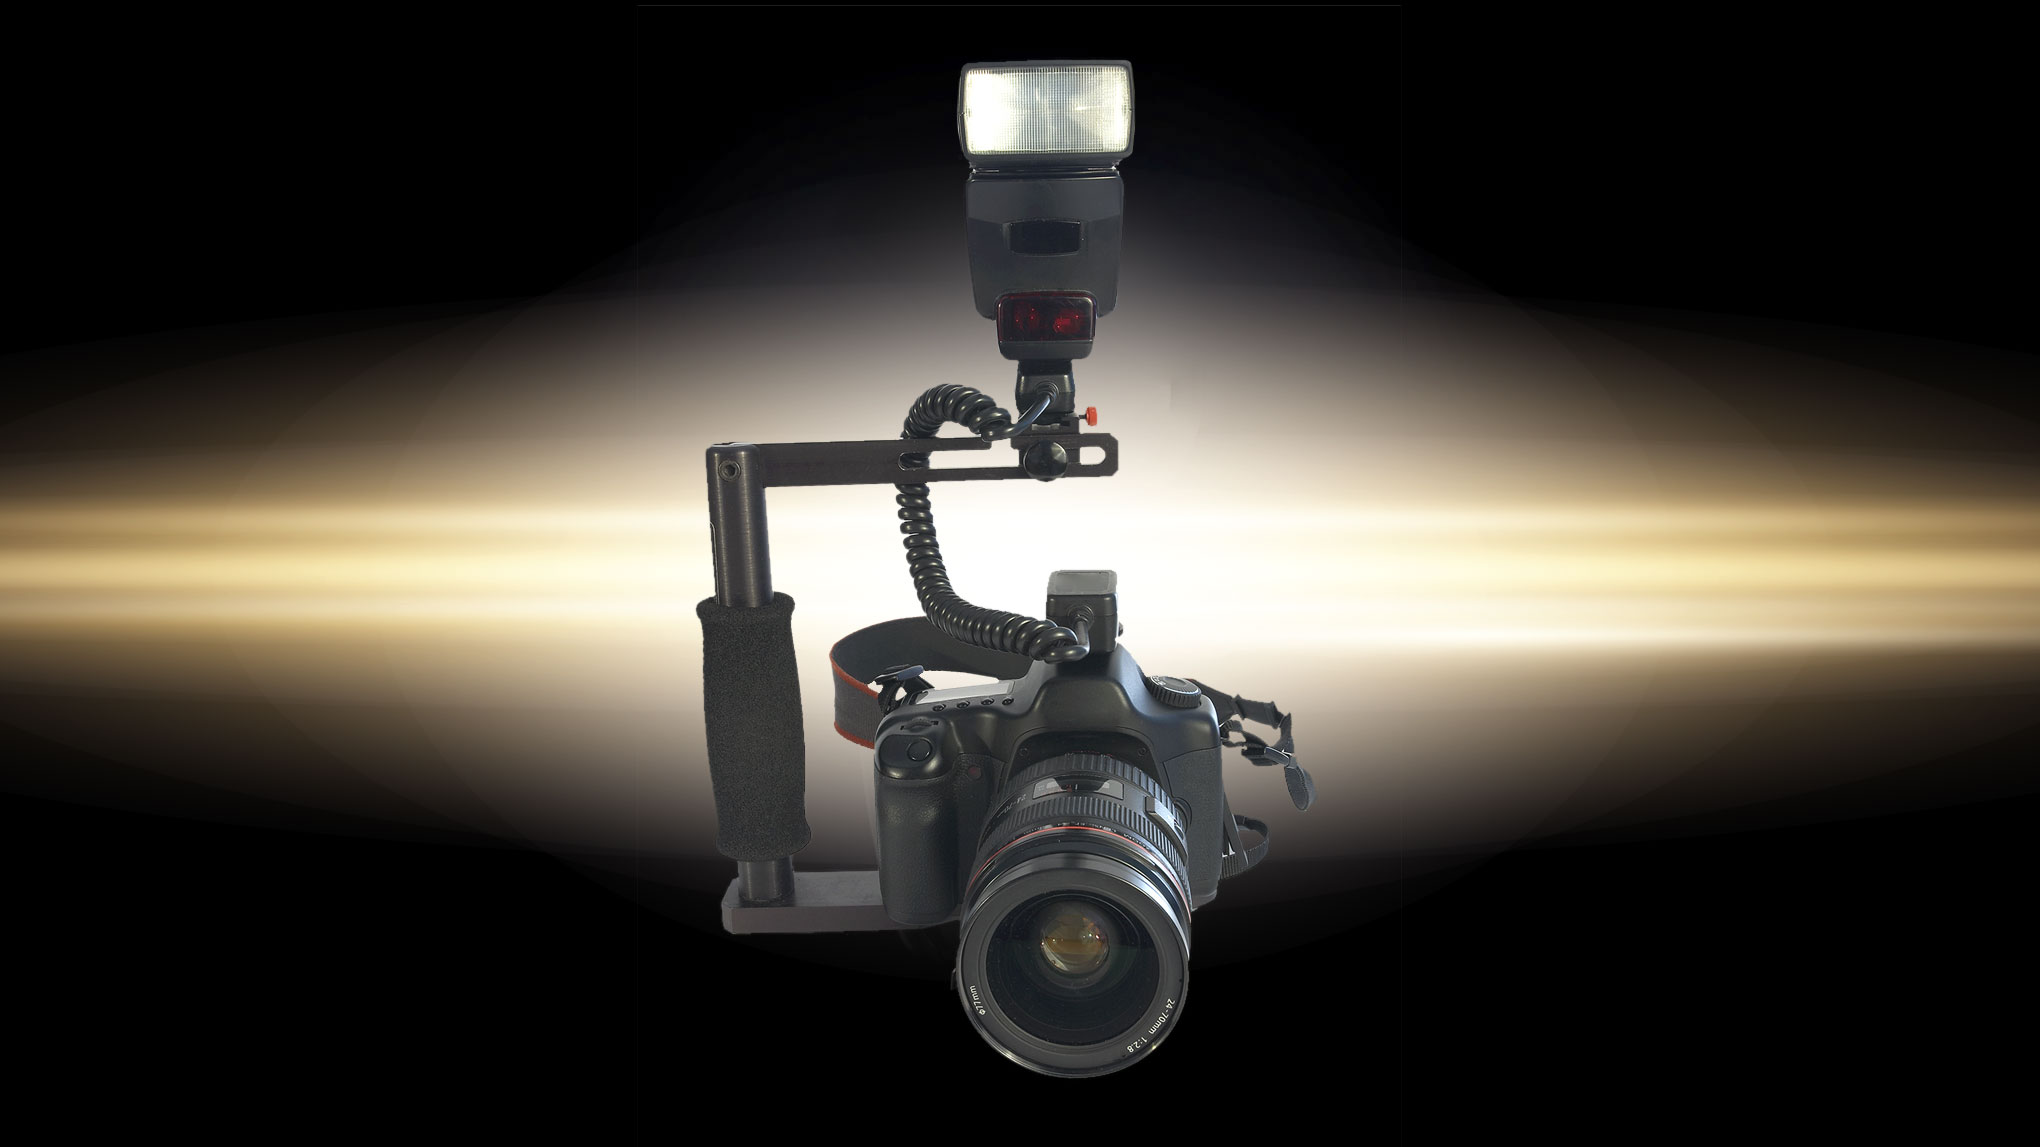
Depending on the camera model and flash compatibility, the connection point may support different types of connections. The most common type is the hot shoe, which consists of a metal rail with electrical contacts. The flash slides onto this rail, with the contacts on the flash aligning with those on the hot shoe. This configuration establishes the necessary electrical connection and allows for seamless integration between the camera and flash.
Some cameras may also feature an accessory port, which provides a more versatile connection option. This port can support various accessories, including external flashes, wireless flash triggers, or other specialized equipment. Unlike the hot shoe, the accessory port may require additional cables or adapters to connect the external flash.
Understanding the connection point is crucial as it determines the compatibility between the camera and external flash. Before purchasing an external flash, ensure that it is compatible with your specific camera model and its connection point. Using an incompatible flash can lead to malfunctioning or limited functionality, hindering your ability to fully utilize the external flash’s capabilities.
Now that we have explored the intricacies of the connection point on a digital camera, let’s delve into the benefits of using an external flash in the next section.
Benefits of Using an External Flash
Using an external flash with your digital camera can significantly enhance your photography experience. Here are some key benefits of incorporating an external flash into your camera setup:
1. Improved Lighting: An external flash provides a powerful burst of light, allowing you to illuminate your subjects in challenging lighting conditions. Whether you’re shooting in low light indoors or under harsh sunlight, the additional light from the flash helps to fill in shadows, reduce harsh contrasts, and improve overall exposure.
2. Greater Control: With an external flash, you have full control over the positioning and direction of the light. This allows you to experiment with different lighting techniques, such as bounce flash or off-camera flash, to create more dynamic and visually appealing photographs. You can also adjust the flash power to achieve the desired level of illumination, providing flexibility in different shooting scenarios.
3. Enhanced Creativity: An external flash opens up a world of creative possibilities. By manipulating the light, you can add drama, depth, and mood to your photos. You can create stunning portraits with soft, flattering light or capture action shots with freeze motion using high-speed sync. With a wide range of flash modifiers and diffusers available, you can further shape and control the quality of light to achieve the desired artistic effect.
4. Extended Range: Unlike the built-in flash on most digital cameras, an external flash has a significantly larger range. This means you can effectively illuminate subjects that are farther away from the camera, making it ideal for event photography, wildlife photography, or any situation where you need to cover a larger distance.
5. Reduced Red-Eye and Blinking: The use of an external flash can help minimize the occurrence of red-eye and blinking in your photos. By positioning the flash off-axis, bouncing the light, or using diffusers, you can reduce the direct impact of the flash on the subject’s eyes, resulting in more natural-looking portraits.
6. Extended Battery Life: When using an external flash, the camera’s built-in flash is often disabled, saving battery power. This can be particularly beneficial when shooting for extended periods or in situations where access to power sources is limited.
Incorporating an external flash into your photography toolkit gives you greater control, versatility, and creativity in your image-making. Now that we understand the advantages of using an external flash, let’s explore the different types of connection points found on digital cameras in the next section.
Types of Connection Points on Digital Cameras
Digital cameras come in various models and brands, each with its own type of connection point for attaching an external flash. Let’s explore the different types of connection points commonly found on digital cameras:
1. Hot Shoe: The hot shoe is the most common type of connection point found on digital cameras. It typically features a metal rail with electrical contacts on top of the camera body. The external flash slides onto the hot shoe, allowing for a secure physical connection and electrical communication between the camera and the flash. Hot shoes are widely supported and offer a straightforward way to attach an external flash without the need for additional cables or adapters.
2. Accessory Port: Some digital cameras feature an accessory port as an alternative connection point for accessories, including external flashes. The accessory port provides a versatile option for connecting various accessories, ensuring compatibility with a wide range of flash models. Depending on the camera, the accessory port may require specific cables or adapters to connect the external flash. While not as common as hot shoes, the accessory port allows for flexibility in camera accessories beyond just external flashes.
3. PC Sync Port: Although less common in modern digital cameras, some models still include a PC sync port for connecting an external flash. The PC sync port is a small round connector that allows the camera to trigger the flash via a sync cable. This type of connection provides a reliable and direct communication between the camera and the flash, making it suitable for professional studio setups or off-camera flash setups.
4. Wireless Flash System: In addition to physical connection points, many digital cameras also support wireless flash systems. These systems use radio frequency or optical signals to communicate between the camera and the external flash, eliminating the need for a physical connection. Wireless flash systems provide flexibility in flash placement and allow for creative lighting setups without cables or direct line-of-sight requirements. This type of connection point is particularly useful for advanced flash photography techniques and off-camera flash setups.
It’s important to understand the type of connection point your camera has before purchasing an external flash. This ensures compatibility and seamless integration between the camera and the flash. Depending on your specific needs and shooting style, you can choose a flash that is specifically designed for the type of connection point on your camera.
Now that we have explored the different types of connection points, let’s move on to the next section and learn how to attach an external flash to your camera.
How to Attach an External Flash to Your Camera
Attaching an external flash to your camera is a straightforward process that can significantly enhance your photography. Here are the steps to follow:
1. Identify the Connection Point: First, locate the specific connection point on your camera. It could be a hot shoe, accessory port, or a PC sync port, depending on your camera model. Refer to your camera’s manual if you are unsure about the location of the connection point.
2. Power Off Your Camera: Before attaching or detaching the external flash, it is advisable to power off your camera. This ensures that there is no electrical current passing through the camera or flash, minimizing the risk of damage.
3. Align the Flash with the Connection Point: Line up the external flash with the connection point on your camera. For a hot shoe connection, align the electrical contacts on the flash with those on the hot shoe. If using an accessory port, make sure to attach the flash securely using the correct cables or adapters. For a PC sync port, connect the sync cable between the camera and the flash.
4. Securely Attach the Flash: Once aligned, gently slide the external flash into the connection point on your camera. Ensure that it fits snugly and securely without any wobbling. Some cameras may have a locking mechanism, such as a locking lever or a locking pin, to provide added stability and prevent accidental detachment. Follow the instructions specific to your camera model to securely attach the flash.
5. Power On Your Camera and Flash: After attaching the external flash, power on your camera. The camera should recognize the flash and establish communication. Depending on your camera settings, the flash may automatically power on or require manual activation. Refer to your camera’s manual for guidance on enabling and configuring the external flash.
6. Test the Flash: To ensure that the connection between the camera and flash is successful, take a test shot with the flash enabled. Verify that the flash fires when prompted by the camera, illuminating the subject properly. You can also make adjustments to the flash settings, such as changing the power output or flash mode, to suit your shooting needs.
Keep in mind that the specific steps and processes may vary depending on the camera model and the type of external flash you are using. Always consult your camera’s manual and the instructions provided with the external flash for accurate guidance.
Now that you have successfully attached the external flash to your camera, you can explore the creative possibilities and take your photography to new heights.
Troubleshooting Common Issues with Connection Points
While attaching an external flash to your camera is generally straightforward, you may encounter some common issues with the connection point. Here are a few troubleshooting tips to help you resolve these problems:
1. Loose Connection: If you notice that the external flash is not securely attached and wobbles on the connection point, it could result in unreliable communication or even disconnection during use. Ensure that the flash is properly aligned and pushed into the connection point until it fits snugly. Some cameras have locking mechanisms, so make sure to activate them for added stability.
2. Compatibility Issues: If the external flash is not communicating properly with your camera, it may indicate compatibility issues. Double-check that the external flash model is compatible with your camera’s connection point. Some flashes may require firmware updates or configuration settings to work seamlessly with your camera, so consult the manufacturer’s instructions and website for any necessary updates or troubleshooting steps.
3. Poor Contact or Communication: In some cases, the electrical contacts on the camera or external flash may become dirty or obstructed, resulting in poor communication or failure to trigger the flash. Use a clean, lint-free cloth or a small brush to gently remove any debris or dirt from both the camera’s connection point and the flash’s electrical contacts. This will ensure a proper electrical connection between the two devices.
4. Flash Not Firing: If the flash is not firing when prompted by the camera, check the flash settings on both the camera and the flash itself. Ensure that the flash is powered on, and the necessary settings like flash mode, power output, and synchronization are configured correctly. Also, verify that the camera’s settings are compatible with the flash and allow for flash triggering. Consult your camera and flash manuals for specific instructions on adjusting the flash settings.
5. Firmware Updates: It’s always a good idea to keep your camera’s firmware updated to ensure compatibility and resolve any known issues with the connection point or flash functionality. Check the manufacturer’s website regularly for firmware updates and follow their instructions to install the latest firmware for your camera.
If you continue to experience difficulties or encounter issues specific to your camera or flash model, it is recommended to contact the manufacturer’s customer support or seek assistance from a photography professional. They will be able to provide you with personalized guidance and troubleshooting tips for your specific equipment.
By addressing these common issues that may arise with connection points, you can ensure a smooth and uninterrupted experience when using an external flash with your camera.
Conclusion
Understanding the connection point on a digital camera and how to attach an external flash opens up a world of creative possibilities for photographers. The connection point serves as the bridge between the camera and the flash, allowing for secure attachment and communication. By incorporating an external flash into your photography setup, you can improve lighting, gain greater control over your shots, and unleash your creativity.
We explored the different types of connection points found on digital cameras, including the popular hot shoe, accessory port, PC sync port, and wireless flash systems. Choosing a flash that is compatible with your camera’s connection point ensures a seamless integration and unlocks the full potential of the flash’s features.
We also discussed the benefits of using an external flash, including improved lighting, greater control, enhanced creativity, extended range, reduced red-eye and blinking, and extended battery life. These advantages allow photographers to overcome lighting challenges, capture stunning portraits, freeze motion, and create visually stunning images in various shooting scenarios.
Furthermore, we provided a step-by-step guide on attaching an external flash to your camera, ensuring a secure and stable connection. Troubleshooting tips were also shared to help resolve common issues that may arise with the connection point, including loose connections, compatibility issues, poor contact or communication, flash not firing, and the importance of firmware updates.
By understanding the connection point and effectively using an external flash, you can take your photography to new heights. Experiment with different lighting techniques, explore creative possibilities, and capture stunning images that showcase your unique vision. Embrace the power of the connection point and external flash, and watch as your photography skills and artistic expression soar.