Introduction
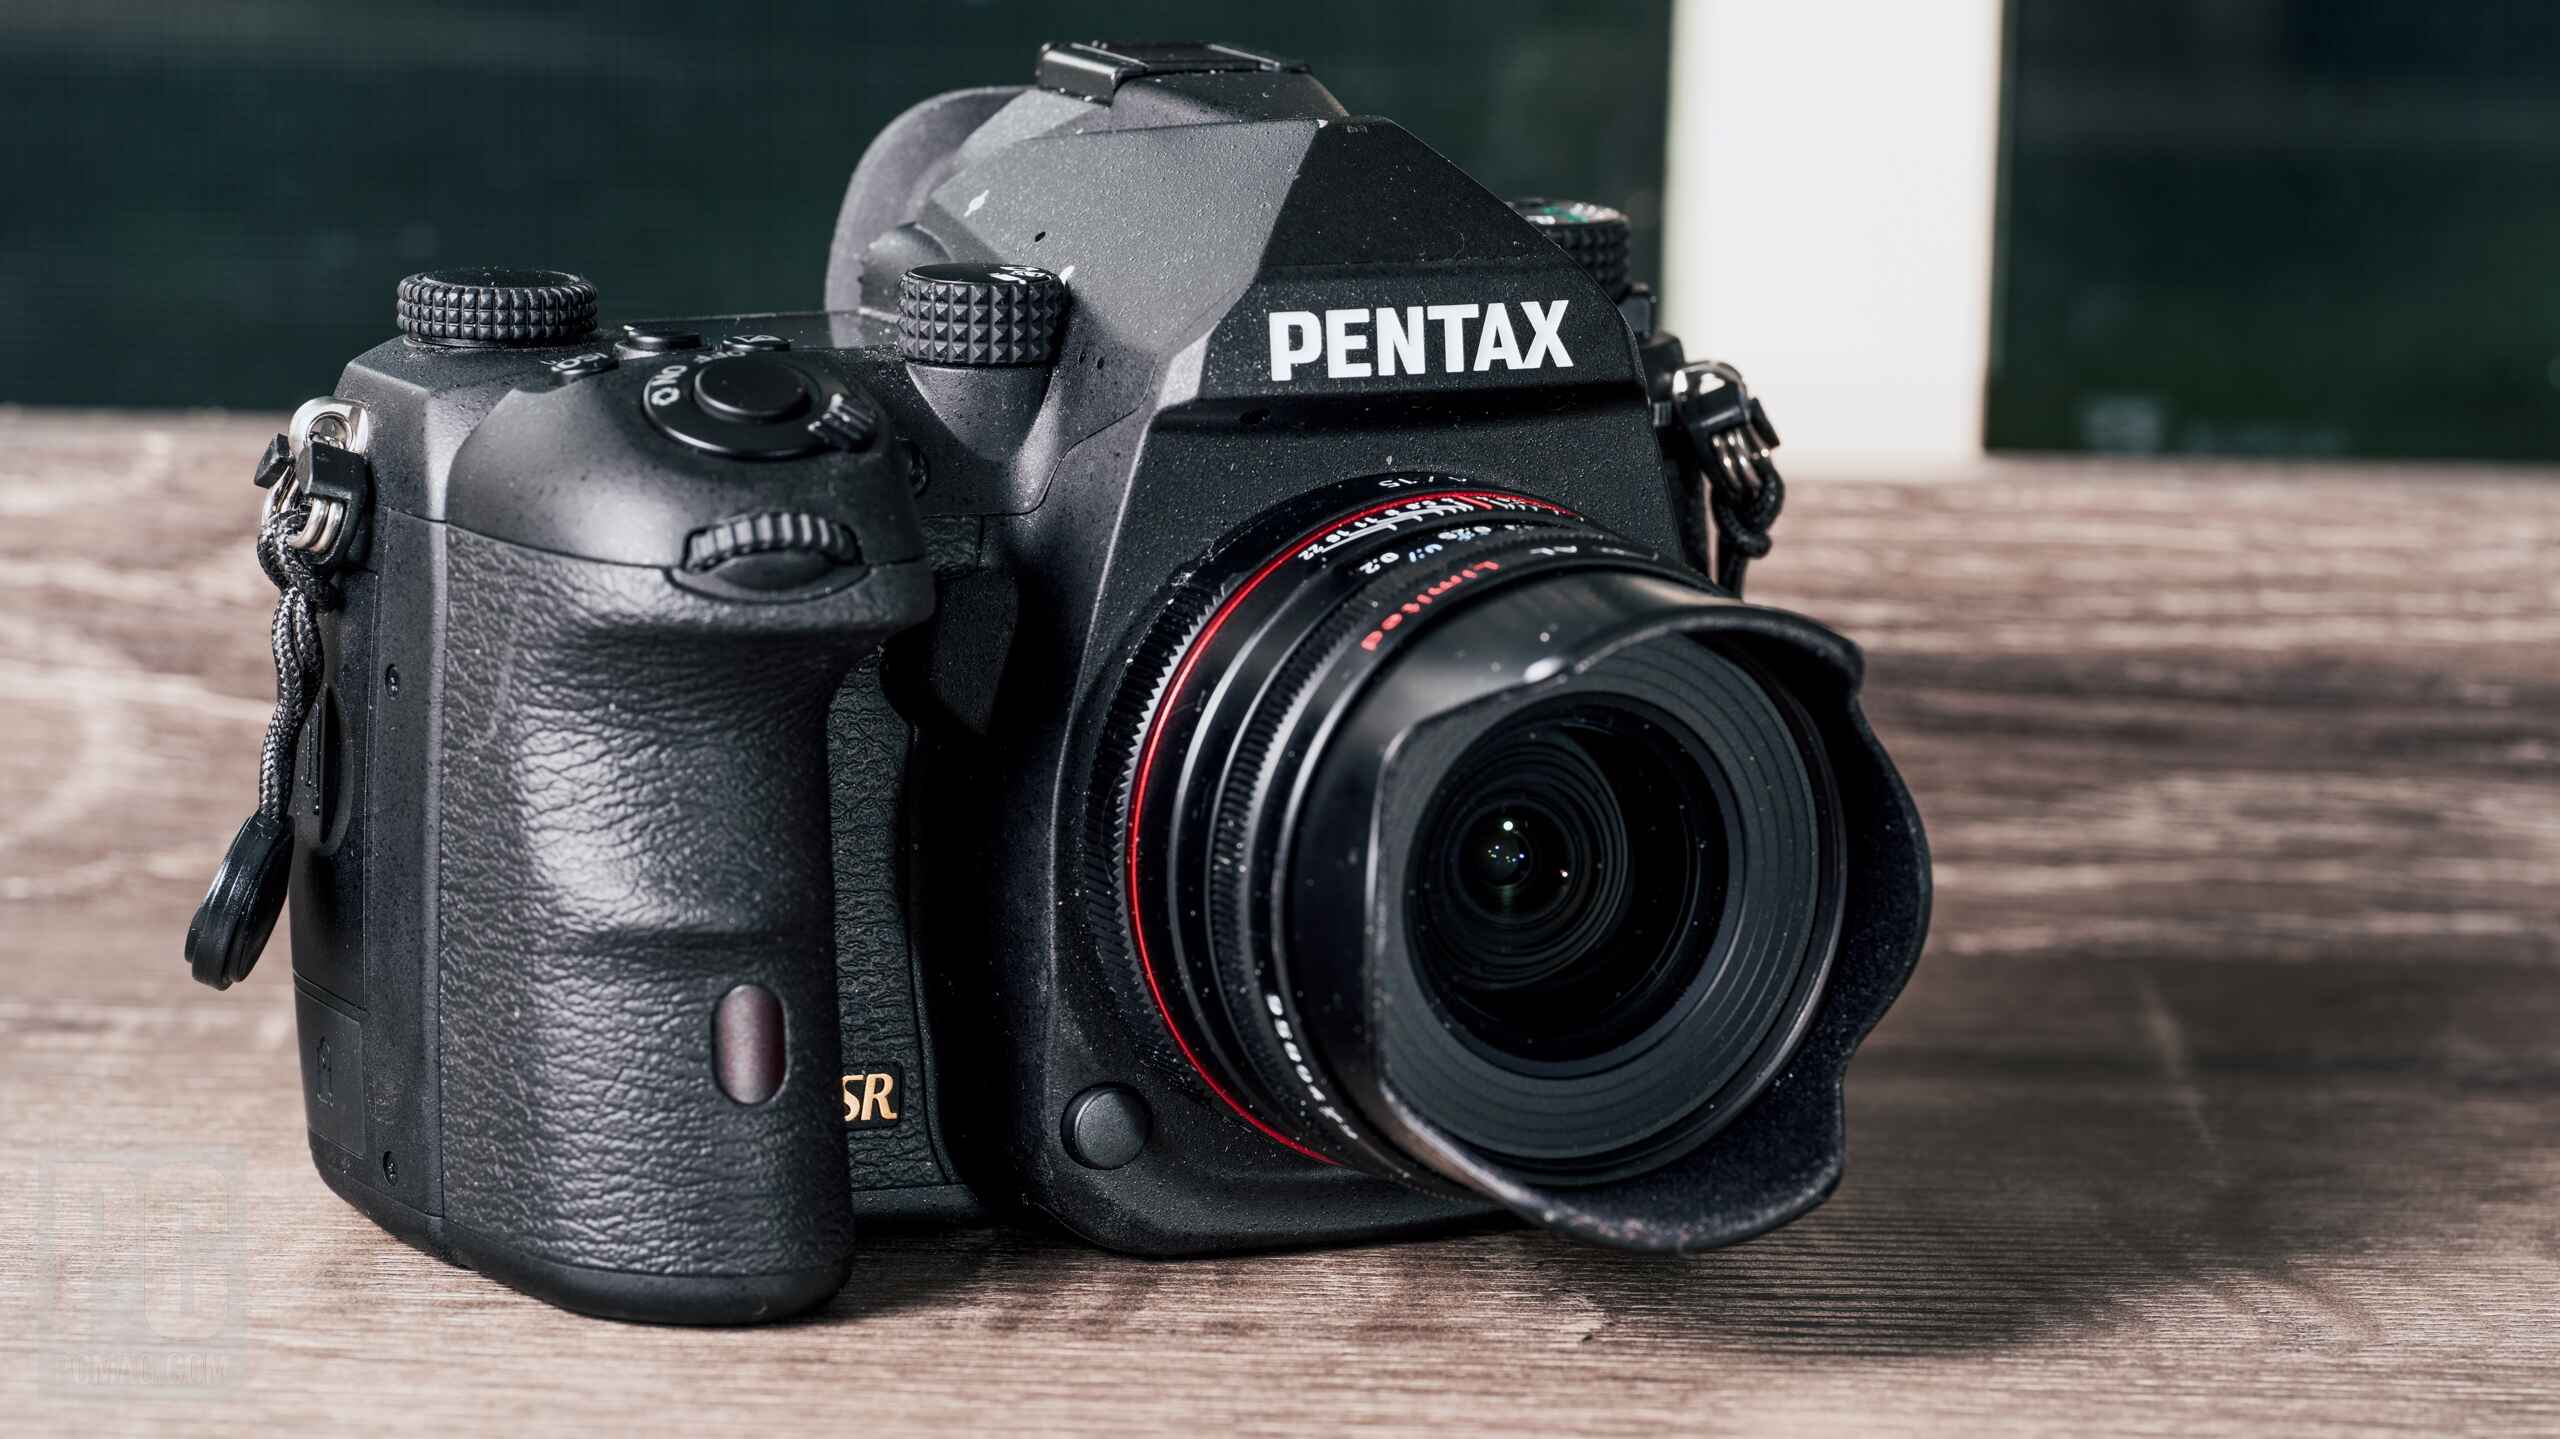
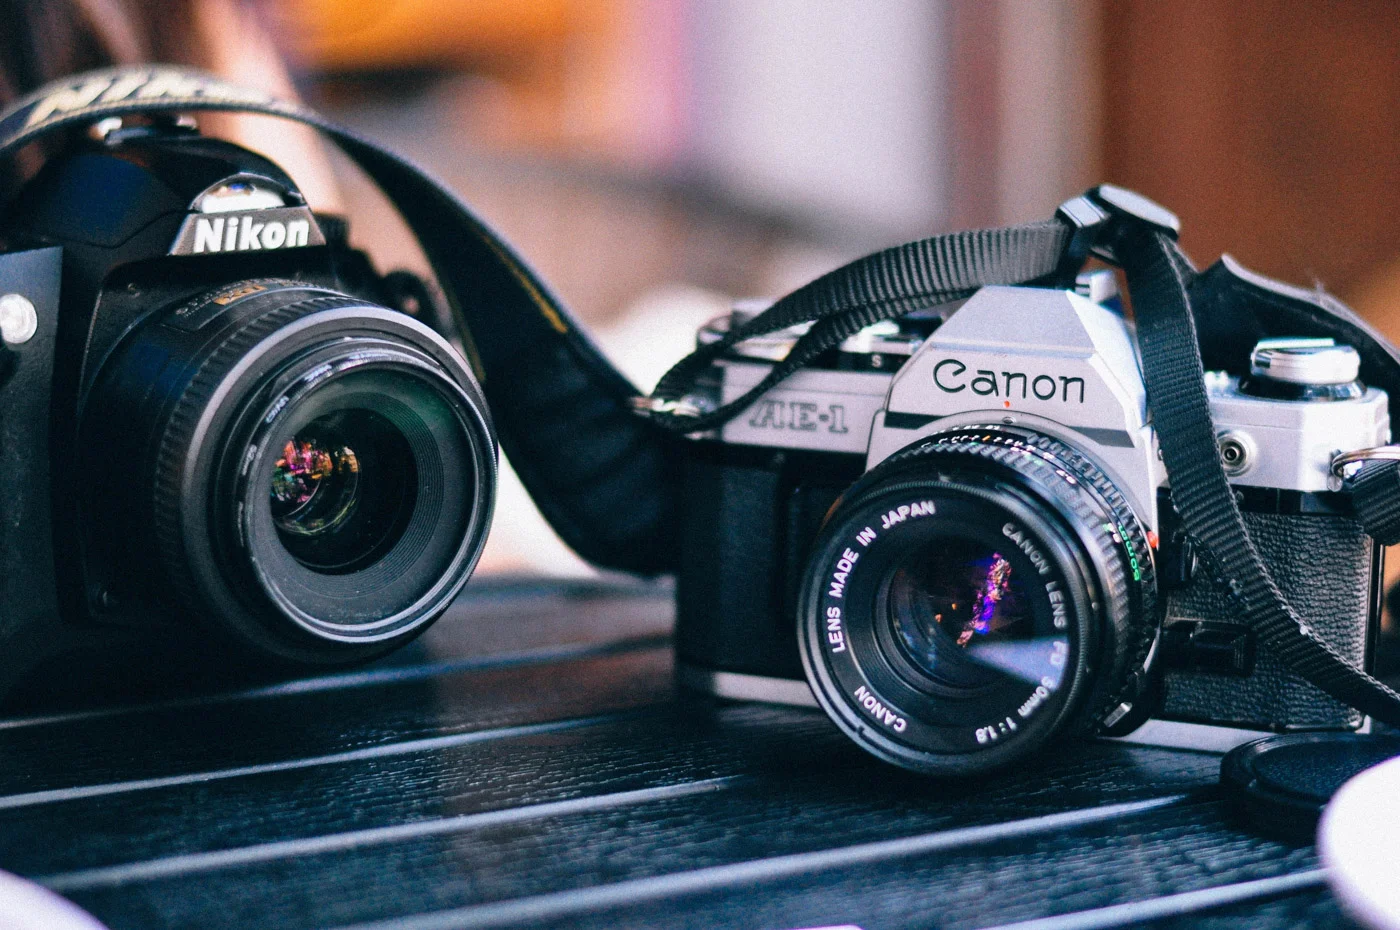
Have you ever wondered what goes on inside a digital SLR camera? If you’re a curious enthusiast or just someone who loves to tinker with gadgets, you might be interested in learning how to take apart a digital SLR camera. Whether you want to perform repairs, clean the internals, or simply satisfy your curiosity, this step-by-step guide will walk you through the process of disassembling a digital SLR camera.
It’s important to note that disassembling a digital SLR camera is a complex task that requires precision, patience, and knowledge of the inner workings of the device. Before you start, make sure you have the necessary tools, including small screwdrivers, tweezers, and anti-static wristbands to protect the delicate electronic components.
Throughout this guide, we’ll be referring to the general steps involved in disassembling a digital SLR camera. However, it’s important to note that the specific method may vary based on the make and model of your camera. It is always recommended to consult the camera’s user manual or seek professional assistance if you’re uncertain about any step of the process.
Remember to proceed with caution and take your time, as any mistakes or mishandling during the disassembly process can potentially damage the camera beyond repair. Additionally, keep in mind that opening up a camera may void its warranty, therefore, proceed at your own risk.
Now that we’ve covered the necessary precautions, let’s dive into the step-by-step guide on how to take apart a digital SLR camera. Follow each instruction carefully and make sure to refer back to the user manual or seek additional online resources if needed.
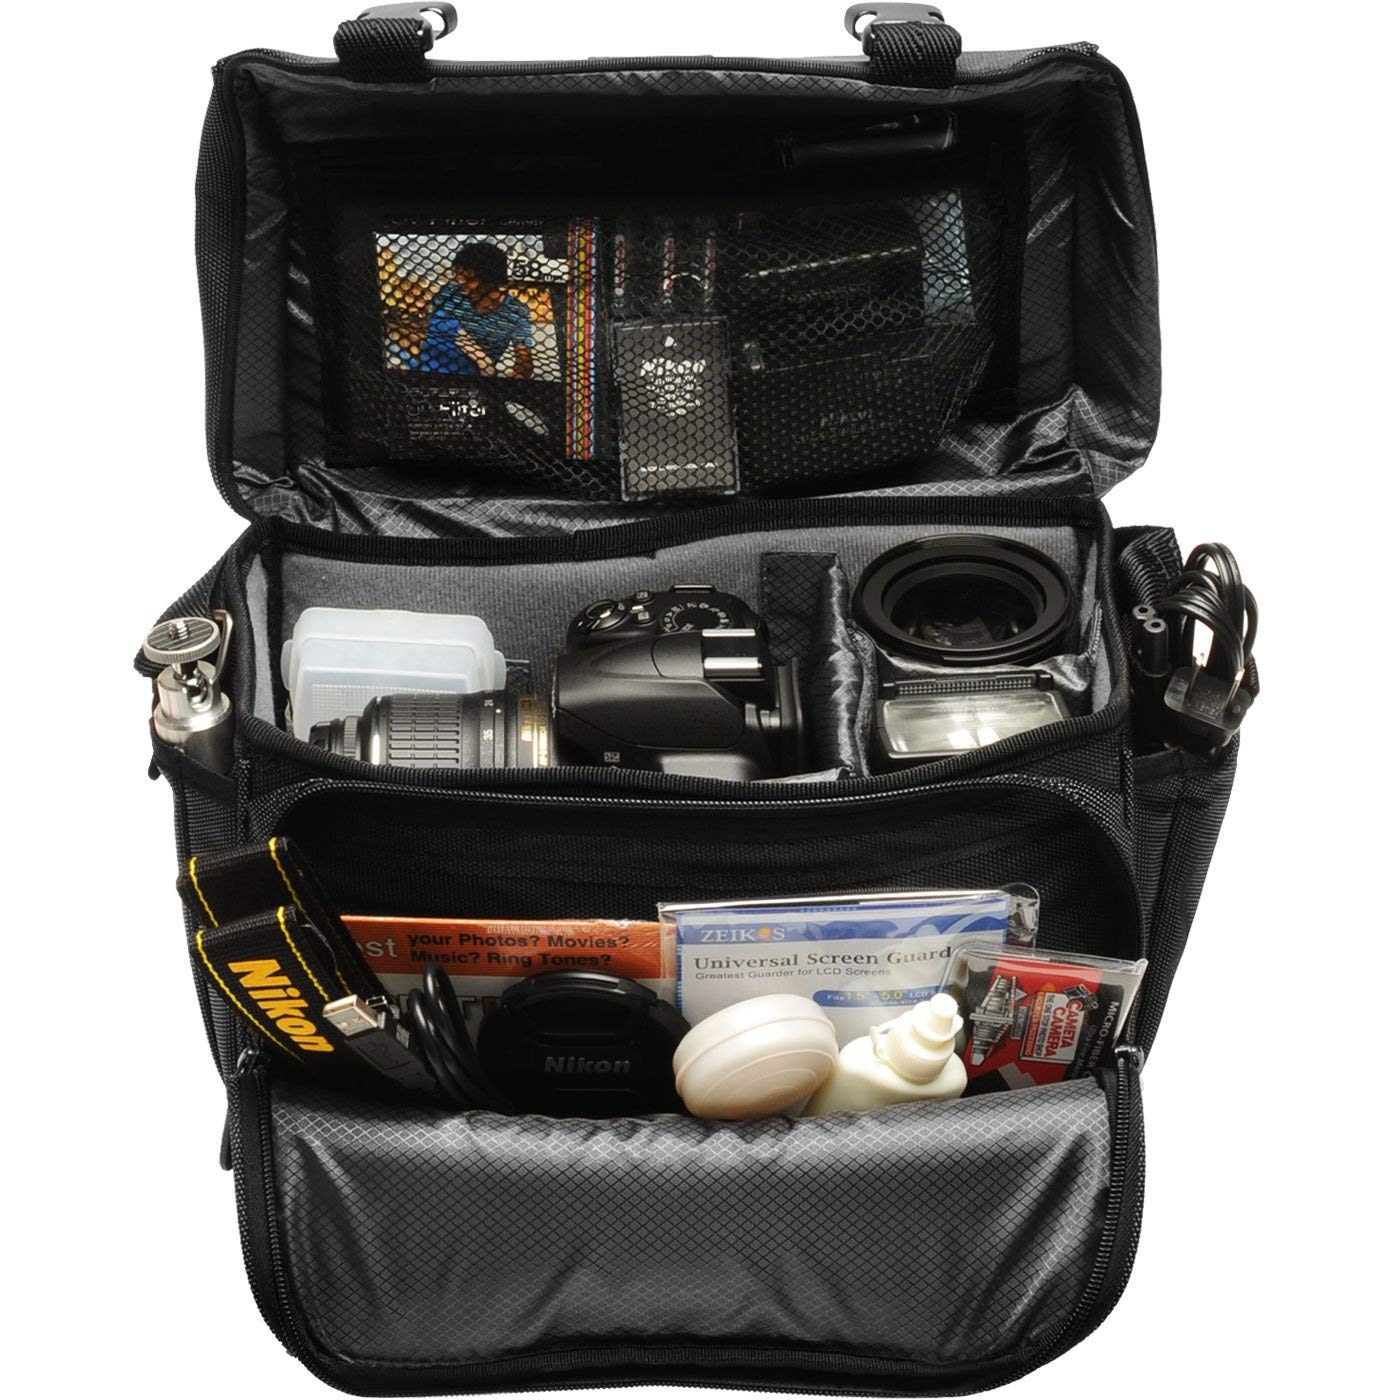
Tools Needed
Before you begin the process of disassembling a digital SLR camera, gather the following tools to ensure a smooth and efficient experience:
- Small Screwdrivers: You’ll need a set of small screwdrivers with different heads, including Phillips and flathead, to remove screws of various sizes.
- Tweezers: A pair of tweezers with fine tips will come in handy for handling small components, such as springs or connectors.
- Anti-static Wristbands: These wristbands are essential to prevent static electricity from damaging sensitive electronic components during the disassembly process.
- Microfiber Cloth: Use a microfiber cloth to gently clean any dust or debris that may have accumulated on the camera’s internal components.
- Plastic Opening Tools: These non-metallic tools are useful for prying open plastic parts, such as the camera’s body or covers, without leaving scratches.
- ESD-Safe Mat: An ESD (Electrostatic Discharge)-safe mat provides a static-free work surface and helps protect the camera and its components from damage caused by static electricity.
- Container for Screws: To avoid losing any small screws during the disassembly process, it’s a good idea to have a small container or magnetic mat to keep them safe and organized.
- Camera User Manual: The user manual for your specific digital SLR camera is a valuable resource that provides specific instructions and diagrams for disassembly. Keep it readily available for reference.
Having these tools on hand will ensure that you can safely and effectively disassemble your digital SLR camera. Remember to work in a clean and well-lit environment, take your time during the process, and handle all components with care. Now that you have the necessary tools, let’s proceed to the step-by-step disassembly guide.
Step 1: Remove the Lens
The first step in disassembling a digital SLR camera is to remove the lens. This will provide access to the internal components of the camera.
Before proceeding, make sure the camera is turned off and the battery is removed to prevent any accidental activation or damage. Follow these steps to remove the lens:
- Locate the lens release button, usually positioned near the base of the lens mount.
- While holding the button, rotate the lens counterclockwise to release it from the mount.
- Gently detach the lens from the camera body and place it in a clean and safe location.
It’s important to handle the lens with care to avoid any scratches or damage. If the lens is stuck or difficult to remove, refer to the camera’s user manual or seek professional assistance.
Once the lens is removed, set it aside and proceed to the next step in disassembling your digital SLR camera.
Step 2: Remove the Battery and Memory Card
Before proceeding further with the disassembly process, it’s essential to remove the battery and memory card from your digital SLR camera. This step will prevent any potential electrical shock and protect the camera’s internal components.
Follow these steps to safely remove the battery and memory card:
- Locate the battery compartment on the camera body. It is usually on the bottom or side of the camera.
- Open the battery compartment cover by sliding or pressing the designated release latch.
- Remove the battery by pulling it straight out from the compartment.
- If your camera has a memory card slot, locate the card compartment, usually located near the battery compartment.
- Open the card compartment by sliding or pressing the designated latch.
- Gently push on the memory card to release it from the slot, then carefully remove it.
It’s important to handle the battery and memory card with care and avoid touching the metal connectors or exposing them to excessive heat or moisture. Safely store them in a clean and dry location until you are ready to reassemble the camera.
With the battery and memory card removed, you can now proceed to the next steps, which involve the disassembly of the camera’s internal components.
Step 3: Unscrew the Bottom Plate
Once you have removed the lens, battery, and memory card, the next step in disassembling a digital SLR camera is to unscrew the bottom plate. This will provide access to the internal components and allow you to continue the disassembly process.
Follow these steps to unscrew the bottom plate:
- Place the camera on a clean, flat surface with the bottom facing up.
- Locate the screws on the bottom of the camera. These screws are typically small and may have different lengths or shapes.
- Using the appropriate screwdriver from your tool kit, carefully remove all the screws securing the bottom plate. Keep track of the screws and their respective positions.
- Once all the screws are removed, gently lift and remove the bottom plate from the camera body.
As you unscrew the bottom plate, be cautious not to apply excessive force or damage the surrounding components. If you encounter any resistance while removing the screws, double-check to ensure all screws are fully unscrewed before proceeding.
With the bottom plate removed, you’ll have a clearer view of the camera’s internal components and can move on to the next steps of disassembling your digital SLR camera.
Step 4: Detach the Rear Cover
After unscrewing the bottom plate, the next step in disassembling a digital SLR camera is to detach the rear cover. This will provide access to the internal circuit boards and connectors.
Follow these steps to detach the rear cover:
- Locate the screws on the sides and bottom of the camera’s rear cover.
- Using the appropriate screwdriver, carefully remove all the screws securing the rear cover. Take note of the positions and sizes of the screws.
- Once the screws are removed, gently pry open the rear cover using plastic opening tools or your fingertips. Start from one side and work your way around, being careful not to apply too much pressure or force.
- As you remove the rear cover, be mindful of any ribbon cables or connectors that may be attached. If there are any connected cables, gently detach them by sliding or lifting the retaining clips.
- Once all the cables are disconnected, carefully lift and remove the rear cover from the camera body.
It’s important to handle the rear cover and cables with care to avoid any damage. If you encounter any resistance while removing the rear cover, double-check to ensure all screws are fully removed and cables are disconnected before proceeding.
With the rear cover detached, you’ll have access to the camera’s internal circuit boards and connectors. This will allow you to continue disassembling the camera and explore its inner workings.
Step 5: Disconnect the LCD Screen
Once the rear cover has been detached, the next step in disassembling a digital SLR camera is to disconnect the LCD screen. This will allow you to access other internal components and continue the disassembly process.
Follow these steps to disconnect the LCD screen:
- Locate the ribbon cable that connects the LCD screen to the camera’s circuit board.
- Identify the retaining clip or connector securing the ribbon cable to the circuit board. Depending on the camera model, this may be a small latch that needs to be lifted, a sliding mechanism, or a clip that needs to be squeezed.
- Gently release the retaining clip or connector by following the appropriate method for your camera. Take care not to apply excessive force or damage the connector.
- Once the retaining clip or connector is released, carefully draw out the ribbon cable from its slot or connector.
- Repeat these steps if there are multiple ribbon cables connecting the LCD screen to the camera.
When disconnecting the LCD screen, it’s important to be gentle and avoid pulling or twisting the ribbon cables. Take your time to ensure the retaining clip or connector is fully released before attempting to remove the cables.
After disconnecting the LCD screen, it is advisable to place it in a safe and clean location to prevent any damage. With the LCD screen removed, you’ll have better access to the camera’s internal components and can proceed with the next steps of disassembling your digital SLR camera.
Step 6: Remove the Top Cover
With the LCD screen disconnected, you can now move on to removing the top cover of your digital SLR camera. This step will provide access to additional internal components and circuits.
Follow these steps to remove the top cover:
- Before proceeding, ensure that all screws, cables, and connectors from the previous steps have been properly disconnected or removed.
- Locate the screws on the top of the camera that secure the top cover.
- Using the appropriate screwdriver, carefully remove all the screws. Keep track of the positions and sizes of the screws.
- Once the screws are removed, gently lift and remove the top cover from the camera body.
- As you remove the top cover, be cautious of any ribbon cables or connectors that may still be attached. If there are any connected cables, gently detach them by sliding or lifting the retaining clips.
When handling the top cover and cables, be careful not to apply excessive pressure or force. Take your time to ensure that all screws are fully removed and cables are disconnected before attempting to remove the top cover.
Once the top cover is removed, you will have clearer access to the internal components and circuits of the camera. This will allow you to continue with the subsequent steps of disassembling your digital SLR camera.
Step 7: Disconnect the Shutter Button Assembly
After removing the top cover, the next step in disassembling a digital SLR camera is to disconnect the shutter button assembly. This will provide access to the shutter mechanism and other internal components.
Follow these steps to disconnect the shutter button assembly:
- Locate the shutter button assembly, which is usually positioned near the top of the camera’s body.
- Identify the ribbon cable or connector that connects the shutter button assembly to the camera’s circuit board.
- Depending on the camera model, you may need to release a retaining clip, slide a connector latch, or gently squeeze a clip to disconnect the ribbon cable or connector.
- Carefully release the retaining clip or connector, ensuring that you do not apply too much force or damage the connector.
- Once the retaining clip or connector is released, gently remove the ribbon cable or disconnect the connector from its slot.
When disconnecting the shutter button assembly, handle the ribbon cable or connector with care to avoid any damage. Take your time and be patient while releasing the retaining clip or connector, ensuring that it is fully released before attempting to remove the cable or connector.
With the shutter button assembly disconnected, you will have better access to the camera’s shutter mechanism and other related components. This will allow you to proceed with the disassembly process and explore the inner workings of your digital SLR camera.
Step 8: Remove the Viewfinder
Continuing with the disassembly process, the next step involves removing the viewfinder from your digital SLR camera. Removing the viewfinder will grant you access to internal components such as the focusing screen and the prism.
Follow these steps to remove the viewfinder:
- Locate the viewfinder on the back of the camera near the top.
- Inspect for screws or mounting brackets that secure the viewfinder to the camera body.
- Using the appropriate screwdriver or wrench, carefully remove any screws or brackets holding the viewfinder in place.
- Hold the viewfinder securely and gently slide or lift it out of its housing.
While removing the viewfinder, it’s crucial to exercise caution and avoid putting any undue force or pressure on the component. Pay close attention to any cables or connectors that may be attached to the viewfinder, detaching them carefully before removing the component completely.
Set the removed viewfinder in a safe spot to prevent any damage or misplacement during the remainder of the disassembly process.
With the viewfinder removed, you will gain better access to the internal components of your digital SLR camera. This progress allows for further exploration and examination of the camera’s intricate mechanisms.
Step 9: Disconnect the Sensor
As you progress with the disassembly of your digital SLR camera, the next step is to disconnect the sensor. The sensor is a critical component responsible for capturing images and plays a vital role in the camera’s functionality.
Follow these steps to disconnect the sensor:
- Identify the sensor, which is typically located behind the mirror box inside the camera body.
- Inspect the connections between the sensor and the camera’s circuitry. Look for ribbon cables or connectors attached to the sensor.
- Depending on your camera model, you may need to release a retaining clip, slide a connector latch, or gently squeeze a clip to disconnect the ribbon cable or connector.
- Carefully release the retaining clip or connector, being cautious not to apply excessive pressure or damage the connector.
- Once the retaining clip or connector is released, gently remove the ribbon cable or disconnect the connector from its slot.
When disconnecting the sensor, handle the ribbon cable or connector with care to prevent any damage. Take your time and ensure that the retaining clip or connector is fully released before attempting to remove the cable or connector.
With the sensor disconnected, you can further explore the camera’s internal components and continue the disassembly process. However, it is essential to handle the sensor with extreme care, as it is a sensitive and delicate component.
Step 10: Detach the Mirror Box
As you delve deeper into the disassembly of your digital SLR camera, the next step is to detach the mirror box. The mirror box houses critical components such as the mirror, focusing screen, and autofocus mechanism.
Follow these steps to detach the mirror box:
- Locate the mirror box, which is typically situated at the upper portion of the camera body behind the lens mount.
- Inspect for screws or clips that secure the mirror box to the camera body.
- Using the appropriate screwdriver or tool, carefully remove any screws or release any clips that hold the mirror box in place.
- Gently lift and detach the mirror box from the camera body.
While removing the mirror box, exercise caution to prevent any damage to the delicate components. Pay close attention to any cables or connectors that may be attached to the mirror box, detaching them carefully before completely removing the component.
Set the detached mirror box aside in a safe location to protect it from any potential damage or misplacement during the remaining disassembly process.
With the mirror box detached, you will have better access to the internal mechanisms and components of your digital SLR camera, allowing for further examination and exploration.
Step 11: Remove the Mirror
Continuing with the disassembly process, the next step involves removing the mirror from your digital SLR camera. The mirror plays a significant role in reflecting the image from the lens onto the focusing screen and viewfinder.
Follow these steps to remove the mirror:
- Locate the mirror inside the camera body, typically positioned in the mirror box.
- Gently tilt the camera body with the lens mount facing downwards to allow the mirror to slide into a downward position.
- With your fingers or a pair of tweezers, gently grasp the bottom edge of the mirror and carefully lift it out of the mirror box.
- Take care not to apply excessive force or damage any surrounding components during this process.
- Once the mirror is removed, place it in a safe and clean location to avoid any scratches or damage.
Removing the mirror gives you a closer look at the inner workings of your camera and provides access to other components, such as the shutter mechanism and sensor.
It’s crucial to handle the mirror with extreme care, as it is a delicate component. Avoid touching the mirror surface or allowing it to come into contact with any dust or debris.
With the mirror removed, you can proceed with further disassembly or examine the mirror’s condition for any necessary cleaning or repairs.
Step 12: Disconnect the Autofocus Mechanism
As you make progress in disassembling your digital SLR camera, the next step is to disconnect the autofocus mechanism. This mechanism allows for precision focusing of your camera’s lens and plays a vital role in capturing sharp images.
Follow these steps to disconnect the autofocus mechanism:
- Identify the autofocus mechanism, which is typically located near the bottom of the mirror box.
- Inspect for any cables, connectors, or screws that are securing the autofocus mechanism in place.
- If there are any cables or connectors attached, carefully detach them by releasing the retaining clip, sliding the latch, or squeezing the clip.
- If there are screws holding the autofocus mechanism, use the appropriate screwdriver to remove them.
- Once the cables or connectors are released, or the screws are removed, gently lift and detach the autofocus mechanism from the camera body.
When disconnecting the autofocus mechanism, handle the cables, connectors, or screws with care to avoid any damage. Take your time and ensure that you fully release the retaining clips or remove the screws before attempting to detach the mechanism.
After disconnecting the autofocus mechanism, set it aside in a safe location to protect it from any damage and facilitate easy reassembly if necessary.
With the autofocus mechanism disconnected, you can continue exploring the internal components of your digital SLR camera or proceed with further disassembly.
Step 13: Remove the Sensor Cleaning Unit
As you continue disassembling your digital SLR camera, the next step is to remove the sensor cleaning unit. This unit is responsible for keeping the sensor clean and free from dust particles, ensuring optimal image quality.
Follow these steps to remove the sensor cleaning unit:
- Locate the sensor cleaning unit, which is typically positioned near the sensor inside the camera body.
- Inspect for any screws or clips that secure the sensor cleaning unit in place.
- Using the appropriate screwdriver or tool, carefully remove any screws or release any clips that hold the sensor cleaning unit in place.
- Gently lift and remove the sensor cleaning unit from the camera body.
When removing the sensor cleaning unit, exercise caution to avoid any damage to the delicate components. Take care not to apply excessive force or pressure that may result in harm or misalignment.
Ensure that all screws are fully removed, and any clips or connectors are released before attempting to remove the sensor cleaning unit.
Once the sensor cleaning unit is removed, handle it with care and place it in a clean and safe location to prevent any damage or contamination.
With the sensor cleaning unit removed, you can explore the camera’s internal components and continue the disassembly process to further examine and clean the other components.
Step 14: Detach the Mirror Box Support
Continuing with the disassembly of your digital SLR camera, the next step is to detach the mirror box support. This component provides stability and support to the mirror box assembly and other internal components.
Follow these steps to detach the mirror box support:
- Locate the mirror box support, which is typically situated near the bottom of the camera body.
- Inspect for any screws or brackets that secure the mirror box support in place.
- Using the appropriate tool or screwdriver, carefully remove any screws or release any brackets holding the mirror box support in place.
- Gently lift and detach the mirror box support from the camera body.
While removing the mirror box support, be cautious not to exert excessive force or damage any adjacent components. Take your time to ensure that all screws are fully removed and any brackets are properly released before attempting to detach the support.
After detaching the mirror box support, set it aside in a safe location to prevent any damage or misplacement during the remaining disassembly process.
With the mirror box support removed, you will have better access to the camera’s internal components. This will allow you to continue the disassembly process and explore the inner workings of your digital SLR camera.
Step 15: Disconnect the Main Circuit Board
As you reach the final step of disassembling your digital SLR camera, it’s time to disconnect the main circuit board. This board houses essential electronic components and circuits that drive the camera’s functionality.
Follow these steps to disconnect the main circuit board:
- Locate the main circuit board, which is typically positioned inside the camera body and connected to various other components.
- Inspect for any cables, connectors, or screws that are securing the main circuit board in place.
- If there are any cables or connectors attached, carefully detach them by releasing the retaining clip, sliding the latch, or squeezing the clip.
- If there are screws holding the main circuit board, use the appropriate screwdriver to remove them.
- Once the cables or connectors are released, or the screws are removed, gently lift and detach the main circuit board from the camera body.
When disconnecting the main circuit board, handle the cables, connectors, or screws with care to avoid any damage. Take your time and ensure that you fully release the retaining clips or remove the screws before attempting to detach the board.
After disconnecting the main circuit board, place it in a safe and static-free location to prevent any damage or electrostatic discharge.
With the main circuit board disconnected, you have successfully disassembled your digital SLR camera and gained a deeper understanding of its internal components. You can now explore, clean, or repair specific parts as needed or proceed with reassembly if desired.
Conclusion
Congratulations, you have successfully completed the disassembly of your digital SLR camera! By following the step-by-step guide, you gained valuable insights into the inner workings of this complex device.
Remember, disassembling a camera should be done with caution, precision, and knowledge of the specific make and model. It’s essential to consult the camera’s user manual or seek professional assistance if you encounter any difficulties or uncertainties throughout the process.
Exploring the internal components of a digital SLR camera can be a fascinating experience. You were able to remove the lens, battery, memory card, bottom plate, rear cover, LCD screen, top cover, shutter button assembly, viewfinder, sensor, mirror, autofocus mechanism, sensor cleaning unit, mirror box support, and main circuit board.
Keep in mind that disassembling a camera may void its warranty, and it should only be undertaken if you have the necessary skills, tools, and confidence in your abilities. If you are unsure about any step of the process, it’s always wise to seek professional help to avoid causing any irreparable damage.
Now that you have explored the innermost parts of your digital SLR camera, you can choose to clean, repair, or replace specific components as needed. When reassembling, be sure to follow the steps in reverse order, ensuring that all cables are properly connected and all screws are tightened to their appropriate torque specifications.
Remember to handle the delicate components with care, work in a clean and static-free environment, and thoroughly research and understand the disassembly and reassembly process before attempting any repairs or modifications.
By delving into the inner workings of your camera, you have acquired a deeper understanding of its mechanics and craftsmanship. Whether for repairs or curiosity, the knowledge gained from this experience will undoubtedly enhance your appreciation for the world of photography and digital imaging.