Introduction
Welcome to the world of 3D modeling! With the advancements in technology, it is now possible to create accurate and detailed 3D models of rooms using a digital SLR camera. This opens up a whole new realm of possibilities for architects, interior designers, real estate agents, and hobbyists alike. Whether you want to visualize and plan renovations or simply capture the beauty of a space, taking an accurate 3D model of a room can be a game-changer.
In this article, we will guide you through the process of capturing a room using a digital SLR camera and creating a 3D model out of the images. You don’t need to be a professional photographer or have expensive equipment to achieve great results. With a few tips and techniques, you can take stunning and accurate 3D models right from the comfort of your own home or office.
Before we dive into the technical aspects of the process, it’s important to understand the value and applications of 3D modeling. Whether you’re an architect looking to present your designs to clients, a real estate agent wanting to give potential buyers a virtual tour, or a homeowner eager to visualize renovations, 3D models provide a realistic and immersive experience. They allow you to explore different perspectives, experiment with furniture placement, test lighting scenarios, and analyze spatial dimensions.
Creating a 3D model starts with capturing multiple photos of the room from different angles. These images are then stitched together and processed using specialized software to create a virtual representation of the space. The level of accuracy and detail depends on the quality of the images and the software used. With the right techniques and attention to detail, you can create a precise 3D model that showcases every nook and cranny of the room.
In the following sections, we will walk you through the equipment needed, camera settings, lighting considerations, and post-processing techniques to ensure the best results. So grab your camera and let’s embark on a journey to capture stunning and accurate 3D models of rooms.
Equipment Needed
Before you start capturing the 3D model of a room, it’s important to ensure you have the right equipment. While you don’t need the most expensive gear, having a digital SLR camera with certain features will greatly enhance the quality and accuracy of your 3D models. Here are the essential items you will need:
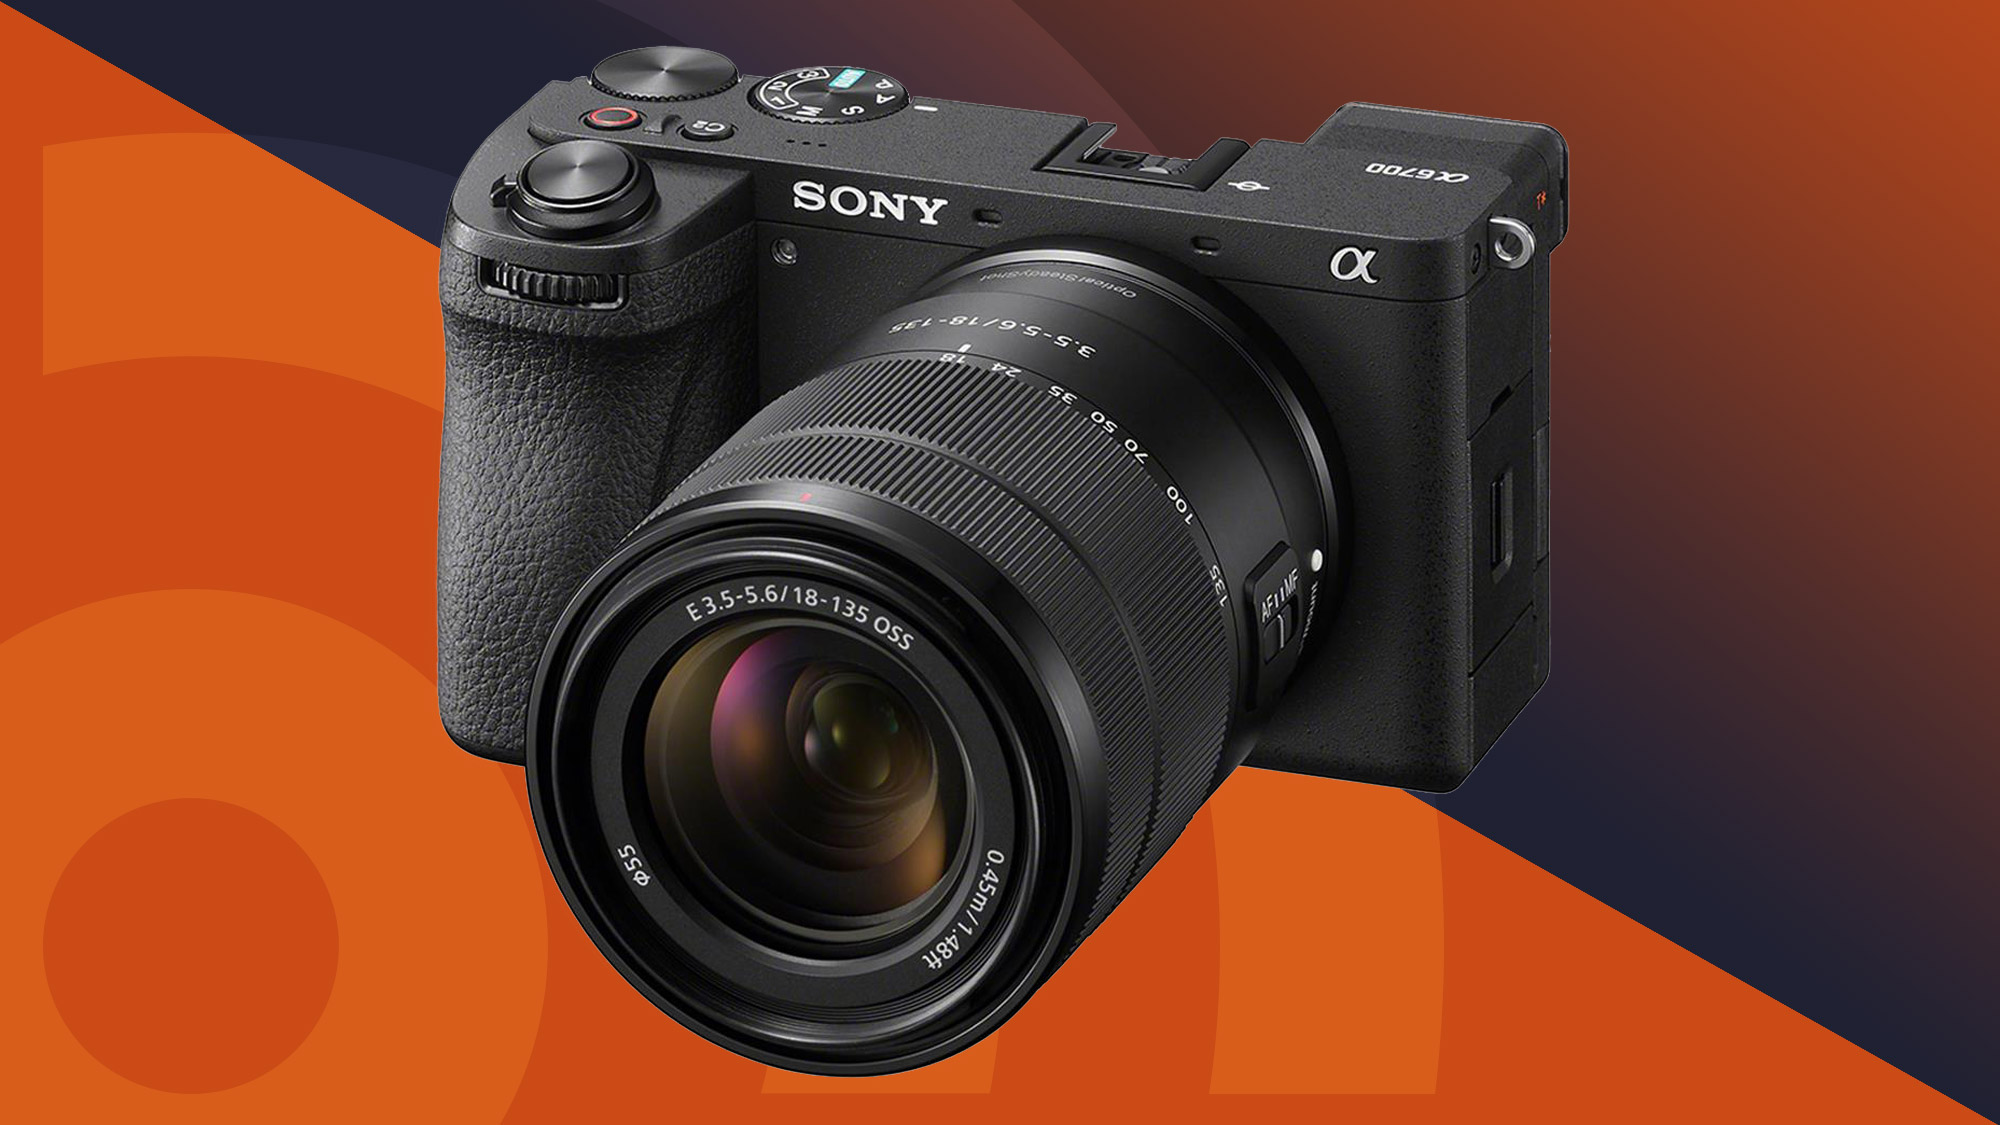
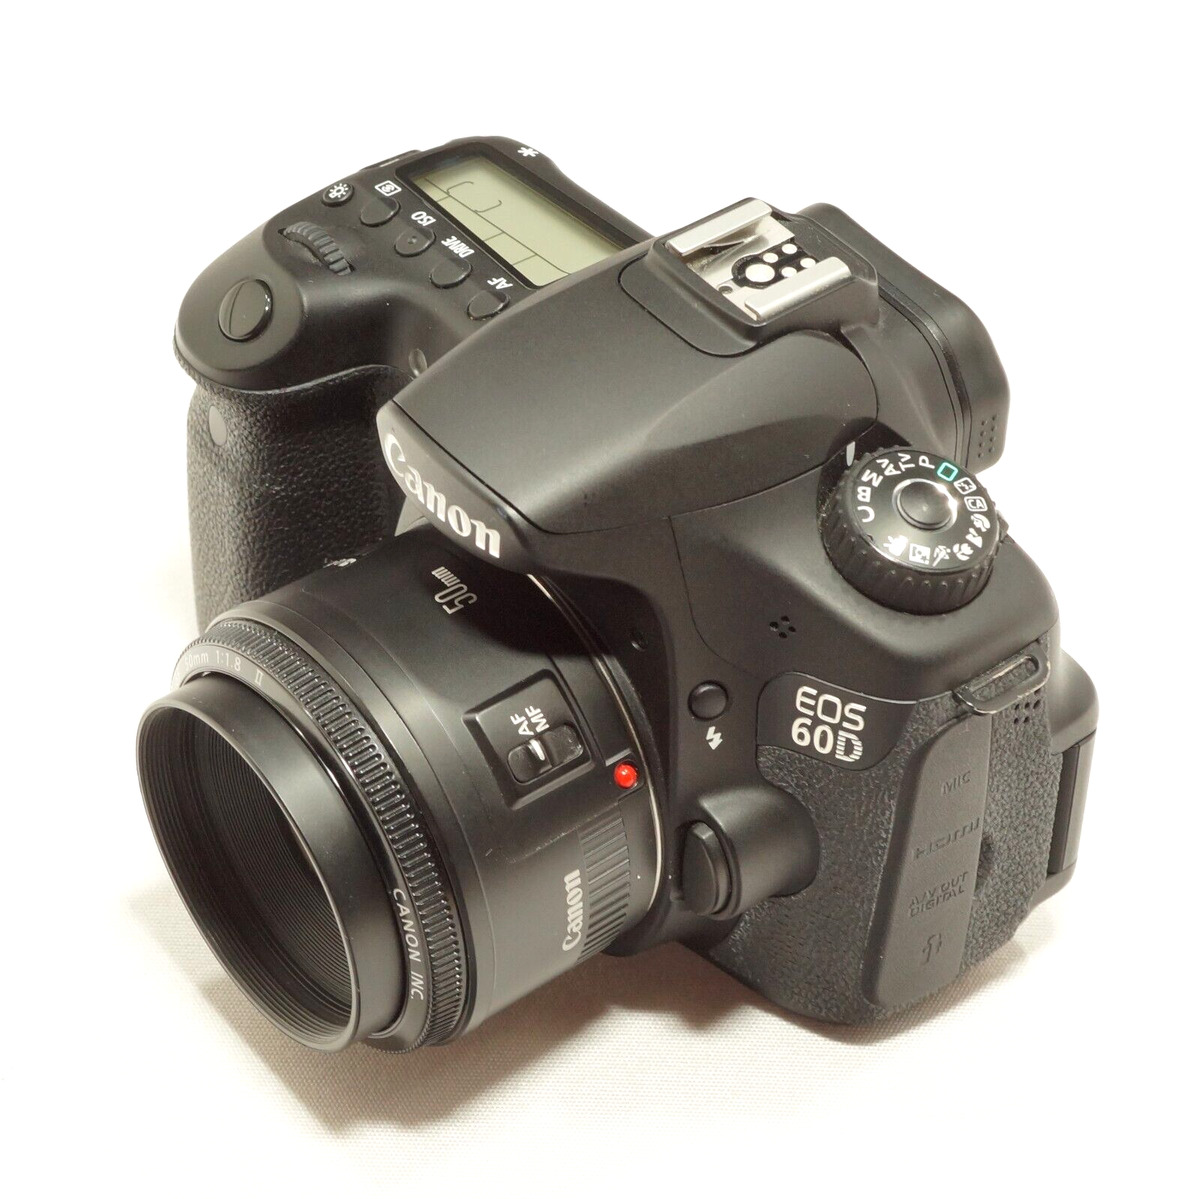
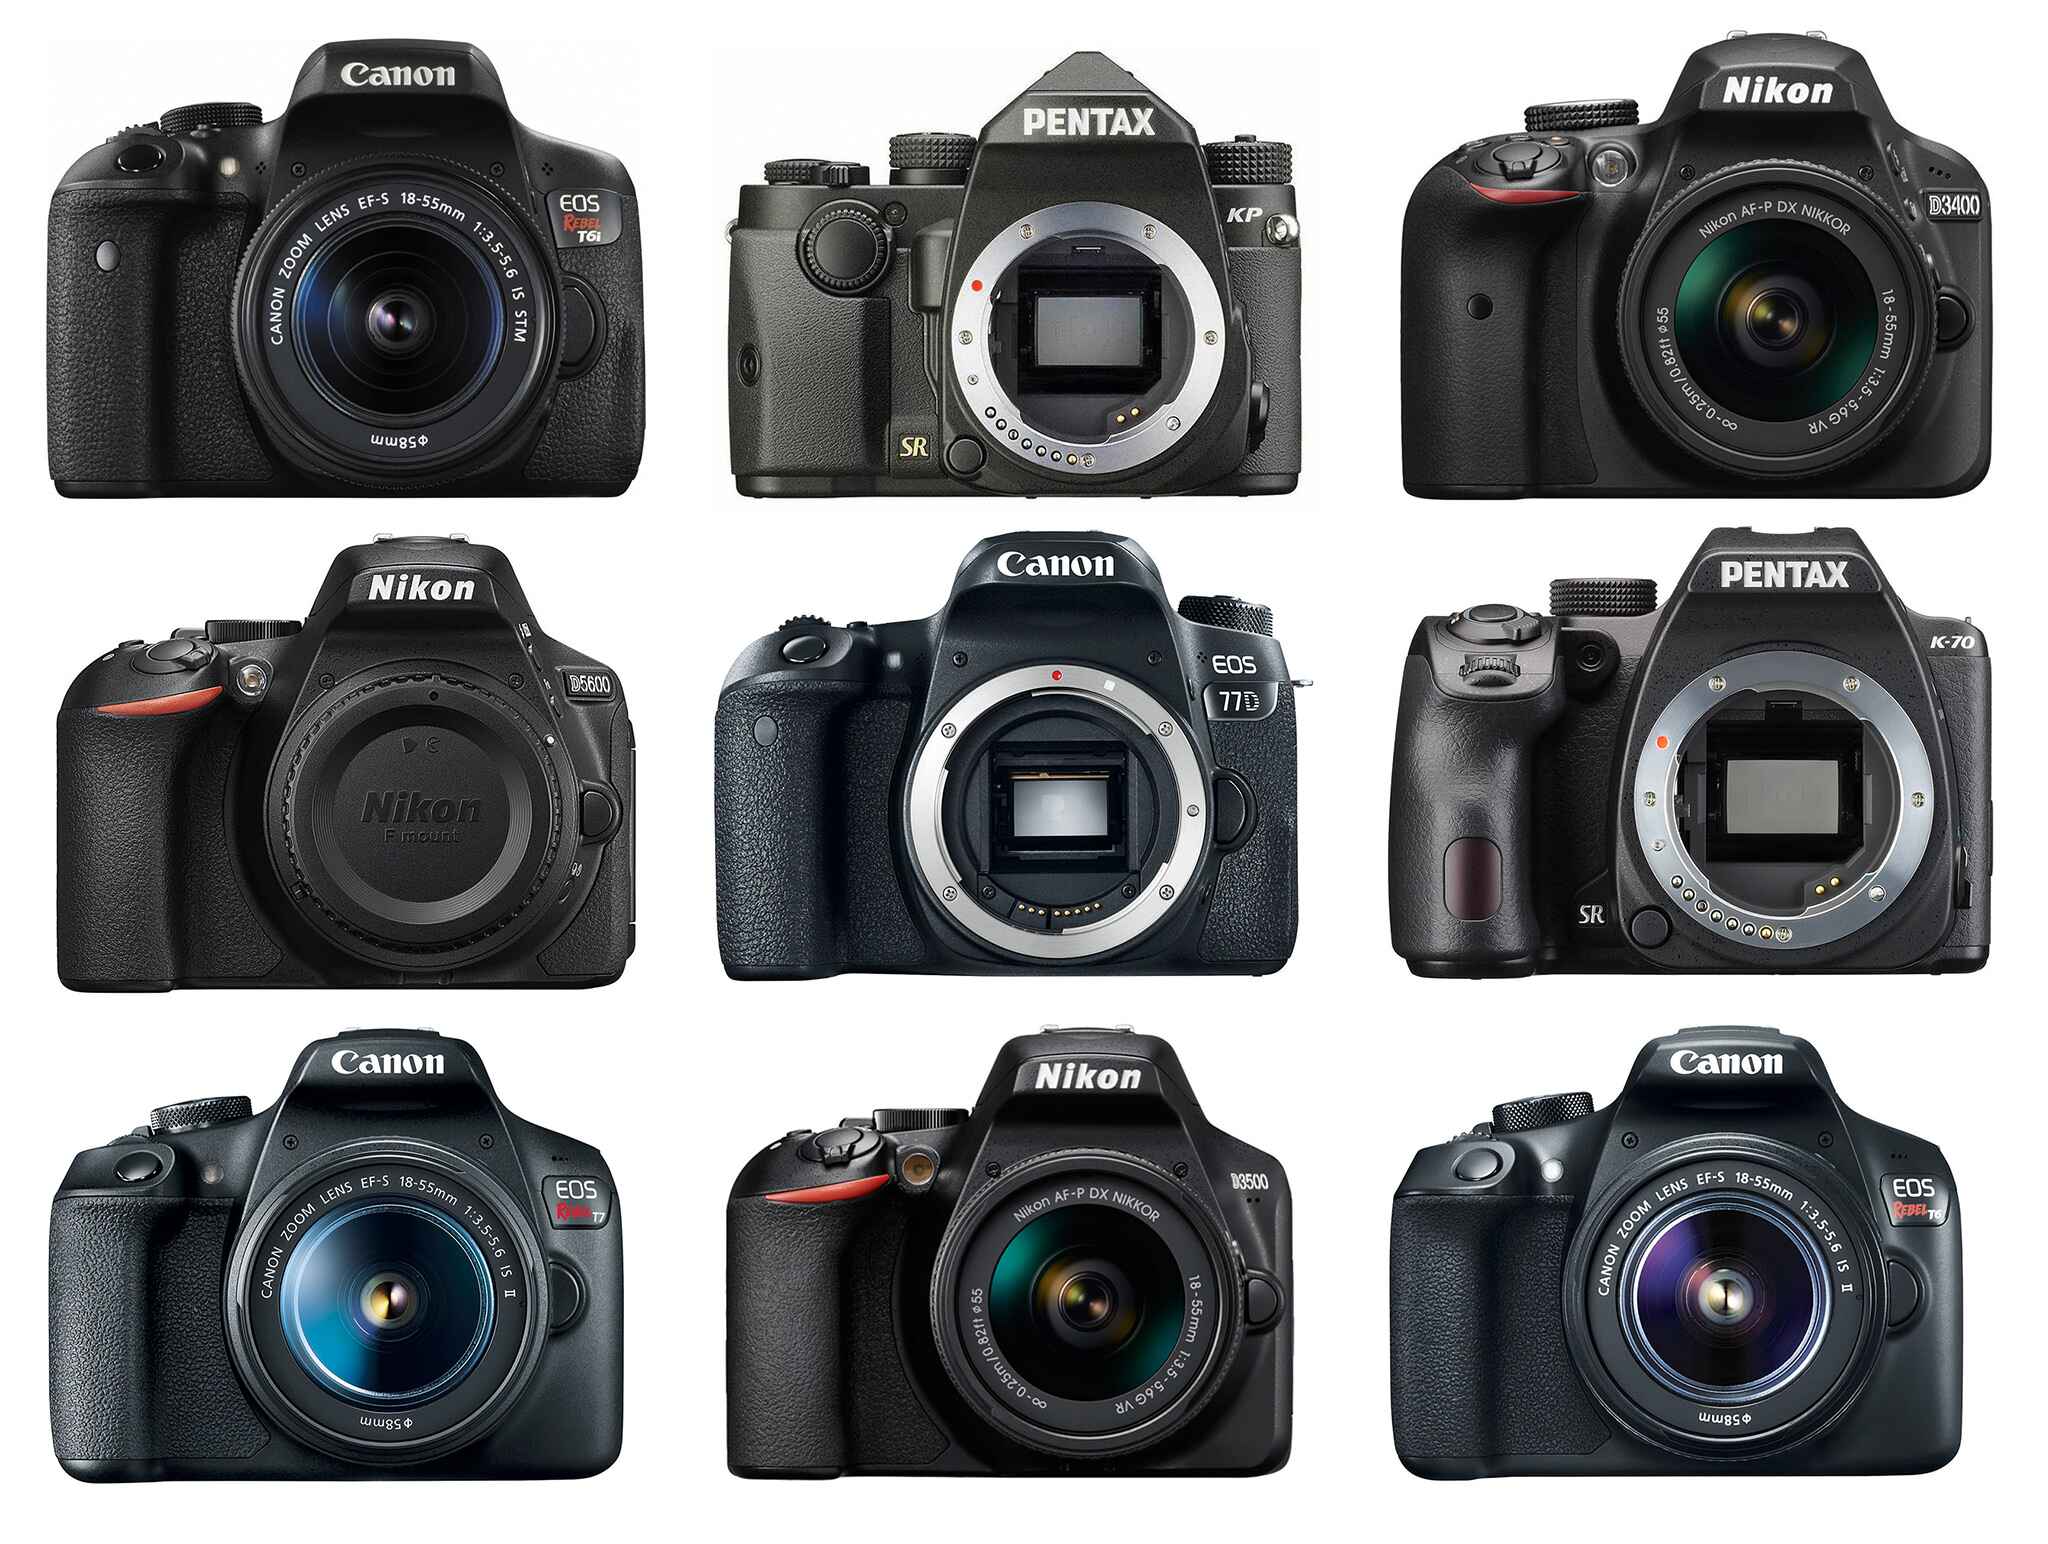
- Digital SLR Camera: A digital SLR camera allows you to have full control over the settings and capture high-resolution images. It is recommended to use a camera with at least 12 megapixels to ensure good image quality.
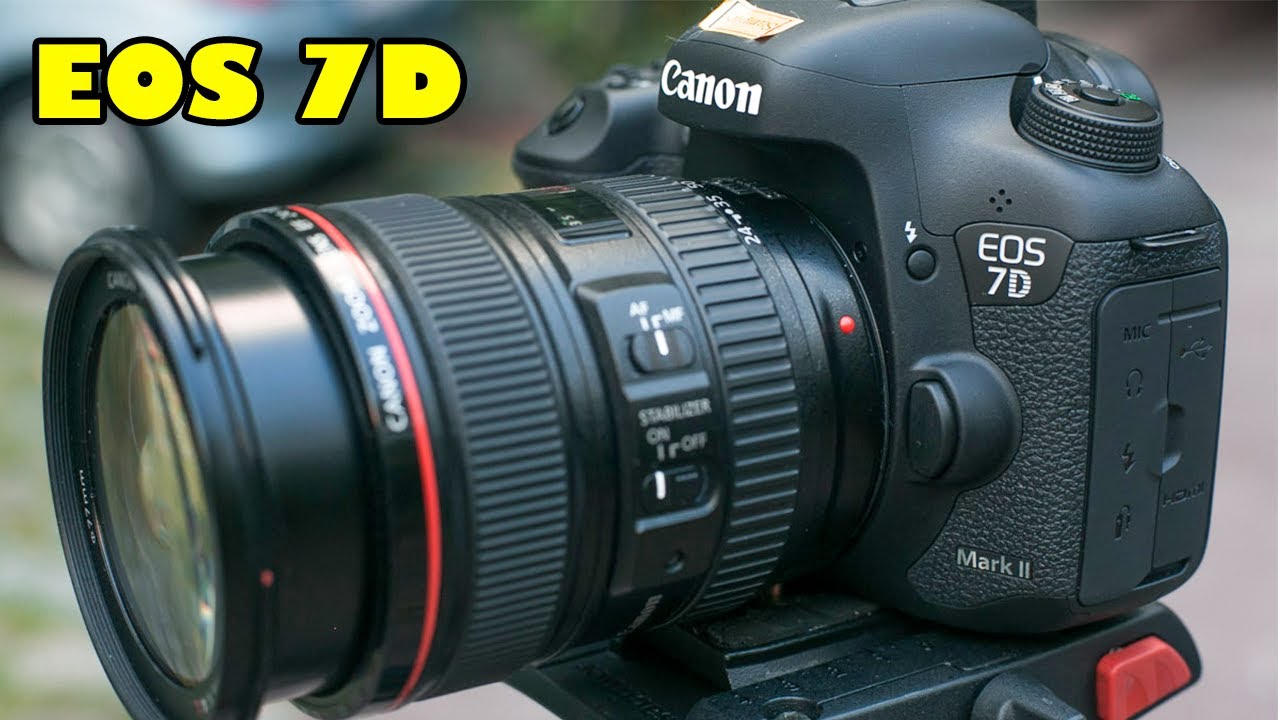
- Wide-Angle Lens: Invest in a wide-angle lens to capture a larger field of view without distortions. A lens with a focal length between 10mm and 24mm is ideal for capturing interior spaces.
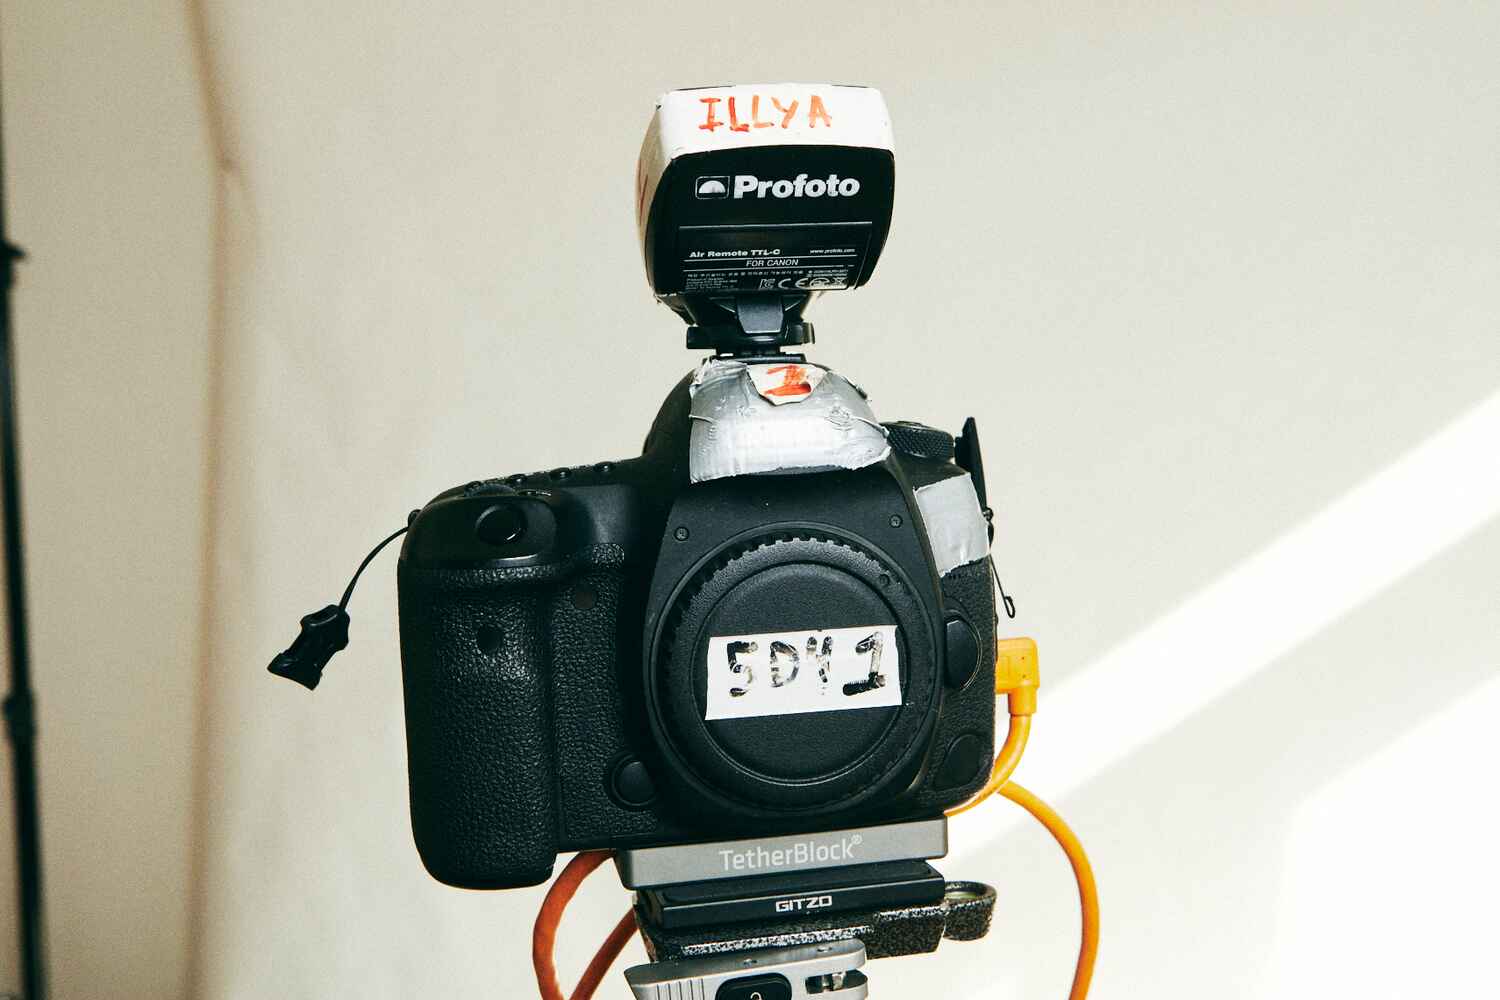
- Sturdy Tripod: To ensure stability and minimize camera shake, use a sturdy tripod. This is essential for capturing sharp images and maintaining consistent angles when taking multiple photos for stitching.
- Remote Shutter Release: A remote shutter release or a timer function on your camera will help eliminate any camera shake caused by manually pressing the shutter button.
- Memory Cards and Batteries: Make sure to have enough memory cards and fully charged batteries to avoid interruptions during the shoot. It’s always better to have extra cards and batteries on hand.
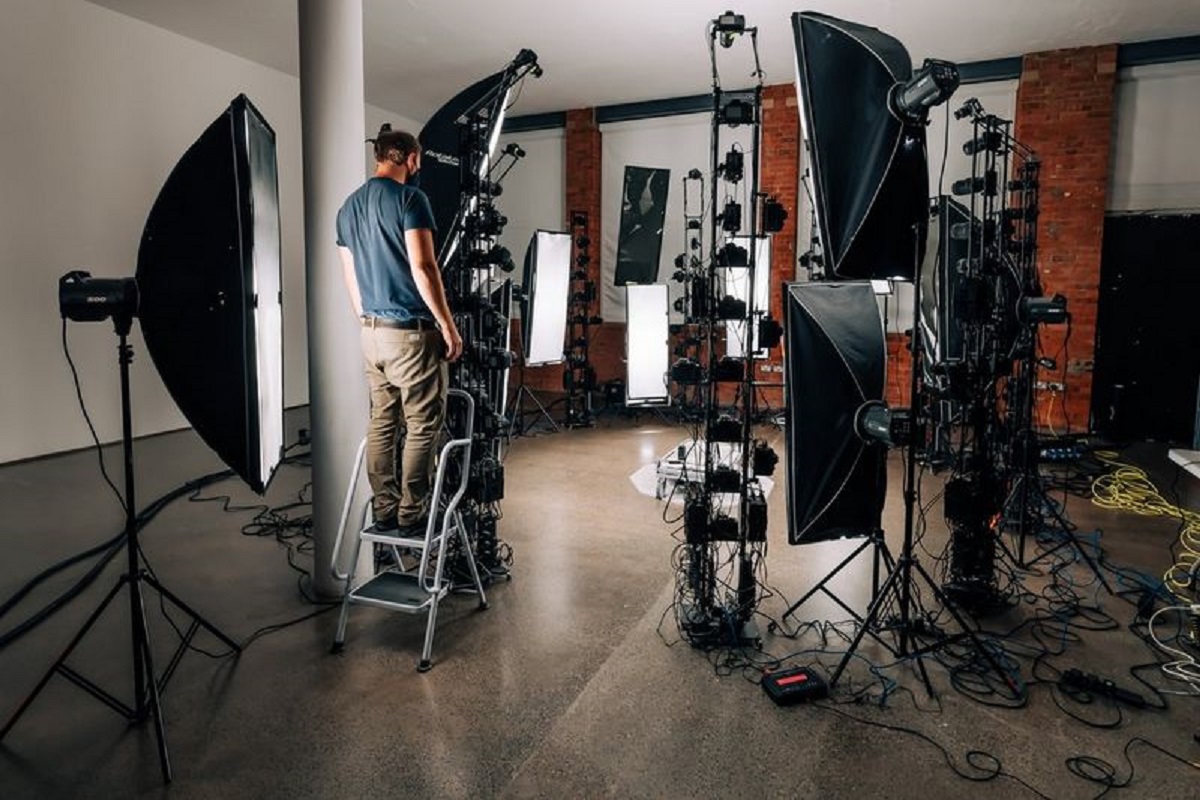
- Flash and Lighting Equipment: While not always necessary, having a flash and lighting equipment can help illuminate the room and avoid harsh shadows or uneven lighting conditions.
- Computer with Photo Editing Software: After capturing the photos, you will need a computer with photo editing software to process and align the images. Popular software options include Adobe Photoshop, Lightroom, and specialized stitching software like PTGui or AutoPano.
Having the right equipment will set you up for success when capturing the 3D model of a room. It’s worth noting that while these items are recommended, you can still achieve good results with alternative equipment or even a smartphone camera, as long as you pay attention to composition, lighting, and image quality.
Now that you have the necessary gear, let’s move on to the next section, where we’ll discuss how to set up your camera for capturing the room effectively.
Setting up the Camera
Properly setting up your camera is crucial to capturing accurate and high-quality images for creating a 3D model of a room. Here are some steps to follow when setting up your camera:
- Choose the Right Shooting Mode: Set your camera to manual mode to have complete control over the settings. This allows you to adjust the exposure, aperture, and shutter speed according to the lighting conditions and desired effect.
- Select RAW Format: Shoot in RAW format instead of JPEG. RAW files retain more image data and provide greater flexibility in post-processing, allowing you to make adjustments without sacrificing image quality.
- White Balance Adjustment: Adjust the white balance according to the lighting conditions in the room. Use the camera’s presets (e.g., daylight, fluorescent, incandescent) or manually adjust the color temperature for accurate color reproduction.
- Turn Off Image Stabilization: If your lens has image stabilization, make sure to turn it off when using a tripod. Image stabilization is designed for handheld shooting and can interfere with stability when the camera is mounted on a tripod, potentially leading to blurry images.
- Use the Camera’s Gridlines: Enable the gridlines on your camera’s display to assist with composition and ensuring straight lines. This will help you align the photos accurately when stitching them together later.
- Focus Manually: To ensure sharpness throughout the room, switch your lens to manual focus mode and carefully focus on a point in the middle of the room or use hyperfocal distance to maximize depth of field.
- Take Test Shots: Before capturing the room, take a few test shots to evaluate the exposure, color balance, and framing. Check the histogram to ensure proper exposure and make any necessary adjustments.
Setting up your camera correctly will lay the foundation for capturing precise and detailed images for the 3D model. Remember to double-check your camera settings before starting the shoot and make adjustments as needed based on the specific room and shooting conditions.
In the next section, we will discuss the importance of choosing the right lens for capturing the room effectively.
Choosing the Right Lens
When it comes to capturing a room for a 3D model, choosing the right lens is crucial. The lens you use will determine the field of view, perspective, and overall image quality. Here are some factors to consider when selecting a lens:
- Wide-Angle Lens: Opt for a wide-angle lens to capture a larger portion of the room in a single frame. Wide-angle lenses typically have a focal length between 10mm and 24mm, allowing you to include more of the space without having to step back too far.
- Avoid Distortion: Look for a lens that minimizes distortion, particularly in the corners of the frame. Wide-angle lenses are prone to distortion, so it’s important to choose one that has good optical quality to ensure straight lines and accurate representation of the room.
- Fixed or Zoom Lens: Both fixed focal length (prime) lenses and zoom lenses can be used for capturing a 3D model. Prime lenses tend to have better image quality and wider maximum apertures, while zoom lenses offer more versatility in adjusting the framing without changing physical position.
- Consider Lens Speed: Lens speed refers to the maximum aperture of the lens. A lens with a wider maximum aperture (lower f-number, e.g., f/1.8) allows more light to enter the camera, making it easier to capture well-exposed images, especially in low-light situations.
- Lens Distortion Correction: Some camera models and photo editing software have built-in lens distortion correction features. If your lens tends to have distortion issues, you can enable this feature to automatically correct any distortions in post-processing.
Every lens has its own qualities and limitations, so it’s important to understand how they will affect the final result. Take the time to do some research, read reviews, and consider your specific needs when making a decision. If possible, rent or borrow different lenses to test them out and see which one works best for capturing the room accurately.
Remember, the lens you choose will play a significant role in the overall quality and perspective of the 3D model. In the next section, we will explore the camera settings that will help you achieve optimal results when capturing the room.
Adjusting the Camera Settings
To capture the best possible images for creating a 3D model of a room, it’s important to adjust your camera settings appropriately. Here are some key settings to consider:
- Exposure: Use the camera’s exposure compensation feature to adjust the brightness of the image. Pay attention to the histogram and aim for a well-balanced exposure, avoiding blown-out highlights or overly dark shadows.
- Aperture: Adjust the aperture (f-stop) to control the depth of field. For most interior shots, a smaller aperture (higher f-number) is preferred to ensure that the entire room is in focus. Start with an aperture of around f/8-f/11 and make adjustments as necessary.
- ISO: Set the ISO value according to the available light. Keep in mind that higher ISO settings can introduce noise into the image. If shooting in low-light conditions, gradually increase the ISO while ensuring that noise is kept to a minimum.
- Shutter Speed: Use a tripod to stabilize the camera and select an appropriate shutter speed to avoid any blurriness caused by camera shake. If necessary, use a longer shutter speed to capture more light in low-light situations, but be cautious of potential motion blur if there are moving objects or people in the room.
- Bracketing: Consider using the camera’s auto exposure bracketing (AEB) feature if the room has high contrast lighting. This feature takes multiple shots at different exposures, allowing you to blend them together in post-processing to maintain details in both the highlights and shadows.
- Focus: Use manual focus or autofocus with a single focus point to ensure the room is in sharp focus. Focus on a point that represents the depth and central area of the room to achieve a balanced and clear focus throughout the image.
- Image Quality: Set the image quality to RAW format to maximize flexibility and maintain the highest level of detail in post-processing. RAW files capture more data, allowing you to make adjustments without sacrificing image quality.
Take the time to experiment with different camera settings and review the results on your camera’s display, paying attention to factors such as exposure, depth of field, and focus. Adjust the settings based on the specific room and lighting conditions to achieve the desired outcome.
Now that you have adjusted your camera settings, it’s time to capture the room. In the next section, we will discuss the techniques for effectively capturing multiple photos for stitching together in the 3D modeling process.
Capturing the Room
Now that your camera is properly set up, it’s time to start capturing the room for your 3D model. The key here is to take multiple photos from different angles to ensure comprehensive coverage of the space. Here are some tips for capturing the room effectively:
- Start Wide and Move Closer: Begin by taking wide shots of the entire room to establish the overall layout and capture as much of the space as possible. Then, gradually move closer to capture the details and specific areas of interest.
- Vary the Camera Height: Experiment with different camera heights to capture the room from various perspectives. Try shooting at eye level, from a higher vantage point, or even from a lower angle to add depth and visual interest to your 3D model.
- Cover Different Corners: Make sure to capture all corners of the room, including any alcoves, nooks, or interesting architectural details. This will ensure a complete and accurate representation of the space.
- Take Overlapping Shots: When capturing an area, take overlapping shots to ensure seamless stitching later on. It’s better to overlap each photo by around 30% so that the software has enough reference points for alignment.
- Focus on Key Elements: Pay attention to key architectural features, furniture pieces, or design elements that define the room. Give them special consideration and capture them from different angles to highlight their significance.
- Utilize Natural Lines and Leading Lines: Look for natural lines and leading lines within the room to guide the viewer’s eye and create a sense of depth and perspective. This could be lines on the floor, walls, or even furniture placement.
- Include Different Lighting Conditions: If the room has different lighting conditions, capture photos in each lighting scenario, such as natural light, artificial light, and combinations of both. This will provide a more accurate representation of the room’s ambiance.
- Experiment with Composition: Play around with different compositions and angles to showcase the room’s best features. Look for interesting angles, symmetry, or unique perspectives that bring out the character and appeal of the space.
Remember, the key to capturing a room effectively is to capture it comprehensively from different angles and perspectives. Take your time to ensure that you have covered every corner and detail of the room, as this will result in a more accurate and immersive 3D model.
Next, we will discuss the importance of taking multiple photos for stitching together in the 3D modeling process.
Taking Multiple Photos for Stitching
When capturing the room for a 3D model, it’s important to take multiple photos that can be stitched together later. This process involves capturing overlapping images from different perspectives to create a seamless and accurate representation of the room. Here are some tips for taking multiple photos for stitching:
- Start with a Reference Shot: Begin by taking a reference shot of the entire room. This will serve as a starting point for aligning and stitching the subsequent images together.
- Overlap Each Photo: To ensure smooth stitching, overlap each photo with the previous one by about 30%. This overlap allows the stitching software to detect common features and align the images accurately.
- Vary the Camera Position: Change your camera’s position and angle for each shot to capture different perspectives of the room. This variation in camera position will help create a more comprehensive and engaging 3D model.
- Capture Details: In addition to capturing the overall room, focus on capturing details such as architectural elements, furniture, textures, and other points of interest. These details will enhance the realism and depth of the 3D model.
- Consider Different Heights: Explore different heights when capturing the room. Take shots at eye level, from a higher elevation, or even from a lower vantage point. This variation will add visual interest and provide a more immersive experience in the final 3D model.
- Include Ceiling and Floor: Don’t forget to capture the ceiling and floor in your series of photos. Including these elements will help create a complete 3D model, providing a realistic perspective of the room’s dimensions.
- Pay Attention to Lighting: Take photos at different lighting conditions, capturing the room in natural light, artificial light, or a combination of both. This will add depth and realism to the 3D model, accurately representing the room’s lighting environment.
- Review and Adjust as You Go: Regularly review the photos on your camera’s display to ensure that you have captured all the necessary shots. Make adjustments as needed, ensuring that you have covered all angles and perspectives.
By taking multiple photos for stitching, you will be able to capture the room from various angles and perspectives, resulting in a more accurate and immersive 3D model. Keep these tips in mind as you move through the room, capturing each shot with attention to detail and composition.
Now that you have captured the necessary photos, the next step is to process and align them in post-processing. In the following section, we will discuss the post-processing techniques needed to create a cohesive 3D model.
Using a Tripod for Stability
When capturing photos for the purpose of creating a 3D model of a room, using a tripod is essential to ensure stability and minimize camera shake. A stable camera is crucial for taking sharp and aligned images, which are necessary for seamless stitching in the post-processing stage. Here are some reasons why using a tripod is important:
- Minimizing Camera Shake: Even the slightest movement of your hand can result in blurry images. A tripod provides a stable platform, eliminating camera shake and ensuring sharp images.
- Consistent Angles and Perspectives: Using a tripod allows you to maintain consistent angles and perspectives throughout the room. This is especially important for capturing multiple shots that will be stitched together to create a cohesive 3D model.
- Longer Exposures: In low-light situations, you may need to use longer shutter speeds to capture enough light. Without a tripod, it would be challenging to hold the camera steady for longer durations, resulting in blurry images.
- Image Alignment: When stitching multiple photos together, precise alignment is crucial. A tripod helps you capture each shot from the same position, making it easier to align the images accurately during post-processing.
- Composition and Framing: Using a tripod allows you to take your time in composing and framing the shots. It provides stability and frees up your hands to adjust other camera settings or capture multiple exposures for merging later on.
- Professional Look and Feel: Using a tripod gives your photos a more professional look and feel. It shows that you have taken the time and care to capture the room accurately, resulting in a more polished and impressive 3D model.
When selecting a tripod, ensure that it is sturdy and capable of supporting the weight of your camera and lens. Look for features such as adjustable legs and a ball head for flexibility in positioning the camera. Additionally, consider the height and weight of the tripod for portability and ease of use.
By using a tripod for stability, you can capture sharp and consistent images, which are essential for creating a high-quality and accurate 3D model of the room.
In the next section, we will discuss the importance of lighting considerations when capturing the 3D model.
Lighting Considerations
When capturing a 3D model of a room, lighting plays a crucial role in setting the mood and highlighting the features of the space. Properly considering and managing the lighting conditions will greatly enhance the overall quality and realism of your 3D model. Here are some important lighting considerations to keep in mind:
- Natural Lighting: If possible, utilize natural lighting to capture the room. Natural light provides a soft and pleasing illumination that can bring out the true colors and textures of the space. Consider the time of day and the direction of sunlight to determine when the room is at its best in terms of lighting.
- Avoid Harsh Shadows: Harsh shadows can be distracting and distort the perception of the room. To minimize harsh shadows, diffuse the light source or adjust the positioning of objects or lighting fixtures. You can use curtains or blinds to soften sunlight or utilize reflectors or diffusers to even out the light distribution.
- Artificial Lighting: In situations where natural lighting is limited or insufficient, you’ll need to rely on artificial lighting. Experiment with different light sources, such as lamps or studio lighting, to achieve the desired ambiance and illumination. Pay attention to the color temperature of the lights and ensure consistency throughout the room.
- Avoid Overexposure and Underexposure: Strike a balance in your exposure settings to avoid overexposed highlights or underexposed shadows. Make adjustments to your camera settings or use multiple exposures to blend later in post-processing to maintain details in both brighter and darker areas of the room.
- Lighting Direction: Pay attention to the direction of light and how it contributes to the overall scene. Different lighting angles can create distinct moods and highlight different elements of the room. Experiment with lighting from various angles to see which one works best for your desired outcome.
- Accentuate Key Features: Use lighting techniques to accentuate the key features of the room. Highlight architectural details, art pieces, or focal points by strategically placing lights or using spotlights. This will enhance the visual interest and draw attention to specific areas.
- Consistency: Maintain lighting consistency throughout the room to ensure a seamless and cohesive 3D model. Keep in mind that drastic changes in lighting conditions or color temperature between shots can disrupt the overall impression of the space.
- Experiment and Adjust: Take test shots with different lighting setups and adjust as needed. Observe how different lighting conditions affect the look and feel of the room, and make modifications to lighting positions, intensity, or color temperature to achieve the desired outcome.
Remember, lighting plays a significant role in how a room is perceived and portrayed in a 3D model. By considering the natural and artificial lighting conditions, minimizing harsh shadows, and accentuating key features, you can create a more realistic and visually appealing representation of the room.
In the next section, we will discuss the post-processing steps for editing and aligning the photos to create a cohesive 3D model.
Post-Processing the Images
After capturing the photos for your 3D model, the next step is post-processing. Post-processing involves editing and aligning the images to create a cohesive and accurate 3D representation of the room. Here are the key steps in post-processing:
- Import and Organize: Transfer the captured images to your computer and organize them in a dedicated folder. This will make it easier to locate and work with the images during the post-processing stage.
- Editing: Start by adjusting the basic editing parameters, such as exposure, white balance, contrast, and saturation. Use photo editing software like Adobe Photoshop or Lightroom to make these adjustments. Remember to edit uniformly across all the images to maintain consistency throughout the room.
- Aligning the Images: Use specialized software like PTGui or AutoPano to automatically align the images. These programs detect common features and align the photos based on those points. Proper alignment is essential for creating a seamless and accurate 3D model.
- Merging the Images: After aligning the images, use the stitching feature in the software to merge the images together. This will create a panorama of the room, which serves as the basis for the 3D model.
- Cropping and Straightening: Crop the panoramic image to remove any unwanted areas or distortions. Ensure that the room is properly aligned and straightened so that it appears realistic and proportional in the final 3D model.
- Color Correction: Adjust the color and tone to ensure consistency across all the images. This step is particularly important when blending exposures or when photos were captured under varying lighting conditions.
- Remove Distortions: If your wide-angle lens introduced distortions, use the lens correction tools in your editing software to minimize or eliminate them. This will help achieve a more accurate representation of the room.
- Exporting and Saving: Once you are satisfied with the edits, export the final panorama image and save it in a high-quality format, such as TIFF or PNG. This ensures that the image retains its details and can be used for further processing or sharing.
It’s important to note that post-processing is a creative process, and adjustments should be made based on your desired outcome and personal style. Experiment with different editing techniques, but keep in mind the goal of creating a realistic and visually appealing 3D model.
In the next section, we will discuss using software to create the 3D model from the edited and aligned images.
Editing and Aligning the Photos
Once you have captured the photos for your 3D model, the next step is to edit and align them. Editing involves adjusting the settings and appearance of the photos, while aligning ensures that they fit together seamlessly. Proper editing and alignment are crucial for creating a cohesive and accurate 3D model of the room. Here’s how you can edit and align the photos:
- Import and Organize: Transfer the photos from your camera to your computer and organize them in a dedicated folder. This will make it easier to locate and work with the images during the editing and alignment process.
- Editing: Start by editing each photo individually to ensure consistent lighting, color balance, and exposure. Use photo editing software like Adobe Photoshop or Lightroom to make adjustments such as brightness, contrast, saturation, and white balance. Ensure that the edits are uniform across all the photos to maintain consistency.
- Aligning: Use specialized software like PTGui or AutoPano to align the photos. These programs automatically detect common features in the images and align them based on those points. This step ensures that the photos fit together seamlessly and correctly, eliminating any misalignment or distortion.
- Blending: Depending on the software you are using, you may have the option to blend the images together for a smoother transition. This can help disguise any noticeable seams or differences between the individual photos. Experiment with blending modes and settings to achieve the desired result.
- Cropping and Straightening: Crop the final aligned and blended image to remove any unwanted edges or distortions. Ensure that the photo is properly straightened and proportionate, so it accurately represents the room in the 3D model.
- Review: Take the time to review the alignment and edits to ensure that everything looks seamless and visually appealing. Pay attention to the details and make any necessary adjustments to achieve the desired outcome.
It’s important to note that the software you use for editing and aligning may have specific steps or features unique to that program. Familiarize yourself with the software’s tools and functions to make the most of your post-processing work.
Remember, the goal of editing and aligning the photos is to create a cohesive and accurate representation of the room in the 3D model. The final edited and aligned images will serve as the foundation for the software to create the 3D model.
In the next section, we will discuss using software to create the 3D model from the edited and aligned images.
Using Software to Create the 3D Model
After editing and aligning the photos, the next step in creating a 3D model of the room is to utilize specialized software. This software converts the edited and aligned images into an immersive and interactive 3D representation. Here’s how you can use software to create the 3D model:
- Select the Right Software: There are various software options available for creating 3D models from photos, such as Autodesk ReCap, Agisoft Metashape, or Pix4D mapper. Research and select a software that suits your needs and budget, ensuring it supports the file formats generated by your camera and editing software.
- Import the Edited and Aligned Images: Open the software and import the edited and aligned images into the program. The software will analyze the images, detect feature points, and create a point cloud or mesh based on the captured data.
- Set the Scale and Orientation: Set the scale and orientation of the 3D model within the software. Some software may require you to specify reference points or measurements to accurately scale the model and align it to real-world dimensions.
- Generate the 3D Model: Using the software’s algorithms, generate the 3D model based on the point cloud or mesh data from the imported images. The software will reconstruct the room’s geometry and textures, creating a digital representation of the space.
- Refine the 3D Model: Depending on the software you use, you may have options to refine the 3D model further. This may include smoothing the surfaces, removing any residual noise, or adjusting the texture mapping for a more accurate and visually appealing result.
- Export and Share: Once you are satisfied with the 3D model, export it in a compatible file format (such as OBJ or FBX) for use in other software or to share with clients or colleagues. Some software may also provide options to generate interactive 3D presentations, virtual tours, or walkthroughs.
Keep in mind that the process of creating a 3D model using software may vary depending on the specific software you choose. Take the time to explore the software’s documentation, tutorials, and support resources to make the most of its features and capabilities.
Now, with the 3D model generated, you can visualize the room from different angles, make virtual modifications, and bring your design ideas to life. In the next section, we will provide some troubleshooting tips to help you overcome common challenges that may arise during the process.
Troubleshooting Tips
While capturing and creating a 3D model of a room using photos can be a rewarding process, it can sometimes come with challenges. Here are some troubleshooting tips to help you overcome common issues that may arise:
- Blurry Images: If your images are turning out blurry, ensure that your camera is stable and properly focused. Use a tripod, remote shutter release, or timer function to minimize camera shake. Check the focus settings and adjust accordingly to ensure sharp images.
- Inconsistent Exposure: Inconsistent exposure can disrupt the seamless stitching process. Pay attention to the exposure settings and ensure consistency across all the photos. Consider using auto exposure bracketing (AEB) and blending techniques during post-processing to even out exposure differences in high contrast scenes.
- Uneven Lighting: If you’re struggling with uneven lighting in the room, try using additional lighting sources, reflectors, or diffusers to balance out the lighting. Take multiple exposures at various lighting conditions and blend them together in post-processing to achieve a harmonious result.
- Distorted Lines: Wide-angle lenses can introduce distortions, resulting in distorted lines in the images. Use software or lens correction tools available in your editing software to minimize or remove these distortions. Adjusting the camera’s position and perspective can also help alleviate distortion issues.
- Missing or Overlapping Areas: Ensure that you are capturing the room comprehensively by checking for any missed or overlapping areas. Take your time during the capture process to ensure full coverage of the room. Use overlapping shots and reference points to help align and stitch the images together smoothly.
- Reflections and Glare: Be mindful of reflections and glare in the room, as they can affect the quality and accuracy of the photos. Change the angle or position of the camera to minimize reflections, or use polarizing filters to reduce glare from shiny surfaces.
- Software Errors: If you encounter errors or issues with the software during the 3D model creation process, refer to the software’s documentation or support resources for troubleshooting steps. Check for software updates or try alternative software options if persisting issues arise.
Remember, troubleshooting is a natural part of the process, and it’s important to remain patient and flexible. Take the time to analyze and address any issues that arise along the way, as overcoming these challenges will ultimately lead to a more successful and accurate 3D model.
In the next section, we will conclude our guide by summarizing the key points and emphasizing the value of creating accurate 3D models of rooms with a digital SLR camera.
Conclusion
Capturing an accurate 3D model of a room using a digital SLR camera opens up a world of possibilities for architects, interior designers, real estate agents, and enthusiasts. By following the right techniques and leveraging the power of post-processing and specialized software, you can create stunning and immersive representations of any space. Here’s a recap of the key points discussed in this guide:
We began by emphasizing the importance of having the necessary equipment, such as a digital SLR camera, wide-angle lens, tripod, and lighting equipment. Using the right gear sets the foundation for capturing high-quality images for the 3D model.
Next, we delved into the process of setting up the camera correctly, adjusting settings such as exposure, aperture, and ISO to ensure optimal image quality and consistency. We also explored the importance of choosing the right lens and using a tripod to maintain stability and capture sharp images from different angles.
Lighting considerations were highlighted as a key factor in creating visually appealing and realistic 3D models. Understanding and managing natural and artificial lighting can greatly enhance the overall quality and mood of the captured space.
We then discussed the crucial steps of post-processing, including editing and aligning the photos to create a cohesive representation. Software tools provide the means to stitch images together, adjust lighting, and refine the overall 3D model. Troubleshooting tips were provided to help overcome common issues that may arise during the capture and editing stages.
In conclusion, taking an accurate 3D model of a room with a digital SLR camera requires attention to detail, technical knowledge, and creativity. The process can be challenging at times, but with practice and proper techniques, you can create impressive and immersive 3D models that showcase the beauty and functionality of any space.
So grab your camera, explore different compositions and lighting conditions, and let your creativity soar as you embark on the exciting journey of capturing accurate 3D models of rooms. The possibilities are endless, and the results will captivate viewers with a realistic and engaging representation of the space.