Introduction
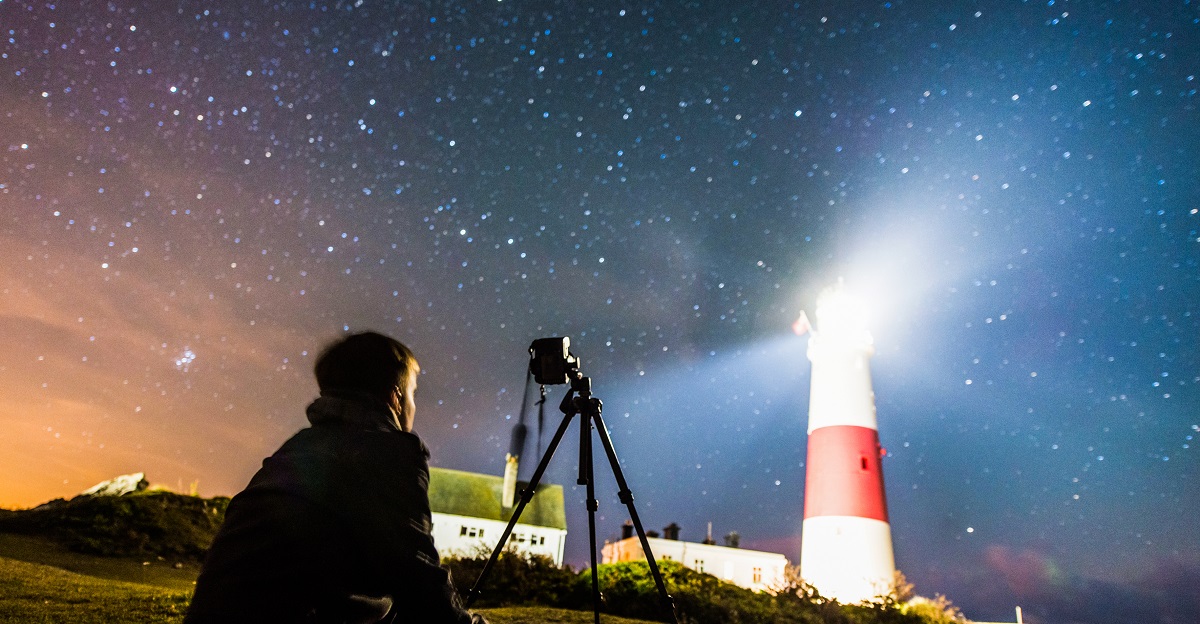
Photographing star trails can be a rewarding and mesmerizing experience. Watching the stars paint beautiful arcs across the night sky is a captivating sight. With the advancements in digital SLR cameras, capturing this celestial phenomenon has become more accessible than ever before.
In this guide, we will explore the techniques and equipment required to successfully photograph star trails with a digital SLR camera. Whether you are a beginner or an experienced photographer, this article will provide you with valuable insights and tips to enhance your star trail photography skills.
Star trail photography involves capturing the apparent movement of stars in the night sky over a certain period of time. By taking long-exposure shots, you can create stunning images that showcase the mesmerizing patterns formed by the stars. It’s a unique way to capture the passage of time and the beauty of the night sky.
Before we delve into the technical aspects of star trail photography, it’s important to note that patience and preparation are key. Finding the right location, understanding the camera settings, and post-processing the images all require time and attention. However, the end results are worth the effort.
So, grab your camera, head out into the night, and prepare to capture the awe-inspiring beauty of star trails!
Equipment Required
Before you embark on your star trail photography adventure, you’ll need to make sure you have the right equipment. Here are the essential tools you will need:
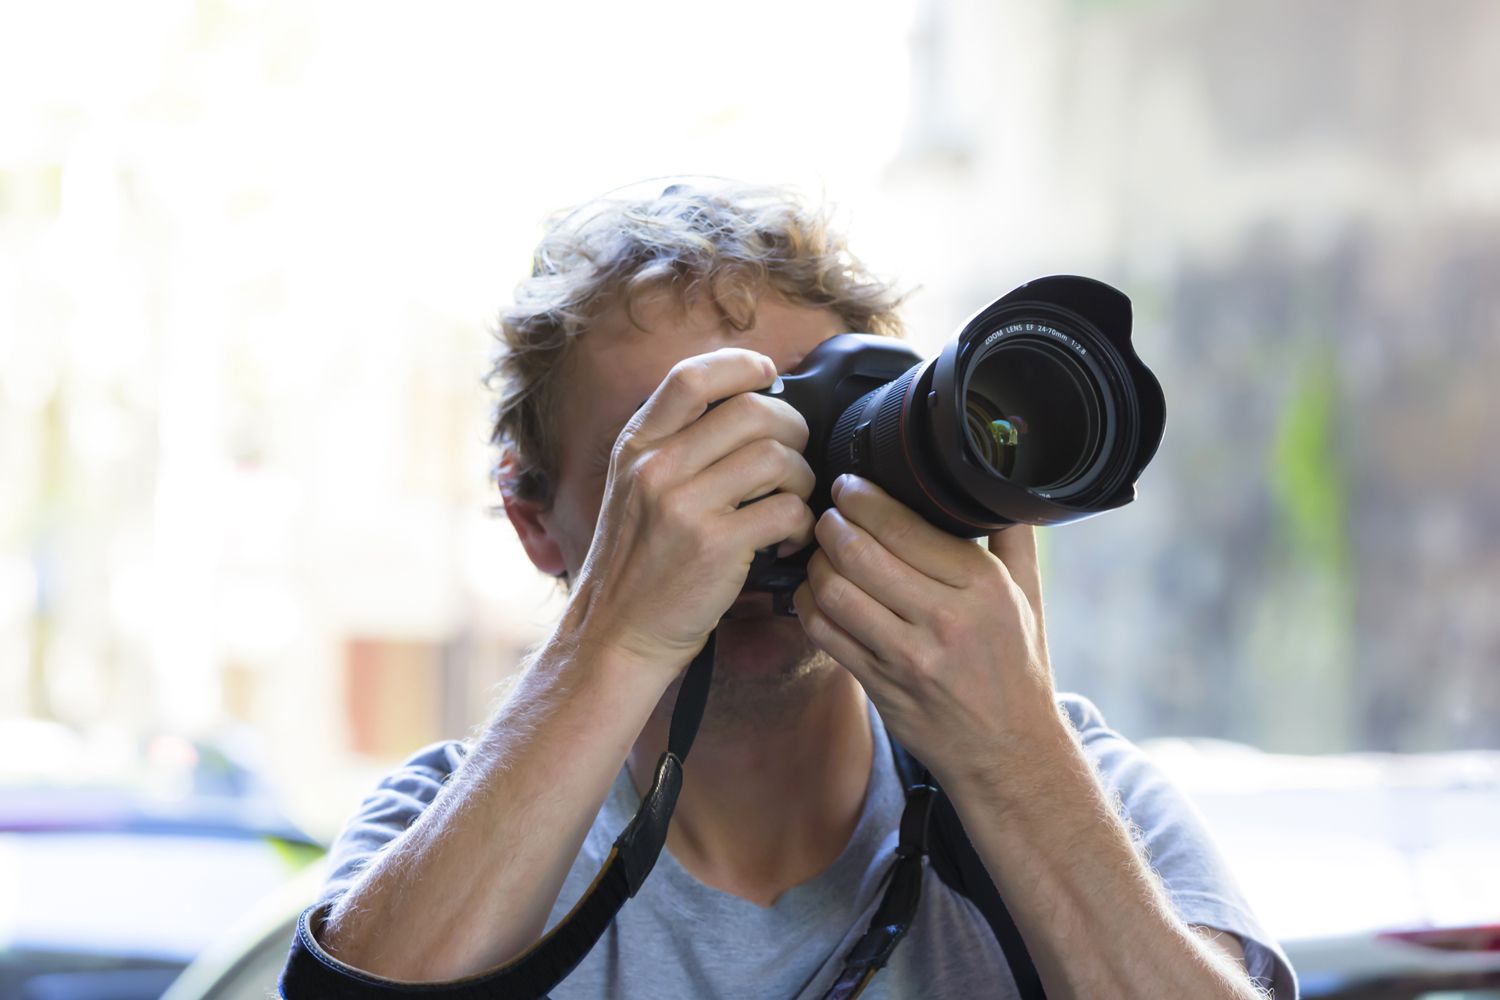
- Digital SLR Camera: A digital SLR camera is essential for capturing high-quality images of star trails. Look for a camera with manual controls and the ability to shoot in Bulb mode.
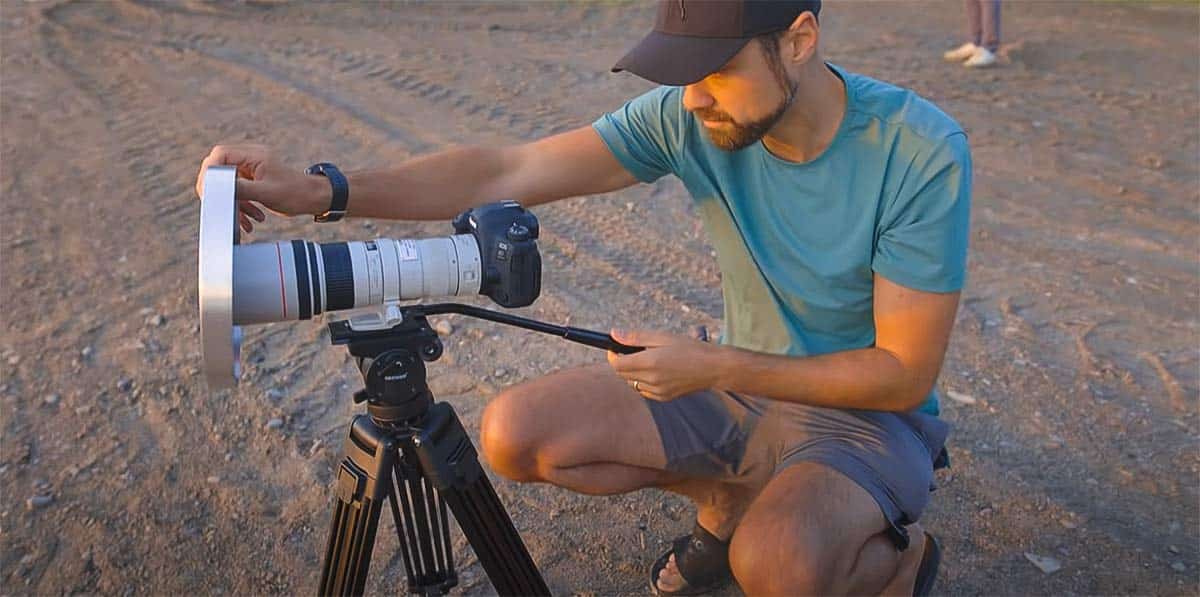
- Wide-Angle Lens: A wide-angle lens with a low aperture (f/2.8 or lower) is ideal for capturing the vast expanse of the night sky. It allows you to include more stars in your frame and create stunning compositions.
- Sturdy Tripod: Since star trail photography requires long exposure times, a sturdy tripod is essential to keep your camera steady. Ensure that the tripod is stable and can withstand any wind or vibrations.
- Remote Shutter Release: A remote shutter release or intervalometer is crucial to prevent camera shake when capturing long exposures. It allows you to trigger the camera without physically touching it, minimizing the risk of blurriness in your images.
- Extra Batteries and Memory Cards: Shooting star trails can be a time-consuming process. Make sure you have extra fully charged batteries and an ample supply of memory cards to capture multiple exposures without interruptions.
- Optional Accessories: While not necessary, some additional accessories can enhance your star trail photography. These include a red headlamp for night vision, a light pollution filter to reduce unwanted light, and a portable power bank for extended shoots.
Having the right equipment will set you up for success in capturing amazing star trails. Remember to familiarize yourself with your camera and lenses before heading out to ensure a smooth and enjoyable shooting experience.
Location and Time of Shoot
Choosing the right location and timing is crucial for capturing stunning star trail photos. Here are some tips to help you select the ideal spot for your shoot:
- Dark Sky Location: Look for areas with minimal light pollution. A remote location away from city lights will provide a clearer and more vibrant view of the stars. Use apps or websites that provide light pollution maps to find dark sky areas near you.
- Scenic Background: Consider incorporating interesting foreground elements to add depth and visual appeal to your star trail images. Look for unique landscapes, mountains, trees, or other objects that can serve as a captivating backdrop.
- Timing: Shoot during a moonless or crescent moon phase when the sky is darker, and the stars are more prominent. Check the weather forecast to ensure clear skies and minimal cloud cover.
- Viewing Direction: Determine the direction of the stars’ movement based on your shooting location and the desired composition. If you’re in the Northern Hemisphere, star trails will appear to rotate around Polaris, the North Star.
- Weather Conditions: Keep an eye on the weather conditions, especially temperature and humidity. Cold temperatures can drain your camera’s battery faster, while high humidity can cause condensation on the lens.
- Safety: Always prioritize safety when choosing a shooting location. Let someone know where you are going and when you plan to return. Dress appropriately for the weather conditions and be cautious of potential hazards at night.
Remember, the location and timing of your shoot play a significant role in the final outcome of your star trail images. Take the time to research and scout different locations to find the perfect spot that aligns with your creative vision.
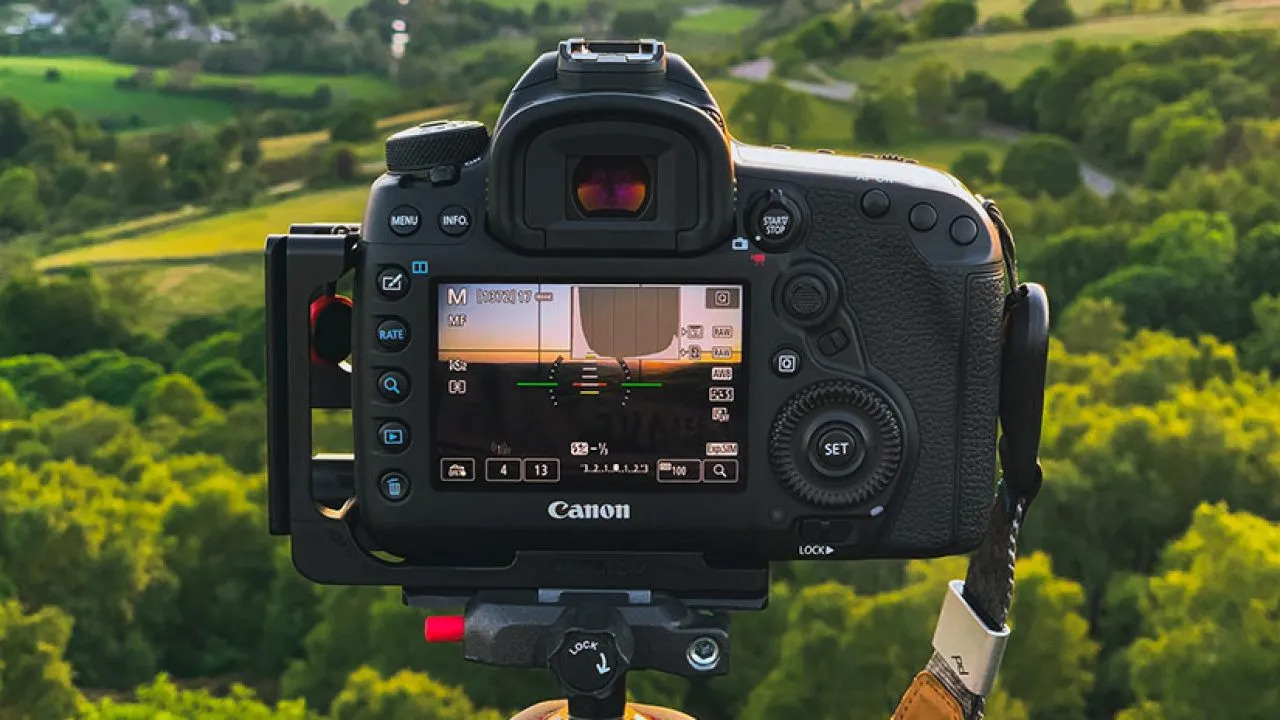
Camera Settings
Setting up your camera properly is essential for capturing stunning star trail photos. Here are the key camera settings to consider:
- Shoot in Manual Mode: Switch your camera to Manual (M) mode to have full control over the exposure settings. This allows you to adjust shutter speed, aperture, and ISO as needed.
- Lower Aperture (Wide Open): Set your lens to its lowest possible aperture value (e.g., f/2.8) to gather as much light as possible. This helps in capturing brighter and more defined stars.
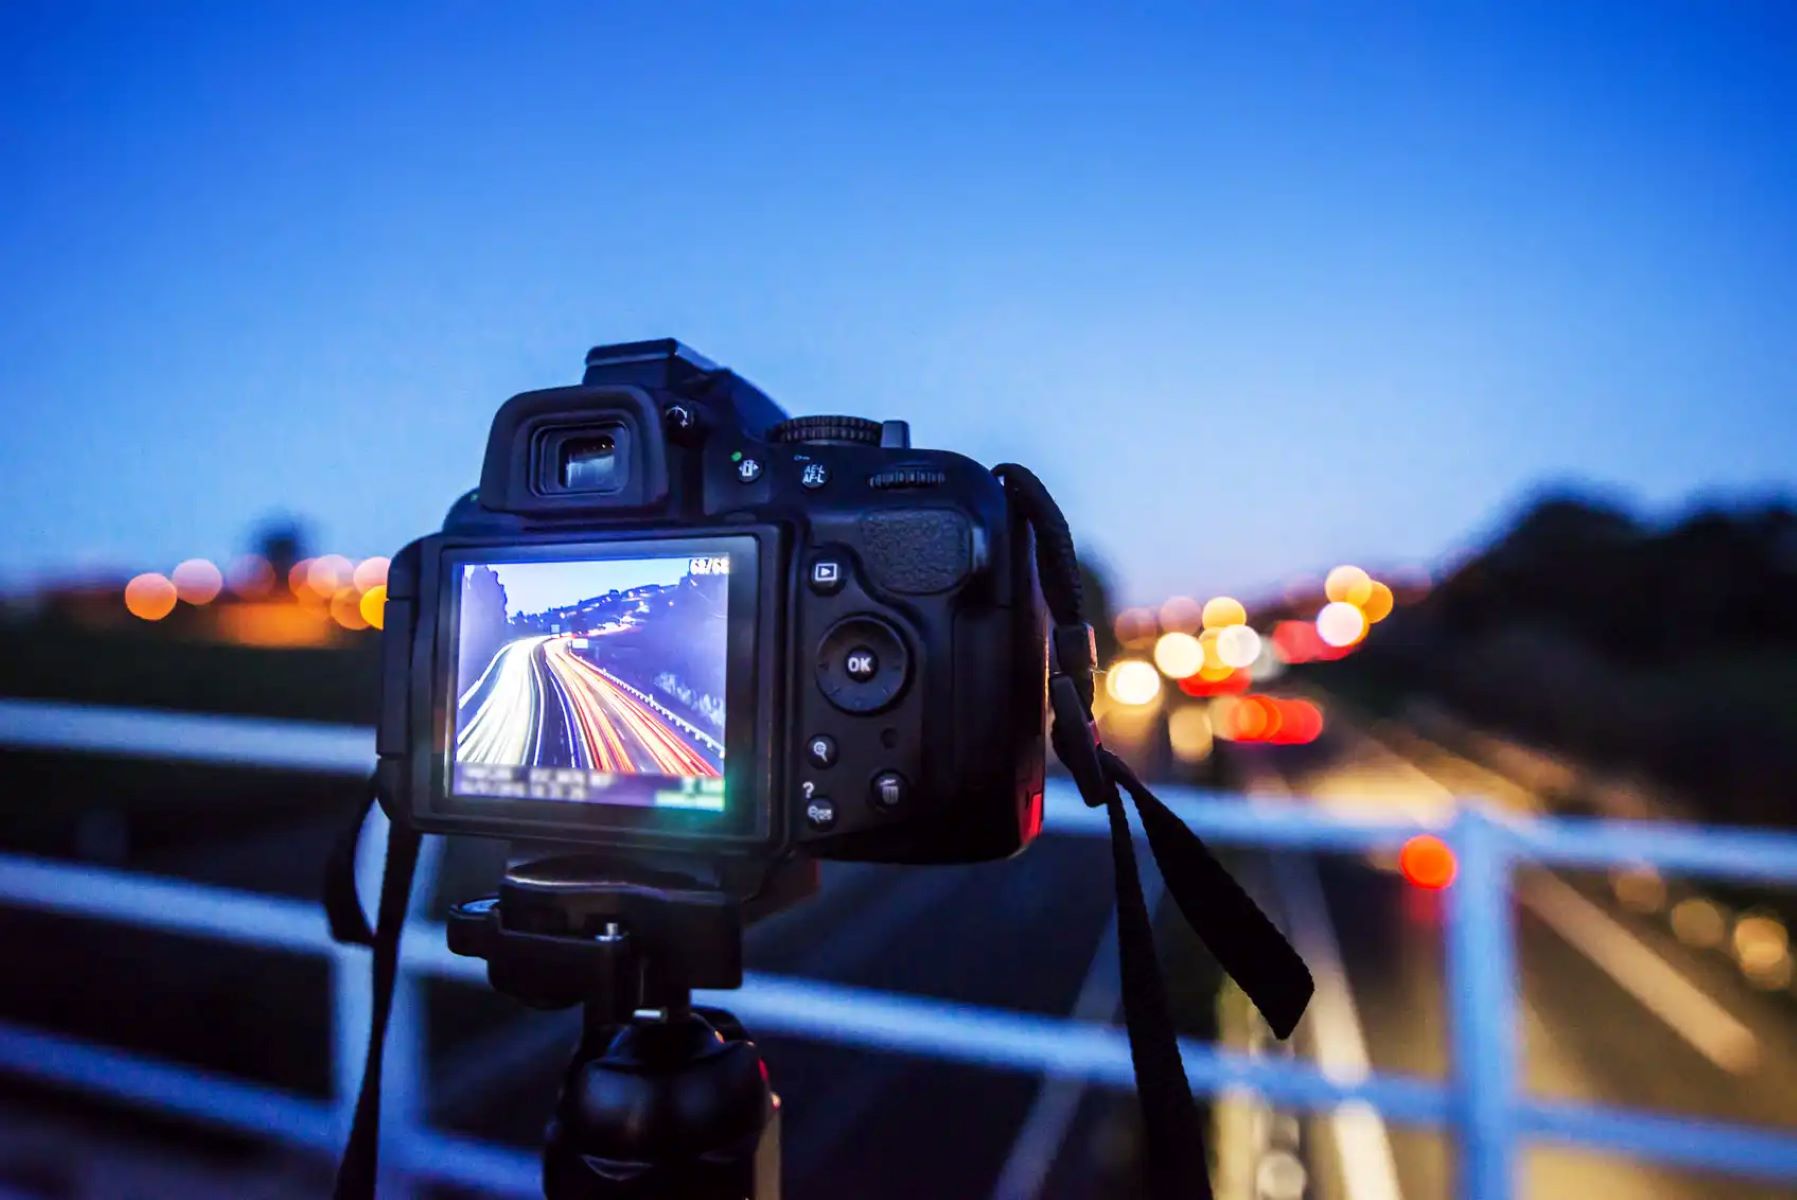
- Long Shutter Speed: Use a long exposure to capture the movement of the stars. Start with an exposure time of 30 seconds and adjust accordingly based on the desired effect. If your camera has a Bulb mode, use a remote shutter release to control the exposure time manually.
- ISO Settings: Set your ISO to its lowest value (e.g., ISO 100 or 200) to minimize noise in your images. Increasing the ISO too much can result in grainy and speckled star trails.
- Turn off Noise Reduction: Disable long exposure noise reduction in your camera settings. This feature can significantly increase the processing time between exposures, decreasing the total number of images you can capture in a given time frame.
- Focus to Infinity: Switch your lens to manual focus mode and set it to infinity (∞). If your lens has a scale, align it with the infinity symbol for optimal focus. Take test shots and make adjustments if needed.
- RAW Format: Shoot in RAW format to retain maximum image quality and allow for more flexibility during post-processing. RAW files capture more details and provide a wider dynamic range.
- Trial and Error: Experiment with different camera settings to get the desired results. Adjust the exposure time, aperture, and ISO based on the brightness of the stars and the ambient lighting conditions.
With the right camera settings, you can capture stunning star trail images that showcase the beauty and movement of the stars. Take the time to practice and make adjustments to achieve the desired effect.
Focusing Techniques
Accurate focus is crucial when photographing star trails. Here are some techniques to help you achieve sharp and well-focused images:
- Manual Focus: Switch your lens to manual focus mode. Autofocus may struggle in low-light conditions, making it difficult to achieve precise focus on the stars.
- Infinity Focus: Set your lens to infinity (∞) focus. Use the infinity focus mark on your lens if available. This setting ensures that distant stars are in focus. However, note that different lenses may have slight variances, so test and adjust accordingly.
- Live View: Use the Live View feature on your camera to accurately focus on a bright star or planet. Zoom in on the star in Live View and manually adjust the focus until the star appears sharp and well-defined.
- Focus Peaking: Some cameras offer a focus peaking feature that highlights areas in focus when using manual focus. Enable this feature to help you achieve precise focus on the stars.
- Test Shots: Take test shots at high ISO settings and short exposure times to check the focus. Inspect the images on your camera’s LCD screen, zooming in to ensure that the stars are sharp. Make adjustments as needed.
- Light Source: If there aren’t any bright stars or planets visible, you can use a distant light source such as a flashlight or a distant city’s lights to achieve initial focus. Once focus is achieved, switch back to shooting without the light source.
- Focus Stacking: To ensure maximum depth of field, you can employ focus stacking techniques. Capture multiple images with different focus points and combine them in post-processing for an overall sharper image.
Remember, achieving accurate focus is essential to capture clear and sharp star trail photos. Take the time to experiment with different focusing techniques and test your focus before starting the actual star trail photography session.
Taking the Shots
Now that you have prepared your equipment and set up the camera settings, it’s time to start capturing your star trail shots. Here are some tips to help you get the best results:
- Compose the Shot: Set up your camera on the tripod and compose your shot. Consider including interesting foreground elements to create a more captivating composition.
- Start with Test Shots: Before starting a full star trail sequence, take a few test shots to ensure the exposure and focus are accurate. Review the images on your camera’s LCD screen and make any necessary adjustments.
- Use a Remote Shutter Release: To eliminate the risk of camera shake, use a remote shutter release or intervalometer to trigger your camera without physically touching it. This will help you achieve sharper images during the long exposure times.
- Shoot in Bulb Mode: Set your camera to Bulb mode, which allows you to manually control the exposure time beyond the camera’s maximum shutter speed. Use the remote shutter release to open the shutter and keep it open for the desired length of time.
- Interval Between Shots: Allow a slight interval between each exposure to give your camera’s sensor time to process the image and allow for any potential sensor noise to dissipate. This will help reduce noise in your final star trail composition.
- Monitor Battery Life: Long exposures and cold temperatures can drain your camera’s battery quickly. Keep an eye on the battery level and have spare batteries on hand to ensure uninterrupted shooting.
- Capture Multiple Exposures: To create longer star trails, capture multiple exposures and later combine them in post-processing. The more images you capture, the longer the trails will appear in the final composition.
- Experiment with Different Compositions: Don’t be afraid to try different compositions and framing for your star trail shots. Capture wide-angle shots to include more of the night sky, or zoom in on a specific area for a more intimate capture of star trails.
Remember, star trail photography requires patience and experimentation. Take your time, review your shots, and make adjustments as needed. By following these tips while capturing your star trail images, you’ll be well on your way to creating breathtaking photographs of the mesmerizing night sky.
Post-Processing the Images
Post-processing is an essential step in bringing out the best in your star trail images. With the following techniques, you can enhance the overall quality and visual impact of your photographs:
- Import and Organize: Transfer the captured images to your computer and organize them in a dedicated folder for easy access during the post-processing workflow.
- Choose the Best Shots: Review the images and select the best exposures to use in your final composition. Look for shots with sharp stars, minimal noise, and well-balanced exposure.
- Batch Editing: If needed, apply basic adjustments to all images in the sequence to ensure a consistent look. This may include correcting exposure, white balance, or adjusting levels.
- Noise Reduction: Use noise reduction software or techniques to minimize digital noise in your images. Star trail photography often involves long exposures, which can lead to increased noise. Experiment with different noise reduction methods to find the best balance between noise reduction and preserving detail.
- Stacking Software: To create more pronounced and longer star trails, you can use stacking software to combine multiple exposures. There are various stacking software options available that can align the stars and blend the images seamlessly.
- Adjustment Layers: Use adjustment layers, such as curves or levels, to fine-tune the overall brightness, contrast, and colors of your star trail image. This can help enhance the depth and details in the trails as well as the overall balance of the composition.
- Sharpness and Clarity: Apply selective sharpening and clarity adjustments to make the stars and details in your image more defined. However, be cautious not to over-sharpen, as it can introduce artifacts.
- Crop and Composition Refinement: Consider cropping the image or making compositional adjustments to improve the overall impact of your star trails. Experiment with different cropping ratios and compositions to find the most visually appealing result.
- Saving and Exporting: Once you are satisfied with the post-processing adjustments, save your image in a high-quality format, such as TIFF or JPEG. Ensure that you keep a backup of your original files for future reference.
Remember, post-processing is an opportunity to enhance the beauty of your star trail images and make them truly stand out. Experiment with different techniques and adjustments to achieve the desired result that showcases the mesmerizing allure of the night sky.
Combining the Images
Combining the individual images of your star trail sequence is a crucial step in creating a captivating final composition. The blending process allows you to showcase the continuous movement and patterns formed by the stars in the night sky. Here’s how you can effectively combine your star trail images:
- Stacking Software: Utilize specialized stacking software designed for star trail photography. These programs can align the stars in each frame and blend them together seamlessly, resulting in longer and more pronounced trails.
- Selecting the Best Frames: Choose the images from your sequence that have the most pronounced and well-defined star trails. These shots will serve as the base for the final composition.
- Loading Images: Load the selected images into the stacking software of your choice. Arrange them in the desired order, keeping in mind that the first image will serve as the base for subsequent blending.
- Blending Modes: Experiment with different blending modes within the stacking software to find the most visually appealing result. Lighten or Screen blending modes often work well for star trail photography, but feel free to explore other options based on the desired effect.
- Adjustments to the Resulting Image: After blending the images, review the resulting composition. You may need to make additional adjustments such as contrast, saturation, or levels to fine-tune the overall look of the trails and enhance the visual impact.
- Save the Final Composition: Once you are satisfied with the final composition, save the image in a high-quality format such as TIFF or JPEG. Don’t forget to keep a backup of your original blended file for future reference or further editing.
- Consider Additional Enhancements: Depending on your creative vision, you can further enhance the star trail composition by adding other elements, such as foreground elements, light painting, or celestial events like meteor showers or auroras in post-processing.
Combining the individual images of your star trail sequence is a powerful technique that allows you to create captivating and dynamic final compositions. By experimenting with different settings and adjustments in your chosen stacking software, you can create stunning images that showcase the awe-inspiring movement of the stars across the night sky.
Tips and Tricks for Successful Star Trail Photography
Mastering the art of star trail photography takes time and practice. To help you along the way, here are some valuable tips and tricks to enhance your results:
- Plan Ahead: Before heading out, scout locations, check weather conditions, and plan your compositions. Preparation is key to capturing stunning star trails.
- Use a Star Tracker: For longer and more dramatic star trails, invest in a star tracker. This device will compensate for the Earth’s rotation, allowing for longer exposures without star movement.
- Experiment with Exposure Times: Adjust the exposure time based on the desired effect. Longer exposures will result in longer and more prominent trails, while shorter exposures can create discrete points of light.
- Add Foreground Interest: Include interesting foreground elements in your compositions, such as trees, mountains, or bodies of water. This adds depth and visual interest to your star trail images.
- Account for Temperature Changes: Be aware that temperature changes during an extended shoot can cause lens fogging or condensation. Keep a lens cloth handy to wipe away any moisture that may accumulate.
- Shoot in RAW: Shooting in RAW format allows for greater flexibility during post-processing. RAW files capture more details and provide better control over exposure, white balance, and color adjustments.
- Trial and Error: Don’t be afraid to experiment and try different techniques. Adjust camera settings, framing, or composure to continuously improve your star trail photography skills.
- Minimize Light Pollution: Select shooting locations that have minimal light pollution. Light pollution can diminish the visibility and vibrancy of the stars in your images.
- Keep an Eye on Battery Life: Long exposures consume more battery power. Carry spare batteries and keep them warm in cold weather to ensure uninterrupted shooting.
- Have Patience: Star trail photography requires time and patience. Pay attention to details, take multiple exposures, and allow yourself time to review and adjust settings during the shoot.
Remember, each star trail photography session is a unique opportunity to capture the breathtaking beauty of the night sky. Embrace the creative process, keep learning, and don’t forget to enjoy the mesmerizing moments under the stars.
Conclusion
Star trail photography is a captivating genre that allows us to witness and capture the mesmerizing movement of the stars in the night sky. With the right equipment, techniques, and a bit of patience, you can create stunning images that showcase the beauty and grandeur of the universe.
In this comprehensive guide, we have explored the essential equipment required for star trail photography, including a digital SLR camera, wide-angle lens, tripod, and remote shutter release. We have also discussed the importance of choosing the right location and timing for your shoot, as well as the optimal camera settings and focusing techniques to achieve sharp and well-defined star trails.
Additionally, we have delved into the post-processing stage, where you can further enhance the quality and visual impact of your images through adjustments, noise reduction, and blending techniques. The tips and tricks shared throughout this guide provide valuable insights to help you successfully capture breathtaking star trail photos.
Remember, star trail photography is an art form that requires practice and experimentation. Each night sky presents unique opportunities, and by continuously honing your skills, you can master the techniques and unleash your creativity to capture stunning star trail images.
So, grab your camera, venture into the darkness of the night, and let the stars guide you on a captivating photographic journey. Embrace the wonders of the night sky, and may your star trail photography endeavors be filled with awe-inspiring beauty and endless possibilities.