Introduction
Photographing an eclipse with a digital SLR camera is an exhilarating experience that allows you to capture the breathtaking celestial event in all its glory. Whether it’s a partial eclipse or a total eclipse, the opportunity to document such a rare occurrence should not be missed. However, shooting an eclipse requires careful planning, appropriate equipment, and knowledge of camera settings to ensure stunning results.
In this guide, we will walk you through the steps of capturing an eclipse with a digital SLR camera. From choosing the right equipment to post-processing and editing, we will cover everything you need to know to get those stunning eclipse shots.
Before we dive into the technical aspects of shooting an eclipse, it’s important to note that observing and photographing an eclipse can be hazardous without proper precautions. Looking directly at the sun during an eclipse can cause permanent eye damage. Therefore, it’s crucial to use solar viewing glasses or solar filters to protect your eyes and camera equipment.
Now that we’ve addressed the safety concerns, let’s get started on capturing that remarkable celestial event!
Choosing the Right Equipment
When it comes to photographing an eclipse, having the right equipment is essential for capturing clear and stunning images. Here are some key elements to consider:
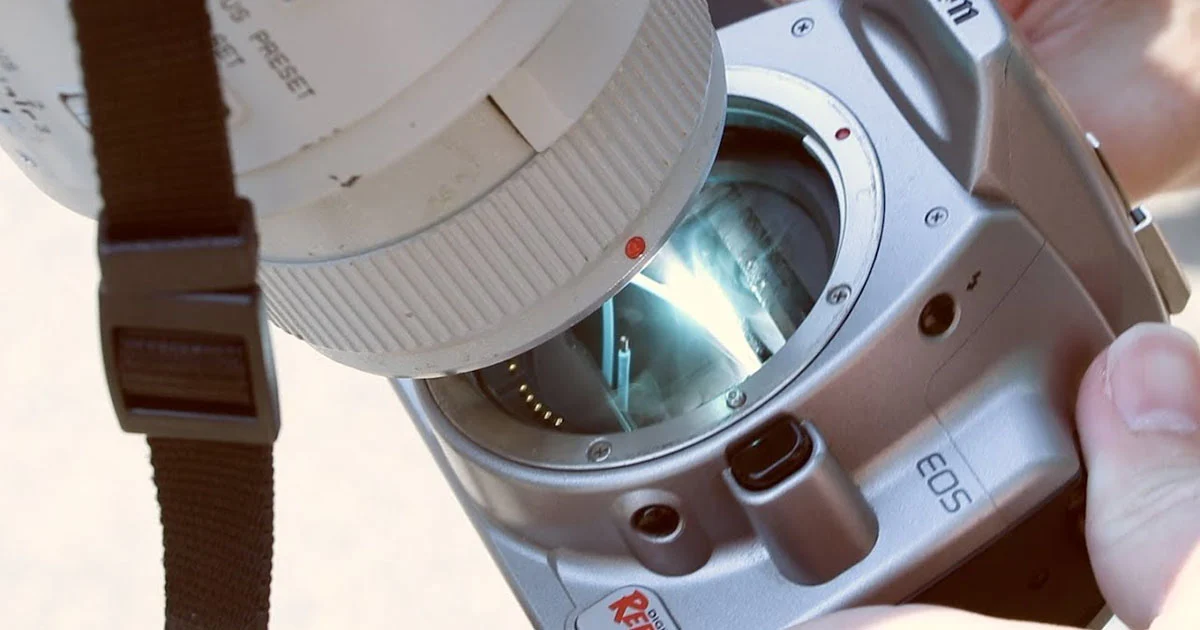
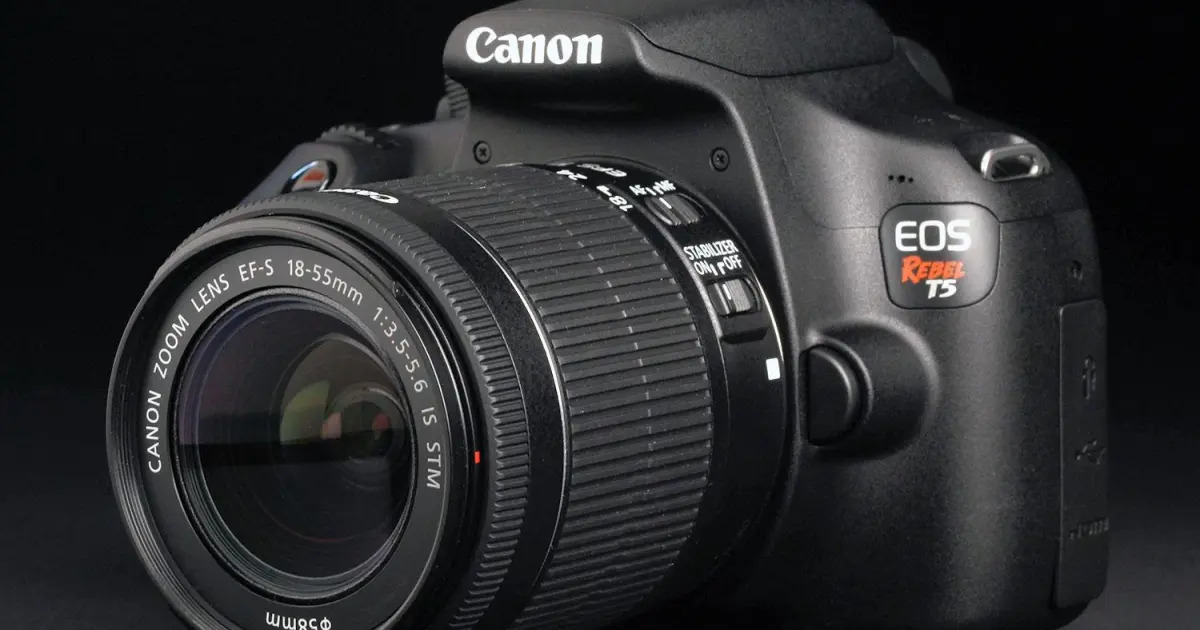
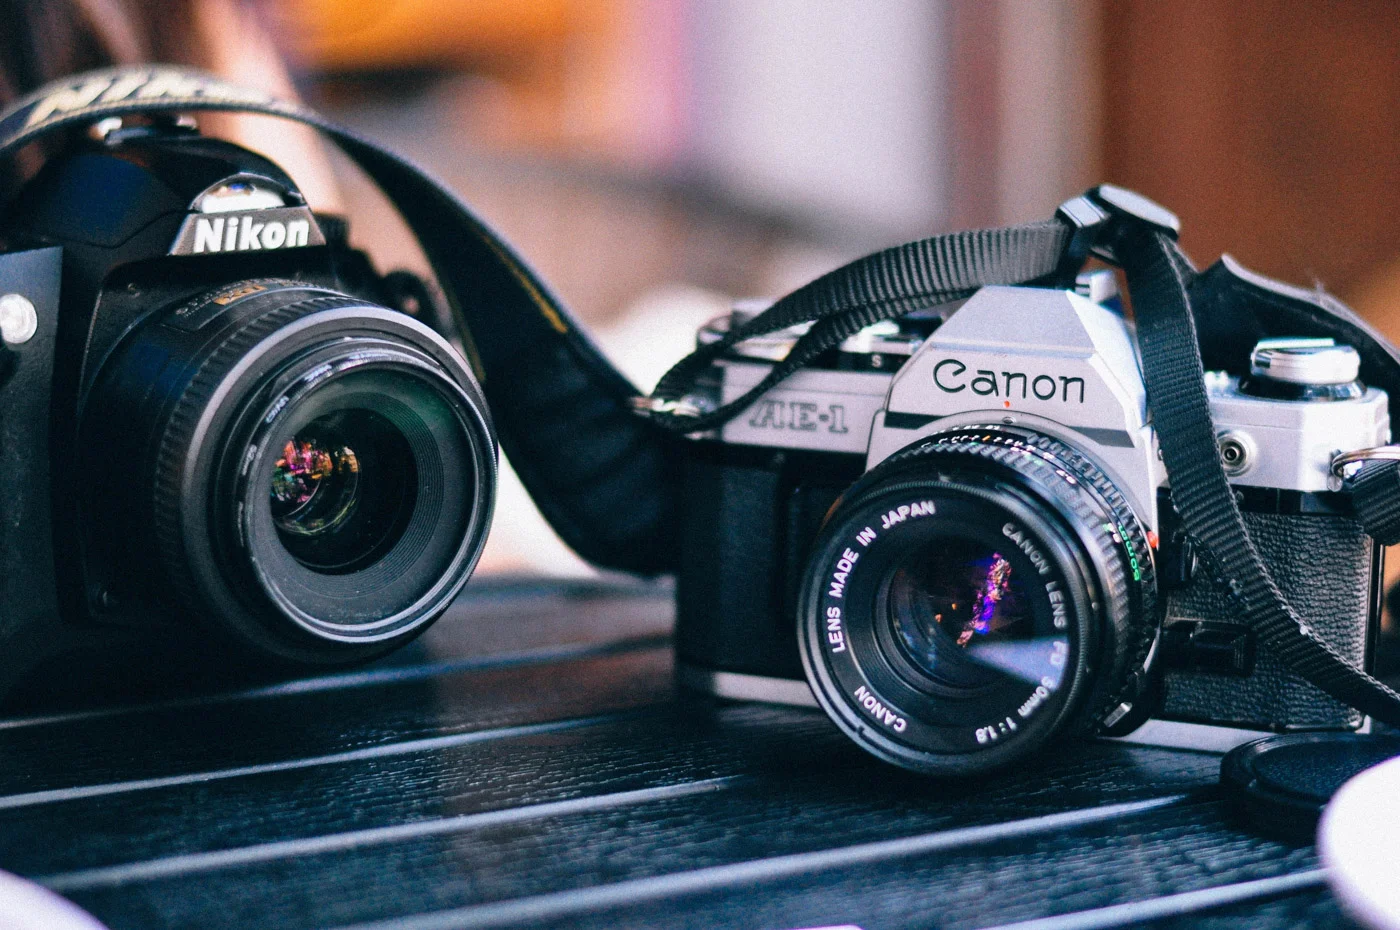
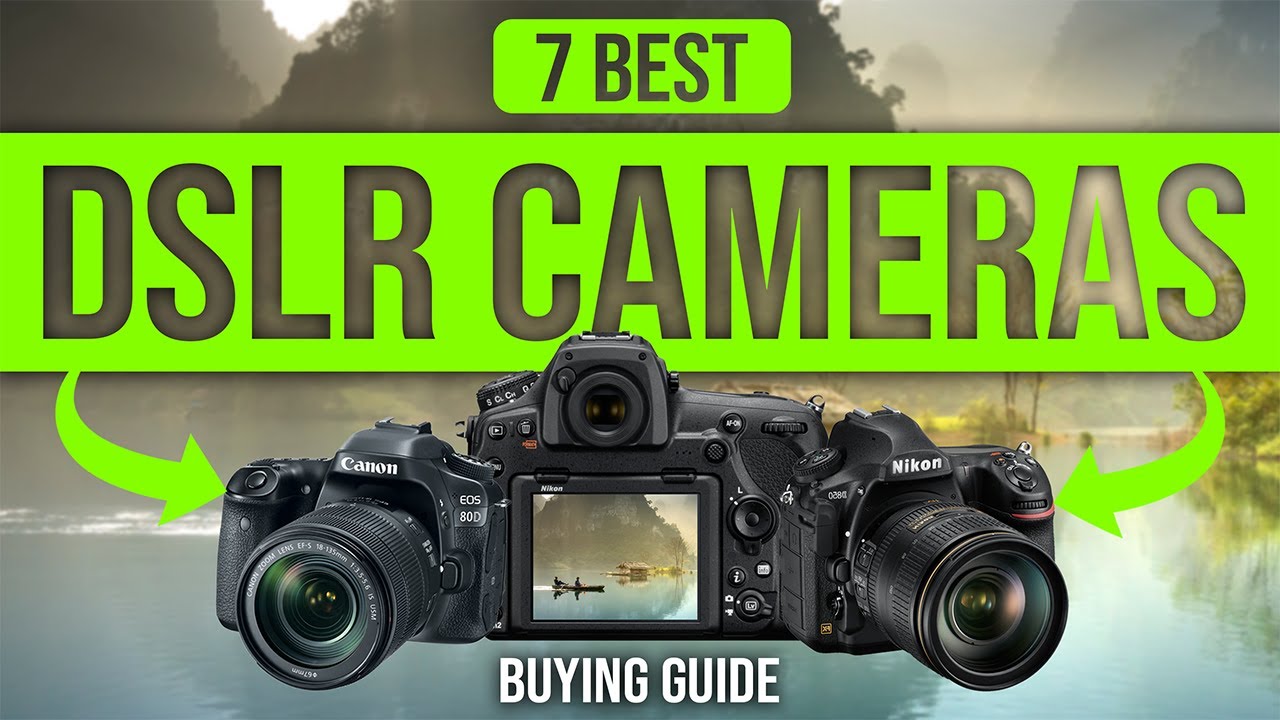
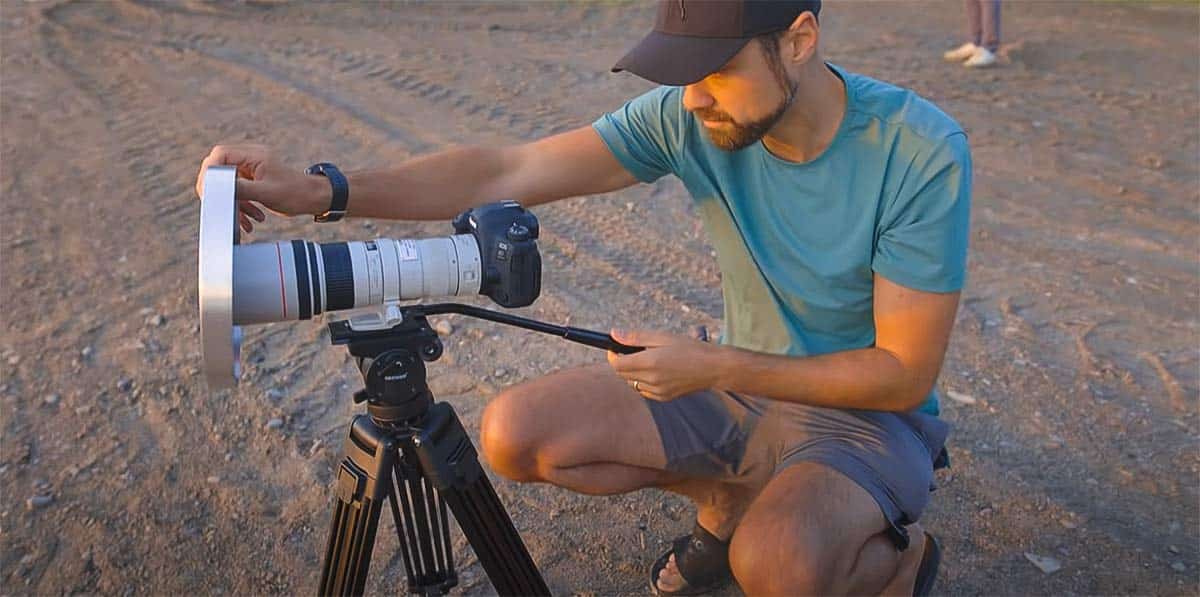
- Digital SLR Camera: Invest in a good quality digital SLR camera that allows you to have control over manual settings, such as shutter speed, aperture, and ISO. This will give you the flexibility to adjust your camera to the changing light conditions during the eclipse.
- Telephoto Lens: A telephoto lens with a long focal length is recommended for capturing the details of an eclipse. Look for a lens with a focal length of at least 200mm to get up close and personal with the celestial event.
- Tripod: Using a sturdy tripod is crucial to avoid camera shake and ensure sharp images. Look for a tripod that can handle the weight of your camera and lens. Additionally, make sure to lock the tripod securely to prevent any movement during the long exposures.
- Solar Filters: Never attempt to photograph an eclipse without using proper solar filters. Solar filters protect both your eyes and camera sensor from harmful solar radiation. Look for high-quality solar filters specifically designed for photography.
- Remote Shutter Release: A remote shutter release will allow you to trigger the camera without physically touching it, further reducing the risk of camera shake. This is especially important when using long exposure times or capturing multiple exposures for creating composite images.
By selecting the right equipment for your eclipse photography, you ensure that you are equipped to capture the event with the best possible quality. Remember, the key is to be prepared and have all your gear ready well in advance of the eclipse.
Researching the Eclipse
Before you head out to photograph an eclipse, it’s essential to do your research and gather information about the event. Here are some key aspects to consider:
- Date and Time: Find out the specific date and time of the eclipse in your location. This will help you plan your schedule and ensure you’re at the right place at the right time to capture the event.
- Eclipse Type: Determine whether it’s a partial eclipse, total eclipse, or annular eclipse. Knowing the type of eclipse will give you an idea of the level of coverage and the duration of the event, allowing you to plan accordingly.
- Path of Totality: If you’re aiming to capture a total eclipse, research the path of totality where the moon fully covers the sun. Consider traveling to that location if it’s feasible for you, as it will provide the most dramatic and awe-inspiring photo opportunities.
- Weather Conditions: Keep a close eye on the weather forecast for the day of the eclipse. Clear skies are crucial for successful eclipse photography. If the weather conditions are unfavorable, consider alternative locations where clear skies are predicted.
- Location Scouting: Visit the location where you plan to photograph the eclipse beforehand, if possible. This will allow you to familiarize yourself with the surroundings, find the best vantage points, and plan your compositions in advance.
By conducting thorough research, you can gain valuable insights into the eclipse, enabling you to make informed decisions about your gear, location, and shooting techniques. Stay updated with reliable sources for the latest information and be prepared to adapt your plans if necessary.
Planning Your Shot
Planning is key to capturing a successful eclipse shot. Here are some essential considerations to help you plan your eclipse photography:
- Composition: Think about the kind of composition you want to achieve. Consider including interesting elements in the foreground or framing the eclipse with natural landmarks for a unique perspective.
- Path of the Eclipse: Determine the trajectory of the eclipse and visualize how it will move across the sky. This will help you anticipate the best time to take your shots and plan any desired changes in location or perspective.
- Exposure Bracketing: Consider using exposure bracketing to capture a range of exposures, especially during a total eclipse. This technique will help you capture the dynamic range of the eclipse, from the bright corona to the dimmer details of the sun’s surface.
- Secondary Subjects: Think about incorporating secondary subjects in your frame to add interest and context to your eclipse photos. This could be people watching the eclipse, surrounding landscapes, or even incorporating reflections in bodies of water.
- Pre-Visualize Shots: Imagine the shots you want to capture before the eclipse begins. Visualize the composition, lighting, and timing. This will help you react quickly and confidently during the fast-paced event.
By planning ahead and visualizing your shots, you’ll be well-prepared to make the most of the eclipse event and capture compelling and unique images. Adapt your plans as necessary during the actual event while keeping an eye on safety and weather conditions.
Arriving Early and Setting Up
Arriving at your chosen location early is essential to ensure you have ample time to set up your equipment and make any necessary adjustments. Here are some tips for arriving early and setting up for your eclipse photography:
- Scout the Location: Arrive early to familiarize yourself with the surroundings and find the best vantage points. Look for unobstructed views of the sky and consider any foreground elements that can enhance your compositions.
- Tripod Stability: Set up your tripod on a stable and level surface. Extend the legs fully and make sure the tripod is secure. Avoid any movements or vibrations that can cause blur in your images.
- Level Your Camera: Use a bubble level or the built-in level feature on your camera to ensure it is perfectly level. This is especially crucial when shooting with longer focal lengths, as even the slightest tilt can affect the straightness of the eclipse path.
- Calibrate Your Focus: Use manual focus to ensure sharp images during the eclipse. Focus on a distant object beforehand, using the hyperfocal distance technique if necessary.
- Pre-test Camera Settings: Take some test shots beforehand to confirm your camera settings are optimized. Check the exposure, white balance, and sharpness to ensure you’re ready to capture the eclipse.
Arriving early and setting up properly will allow you to start capturing the eclipse as soon as it begins. Take the time to double-check your equipment and make any necessary adjustments to ensure a smooth and successful shooting experience.
Using a Tripod for Stability
Using a tripod is essential for achieving stability and sharpness in your eclipse photographs. Here are some important tips for using a tripod effectively:
- Choose a Sturdy Tripod: Invest in a high-quality tripod that can support the weight of your camera and lens comfortably. Look for tripod legs made of sturdy materials like aluminum or carbon fiber.
- Extend the Legs Completely: Make sure to fully extend the tripod legs for maximum stability. Avoid using the center column extension unless necessary, as it can introduce wobbling and reduce stability.
- Lock the Tripod Legs: Once you have extended the tripod legs, ensure that they are securely locked in place. This will prevent any unintentional movement or collapse during shooting.
- Use a Ball Head: A ball head tripod mount allows for smooth and quick adjustments of your camera’s position. It gives you the flexibility to tilt and pan without disrupting the stability of the tripod.
- Balance the Weight: Properly distribute the weight of your camera and lens on the tripod head. This will help maintain stability and prevent any imbalance that can cause the tripod to tip over.
- Use a Remote Shutter Release: Minimize camera shake by using a remote shutter release or a cable release. This allows you to trigger the camera without touching it, ensuring sharper images during long exposures.
A stable tripod is essential for capturing sharp and well-defined eclipse photographs. By using a tripod and following these tips for stability, you’ll have a solid support system that will greatly enhance the quality of your images.
Adjusting Camera Settings
Properly adjusting your camera settings is crucial for capturing stunning eclipse photographs. Here are the key settings to consider:
- Shooting Mode: Use manual mode (M) to have complete control over your camera settings. This allows you to adjust the exposure, aperture, and shutter speed as needed.
- ISO: Set your ISO to the lowest native value (usually ISO 100 or 200) to minimize noise in your images and ensure high image quality.
- Aperture: Start with a mid-range aperture, such as f/8, to achieve a balance between depth of field and sharpness. Adjust the aperture as necessary to achieve the desired exposure.
- Shutter Speed: Use a fast shutter speed to freeze the motion of the sun or capture the details of the eclipse. Start with a higher value, such as 1/1000s, and adjust accordingly based on the brightness of the eclipse.
- Exposure Compensation: During a total eclipse, the lighting conditions can change rapidly. Use exposure compensation to adjust the exposure for the changing levels of brightness. Bracket your exposures to capture the full range of the eclipse’s brightness.
- Focus: Set your lens to manual focus and focus on the sun or the moon, depending on the phase of the eclipse. Use live view and zoom in to ensure precise focus on the details.
- White Balance: Use auto white balance (AWB) or set a custom white balance to ensure accurate color reproduction. Consider shooting in RAW format to have more flexibility in post-processing.
Experiment with different combinations of settings to achieve the desired effect and adapt to the lighting conditions during the eclipse. Remember to review your images regularly to ensure that the exposure and settings are producing the desired results.
Using a Remote Shutter Release
A remote shutter release is an invaluable tool for minimizing camera shake and capturing sharp eclipse photographs. Here’s why you should consider using one and how to make the most of it:
Camera shake can significantly impact the sharpness of your images, especially during long exposures. The simple act of pressing the shutter button can introduce enough movement to blur your photos, resulting in less-than-ideal results. Using a remote shutter release eliminates the need to physically touch your camera, minimizing the risk of shake and ensuring crisp images.
Here are some tips for using a remote shutter release effectively:
- Choose the Right Remote: There are various options available, including wired remotes, wireless remotes, or smartphone apps. Select the one that works best for your camera and shooting style.
- Practice Before the Eclipse: Familiarize yourself with the remote shutter release and its features before the eclipse. Test it out in various scenarios to ensure proper functionality.
- Set a Delay or Timer: Some remote shutter releases allow you to set a delay or timer before the shutter is triggered. This can be useful to reduce any residual vibrations after pressing the button.
- Use Bulb Mode: If you plan to capture long exposures during the eclipse, use the bulb mode on your camera along with the remote shutter release. This allows you to control the length of the exposure manually.
- Bracket Your Exposures: Take advantage of the remote shutter release by bracketing your exposures. This involves taking multiple shots at different exposure settings, ensuring you capture the widest dynamic range of the eclipse.
Using a remote shutter release is a simple yet effective way to enhance the sharpness and quality of your eclipse photographs. It gives you the freedom to trigger the shutter without introducing any camera shake, resulting in stunning and crisp images of this celestial phenomenon.
Capturing the Phases of the Eclipse
One of the most fascinating aspects of photographing an eclipse is capturing the different phases of the event. Here are some tips for effectively documenting the progression of the eclipse:
- Start Early: Begin shooting as soon as the eclipse begins. This allows you to capture the initial stages and early partial phases of the event.
- Shoot During Totality: If you’re lucky enough to witness a total eclipse, make sure to capture this awe-inspiring moment. As the moon completely covers the sun, you’ll be able to witness the solar corona, which creates a magnificent halo-like effect. Use longer exposures to capture the intricate details and dynamic range of the corona.
- Capture Diamond Ring Effect: During the transition from partial eclipse to totality and vice versa, a phenomenon known as the “diamond ring effect” occurs. This is when a bright spot appears like a diamond ring on the edge of the eclipsed sun. Be ready to capture this moment of spectacle.
- Use Multiple Exposures: Take a series of images at different exposures to document the changing phases of the eclipse. This will allow you to create a composite image that showcases the entire progression from start to finish.
- Consider Time-lapse Photography: Time-lapse photography is a great technique for capturing the eclipse’s phases in a condensed and visually stunning way. Set your camera to take photos at regular intervals and combine them in post-processing to create a captivating time-lapse sequence.
Keep in mind that the progression of the eclipse happens quickly, so it’s crucial to be prepared and continuously monitor the changing light conditions. Experiment with different techniques and compositions to capture the beauty and drama of each phase of the eclipse.
Dealing with Challenging Lighting Conditions
Photographing an eclipse presents unique lighting challenges due to the stark contrast between the bright sun and the dark surroundings. Here are some tips for effectively dealing with these challenging lighting conditions:
- Use Exposure Bracketing: Bracket your exposures by capturing a series of shots at different exposure settings. This technique ensures you capture the full dynamic range of the eclipse, from the bright sun to the darker details of the corona or moon.
- Consider HDR Photography: High Dynamic Range (HDR) photography involves combining multiple exposures to create an image with perfectly balanced exposure throughout. This technique can be particularly useful during a total eclipse to capture the intricate details of the solar corona.
- Experiment with Filters: Neutral Density (ND) filters can help balance the exposure during a partial eclipse, allowing you to capture more details in the sun’s surface. Graduated ND filters can also be used to control the exposure and balance the brightness of the sky with the eclipse.
- Use Spot Metering: Spot metering allows you to measure the exposure based on a specific point in the frame. By metering off the sun or the moon, you can ensure proper exposure of the main subject while maintaining the details in other areas.
- Shoot in Raw Format: Shooting in RAW gives you greater flexibility in post-processing to adjust the exposure and recover details from both shadow and highlight areas. It also helps to preserve the maximum amount of data for better image quality.
- Consider Silhouette Shots: During a partial eclipse, capturing silhouettes of trees, buildings, or people against the eclipsed sun can create dramatic and captivating images. Use the exposure settings to properly expose the background and create a stunning silhouette effect.
Mastering the challenging lighting conditions of an eclipse takes practice and experimentation. By using exposure bracketing, filters, and other techniques, you can effectively capture the beauty and balance of the eclipse, showcasing both the sun and the surrounding environment.
Creating Stunning Silhouette Shots
Utilizing the technique of silhouette photography during an eclipse can result in striking and dramatic images. Here are some tips for creating stunning silhouette shots:
- Choose Interesting Subjects: Look for distinctive objects or individuals that will make captivating silhouettes against the eclipsed sun. This could include trees, buildings, people, or any other element that adds visual interest and composition to your shot.
- Positioning and Framing: Experiment with various angles and compositions to ensure that the subject is placed strategically in front of the eclipsed sun. Consider using the rule of thirds or leading lines to create a visually pleasing composition.
- Expose for the Background: When shooting a silhouette, meter for the brightness of the sky or the eclipsed sun. Set your camera to manual mode and adjust the exposure settings to ensure that the sun and the sky are properly exposed, while the subject remains in shadow.
- Use Backlighting: Position yourself so that the eclipsed sun is directly behind the subject. This will create a strong backlight, enhancing the silhouette effect and emphasizing the shape and outline of the subject.
- Consider Composition Elements: Look for opportunities to incorporate other elements in your composition, such as interesting cloud formations, foreground objects, or a textured skyline. These elements can add depth and visual interest to your silhouette shots.
- Experiment with Settings: Play around with different exposure settings and try underexposing slightly to ensure a dark silhouette effect. You can also adjust the aperture to control the depth of field, creating a more or less prominent silhouette effect.
Creating stunning silhouette shots during an eclipse requires careful composition, exposure considerations, and artistic vision. By experimenting with these tips and techniques, you can capture powerful and visually captivating images that showcase the unique beauty of the eclipsed sun and the surrounding environment.
Experimenting with Different Lenses
Using different lenses can offer a variety of creative opportunities when photographing an eclipse. Here are some lens options to consider and the effects they can produce:
- Telephoto Lens: A telephoto lens is typically the go-to choice for eclipse photography, allowing you to zoom in and capture detailed close-ups of the eclipsed sun or moon. The longer focal length also compresses the scene, creating a sense of depth and magnifying the size of the eclipse in the frame.
- Wide-angle Lens: While a wide-angle lens may not capture the intricate details of the eclipse, it can offer a unique perspective by incorporating the surrounding landscape or a large portion of the sky in the frame. This type of lens can create stunning contextual images, showcasing the eclipse in relation to the environment.
- Zoom Lens: A zoom lens provides versatility by allowing you to adjust the focal length and compose your shot accordingly. This flexibility can be particularly useful for capturing different stages of the eclipse or experimenting with various compositions.
- Macro Lens: If you’re interested in capturing close-up shots of the eclipse, a macro lens can be a creative choice. It allows you to explore intricate details, such as the texture of the moon’s surface or the complexity of the solar corona.
- Fish-eye Lens: For a unique and distorted perspective, consider using a fish-eye lens. This type of lens can capture a wide field of view, resulting in a circular or hemispherical depiction of the eclipsed sun or moon, adding a creative twist to your images.
Experimenting with different lenses allows you to explore various compositions, perspectives, and creative effects. Keep in mind that lens choice also influences the distance and framing of your subject, so consider the desired visual impact when selecting the appropriate lens for your eclipse photography.
Long Exposure Tips for Dramatic Effects
Using long exposure techniques during an eclipse can create stunning and artistic images with a sense of motion and drama. Here are some tips for achieving impactful long exposure effects:
- Use a Tripod: Stability is crucial for long exposures. Make sure to mount your camera on a sturdy tripod to avoid any camera shake.
- Shutter Speed: Set your camera to Bulb mode or use a slow shutter speed to capture the extended duration of the eclipse phases. Experiment with different exposure times, ranging from a few seconds to several minutes, depending on the desired effect and the brightness of the eclipse.
- ND Filters: Neutral Density (ND) filters are essential for long exposure photography, as they help reduce the amount of light reaching the camera sensor. This allows for longer shutter speeds without overexposing the image.
- Water and Clouds: If there are bodies of water or clouds in the frame, capturing their movement during a long exposure can add dynamic elements and a sense of motion to your images.
- Multiple Exposures: Instead of a single long exposure, consider taking multiple exposures and blending them in post-processing. This technique can help mitigate noise issues and allow more precise control over the final image.
- Foreground Interest: Include foreground elements with interesting textures or shapes to enhance the overall composition. The long exposure effect can beautifully emphasize these elements and create a sense of depth and movement.
- Experiment with Light Trails: If you’re shooting near a road or a cityscape, integrating light trails from passing cars or urban lights can produce captivating results. Adjust the exposure time to capture the desired length and intensity of the light trails.
Long exposure photography during an eclipse allows you to create unique and visually striking images that showcase the passage of time and the celestial event’s progression. With careful planning and experimentation, you can capture truly dramatic and awe-inspiring photographs.
Photographing the Eclipse with Filters
Using filters during an eclipse can provide you with different creative opportunities and enhance the quality of your photographs. Here are some filters to consider and their effects:
- Solar Filters: Solar filters are a necessity for photographing an eclipse safely. These filters block most of the sunlight, allowing you to capture the eclipse without damaging your eyes or camera. Ensure you use high-quality solar filters specifically designed for photography.
- Neutral Density (ND) Filters: ND filters reduce the amount of light entering the camera evenly across the entire frame, allowing you to use slower shutter speeds. These filters are useful for capturing the longer stages of an eclipse, such as the partial phases, while maintaining proper exposure.
- Graduated Neutral Density (GND) Filters: GND filters have a gradient pattern that gradually transitions from dark to clear. These filters help balance the exposure between the bright sky and the darker foreground during a partial or annular eclipse, resulting in a well-exposed image.
- Polarizing Filters: Polarizing filters can help reduce glare and reflections, enhancing the clarity and color saturation of your eclipse photographs. These filters are especially beneficial when capturing the crescent phases of a partial eclipse.
- Color Filters: Experimenting with color filters can add a creative twist to your eclipse photos. These filters can alter the colors of the eclipse, giving your images a unique and artistic look.
When using filters, it’s important to ensure they are securely attached to your lens and do not introduce any vignetting or other optical issues. Consider practicing with the filters before the eclipse to familiarize yourself with their effects and how they interact with your camera settings.
Remember, the type of filter you choose depends on the specific phase and type of eclipse you are photographing. Be sure to research and understand how each filter can enhance your images, allowing you to capture the beauty of the eclipse in all its glory.
Post-Processing and Editing Tips
Post-processing your eclipse photographs can take your images to the next level and bring out the full potential of your captures. Here are some tips to help you enhance your eclipse photos:
- Shoot in RAW: Shooting in RAW format gives you greater flexibility in post-processing. RAW files contain the most amount of data, allowing you to adjust exposure, white balance, and other settings without losing image quality.
- Adjust Exposure and Contrast: Fine-tune the exposure and contrast to bring out the details and balance the tones in your image. Be mindful of preserving the highlights and shadows to maintain the dynamic range captured during the eclipse.
- Highlight and Shadow Recovery: Use specific tools in your editing software to recover any blown-out highlights or bring out details in the shadow areas. This will help you retain important details and create a well-balanced image.
- Enhance Colors: Experiment with color adjustments to enhance the natural hues and saturation of your eclipse photographs. Be careful not to overdo it and maintain the authenticity of the celestial event.
- Sharpening and Noise Reduction: Apply selective sharpening to enhance the details in your image, especially those of the moon’s surface or the solar corona. Additionally, reduce noise in your image using noise reduction techniques while maintaining fine details.
- Crop and Straighten: Consider cropping your image to improve composition or remove any distracting elements. Ensure that the horizon is level if applicable, using the straighten tool or manual adjustments in your editing software.
- Experiment with Black and White: Convert your eclipse photos to black and white to emphasize the contrast and shapes. This can create a more dramatic and timeless feel to your images.
- Save the Original: When making edits, always work on a copy of the original file. This allows you to preserve the unedited image and revert back if needed. Don’t be afraid to explore different editing styles and save multiple versions of your eclipse photos.
Keep in mind that post-processing should be used to enhance your images and bring out the true potential of your captures. Strive for a balance between enhancing the visual impact of your photos while maintaining the authenticity and integrity of the eclipse event.
Safety Precautions
Photographing an eclipse is an exciting and visually rewarding experience, but it’s crucial to prioritize safety during the process. Here are some important safety precautions to keep in mind:
- Use Proper Eye Protection: Never look directly at the sun during an eclipse without proper eye protection, even through the camera’s viewfinder. Use certified solar viewing glasses or solar filters to protect your eyes from harmful radiation.
- Protect Your Camera: Just as your eyes need protection, your camera’s lens and sensor are also vulnerable to direct sunlight. Use certified solar filters specifically designed for photography to protect your camera equipment from potential damage.
- Be Mindful of Heat: Extended exposure to direct sunlight can cause your camera and equipment to heat up. Take breaks, provide shade for your camera when not in use, and avoid leaving your equipment in hot areas for too long.
- Secure Your Equipment: Ensure your tripod and camera are securely positioned to prevent accidental falls or damage caused by wind or movement. Double-check that all connections and accessories are tightly secured.
- Monitor Weather Conditions: Keep an eye on the weather forecast before and during the eclipse. Photographing during inclement weather, such as heavy rain or thunderstorms, can pose additional risks. Make sure you have adequate protection for your equipment.
- Stay Aware of Surroundings: Be aware of your surroundings and any potential hazards, such as crowded areas or uneven terrain. Be respectful of others’ space and avoid obstructing their view or causing distractions.
- Follow Local Guidelines and Regulations: Familiarize yourself with any local regulations or guidelines regarding eclipse photography or access to specific locations. Some areas may have restrictions to preserve safety and ensure a smooth experience for everyone.
Remember, safety should always be the top priority when photographing an eclipse. By taking the necessary precautions and being mindful of potential risks, you can enjoy the experience while safeguarding yourself, your equipment, and the people around you.
Conclusion
Photographing an eclipse with a digital SLR camera can be a thrilling and rewarding experience, allowing you to capture the beauty and wonder of this celestial event. By following the steps outlined in this guide, you can enhance your chances of capturing stunning eclipse shots:
- Choose the right equipment, including a digital SLR camera, telephoto lens, tripod, and appropriate filters.
- Do thorough research to determine the date, time, and type of eclipse you’ll be photographing.
- Plan your shot by considering composition, exposure bracketing, and positioning of the eclipse.
- Arrive early and set up your equipment, ensuring stability and proper camera settings.
- Consider using a remote shutter release to minimize camera shake.
- Capture the different phases of the eclipse, from the partial stages to the stunning totality.
- Adapt to challenging lighting conditions using exposure bracketing, filters, and other techniques.
- Explore the possibilities of silhouette shots, long exposures, and experimenting with different lenses.
- Post-process your images to enhance exposure, contrast, colors, and other elements.
- Above all, prioritize safety by using proper eye protection, protecting your camera, and staying alert.
Remember that every eclipse is unique, and each offers a chance to capture breathtaking photographs. Take the time to practice and experiment with different techniques, compositions, and settings to truly capture the essence and beauty of this extraordinary celestial event.
So, grab your camera, plan your shoot, and get ready to capture extraordinary images of the next eclipse!