Introduction
Welcome to the world of capturing the breathtaking phenomenon of a solar eclipse with your digital camera. A solar eclipse is a rare and awe-inspiring event that occurs when the moon passes between the Sun and Earth, casting a shadow on the Earth’s surface. As a photographer, you have the opportunity to capture this celestial spectacle and create stunning images that will leave a lasting impression.
Photographing a solar eclipse requires some planning, specialized equipment, and a good understanding of the event itself. This guide will walk you through the necessary steps to successfully capture a solar eclipse with your digital camera.
Before diving into the technical aspects, it’s important to note that photographing a solar eclipse can be a once-in-a-lifetime experience. So, take a moment to prepare yourself mentally and emotionally for this extraordinary event. Remember, it’s not just about capturing the perfect shot, but also about enjoying the beauty of the celestial dance and preserving the memories for years to come.
In this guide, we will explore the different equipment you will need, safety precautions to consider, how to prepare for the eclipse, choosing the right camera settings, focusing techniques, shooting the eclipse itself, and post-processing your images to bring out the best in them. By the end of this guide, you’ll have the knowledge and confidence to capture stunning photos of a solar eclipse and create a visual masterpiece.
So grab your camera, put on your eclipse glasses, and get ready to embark on an incredible journey to capture the magic of a solar eclipse with your digital camera.
Understanding Solar Eclipses
Before diving into the technicalities of photographing a solar eclipse, it’s essential to have a basic understanding of what a solar eclipse is and how it occurs. A solar eclipse takes place when the Moon passes directly between the Sun and Earth, casting a shadow on the Earth’s surface. There are three types of solar eclipses: total, partial, and annular.
A total solar eclipse occurs when the Moon completely covers the Sun, creating a breathtaking scene where the Sun’s corona is visible. This is the most awe-inspiring type of solar eclipse and provides photographers with a unique opportunity to capture stunning images.
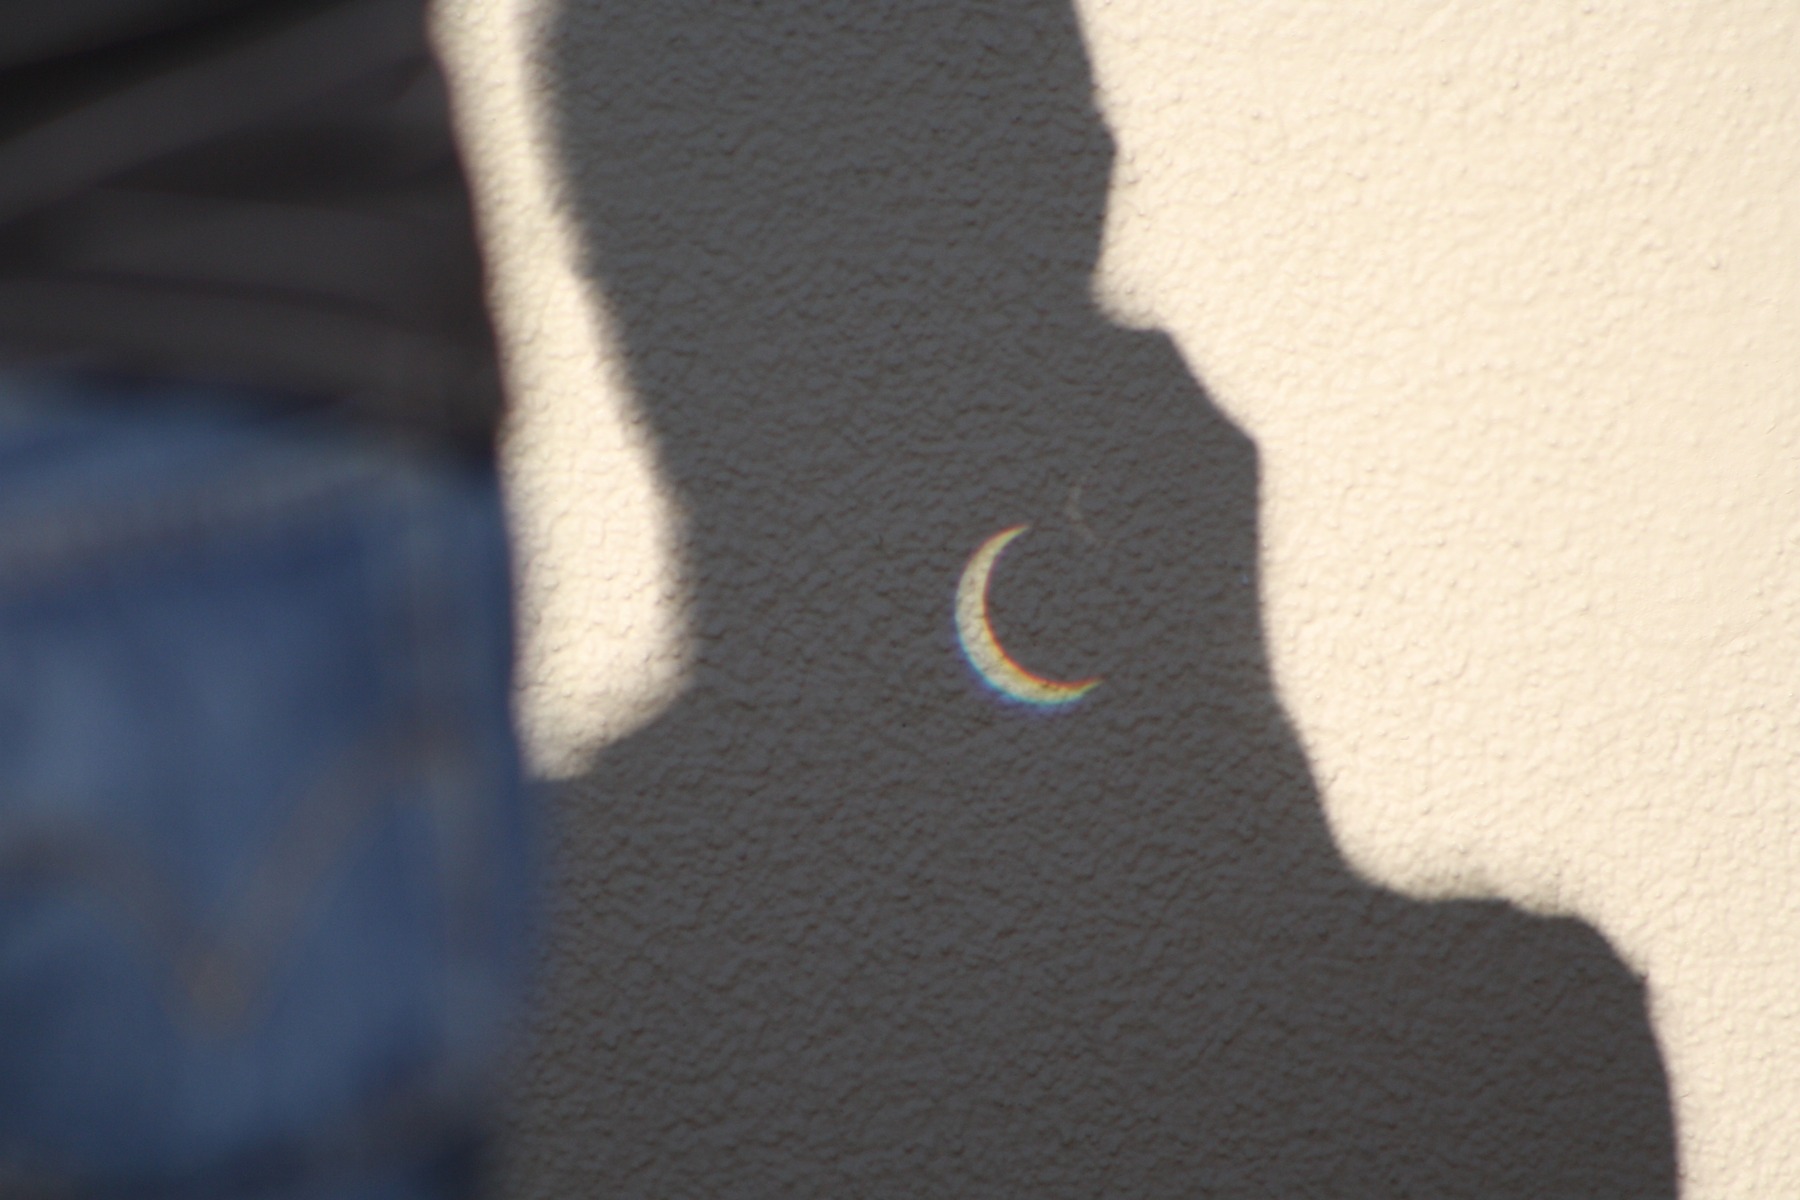
A partial solar eclipse takes place when the Moon only partially covers the Sun. In this scenario, you’ll witness a crescent-shaped Sun. While not as dramatic as a total eclipse, capturing a partial eclipse can still result in intriguing photographs.
An annular solar eclipse occurs when the Moon is at its farthest distance from Earth, appearing smaller than the Sun and leaving a ring of light around the edges. This type of eclipse creates a unique and captivating appearance, offering photographers a chance to capture a mesmerizing celestial display.
Solar eclipses are relatively rare events that can be observed from specific geographical locations on Earth. The path of totality, where the total eclipse is visible, is usually limited to a narrow strip across the Earth’s surface. If you’re lucky enough to be in the path of totality, you’ll have the best opportunity to capture the most captivating images.
Understanding the different types and characteristics of solar eclipses allows photographers to plan their shoots more effectively. Keep in mind that capturing a total solar eclipse produces the most visually stunning and dramatic photographs. However, even a partial or annular eclipse can provide unique photographic opportunities.
Now that you have a basic understanding of solar eclipses, let’s delve into the camera equipment you’ll need to capture this celestial spectacle.
Camera Equipment Needed
To capture the mesmerizing beauty of a solar eclipse, you’ll need the right camera equipment. Here’s a list of essential gear you should have to ensure successful and high-quality eclipse photography:
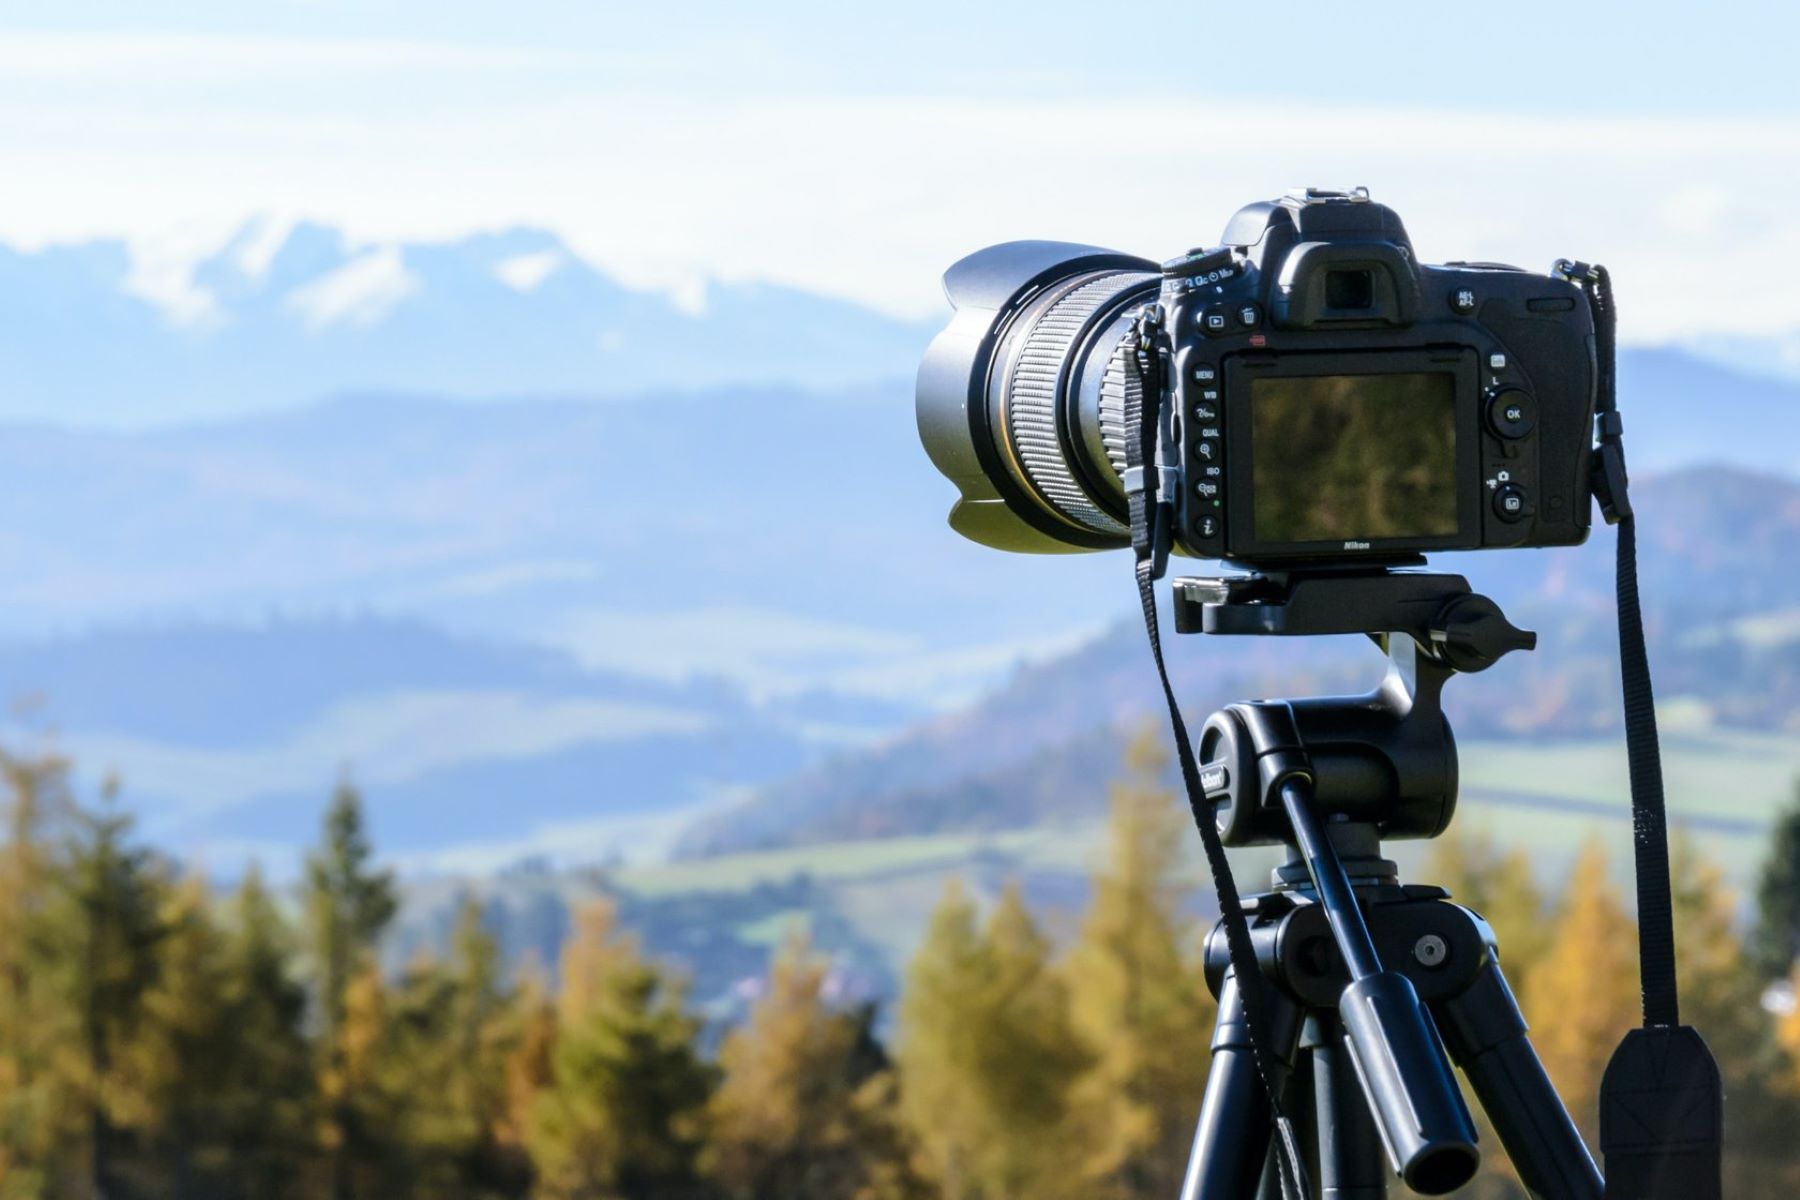
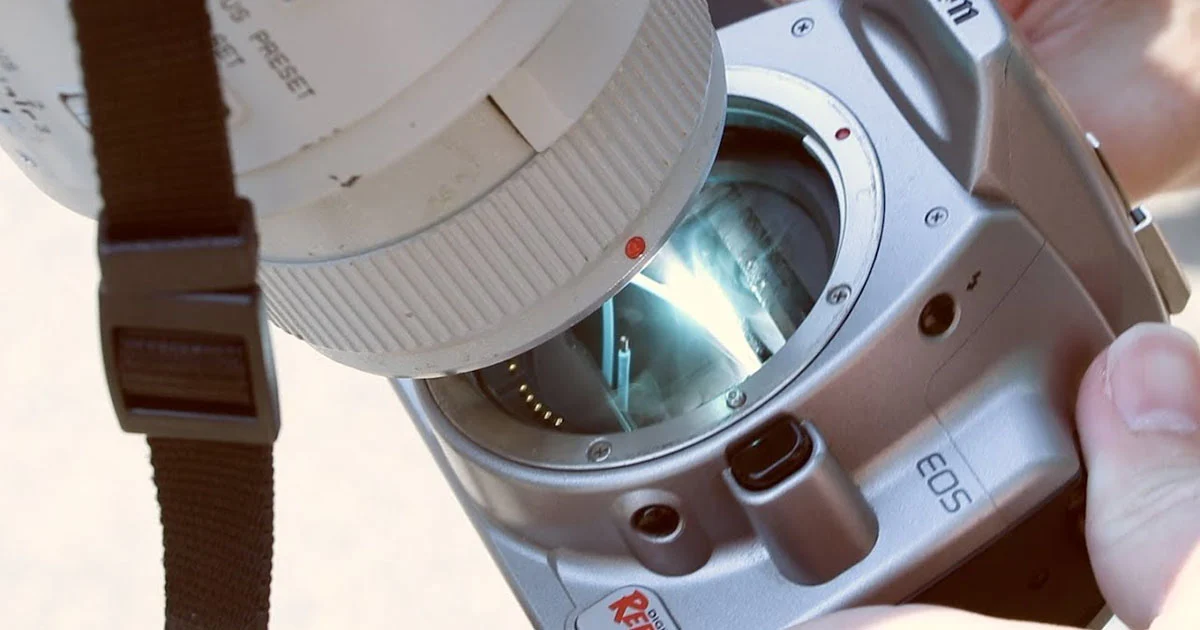
- Digital SLR or Mirrorless Camera: Invest in a good quality digital SLR or mirrorless camera that allows for manual control of settings. These types of cameras provide more flexibility and control over capturing the eclipse. Ensure that your camera has a fully charged battery and enough memory card space for all the images you’ll be capturing.
- Telephoto or Zoom Lens: A telephoto or zoom lens is crucial for getting up close and capturing the details of the eclipse. Look for a lens with a focal length of at least 200mm or higher, as this will enable you to fill the frame with the eclipse and capture its intricate features.
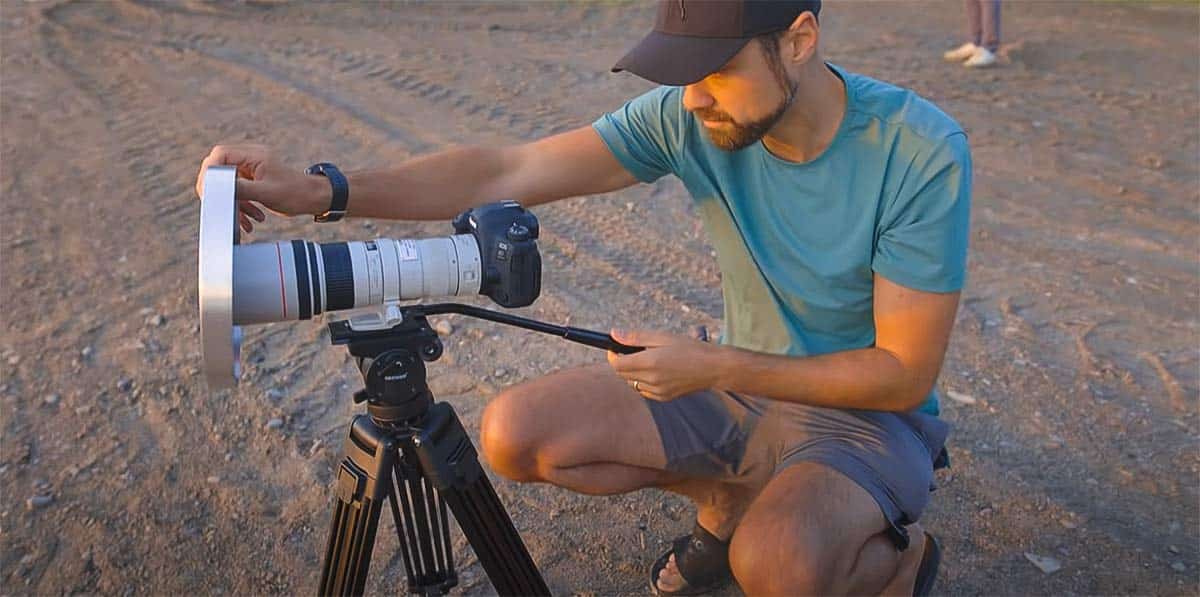
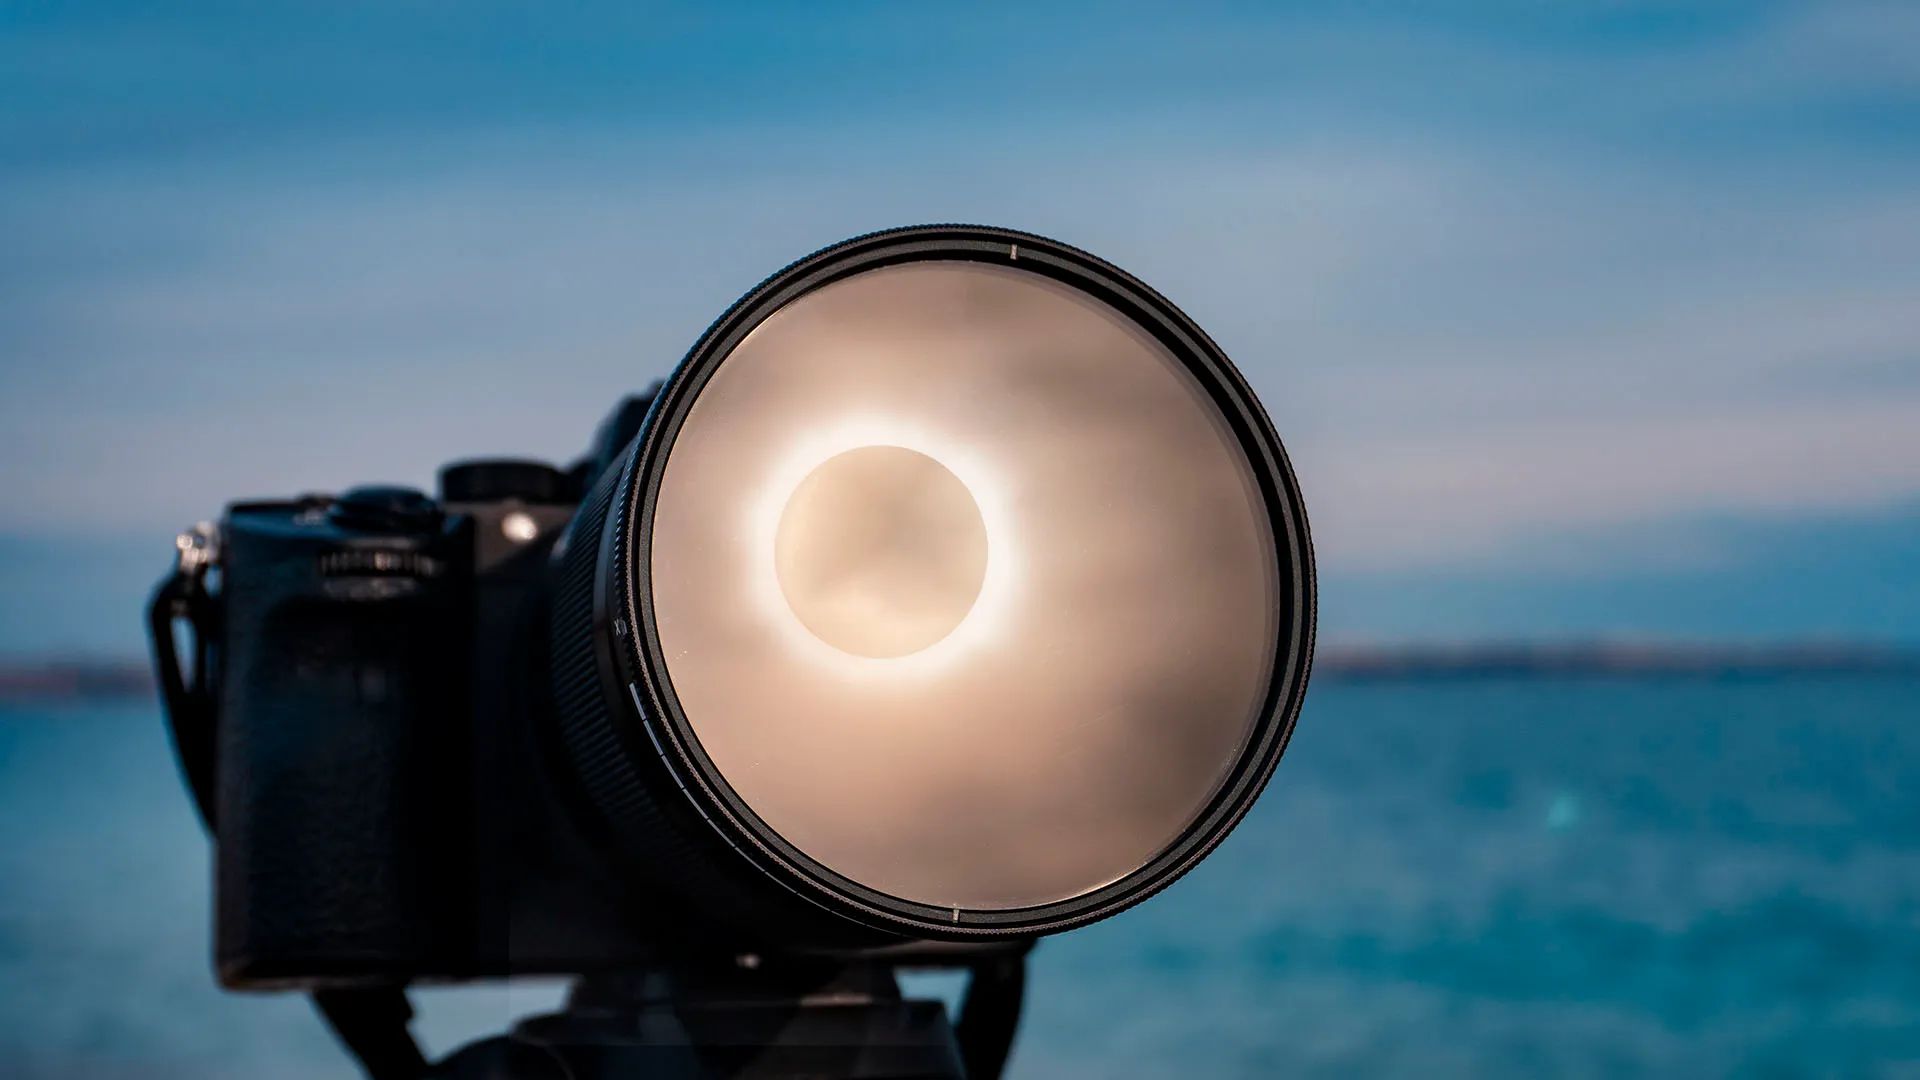
- Solar Filter: Never attempt to photograph a solar eclipse without a solar filter. The intense brightness of the Sun can damage your eyes and camera sensor. A solar filter is a specialized filter that blocks out harmful light, allowing you to safely observe and photograph the eclipse. Make sure to get a high-quality solar filter that fits your lens diameter precisely.
- Sturdy Tripod: Stability is essential when photographing an eclipse, as even slight movement can result in blurry images. Invest in a sturdy tripod to keep your camera steady throughout the duration of the eclipse. Tripods with features like a ball head and quick-release plate make it easier to adjust and secure your camera position.
- Remote Shutter Release or Timer: To further minimize camera shake when capturing the eclipse, use a remote shutter release or use the camera’s built-in timer function. This allows you to trigger the shutter without physically touching the camera, ensuring sharp and shake-free images.
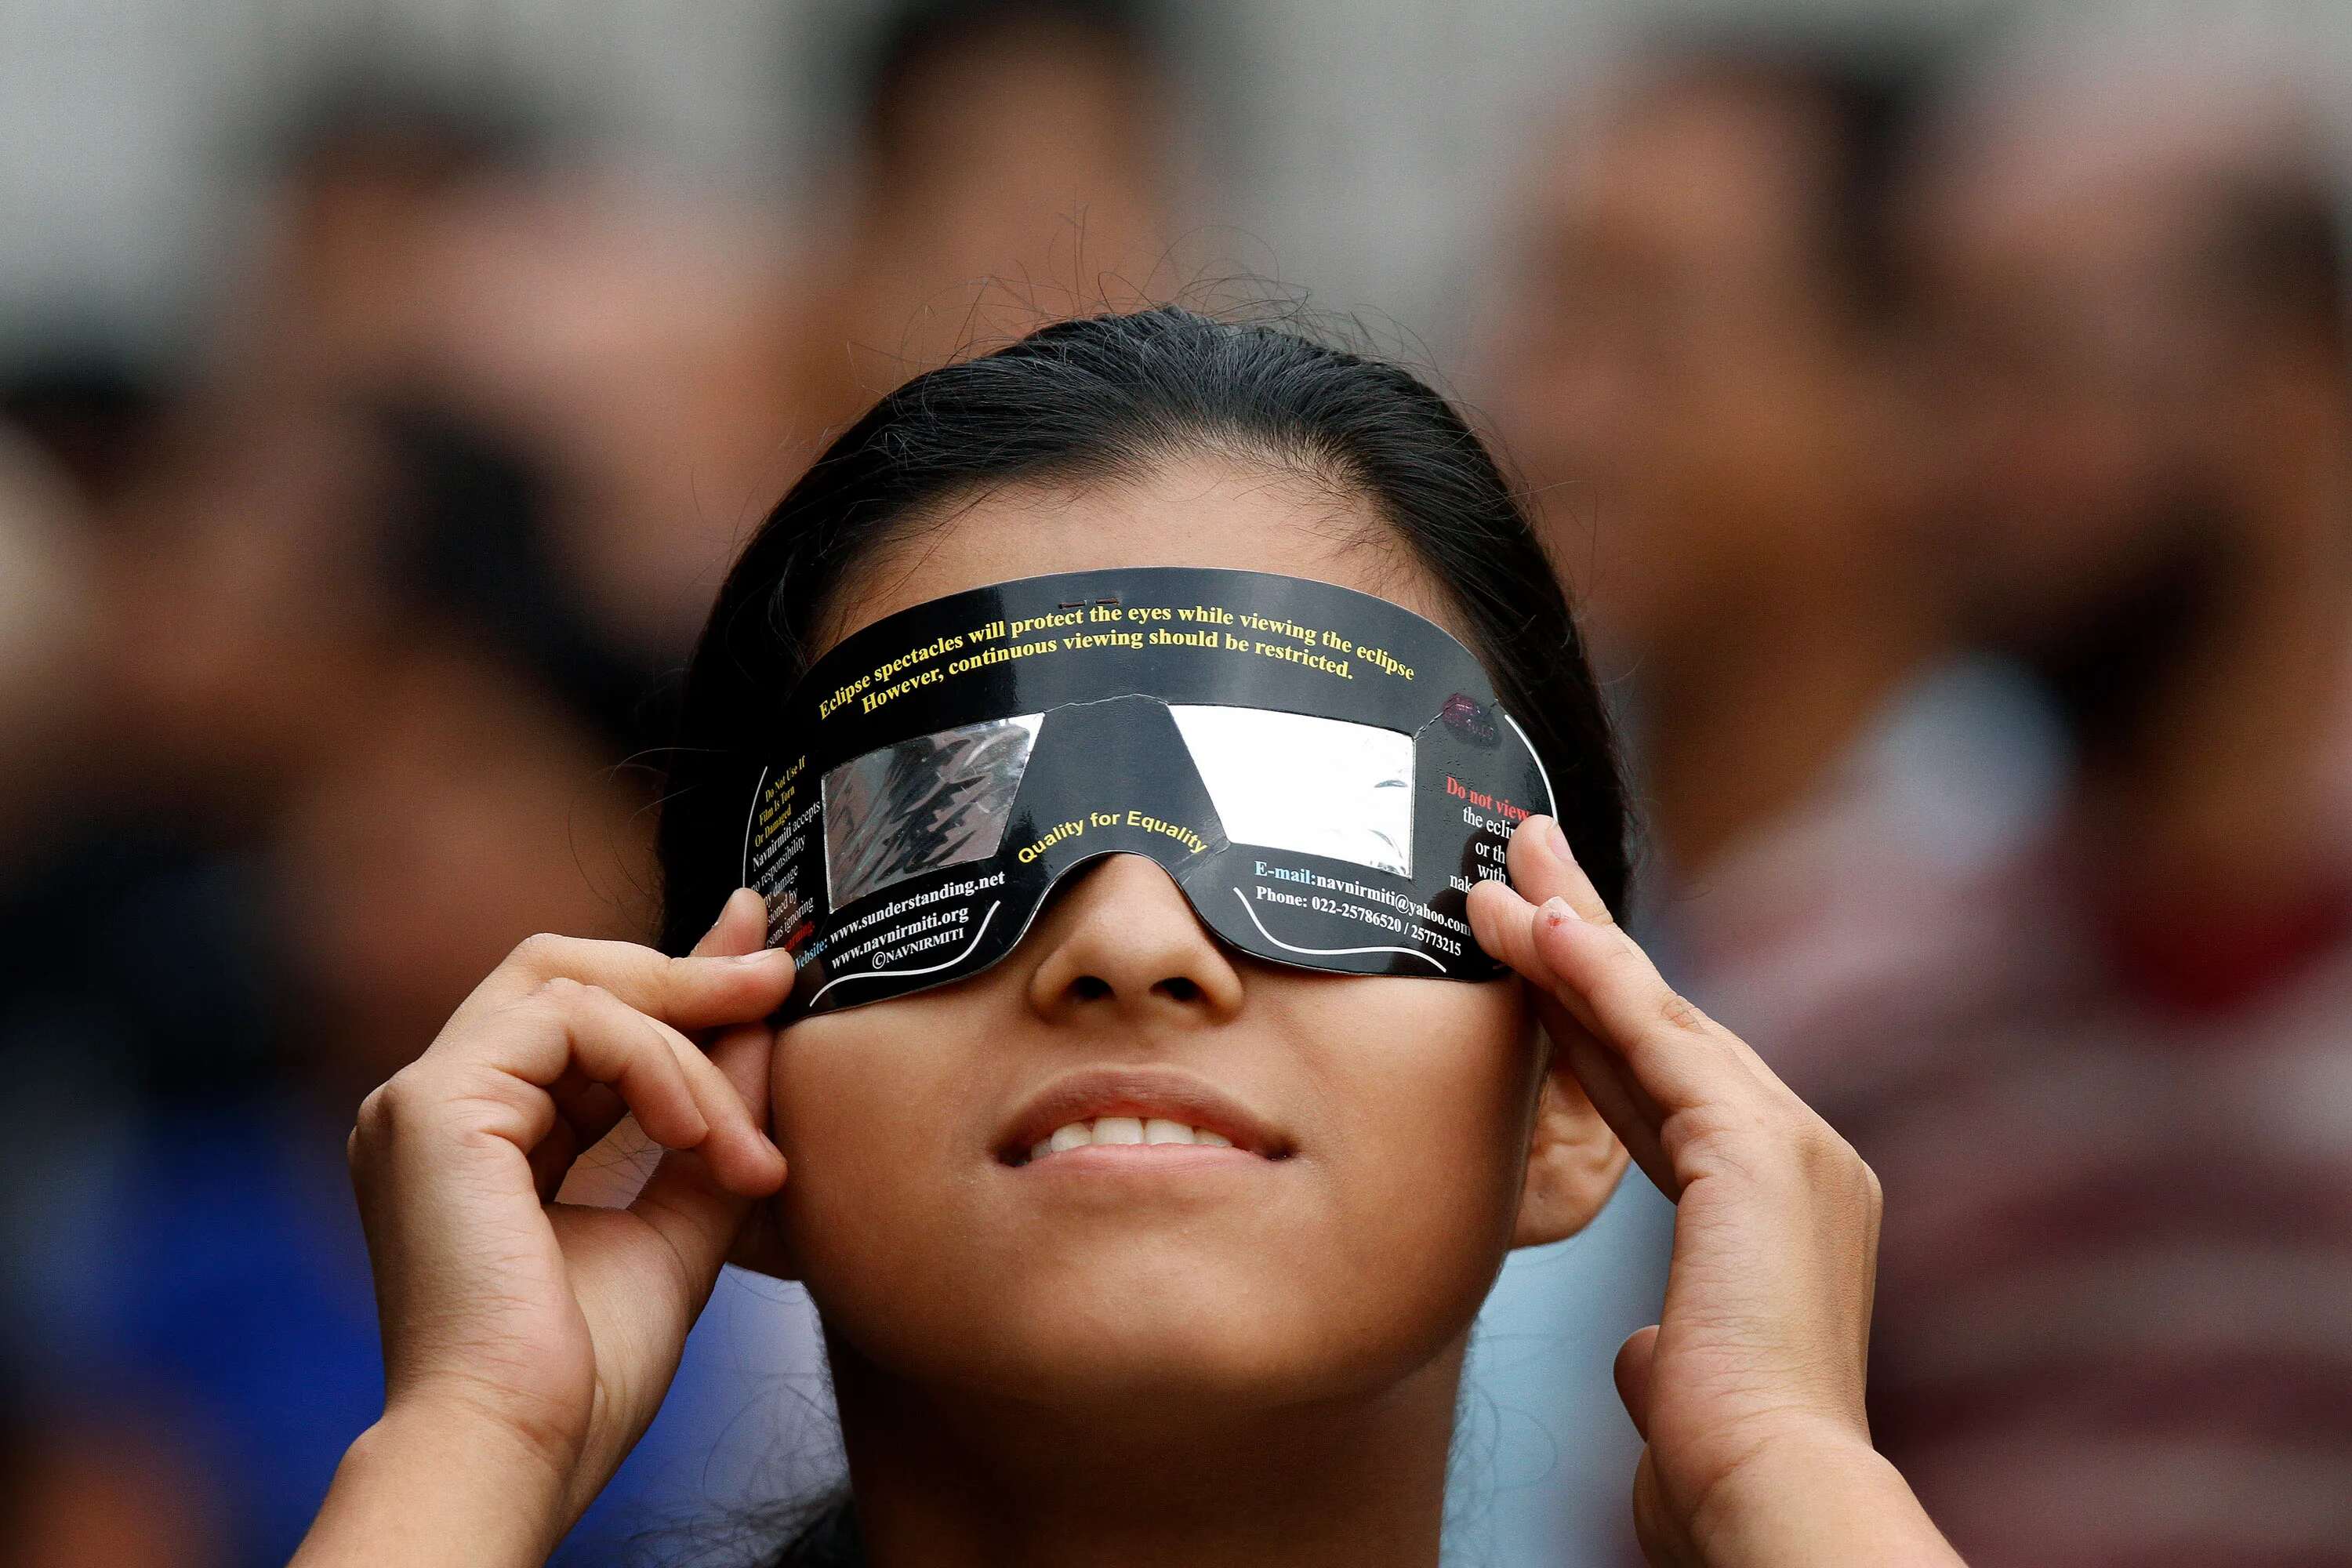
- Eclipse Glasses: During the eclipse, it’s essential to protect your eyes. Before and after capturing the eclipse, use eclipse glasses to safely view the event. Remember, never look directly at the Sun without proper protection.
Having the right camera equipment will set you up for success in photographing a solar eclipse. Now that you have a complete list of the necessary gear, let’s move on to the next section, where we’ll discuss important safety precautions to take during the eclipse.
Safety Precautions
When photographing a solar eclipse, it’s crucial to prioritize safety for yourself, your equipment, and your eyes. Here are some essential safety precautions to keep in mind:
- Protect Your Eyes: Never look directly at the Sun without proper eye protection. Use certified eclipse glasses or solar filters specifically designed for observing the Sun’s intense brightness. Regular sunglasses or camera filters are not sufficient for protecting your eyes during a solar eclipse.
- Protect Your Camera: The intense sunlight during a solar eclipse can damage your camera sensor. Always use a high-quality solar filter to protect your camera from the Sun’s harmful rays. Additionally, avoid pointing your camera directly at the Sun for extended periods, as it can cause overheating and damage to the internal components.
- Be Mindful of Heat: Extended periods of direct sunlight can cause your camera and lenses to heat up. To prevent overheating, try to keep your equipment in the shade or use a protective cover to shield them from direct sunlight.
- Stay Hydrated and Stay Comfortable: Depending on the location and time of the eclipse, you may be exposed to hot weather conditions. Make sure to stay hydrated and wear weather-appropriate clothing, including a hat and sunscreen. Comfort is key to ensuring that you can focus on capturing the eclipse without any physical discomfort.
- Plan Your Shoot Location: Before the eclipse day, scout out your shoot location and ensure it provides a clear view of the eclipse and a safe shooting environment. Choose a stable and spacious location where you can set up your tripod and move around comfortably without any obstacles.
- Follow Local Regulations: Be aware of any specific regulations or guidelines set by local authorities regarding eclipse observation and photography. Observe any necessary permits or restrictions to ensure a safe and lawful experience.
By following these safety precautions, you can fully enjoy the experience of capturing a solar eclipse with peace of mind. Now that you know how to prioritize safety, let’s move on to the next section, where we’ll discuss how to prepare for the eclipse day.
Preparing for the Eclipse
Preparing for the eclipse is crucial to ensure a smooth and successful photography experience. Here are some important steps to follow before the eclipse day:
- Research the Eclipse: Gather information about the date, time, and duration of the eclipse. Understand whether it will be a total, partial, or annular eclipse and the path of totality, if applicable. Knowing these details will help you plan your shoot location and understand what to expect during the event.
- Scout Your Location: Visit your chosen shoot location ahead of time, ideally during the same time of day as the eclipse, to assess the lighting conditions, potential obstacles, and the best vantage points. Consider any foreground elements, such as mountains or buildings, that can add interest to your composition.
- Check Weather Conditions: Keep a close eye on the weather forecast for the eclipse day. Clear skies are essential for optimal viewing and photography. If the weather forecast indicates poor conditions, consider alternative locations where the chances of clear skies are higher.
- Practice with Your Equipment: Familiarize yourself with your camera and its settings. Experiment with different exposure settings, focusing techniques, and bracketing to ensure you’re comfortable with the controls. Practice shooting the Sun to understand how your camera performs in extreme brightness and to perfect your composition skills.
- Make a Shoot Timeline: Plan your shoot timeline by referring to the eclipse timing. Note the start, maximum, and end times of the eclipse. This will help you determine when to arrive at your shoot location, set up your equipment, and adjust your camera settings accordingly.
- Charge Your Batteries and Clear Memory Cards: As a precaution, fully charge your camera batteries and bring extra batteries with you. Clear memory cards to ensure you have enough storage space for capturing the eclipse and any additional shots you may take during the event.
- Pack Essential Accessories: In addition to your camera and lens, pack essential accessories such as a lens cleaning kit, extra filters, lens hood, remote shutter release, tripod, and eclipse glasses. Having these accessories on hand will ensure you’re prepared for any situation that may arise during the eclipse.
By preparing for the eclipse ahead of time, you’ll be ready to capture the event without any last-minute stress. Now that you’re prepared, let’s dive into the next section, where we’ll discuss choosing the right settings to photograph the eclipse.
Choosing the Right Settings
Choosing the right camera settings is crucial to capture the beauty and detail of a solar eclipse. While there are no one-size-fits-all settings for every situation, here are some general guidelines to help you get started:
- Shoot in Manual Mode: Set your camera to manual mode to have full control over the exposure settings. This allows you to adjust the aperture, shutter speed, and ISO according to the specific lighting conditions during the eclipse.
- Aperture: Begin by setting your aperture to a narrow aperture such as f/8 or f/11 to maximize sharpness and depth of field. This will help ensure that both the eclipse and any foreground or background elements are in focus.
- Shutter Speed: Determine the correct shutter speed based on the type of eclipse and the level of brightness. During a total eclipse, you can start with a longer exposure time, around 1/125th of a second or longer, to capture the faint details of the Sun’s corona. For partial or annular eclipses, you may need to adjust your shutter speed to compensate for the increased brightness.
- ISO: Set your ISO to the lowest native setting of your camera, typically around ISO 100 or 200. This will help maintain optimal image quality and reduce noise in your photographs.
- Bracketing: Consider using exposure bracketing to capture a range of exposures. This is particularly useful when shooting a total solar eclipse, where the brightness of the corona may vary significantly from the dimmer outer edges. Bracketing allows you to capture both the details in the corona and the outer edges in separate exposures, which can be merged later in post-processing.
- White Balance: Set your camera’s white balance to daylight or use the custom white balance feature to ensure accurate color representation. Avoid using automatic white balance as it may cause inconsistencies in color temperature throughout the sequence of images.
- Image Format: Shoot in RAW format to retain maximum image information and flexibility during post-processing. RAW files offer greater control over exposure, white balance, and other adjustments compared to JPEG format.
Remember, these settings are starting points, and you may need to make adjustments based on the specific lighting conditions and the effect you’re trying to achieve. It’s essential to review your images on the camera’s LCD screen and make any necessary adjustments.
Now that you have a good understanding of the ideal settings for photographing a solar eclipse, let’s move on to the next section, where we’ll explore different focusing techniques to ensure your images are sharp and detailed.
Focusing Techniques
Choosing the right focusing technique is crucial for capturing clear and sharp images of a solar eclipse. The intense brightness of the Sun can make auto-focus unreliable, so here are some manual focusing techniques to consider:
- Pre-Focus Before the Eclipse: If possible, pre-focus your camera before the eclipse begins. Find a distant object at a similar distance to the Sun and use autofocus or live view to achieve sharp focus. Once focus is locked, switch to manual focus to prevent the camera from refocusing unintentionally during the eclipse.
- Use Live View: Utilize your camera’s live view mode to fine-tune the focusing. Zoom in on the Sun’s image using the live view, and manually adjust the focus until the edges of the Sun appear sharp and well-defined. Take your time to ensure precise focus.
- Focus Using Filters: If your solar filter does not allow you to see the Sun clearly in live view, you can temporarily remove the filter while being extremely cautious to avoid direct sunlight. Once the focus is achieved, reattach the filter to proceed with the photography.
- Try Focus Peaking: Some cameras offer a focus peaking feature that highlights areas of high contrast, making it easier to identify when the focus is sharp. Enable this feature in your camera settings to aid in achieving accurate focus.
- Use Manual Focus Assist: Another helpful tool is the manual focus assist or magnification function. This feature allows you to zoom in on a specific area of the image for precise manual focusing. Use it in conjunction with the focus ring on your lens to achieve the desired sharpness.
- Focus Bracketing: Consider using focus bracketing to capture a sequence of images with slight variations in focus. This technique ensures that you have multiple shots with varying levels of sharpness, giving you more options during post-processing.
Remember, achieving precise focus is essential for capturing the intricate details of a solar eclipse. Take your time and experiment with different focusing techniques to find the method that works best for your camera and lens combination.
Now that you’ve mastered the art of focusing, let’s move on to the next section, where we’ll discuss the techniques and tips for shooting the solar eclipse itself.
Shooting the Eclipse
Now that you’re equipped with the right equipment, settings, and focusing techniques, it’s time to capture the solar eclipse itself. Here are some essential tips and techniques to help you make the most of this incredible phenomenon:
- Start Early: Arrive at your shoot location well in advance to set up your equipment and take some test shots to ensure everything is working correctly.
- Compose Your Shot: Experiment with different compositions to capture the eclipse in a visually appealing way. Consider including foreground elements such as landscapes or buildings to add depth and interest to your images.
- Shoot with Burst Mode: Set your camera to burst mode to capture a rapid sequence of images. This will ensure you don’t miss any critical moments of the eclipse, especially during the phases of totality or maximum coverage.
- Blend Exposure: During a total solar eclipse, the brightness of the corona can vary significantly from the Sun’s outer edges. To capture the full range of details, consider blending multiple exposures in post-processing. This technique allows you to merge different exposures and highlight the intricate features of the eclipse.
- Experiment with Different Angles: Try shooting the eclipse from various perspectives, including wide-angle shots to capture the entire scene and close-ups to emphasize specific details. Don’t be afraid to get creative and explore unique angles that make your images stand out.
- Monitor the Light: Keep an eye on the changing light conditions during the eclipse. As the Moon moves across the Sun, the overall lighting will change, potentially affecting your exposure settings. Make adjustments accordingly to maintain proper exposure throughout the event.
- Be Ready for the Diamond Ring Effect: During the moments of totality, be prepared to capture the magnificent diamond ring effect as the last bit of sunlight shines through a valley on the Moon’s surface. This is a rare and breathtaking sight that can create exceptional images.
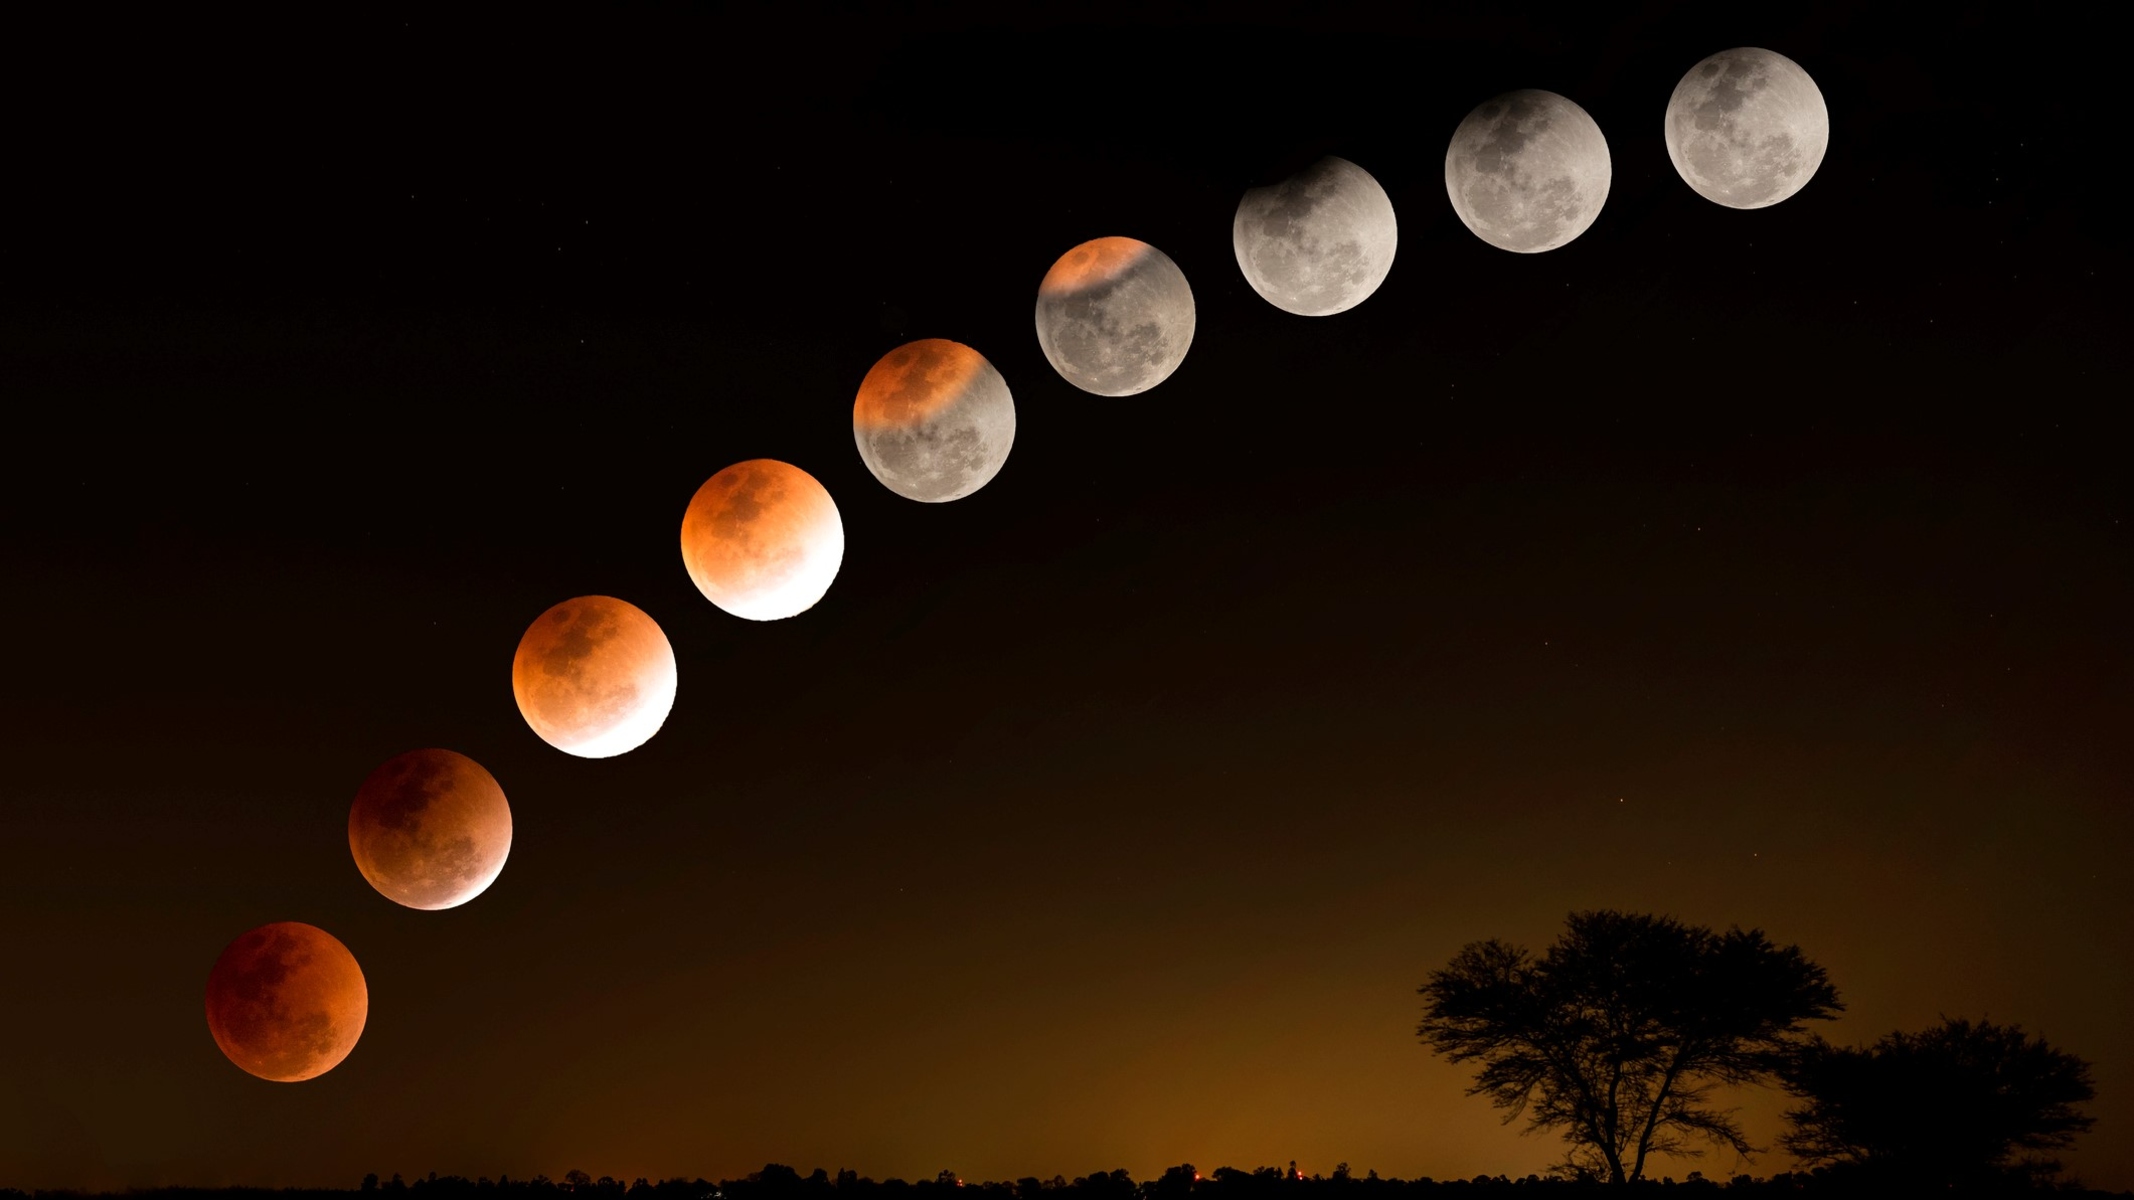
- Capture the Eclipse’s Progression: Throughout the various stages of the eclipse, take a series of shots to document the progression. This will give you a comprehensive collection of images that showcase the eclipse’s transformation from start to finish.
- Stay Present and Enjoy the Experience: While it’s important to focus on capturing stunning photographs, don’t forget to take moments to immerse yourself in the experience of witnessing a solar eclipse. Take breaks from shooting to simply observe and appreciate this awe-inspiring celestial event.
By following these tips, techniques, and strategies, you’ll be able to capture the magic and beauty of a solar eclipse with your digital camera. Now that you’re ready to shoot, let’s move on to the next section, where we’ll explore some additional tips and tricks to enhance your eclipse photography skills.
Tips and Tricks
When it comes to photographing a solar eclipse, a little extra knowledge and creativity can go a long way in capturing truly remarkable images. Here are some additional tips and tricks to enhance your eclipse photography skills:
- Bracket Your Exposures: Take multiple shots with different exposure settings to ensure you have a well-exposed image. This will give you more flexibility during post-processing and help you achieve the desired level of detail in different areas of the eclipse.
- Experiment with Filters and Filters Stacking: Use different filters, such as neutral density filters or polarizers, to enhance the contrast and color saturation of your eclipse photos. You can also try stacking filters for more creative effects. Just be cautious not to overuse filters and compromise the image quality.
- Include People or Landmarks: To add a sense of scale and context to your eclipse photos, consider including people or landmarks in the frame. This can help emphasize the grandeur of the celestial event and create more engaging and storytelling compositions.
- Track the Eclipse: If you have a motorized equatorial mount, you can track the movement of the Sun during the eclipse. This allows you to capture longer exposures without any motion blur, revealing more details and colors in the corona.
- Create a Time-Lapse: Use an intervalometer or time-lapse feature on your camera to capture a series of photos at regular intervals throughout the eclipse. Once compiled, these images can create a stunning time-lapse video that showcases the entire sequence of the eclipse’s progression.
- Consider Silhouettes: Experiment with silhouette photography by positioning people, trees, or other objects in front of the eclipsed Sun. This technique can create dramatic and artistic compositions that highlight the unique atmosphere of the event.
- Prepare Backup Equipment: In case of any technical failures or mishaps, it’s always wise to have backup camera bodies, lenses, memory cards, and batteries readily available. Being prepared will help you avoid missing out on capturing this spectacular event.
- Take Breaks and Relax: Eclipse photography can be demanding, both physically and mentally. Remember to take breaks, relax, and enjoy the experience. Stepping away from your camera for a while can reinvigorate your creativity and allow you to appreciate the eclipse with a fresh perspective.
- Experiment and Have Fun: Don’t be afraid to experiment with different settings, techniques, and creative ideas. The beauty of eclipse photography lies in the uniqueness and unpredictability of the event. Embrace the opportunity to explore and let your creativity soar.
By incorporating these tips and tricks into your eclipse photography, you’ll be able to elevate your images and capture truly breathtaking moments. Now, let’s move on to the next section, where we’ll discuss the post-processing techniques to enhance and refine your eclipse photos.
Post-processing the Images
Post-processing is an integral part of the eclipse photography workflow and allows you to enhance and refine your images further. Here are some post-processing techniques to consider:
- Import and Organize: Start by importing your eclipse images into your preferred post-processing software. Create a structured folder system to stay organized and easily locate your files.
- Basic Adjustments: Begin by making basic adjustments such as adjusting exposure, contrast, and saturation. This will help bring out the details and colors captured during the eclipse. Be mindful of not overdoing the adjustments, as it can result in unnatural-looking images.
- Focus Stacking: If you captured multiple exposures with different focus points, consider focus stacking to combine them and achieve a final image with a greater depth of field and sharpness.
- Noise Reduction: Due to the higher ISO settings often used during eclipse photography, noise can be a concern. Use noise reduction tools in your post-processing software to minimize the noise while preserving the details in the image.
- Adjust White Balance: Fine-tune the white balance to accurately represent the colors of the eclipse. Experiment with different color temperature settings to find the balance that best matches the atmosphere of the event.
- Crop and Straighten: Consider cropping and straightening your images to improve the composition and eliminate any distractions around the eclipse. Keep in mind the rule of thirds and other compositional guidelines to enhance the visual impact.
- Enhance Details: Use sharpening tools selectively to enhance the details in the eclipse, such as the texture of the corona or the crispness of the solar prominences. Be cautious not to oversharpen, as it can introduce artifacts and make the image appear unnatural.
- Special Effects and Filters: Explore creative possibilities by applying special effects and filters to your eclipse images. Experiment with black and white conversions, vignettes, or other artistic effects to add a unique touch to your photographs.
- Save in Appropriate Formats: Once you’re satisfied with the post-processing adjustments, save your eclipse images in the appropriate file formats. Consider keeping a high-quality version in RAW format for archival purposes and create JPEG copies for easy sharing and printing.
Remember, the goal of post-processing is to enhance the images and bring out the true beauty of the eclipse. However, it’s important to exercise restraint and maintain the integrity of the captured event. Strive for a natural and visually appealing representation of the eclipse.
Now that you have all the knowledge and techniques to post-process your eclipse images, it’s time to put them to practice and unleash your creativity. After all, post-processing is the final step in bringing your vision to life.
Conclusion
Capturing a solar eclipse with your digital camera is a remarkable and rewarding experience. By understanding the nature of solar eclipses, investing in the right equipment, practicing proper safety precautions, and applying the right techniques, you can immortalize the awe-inspiring beauty of this celestial event.
Throughout this guide, we have covered various aspects of photographing a solar eclipse, from understanding the different types of eclipses to choosing the right camera settings and focusing techniques. We have also explored tips and tricks to enhance your eclipse photography skills and discussed post-processing techniques to further refine and enhance your images.
However, it’s important to remember that capturing a solar eclipse is not just about technicalities and perfect shots. Take the time to appreciate the wonder of this celestial phenomenon and enjoy the experience of witnessing such a rare event. Remember to protect your eyes and equipment, plan ahead, and be prepared for any challenges that may arise.
As you embark on your journey to photograph a solar eclipse, don’t be afraid to experiment, try new angles and compositions, and let your creativity guide you. Each eclipse is unique, offering moments of breathtaking beauty and inspiration.
So, grab your camera, prepare your equipment, and get ready to capture the magic of a solar eclipse. Whether it’s a total, partial, or annular eclipse, your photographs will not only reflect your skills as a photographer but also serve as a testament to the majestic wonders of the universe.
Now, go out there and create stunning images that will leave a lasting impression and tell the story of a solar eclipse through your lens.