Introduction
The solar eclipse is a fascinating astronomical phenomenon that captures the imagination of people around the world. It occurs when the Moon passes between the Earth and the Sun, temporarily blocking the Sun’s light and casting a shadow on the Earth’s surface. During a solar eclipse, the sky darkens, and the sun seems to disappear, replaced by a breathtaking celestial display.
One of the safest and easiest ways to view a solar eclipse is by using a pinhole projector. This simple device allows you to see the eclipse without directly looking at the Sun, protecting your eyes from potential damage. A pinhole projector uses the principle of projecting the Sun’s image onto a screen through a small pinhole, creating a magnified and safe view of the eclipse.
In this guide, we will take you through the steps of creating your very own pinhole projector to view the solar eclipse. You don’t need any special equipment or technical expertise; all you need is a few common household items and a willingness to explore the wonders of the universe.
So, grab your materials and let’s get started on this exciting journey of making a pinhole projector and safely observing the solar eclipse!
What is a Solar Eclipse?
A solar eclipse is a celestial event that occurs when the Moon passes in front of the Sun, creating a shadow on the Earth. This alignment of the Sun, Moon, and Earth causes the Moon to briefly block out the Sun’s light, casting a shadow on a specific area of the Earth’s surface. As a result, the sky darkens, and the Sun appears as a partial or total eclipse.
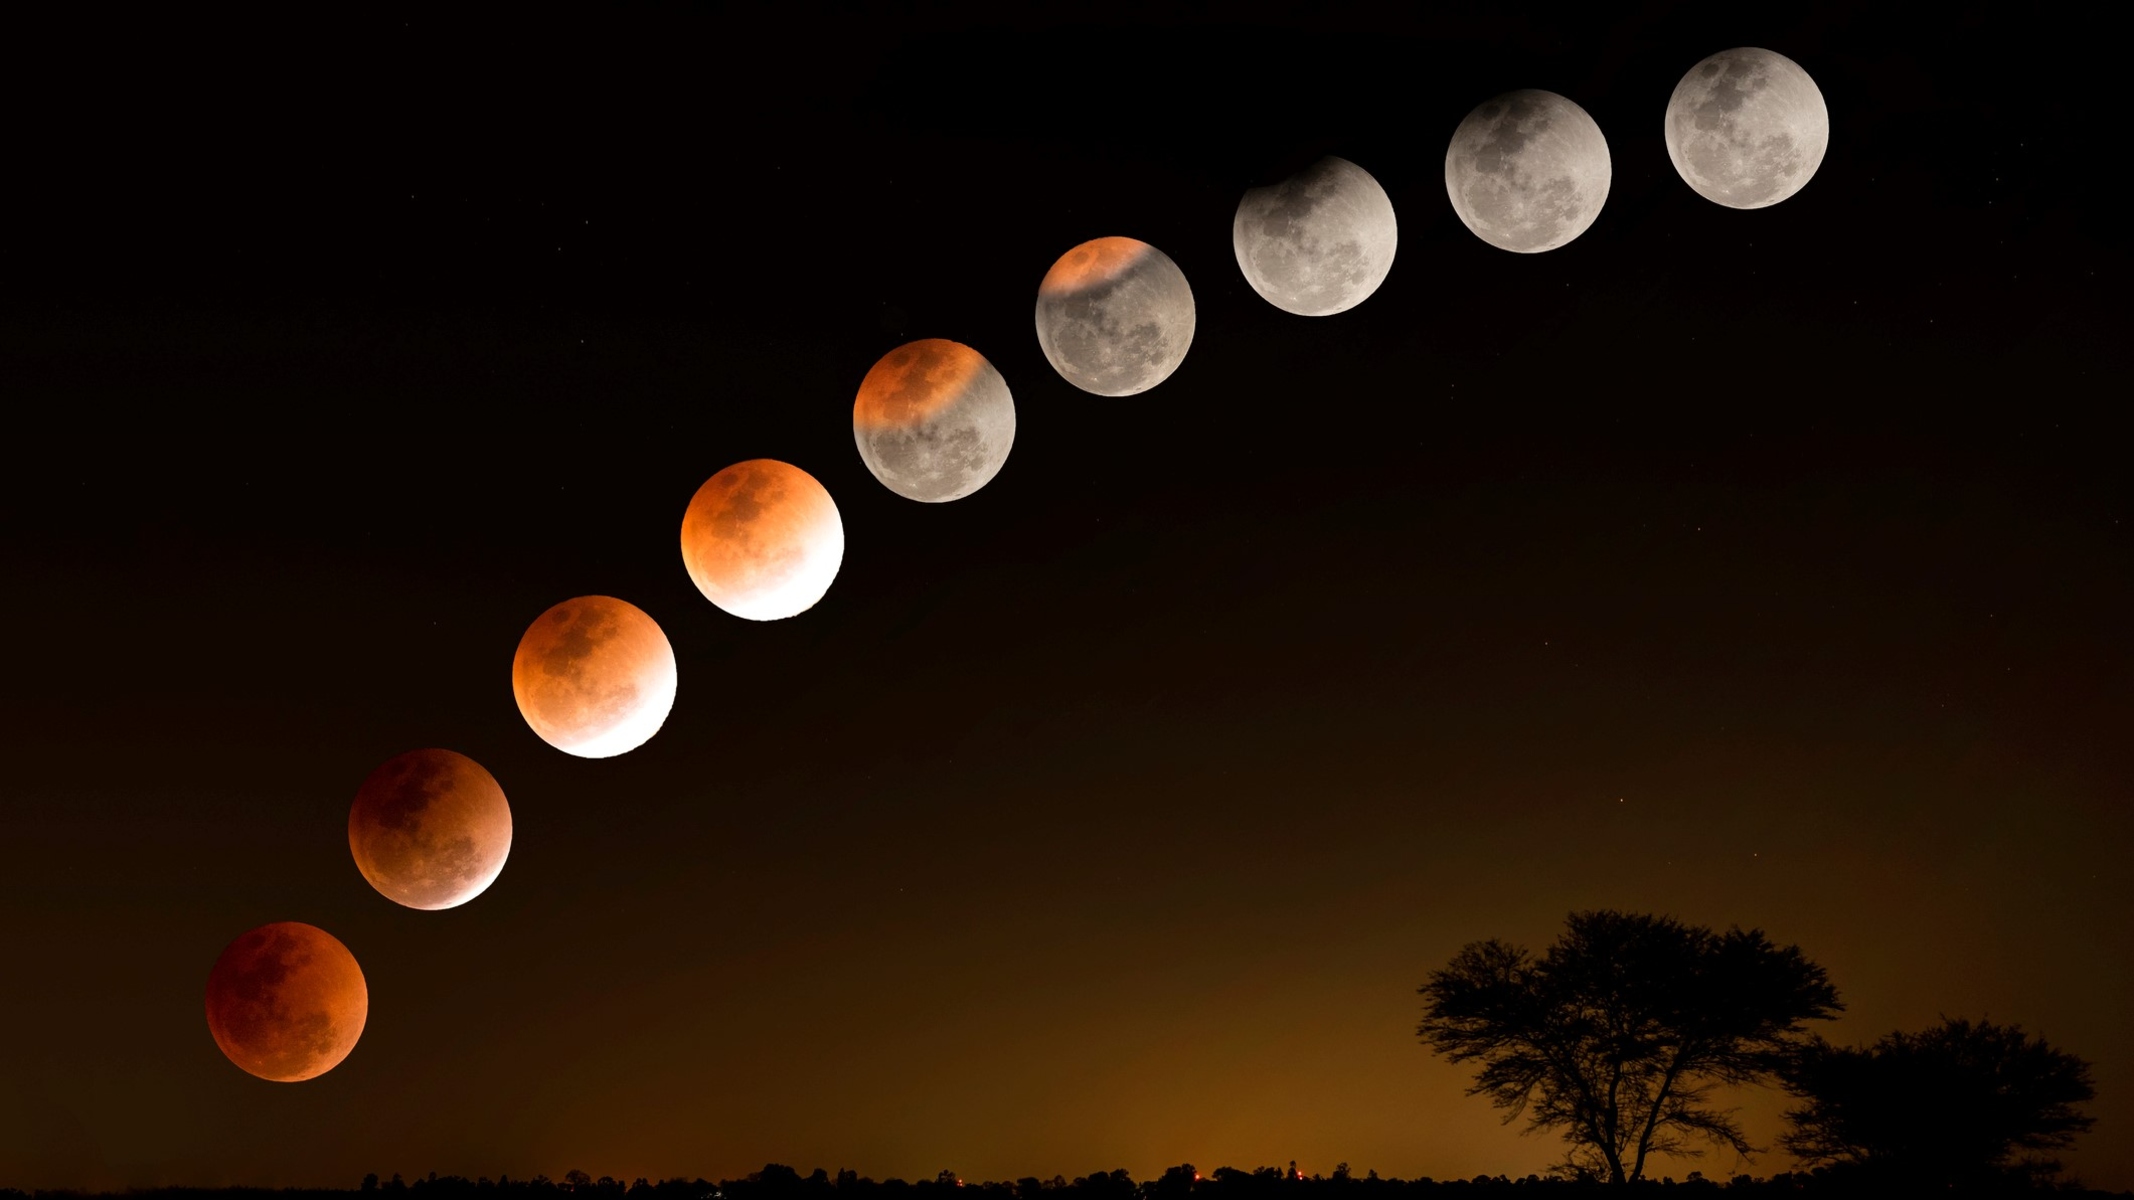
There are three main types of solar eclipses: total, partial, and annular. During a total solar eclipse, the Moon completely covers the Sun, creating a stunning visual spectacle. This is the rarest and most awe-inspiring type of eclipse, as it allows observers within the path of totality to witness the Sun’s outer atmosphere, known as the corona.
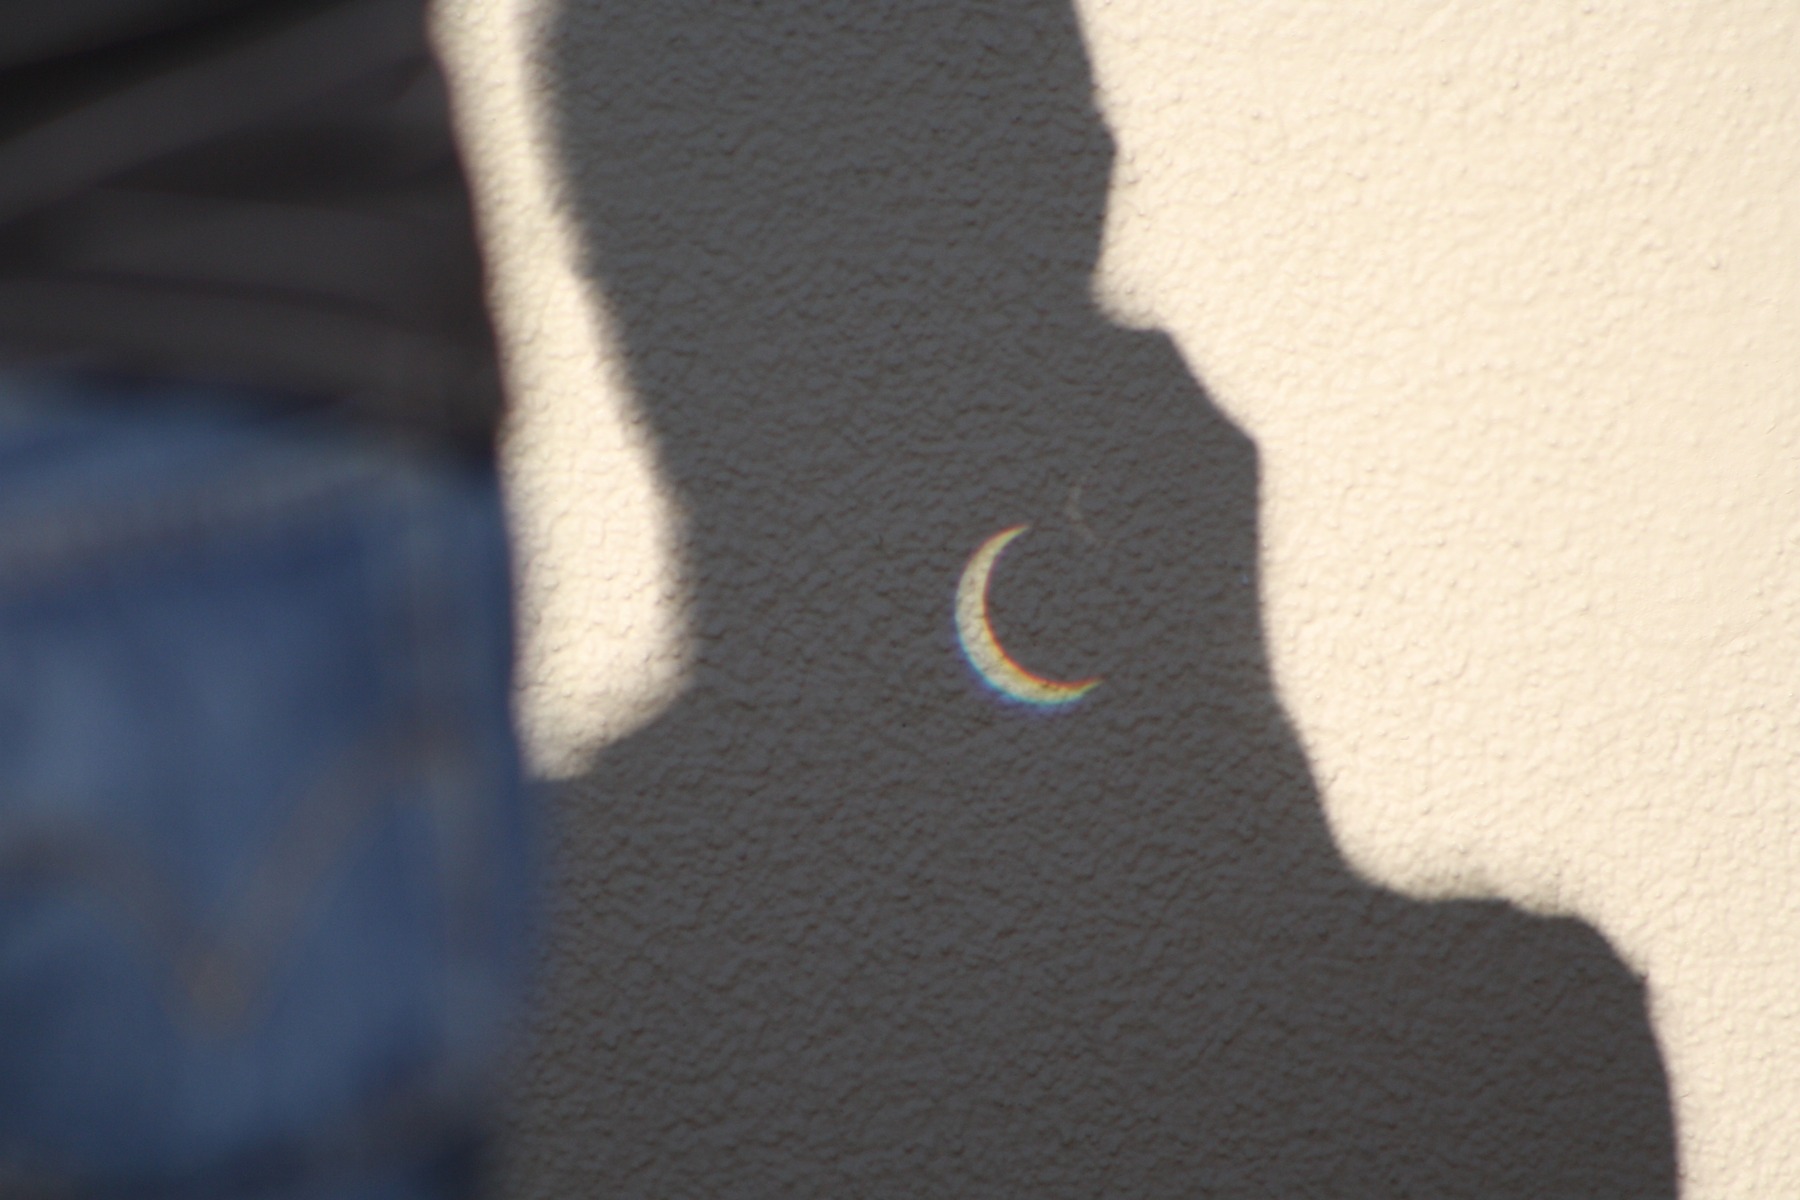
A partial solar eclipse occurs when the Moon only partially covers the Sun, leaving a crescent-shaped portion visible. This type of eclipse is more common and can be observed from a larger geographic area. While the Sun is partially covered, caution must still be exercised when viewing the eclipse to protect your eyes from the Sun’s harmful rays.
An annular solar eclipse happens when the Moon is farthest from the Earth and appears smaller in size compared to the Sun. As a result, the Moon does not completely block the Sun’s disc, leaving a ring of sunlight visible around the Moon. While not as dramatic as a total eclipse, annular eclipses are still captivating to witness.
Solar eclipses are not only visually stunning but also scientifically significant. They provide astronomers and researchers with an opportunity to study the Sun’s outer atmosphere, observe changes in the Earth’s temperature and weather patterns, and explore the effects of eclipses on wildlife and the environment.
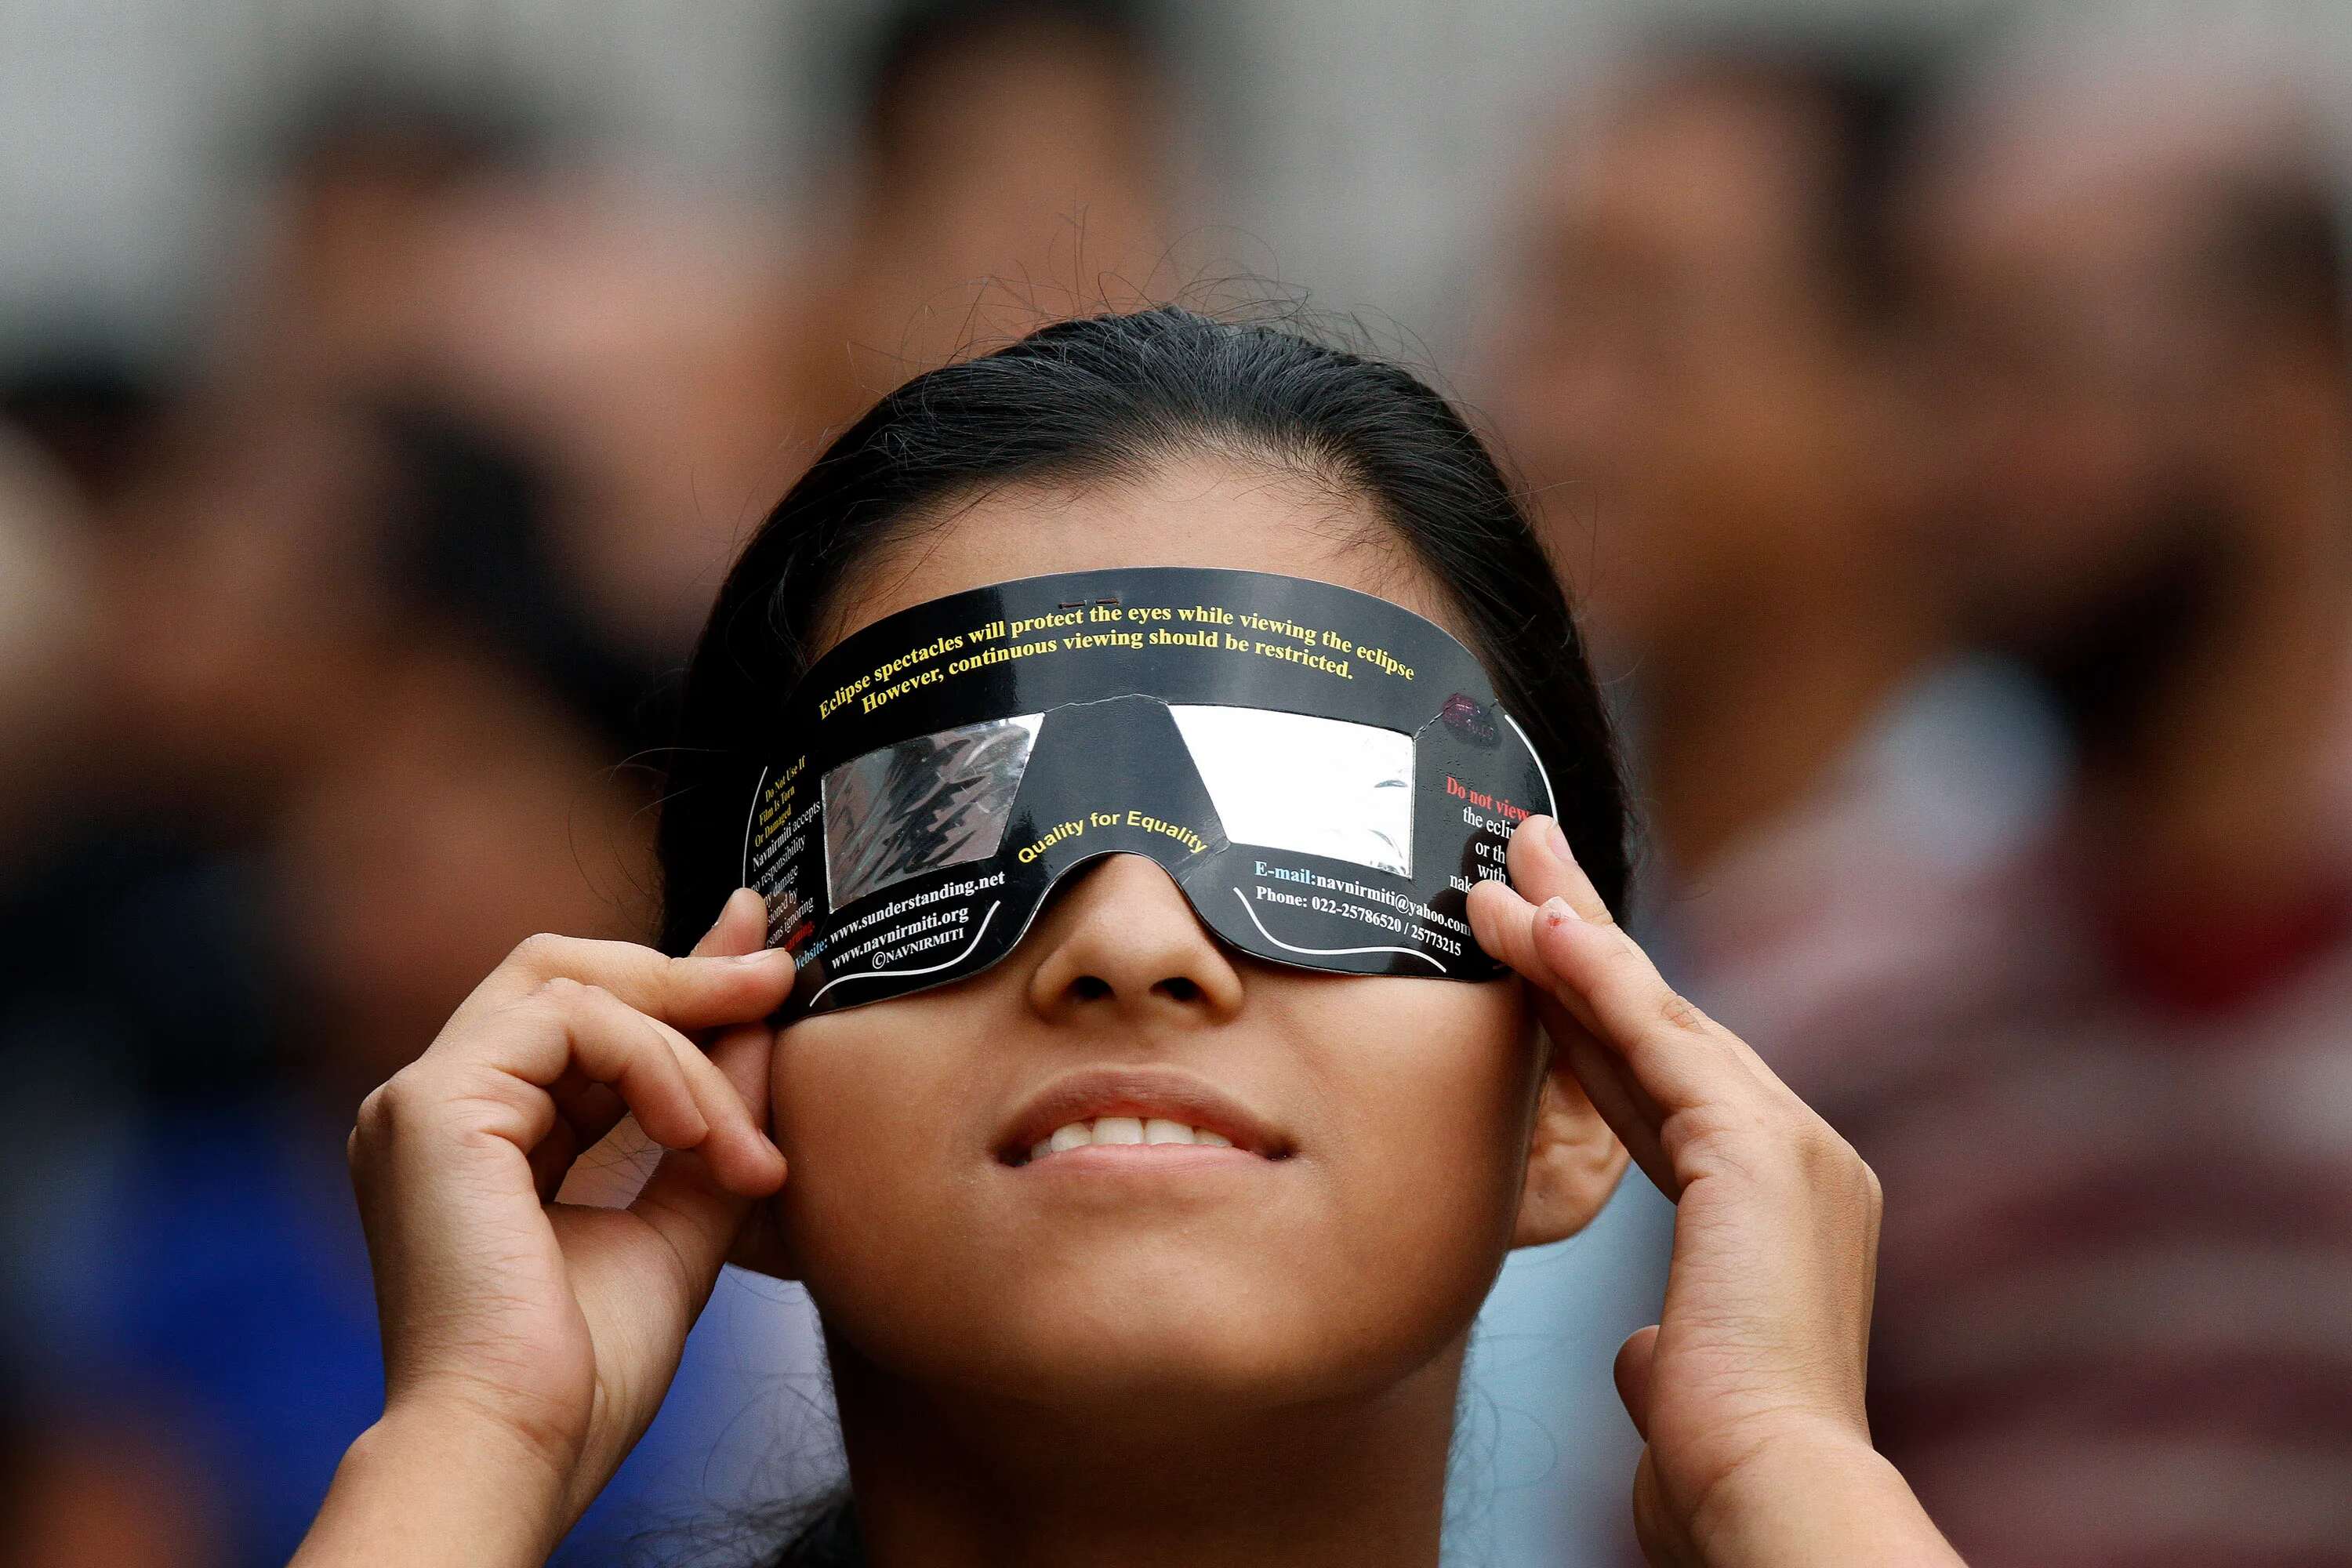
It’s important to note that observing a solar eclipse directly without proper eye protection can cause permanent damage to your eyes. That’s why using a pinhole projector is a safe and effective way to view this celestial phenomenon.
What is a Pinhole Projector?
A pinhole projector is a simple device that allows you to safely view a solar eclipse. It works on the principle of using a small pinhole to project an image of the Sun onto a screen or surface, such as a piece of cardboard or a wall.
The concept behind the pinhole projector is based on the principle of light traveling in straight lines. When light passes through a small hole, it forms an inverted image on the other side. In the case of a solar eclipse, the pinhole acts as the aperture that allows a small amount of light to pass through. This light then forms an image of the Sun on a surface behind the pinhole.
By positioning yourself correctly in relation to the pinhole, you can observe the magnified image of the partially or fully eclipsed Sun. The pinhole projector allows you to view the eclipse indirectly, protecting your eyes from the Sun’s intense rays.
The beauty of a pinhole projector lies in its simplicity and accessibility. You don’t need any specialized equipment or expensive tools to create one. In fact, you can make a pinhole projector using common household items such as a cardboard box, aluminum foil, and a small pin or needle.
While pinhole projectors are an excellent option for safely viewing a solar eclipse, it’s essential to remember that the size of the pinhole determines the clarity of the image projected. A smaller pinhole will result in a sharper image, while a larger pinhole will produce a less-defined image. Experimenting with different pinhole sizes can help you achieve the optimal image quality for your pinhole projector.
Using a pinhole projector not only protects your eyes but also provides a hands-on and educational experience. It allows you to witness the wonder of a solar eclipse, understand the science behind it, and appreciate the intricate workings of our solar system.
Now that you know what a pinhole projector is and how it works, it’s time to gather the materials needed to create your very own projector and embark on your solar eclipse viewing adventure!
Why Use a Pinhole Projector?
Using a pinhole projector to view a solar eclipse offers numerous advantages, making it a popular choice among both amateur skywatchers and experienced astronomers. Here are a few reasons why using a pinhole projector is the preferred method for observing a solar eclipse:
1. Eye Safety: The primary reason to use a pinhole projector is to protect your eyes. Looking directly at the Sun, even during an eclipse, can cause severe retinal damage or permanent vision loss. A pinhole projector allows you to view the eclipse indirectly, ensuring that your eyes remain safe from harmful solar radiation.
2. Accessibility: Creating a pinhole projector is easy and requires minimal materials, most of which you can find around your home. It is a cost-effective alternative to specialized solar filters or eclipse glasses, which may not be readily available or affordable for everyone.
3. Educational Value: Making a pinhole projector provides an excellent opportunity for hands-on learning and scientific exploration. It allows you to understand the principles of light, optics, and the alignment of celestial bodies. It’s a great educational activity for children and adults alike to engage in during an eclipse event.
4. Visual Experience: While looking at the eclipse through eclipse glasses or specialized filters offers a direct view, using a pinhole projector provides a unique visual experience. The projected image of the partially or fully eclipsed Sun can be magnified and cast onto a screen, revealing intricate details of the eclipse and making it easier to observe any changes in the Sun’s shape and appearance.
5. Sharing with Others: A pinhole projector allows multiple people to view the eclipse simultaneously. It’s a shared experience that can be enjoyed with friends, family, or fellow eclipse enthusiasts. By projecting the image, everyone can witness the eclipse together, fostering a sense of community and wonder.
Remember that the effectiveness of a pinhole projector depends on the size and quality of the pinhole, as well as the positioning of the projector. Taking the time to create a well-crafted pinhole projecto
Materials Needed
To create a pinhole projector for viewing a solar eclipse, you’ll need a handful of simple materials. Most of these items can be found around your home or easily purchased at a local store. Here’s what you’ll need:
- Cardboard Box: Look for a sturdy cardboard box large enough to accommodate your pinhole projector. A shoebox or cereal box should work well.
- Scissors or Craft Knife: You’ll need a tool to cut through the cardboard to create the necessary openings.
- Aluminum Foil: A sheet of aluminum foil will be used to create the screen onto which the Sun’s image will be projected.
- Tape: Use transparent or duct tape to secure the foil and assemble the projector.
- Pin or Needle: You’ll need a sharp pointy object like a pin or needle to create a small hole in the foil.
- White paper or cardstock: This will serve as the base inside the box where the image of the eclipse will be projected.
- Markers or pens: To decorate your pinhole projector if desired.
These materials are easily accessible and affordable, making the pinhole projector a cost-effective option for observing a solar eclipse.
Keep in mind that safety should always be a priority when creating and using your pinhole projector. Ensure that your materials are in good condition and free from any hazards. Be cautious when using scissors or craft knives, and keep them out of reach of children. Additionally, exercise caution when handling the pin or needle, as they can be sharp.
Once you’ve gathered all the necessary materials, you’re ready to move on to the next step: preparing the cardboard box for your pinhole projector.
Step 1: Prepare the Cardboard
The first step in creating your pinhole projector is to prepare the cardboard box that will serve as the main structure. Here’s how to do it:
- Select a Suitable Box: Choose a cardboard box that is sturdy and large enough to accommodate your pinhole projector. A shoebox or cereal box will work well for this purpose.
- Remove any Unwanted Flaps or Labels: Before you begin, make sure to remove any flaps or labels from the box that may obstruct the construction process or interfere with the projection.
- Seal the Box: If there are any openings or seams in the box, use tape to seal them. You want to ensure that no light can enter the box except through the pinhole.
- Prepare the Viewing Hole: On one side of the box, determine where you want the viewing hole to be. It should be a small square or rectangular opening that will later accommodate the screen for projecting the image.
- Mark and Cut Out the Hole: Use a ruler or measurements to mark the dimensions of the hole on the box. Then, carefully cut along the marked lines using scissors or a craft knife. Take your time to make precise cuts, as this will affect the quality of the projected image.
Once you’ve prepared the cardboard box, you’ve completed the first step in constructing your pinhole projector. The box is now ready for the next step, which involves cutting out a square in the side of the box to create the viewing area for the solar eclipse projection.
Step 2: Cut Out a Square in the Side of the Box
In the previous step, you prepared the cardboard box by sealing it and marking the desired location for the viewing hole. Now, it’s time to cut out a square in the side of the box to create the viewing area for the solar eclipse projection. Follow these instructions:
- Position the Box: Place the box on a flat surface with the side you marked for the viewing hole facing up. Make sure you have enough workspace to comfortably cut the square opening.
- Determine the Size of the Square: Decide how big you want the viewing area to be. Keep in mind that the larger the square, the bigger the projected image will be. Use a ruler or measurements to mark the dimensions of the square on the box.
- Cut along the Marked Lines: Carefully cut along the marked lines using scissors or a craft knife. Take your time and make precise cuts to ensure a clean and even square opening.
- Remove the Cut-Out Piece: Once the square is cut out, gently push it inward to detach it from the rest of the box. Discard the cut-out piece or set it aside for future use.
By cutting out the square in the side of the box, you have created the viewing area for the solar eclipse projection. This hole will allow the sunlight to enter the box through the pinhole you will create in the next step.
Now that the square opening is complete, you’re ready to move on to the next step of creating your pinhole projector: creating the pinhole itself.
Step 3: Create the Pinhole
In the previous step, you cut out a square in the side of the box to create the viewing area for the solar eclipse projection. Now, it’s time to create the pinhole that will allow the sunlight to enter the box. Follow these instructions:
- Select a Suitable Location: Choose a spot on the side of the box, opposite the viewing area, where you will create the pinhole. This location should be near the center of the box to ensure a clear and focused projection of the solar eclipse.
- Poke a Hole: Take a pin or needle and gently poke it through the selected location on the box. Start with a small hole and gradually widen it. The ideal size of the pinhole should be approximately the width of the pin or needle.
- Smooth the Edges: After creating the pinhole, use your fingers or a small piece of sandpaper to smooth any rough edges around the hole. This will ensure a clean and clear projection of the solar eclipse.
The pinhole is a crucial component of the pinhole projector as it allows a small amount of sunlight to pass through into the box. This light will then create a projected image of the solar eclipse on the screen inside the box.
With the pinhole created, you’re now ready to move on to the next step: taping aluminum foil over the square hole you cut in the earlier step.
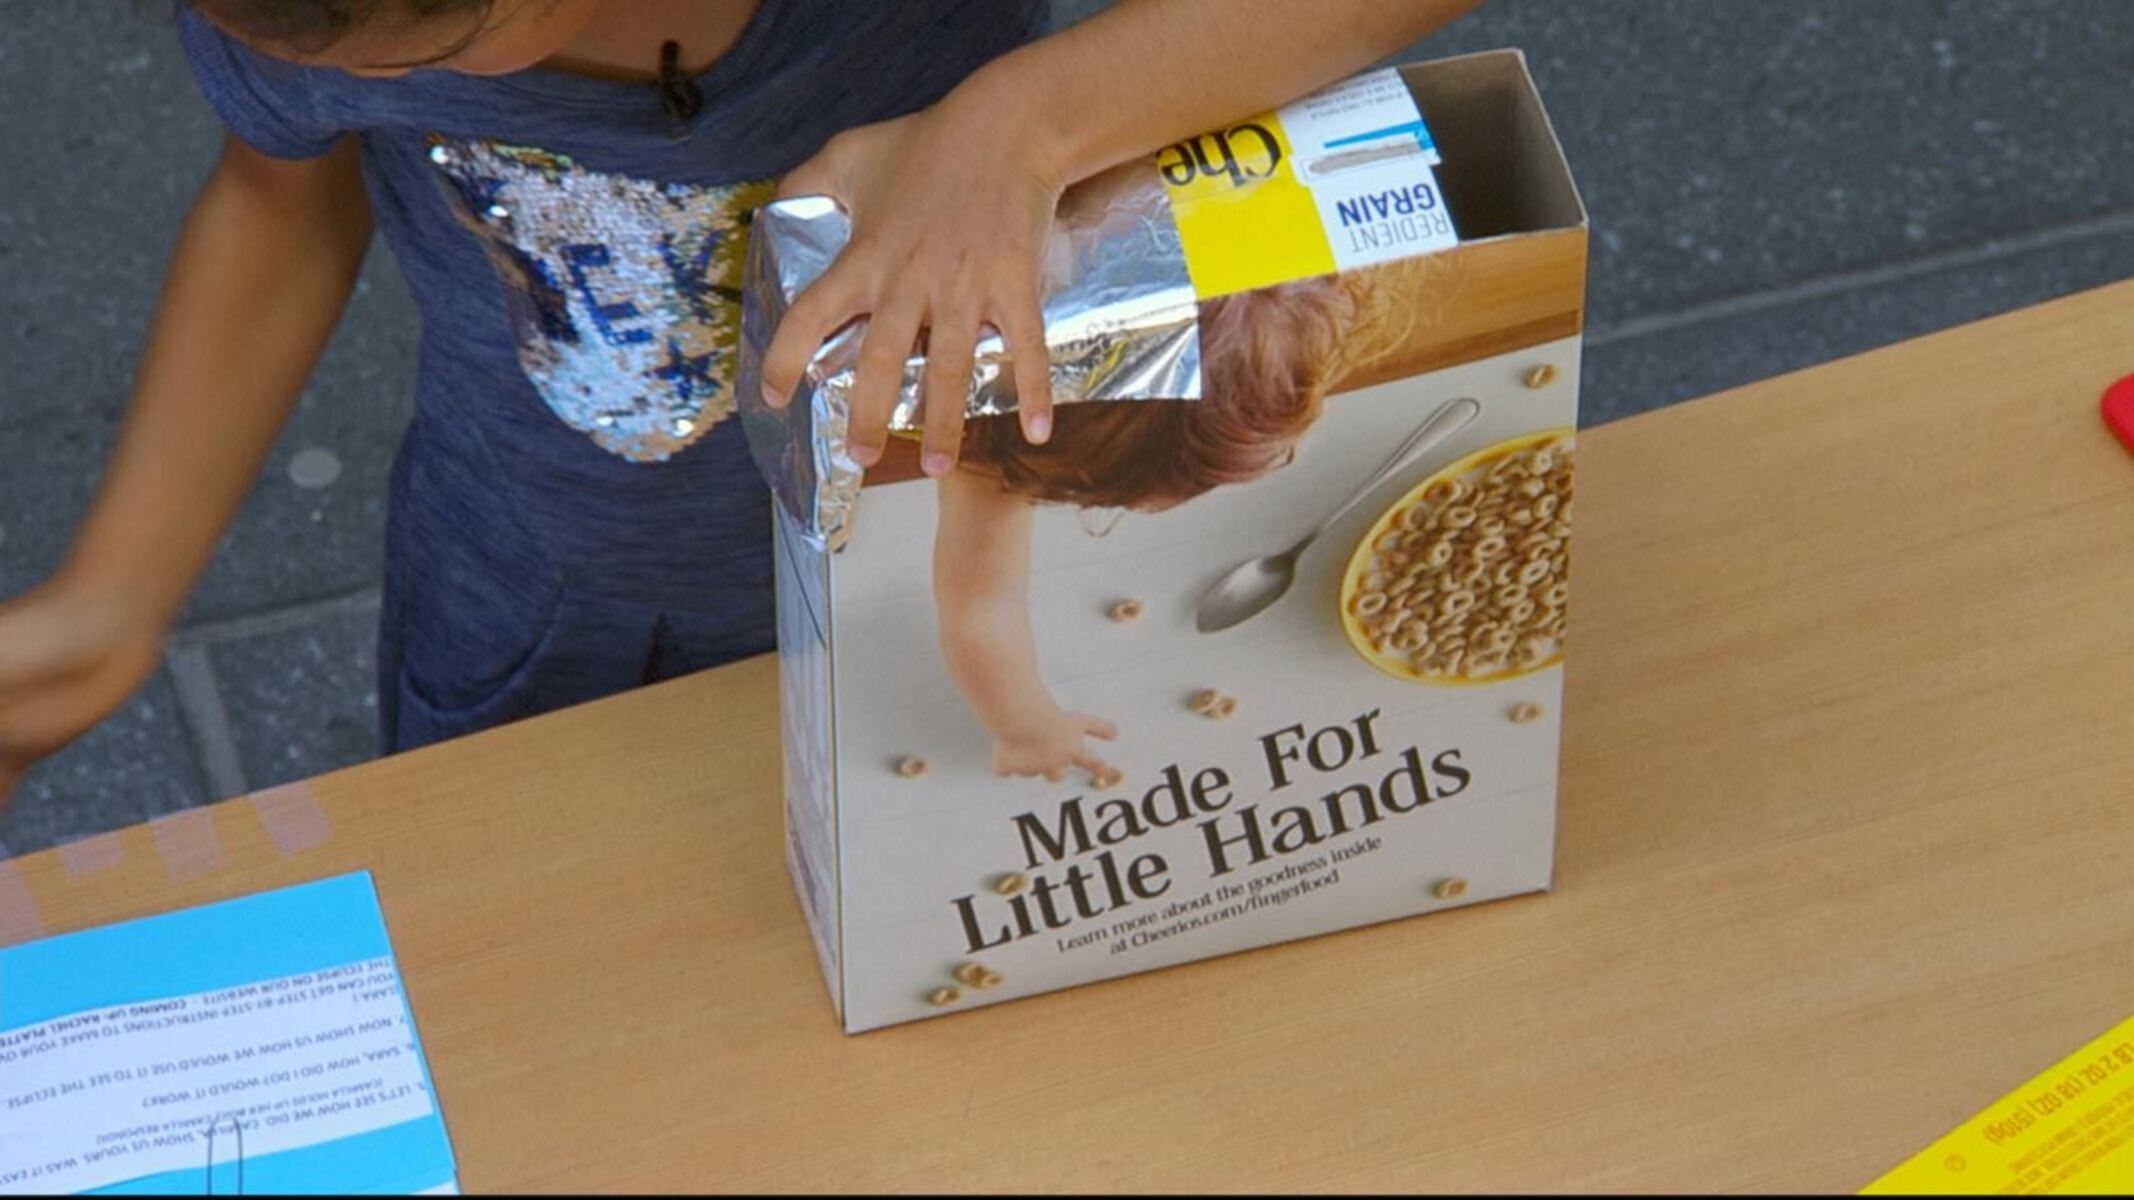
Step 4: Tape Aluminum Foil Over the Square Hole
Now that you have created the pinhole in the previous step, it’s time to tape aluminum foil over the square hole you cut in the side of the box. This step will create a screen onto which the image of the solar eclipse will be projected. Follow these instructions:
- Cut a Piece of Aluminum Foil: Measure and cut a piece of aluminum foil that is slightly larger than the square hole you cut in the box. Make sure it covers the entire opening with a little extra on each side to ensure a secure fit.
- Secure the Aluminum Foil: Place the cut piece of aluminum foil over the square hole, ensuring that it is centered and covers the hole completely. Use transparent or duct tape to secure the foil firmly in place around the edges.
- Smooth Out the Foil: Gently smooth out any wrinkles or creases in the foil to ensure a flat surface for the projection. This will help produce a clearer and more focused image of the solar eclipse.
Taping aluminum foil over the square hole serves as the screen for the projected image. The foil reflects the sunlight and allows the projection of the solar eclipse image to be visible inside the box.
With the aluminum foil securely in place, you’re now ready to move on to the next step: creating a small hole in the foil for the sunlight to pass through.
Step 5: Poke a Small Hole in the Aluminum Foil
With the aluminum foil securely taped over the square hole in the box, it’s time to create a small hole in the foil. This hole will act as the aperture through which the sunlight will pass, allowing for the projection of the solar eclipse image. Follow these instructions:
- Select a Location for the Pinhole: Choose a spot on the aluminum foil near the center of the square hole for the pinhole. This location will ensure that the projected image is clear and focused.
- Poke a Hole: Take a pin, needle, or sharp object and carefully poke it through the selected spot on the aluminum foil. Start with a small hole and gradually widen it until you achieve the desired size. The ideal size of the pinhole should be small, approximately the diameter of a thin needle.
- Smooth the Edges: After creating the pinhole, gently smooth any rough edges around the hole with your finger or a small piece of sandpaper. This will help ensure a clean and crisp projection of the solar eclipse image.
The small pinhole in the aluminum foil is a crucial element of the pinhole projector. It allows a narrow beam of sunlight to pass through and create a focused image of the solar eclipse on the screen inside the box.
With the pinhole in the aluminum foil created, you’re now ready to move on to the next step: waiting for the solar eclipse to occur.
Step 6: Wait for the Solar Eclipse
Now that you’ve set up your pinhole projector with the hole in the aluminum foil, all that’s left is to wait for the solar eclipse to occur. The timing of solar eclipses can vary, so it’s important to research and find out when and where the next eclipse will take place in your region. Here’s what you can do while waiting:
- Check Eclipse Dates and Times: Consult reliable sources such as NASA or astronomical societies to determine the dates and times of upcoming solar eclipses in your area. This information will help you plan ahead and ensure that you don’t miss the opportunity to witness the eclipse.
- Prepare for the Eclipse: Take the time to familiarize yourself with the anticipated duration and magnitude of the eclipse. The more you know about the eclipse, the more you can maximize your experience when the time comes.
- Study Solar Eclipse Safety: Familiarize yourself with the proper safety measures for observing a solar eclipse. Read up on the potential risks of looking directly at the Sun and ensure that you have the necessary eye protection, such as eclipse glasses or solar filters, if you plan to view the eclipse without the pinhole projector.
- Find an Open Viewing Area: Identify a suitable location where you can set up your pinhole projector and have an unobstructed view of the sky. Choose a spot with minimal light pollution and a clear line of sight to the Sun.
- Take Note of the Weather: Keep an eye on the weather forecast in the days leading up to the eclipse. Clear skies will provide the best viewing conditions, so plan accordingly and be prepared for any changes in weather conditions.
Being prepared and informed will help you make the most of the solar eclipse experience. While waiting, take the opportunity to learn more about eclipses, read about past eclipse events, and engage in discussions with fellow enthusiasts.
Once the awaited solar eclipse arrives, you’re ready to move on to the next step: positioning the pinhole projector correctly to capture the projection of the eclipse.
Step 7: Position the Pinhole Projector Correctly
Now that the solar eclipse is approaching, it’s essential to position your pinhole projector correctly to ensure a clear and focused projection of the eclipse. Follow these guidelines to optimize your viewing experience:
- Find a Stable Surface: Set up your pinhole projector on a stable surface, such as a table or tripod, ensuring that it won’t be easily disturbed during the viewing.
- Position with the Sun Behind: Face the side of the pinhole projector with the pinhole and aluminum foil towards the Sun. This will allow the sunlight to pass through the pinhole and project the image onto the screen inside the box.
- Adjust for Proper Distance: Move the pinhole projector closer or farther away from the screen inside the box to achieve the desired size of the projected image. Experiment with different distances to find the optimal projection size.
- Orient the Projector: Ensure that the pinhole projector is in an orientation where the projected image of the solar eclipse can be easily seen. Adjust the position of the box and the screen to ensure a comfortable viewing angle.
- Block Excess Light: To enhance the visibility of the projected image, it’s important to minimize excess light entering the box. You can position yourself or use objects to block any stray light that may interfere with the projection.
Proper positioning and adjustment of your pinhole projector will ensure that you have a clear and sharp image of the solar eclipse projected onto the screen inside the box. Take the time to experiment with different distances and orientations until you achieve the best viewing experience.
With the pinhole projector correctly positioned, you’re now ready to move on to the next step: the excitement of viewing the solar eclipse safely!
Step 8: View the Solar Eclipse Safely
After setting up the pinhole projector and positioning it correctly, it’s time to view the solar eclipse safely. Here are some important pointers to keep in mind for a safe and enjoyable experience:
- Be Mindful of Eye Safety: Never look directly at the Sun during a solar eclipse, even if you’re using a pinhole projector. Always ensure that your eyes are protected with proper eclipse glasses or solar filters if you intend to observe the eclipse without the projector.
- Focus on the Projected Image: Look at the screen inside the box where the pinhole is located. You will see a projected image of the solar eclipse. Keep your gaze on the image and appreciate the unfolding celestial spectacle.
- Observe Changes in the Sun’s Shape: As the Moon moves across the Sun during the eclipse, you may notice changes in the shape and size of the projected image. Pay attention to these changes and witness the progression of the eclipse.
- Share the Experience: Invite others to join you in observing the solar eclipse through the pinhole projector. It can be a shared experience that fosters excitement, curiosity, and appreciation for the wonders of the universe.
- Document the Experience: If you wish to capture the memory of witnessing the solar eclipse, you can take photos or videos of the projected image on the screen inside the box. However, be mindful not to compromise the safety of your eyes while doing so.
Remember that the solar eclipse is a remarkable celestial event, and viewing it safely is of utmost importance. The pinhole projector provides a protected and captivating way to observe the eclipse, allowing you to marvel at the wonders of our solar system.
Enjoy this unique opportunity to witness the solar eclipse and explore the beauty of our universe. Take the time to soak in the mesmerizing sight and appreciate the intricate dance between the Sun, Moon, and Earth.
And with that, you’ve successfully completed all the steps to create and use a pinhole projector to safely view a solar eclipse. Congratulations on your journey to witness this awe-inspiring phenomenon!
Conclusion
Congratulations on successfully creating and using a pinhole projector to view a solar eclipse! By following the step-by-step instructions in this guide, you have taken a safe and engaging approach to observe a remarkable celestial event. Through your pinhole projector, you were able to witness the magic of a solar eclipse without compromising the safety of your eyes.
Throughout this process, you learned about the different types of solar eclipses, the purpose and functionality of a pinhole projector, and the significance of eye safety when viewing the Sun. You selected the materials, prepared the cardboard, cut out a square hole, created a pinhole, taped aluminum foil, and positioned the projector correctly. All these steps led to an incredible viewing experience of the solar eclipse.
Using a pinhole projector not only allowed you to witness the phenomenon firsthand but also facilitated a better understanding of the science behind solar eclipses. It gave you an opportunity to engage in educational exploration, share the experience with others, and appreciate the wonders of the universe.
Remember, safety should always be a priority when observing the Sun. Whether you choose to use a pinhole projector or other means of solar eclipse viewing, protecting your eyes is crucial. Never look directly at the Sun without proper eye protection.
Now that you have completed this pinhole projector journey, you can apply your newfound knowledge and skills to other astronomical events and continue to explore and learn about the mysteries of the cosmos.
So, keep your pinhole projector handy for future solar eclipses, share your knowledge with others, and continue to marvel at the beauty and grandeur of our celestial surroundings.
Happy observing!