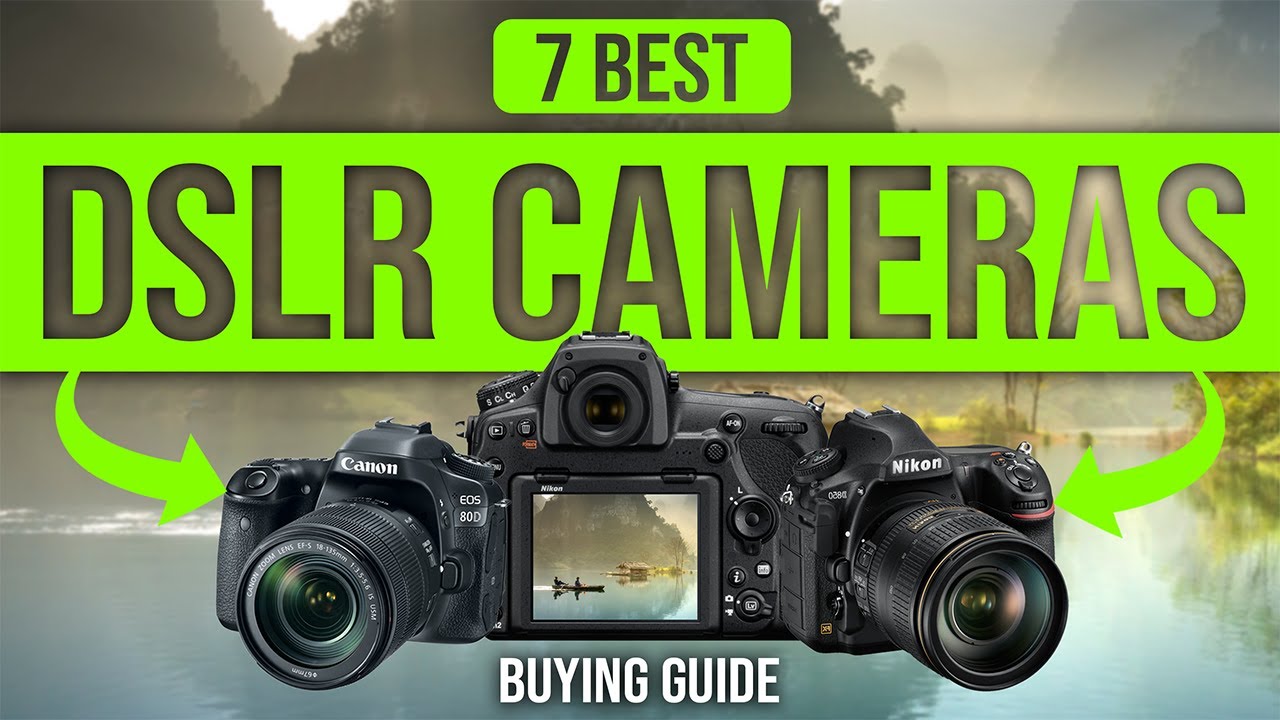
Introduction
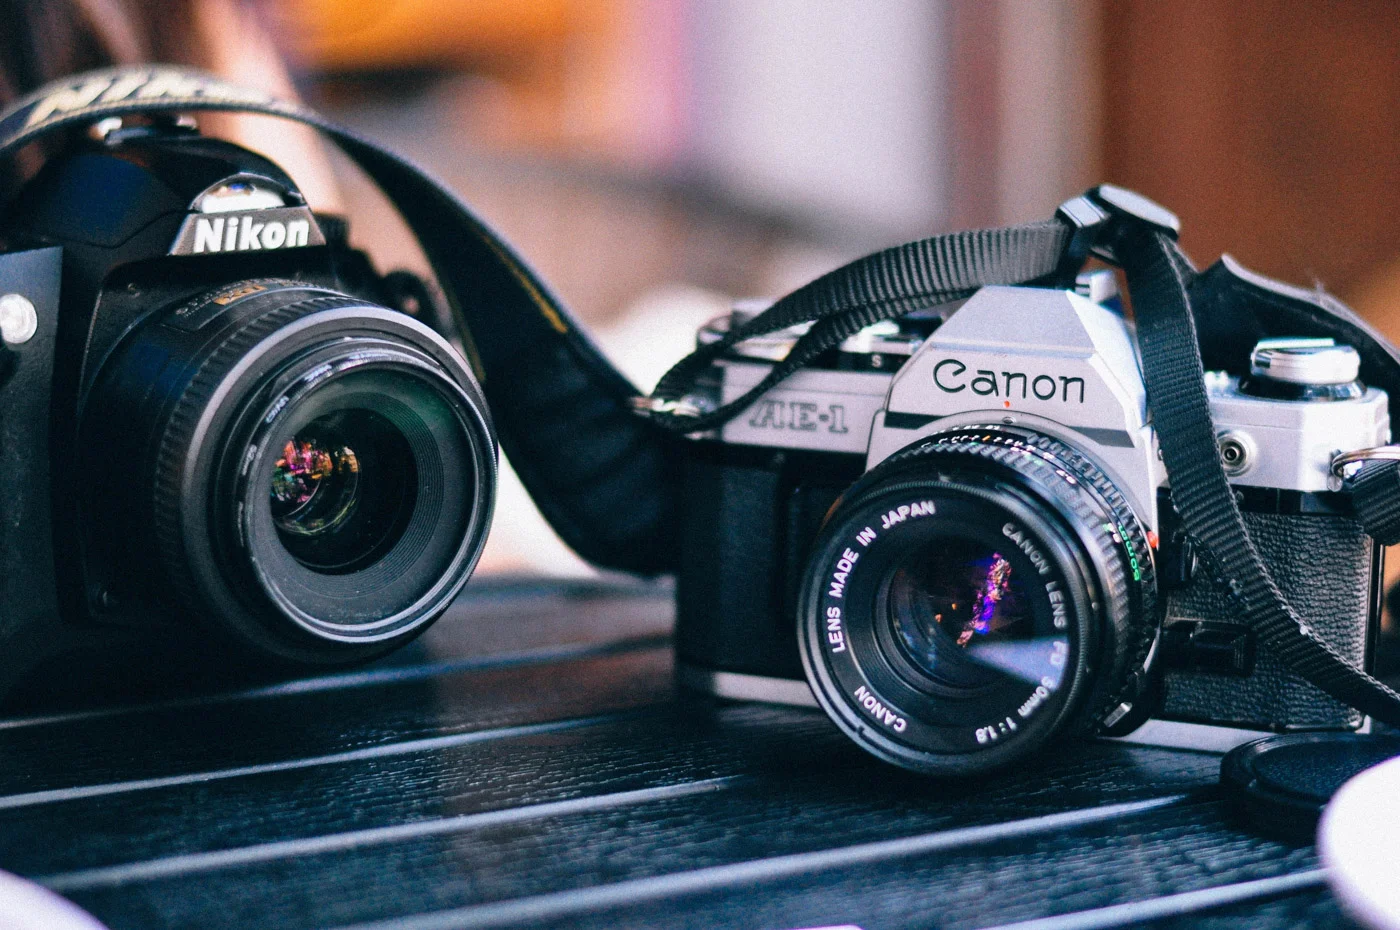
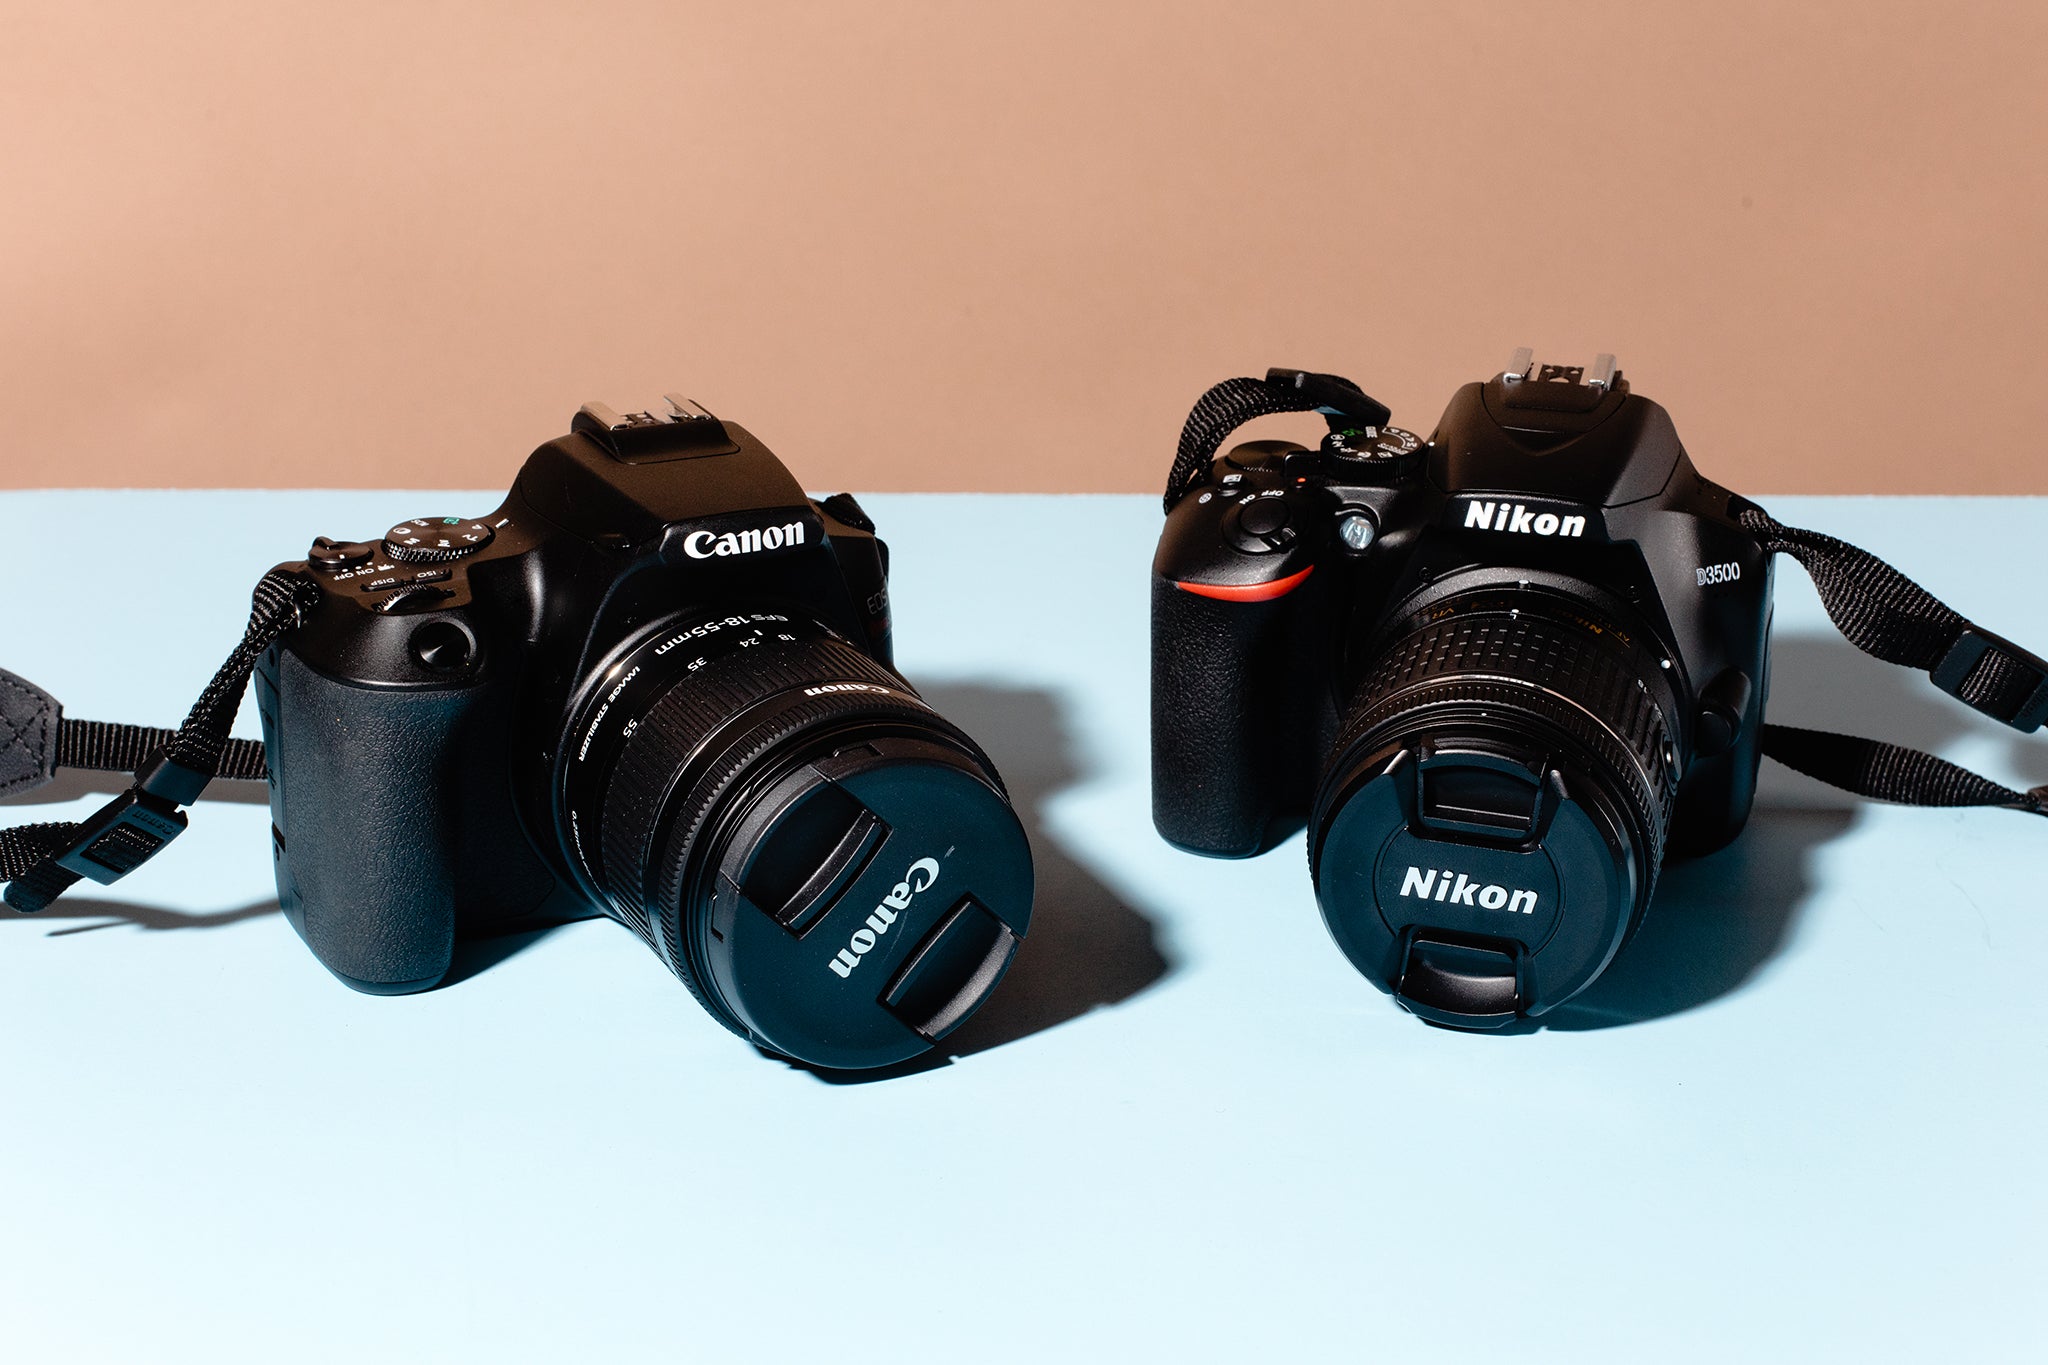
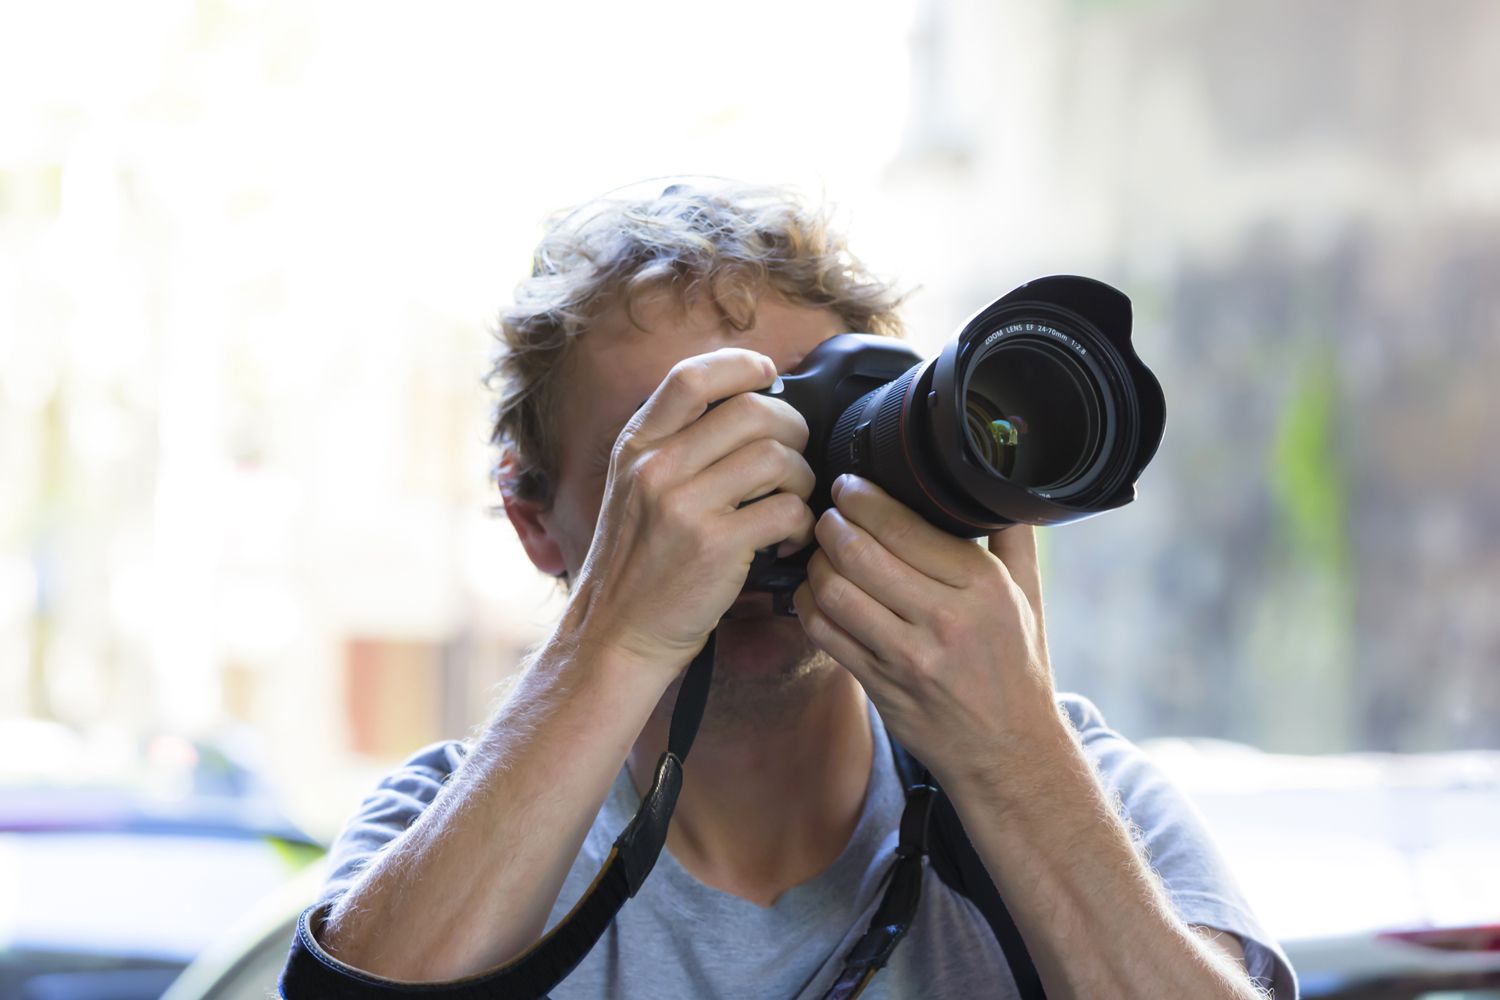
In the age of digital photography, owning a digital SLR camera has become increasingly popular among amateur and professional photographers alike. With their advanced features and capabilities, digital SLR cameras offer greater control and flexibility in capturing stunning images. However, for those new to this type of camera, learning how to properly use all its functions and settings can be a daunting task.
In this comprehensive guide, we will delve into the world of digital SLR cameras and provide you with step-by-step instructions on how to use these powerful tools to their full potential. Whether you’re a beginner just starting out or someone looking to refine your skills, this guide will cover everything you need to know to become a confident and skilled photographer.
We’ll begin by exploring the basic features of a digital SLR camera, such as the various buttons, dials, and menus. Understanding these features is vital for navigating through the camera’s settings and functions smoothly. Next, we’ll help you choose the right lens for your specific needs, as the lens plays a crucial role in determining the quality and composition of your photos.
As we progress through the guide, we’ll dive into the technical aspects of photography, including exposure, white balance, ISO settings, aperture, and shutter speed. These topics may seem complex at first, but with our easy-to-understand explanations and practical tips, you’ll soon grasp the concepts and gain confidence in manipulating these settings to achieve desired results.
Focusing techniques, metering modes, and camera modes will also be discussed in detail, as they are essential for capturing sharp and well-exposed images. We’ll show you how to effectively use the built-in flash, and discuss the pros and cons of shooting in RAW versus JPEG format, enabling you to make informed decisions based on your specific needs and preferences.
Composition techniques, an often overlooked but crucial aspect of photography, will be explored to help you enhance the visual impact of your photos. Additionally, we’ll guide you through mastering manual mode, providing you with the skills to take complete control of your camera’s settings and produce professional-grade images.
Finally, we’ll touch on post-processing tips and tricks, helping you enhance your photos even further through digital editing. Whether you prefer software like Adobe Photoshop or free alternatives like GIMP, we’ll provide you with useful techniques to make your images truly stand out.
By the end of this guide, you’ll have a solid understanding of how to use a digital SLR camera effectively and creatively. So, grab your camera, get ready to unleash your inner photographer, and let’s dive into the wonderful world of digital photography!
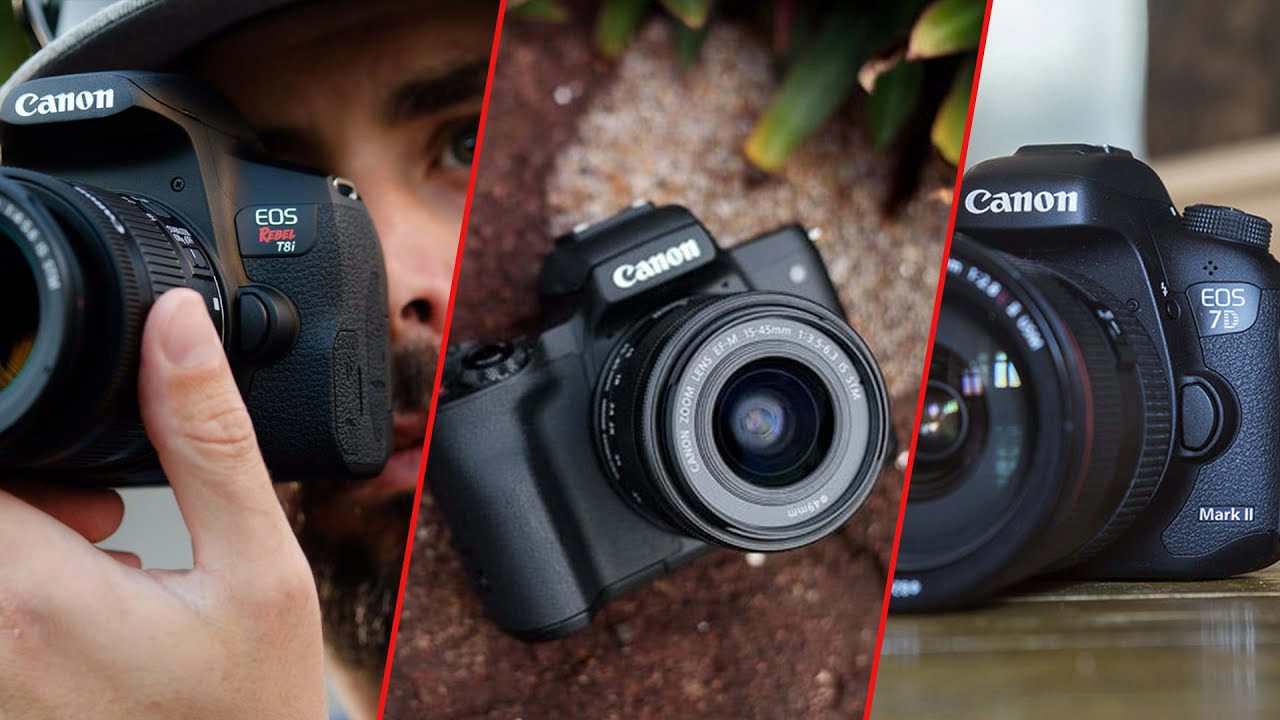
Understanding the Basic Features
Before diving into the more advanced features of your digital SLR camera, it’s crucial to have a solid understanding of its basic components. Familiarizing yourself with these features will make it easier to navigate through the camera’s settings and functions, giving you greater control over your photography.
The first thing to familiarize yourself with is the camera body itself. Digital SLR cameras have a variety of buttons, dials, and menus that allow you to adjust settings such as exposure, ISO, and white balance. Spend some time exploring the camera and get comfortable with the location and purpose of each button and dial. This will greatly increase your efficiency and speed when photographing those fleeting moments.
Next, let’s talk about the viewfinder. The viewfinder is the small window located at the top of the camera body. This is where you look through to compose your shot. It’s important to note that what you see through the viewfinder is what you’ll capture in your image. Take your time to ensure that your composition is balanced and visually appealing before you press the shutter button.
The camera’s LCD screen is another important element to familiarize yourself with. This larger screen, usually located on the back of the camera, displays the image you’ve just captured as well as menu options and settings. It’s a helpful tool for reviewing your photos on the spot and making adjustments as needed.
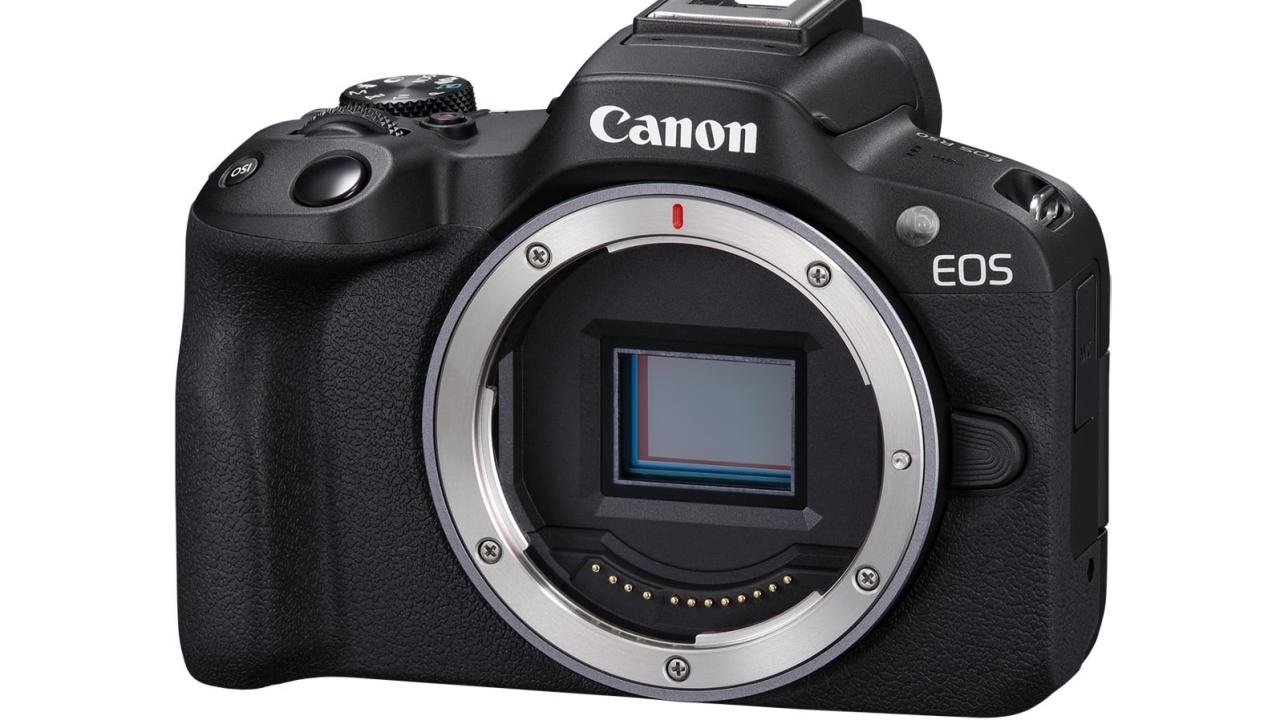
A crucial feature of any digital SLR camera is the ability to interchange lenses. Different lenses offer various focal lengths and capabilities, allowing you to capture a wide range of subjects and perspectives. Spend time experimenting with different lenses to understand their unique characteristics and how they can enhance your photography.
Lastly, every digital SLR camera has a built-in flash. While it can be handy in certain situations, such as low-light or indoor photography, it’s important to be aware of its limitations. The built-in flash typically has a limited range and can create harsh lighting conditions. Consider investing in an external flash for more control over your lighting and to achieve more professional-looking results.
Understanding the basic features of your digital SLR camera is crucial for getting started on your photography journey. Take the time to familiarize yourself with the buttons, dials, viewfinder, LCD screen, interchangeable lenses, and built-in flash. By doing so, you’ll have a solid foundation to build upon and unleash your creativity behind the lens.
Choosing the Right Lens
One of the most important decisions you’ll make as a digital SLR camera owner is choosing the right lens. The lens you choose will have a significant impact on the quality and composition of your images. Understanding the different types of lenses available and their specific uses will empower you to capture the perfect shot in any situation.
Wide-angle lenses are perfect for landscapes, architecture, and group shots. They have a wider field of view, allowing you to capture more of the scene in a single frame. These lenses are particularly effective in emphasizing the vastness of a landscape or creating a sense of depth in architectural shots.
Telephoto lenses, on the other hand, are ideal for capturing subjects that are far away or when you want to create a compressed perspective. The longer focal length of telephoto lenses gives you the ability to zoom in and fill the frame with your subject. These lenses are commonly used in wildlife photography, sports photography, and even portrait photography when you want to isolate your subject from the background.
Macro lenses are designed for close-up photography, allowing you to capture intricate details of small subjects such as flowers, insects, or jewelry. These lenses have a high magnification capability, enabling you to capture stunning images with sharp focus and incredible detail.
For those who are into portrait photography, a prime lens with a wide aperture is highly recommended. Prime lenses have a fixed focal length and offer a wider aperture, allowing you to capture portraits with a shallow depth of field. This creates a beautiful background blur, also known as bokeh, which helps draw attention to the subject’s face and adds a professional touch to your images.
If you enjoy street photography or candid shots, a versatile zoom lens might be your best bet. These lenses offer a range of focal lengths, allowing you to quickly adjust the composition without changing your position. They are great for capturing dynamic scenes, as well as for travel photography when you need to be prepared for various shooting situations.
Keep in mind that lens quality also plays a significant role in your final results. Investing in high-quality lenses, even if they’re more expensive, will ensure sharper images, better color reproduction, and overall better performance. However, if you’re just starting out, there are also affordable options available that offer excellent image quality.
Choosing the right lens for your digital SLR camera is a personal decision that depends on your photography style, budget, and needs. Consider the types of photography you enjoy and the subjects you plan to capture, then research and test various lenses before making a final decision. Remember that the lens you choose can greatly enhance your photography skills and bring your vision to life.
Mastering Exposure
Understanding and mastering exposure is fundamental to capturing well-exposed photographs. Exposure refers to the amount of light that reaches the camera’s image sensor, and it can greatly affect the overall look and mood of your images. By learning how to control exposure, you can achieve the desired brightness, contrast, and detail in your photos.
The exposure triangle is a key concept to grasp when it comes to controlling exposure. The exposure triangle consists of three elements: aperture, shutter speed, and ISO. These three variables work together to determine the overall exposure of your image.
Aperture refers to the size of the lens opening, which controls the amount of light that enters the camera. It is measured in f-stop values, such as f/2.8 or f/16. A lower f-stop number (e.g., f/2.8) means a larger lens opening and more light entering the camera, resulting in a shallower depth of field. A higher f-stop number (e.g., f/16) means a smaller lens opening and less light entering the camera, resulting in a greater depth of field.
Shutter speed, on the other hand, refers to the length of time the camera’s shutter remains open, allowing light to pass through and hit the image sensor. It is measured in fractions of a second, such as 1/1000s or 1s. A faster shutter speed (e.g., 1/1000s) freezes motion and is ideal for capturing fast-paced action, while a slower shutter speed (e.g., 1s) allows for longer exposure time and can create motion blur or show movement in your photos.
The third component of the exposure triangle is ISO, which refers to the sensitivity of the camera’s image sensor to light. A low ISO setting (e.g., ISO 100) is ideal for bright lighting conditions, while a high ISO setting (e.g., ISO 1600) is suitable for low-light situations. However, it’s important to note that higher ISO settings can introduce digital noise or graininess into your images.
When working with exposure, it’s essential to find the right balance between the aperture, shutter speed, and ISO to achieve a properly exposed image. In some situations, you can use automatic or semi-automatic modes, such as aperture priority or shutter priority, to let the camera adjust the settings based on your preferences. However, to have full control over your exposure, it’s recommended to use manual mode, where you manually set all the exposure variables.
Before taking a photo, it’s crucial to assess the available light and choose the optimal exposure settings accordingly. If your photo appears too bright, you can decrease the exposure by either using a smaller aperture, increasing the shutter speed, or lowering the ISO. Conversely, if your photo appears too dark, adjust the settings to allow more light to reach the sensor.
One helpful tool for mastering exposure is the camera’s histogram. The histogram is a graphical representation of the exposure levels in your image, ranging from shadows on the left to highlights on the right. By analyzing the histogram, you can ensure that your photo has a good distribution of tones and prevent underexposed or overexposed areas.
Remember that exposure is not a one-size-fits-all concept. It varies based on the lighting conditions, subject, and artistic vision. Experiment with different exposure settings and practice regularly to develop an intuitive understanding of how to control exposure and achieve the desired look in your photos.
Exploring White Balance
White balance is a crucial aspect of digital photography that ensures accurate color reproduction in your images. It refers to the adjustment of colors to compensate for the different color temperatures of light sources. By understanding and manipulating white balance, you can create images that accurately represent the true colors of the scene.
Each light source emits light with a specific color temperature, measured in Kelvin (K). Different light sources, such as daylight, incandescent bulbs, or fluorescent lighting, have varying color temperatures, resulting in images with different color casts. The human eye naturally compensates for these color variations, but cameras need assistance to capture the scene as we see it.
Most digital SLR cameras offer several white balance presets, such as daylight, cloudy, incandescent, fluorescent, and flash. These presets help adjust the camera’s color sensors to match the light source’s temperature, effectively neutralizing any color cast. It’s important to choose the appropriate white balance preset that matches the lighting conditions to ensure accurate color reproduction.
In addition to the presets, many cameras also provide a custom white balance option. This allows you to manually set the white balance by using a reference point in the scene called a gray card or a white balance target. By capturing an image of the gray card or white balance target under the current lighting, you can create a custom white balance setting specific to that lighting condition.
While the white balance presets and custom white balance are helpful in most situations, there may be instances where you want to intentionally manipulate the color temperature for artistic purposes. For example, using a warmer white balance setting, like “shade,” can create a cozy and nostalgic atmosphere, while a cooler setting, like “cloudy,” can add a cool and serene feel to your images.
Understanding and experimenting with white balance enables you to have more control over the mood and overall appearance of your photographs. It’s important to assess the lighting conditions of your scene and choose the appropriate white balance setting to ensure accurate color representation. Remember, white balance adjustments can also be made during post-processing, but getting it right in-camera will save you time and effort.
One way to fine-tune your white balance is by shooting in RAW format. RAW files retain all the original data captured by the camera’s sensor, including white balance information. This allows you to adjust the white balance more effectively during post-processing without loss of image quality. Using software like Adobe Lightroom or Capture One, you can easily tweak the white balance to achieve the desired result.
Exploring white balance is an important step toward creating visually pleasing and accurate images. By understanding the concept of white balance, utilizing the presets and custom white balance, and experimenting with different color temperatures, you can achieve stunning photographs that accurately reflect the scene’s colors.
Understanding ISO Settings
ISO is an essential setting in digital photography that determines the sensitivity of the camera’s image sensor to light. It plays a crucial role in controlling the exposure of your images, especially in situations with low light or fast-moving subjects. By understanding ISO settings, you can effectively adjust the sensitivity of your camera to capture well-exposed images.
ISO is measured in numbers, such as ISO 100, ISO 200, ISO 400, and so on. A low ISO setting, such as ISO 100 or 200, indicates low sensor sensitivity and is ideal for bright lighting conditions. These settings produce images with less noise and better overall image quality.
On the other hand, a high ISO setting, such as ISO 800, ISO 1600, or even higher, indicates greater sensor sensitivity and is suitable for low-light situations. Increasing the ISO allows the camera to capture more light, enabling you to capture well-exposed images in dimly lit environments. However, it’s important to note that higher ISO settings can introduce digital noise or graininess into your photos.
Modern digital SLR cameras have improved ISO performance, allowing for higher ISO settings with less noise. However, it’s still advisable to use the lowest ISO setting possible to maintain image quality. In situations where higher ISO is necessary, using noise reduction techniques or post-processing software can help minimize the negative effects of noise.
When choosing the appropriate ISO setting for your shot, consider the available light and the desired outcome. If you’re shooting in bright daylight, using a low ISO setting like ISO 100 or 200 will produce cleaner and sharper images. On the other hand, if you’re in a low-light environment or shooting subjects in motion, increasing the ISO may be necessary to maintain a fast enough shutter speed to freeze the action.
It’s important to strike a balance between using a higher ISO to ensure proper exposure and avoiding excessive noise in your photos. Modern cameras often offer the option to set the ISO manually or use auto ISO, where the camera adjusts the ISO based on the available light and your desired settings.
Understanding ISO settings is key to achieving well-exposed images in a variety of lighting conditions. Experimenting with different ISO settings will allow you to find the optimal balance between sensitivity and noise control, ultimately helping you capture stunning photos in any situation.
Using Aperture to Control Depth of Field
Aperture is a fundamental concept in photography that plays a vital role in controlling the depth of field in your images. Depth of field refers to the range of distance in a scene that appears sharp and in focus. By understanding how aperture affects depth of field, you can create images with the desired level of background blur and subject isolation.
Aperture is represented by f-stop values, such as f/1.8, f/5.6, or f/16. These values indicate the size of the lens opening, which controls the amount of light that enters the camera. It’s important to note that the smaller the f-stop number, the wider the aperture and the shallower the depth of field.
When shooting with a wide aperture, such as f/1.8 or f/2.8, you create a shallow depth of field. This means that only a small portion of your image appears sharp and in focus, while the background becomes beautifully blurred. This technique is commonly used in portrait photography to isolate the subject from distractions and create a pleasing, dreamy effect.
On the other hand, if you want to capture a scene with a large depth of field, such as in landscape or architecture photography, you would use a narrower aperture, like f/8 or f/16. This allows more of the scene to appear in focus, from the foreground to the background. Having a greater depth of field ensures that all elements in your composition are sharp and well-defined.
It’s important to note that the choice of aperture also affects the amount of light that enters the camera. A wider aperture (small f-stop number) allows more light to reach the sensor, while a narrower aperture (larger f-stop number) allows less light. This is why adjusting the other exposure settings, such as shutter speed and ISO, is necessary to maintain a well-exposed image.
When determining the appropriate aperture for your shot, consider the main subject and the effect you want to achieve. Are you looking to create a shallow depth of field with a blurred background or do you want to capture a scene with everything in focus? Keep in mind that the focal length of your lens can also affect the depth of field. Telephoto lenses tend to have a shallower depth of field, while wide-angle lenses have a larger depth of field.
Understanding how aperture affects depth of field allows you to control the visual impact of your images and guide the viewer’s attention to the desired subject. Experiment with different aperture settings and techniques to create captivating and visually striking photographs.
Mastering Shutter Speed
Shutter speed is a critical aspect of photography that determines the length of time the camera’s shutter remains open, allowing light to reach the image sensor. Mastering shutter speed allows you to control motion in your images, whether you want to freeze fast action or create stunning motion blur effects.
Shutter speed is denoted in fractions of a second, such as 1/1000s, 1/250s, or even longer exposures like 1s or more. A faster shutter speed, such as 1/1000s, freezes motion and is ideal for capturing fast-paced subjects like sports, wildlife, or even a speeding car. On the other hand, a slower shutter speed, like 1/15s or longer, allows for longer exposure time, resulting in intentional motion blur.
When shooting with a fast shutter speed, the image is captured at a split second, capturing all the details of a subject in motion. This technique is often used in sports photography to capture athletes in action, freezing moments that would otherwise be too fast for the human eye to perceive.
If you want to create motion blur, using a slower shutter speed is the way to go. This technique is particularly effective for capturing flowing water, light trails from moving vehicles, or even to convey a sense of movement in subjects like dancers or athletes. To achieve a proper exposure with a slower shutter speed, it’s advisable to use a tripod or other stabilizing equipment to avoid camera shake.
One useful guideline to remember when hand-holding your camera is the reciprocal rule. It suggests setting your shutter speed to at least the reciprocal of your focal length to minimize camera shake. For example, if you’re using a 50mm lens, you should aim for a shutter speed of 1/50s or faster to reduce the risk of blur caused by camera movement.
Experimenting with different shutter speeds and motion techniques can yield a wide range of creative results. Don’t be afraid to try different settings and methods, as it allows you to add a dynamic element to your images and tell a story through the visual representation of motion.
In addition to controlling motion, shutter speed also influences the exposure of your image. When using a faster shutter speed, less light reaches the sensor, requiring adjustments to the other exposure settings, such as aperture and ISO, to maintain a proper exposure. Conversely, a slower shutter speed allows more light to enter the camera, so you’ll need to compensate by adjusting the aperture and ISO accordingly.
Understanding and mastering shutter speed is essential for capturing the decisive moment and creating stunning visual effects. By controlling the duration of the exposure, you can freeze action or capture the beauty of motion, adding depth and interest to your photographs.
Using the Metering Modes
Metering modes are an important feature in digital SLR cameras that help determine the optimal exposure for a scene. By understanding and utilizing the different metering modes available, you can achieve accurate and well-exposed photographs in various lighting conditions.
Metering modes measure the brightness of the scene and calculate the appropriate exposure settings based on that information. There are commonly three metering modes found in most cameras: evaluative (or matrix), center-weighted, and spot metering.
Evaluative metering, also known as matrix metering, is the default metering mode in most cameras. It assesses the brightness and contrast of the entire scene and evaluates various elements such as colors, composition, and focus points. Evaluative metering is great for general shooting situations and produces balanced and well-exposed images in most cases.
Center-weighted metering gives more weight to the area in the center of the frame. It takes into consideration the subject in the center, regardless of the elements present in the rest of the frame. Center-weighted metering is useful when you want to prioritize the exposure settings for the main subject while still considering the overall scene.
Spot metering, the most precise of the three modes, measures the brightness of a small area in the frame, typically the center spot. It provides a spot metering reading based solely on the brightness of that area and disregards the rest of the scene. Spot metering is especially helpful when you want to meter for a specific subject or element in a high-contrast scene.
When faced with a challenging lighting situation, such as a backlit subject or a scene with high contrast, it’s essential to understand metering modes and choose the appropriate one for the desired exposure. Evaluative metering is generally reliable for average lighting conditions, while center-weighted and spot metering are useful for more specific scenarios that require fine-tuning of the exposure settings.
It’s important to note that metering modes are just a starting point. Depending on the situation and your creative vision, manual adjustments may be required to achieve the desired exposure. You can use exposure compensation to adjust the overall exposure level based on your judgment or make use of exposure bracketing to capture multiple shots at different exposure settings.
By understanding and using the metering modes available in your camera, you gain greater control over the exposure of your images. Learn to evaluate the lighting conditions, consider the scene’s dynamic range, and experiment with different metering modes to achieve perfectly exposed photos.
Focusing Techniques
Accurate focus is essential for creating sharp and visually appealing photographs. Mastering focusing techniques will allow you to capture subjects with precision and ensure that the important elements of your composition are in sharp focus. Understanding autofocus modes, manual focus, and techniques for achieving accurate focus will greatly enhance the quality of your images.
Most digital SLR cameras offer multiple autofocus (AF) modes to accommodate different shooting scenarios. The most common AF modes are single AF (S), continuous AF (C), and automatic AF (A).
Single AF mode is useful when photographing static subjects or scenes where focus needs to be locked before capturing the image. Once the subject is in focus, the camera will not adjust the focus until the shutter button is released or the AF button is pressed again.
Continuous AF mode is designed for capturing moving subjects or situations where the focus needs to continuously adjust. When in this mode, the camera will continuously track and adjust focus to maintain sharpness on the moving subject. Continuous AF is beneficial for sports, wildlife, or any fast-paced photography.
Automatic AF mode is a hybrid mode that combines both single AF and continuous AF. The camera automatically selects between the two modes based on the detected subject or scene. This mode is convenient for general shooting situations, allowing the camera to choose the most appropriate focusing method based on the conditions.
In addition to autofocus, manual focus is another valuable option, particularly in situations where the camera’s autofocus struggles to accurately acquire focus. This is common in low-light conditions or when photographing subjects with low contrast. Manual focus gives you full control over the focus point and is especially useful in macro photography or when utilizing certain lenses with a manual focus ring.
When focusing, it’s important to consider the focus point or area. Most cameras give you the option to select a single focus point or use multiple focus points for tracking moving subjects. A single focus point allows you to precisely choose the area you want to focus on, while multiple focus points provide flexibility in selecting an area to track movement.
When utilizing autofocus, it’s crucial to ensure that the camera is focused on the desired subject or element. One technique to achieve accurate focus is by using the focus-lock feature. Aim the center focus point at your intended subject, half-press the shutter button to lock the focus, recompose the frame if necessary, and then fully press the shutter button to capture the image.
Another technique is back-button focusing, where you assign the autofocus function to a separate button on the back of the camera, away from the shutter button. This allows you to separate the focus and shutter functions, giving you more control over the focusing process.
Practice and experiment with different focusing techniques to become comfortable and proficient in achieving accurate focus. Take the time to understand the autofocus modes and when to use manual focus. By mastering focusing techniques, you’ll ensure that your images are tack-sharp and visually stunning.
Understanding and Using the Camera Modes
Understanding the different camera modes available in your digital SLR camera is key to unlocking its full potential. Each mode has a specific purpose and allows you to have varying levels of control over the settings of your camera. By familiarizing yourself with these modes, you can confidently choose the most suitable mode for different shooting scenarios.
The most common camera modes found in digital SLR cameras are Auto, Program (P), Aperture Priority (Av or A), Shutter Priority (Tv or S), and Manual (M).
Auto mode is the simplest and most user-friendly option. In this mode, the camera takes full control of all settings, including aperture, shutter speed, ISO, and white balance. Auto mode is convenient for beginners or situations where you want the camera to handle all the technical settings while you focus on framing and composition.
In Program mode, the camera sets the optimal exposure based on the lighting conditions, but it allows you to adjust other settings like ISO, white balance, and exposure compensation. Program mode is ideal when you want some control over the settings but still want the camera to handle the exposure calculations.
Aperture Priority mode (Av or A) allows you to set the desired aperture while the camera automatically adjusts the shutter speed to achieve the correct exposure. This mode is perfect for controlling depth of field, as it allows you to choose the aperture to create a shallow or wide depth of field while the camera handles the other settings.
Shutter Priority mode (Tv or S) is the opposite of Aperture Priority. Here, you set the desired shutter speed, and the camera adjusts the aperture accordingly for proper exposure. This mode is suited for situations where you want to control motion blur or freeze action by specifying a specific shutter speed.
The most advanced and flexible mode is Manual mode (M). In Manual mode, you have full control of all settings, including aperture, shutter speed, ISO, and white balance. This mode provides complete creative control and is suitable for more experienced photographers who want precise control over every aspect of the exposure.
Understanding and selecting the appropriate camera mode for each situation can greatly enhance your photographic outcomes. Depending on your comfort level and shooting conditions, you can choose a mode that best fits your needs and level of control.
It’s worth noting that as you become more experienced, you may find yourself using Manual mode more frequently to have complete control over your camera’s settings. However, it’s important to experiment with all the camera modes to understand their benefits and limitations.
Take the time to explore and practice with the various camera modes available in your digital SLR camera. As you become familiar with each mode, you’ll gain a deeper understanding of exposure and develop the skills needed to capture stunning photographs in any situation.
Using Built-in Flash Effectively
The built-in flash in your digital SLR camera can be a useful tool for adding light to your photographs in situations where natural light is insufficient. By understanding how to use the built-in flash effectively, you can enhance your images and overcome challenging lighting conditions.
When using the built-in flash, it’s important to be aware of its limitations. The built-in flash has a limited range, typically around 10-15 feet, and can create harsh, flat lighting if not used correctly. Therefore, it’s crucial to consider how and when to use the flash to achieve the desired results.
One of the key techniques for using the built-in flash effectively is to avoid direct, frontal lighting. This can cause unflattering shadows and washed-out subjects. Instead, consider bouncing the flash off a nearby surface, such as a wall or ceiling, to create softer, more diffused lighting. Some cameras have a built-in flash head that can be tilted or rotated to adjust the direction of the light. Experiment with different angles and positions to achieve more appealing and natural-looking results.
Another way to use the built-in flash effectively is to balance it with the existing ambient light. This is particularly useful in situations where the background is dimly lit. By using a slower shutter speed and adjusting the flash power, you can achieve a balanced exposure between the subject and the background, resulting in a more natural and well-lit image.
It’s also important to be mindful of the flash’s power output. Most cameras allow you to adjust the flash output manually or use flash exposure compensation to fine-tune the intensity. This is especially helpful when dealing with close-up subjects or when you want to avoid overexposing your images.
Sometimes, using the built-in flash for fill flash can be beneficial. Fill flash is used to balance the exposure between the subject and a bright background, such as a sunny day or a backlit scene. By using a small amount of flash, you can illuminate your subject and reduce the harsh shadows caused by the strong backlight.
Understanding the various flash modes available on your camera is also essential. Many cameras offer options such as red-eye reduction, slow sync, and rear curtain sync. These modes provide additional control and creative possibilities when using the built-in flash.
It’s worth noting that the built-in flash may not be suitable for all situations. In some cases, it’s better to rely on other lighting techniques, such as natural light, external flashes, or using reflectors and diffusers to manipulate the available light. The built-in flash should be used as a complement to your overall lighting strategy, rather than the sole source of light.
By understanding how to use the built-in flash effectively, you can overcome difficult lighting situations and add a creative touch to your photographs. Experiment with different settings, angles, and techniques to master the art of using the built-in flash in your digital SLR camera.
Shooting in RAW vs JPEG
When capturing photos with your digital SLR camera, one of the crucial decisions you need to make is whether to shoot in RAW or JPEG format. Both formats have their advantages and considerations, and understanding the differences between the two will help you make an informed choice based on your specific needs and preferences.
JPEG is the most commonly used file format for digital images. When shooting in JPEG, the camera processes and compresses the image data before saving it to the memory card. This compression leads to smaller file sizes, making it convenient for storing and sharing images. JPEG files also have the advantage of being immediately available for use, as they can be printed or shared without the need for additional editing or processing.
However, shooting in JPEG comes with limitations. When the camera processes and compresses the image data, it discards certain details and adjusts the colors and contrast based on the camera’s settings. This means you have less flexibility for post-processing and making adjustments to the image. The image quality may also suffer if you need to make significant edits, as the JPEG compression can introduce artifacts and loss of detail.
On the other hand, RAW files contain all the data captured by the camera’s sensor without any processing or compression. Shooting in RAW provides the highest level of image quality and flexibility for post-processing. With RAW files, you have complete control over adjusting exposure, white balance, sharpness, and other settings during the editing process. This can be particularly useful in challenging lighting conditions or when you want to achieve a specific look or style.
As RAW files are larger in size compared to JPEG, it requires more storage space and may slow down the camera’s continuous shooting speed. RAW files also require special software to be opened and edited, as each camera brand has its own proprietary RAW file format. However, many photo editing software programs support RAW files, and some cameras offer the option to shoot in a universal RAW format, such as Adobe’s DNG format.
Shooting in RAW format is recommended for photographers who prioritize image quality, require greater creative control, and plan to spend time post-processing their images. It is particularly important for professional photographers who need maximum control over the final look of their photographs.
For those who prefer the convenience of quick and easy-to-share images without much post-processing, shooting in JPEG format may be sufficient. Additionally, if you are confident in your camera’s ability to produce well-exposed and accurately colored images, shooting in JPEG can save you time and storage space.
Ultimately, the decision to shoot in RAW or JPEG depends on your workflow, level of control, and desired image quality. Consider your needs, preferences, and available resources to determine which format is best for you.
Composition Techniques
Composition is the arrangement and organization of elements within a photograph. It is a crucial aspect of photography that can transform an ordinary shot into a visually striking and captivating image. By understanding and applying various composition techniques, you can create photographs that are both visually pleasing and effectively communicate your intended message.
One of the fundamental techniques in composition is the rule of thirds. The rule of thirds involves dividing the frame of your image into a 3×3 grid, both horizontally and vertically. By placing your main subject or points of interest along the gridlines or at the intersection points, you create a more visually balanced and dynamic composition.
Another technique is leading lines. Leading lines are elements within the photograph that guide the viewer’s eye towards the main subject. These lines can be straight, curved, or diagonal, such as roads, fences, or natural elements like rivers or tree branches. By incorporating leading lines, you add depth and a sense of dimension to your images, creating a more engaging composition.
Symmetry and patterns are powerful compositional tools. Symmetry occurs when the elements within a photograph are balanced and mirror each other. It can create a sense of harmony and order. On the other hand, patterns involve repetitive elements or motifs that add visual interest and rhythm to your composition. Look for patterns in architecture, nature, or even within a crowd of people.
One technique that allows you to create a sense of depth is the use of foreground and background. By incorporating elements in the foreground and background of your composition, you add layers and a sense of scale to your image. This can be achieved by using objects, people, or natural elements as framing devices or visual anchors.
When photographing landscapes or large scenes, the technique of creating a sense of scale is essential. Including an object or person of known size in the frame can help viewers understand the vastness of the environment and provide a point of reference. This makes the composition more relatable and impactful.
Negative space is another composition technique that involves leaving areas of the frame empty or with minimal elements. This allows the main subject to stand out and draws the viewer’s attention directly to it. Negative space can create a sense of simplicity, elegance, and visual balance.
Experimenting with different angles and perspectives is also crucial in composition. Instead of shooting from eye level, try crouching down, getting low, or shooting from a higher vantage point to create unique and engaging compositions. Changing your perspective can add a fresh and dynamic feel to your photographs.
Remember that rules are meant to be broken in photography, and creativity knows no boundaries. While these composition techniques provide a solid foundation, don’t be afraid to experiment and develop your own unique style and approaches to composition. Keep practicing, studying great works of art and photography, and refining your skills to create stunning compositions that resonate with your audience.
Mastering Manual Mode
Manual mode is the ultimate control setting in a digital SLR camera that allows you to have complete creative freedom and precision over your exposure settings. Mastering manual mode empowers you to take full control of your camera and produce images that accurately reflect your artistic vision.
When shooting in manual mode, you are responsible for manually setting the aperture, shutter speed, ISO, white balance, and other camera settings. This gives you the flexibility to adjust each setting according to the specific lighting conditions and desired creative effects.
Understanding the exposure triangle – the relationship between aperture, shutter speed, and ISO – is essential when using manual mode. By adjusting these three variables, you can achieve the desired exposure and creative effects in your photographs.
Aperture determines the depth of field and controls the amount of light entering the camera. Shutter speed controls the length of time the camera’s shutter stays open, determining the amount of motion blur or freezing action. ISO determines the camera’s sensitivity to light and affects the image’s noise level. By manually adjusting and balancing these settings, you can achieve the desired exposure and control how your final image looks.
Using a light meter, either built-in or handheld, can be valuable in manual mode to ensure accurate exposure. The light meter measures the brightness of the scene and helps guide you in adjusting the settings accordingly. By reading the light meter, you can make informed decisions about your exposure settings to achieve the desired outcome.
When shooting in manual mode, it’s important to pay attention to the histogram. The histogram provides a graphical representation of the tonal distribution in your image, helping you identify any potential under or overexposed areas. Aim for a balanced histogram that represents a good range of tones, but also be aware of the specific mood or effect you want to achieve in your photograph.
Shooting in manual mode allows for consistency in exposure across a series of shots, especially in situations with consistent lighting. It also gives you the confidence and control to handle challenging lighting conditions, such as low light or high contrast scenes, where the camera’s automatic modes may struggle.
While manual mode requires more practice and attention to detail, it grants you complete creative control and the ability to achieve the exact look and feel you desire in your photographs. With patience, practice, and a solid understanding of the exposure triangle, you can master manual mode and elevate your photography to new heights.
Don’t be discouraged if your initial attempts in manual mode yield mixed results. Experiment with different settings, lighting conditions, and subjects to gain familiarity and confidence. As you become more experienced, you’ll discover the power and creative potential that manual mode offers.
Post-Processing Tips and Tricks
Post-processing is an essential step in digital photography that allows you to enhance, refine, and bring out the full potential of your images. With the right techniques and tools, you can take your photos from good to great. Here are some tips and tricks to help you make the most of your post-processing workflow.
1. Shoot in RAW: Shooting in RAW format gives you the most flexibility and control during post-processing. RAW files contain all the original data captured by the camera’s sensor and provide more latitude for adjusting exposure, white balance, and other settings without sacrificing image quality.
2. Organize and backup: Establish a structured system for organizing and backing up your photos. This will help you stay organized, locate specific images easily, and protect your valuable work from loss or damage.
3. Understand your software: Familiarize yourself with your chosen post-processing software, such as Adobe Lightroom or Photoshop. Learn the tools, editing capabilities, and shortcuts to streamline your workflow and make efficient edits.
4. Adjust exposure and white balance: Start by adjusting the exposure and white balance to ensure accurate colors and tonal balance in your images. Use software tools like exposure sliders and temperature/white balance adjustments to achieve the desired look.
5. Enhance details: Use sharpening tools to bring out more details and improve the overall sharpness of your images. Be cautious not to overdo it, as excessive sharpening can introduce artifacts and make images look unnatural.
6. Experiment with presets: Explore preset collections, either pre-made or your own custom presets, to quickly apply a consistent look or style to your photographs. Presets can save time and help establish a cohesive visual aesthetic across your body of work.
7. Dodge and burn: Use dodging and burning techniques to selectively lighten (dodge) or darken (burn) specific areas of your image, adjusting the exposure and enhancing depth and dimension.
8. Play with color adjustments: Experiment with color grading and correction to enhance the mood and atmosphere of your images. Adjust saturation, vibrance, and hue to achieve the desired color balance and overall visual impact.
9. Crop and straighten: Use cropping and straightening tools to refine the composition and remove any distracting elements. Consider different aspect ratios or explore creative cropping techniques to add visual interest.
10. Take it easy: When applying edits, be mindful of not going overboard. Subtle adjustments often yield the best results. Avoid extreme filters or effects that can make your images appear artificial or overprocessed.
Post-processing is a valuable step in realizing your creative vision and adding the final touches to your photographs. Remember, though, that post-processing should enhance your images, not rescue poorly executed shots. Strive to capture the best possible images in-camera, and use post-processing as a tool to refine and elevate your work.
Conclusion
Mastering digital SLR photography requires a combination of technical knowledge, practical skills, and creative vision. From understanding the basic features of your camera to experimenting with composition techniques, exposure control, and post-processing, each step contributes to your growth as a photographer.
Remember that photography is a continuous learning journey. Take the time to practice, experiment, and explore different subjects, lighting conditions, and styles. Embrace both successes and failures, as they are valuable opportunities to learn and improve.
As you progress, don’t hesitate to seek inspiration from other photographers, whether it’s through studying their work, attending workshops, or joining photography communities. Engaging with others who share your passion can provide valuable insights, feedback, and encouragement.
Lastly, don’t forget to enjoy the process. Photography is not only about capturing images but also about capturing moments, emotions, and stories. Be present, observe the world around you, and embrace the joy of creating art through your photographs.
So, go out with your digital SLR camera in hand, explore the possibilities it offers, and unleash your creativity. With time, practice, and dedication, you will hone your skills, develop your own unique style, and create images that truly resonate with both yourself and your viewers.
Keep pushing yourself, and never stop learning and evolving as a photographer. Your journey has just begun, and exciting adventures await you with every click of the shutter.