Introduction
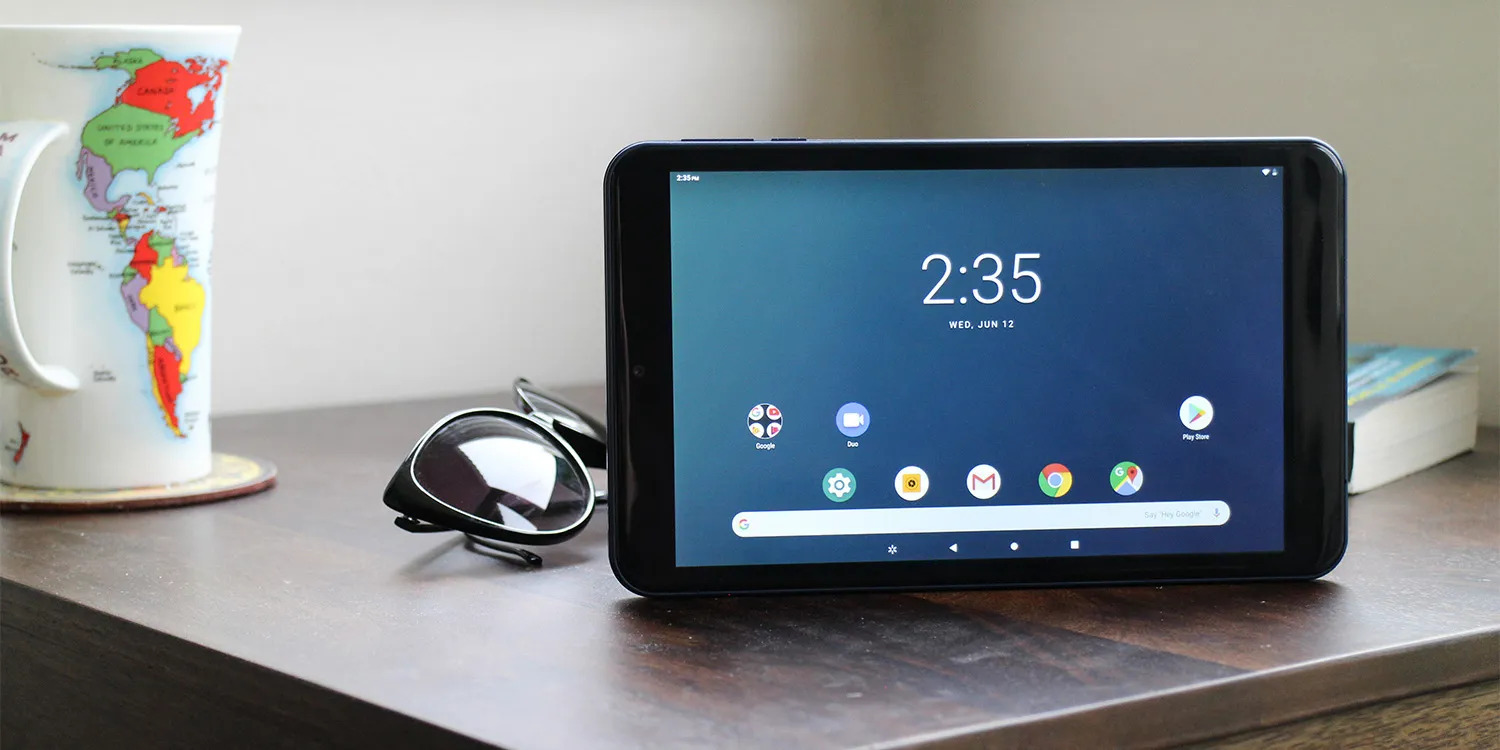
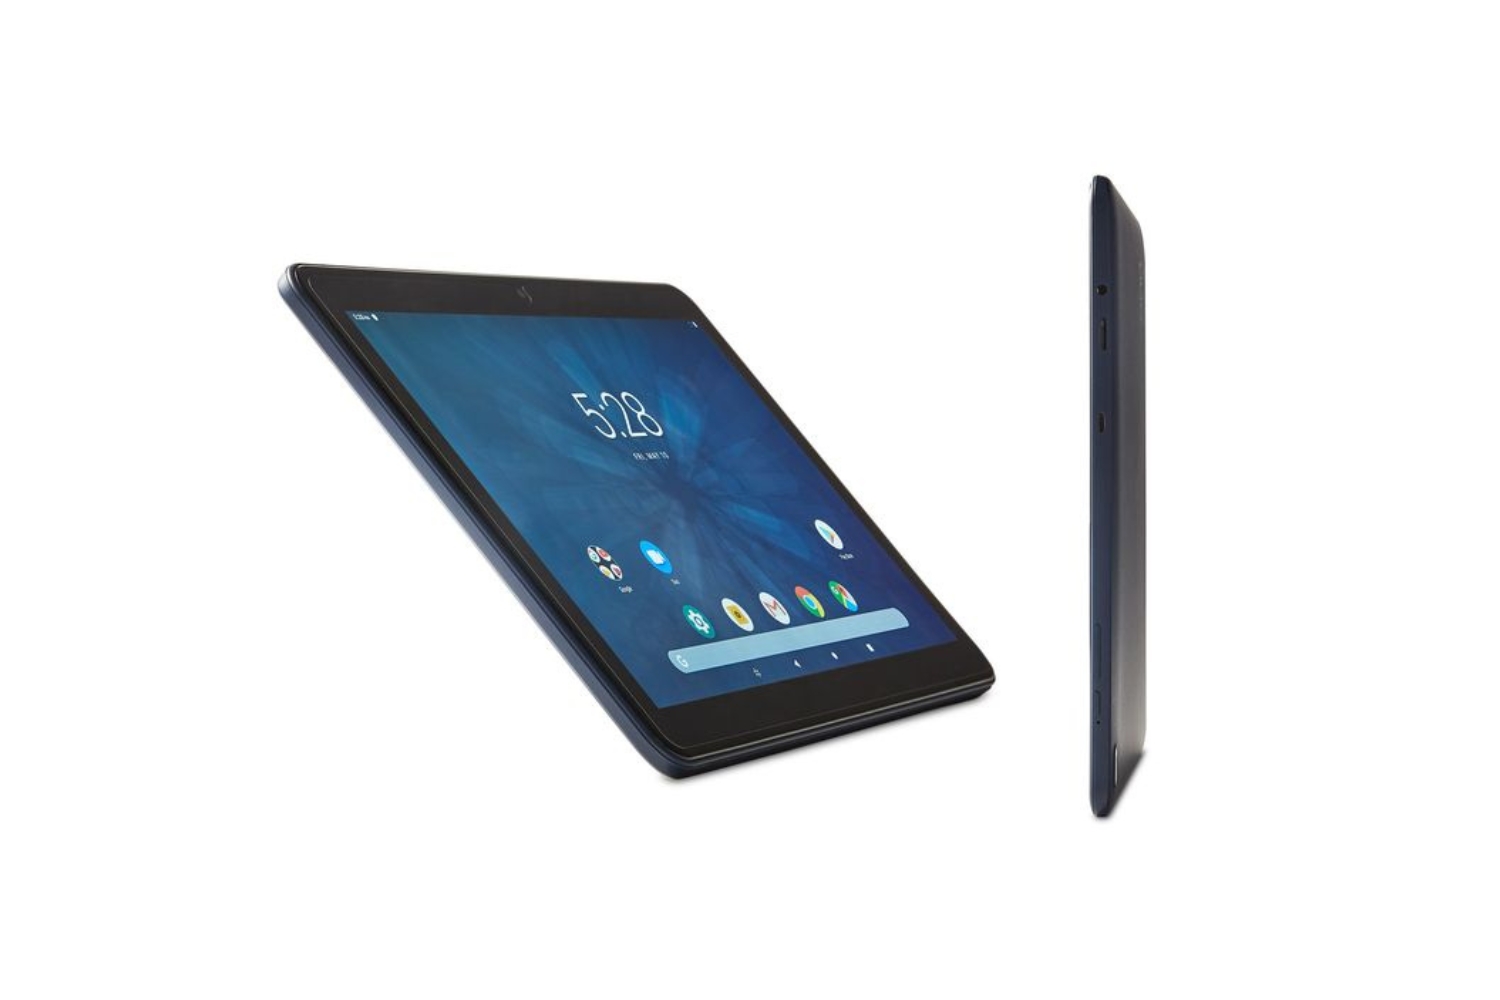
Welcome to the world of Onn tablets! If you’ve recently purchased an Onn tablet and are eager to get started, you’re in the right place. In this guide, we will walk you through the process of turning on your Onn tablet for the first time and getting it set up.
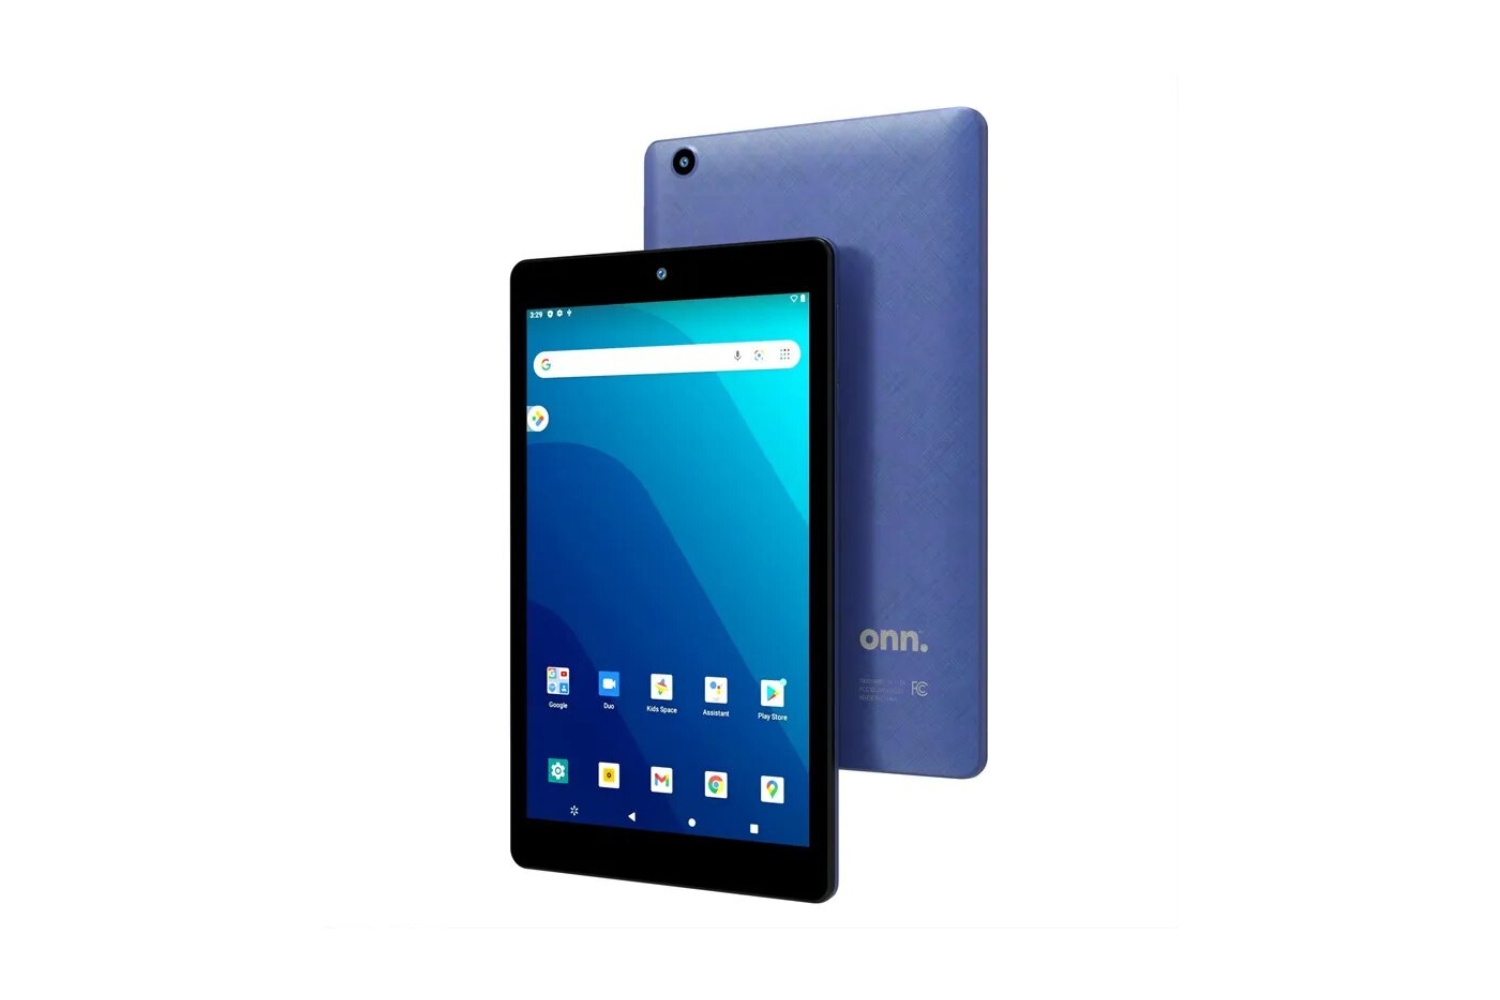
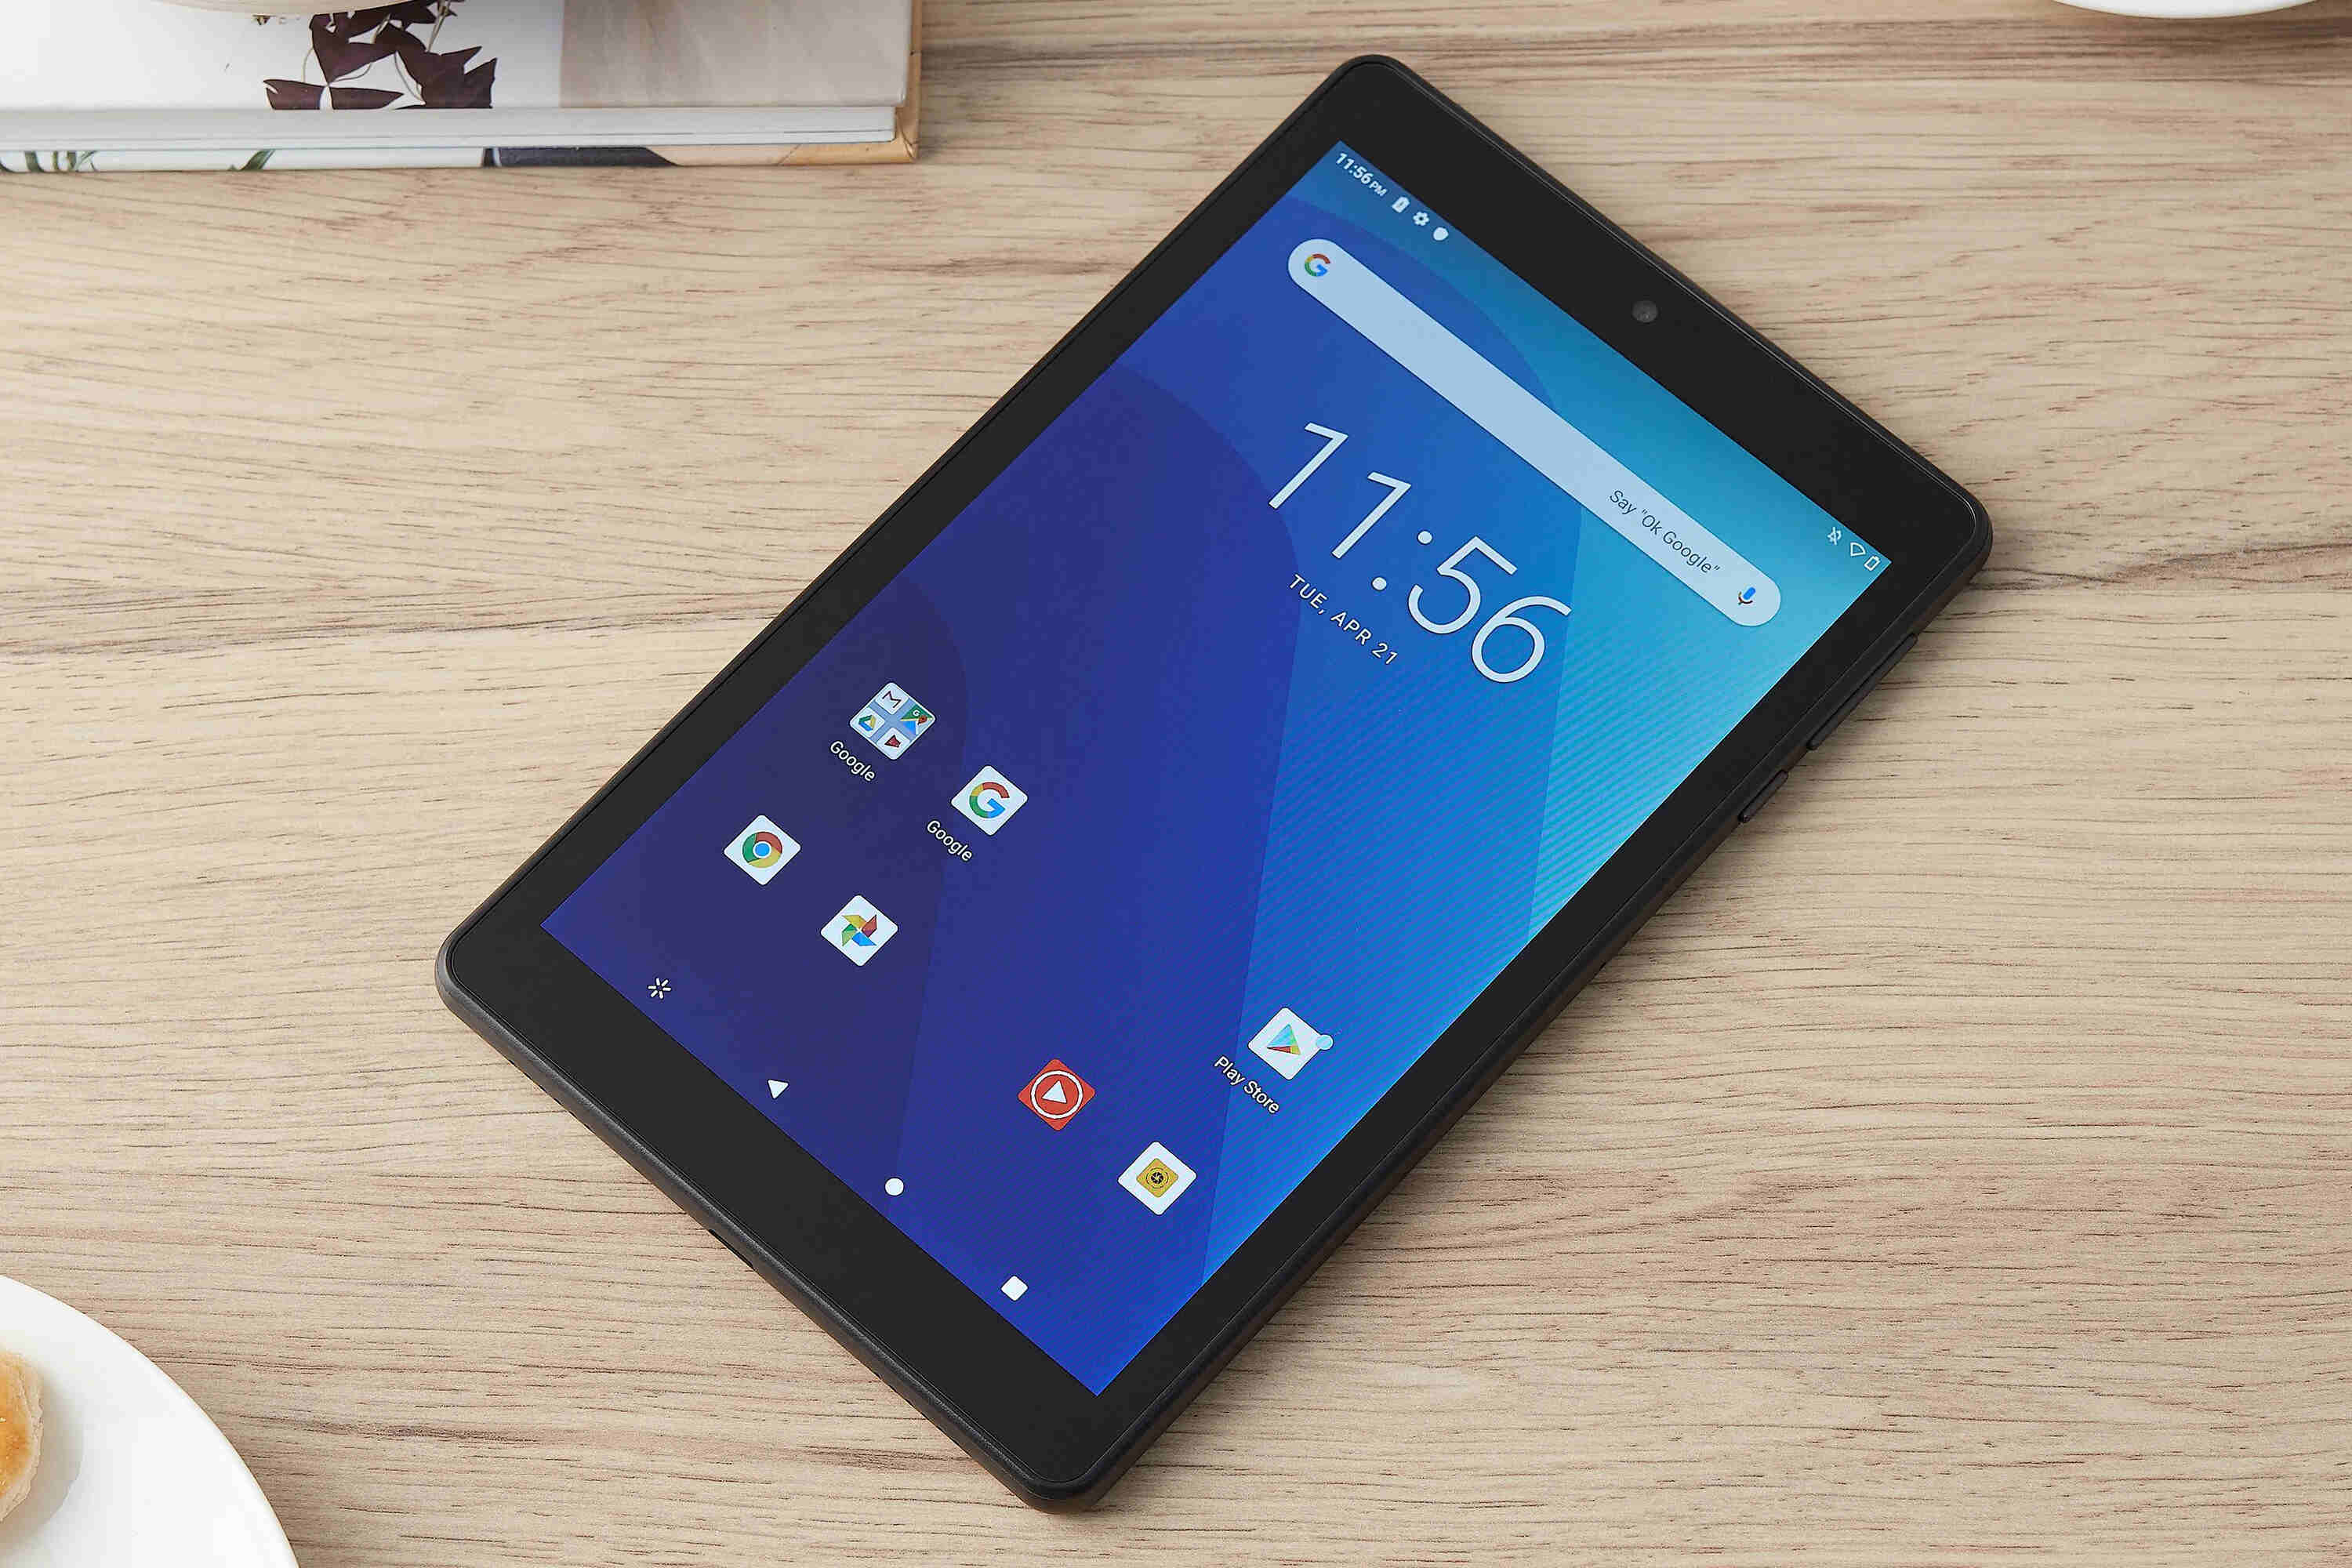
Onn tablets are known for their sleek designs, user-friendly interfaces, and impressive features. Whether you’re using it for work, entertainment, or both, powering on your Onn tablet is the first step toward accessing its full potential.
Before we dive into the steps, it’s important to note that the exact process may vary slightly depending on the specific model of your Onn tablet. However, the general principles outlined here should apply to most Onn tablet models.
So, let’s not waste any more time and get right into it. Read on to find out how to turn on your Onn tablet and start exploring all the amazing things it has to offer!
Step 1: Power button
The first step in turning on your Onn tablet is locating the power button. The power button is typically located on the side or top of the tablet, depending on the model. It is generally marked with a symbol that looks like a circle with a vertical line in the middle.
Once you’ve found the power button, ensure that the tablet is charged or connected to a power source. This is important as the tablet may not turn on if the battery is low or depleted. If your tablet is not already charged, plug in the charging cable and wait for it to charge for a few minutes.
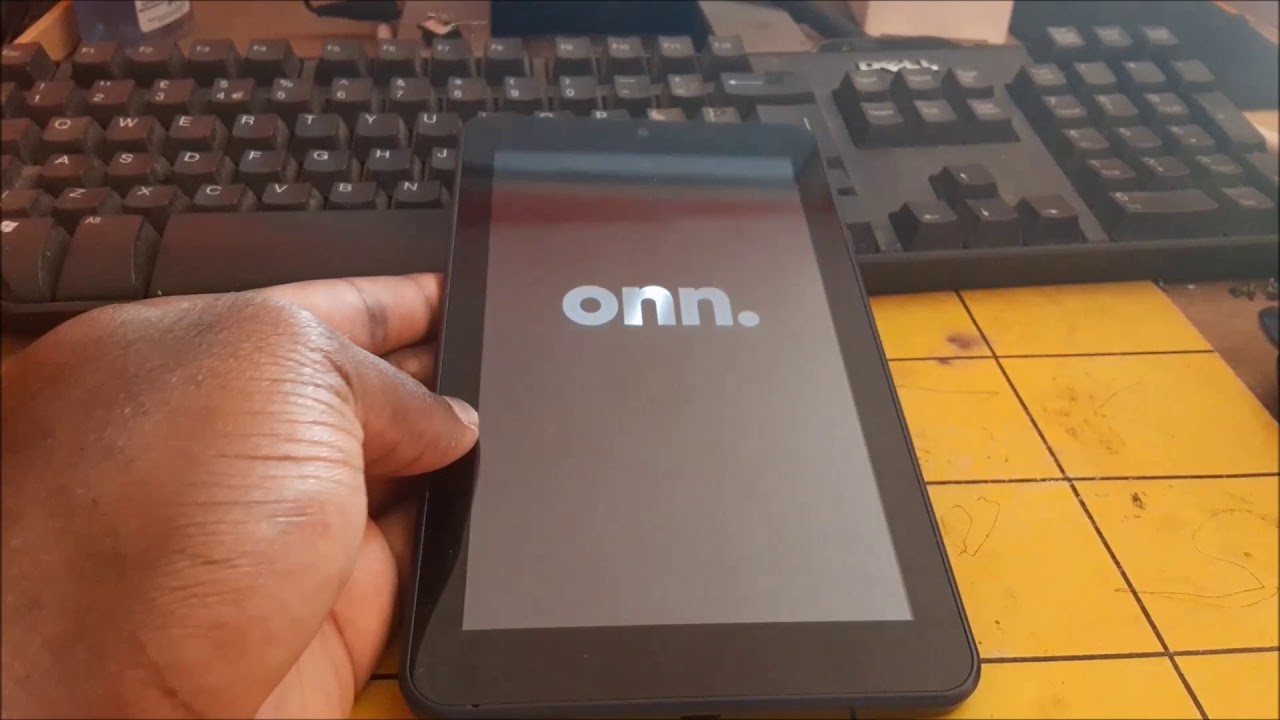
After ensuring the tablet has enough power, press and hold the power button for a few seconds. You may need to hold it for a bit longer if the tablet takes a bit of time to boot up. As you press and hold the power button, the screen should light up, and you will see the Onn logo or the Android startup logo.
Release the power button once the tablet starts to boot up. At this point, you are on your way to setting up your Onn tablet and getting ready to explore its features and capabilities.
Remember, the specific location and appearance of the power button may vary depending on the Onn tablet model you have. If you are having trouble locating the power button or turning on the tablet, refer to the user manual or contact Onn customer support for assistance.
Step 2: Charging the tablet
Before you can begin using your Onn tablet, it is essential to ensure that it is charged. This step is particularly crucial if you have just unboxed your tablet or if it has been sitting unused for a while.
To charge your tablet, locate the charging port, which is usually located on the bottom or side of the device. Once you have found the charging port, connect the charger cable to it. The other end of the cable should be connected to a power source, such as a wall outlet or a USB port on your computer.
Once the charger is connected, you should see a battery icon or charging indicator appear on the screen. This indicates that the tablet is successfully charging. It is recommended to leave the tablet connected to the charger until the battery is fully charged. This ensures that you have sufficient power to use the tablet without any interruption.
The charging time may vary depending on the tablet model and the remaining battery level. Typically, it takes a few hours for the tablet to reach full charge. You can monitor the battery level by checking the battery icon on the screen.
It’s important to note that using the device while it is charging may increase the charging time. To speed up the charging process, it is recommended to avoid using the tablet or running intensive tasks while it is connected to the charger.
Once the tablet is fully charged, you can disconnect it from the charger and proceed to turn it on by following the steps mentioned earlier. By ensuring that your Onn tablet is adequately charged, you can enjoy uninterrupted usage and make the most out of its features.
Step 3: Press and hold the power button
Now that your Onn tablet is charged and ready to go, it’s time to press and hold the power button to turn it on. This step is crucial for powering up the tablet and starting the boot-up process.
Locate the power button on the side or top of your Onn tablet. The power button is typically marked with a symbol that resembles a circle with a vertical line in the middle. Once you have found it, press and hold the power button for a few seconds.
As you press and hold the power button, you may feel a slight vibration or see the screen light up. This indicates that the tablet is starting to boot up. Depending on the tablet model and its processing speed, it may take a few seconds or a minute for the tablet to fully turn on.
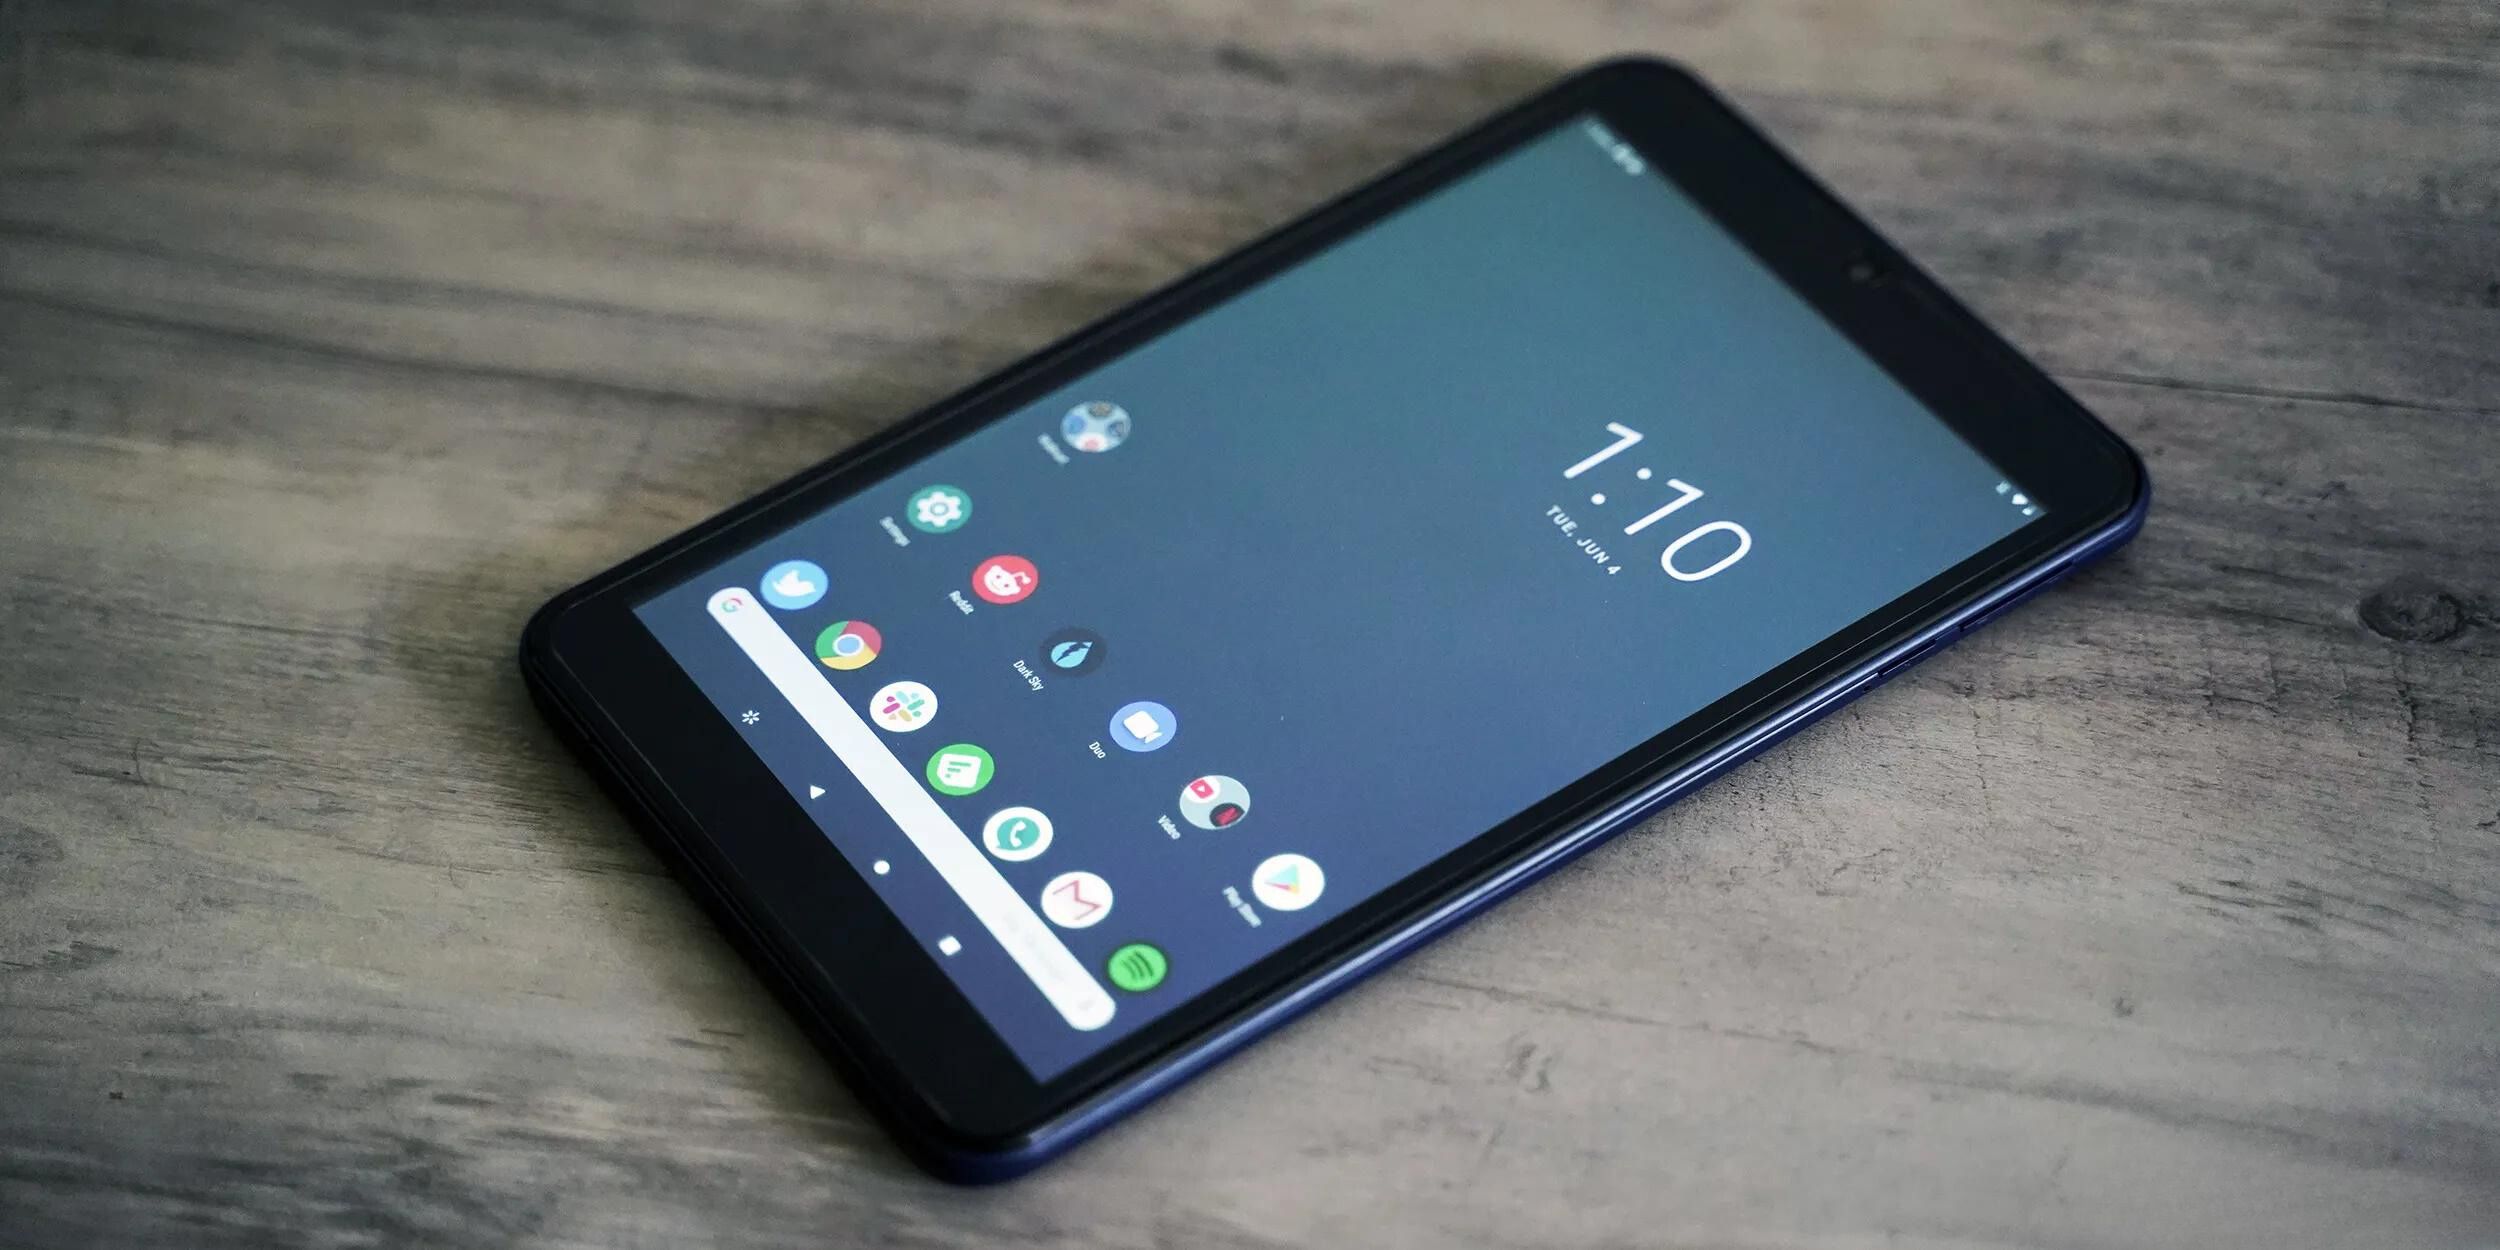
During the boot-up process, you will see the Onn logo or the Android startup logo displayed on the screen. Once the tablet has successfully booted up, you will be taken to the home screen or the initial setup screen.
If your tablet does not turn on after pressing and holding the power button, ensure that it is adequately charged. You may also try connecting it to the charger and repeating the step. If the issue persists, consult the user manual or contact Onn customer support for further assistance.
Remember, holding the power button is not only used to turn on the tablet but can also be used to turn it off. If you ever need to power off your Onn tablet, press and hold the power button until you see the power off options, then follow the on-screen prompts to shut down the device.
Now that you have successfully turned on your Onn tablet, you can proceed to set up the initial settings and begin customizing the device according to your preferences.
Step 4: Set up the initial settings
After successfully turning on your Onn tablet, you will be guided through the initial setup process. This step will help you personalize your tablet and configure essential settings to enhance your user experience.
Follow the on-screen prompts and instructions to set your preferred language, date, and time. You may also be prompted to agree to the terms and conditions of the software and services provided by Onn. Read through these carefully and click “Agree” to proceed.
During the setup process, you will have the opportunity to sign in with your Google account, which will allow you to access various Google services such as Gmail, Google Drive, and Google Play Store. If you don’t have a Google account, you can create one directly from your Onn tablet.
Furthermore, you will be prompted to set up additional security features such as PIN codes, patterns, or fingerprint recognition. These security measures help protect your tablet and ensure that only authorized users can access it.
Additionally, you may encounter options to customize the home screen layout, choose app placements, and adjust display settings such as brightness and font size. Feel free to explore these options and configure them according to your preferences.
Keep in mind that the exact steps and options may vary depending on the model and software version of your Onn tablet. However, the setup process is designed to be intuitive and user-friendly, guiding you through the essential settings to get your tablet up and running.
Once you have completed the initial setup, you are now ready to explore the full capabilities of your Onn tablet. Take some time to familiarize yourself with the user interface, navigation gestures, and pre-installed apps. Remember, you can always modify these settings later on if you wish.
By setting up the initial settings, you ensure that your Onn tablet is tailored to your preferences, making it a truly personalized device that enhances your productivity and enjoyment.
Step 5: Connect to Wi-Fi network
Connecting your Onn tablet to a Wi-Fi network is essential for accessing the internet, downloading apps, and enjoying online content. By following this step, you can establish a reliable and high-speed internet connection on your tablet.
To connect to a Wi-Fi network, start by accessing the Settings app on your Onn tablet. You can typically find the Settings app in the app drawer or by swiping down from the top of the screen and tapping the gear icon.
Inside the Settings app, locate the “Wi-Fi” option. Tap on it to view the available Wi-Fi networks in your vicinity. You will see a list of networks, each displaying its name (SSID) and signal strength.
Choose the Wi-Fi network you want to connect to by tapping on its name. If the network is password-protected, you will be prompted to enter the password. Carefully type in the Wi-Fi password, ensuring that it is accurate, as passwords are case-sensitive.
After entering the password, tap “Connect” to establish a connection with the selected Wi-Fi network. If the authentication is successful, you will see a “Connected” status next to the network’s name.
It’s important to note that you may need to repeat this process when connecting to different Wi-Fi networks, such as those at work, school, or public places. Once you have successfully connected to a Wi-Fi network, your Onn tablet will automatically connect to it whenever it is within range.
If you are unable to find any available Wi-Fi networks, ensure that your tablet is within range of a Wi-Fi signal and that the Wi-Fi feature is turned on. If you encounter any connectivity issues, try restarting your tablet or resetting the Wi-Fi router.
With a successful Wi-Fi connection, you can now enjoy seamless internet browsing, stream videos, download applications, and stay connected online with ease using your Onn tablet.
Step 6: Complete the installation process
After setting up the initial settings and establishing a Wi-Fi connection on your Onn tablet, you will likely need to complete the installation process of essential system updates and additional apps.
When you first power on your tablet or during the initial setup, it may prompt you to download and install any available system updates. It’s essential to keep your tablet’s software up to date, as these updates often include bug fixes, security patches, and new features.
Make sure your tablet is connected to a stable Wi-Fi network and has sufficient battery charge or is plugged into a power source. Follow the on-screen instructions to download and install the updates. The installation process may take a few minutes, so be patient and avoid interrupting it.
Once the system updates are installed, you may also want to install additional apps on your Onn tablet. Visit the Google Play Store, which is the official app store for Android devices, by locating its icon on the home screen or in the app drawer.
Launch the Play Store and sign in with your Google account if prompted. You can search for apps by typing their names in the search bar or explore different categories and recommendations provided by the Play Store.
When you find an app you want to install, simply tap on it to view its details and tap the “Install” button to begin the installation process. Wait for the app to download and install, then you can access it from the home screen or the app drawer.
Remember to review the permissions requested by each app before installing to ensure they align with your privacy preferences. You can manage app permissions in the Settings app under the “Apps” or “Permissions” section.
Continue installing any other essential apps or games that you use frequently to make the most out of your Onn tablet’s capabilities.
By completing the installation process, including the system updates and app installations, you ensure that your Onn tablet is up to date, secure, and equipped with the necessary tools and applications for your needs.
Conclusion
Congratulations! You have successfully turned on your Onn tablet and completed the initial setup. By following the steps outlined in this guide, you can now enjoy all the amazing features and functionalities that your Onn tablet has to offer.
From powering on the tablet by pressing and holding the power button to connecting to a Wi-Fi network and setting up the initial settings, you have taken the necessary steps to ensure a seamless and personalized user experience.
Remember, as you explore your Onn tablet, feel free to customize the settings, download additional apps from the Play Store, and keep your device up to date with the latest system updates. This will help you make the most out of your tablet and stay connected, entertained, and productive.
If you encounter any issues or have further questions about your Onn tablet, don’t hesitate to refer to the user manual or reach out to Onn customer support for assistance. They will be more than happy to help you troubleshoot any problems or provide additional guidance.
Now that you are familiar with the process of turning on and setting up your Onn tablet, it’s time to start exploring and enjoying all the possibilities it brings. Whether you use it for work, entertainment, or both, your Onn tablet is a powerful tool that can accompany you on your digital journey.
So go ahead, dive into the world of apps, games, movies, music, and more. Let your Onn tablet be your companion in productivity and entertainment, and make the most of your digital experience!


