Introduction
Welcome to our guide on how to reset Onn TWS wireless earbuds. If you’re experiencing issues with your Onn wireless earbuds, such as connectivity problems or sound quality issues, a reset might be just what you need to get them back to their optimal performance.
Resetting your earbuds can help resolve a variety of common issues, including syncing problems, unresponsiveness, and connectivity glitches. It is a simple process that can often be done in a few easy steps.
In this article, we will cover several methods to reset your Onn TWS wireless earbuds, providing you with step-by-step instructions for each method. Whether you prefer a manual reset or utilizing the charging case or Bluetooth settings, we have you covered.
Please note that different models of Onn TWS earbuds may have slightly different reset procedures. We will provide general instructions that should work for most models, but if you encounter any difficulties, we recommend consulting the user manual for your specific earbud model.
Now, let’s dive into the various methods you can use to reset your Onn TWS wireless earbuds and get them back to peak performance.
Method 1: Manual Reset
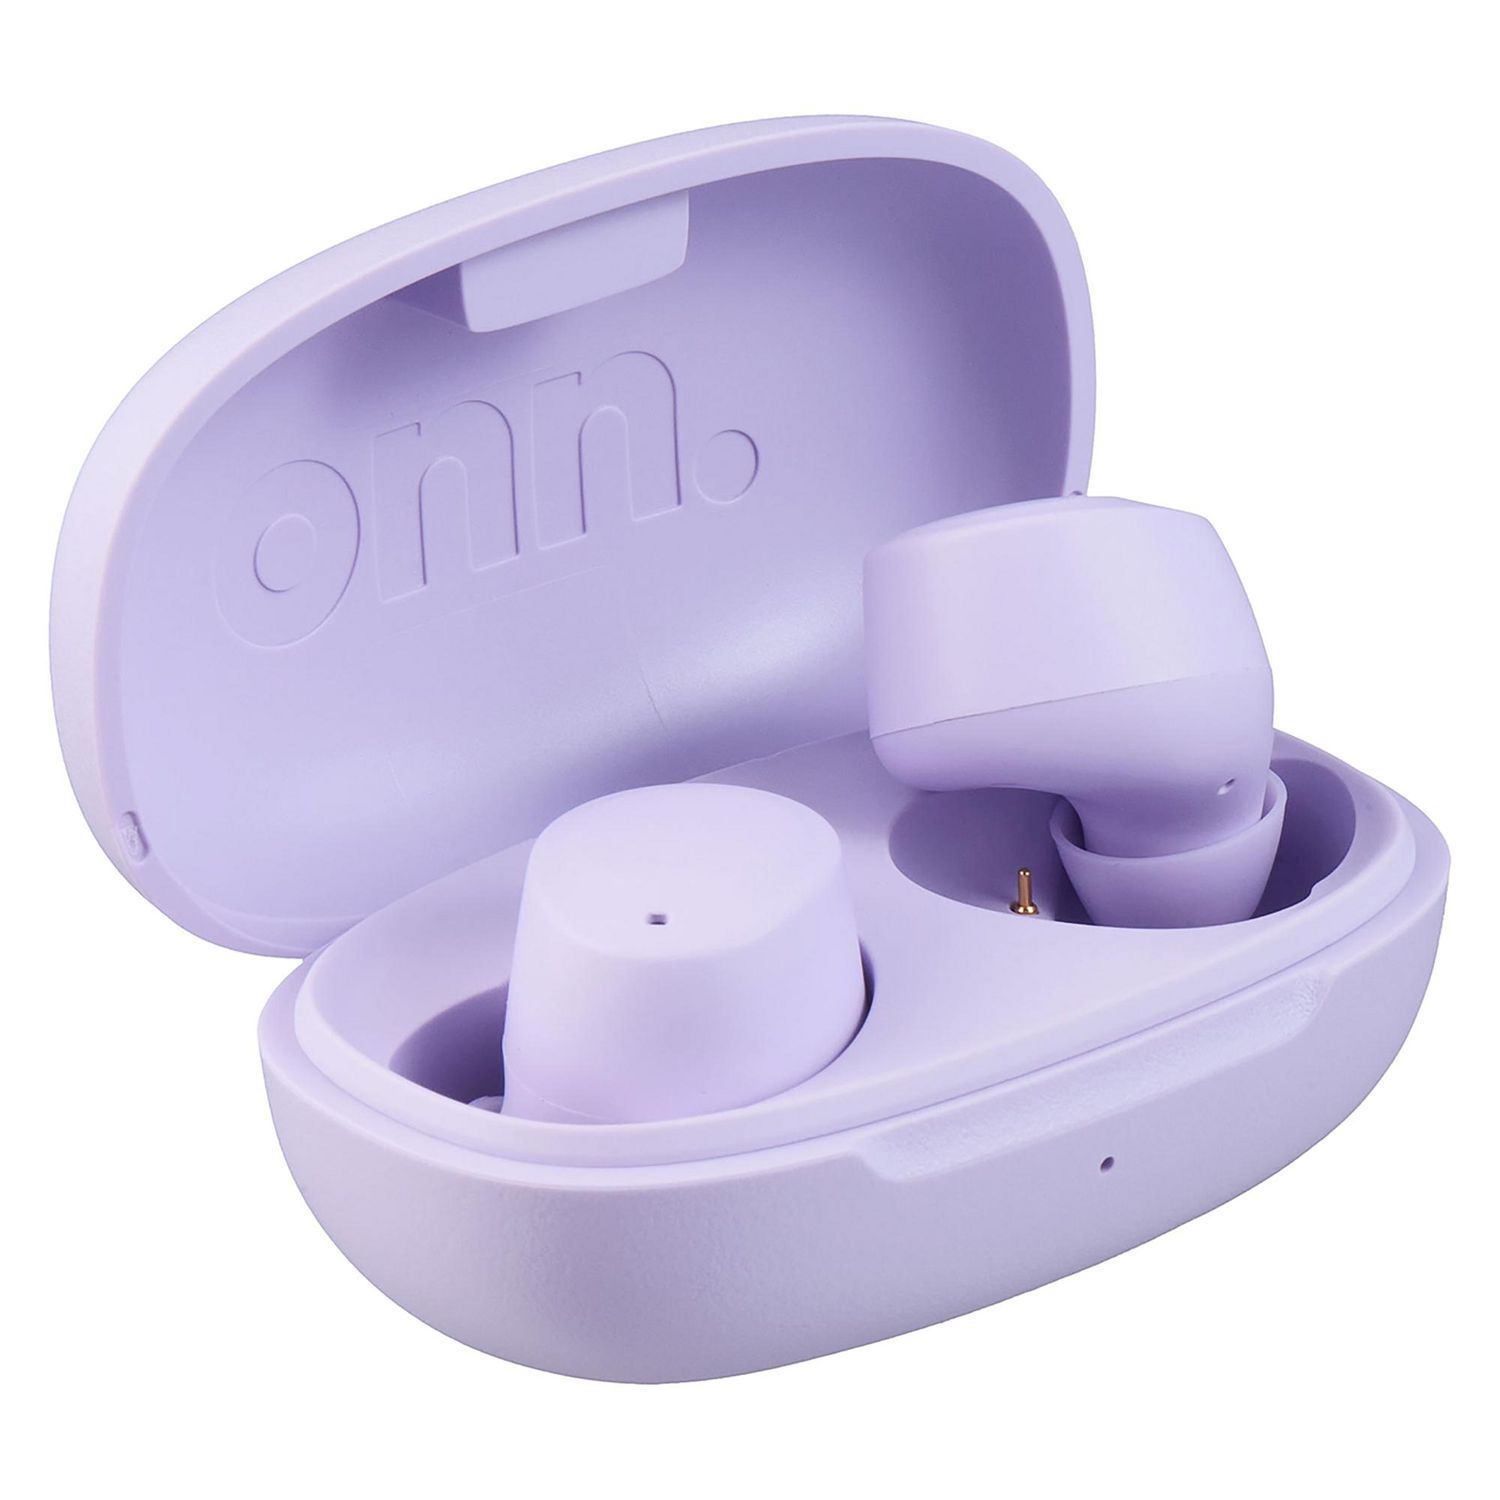
One of the simplest ways to reset your Onn TWS wireless earbuds is by performing a manual reset. This method typically involves a combination of button presses that will initiate the reset process. Follow the steps below to perform a manual reset:
- Make sure your Onn TWS earbuds are disconnected from any devices and turned off.
- Locate the control buttons on your earbuds. These buttons are usually located on the earpiece or the side of the earbuds.
- Press and hold the buttons simultaneously for a few seconds. The specific buttons and duration may vary depending on your earbud model, so refer to the user manual for the correct button combination.
- You might see a LED indicator light flashing or hear an audible sound indicating that the reset process has been initiated.
- Release the buttons and wait for a few moments while the earbuds reset. This process may take a few seconds to complete.
- Once the reset is complete, the earbuds will power off. You can now turn them back on and attempt to reconnect them to your device.
If the manual reset method doesn’t resolve your issues, don’t worry. There are alternative methods you can try. Let’s explore another reset method using the charging case in the next section.
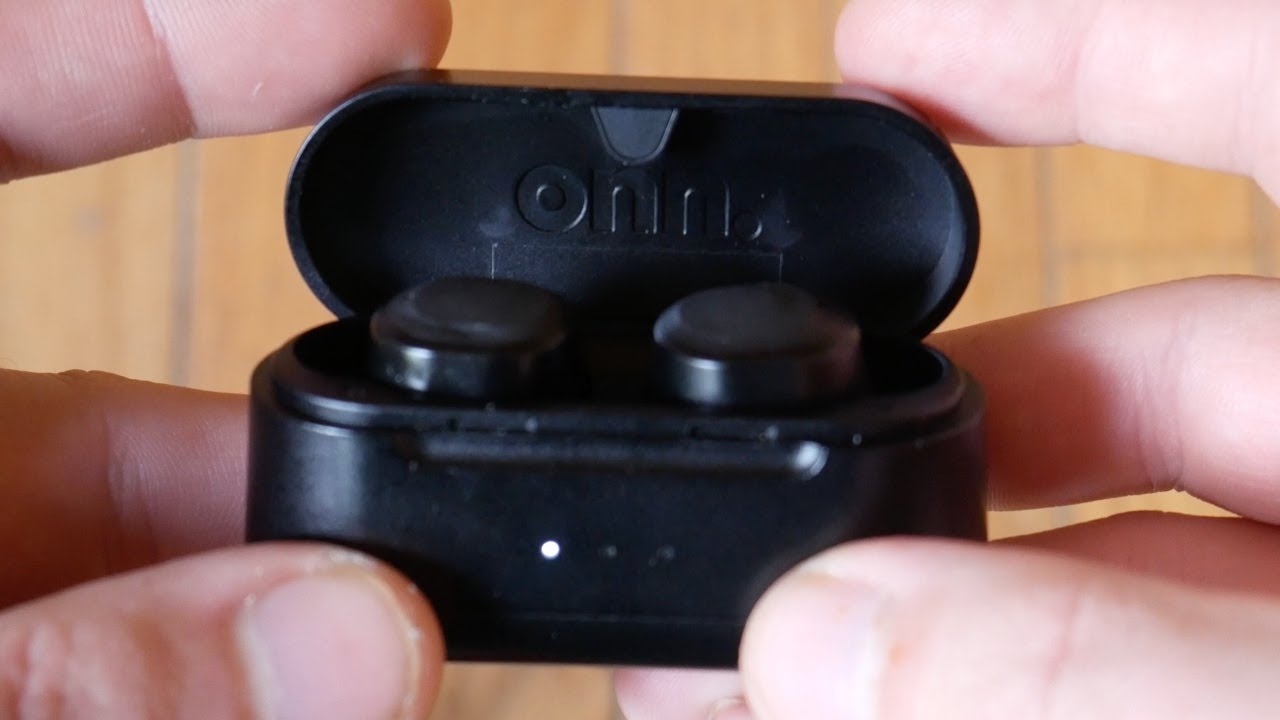
Method 2: Reset Using the Charging Case
If the manual reset method didn’t work or you prefer a different approach, you can try resetting your Onn TWS wireless earbuds using the charging case. This method is straightforward and involves a few simple steps:
- Ensure that your Onn TWS earbuds are turned off and placed inside the charging case.
- Close the charging case lid and make sure it is securely latched.
- Connect the charging case to a power source using the provided USB cable.
- Allow the earbuds to charge for a few minutes while connected to the power source.
- Once the earbuds are charged, remove them from the charging case.
- The earbuds should now be reset and ready to use.
Resetting your earbuds using the charging case can help resolve issues related to connectivity and synchronization. It essentially restores the earbuds to their default settings, eliminating any potential software glitches.
If you’re still experiencing problems, don’t worry. There are additional methods you can try to reset your Onn TWS wireless earbuds. Let’s explore resetting them using Bluetooth settings in the next section.
Method 3: Reset Using Bluetooth Settings
If you’re unable to reset your Onn TWS wireless earbuds using the manual or charging case methods, you can attempt to reset them through your device’s Bluetooth settings. This method can help resolve issues related to device pairing and connection. Here’s how you can do it:
- Ensure that your Onn TWS earbuds are turned on and in range of your device.
- Open the Bluetooth settings on your device (phone, tablet, or computer).
- Locate the entry for your Onn TWS earbuds in the list of available Bluetooth devices.
- Tap or click on the “Forget”, “Remove”, or “Unpair” option next to the earbud’s entry. This action will remove the earbuds from your device’s Bluetooth memory.
- Once the earbuds have been successfully unpaired, turn them off and then turn them on again.
- Reconnect the earbuds to your device by following the pairing process outlined in the user manual.
Resetting your earbuds through Bluetooth settings can help clear any connectivity issues between your device and the earbuds. By removing the earbuds from your device’s memory and re-establishing the connection, you can often resolve syncing problems and improve overall performance.
If you’re still facing persistent issues, you may need to consider a factory reset. This method will restore your earbuds to their original factory settings, erasing any customized settings or configurations. Proceed to the next section to learn how to perform a factory reset on your Onn TWS earbuds.
Method 4: Factory Reset
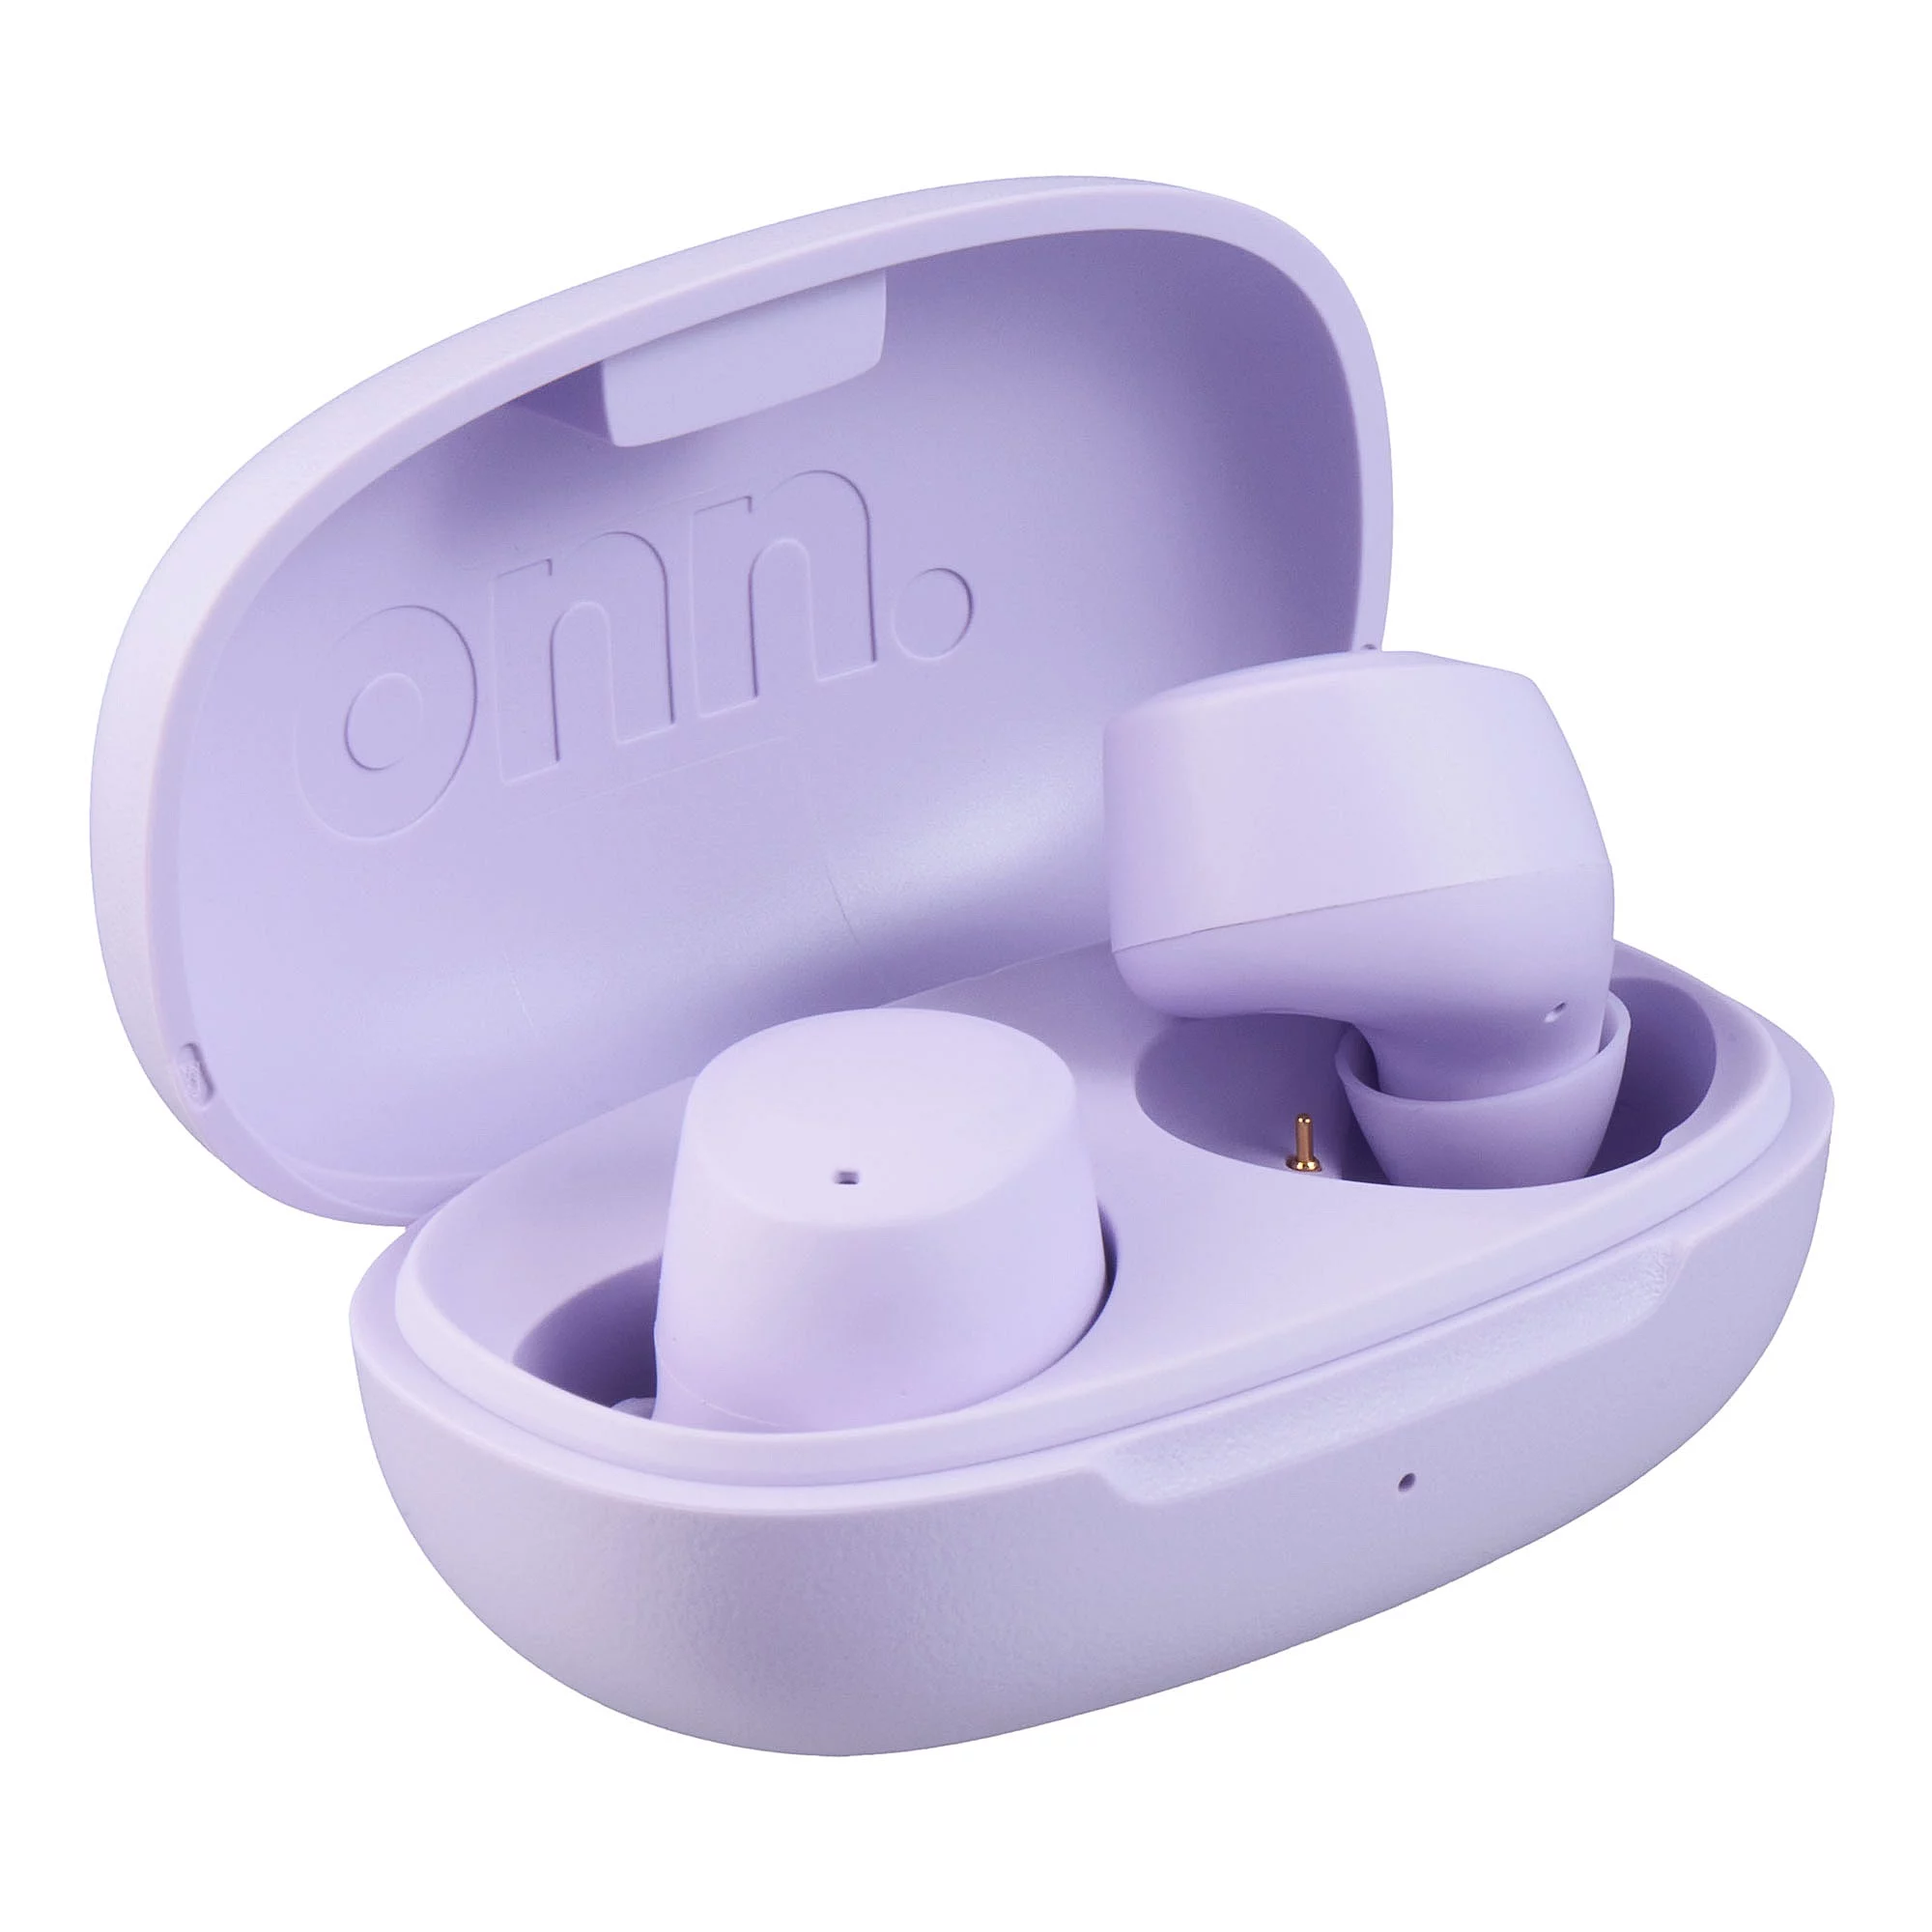
If none of the previous methods have resolved the issues with your Onn TWS wireless earbuds, you may need to perform a factory reset. This method will completely restore your earbuds to their original factory settings, removing all customizations and configurations. Here’s how you can perform a factory reset:
- Ensure that your Onn TWS earbuds are turned on.
- Press and hold the control buttons on both earbuds simultaneously for about 15 seconds.
- During this time, you may see the LED indicators flashing or hear a voice prompt indicating the reset process.
- Release the buttons once the reset process has started.
- Your earbuds will power off, and the factory reset will be complete.
- Turn on your earbuds again and pair them with your device following the instructions provided in the user manual.
A factory reset is a more advanced reset method and should be used as a last resort. It is recommended to try the other methods first, as a factory reset will erase all saved settings, including custom EQ settings and paired devices.
By performing a factory reset, you can eliminate any stubborn software issues that may be hindering the performance of your Onn TWS wireless earbuds. However, keep in mind that this reset method is irreversible, so proceed with caution.
Now that you’re familiar with various reset methods, you can troubleshoot and resolve common issues with your Onn TWS wireless earbuds. Feel free to try different methods until you find the one that works best for your specific situation.
Conclusion
Resetting your Onn TWS wireless earbuds can be a simple and effective way to resolve common issues and bring them back to optimal performance. In this guide, we have explored different methods for resetting your earbuds, including manual reset, using the charging case, resetting through Bluetooth settings, and performing a factory reset.
By following the step-by-step instructions provided in each method, you can easily reset your earbuds and address problems such as connectivity issues, unresponsiveness, and sound quality problems. It is important to note that different models of Onn TWS earbuds may have slightly different reset procedures, so consult the user manual for your specific model if you encounter any difficulties.
Remember to try the simpler methods, such as the manual reset or using the charging case, before resorting to a factory reset, as the latter will erase all custom settings and configurations. Performing a factory reset should be considered as a last resort if other methods haven’t resolved your issues.
We hope that this guide has helped you in resetting your Onn TWS wireless earbuds and resolving any issues you were experiencing. If the problems persist even after resetting, it may be necessary to contact the Onn customer support team for further assistance. Enjoy your enhanced audio experience with your freshly reset earbuds!