Common Types of DJI Remotes
If you own a DJI drone or are planning to purchase one, understanding the different types of DJI remotes available is crucial. The type of remote you have will determine how you turn it on and use it to control your drone. Here are some common types of DJI remotes you may come across:
- DJI Standard Remote: This is the basic remote that comes with most entry-level DJI drones. It typically features a simplified design with a few essential buttons and a mobile device holder.
- DJI Smart Controller: The Smart Controller is a more advanced remote that offers a built-in display screen. This eliminates the need to connect a smartphone or tablet to the remote, making it more convenient to use.
- DJI Phantom Remote: The Phantom series of drones often come with their specific remote, which is designed with the Phantom drone’s unique features in mind. These remotes may have additional buttons or switches compared to the standard remote.
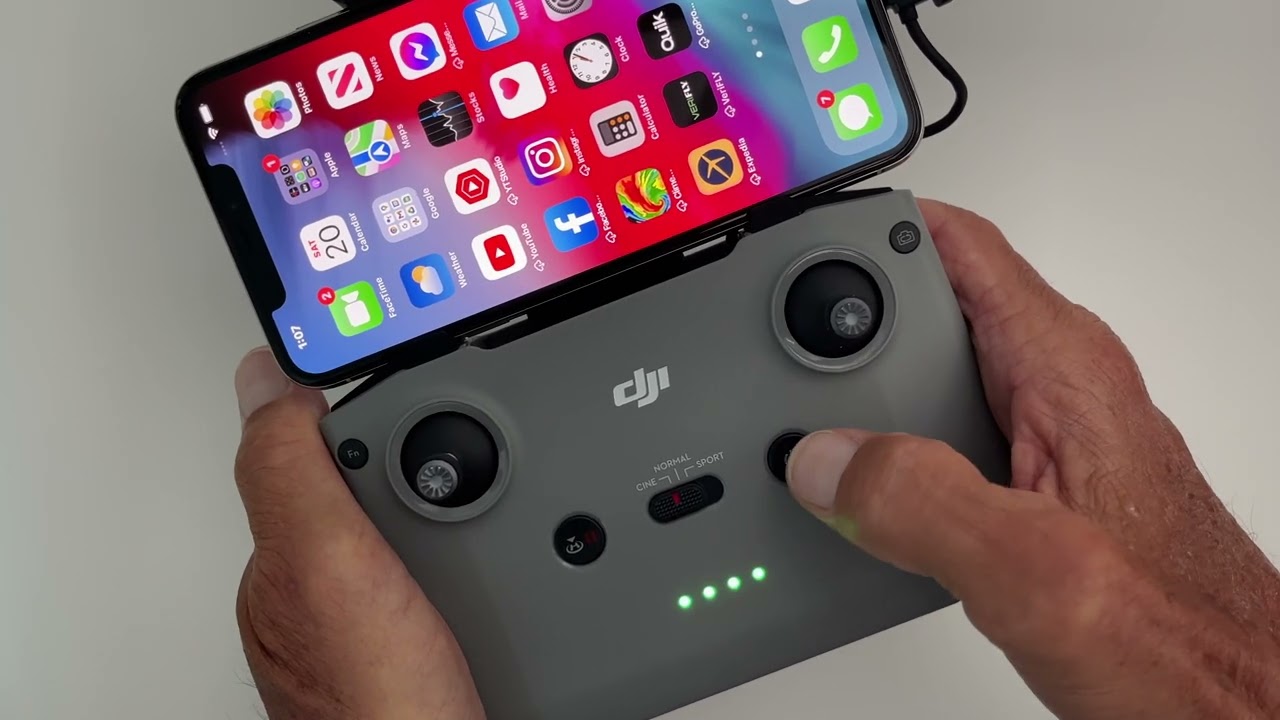
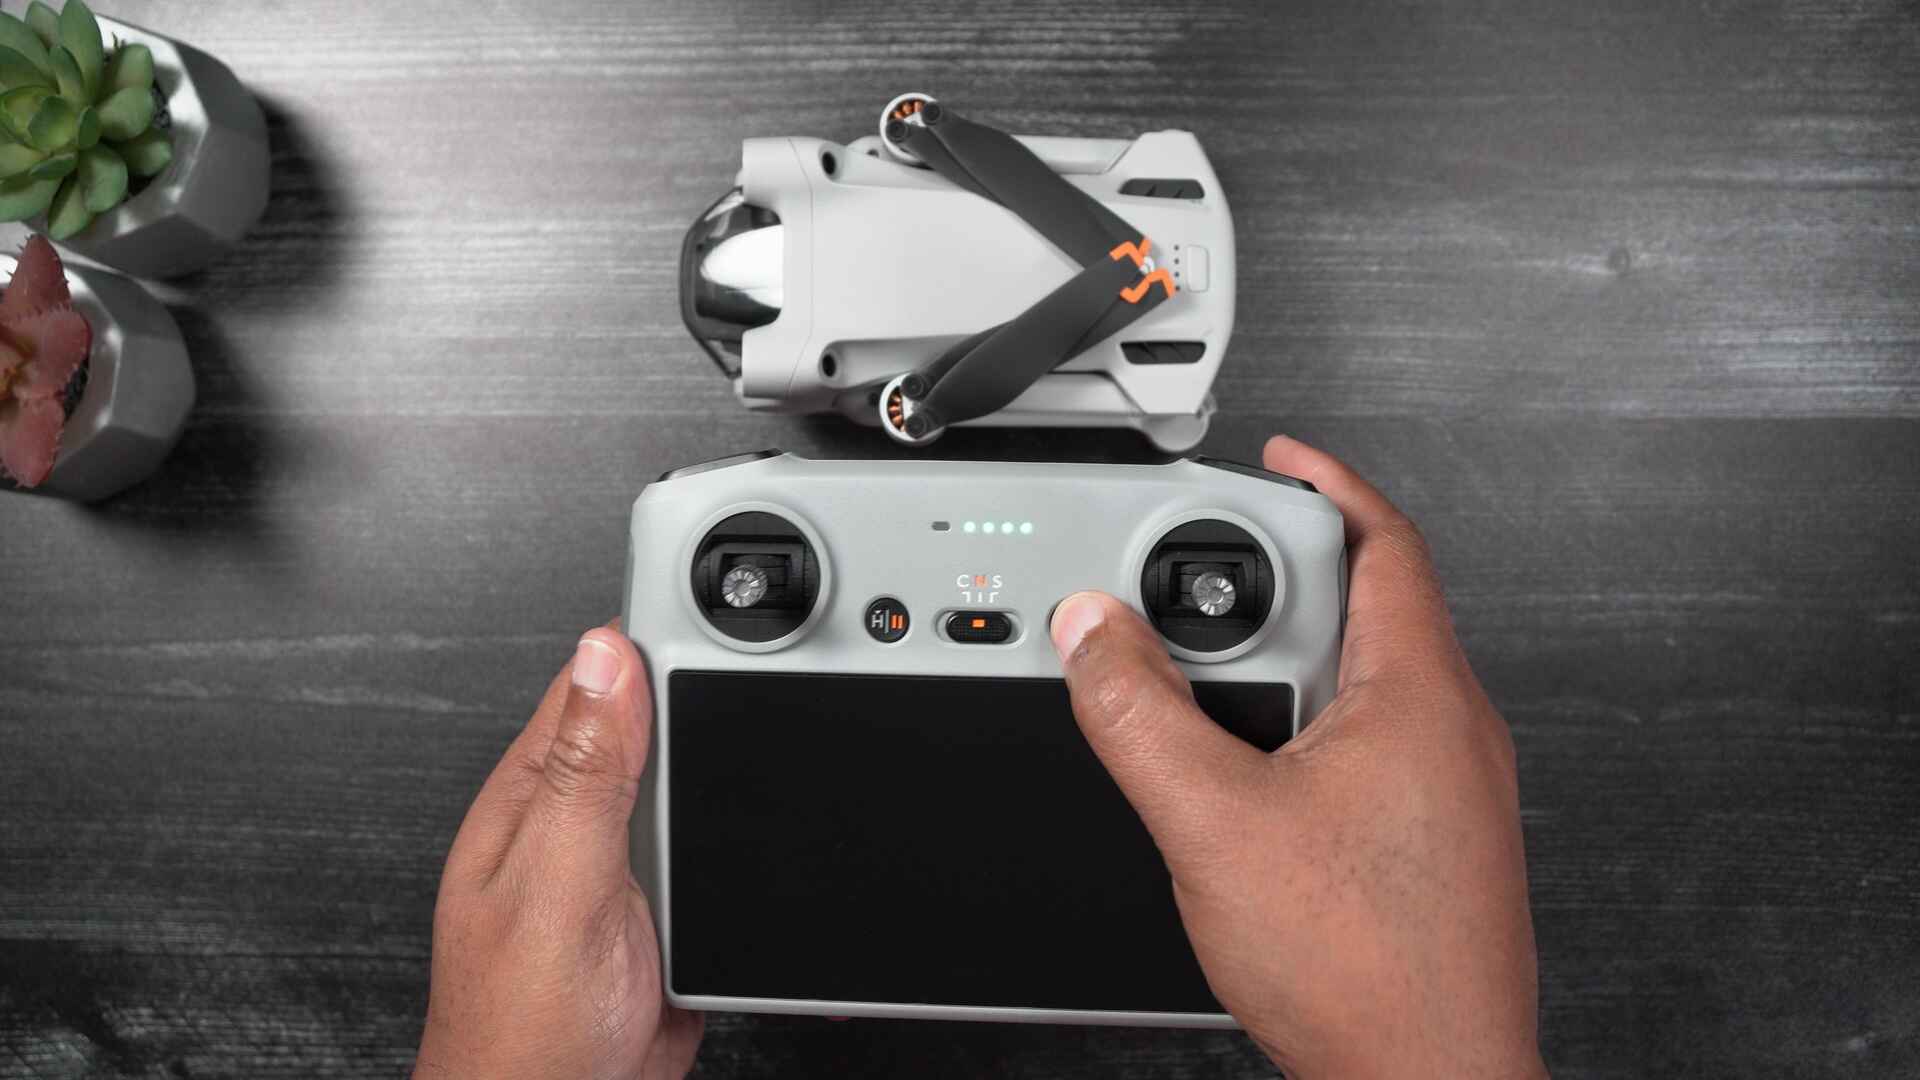
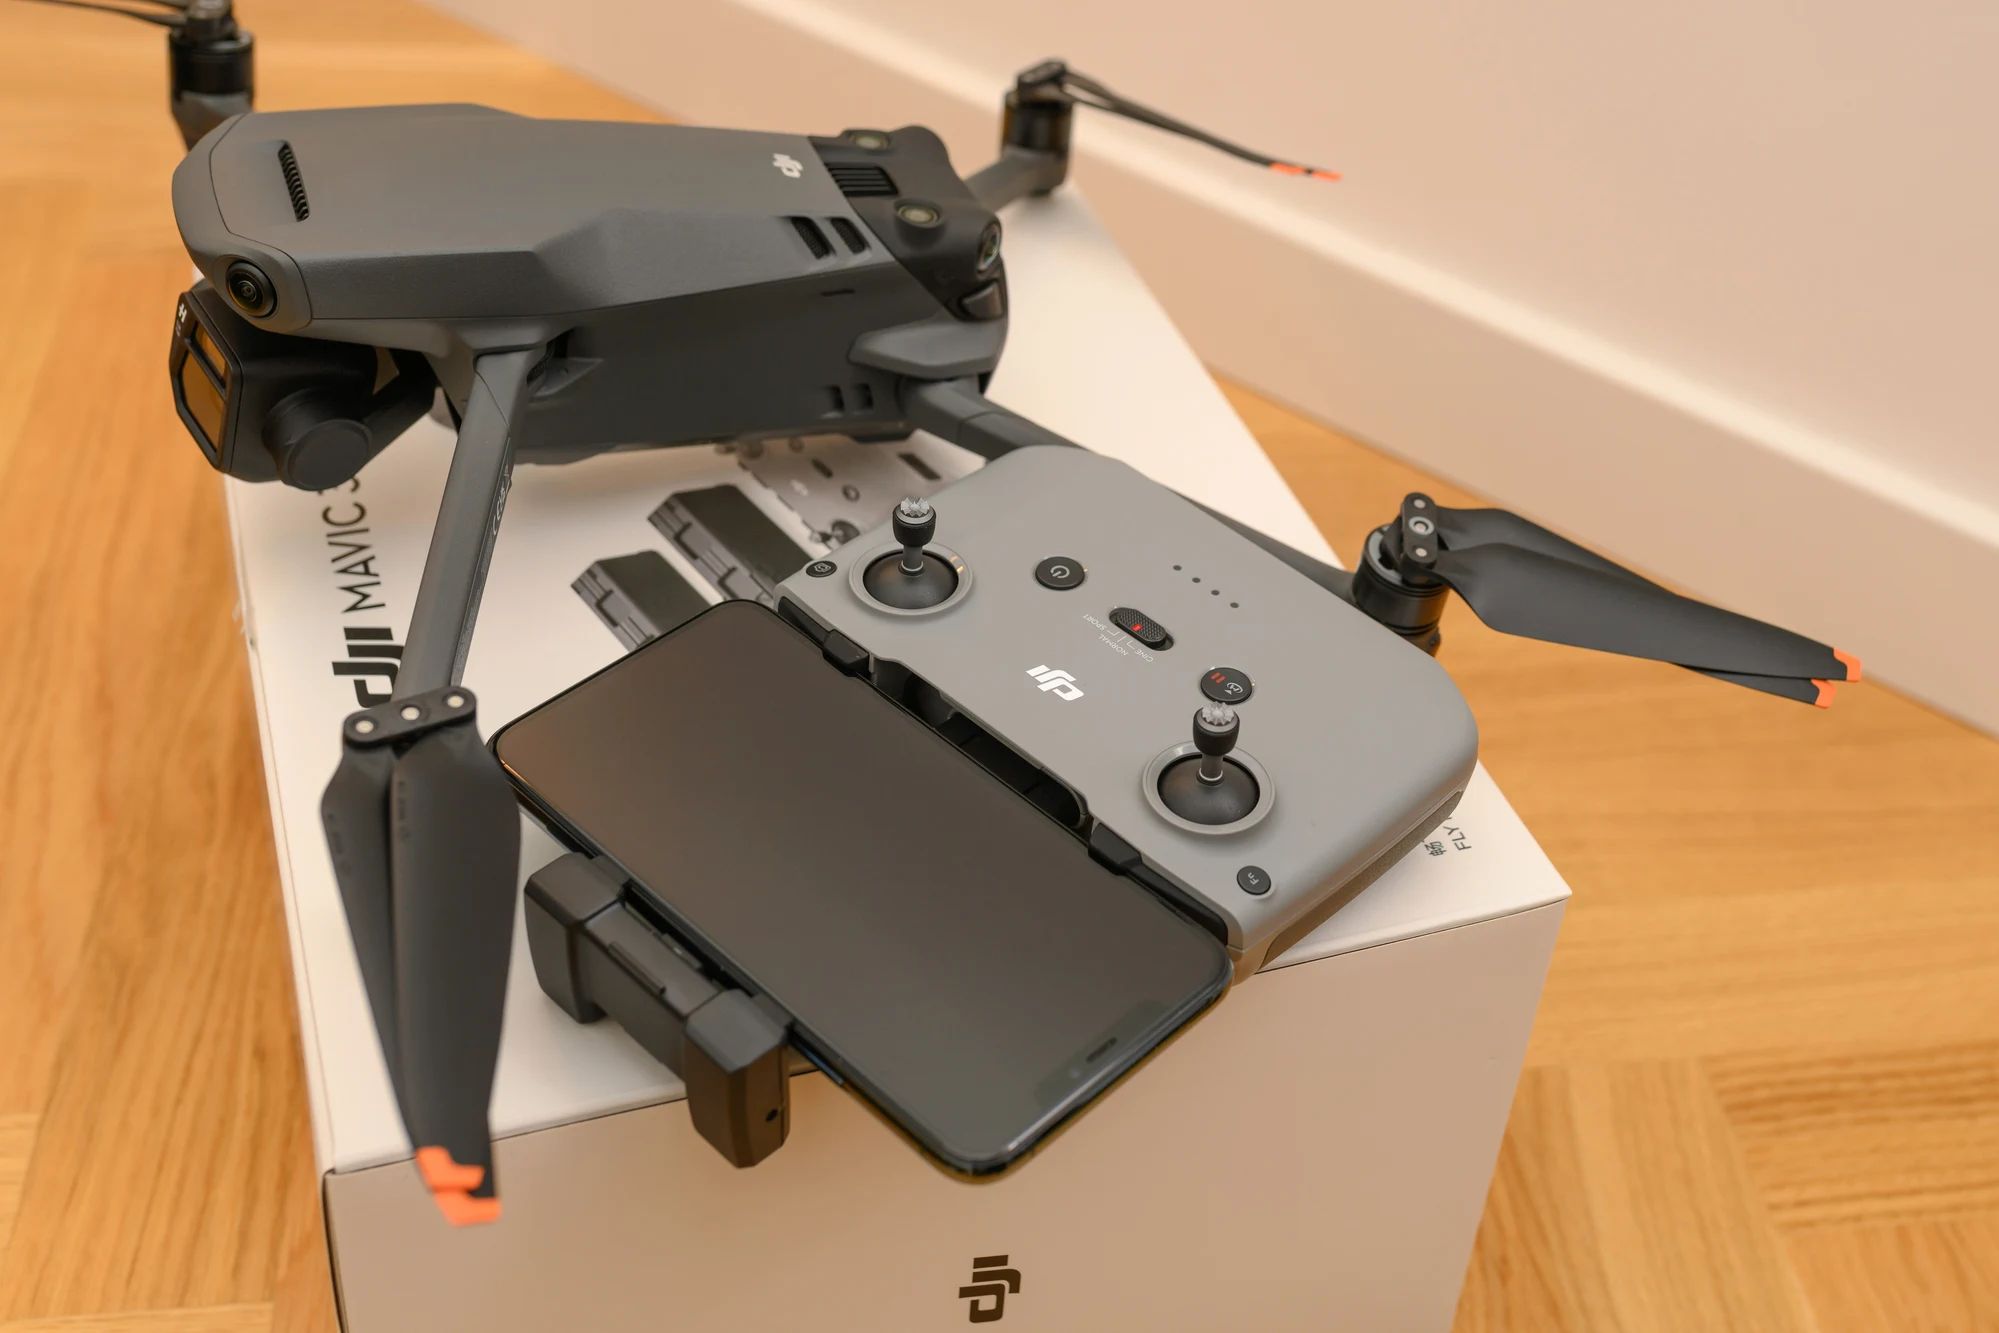
- DJI Mavic Remote: The Mavic series of drones have their own dedicated remote as well. These remotes are typically compact, portable, and designed with additional features such as foldable antennas or integrated displays.
- DJI Inspire Remote: The Inspire series of drones come with a more advanced remote that offers greater control options and customization. These remotes may have multiple dials, switches, and buttons for advanced camera control and flight settings.
It’s important to note that each DJI remote may have specific instructions for turning it on. While the basic steps are similar, there may be slight variations depending on the model. In the next sections, we will guide you through the general steps to turn on a DJI remote for both basic and advanced models.
Steps to Turn On DJI Remote (Basic Model)
If you have a basic DJI remote, follow these steps to turn it on:
- Before turning on the remote, ensure that the drone’s battery is charged and securely connected.
- Locate the power button on the remote. It is usually located on the top or side of the remote.
- Press and hold the power button for a few seconds. You may see an LED indicator light up on the remote when it powers on.
- Once the remote is powered on, you can check the connection by looking at the LED indicators on both the remote and the drone. They should synchronize and establish a solid connection.
- If applicable, connect your smartphone or tablet to the remote using the appropriate cable or wireless connection.
- You can now launch the DJI app on your mobile device and start controlling your drone using the remote.
Remember, the exact steps may vary slightly depending on the specific model of the basic DJI remote you own. Always refer to the user manual provided by DJI for precise instructions related to your remote.
Steps to Turn On DJI Remote (Advanced Model)
If you have an advanced DJI remote with additional features and customization options, here are the general steps to turn it on:
- Before turning on the remote, make sure the drone’s battery is charged and securely connected.
- Locate the power button on the remote. It may be positioned differently compared to the basic model.
- Press and hold the power button for a few seconds. Look for any LED indicators or display screens that turn on to indicate that the remote is powering up.
- Some advanced remotes may have additional switches or modes that can be toggled. Familiarize yourself with these controls to ensure you access the full range of features.
- Once the remote is powered on, ensure that it establishes a solid connection with the drone by checking the LED indicators or display screens.
- If required, connect your smartphone or tablet to the remote using the appropriate cable or wireless connection.
- Launch the DJI app on your mobile device and follow the on-screen prompts to establish a connection between the remote, drone, and app.
- Once the connection is established, you can begin the pre-flight checks and control the drone using the advanced features and settings available on the remote.
It’s important to note that while these steps provide a general guideline, the exact process may vary depending on the specific model of the advanced DJI remote you are using. Always refer to the user manual provided by DJI for your remote to ensure accurate instructions.
Troubleshooting Tips for Turning On DJI Remote
If you encounter any difficulties while turning on your DJI remote, try these troubleshooting tips:
- Check the battery: Ensure that the remote’s battery is charged or replace it with a fresh set of batteries if necessary. A low battery can prevent the remote from turning on.
- Inspect the connections: Verify that all connections, including the cable connections between the remote and your mobile device, are secure and undamaged.
- Restart the remote: Sometimes, a simple restart can resolve minor glitches. Press and hold the power button to turn off the remote, wait a few seconds, and then power it back on.
- Ensure the drone is powered on: The drone needs to be powered on and connected to establish a connection with the remote. Make sure the drone’s battery is charged and properly connected.
- Reset the remote: Certain models may have a reset button or procedure mentioned in the user manual. Perform a reset if you continue to experience issues with turning on the remote.
- Update firmware: Check if there are any firmware updates available for your remote. Keeping the firmware up to date can resolve compatibility issues and improve performance.
- Seek professional assistance: If you have followed all the troubleshooting steps and still cannot turn on the remote, it’s best to reach out to DJI’s customer support or consult a professional for further assistance.
Remember, these troubleshooting tips are general guidelines, and the specific steps may vary depending on your DJI remote model. Refer to the user manual or the DJI support website for detailed troubleshooting instructions for your specific remote.
Conclusion
Turning on a DJI remote is a crucial step in getting your drone ready for flight. Whether you have a basic or advanced model, following the correct steps ensures a successful startup. Familiarize yourself with the specific instructions for your remote model, as variations may exist.
By understanding the common types of DJI remotes, you can choose the one that best suits your needs and drone model. The basic remote is often included with entry-level drones and provides essential functionality, while advanced remotes offer additional features and customization options.
For the basic model, turning it on involves pressing and holding the power button, while advanced models may include additional switches and modes. Establishing a solid connection between the remote, drone, and mobile device, if required, is essential for seamless operation.
If you encounter any issues when turning on your DJI remote, troubleshooting steps can help identify and resolve the problem. Checking the battery, connections, and firmware updates are some of the basic troubleshooting methods. In case of persistent issues, consulting DJI’s customer support or seeking professional assistance is recommended.
Remember to consult the user manual provided by DJI for your specific remote model, as it contains precise instructions tailored to your device.
With this knowledge, you can confidently power on your DJI remote and embark on exciting drone adventures, capturing stunning aerial footage with ease and precision.