Introduction
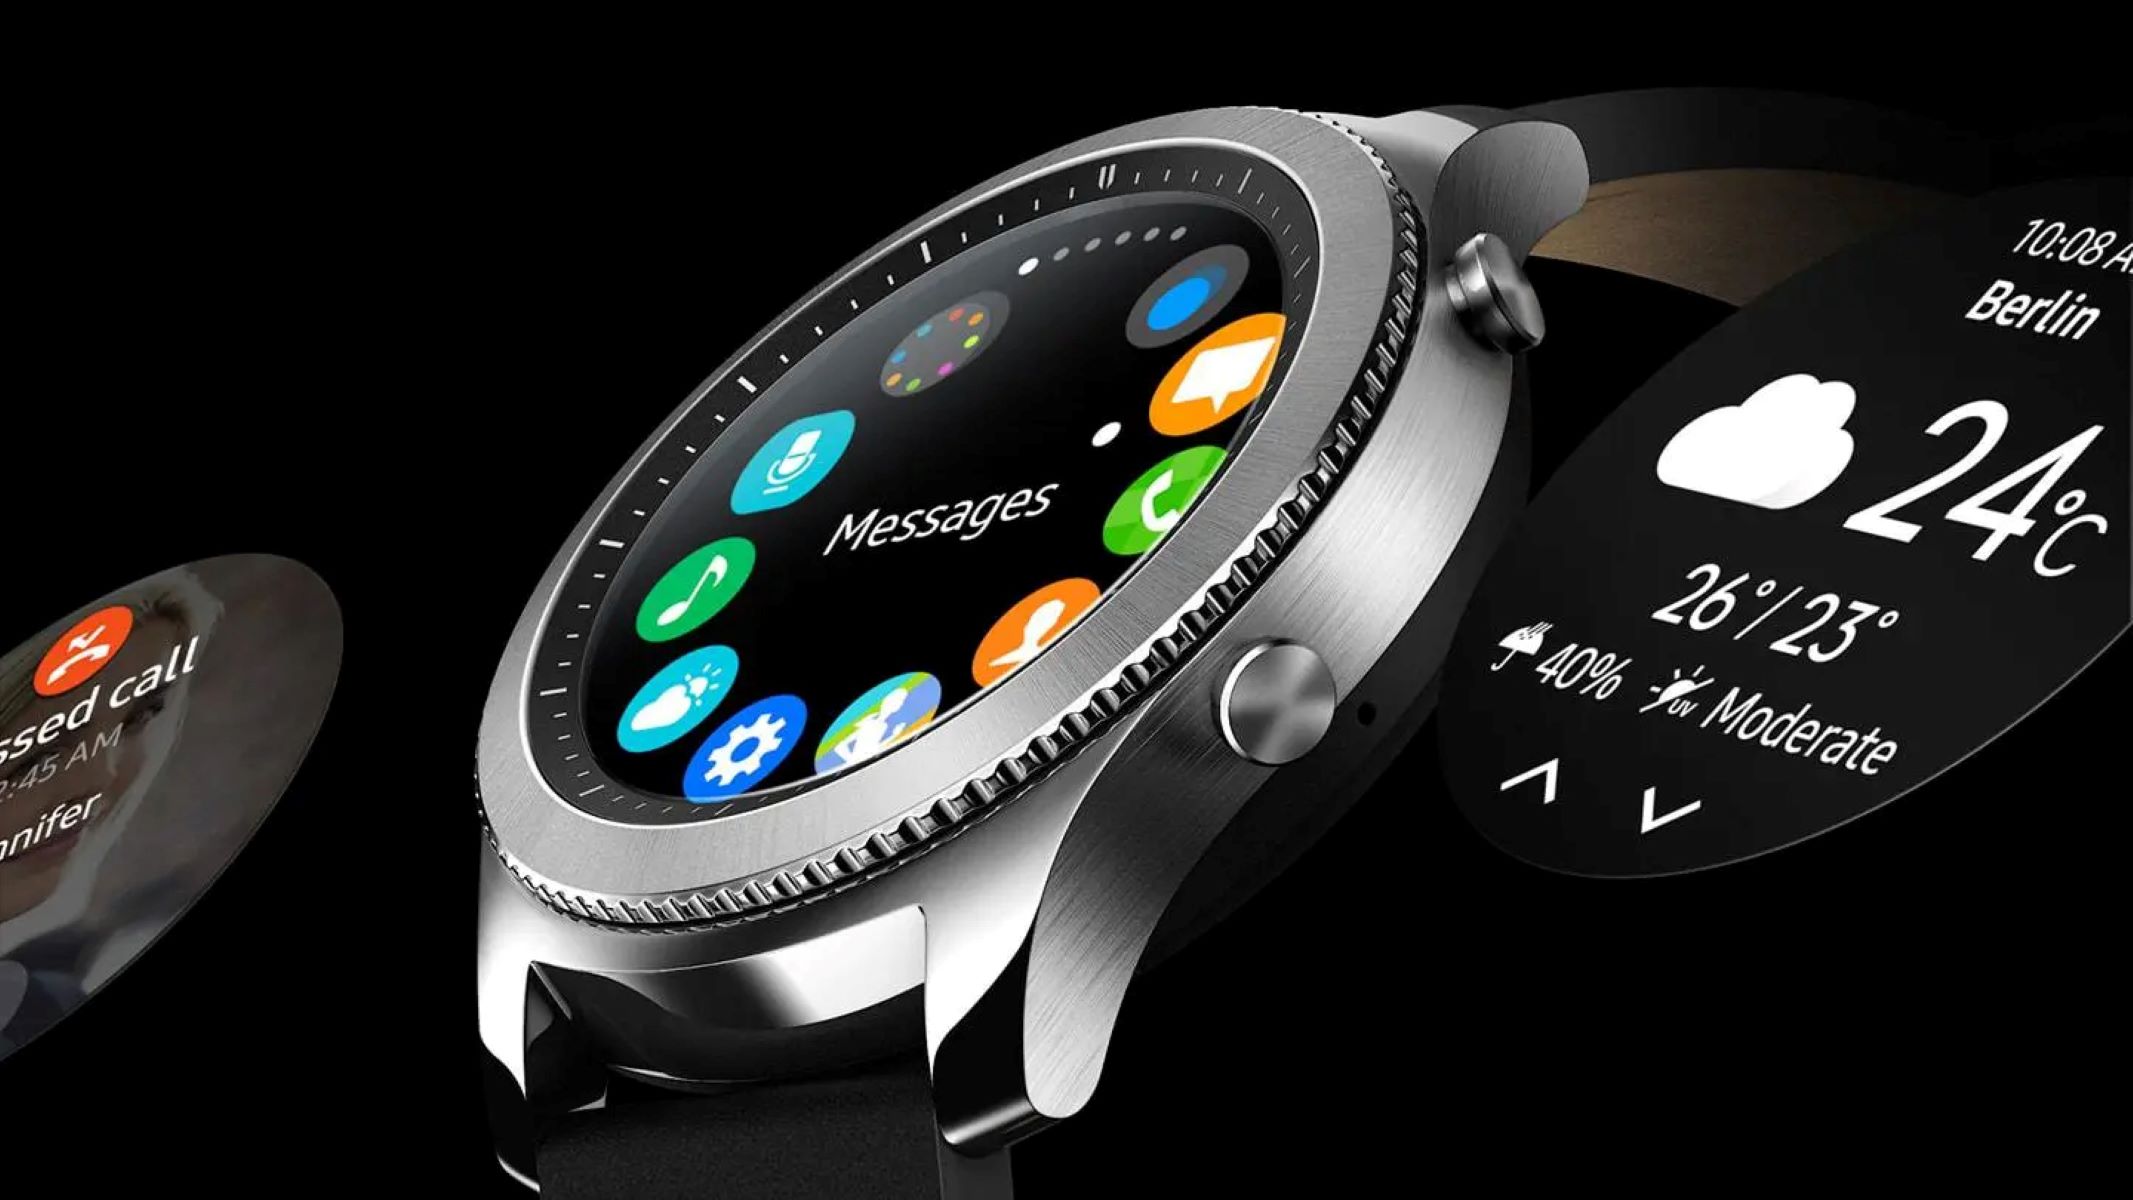
The Galaxy Watch 4 is a feature-packed smartwatch from Samsung that offers a plethora of functions to enhance your daily life. One of its notable features is Bixby, Samsung’s virtual assistant, which can assist you with various tasks. However, not everyone is a fan of virtual assistants, and you may prefer to turn off Bixby on your Galaxy Watch 4.
By disabling Bixby, you can streamline your user experience and prioritize the features that matter most to you. In this article, we will explore three methods to turn off Bixby on your Galaxy Watch 4. Whether you prefer using the watch itself or the Galaxy Wearable app on your smartphone, we’ve got you covered.
Keep in mind that disabling Bixby doesn’t remove it entirely from your device; it simply disables its functionality. You can always enable it again if you change your mind or find a use for it in the future. Now, let’s dive into the methods and learn how to turn off Bixby on your Galaxy Watch 4.
Method 1: Using the Watch
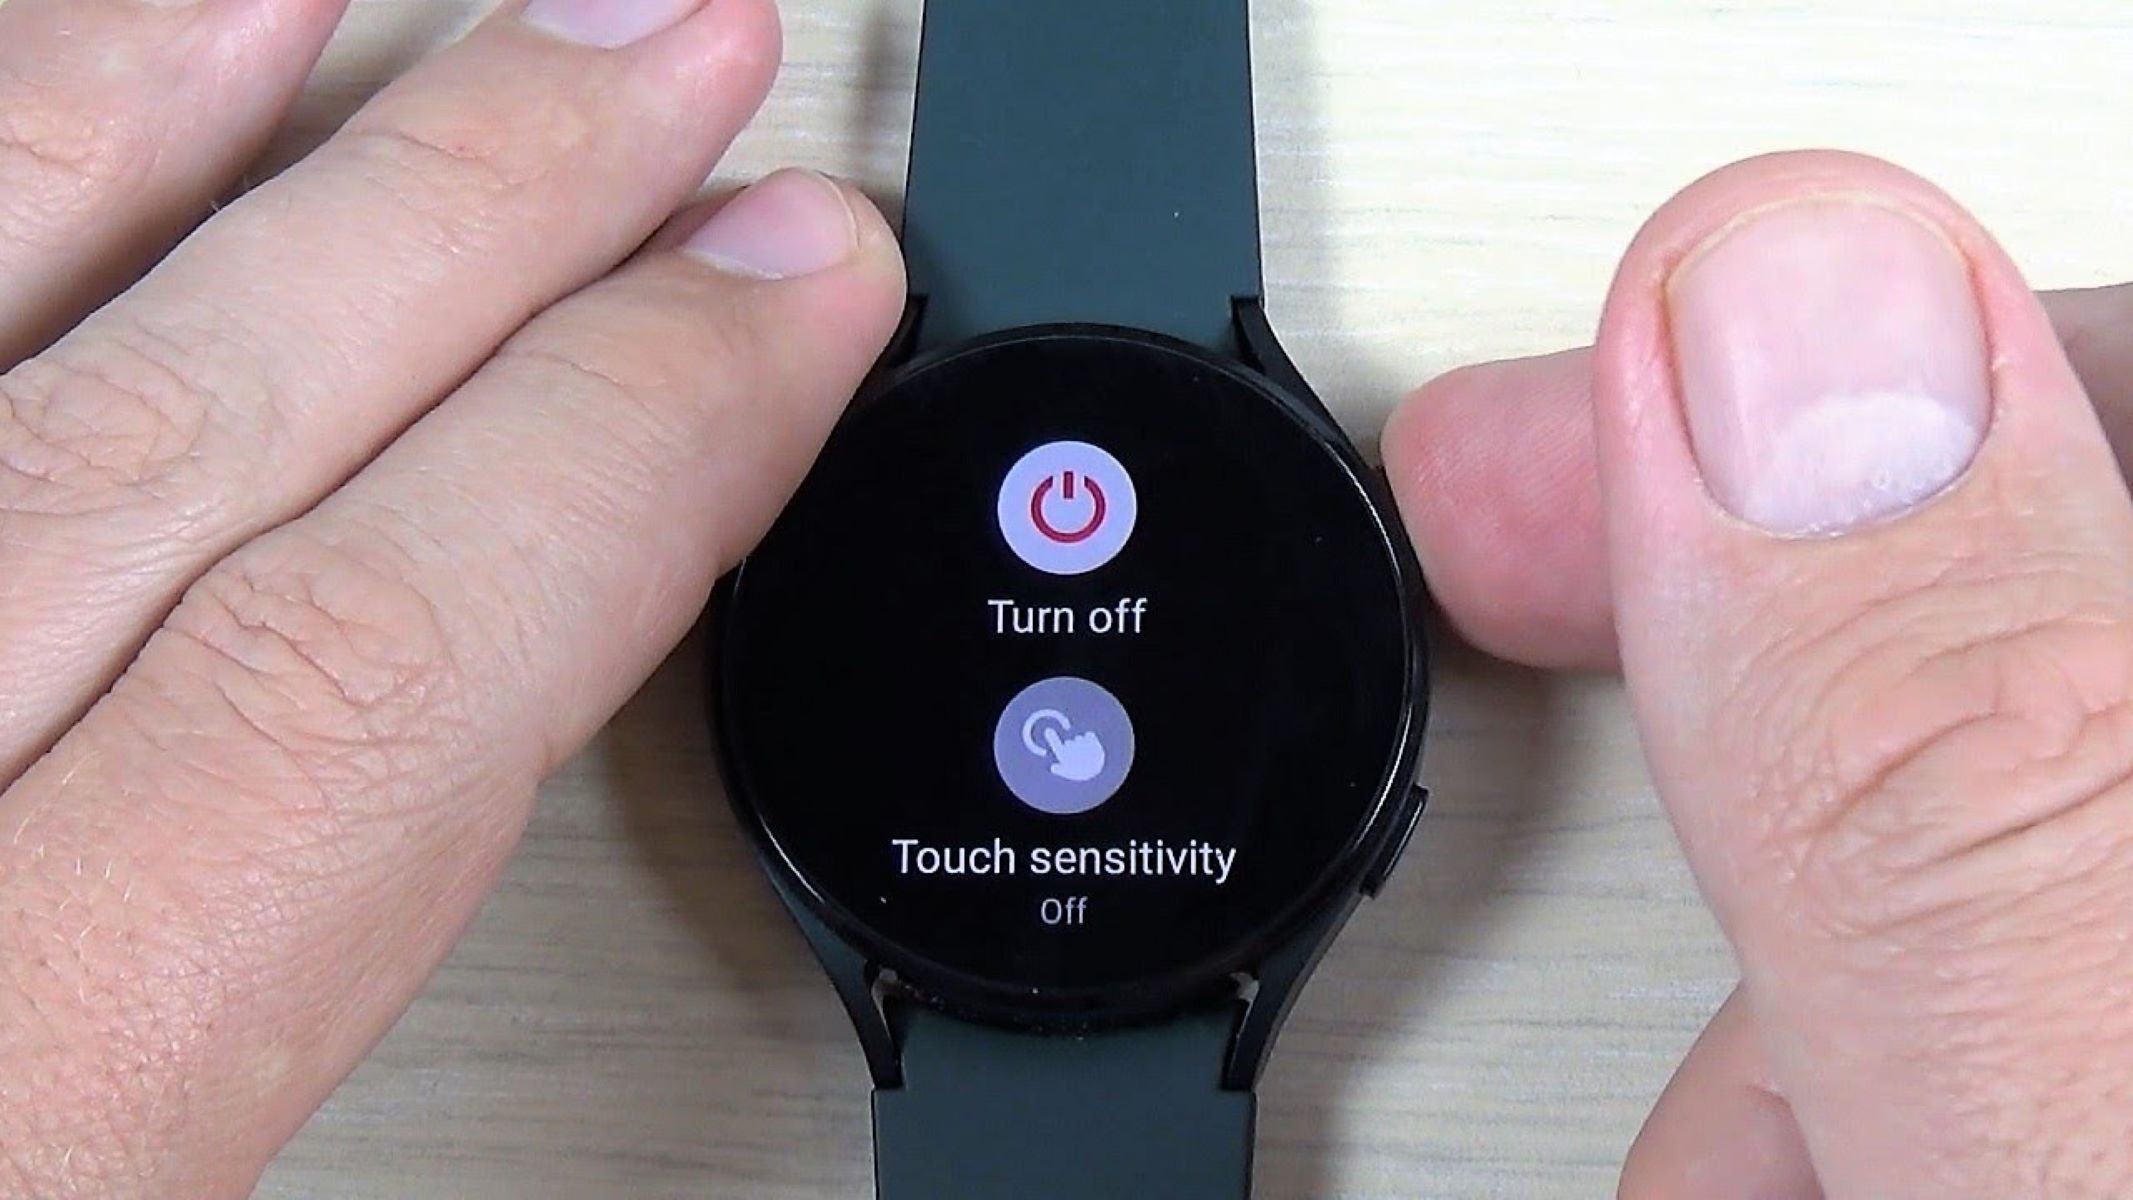
If you prefer to make changes directly on your Galaxy Watch 4, you can turn off Bixby using the watch’s settings. Follow these steps:
- On your Galaxy Watch 4, swipe down from the home screen to access the quick settings panel.
- Tap on the gear icon to open the settings menu.
- Scroll down and select “Advanced.”
- Choose “Bixby Voice.
- Toggle the switch next to “Bixby Voice” to turn it off.
That’s it! You have successfully turned off Bixby using your Galaxy Watch 4. You will no longer have access to Bixby’s voice commands and features on your watch. If you ever decide to enable Bixby again, simply follow the same steps and toggle the switch to turn it back on.
Disabling Bixby on your watch can help conserve battery life as well, as it reduces the background activity related to the virtual assistant. This can be particularly beneficial if you rarely use Bixby or prefer using other voice assistants like Google Assistant or Amazon Alexa.
Now that we’ve covered how to turn off Bixby on the watch itself, let’s explore another method using the Galaxy Wearable app on your smartphone.
Method 2: Using the Galaxy Wearable App
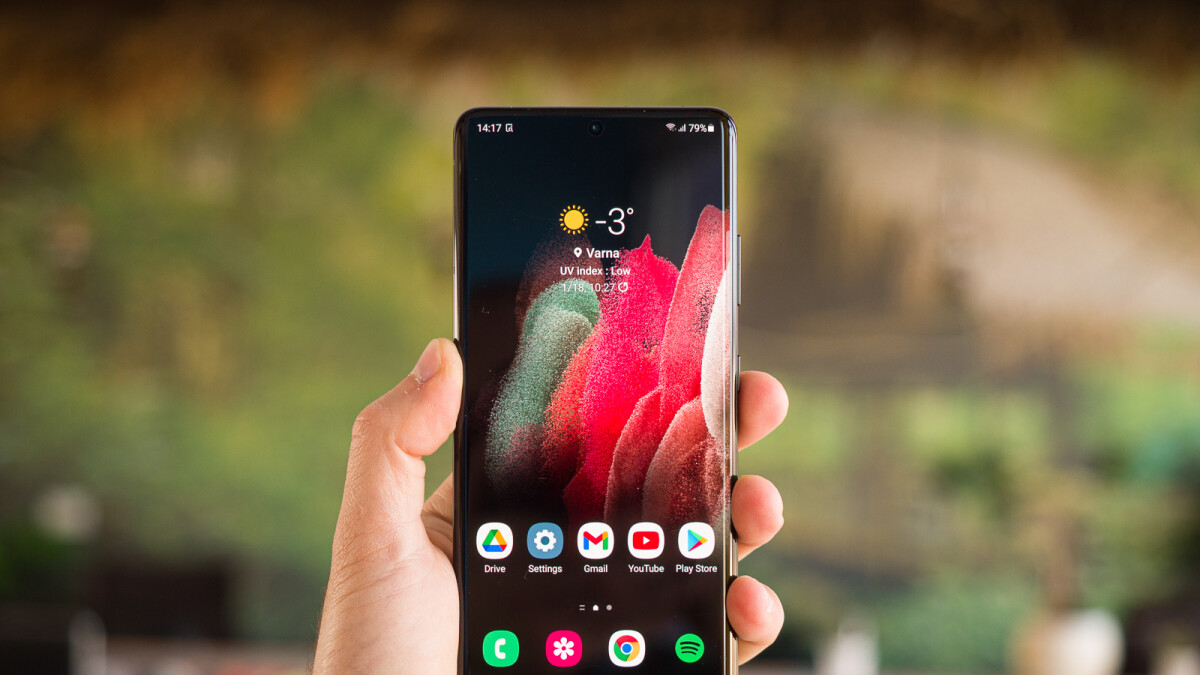
If you prefer a more comprehensive control over your Galaxy Watch 4 settings, you can use the Galaxy Wearable app on your smartphone to disable Bixby. Follow these steps:
- Ensure that your Galaxy Watch 4 is connected to your smartphone via Bluetooth.
- Open the Galaxy Wearable app on your smartphone.
- Navigate to the “Settings” tab.
- Scroll down and find “Voice wake-up” under the “Voice” section.
- Tap on “Voice wake-up” to access the Bixby settings.
- Toggle the switch next to “Wake with ‘Hi, Bixby'” to turn it off.
By disabling “Wake with ‘Hi, Bixby'” using the Galaxy Wearable app, you can effectively turn off Bixby’s voice wake-up functionality on your Galaxy Watch 4. This means that Bixby will no longer respond when you say the wake-up phrase, allowing you to use your watch without the interruption of the virtual assistant.
Using the Galaxy Wearable app provides a convenient way to manage your watch’s settings and customize various features, including Bixby. If you enjoy exploring the options available on your smartphone rather than navigating through the watch’s settings menu, this method will be the ideal choice for disabling Bixby on your Galaxy Watch 4.
Now that we’ve covered how to turn off Bixby using the Galaxy Wearable app, let’s explore another method that focuses specifically on disabling Bixby Voice Wake-up.
Method 3: Disabling Bixby Voice Wake-up
If you want to keep Bixby enabled on your Galaxy Watch 4 but prefer to turn off the voice wake-up feature, you can do so by following these steps:
- On your Galaxy Watch 4, swipe down from the home screen to access the quick settings panel.
- Tap on the gear icon to open the settings menu.
- Scroll down and select “Advanced.”
- Choose “Bixby Voice.”
- Toggle the switch next to “Wake with ‘Hi, Bixby'” to turn it off.
By disabling the voice wake-up feature, your Galaxy Watch 4 will no longer respond when you say the wake-up phrase, “Hi, Bixby.” However, you can still access Bixby manually by pressing and holding the side button on your watch or by swiping right on the watch face and tapping the Bixby icon.
This method allows you to keep Bixby functionality while preventing accidental activations through voice commands. If you prefer using Bixby for certain tasks but want to control when it’s active, disabling the voice wake-up feature is a convenient solution.
Now that we’ve explored three different methods to turn off Bixby on the Galaxy Watch 4, you can choose the one that best suits your preferences. Whether you prefer using the watch itself, the Galaxy Wearable app, or simply disabling the voice wake-up feature, you have the flexibility to customize your Bixby experience on your Galaxy Watch 4.
Conclusion
In this article, we have provided three methods to turn off Bixby on your Galaxy Watch 4. Whether you prefer to make changes directly on your watch, use the Galaxy Wearable app on your smartphone, or disable the voice wake-up feature, you have the flexibility to customize your Bixby experience based on your preferences.
By turning off Bixby, you can streamline your user experience and prioritize the features that matter most to you. Disabling Bixby can also help conserve battery life by reducing background activity related to the virtual assistant.
Remember, disabling Bixby doesn’t remove it entirely from your device; it simply disables its functionality. You can always enable it again if you change your mind or find a use for it in the future.
We hope that this article has provided you with the guidance you need to turn off Bixby on your Galaxy Watch 4. Whether you’re looking to optimize your device’s performance or simply prefer not to use virtual assistants, these methods will help you achieve your desired settings.
Thank you for reading, and enjoy your personalized user experience on your Galaxy Watch 4!


