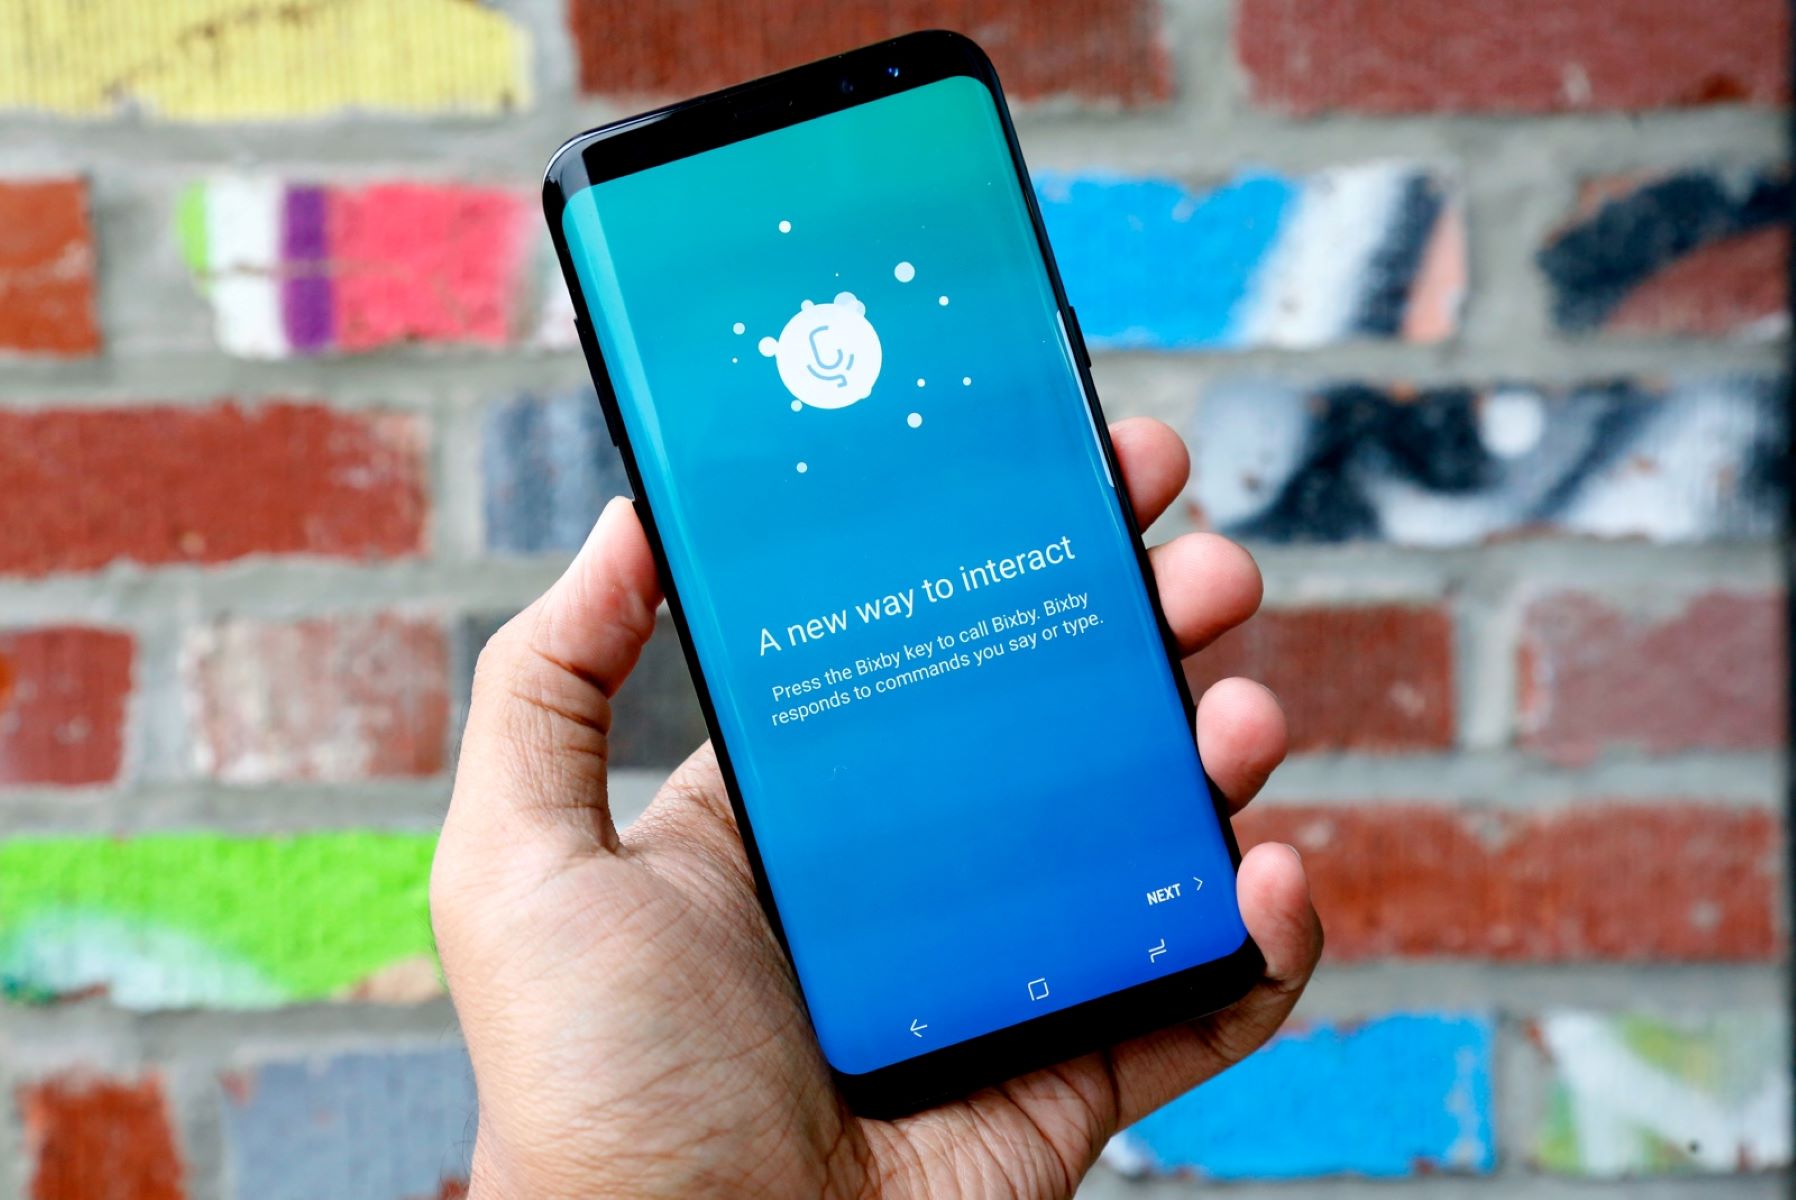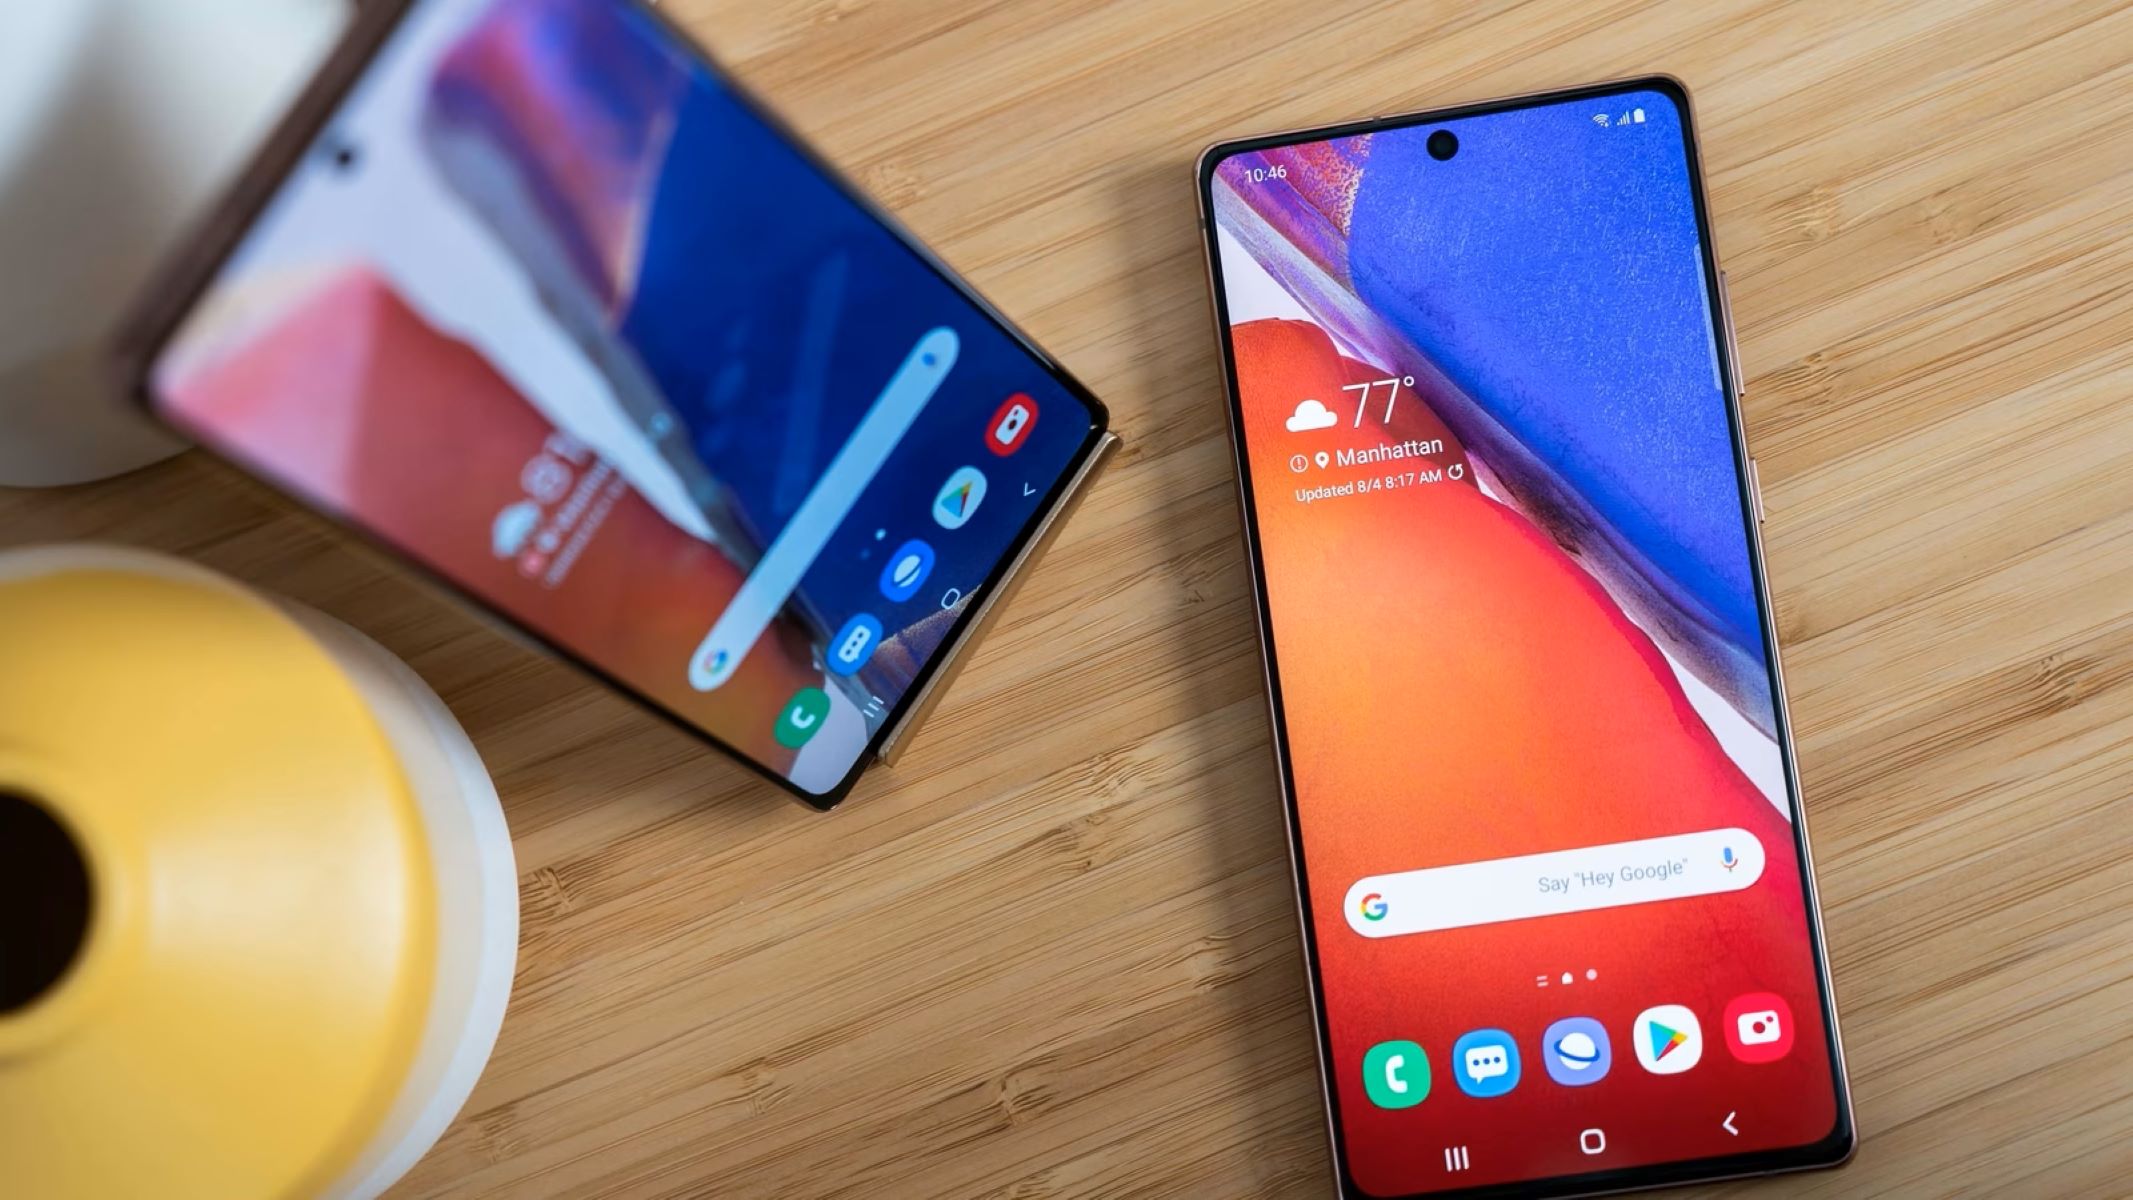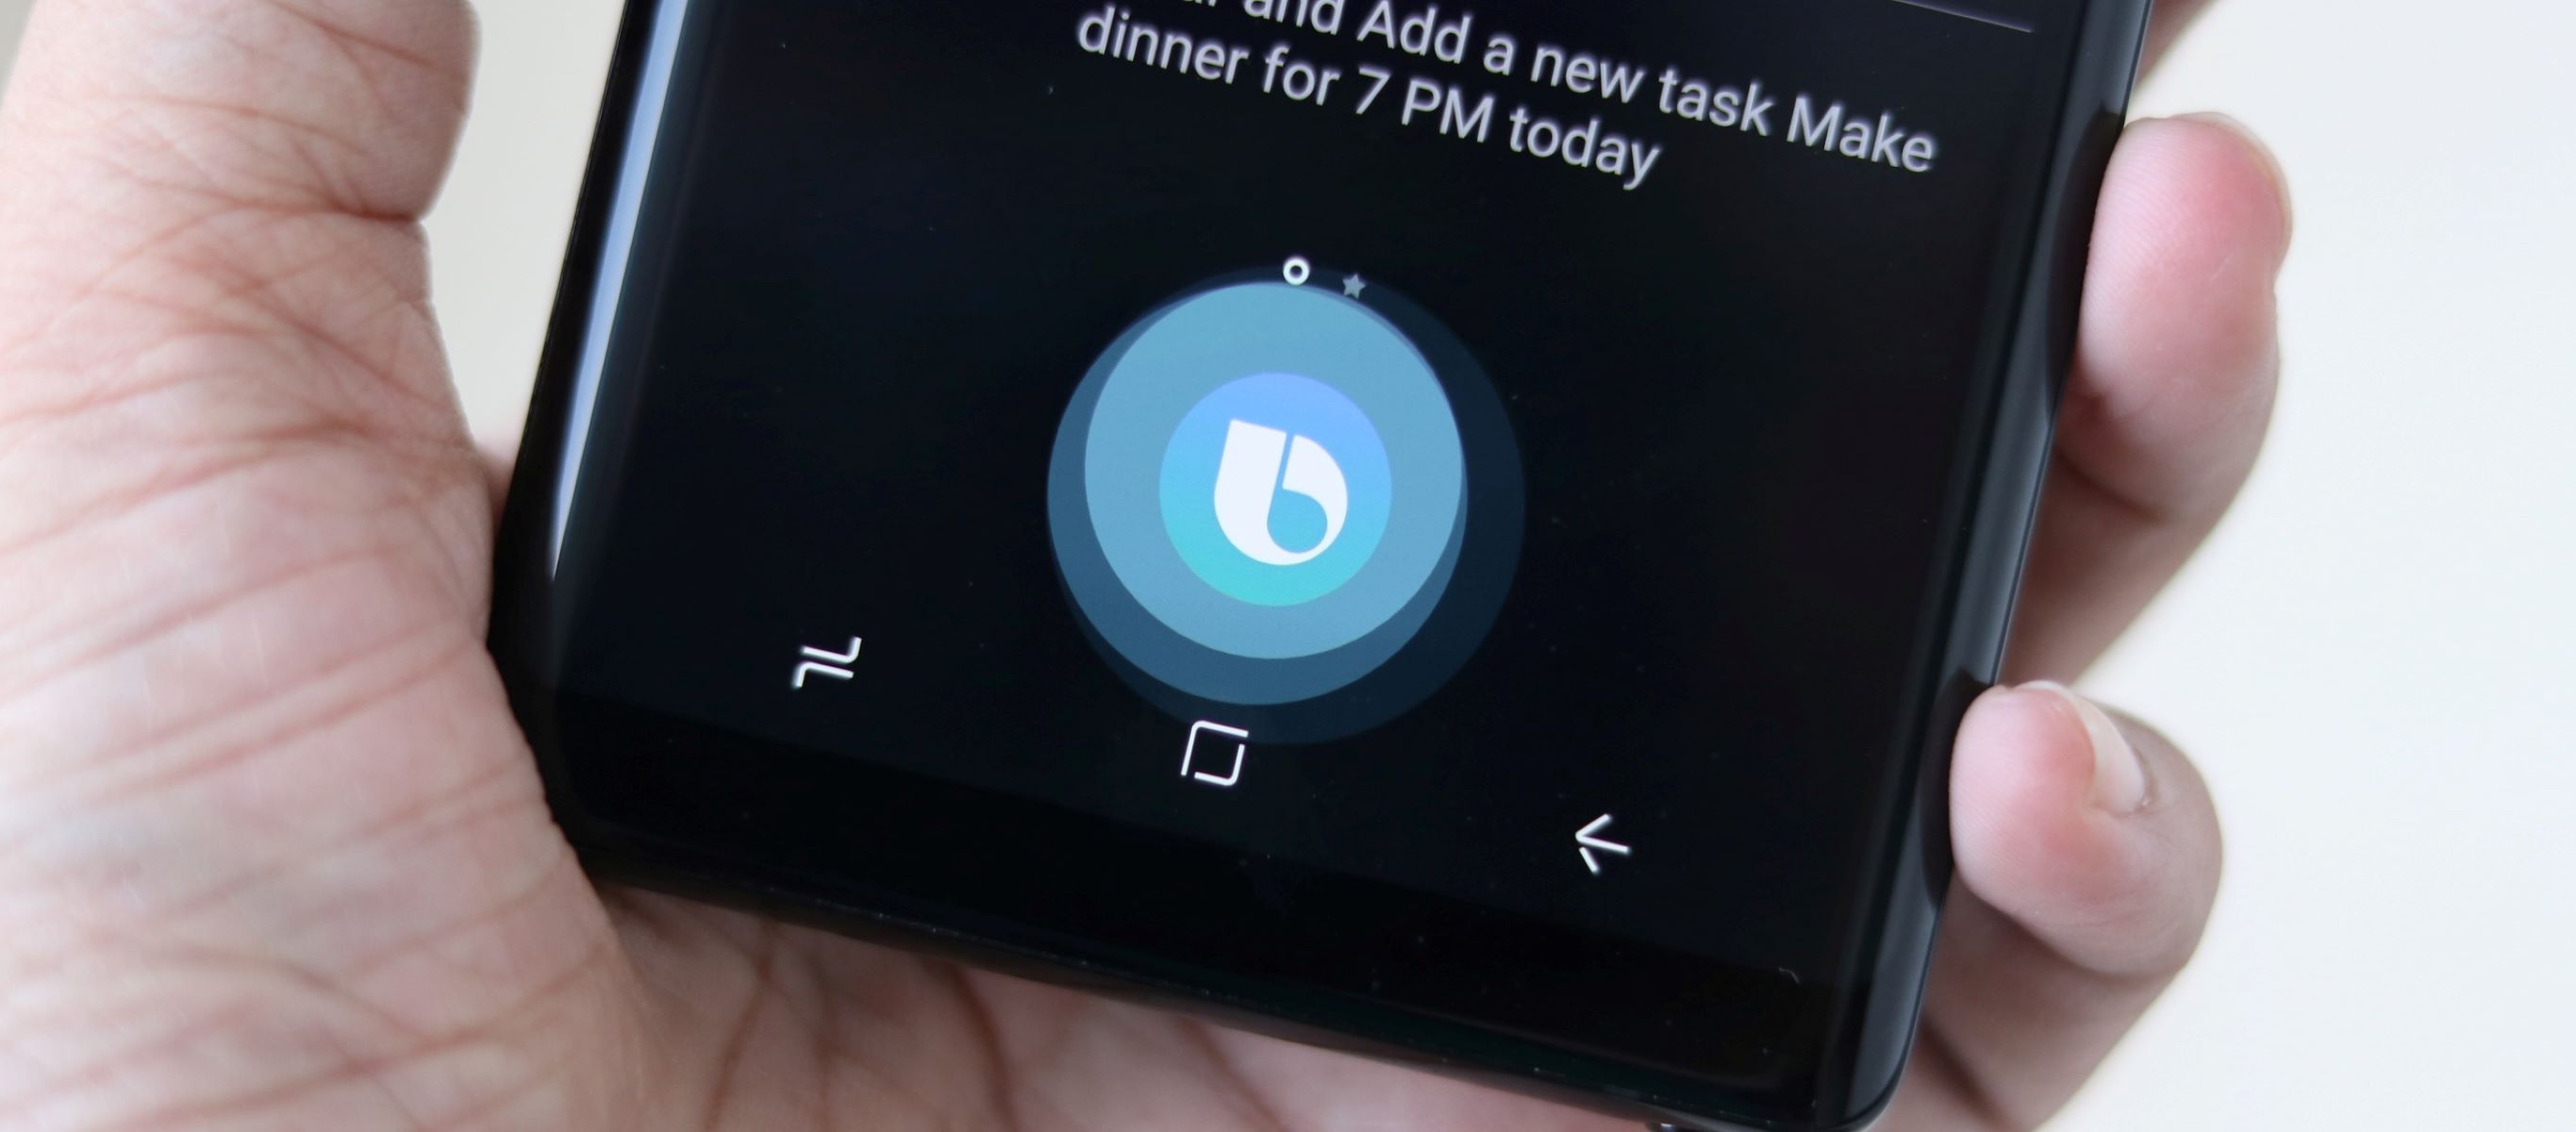
To turn on Bixby, press and hold the Side button on your Samsung phone (or the dedicated Bixby button on older models) until Bixby appears. This is the fastest and most direct way to turn on Bixby, giving you instant access to your voice assistant.
How to turn on Bixby with the side or Bixby button
On newer Samsung devices, the Side button doubles as the Bixby key. Press and hold it for about one second to launch Bixby. On older models, you'll find a dedicated Bixby button located below the volume keys, press and hold that instead. When you do this for the first time, Bixby will walk you through a brief setup that includes signing into your Samsung account and agreeing to the terms and conditions. You'll also be asked to teach Bixby your voice by repeating a few phrases, which improves its ability to recognize you later. If you want to adjust what happens when you press the Side button, go to Settings > Advanced features > Side button (or Bixby key) and choose between "Press and hold" for Bixby or other functions like the power menu. This gives you control over how you turn on Bixby versus other shortcuts.
How to turn on Bixby from the app
If you prefer not to use the physical button, you can turn on Bixby from the app itself. Open the Bixby app, which you'll find in the Samsung folder on your home screen or app drawer. Tap "Start" to begin the initial setup process. You'll need to sign in with your Samsung account, if you don't have one, you can create it directly from the prompt. After signing in, you'll be asked to agree to the terms and conditions and to teach Bixby your voice. This method is especially useful if your device doesn't have a dedicated Bixby button or if you've remapped the Side button to do something else. Once the setup is complete, Bixby will be fully active and ready to use from the app at any time.
How to turn on 'Hi Bixby' voice wake-up
To use Bixby hands-free, you need to enable the "Hi Bixby" voice wake-up feature. Start by pressing and holding the Side or Bixby button to open Bixby, then say "Open Bixby Settings." In the settings menu, tap "Voice wake-up" (sometimes labeled "Voice registration") and toggle the slider to "On." You'll be prompted to train Bixby to recognize your voice by saying "Hi Bixby" several times, this helps the assistant respond only to you, even when the screen is off. If you want to customize the wake-up phrase, you can do so in the same settings menu, but the default "Hi Bixby" works well for most users. Enabling this feature is essential if you want to turn on Bixby without touching your phone, such as when you're driving or cooking.
Troubleshooting Bixby activation issues
If Bixby isn't responding when you press the button or say the wake-up phrase, start by checking for software updates. Go to Settings > Software update and install any available updates for both your device and the Bixby app, outdated software is a common reason why Bixby fails to activate. Next, ensure your device has a stable internet connection, either via Wi-Fi or mobile data, since Bixby requires network access to process commands. If the connection is weak, toggle airplane mode on and off or switch networks. A simple restart often resolves temporary glitches, so power your phone off and on again before trying to activate Bixby again. If the issue persists, clear the Bixby app's cache and data by going to Settings > Apps > Bixby > Storage and tapping "Clear cache" and "Clear data." This resets the app without deleting your personal files. For persistent problems, you can also try uninstalling and reinstalling the Bixby app if your device allows it. If none of these steps work, contact Samsung support directly, they can provide device-specific guidance and check for any known issues with your model.
\nRelated reading: How To Change Bixby Back To English, How To Unlock Phone Using Bixby, and How To Connect Alexa To Smart TV.