Introduction
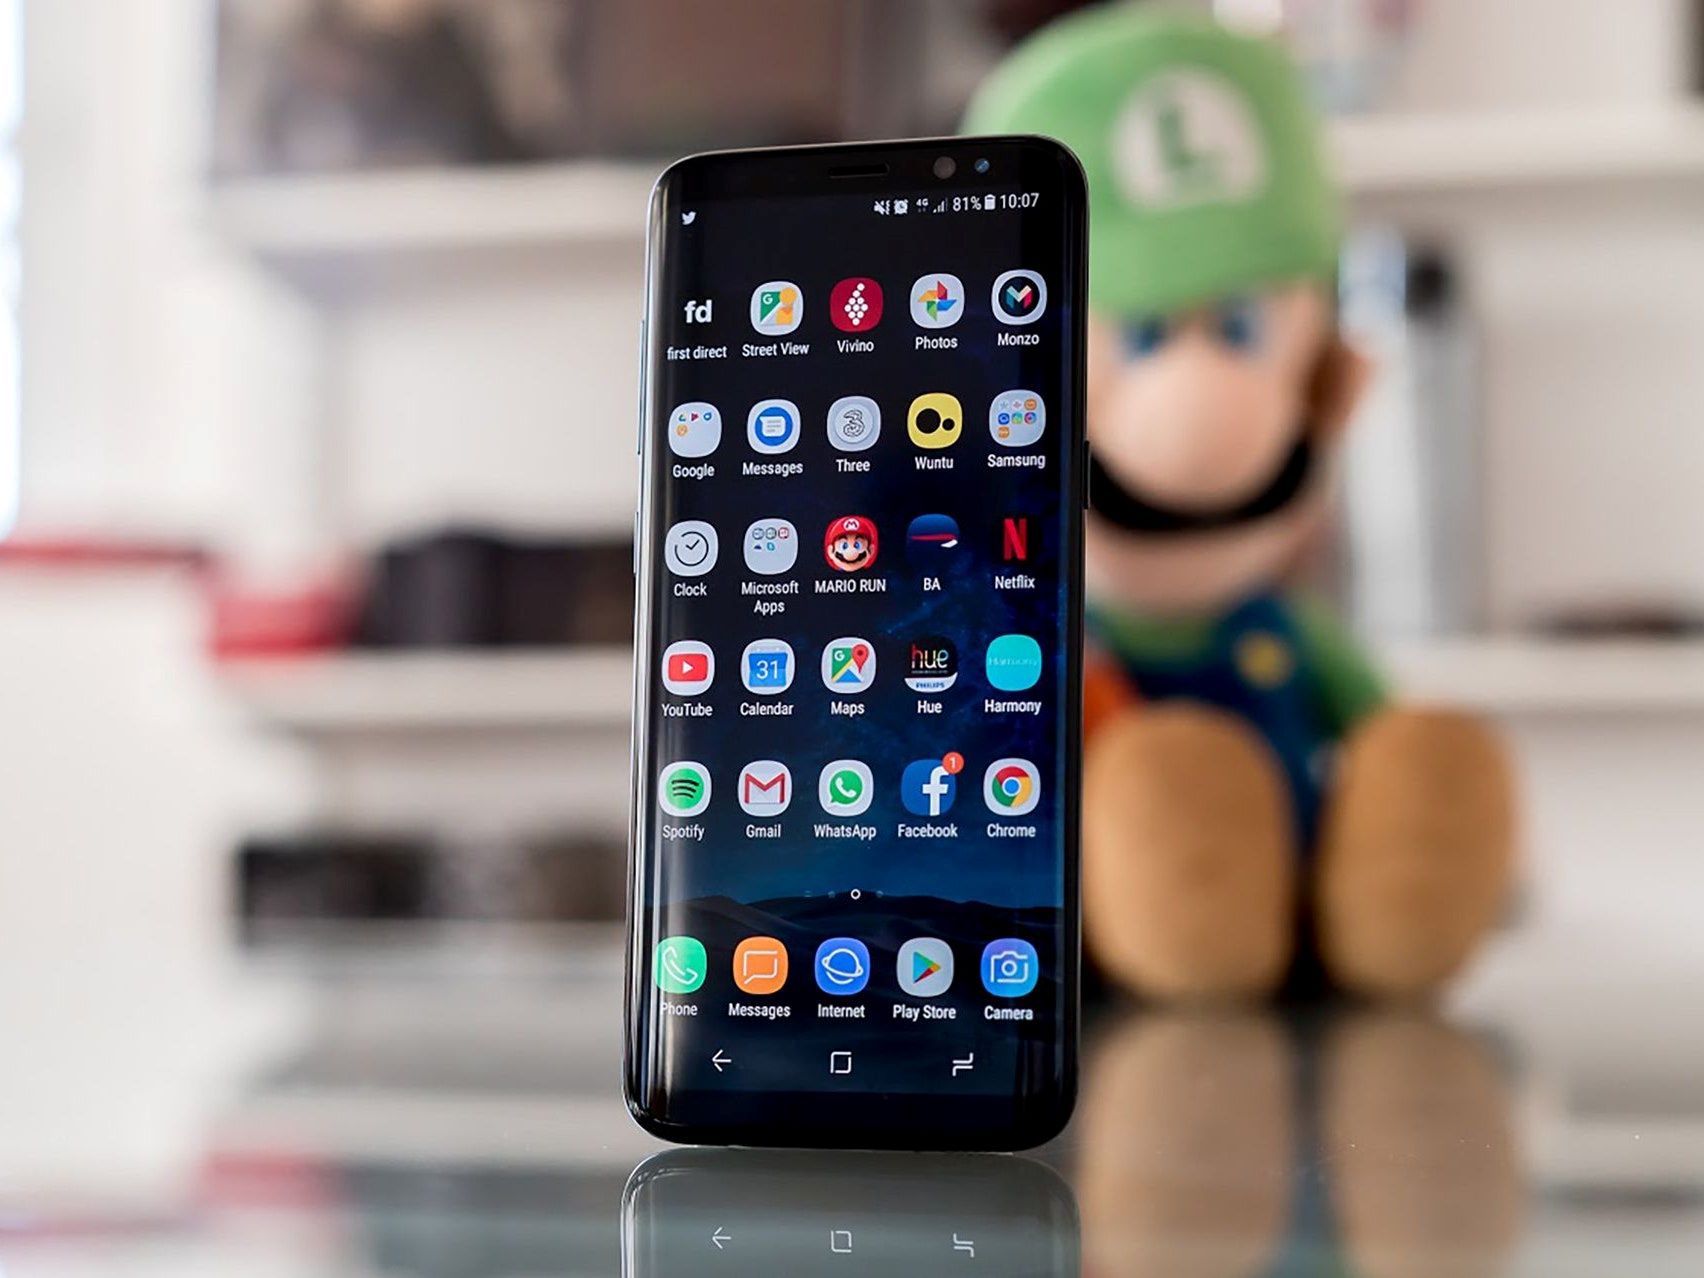
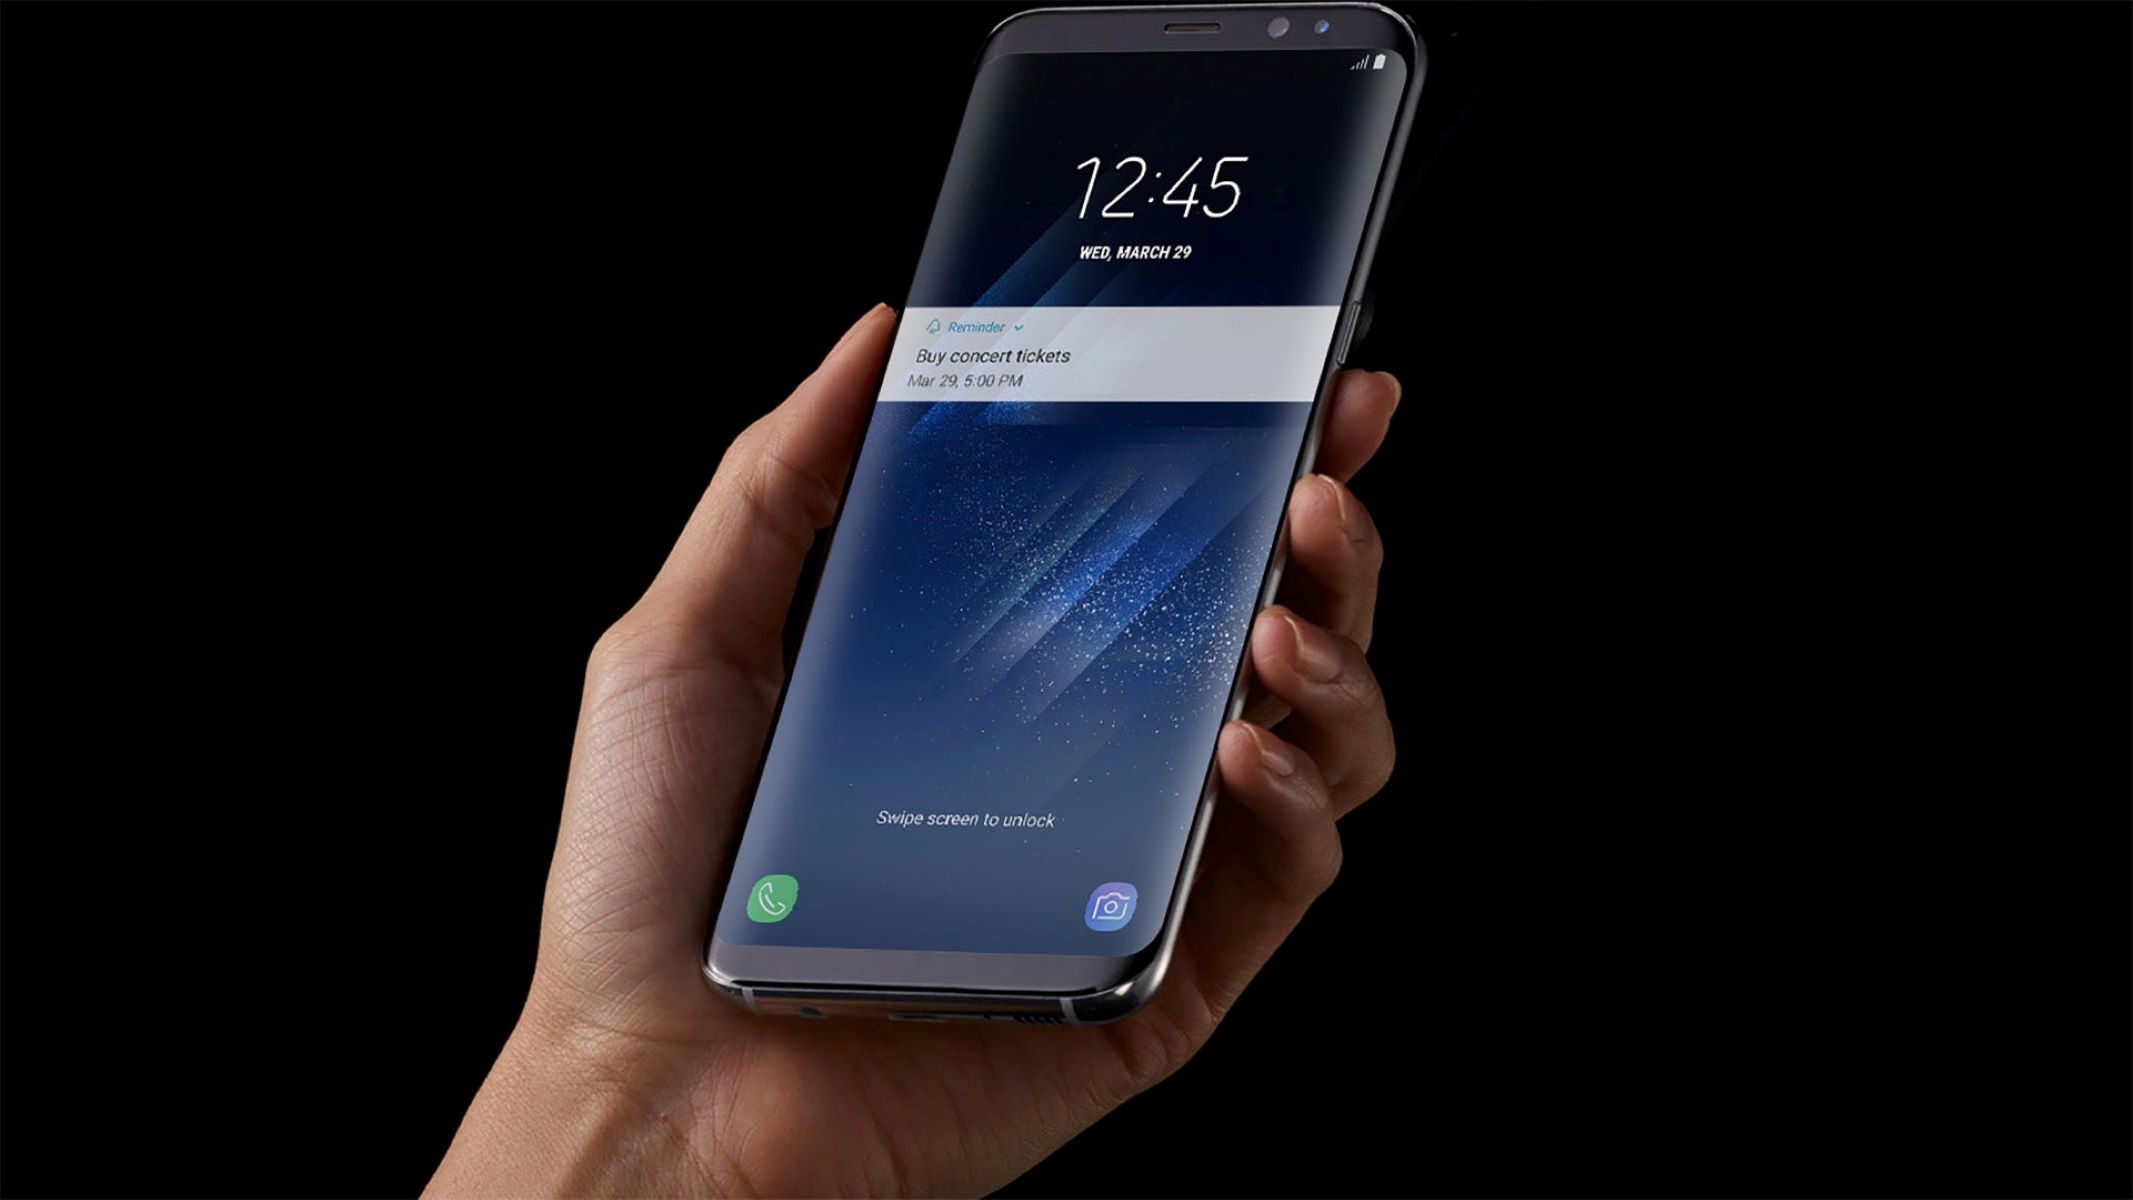
Bixby is a virtual assistant developed by Samsung for their smartphones and other devices. It was introduced with the Samsung Galaxy S8 and has since been included in subsequent models, including the Galaxy Note 8. Bixby is designed to provide a range of voice command features, allowing users to control their devices hands-free.
While Bixby offers convenience and some unique functionalities, not all users find it useful or necessary. Some may prefer to use alternative virtual assistants or simply find Bixby’s features unnecessary for their needs. If you’re one of those users and you have a Galaxy Note 8, you may be wondering how to remove Bixby from your device.
In this article, we will explore several methods you can use to disable or remove Bixby from your Galaxy Note 8. These methods range from simple steps you can take within the device settings to more advanced techniques using third-party apps and custom ROMs.
Keep in mind that removing or disabling Bixby may vary depending on your device’s software version and updates. It’s always a good idea to back up your device before making any changes to ensure you don’t lose any important data.
So, if you’re ready to bid adieu to Bixby and reclaim some precious space on your Galaxy Note 8, let’s dive into the methods you can use to remove Bixby from your device.
What is Bixby?
Bixby is an artificial intelligence-powered virtual assistant developed by Samsung. It was first introduced with the Samsung Galaxy S8 and has since become a standard feature in Samsung devices, including the Galaxy Note 8. Bixby is designed to provide users with a voice-based interface to interact with their smartphones and perform various tasks.
Unlike other virtual assistants like Siri or Google Assistant, Bixby aims to provide a more comprehensive and integrated experience by allowing users to interact not only with individual apps but also with the device itself. With Bixby, users can perform tasks such as launching apps, sending text messages, making phone calls, setting reminders, and even controlling certain features of their device, all through voice commands.
Bixby is designed to understand natural language and context, allowing users to have more conversational interactions with their devices. It can understand follow-up questions and commands, making it more intuitive to use. Additionally, Bixby is also capable of processing visual information through its Vision feature, which enables users to perform tasks like image recognition, translation, and QR code scanning.
One of the unique features of Bixby is its ability to be deeply integrated into Samsung’s ecosystem of devices and apps. This means that Bixby can take advantage of the native capabilities of Samsung devices, allowing users to control not only their smartphones but also other connected Samsung devices, such as smart TVs and home appliances.
Overall, Bixby offers a wide range of features and functionalities that aim to enhance the user’s interaction with their Samsung device. However, not all users find Bixby useful or necessary. If you’re one of those users who prefer to use alternative virtual assistants or simply find Bixby’s features unnecessary, the good news is that there are ways to remove or disable Bixby from your Galaxy Note 8.
Why Remove Bixby?
While Bixby offers a range of features and capabilities, there are several reasons why some users may choose to remove or disable it on their Galaxy Note 8:
1. Personal Preference:
Every individual has their own preferences when it comes to virtual assistants. You may simply prefer using another virtual assistant like Google Assistant or Siri over Bixby. Removing Bixby allows you to have a more streamlined experience with the virtual assistant of your choice.
2. Save Resources:
Bixby, like any other application running on your device, requires system resources such as CPU and RAM. If you find that Bixby is using up too much of these resources, disabling or removing it can help improve your device’s performance, responsiveness, and battery life.
3. Unwanted Activation:
Some users may find that Bixby is activated accidentally or unintentionally, causing frustration and interruptions during regular device usage. By disabling or removing Bixby, you eliminate the possibility of accidental activations and can avoid interruptions.
4. Simplify User Interface:
For users who prefer a clean and minimalist user interface, having an extra virtual assistant like Bixby may clutter the screen and make it more complex to navigate. Removing Bixby can simplify the user interface and provide a more streamlined user experience.
5. Privacy Concerns:
Virtual assistants, including Bixby, often collect data and personal information to provide personalized and tailored experiences. If you have privacy concerns or wish to limit the data collected by virtual assistants, removing Bixby can help mitigate those concerns.
6. Customization and Freedom:
By removing Bixby, you gain more freedom to customize your device according to your preferences. You can reclaim the physical button on the side of your Galaxy Note 8 and assign other functions to it, providing a more personalized and tailored device experience.
Remember that while removing or disabling Bixby can offer benefits, it may also limit access to certain features or functionalities that rely on Bixby integration. It’s important to consider your specific needs and usage patterns before deciding whether to remove or disable Bixby on your Galaxy Note 8.
Method 1: Disable Bixby
If you’re looking for a simple and non-intrusive way to remove Bixby from your Galaxy Note 8, you can start by disabling it. Here’s how you can do it:
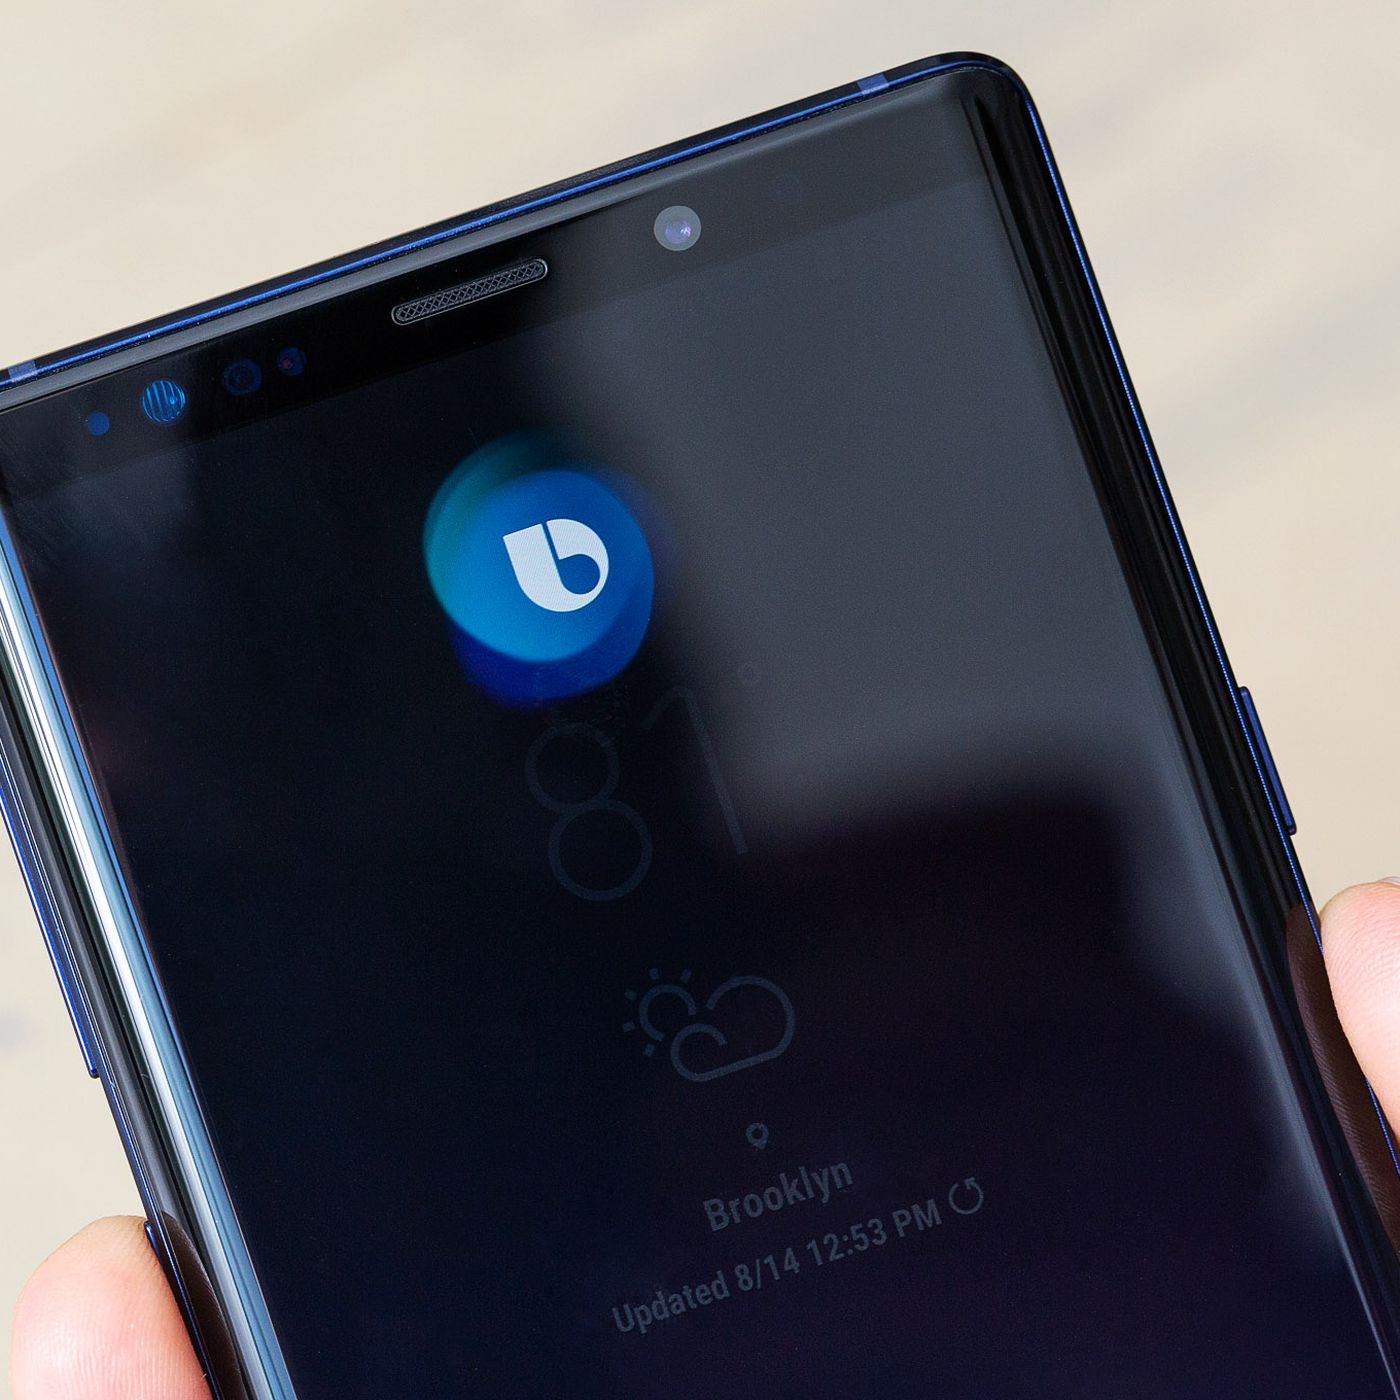
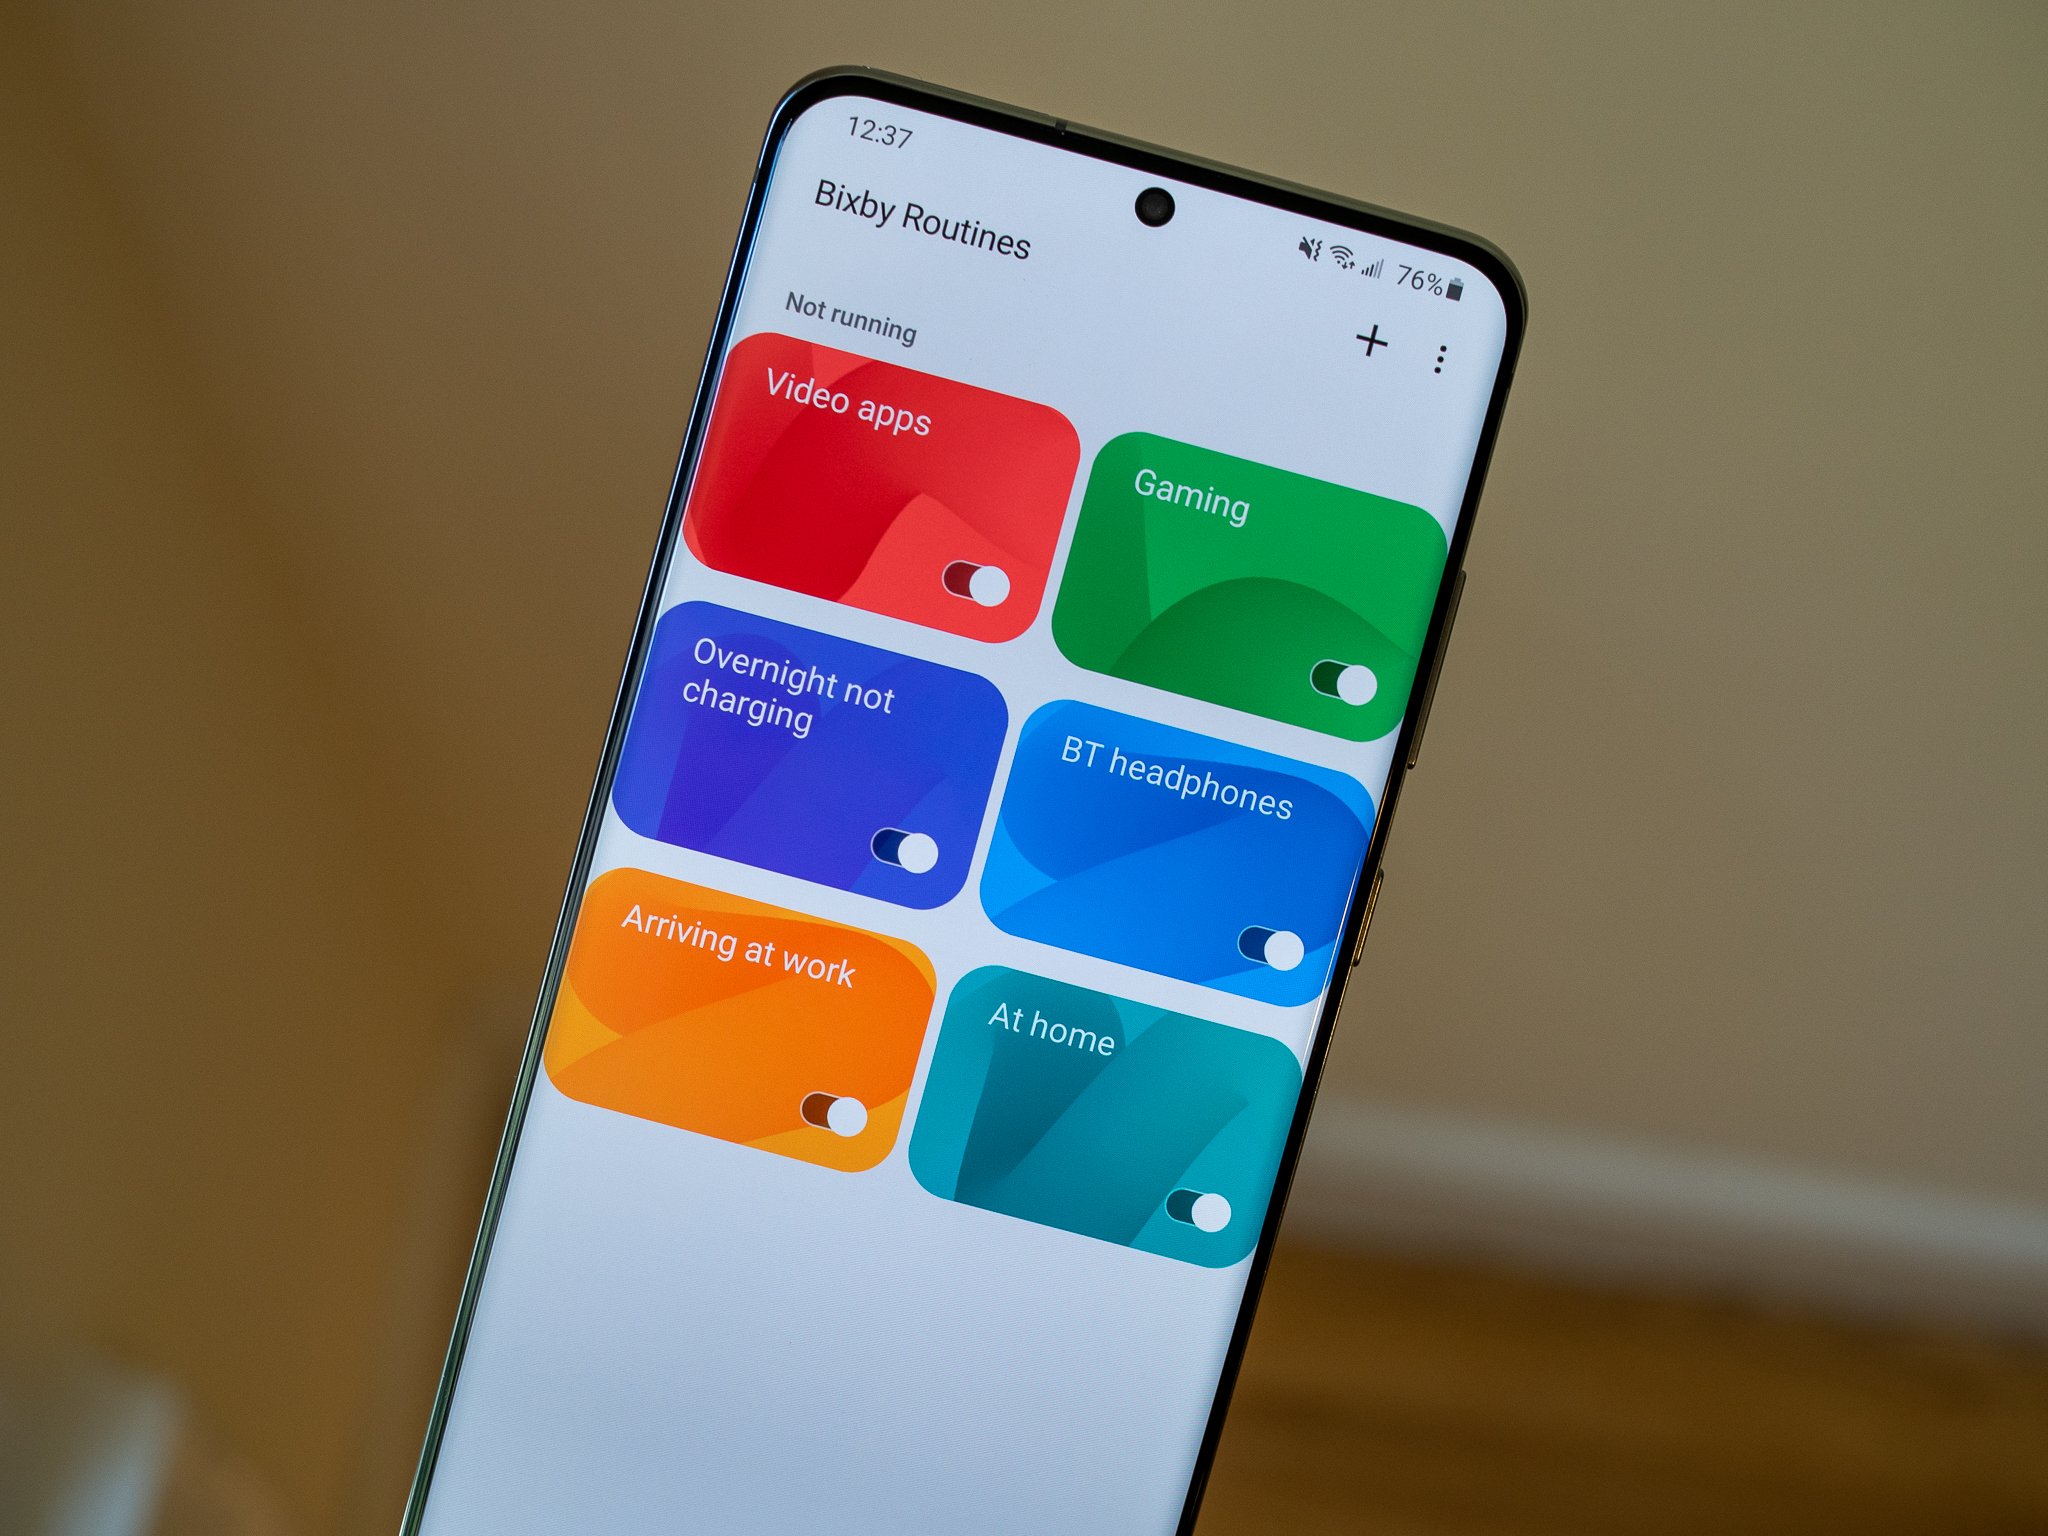
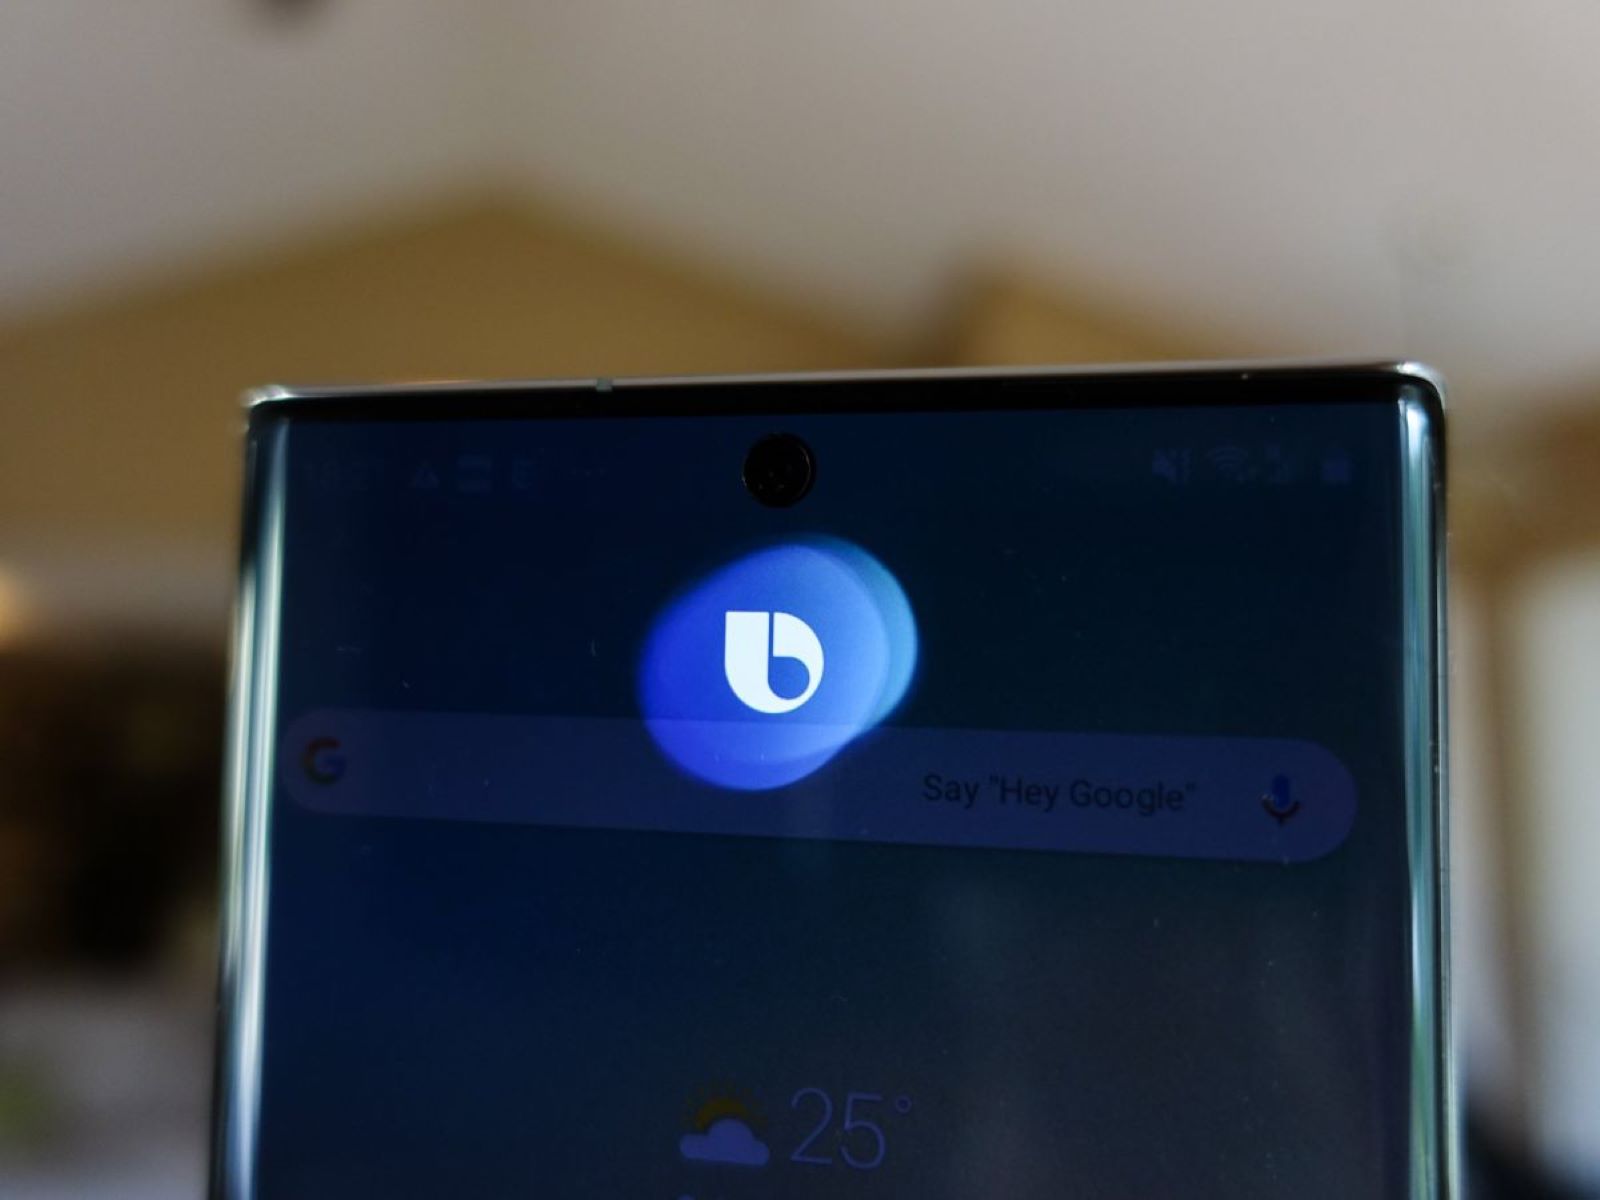
1. Access Bixby Home:
Swipe right on your home screen to access Bixby Home. It is the dedicated panel that houses Bixby’s features and cards.
2. Tap on the Settings gear:
In the top-right corner of the Bixby Home panel, you’ll find a gear icon. Tap on it to access Bixby’s settings.
3. Disable Bixby Home:
In the Bixby settings, you’ll see an option labeled “Bixby Home.” Toggle the switch to disable Bixby Home. This will ensure that the Bixby Home panel does not appear when you swipe right on your home screen.
4. Disable Bixby Voice:
To disable Bixby Voice, navigate to the main Bixby settings page and locate the option called “Voice Wake-Up.” Toggle the switch to turn off Bixby Voice. This will prevent Bixby from activating when you use the “Hi, Bixby” voice command.
5. Disable Bixby Button:
The Galaxy Note 8 has a dedicated physical button for Bixby on the side of the device. To disable this button, press it once to launch Bixby. On the Bixby Home screen, locate and tap on the three-dot menu icon in the top-right corner. From the menu that appears, select “Settings.” In the Bixby Key settings, choose the option “Don’t open anything” to disable the button’s functionality.
By following these steps, you can effectively disable Bixby on your Galaxy Note 8. This method allows you to remove Bixby’s presence from your device without uninstalling any system apps or making any significant changes to your device’s software.
Keep in mind that disabling Bixby may vary depending on the software version of your device. If you’re unable to locate specific settings or options mentioned in this method, refer to your device’s user manual or consult the Samsung support website for further guidance.
Method 2: Use a Package Disabler
If you want to take more control over removing Bixby from your Galaxy Note 8, you can use a package disabler app. These apps allow you to disable system apps, including Bixby, without the need for root access. Here’s how you can use a package disabler to remove Bixby:
1. Choose a Package Disabler App:
There are several package disabler apps available on the Google Play Store. Look for a reputable app with good reviews and ratings. Some popular options include ‘Package Disabler Pro’ and ‘BK Package Disabler’.
2. Install and Launch the App:
Download and install the package disabler app of your choice from the Google Play Store. Once installed, open the app on your Galaxy Note 8.
3. Grant App Permissions:
The package disabler app may require certain permissions to function properly. Follow the on-screen prompts to grant the necessary permissions to the app.
4. Search for Bixby:
In the package disabler app, search for “Bixby” or “com.samsung.android.bixby.agent” in the list of system apps. Select the corresponding entry for Bixby.
5. Disable Bixby:
Once you’ve located Bixby in the app, toggle the switch or select the option to disable it. This action will disable Bixby and prevent it from running on your device.
6. Restart Your Device:
After disabling Bixby, it’s a good idea to restart your Galaxy Note 8. This will ensure that the changes take effect and Bixby is fully disabled.
Using a package disabler app provides a more comprehensive approach to removing Bixby, as it allows you to disable the app entirely. However, keep in mind that disabling system apps carries some risks. It’s important to exercise caution and only disable apps that you are certain you don’t need. Additionally, be aware that future software updates from Samsung may undo the changes made by the package disabler app.
Make sure to regularly check for updates to the package disabler app and the system software on your Galaxy Note 8 to ensure compatibility and stability. If you encounter any issues or want to re-enable Bixby in the future, you can use the package disabler app to reverse the changes made.
Method 3: Custom ROMs and Rooting
If you’re a more advanced user and want to completely remove Bixby from your Galaxy Note 8, you can consider using custom ROMs or rooting your device. This method provides the most extensive control over your device’s software and allows for deep customization. However, it’s important to note that custom ROMs and rooting can void your device’s warranty and may carry certain risks. Proceed with caution and at your own discretion.
1. Research Custom ROMs:
A custom ROM is a modified version of your device’s operating system. Look for custom ROMs that are compatible with your Galaxy Note 8 model and offer the option to remove or disable Bixby. Popular custom ROMs for Samsung devices include LineageOS and Resurrection Remix. Research and choose a custom ROM that fits your needs and has positive community reviews.
2. Unlock Bootloader:
Before installing a custom ROM, you’ll typically need to unlock your device’s bootloader. Unlocking the bootloader allows you to install custom firmware. The method to unlock the bootloader varies depending on the device model and software version. Consult online resources and the XDA Developers forum for detailed instructions specific to your Galaxy Note 8 model.
3. Install a Custom Recovery:
A custom recovery is a specialized software that allows you to perform advanced system operations on your device, such as installing custom ROMs. Popular custom recoveries for Samsung devices include TWRP (Team Win Recovery Project). Install the custom recovery compatible with your device by following the instructions provided by the recovery’s developers.
4. Backup Your Device:
Before proceeding with custom ROM installation or rooting, it’s essential to back up your Galaxy Note 8 to prevent data loss. Use a reliable backup app or the built-in backup options in your device’s settings to create a complete backup of your data, including apps, contacts, and media files.
5. Flash the Custom ROM:
Once you have a custom ROM and custom recovery installed, transfer the custom ROM file to your Galaxy Note 8. Boot your device into recovery mode (by pressing specific button combinations) and use the custom recovery to flash the custom ROM file. Follow the instructions provided by the custom ROM’s developers to ensure a successful installation.
6. Verify Bixby Removal:
After flashing the custom ROM, boot up your Galaxy Note 8 and check if Bixby is completely removed or disabled. Custom ROMs often provide a stripped-down version of the operating system, allowing you to customize the apps and features you want to include.
It’s important to note that custom ROMs and rooting procedures may void your device’s warranty and carry risks such as bricking your device or introducing security vulnerabilities. Make sure to follow instructions carefully, seek guidance from experienced users, and fully understand the implications of custom ROM installation and rooting before proceeding.
Additionally, keep in mind that custom ROMs may not receive official software updates from Samsung. You’ll need to rely on community-supported updates or install newer versions of the custom ROM as they become available.
Method 4: Use Third-Party Apps
If you want a simple and convenient way to remove Bixby from your Galaxy Note 8 without taking more drastic measures, using third-party apps can be a viable option. There are several apps available on the Google Play Store that can help you disable or customize Bixby. Here’s how you can use third-party apps to remove Bixby:
1. Research and Download a Third-Party App:
Start by searching for third-party apps that are specifically designed to disable or customize Bixby. Some popular options include “Bixby Button Remapper” and “BixRemap”. Read reviews and ratings to ensure that the app is reliable and suits your needs.
2. Install and Launch the App:
Once you have chosen an app, download and install it from the Google Play Store. After installation, open the app on your Galaxy Note 8.
3. Configure the App:
Each third-party app may have different configuration options. Follow the on-screen prompts or instructions provided by the app to configure it according to your preferences. This may include disabling the Bixby button, remapping its functionality, or customizing Bixby’s behavior.
4. Disable Bixby Button:
If the app allows, you can disable the physical Bixby button on your device. This will prevent accidental activations and give you more control over its functionality.
5. Test and Customize:
Once you have configured the third-party app, test its functionality to ensure that Bixby is effectively removed or disabled. Explore any additional options or features provided by the app to further customize your device’s behavior.
6. Keep the App Updated:
Regularly check for updates to the third-party app to ensure compatibility with your device’s software. Developers often release updates to address bugs and introduce new features. By keeping the app updated, you can ensure a smooth experience and continued functionality.
Using third-party apps can provide an easy and efficient way to remove or modify Bixby’s functionality without the need for complex procedures or modifications to your device’s software. However, be cautious when granting permissions to third-party apps and ensure that you are downloading from trusted sources to maintain the security of your device.
Always read user reviews, check for app compatibility with your device model, and exercise discretion when using third-party apps. If you encounter any issues or want to revert any changes made, you can uninstall the app or restore Bixby’s default settings.
Conclusion
Removing or disabling Bixby on your Galaxy Note 8 can be a personal preference or a practical decision based on your needs and device usage. Whether you prefer another virtual assistant, want to save system resources, or simply desire a cleaner user interface, there are several methods you can use to remove or disable Bixby.
Method 1 involves disabling Bixby within the device settings by turning off Bixby Home, Bixby Voice, and the physical Bixby button. This method is simple and doesn’t require any additional apps or modifications to your device’s software.
If you want more control over Bixby’s removal, Method 2 suggests using a package disabler app. This app allows you to disable Bixby and other system apps without root access. However, be cautious when using such apps and only disable apps you are sure you don’t need.
For more advanced users, Method 3 involves using custom ROMs and rooting your device. This method provides extensive customization options but carries risks such as voiding your device’s warranty and potential security vulnerabilities. Proceed with caution and fully understand the implications before attempting this method.
If you prefer a simpler approach, Method 4 suggests using third-party apps specifically designed to remove or customize Bixby. These apps provide a convenient way to disable Bixby’s functionality without the need for complex procedures or modifications.
Remember to consider the potential limitations and risks associated with removing or disabling Bixby. Certain features or functionalities of your device may rely on Bixby integration. Take the time to assess your specific needs and choose the method that best suits your requirements.
Lastly, it’s always a good idea to keep your device’s software and apps up to date to ensure compatibility, stability, and security. Regularly check for updates and consult reputable sources for guidance if needed.
With the methods discussed in this article, you can regain control over your Galaxy Note 8 and customize your device according to your preferences. Enjoy a streamlined user experience without the presence of Bixby if that’s what suits you best.