Introduction
Many Samsung device users often find Bixby, the voice assistant, to be more of a hindrance than a helpful tool. Whether you are tired of accidentally triggering Bixby or simply prefer to use a different voice assistant, the good news is that there are methods to remove or disable Bixby on your Samsung device.
Bixby is a feature that was introduced by Samsung in an effort to compete with virtual assistants like Siri and Google Assistant. While it can be convenient for some users, others find it unnecessary or annoying. Fortunately, there are several ways to disable or remove Bixby from your device, depending on your preference and the level of control you want.
In this article, we will explore various methods for disabling or removing Bixby from your Samsung device. Whether you want to simply hide Bixby Home from your home screen or completely remove all traces of Bixby from your device, we have got you covered. So, let’s jump right into it and explore how you can bid farewell to Bixby once and for all!
Disabling Bixby on Samsung Devices
If you’re looking to temporarily disable Bixby on your Samsung device without completely removing it, there are a few methods you can try. Disabling Bixby will prevent it from launching or appearing on your device, giving you the freedom to use alternative voice assistants or apps of your choice.
One way to disable Bixby is by accessing the Bixby settings on your Samsung device. To do this, swipe right on the home screen to access Bixby Home. Next, tap the three-dot menu icon in the top-right corner and select Settings. From there, you can toggle off Bixby Voice and Bixby Home to disable their respective functionalities.
If you don’t want Bixby to appear on your home screen, you can disable the Bixby Home panel by pinching the home screen with two fingers. This will bring up the home screen settings, where you can find the Bixby Home toggle switch. Simply toggle it off to remove Bixby Home from your home screen.
Another method to disable Bixby is by remapping the Bixby key, which is the physical button dedicated to launching Bixby. By default, pressing the Bixby key activates Bixby Voice. However, you can change this behavior by using a third-party app like Bixby Button Remapper, which allows you to assign a different function or launch a different app when the Bixby key is pressed.
By following these methods, you can easily disable Bixby on your Samsung device and gain more control over the voice assistant features. However, if you’re looking to completely remove Bixby from your device, including all its associated features and updates, you’ll need to follow different steps, which we’ll discuss in the following sections.
Removing Bixby Home from the Home Screen
If you find Bixby Home, the dedicated panel on your home screen, to be unnecessary and want to remove it completely, there are options available to make it disappear.
One way to remove Bixby Home is by pinching the home screen with two fingers. This action will bring up the home screen settings. Look for the Bixby Home toggle switch and simply toggle it off. This will remove Bixby Home from your home screen, giving you a cleaner and more personalized interface.
Alternatively, you can also disable Bixby Home by accessing the settings within the Bixby Home panel itself. To do this, swipe right on your home screen to access Bixby Home. Then, tap the three-dot menu icon in the top-right corner and select Settings. From there, you can toggle off the Bixby Home option.
Removing Bixby Home from your home screen doesn’t mean that Bixby is completely gone from your device. It only hides the dedicated panel and allows you to use other home screen widgets and features without the presence of Bixby. However, keep in mind that Bixby may still be accessible through other means, such as the Bixby Voice feature or the Bixby key/button on your device.
If you are looking to disable or remove Bixby entirely from your Samsung device, including all its functionalities and associated features, you’ll need to follow further steps, which we’ll discuss in the subsequent sections.
Disabling Bixby Voice
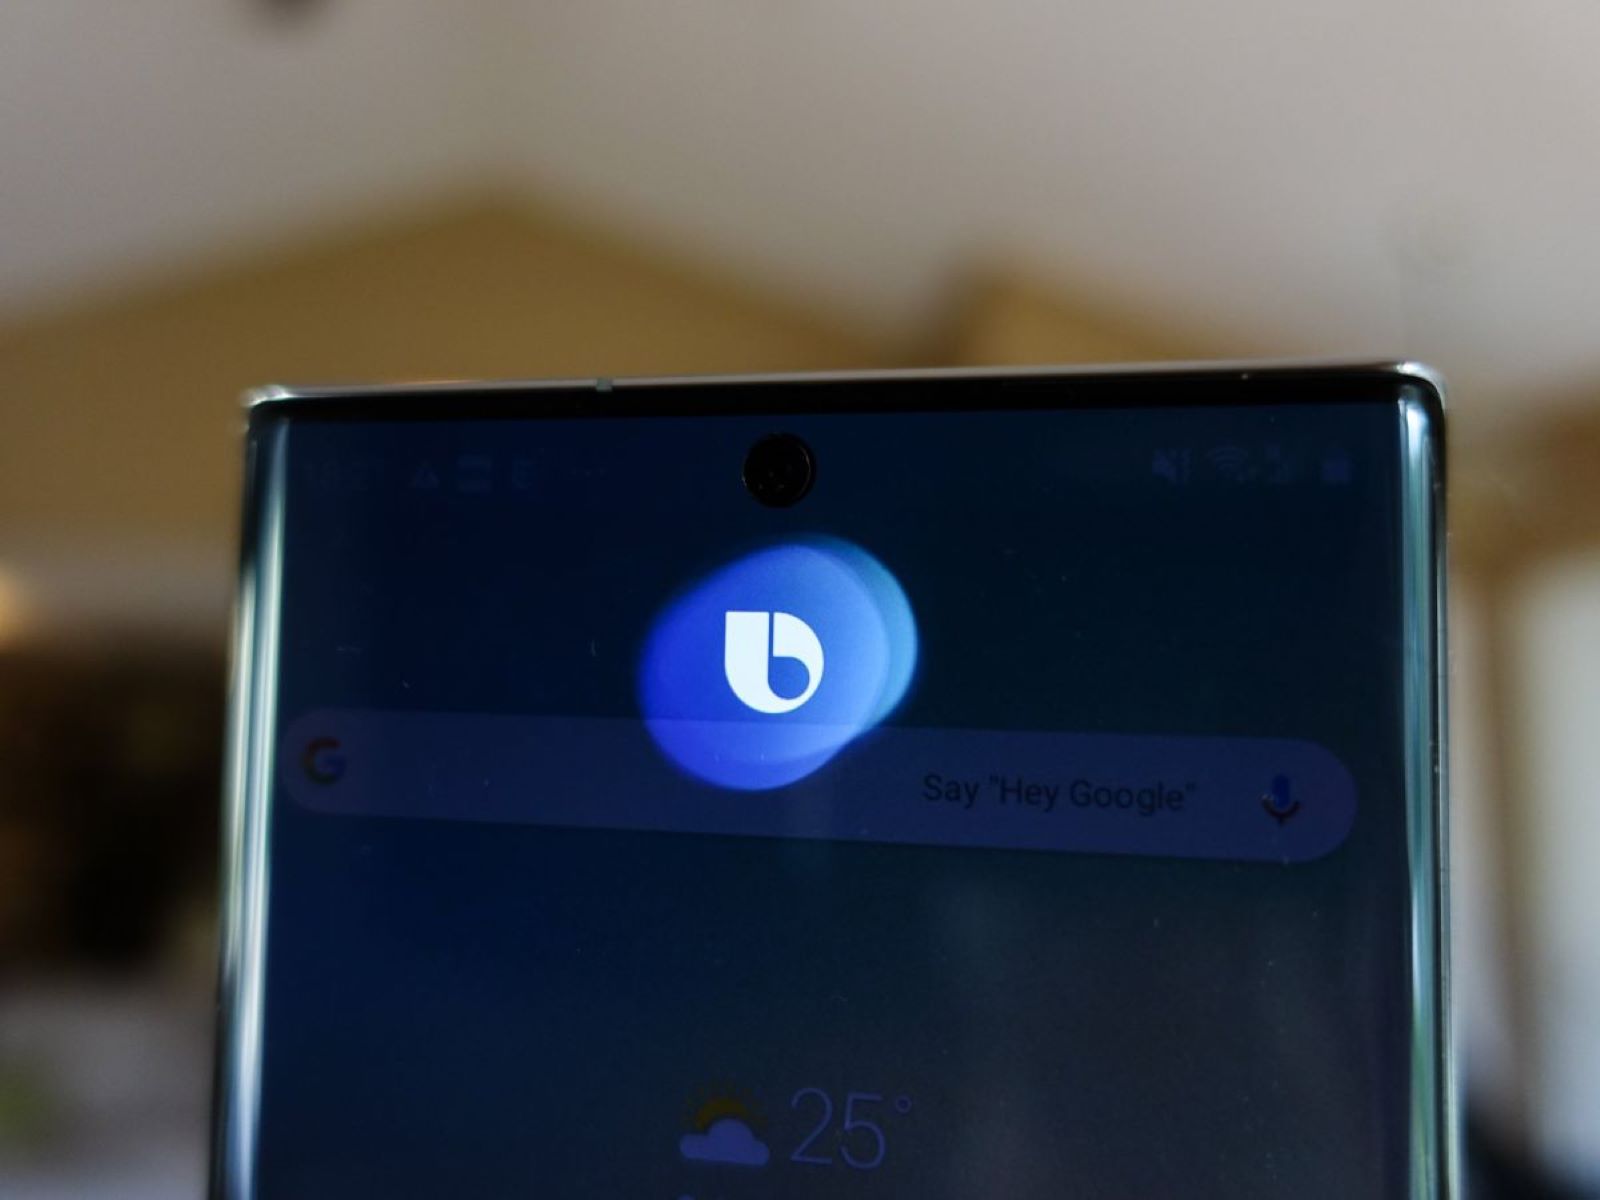
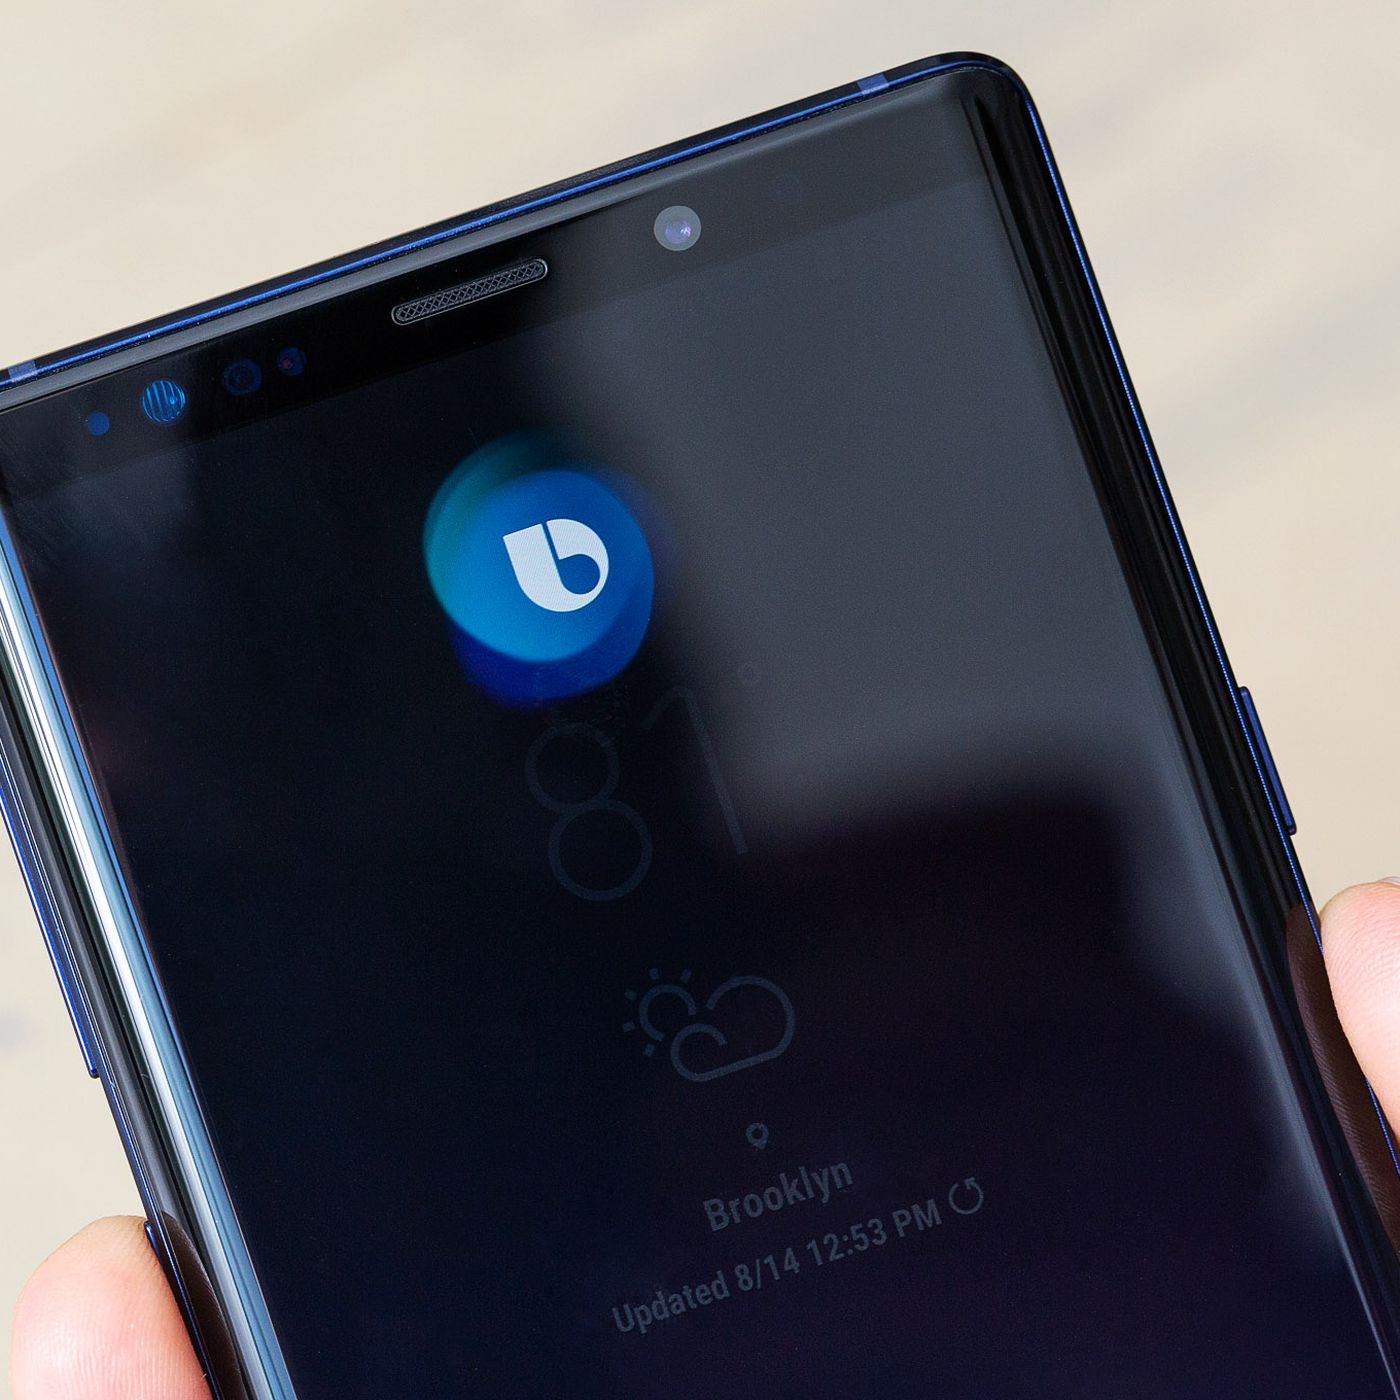
Bixby Voice is the voice-activated feature of Samsung’s virtual assistant. If you don’t find it useful or prefer to use a different voice assistant, you can disable Bixby Voice on your Samsung device.
To disable Bixby Voice, start by opening the Bixby Home panel. You can do this by swiping right on your home screen. Next, tap the three-dot menu icon in the top-right corner and select Settings. In the settings menu, find the Bixby Voice option and toggle it off.
Disabling Bixby Voice means that your device will no longer respond to the “Hi, Bixby” trigger phrase and won’t activate Bixby Voice when the Bixby key/button is pressed. This allows you to use other voice assistants or apps of your choice without any interference from Bixby.
Keep in mind that disabling Bixby Voice will not remove Bixby entirely from your device. Other Bixby features, such as Bixby Home and Bixby Suggestions, may still be accessible. If you want to completely remove Bixby from your device, including all its features and associated updates, you’ll need to follow additional steps, which we’ll discuss in the upcoming sections.
Disabling Bixby Voice gives you more control over the voice assistant settings on your Samsung device, allowing you to customize your experience according to your preferences. Whether you prefer to use a different voice assistant or simply want to reduce accidental triggers, disabling Bixby Voice provides you with the freedom to tailor your device to your needs.
Disabling Bixby Suggestions
Bixby Suggestions is a feature on Samsung devices that offers predictive suggestions based on your usage patterns and activities. While some users find this feature helpful, others may find it intrusive or unnecessary. If you want to disable Bixby Suggestions on your Samsung device, you have a couple of options.
One way to disable Bixby Suggestions is by accessing the Bixby settings on your device. Start by opening the Bixby Home panel by swiping right on your home screen. Then, tap the three-dot menu icon in the top-right corner and select Settings. Look for the Bixby Suggestions option and toggle it off.
Another method to disable Bixby Suggestions is by customizing your device’s settings directly. Go to the device settings on your Samsung device and navigate to “Advanced Features” or a similar option. Look for the Bixby Suggestions setting and disable it.
By disabling Bixby Suggestions, you can prevent the device from suggesting apps, actions, or other content based on your usage patterns. This gives you more control over the content that appears on your device and allows you to personalize your experience according to your preferences.
Keep in mind that disabling Bixby Suggestions doesn’t remove Bixby entirely from your device. Other Bixby features, such as Bixby Voice and Bixby Home, may still be accessible. If you wish to completely remove Bixby from your Samsung device, including all its associated features and updates, you’ll need to follow additional steps, which we’ll discuss in the upcoming sections.
Disabling Bixby Suggestions allows you to have a more streamlined and personalized experience on your Samsung device, without the constant suggestions and prompts from the Bixby virtual assistant. Whether you find the feature distracting or simply prefer to have more control over your device, disabling Bixby Suggestions is an effective solution.
Disabling Bixby Key/Button
If you find yourself accidentally triggering Bixby by pressing the dedicated Bixby key/button on your Samsung device, you may want to disable it to avoid any interruptions or frustrations. Disabling the Bixby key/button can be done through various methods, depending on your device model and software version.
One way to disable the Bixby key/button is by using the settings on your Samsung device. To do this, go to the device settings and navigate to “Advanced Features” or a similar option. Look for the Bixby Key/Button setting and disable it. This will prevent the Bixby key/button from launching Bixby when pressed.
Alternatively, you can also remap the Bixby key/button using third-party apps. Several apps, like Bixby Button Remapper, allow you to assign a different function or launch a different app when the Bixby key/button is pressed. This way, you can customize the button to your preference and use it for other purposes.
If your device has a physical Bixby key, you may also have the option to disable it by turning on the “Use Single Press” or “Use Double Press” option in the Bixby settings. This allows you to choose how the Bixby key behaves when pressed.
By disabling or remapping the Bixby key/button, you can prevent accidental activation of Bixby and use the button for other functions or apps that you find more useful. It streamlines your device’s functionality and ensures that the Bixby key/button doesn’t interfere with your preferred usage.
Remember that disabling or remapping the Bixby key/button doesn’t remove Bixby entirely from your device. Other Bixby features, such as Bixby Voice and Bixby Home, may still be accessible. If you want to completely remove Bixby from your Samsung device, including all its associated features and updates, you’ll need to follow additional steps, which we’ll discuss in the upcoming sections.
Disabling the Bixby key/button allows you to regain control over your device and prevent any unwanted launches of the Bixby virtual assistant. Whether you prefer to remap the button for other functions or simply want to avoid accidental triggers, disabling the Bixby key/button is a practical solution for Samsung device users.
Uninstalling Bixby Updates
If you want to remove the latest updates of Bixby on your Samsung device, you have the option to uninstall them. This will revert Bixby to its previous version and may remove some of the newer features and improvements that were introduced in the updates.
To uninstall Bixby updates, follow these steps:
- Go to the device settings on your Samsung device.
- Navigate to the “Apps” or “Application Manager” section, which may vary depending on your device model and software version.
- Scroll through the list of installed apps and locate “Bixby”. Tap on it to open the app details.
- In the app details, you will find the option to either “Disable” or “Uninstall updates”. Since we want to uninstall the updates, tap on the “Uninstall updates” option.
- Confirm the action in the pop-up window, and the updates will be uninstalled.
It’s important to note that uninstalling Bixby updates will not completely remove Bixby from your device. Only the updates will be rolled back, and you will be left with the previous version of Bixby that came installed on your device.
If you want to completely remove Bixby and all its associated features and updates from your Samsung device, including the ability to access Bixby Home, Bixby Voice, and Bixby Suggestions, you’ll need to follow further steps, which we will discuss in the upcoming sections.
Uninstalling Bixby updates is a way to roll back any changes or new features that were introduced in the latest updates. It can be useful if you prefer an older version of Bixby or want to troubleshoot any issues that may have arisen after updating. However, keep in mind that future updates may still be automatically installed on your device unless you disable automatic app updates in your device settings.
Clearing Bixby Data and Cache
If you want to remove all traces of Bixby from your Samsung device, including user data and cache, you can do so by clearing the Bixby data and cache. This will reset Bixby to its default settings and remove any personalized data that may have been associated with your Bixby account.
To clear Bixby data and cache, follow these steps:
- Go to the device settings on your Samsung device.
- Navigate to the “Apps” or “Application Manager” section, which may vary depending on your device model and software version.
- Scroll through the list of installed apps and locate “Bixby”. Tap on it to open the app details.
- In the app details, you will find options like “Force stop”, “Clear data”, and “Clear cache”. Tap on “Clear data” followed by “Clear cache”.
- Confirm the action in the pop-up window, and the Bixby data and cache will be cleared.
Clearing Bixby data and cache will remove any stored preferences, personalized settings, and cached data associated with Bixby on your device. It essentially resets Bixby to its default state as if you were using it for the first time.
While clearing data and cache will remove your personalized data from Bixby, it will still be present in your Samsung account, should you choose to use Bixby again in the future. If you want to completely remove Bixby from your device, eliminating all Bixby-associated features and updates, you’ll need to follow additional steps, which we’ll discuss in the subsequent sections.
Clearing Bixby data and cache can be helpful if you’re experiencing issues with Bixby or want to start fresh with a clean slate. It ensures that all previous data and preferences are removed, giving you a fresh start with Bixby on your Samsung device.
Removing Bixby Completely (Rooting Method)
If you want to completely remove Bixby from your Samsung device, including all its associated features and updates, you can consider the rooting method. Rooting is a process that grants you administrative access to your device’s operating system, allowing you to make system-level changes and uninstall pre-installed apps like Bixby.
Before proceeding, it’s important to note that rooting your device can void your warranty and may have other risks. Make sure you understand the process and its consequences before proceeding. Additionally, rooting methods can vary depending on device models and software versions, so it’s recommended to research the specific steps for your device.
Here is a general overview of the rooting process to remove Bixby:
- Back up all your important data and files to ensure you don’t lose anything during the rooting process.
- Research and find a reliable rooting method for your specific device model and software version. There are various online resources, forums, and tutorials available that provide step-by-step instructions.
- Follow the rooting instructions carefully to root your device. This usually involves enabling Developer Options, enabling USB debugging, connecting your device to a computer, and running rooting software or scripts.
- Once your device is rooted, you can use a root file explorer app to navigate to the system directory and locate the Bixby-related files. These files may have different names depending on your device, so it’s necessary to do some research or seek guidance from experienced users.
- Delete the Bixby-related files from the system directory. Be cautious and ensure you delete the correct files to avoid any unintended consequences.
- Restart your device after removing the Bixby-related files.
After successfully completing the rooting process and removing the Bixby-related files, Bixby should be completely removed from your device. However, keep in mind that rooting your device can have implications and limitations, and it’s important to understand the risks and benefits before proceeding.
If you’re not comfortable with rooting or don’t want to take the risks associated with it, you can explore other methods discussed earlier in this article, such as disabling, clearing data and cache, or uninstalling updates, to minimize the presence and impact of Bixby on your Samsung device.
Conclusion
Removing or disabling Bixby on your Samsung device can provide you with a more personalized and streamlined experience. Whether you find Bixby unnecessary, prefer to use a different voice assistant, or simply want to regain control over your device, there are several methods you can try.
Disabling Bixby can be done through the Bixby settings on your device, allowing you to turn off Bixby Voice, Bixby Home, and Bixby Suggestions. Additionally, you can remove Bixby Home from your home screen or customize the Bixby key/button to prevent accidental triggers. Uninstalling Bixby updates rolls back any changes made in the latest updates, while clearing Bixby data and cache resets Bixby to its default settings.
For those who want to completely remove Bixby from their Samsung device, including all associated features and updates, the rooting method provides a more comprehensive solution. However, it’s important to note that rooting comes with risks and voids the device’s warranty, so careful consideration is required.
Ultimately, the choice of whether to remove or disable Bixby depends on your personal preferences and needs. By following the methods outlined in this article, you can customize your Samsung device to better suit your usage habits and preferences.
Remember, it’s important to research and understand the specific steps for your device model and software version before making any changes. And if you’re not comfortable with rooting or want to avoid any risks, the other methods mentioned in this article still provide effective ways to minimize the presence and impact of Bixby on your device.
With the removal or disabling of Bixby, you can enjoy a Samsung device experience tailored to your liking, allowing you to focus on the features and apps that matter most to you.