Introduction
Welcome to the world of smartphones, where digital assistants have become a ubiquitous presence. One such assistant that you may find on your Android device is Bixby. Developed by Samsung, Bixby offers a range of features and functions to assist you in your daily tasks. However, not everyone finds Bixby to be useful or even necessary. If you’re one of those individuals wondering how to remove Bixby from your phone, you’re in the right place.
Whether it’s because you prefer another digital assistant or simply don’t find Bixby to be helpful, disabling or removing it can improve your smartphone experience. In this guide, we’ll walk you through the steps to disable Bixby Home, Bixby Voice, and even the dedicated Bixby button on your device. We’ll also explore alternative methods if you’re unable to completely remove Bixby from your phone.
It’s important to note that the specific steps may vary depending on your device model and Android version. The instructions provided here serve as a general guideline, but it’s always a good idea to consult your device’s user manual or check the Samsung support website for device-specific instructions.
Now, let’s dive into the process of removing Bixby from your phone and regaining control over your device and digital assistant options.
Why Remove Bixby?
While Bixby may be a convenient digital assistant for some users, there are several reasons why you might consider removing it from your phone:
- Preference for alternative digital assistants: You may prefer using other popular digital assistants like Google Assistant or Amazon Alexa, which offer a wider range of features and integrations. Removing Bixby allows you to prioritize and fully utilize your preferred assistant.
- Personalization and customization: Bixby may not provide the level of personalization and customization options that you desire. By disabling or removing Bixby, you can explore other digital assistant options that better align with your preferences and needs.
- Streamlining your phone’s performance: Bixby uses system resources and may run in the background, potentially impacting your device’s performance and battery life. Removing Bixby frees up these resources and ensures that your phone runs smoothly.
- Unwanted accidental activations: Some users find that Bixby is easily activated accidentally, either through unintentional button presses or voice commands. Removing Bixby eliminates the risk of unintentional activations and allows you to regain control over your device’s functionality.
- Reducing clutter: Bixby Home and its associated features may take up valuable space on your device’s home screen. If you prefer a clean and clutter-free interface, removing Bixby can help you achieve a visually minimalist setup.
Remember, the decision to remove Bixby ultimately depends on your personal preferences and needs. If you find that Bixby doesn’t align with your usage patterns or you simply prefer an alternative digital assistant, follow the steps outlined in this guide to disable or remove Bixby from your phone.
Preparing to Remove Bixby
Before diving into the process of removing Bixby from your phone, it’s essential to take a few preparatory steps:
- Backup Your Data: It’s always a good practice to back up your device’s data before making any significant changes. This ensures that you won’t lose any important information in case of any unexpected issues during the removal process. Use your device’s built-in backup features or utilize third-party backup solutions to safeguard your data.
- Update Your Device: Ensure that your device is running the latest stable version of the Android operating system. Updates often include important bug fixes and optimizations that can make the removal process smoother. To check for updates, go to your device’s Settings, navigate to the Software Update or About Device section, and select the option to check for updates.
- Understand the Consequences: Removing Bixby from your phone may result in the loss of certain functionalities or features. Bixby-specific apps and services may no longer be accessible. Consider the potential impacts and make an informed decision based on your usage patterns and preferences.
By completing these preparatory steps, you’ll ensure that your device is ready for the Bixby removal process. Remember to take the time to back up your device’s data and keep it up to date to minimize any potential risks or issues. Now, let’s move on to the steps to disable and remove Bixby from your Android phone.
How to Disable Bixby Home
Bixby Home is a feature on Samsung devices that provides convenient access to various information and widgets on your home screen. Disabling Bixby Home will prevent it from appearing when you swipe to the leftmost screen on your phone. Here’s how you can disable Bixby Home:
- Access Bixby Home: Swipe right on your home screen to open Bixby Home. Alternatively, you can press the dedicated Bixby button (usually located below the volume keys) to access Bixby Home.
- Disable Bixby Home: Once in Bixby Home, tap the three-dot menu icon in the upper right corner of the screen to access the settings. Scroll down and find the option labeled “Bixby Home.” Toggle the switch next to it to disable Bixby Home.
- Confirmation: You will be prompted to confirm your action. Tap “Turn Off” to disable Bixby Home completely.
After following these steps, Bixby Home will be disabled, and you won’t see it when swiping to the leftmost screen on your phone. Keep in mind that Bixby Home may re-enable itself after a software update or if you perform a factory reset on your device. If this happens, simply follow the same steps to disable it again.
Disabling Bixby Home is a great way to declutter your home screen and remove a feature that you may not find useful. However, this is just one part of removing Bixby from your phone. Next, we’ll explore how to disable Bixby Voice, the voice assistant component of Bixby.
How to Disable Bixby Voice
Bixby Voice is the voice assistant component of Bixby that allows you to perform various tasks and control your phone using voice commands. If you prefer to use a different voice assistant or simply don’t use voice commands frequently, you can disable Bixby Voice. Here’s how:
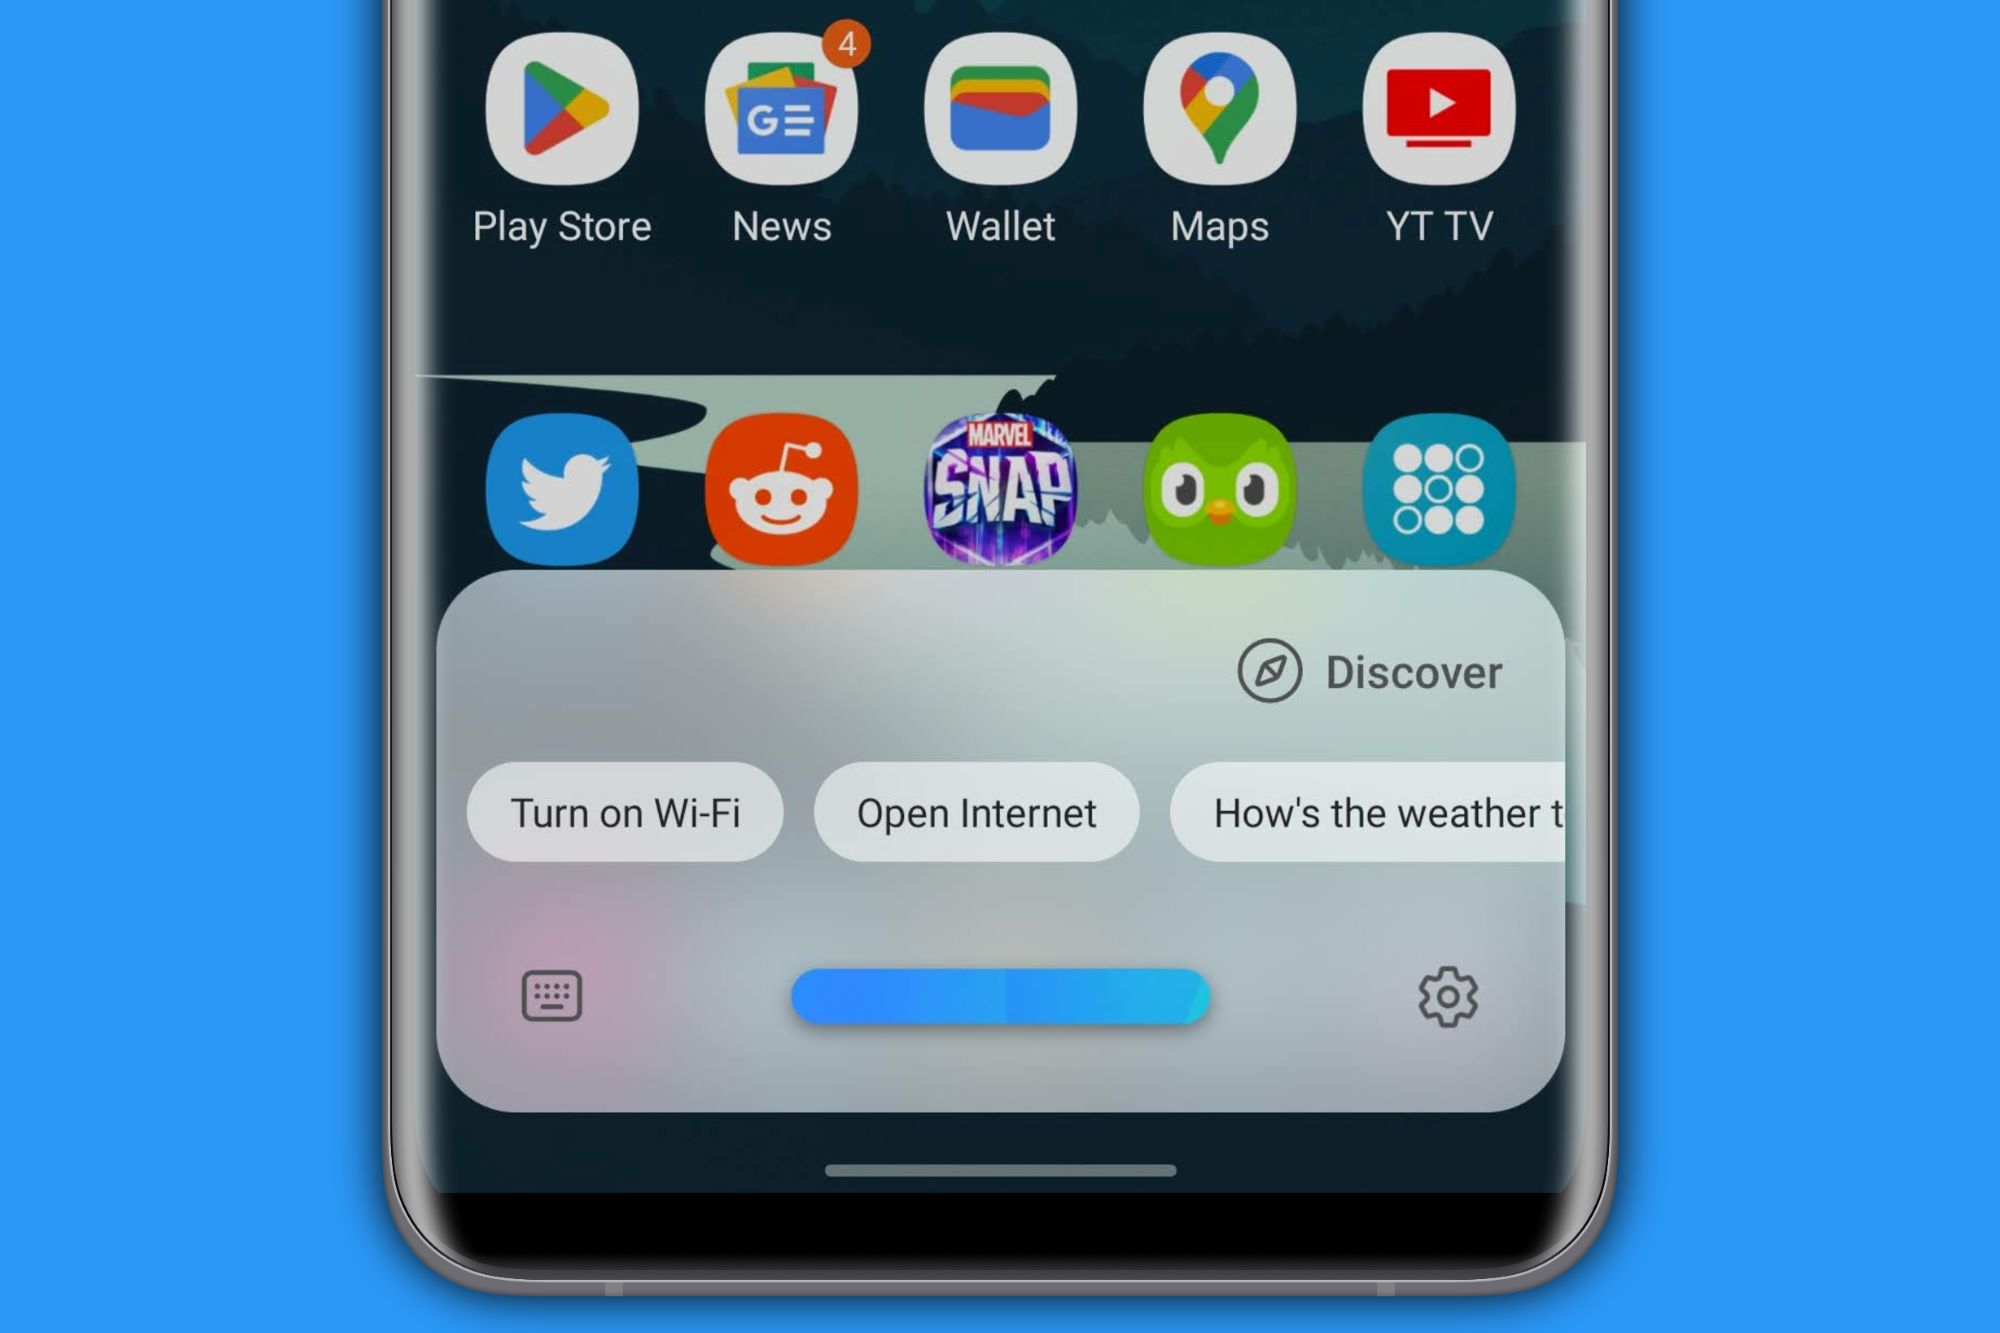
- Launch Bixby Voice: Press and hold the dedicated Bixby button on your device’s side or say “Hi, Bixby” to activate Bixby Voice.
- Tap the three-dot menu: Once Bixby Voice is active, tap the three-dot menu icon in the upper-right corner of the screen to open the Bixby Voice settings.
- Access Bixby Voice settings: In the settings menu, you’ll find an option labeled “Settings.” Tap on it to access the Bixby Voice settings.
- Disable Bixby Voice: Within the Bixby Voice settings, you’ll see a toggle switch labeled “Bixby Voice.” Toggle off the switch to disable Bixby Voice.
- Confirmation: You’ll be prompted to confirm your action. Tap “Turn Off” to disable Bixby Voice completely.
Once you follow these steps, Bixby Voice will be disabled, and you won’t be able to access its features through voice commands. Removing Bixby Voice gives you the freedom to use a different voice assistant or disable voice commands entirely if you don’t find them useful.
Now that we’ve disabled Bixby Home and Bixby Voice, let’s move on to the next step – removing the functionality of the dedicated Bixby button on your device.
How to Remove Bixby Button Functionality
If you find that the dedicated Bixby button on your device is often pressed accidentally or you simply don’t use it, you can remove its functionality to prevent any unwanted activations. Here’s how you can disable the Bixby button:
- Access Bixby Home: Swipe right on your home screen or press the dedicated Bixby button to open Bixby Home.
- Tap the three-dot menu: In the top-right corner of the screen, tap the three-dot menu icon to access the Bixby settings.
- Select Bixby Key settings: In the settings menu, tap on “Settings” and then select “Bixby key” from the list of options.
- Choose desired option: You’ll see three options for the Bixby button: “Press once to open Bixby,” “Press twice to open Bixby,” or “Don’t open anything.”
- Select “Don’t open anything”: To completely remove the functionality of the Bixby button, choose the option “Don’t open anything.”
By selecting the “Don’t open anything” option, the Bixby button will no longer serve any function on your device. This prevents accidental presses and allows you to use the button for other purposes, such as launching a different app or performing a specific action using third-party apps or customization options.
Now that we’ve disabled Bixby Home, Bixby Voice, and the Bixby button functionality, let’s explore how to completely uninstall any Bixby apps and updates from your device.
How to Uninstall Bixby Apps and Updates
If you want to go a step further and completely remove Bixby from your phone, you can uninstall the Bixby apps and updates. Here’s how you can do it:
- Open the Settings: Access your device’s Settings by swiping down from the top of the screen and tapping the gear icon or locating the Settings app in your app drawer.
- Navigate to Apps: In the settings menu, scroll down and find the “Apps” or “Applications” option. Tap on it to view a list of all installed apps on your device.
- Find Bixby apps: In the list of apps, search for any apps with “Bixby” in their name, such as “Bixby Home” or “Bixby Voice.” Tap on each app to access its settings.
- Uninstall Bixby apps: Within each Bixby app’s settings, you’ll find the option to uninstall the app. Tap on “Uninstall” and confirm your action when prompted. Repeat this step for all Bixby apps listed on your device.
- Disable Bixby updates: After uninstalling the Bixby apps, it’s essential to disable automatic updates for Bixby. To do this, go back to the main apps settings menu and tap on the three-dot menu in the top-right corner. Select “Auto-update apps” and choose the option “Don’t auto-update apps.”
By uninstalling Bixby apps and disabling updates, you effectively remove all traces of Bixby from your device. This can significantly free up storage space and ensure that Bixby-related updates won’t reinstall the apps in the future.
Although the uninstallation process may vary slightly depending on your device model and Android version, following these general steps should allow you to remove Bixby apps and updates successfully.
Now that we’ve covered the primary methods of removing Bixby from your phone, let’s explore some alternative methods for disabling Bixby if the aforementioned steps don’t fully remove it.
Alternative Methods to Disable Bixby
If the previous methods didn’t completely remove Bixby from your device, or if you’re unable to disable certain Bixby features, there are a few alternative methods you can try:
- Use a Package Disabler: There are third-party apps available on the Google Play Store that allow you to disable system apps, including Bixby. These apps work by disabling the Bixby-related packages, preventing them from running on your device. Be cautious when using these apps and ensure that you only disable the necessary Bixby packages to avoid any unintended consequences.
- Custom ROMs and Mods: If you’re an advanced user and have experience with custom ROMs and mods, you can explore options like flashing a custom ROM or installing a modification that removes Bixby completely. This method requires technical knowledge and comes with certain risks, so proceed with caution and make sure to follow proper instructions and backup your device.
- Hide Bixby Home with a Launcher: If you can’t completely disable Bixby Home, you can try using a third-party launcher that allows you to hide or customize your home screen. Look for launchers that offer the ability to hide specific app pages or customize the layout, allowing you to effectively hide Bixby Home from your view.
- Use ADB Commands: For advanced users familiar with Android Debug Bridge (ADB) commands, you can connect your device to a computer and use ADB commands to disable or remove Bixby. This method requires technical expertise and executing commands correctly, so proceed with caution and ensure you have a reliable guide or tutorial to follow.
Keep in mind that these alternative methods may have varying levels of success, and some of them can carry certain risks or complications. It’s always recommended to research and understand the specific instructions and potential consequences before attempting any alternative method.
With these alternative methods, you can explore additional options to disable or remove Bixby from your device if the standard methods don’t provide the desired results. Remember to exercise caution, back up your data, and follow proper instructions to ensure a smooth process.
Now that we’ve covered the various methods to disable or remove Bixby from your phone, let’s wrap up our discussion.
Conclusion
Removing Bixby from your phone can be a personal choice driven by your preferences, need for customization, or desire to streamline your device’s performance. Whether you want to disable Bixby Home, Bixby Voice, or even remove Bixby apps and updates entirely, there are several methods at your disposal.
We started by exploring the reasons why you might want to remove Bixby, such as preferring alternative digital assistants, wanting to personalize your device, or reducing clutter on your home screen. Understanding these reasons can help you make an informed decision about removing Bixby from your phone.
Next, we discussed the preparatory steps you should take before removing Bixby, including backing up your data and ensuring your device is up to date. These steps help minimize any potential risks and ensure a smoother removal process.
We then delved into the step-by-step instructions to disable Bixby Home, Bixby Voice, and the functionality of the Bixby button on your device. These methods allow you to regain control over your device and eliminate unwanted activations or clutter.
In the event that the standard methods didn’t completely remove Bixby, we explored alternative methods such as using package disablers, custom ROMs, launcher customization, or ADB commands. These methods cater to advanced users or those seeking additional ways to disable or remove Bixby from their device.
Remember, the specific steps and options may vary depending on your device model and Android version. Always consult your device’s user manual or the Samsung support website for device-specific instructions.
With the information provided in this guide, you now have the tools and knowledge to remove Bixby from your phone, allowing you to customize and optimize your device according to your preferences. Enjoy the freedom and control over your digital assistant options, and make the most out of your smartphone experience.