Introduction
Welcome to this guide on how to stop Bixby on your phone. Bixby is a virtual assistant developed by Samsung that aims to make your smartphone experience more convenient. While Bixby offers various features and functionalities, not everyone finds it useful or prefers to use other virtual assistants like Google Assistant or Siri.
If you are one of those users who want to disable Bixby on your phone, you have come to the right place. In this article, we will explore different methods to turn off or disable Bixby, depending on your specific requirements and preferences.
It’s important to note that the steps may vary slightly depending on the model and software version of your Samsung smartphone. However, the overall process is similar, and we will provide general instructions that should be applicable to most devices.
By disabling Bixby, you can reclaim your device’s resources, prevent accidental activations, and customize your smartphone experience to better suit your needs.
Before we dive into the different methods to disable Bixby, let’s discuss a few reasons why you might want to stop Bixby on your phone:
- Preference for other virtual assistants: If you prefer using virtual assistants like Google Assistant or Siri, disabling Bixby will prevent any potential conflicts or unnecessary duplication of tasks.
- Unwanted activations: Bixby’s voice recognition feature may sometimes activate unintentionally, especially if you frequently use similar phrases or words. Disabling Bixby can help avoid these accidental activations.
- Customization: By removing Bixby from your device, you can personalize your smartphone experience and free up resources that Bixby may utilize in the background.
Now that we have discussed why you might want to stop Bixby on your phone, let’s move on to the different methods you can use to disable Bixby based on your specific requirements.
Why you might want to stop Bixby on your phone
Bixby, the virtual assistant developed by Samsung, offers a range of features and functionalities designed to enhance your smartphone experience. However, there may be several reasons why you might want to disable Bixby on your phone:
1. Preference for other virtual assistants: You might prefer using virtual assistants like Google Assistant or Siri, which offer a more familiar and seamless integration with other services and apps. Disabling Bixby allows you to focus on the virtual assistant of your choice and prevents any potential conflicts or confusion between different assistants.
2. Unwanted activations: Bixby’s voice recognition feature can unintentionally activate, especially if you frequently use similar phrases or words in your conversations. This can be frustrating, as Bixby might interrupt your tasks or perform actions that you didn’t intend. By disabling Bixby, you can avoid accidental activations and regain full control over your smartphone.
3. Customization: Every individual has unique preferences and needs when it comes to their smartphone experience. Disabling Bixby gives you the freedom to customize your device without any limitations imposed by the virtual assistant. It allows you to prioritize the apps and services that matter most to you, providing a more tailored user experience.
4. Resource optimization: Virtual assistants like Bixby require resources such as processing power and memory to function effectively. If you find that Bixby consumes a significant amount of your device’s resources or slows down its performance, disabling Bixby can help optimize your phone’s functionality and responsiveness.
5. Personal data privacy: Some users may have concerns about the collection and storage of personal data by virtual assistants. If you prioritize privacy and control over your information, disabling Bixby ensures that your interactions and data remain within your control, minimizing the potential risks associated with third-party access.
6. Simplified user interface: Bixby’s presence on the home screen or device interface can clutter the visual aesthetics and make the device appear crowded. Disabling Bixby removes its icons and widgets, providing a cleaner, streamlined interface that suits your personal preferences and visual appeal.
Considering these reasons, it’s understandable why you might want to stop Bixby on your phone. In the following sections, we will explore various methods to disable Bixby based on your specific requirements and the level of control you want over the virtual assistant.
How to disable Bixby through the Bixby settings
One of the easiest ways to disable Bixby on your Samsung phone is through the Bixby settings. Here’s how you can do it:
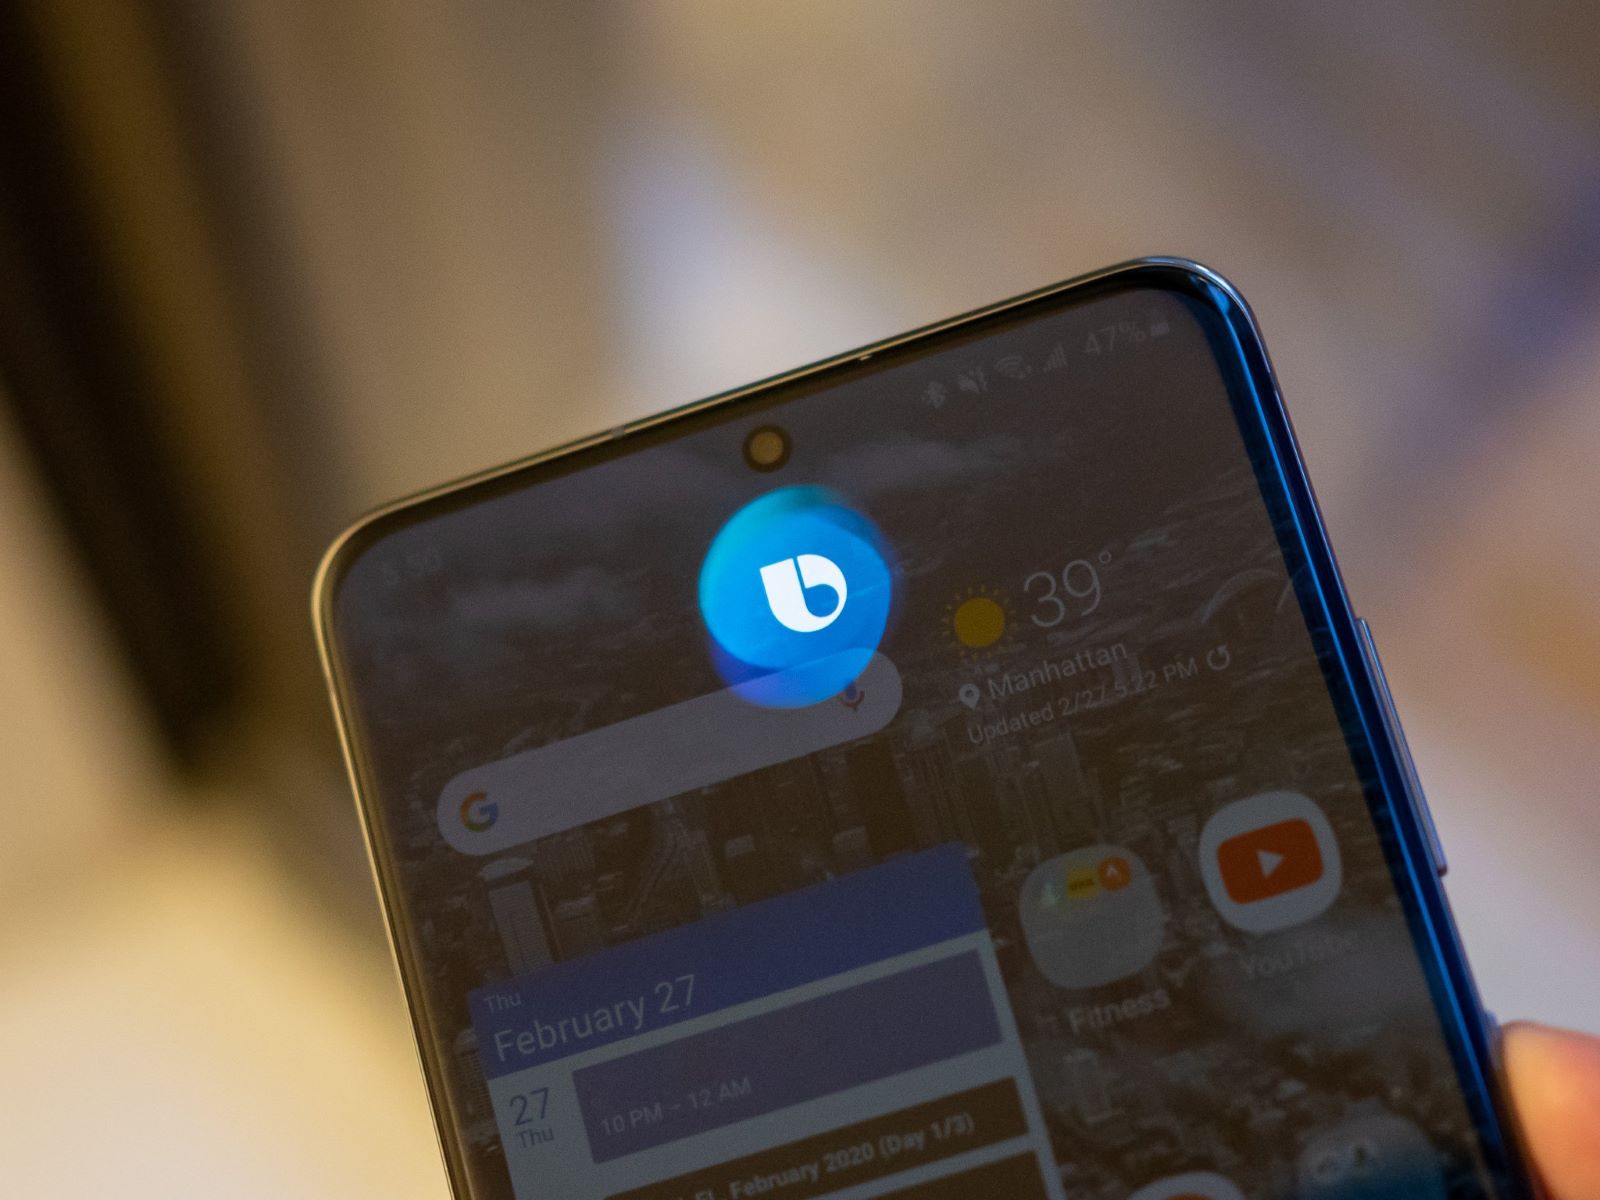
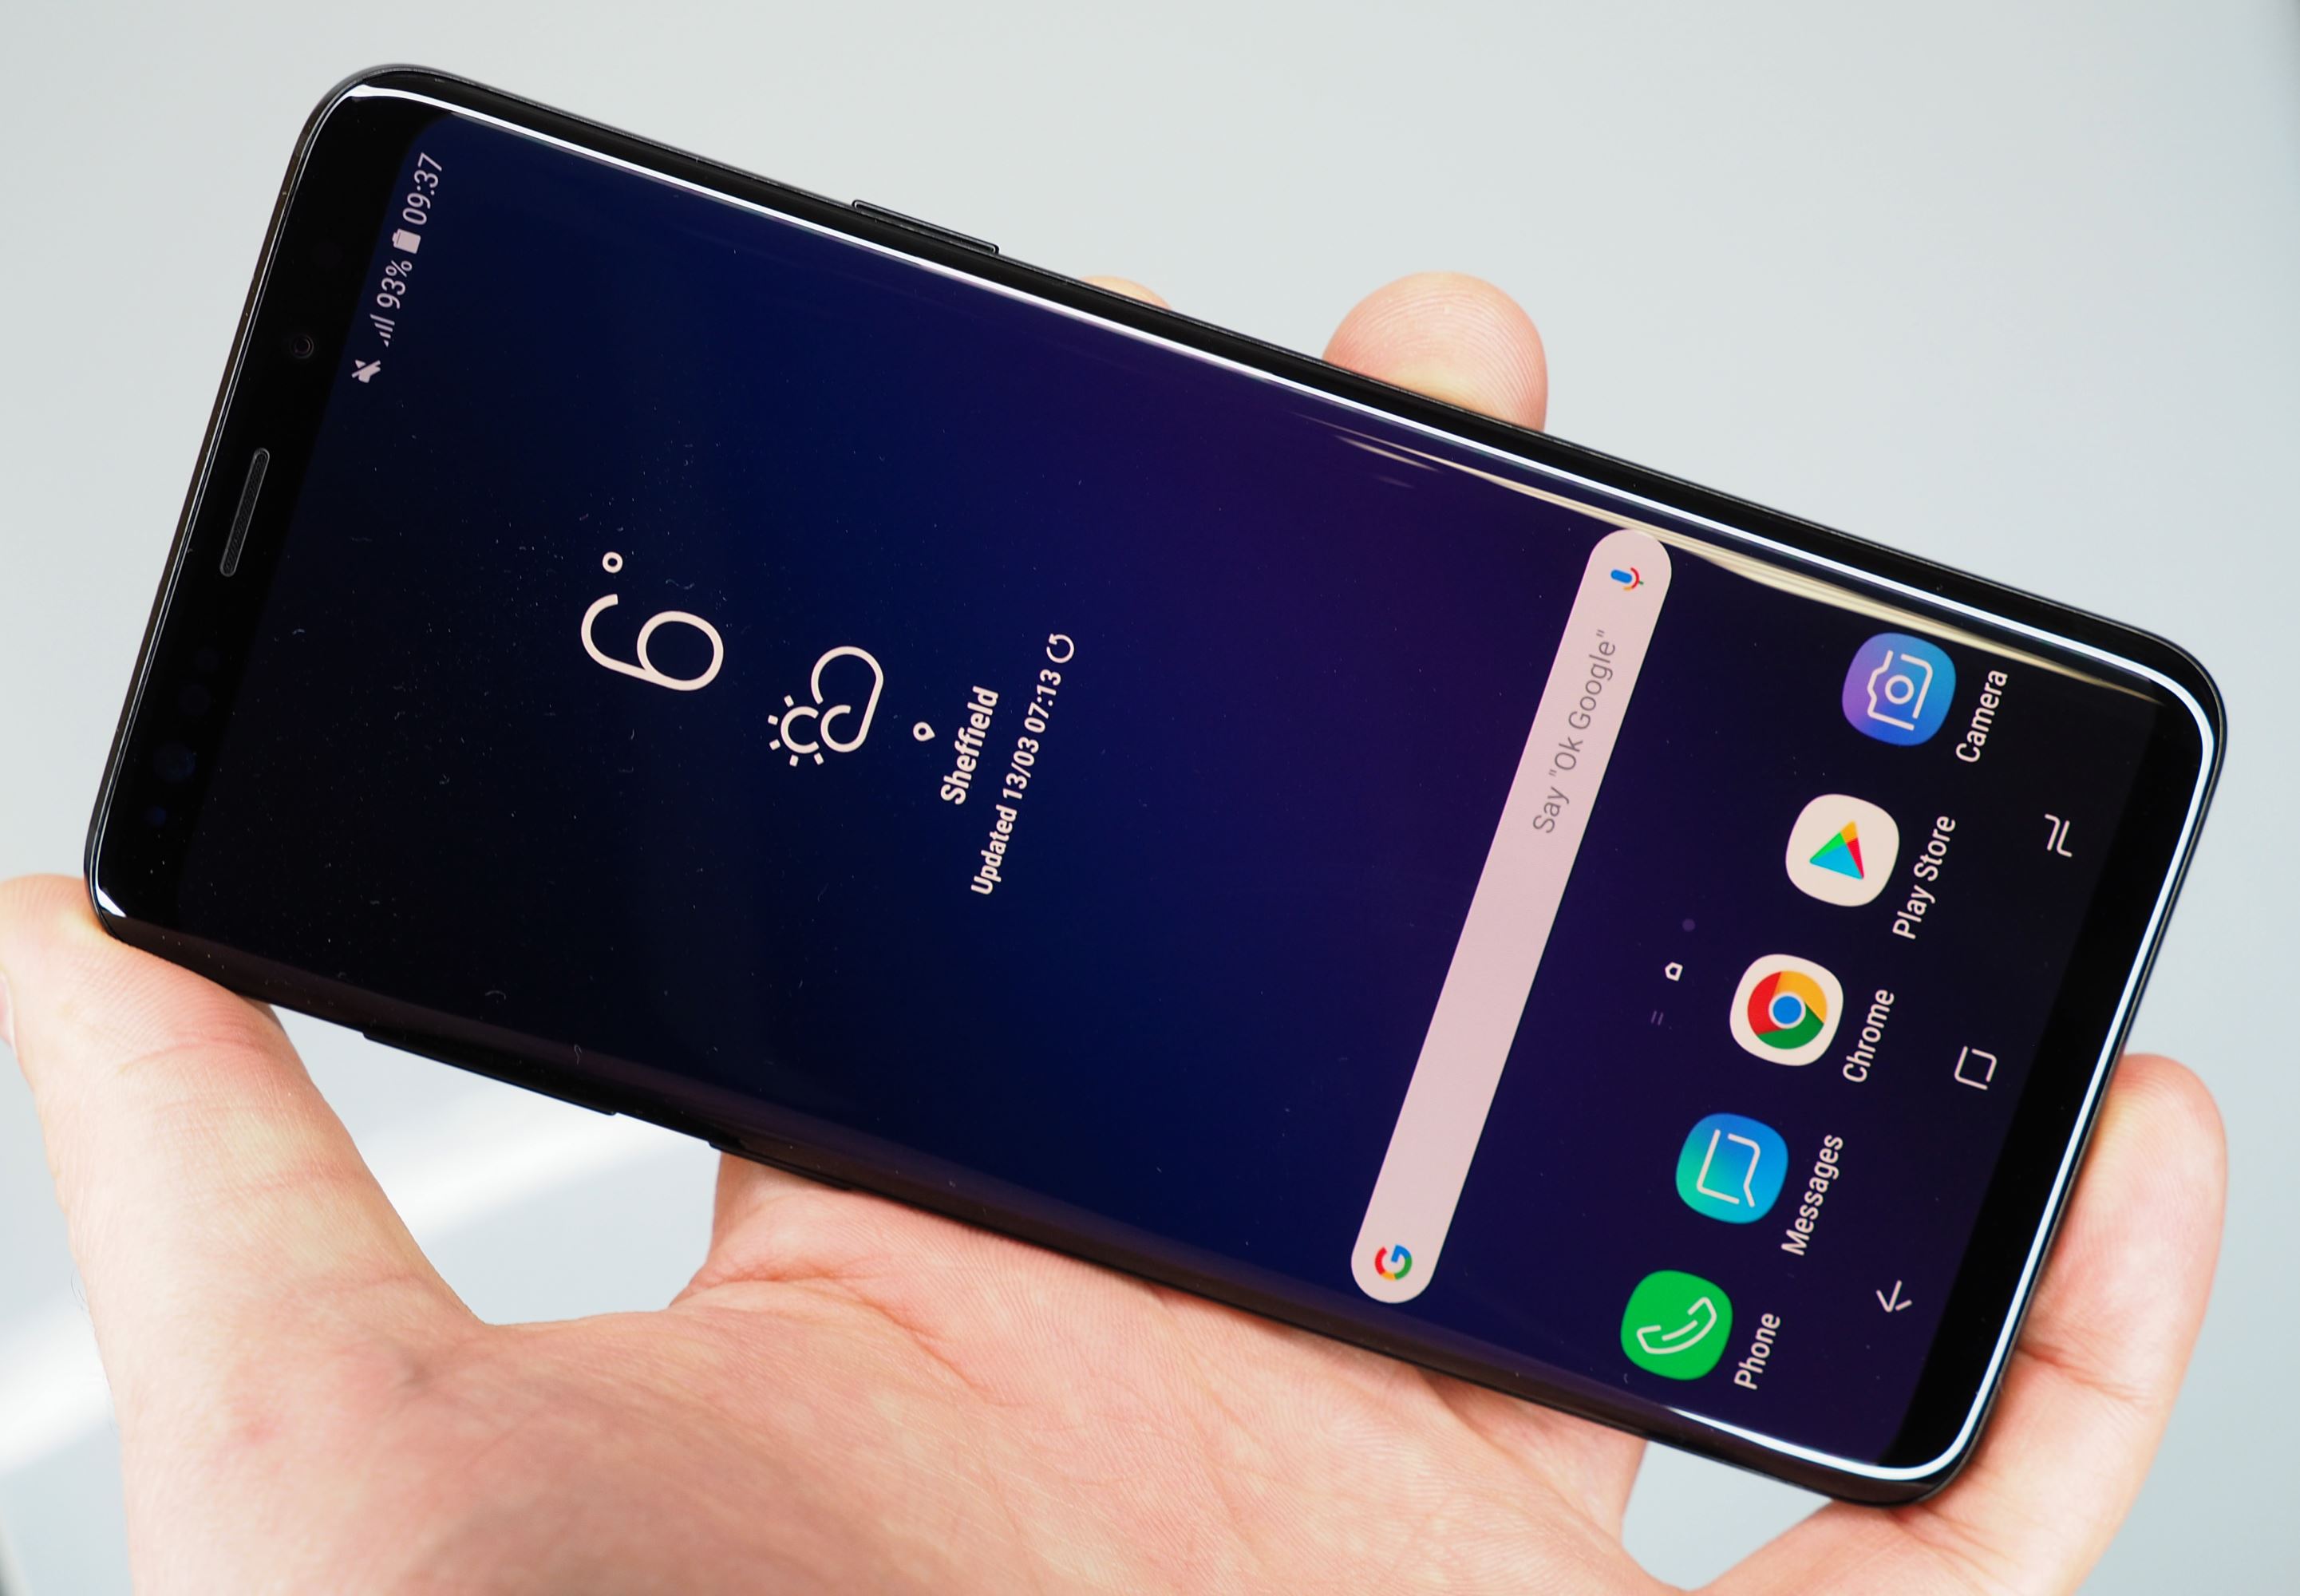
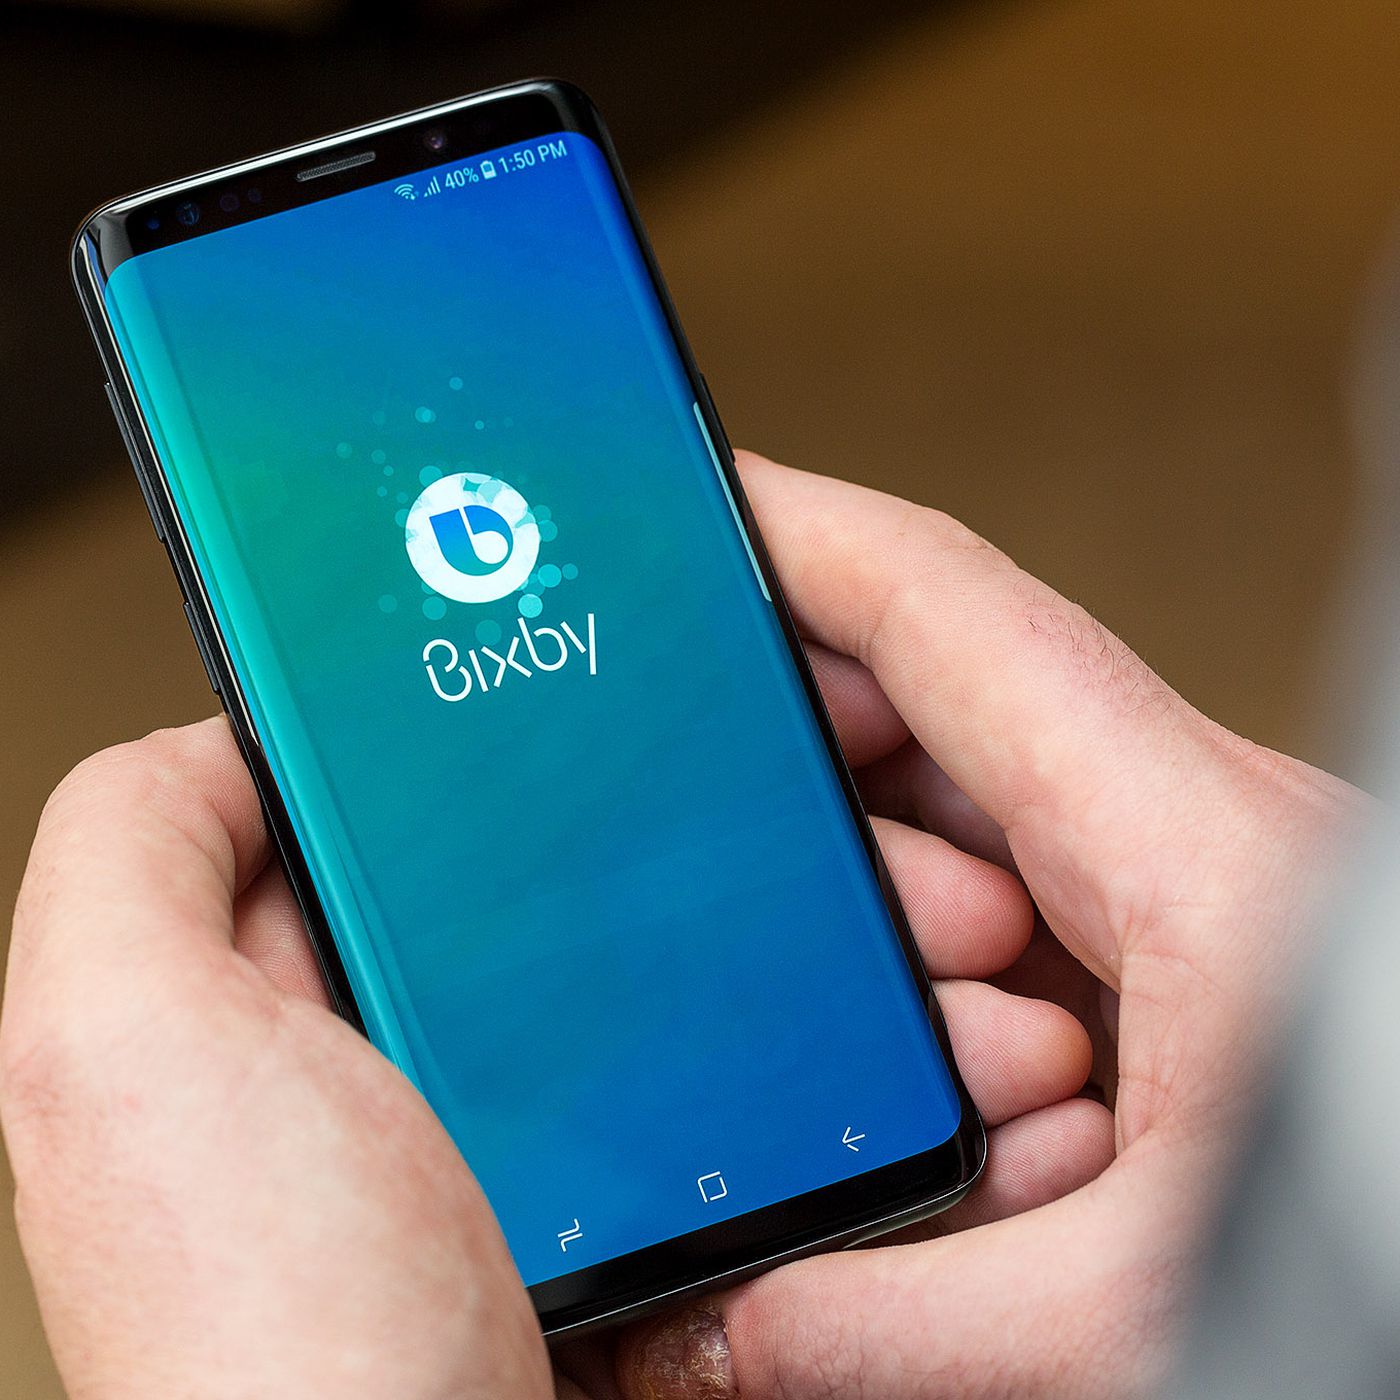
1. Open the Bixby app: Locate and open the Bixby app on your device. You can usually find it by swiping right on the home screen or by tapping the Bixby button on the side of your phone.
2. Access Bixby settings: Once you have the Bixby app open, locate the three-dot menu icon in the upper-right corner of the screen. Tap on it and select “Settings” from the menu.
3. Disable Bixby Voice: In the Bixby settings, you will find an option called “Bixby Voice.” Disable this option by toggling the switch off. This will prevent Bixby from responding to voice commands.
4. Disable Bixby Home: To disable Bixby Home, go back to the main Bixby settings page and find the “Bixby Home” option. Toggle the switch off to turn off Bixby Home. This will remove the Bixby panel that appears when you swipe right on the home screen.
5. Remove Bixby from the home screen: If you want to remove the Bixby panel completely from your home screen, go to the home screen, touch and hold on an empty space, and then swipe to the right until you reach the Bixby panel. To remove it, simply toggle the switch off or tap “Remove.” This will remove the Bixby panel from your home screen.
By following these steps, you can effectively disable Bixby through the Bixby settings. However, keep in mind that Bixby might still be accessible through other methods like the Bixby button or Bixby Voice wake-up command. In the following sections, we will explore how to disable these features if you want to completely remove Bixby from your device.
How to disable Bixby using the Bixby button
If you want to disable Bixby’s functionality entirely, including the Bixby button, follow these steps:
1. Launch Bixby settings: Start by accessing the Bixby settings. You can do this by opening the Bixby app and tapping the three-dot menu icon in the upper-right corner of the screen. Then, select “Settings” from the menu.
2. Locate the Bixby key settings: Within the Bixby settings, navigate to the “Bixby key” option. This is where you can customize the functionality of the Bixby button.
3. Disable the Bixby button: Once you are in the Bixby key settings, toggle the switch off to disable the Bixby button. This will prevent the Bixby button from activating Bixby when pressed accidentally.
4. Customize the Bixby button (optional): If you don’t want to completely disable the Bixby button, you can customize its behavior. Samsung offers different customization options, such as launching a different app or performing specific actions when the button is pressed or double-pressed. Feel free to explore these options and choose the one that best suits your needs.
By following these steps, you can disable the Bixby button on your Samsung device. However, keep in mind that Bixby may still be accessible through other methods like Bixby Voice wake-up command or Bixby Home. In the next sections, we will explore how to disable these features if you want to completely remove Bixby from your phone.
Disabling Bixby Home on your phone
If you find the Bixby Home screen unnecessary or you simply want to remove it from your phone, here’s how you can disable it:
1. Go to the home screen: Start by navigating to the home screen on your Samsung device.
2. Access the home screen settings: To access the home screen settings, long-press on an empty space on the home screen. This will bring up various options and settings related to the home screen.
3. Disable Bixby Home: In the home screen settings, look for an option related to Bixby Home. The wording may differ slightly depending on the device and software version, but it should be something along the lines of “Bixby Home” or “Bixby on Home screen.” Toggle the switch off to disable Bixby Home.
4. Remove Bixby Home from the home screen: If the option to disable Bixby Home is not available in the home screen settings, you can try removing Bixby Home from the home screen manually. To do this, swipe right on the home screen to access the Bixby Home screen. Next, look for a menu icon or settings icon within the Bixby Home screen. It’s usually represented by three vertical dots or lines. Tap on it and select the option to remove or disable Bixby Home.
By following these steps, you can effectively disable Bixby Home on your Samsung device. This will remove the Bixby Home screen and prevent it from appearing when you swipe right on the home screen. However, keep in mind that other Bixby features like Bixby Voice and the Bixby button may still be active. In the next sections, we will explore how to disable these features if you want to completely remove Bixby from your phone.
Removing Bixby Home from the home screen
If you want to completely remove Bixby Home from your home screen, follow these steps:
1. Go to the home screen: Start by navigating to the home screen on your Samsung device.
2. Access the home screen settings: To access the home screen settings, long-press on an empty space on the home screen. This will bring up various options and settings related to the home screen.
3. Customize the home screen: Look for an option that allows you to customize the home screen. The wording may vary depending on the device and software version, but it could be something like “Home Screen Settings” or “Screen Grid.”
4. Remove Bixby Home: Within the home screen customization settings, you should see an option to add or remove pages. Look for an option that enables you to remove specific pages from the home screen. Check if Bixby Home is listed as one of the pages and toggle the switch off or select the option to remove Bixby Home.
5. Confirm the removal: After selecting to remove Bixby Home, you may be prompted to confirm your action. Confirm the removal of Bixby Home from your home screen.
If these steps don’t completely remove Bixby Home, try swiping right on the home screen until you reach the Bixby Home panel, then look for an option to disable or remove it within the Bixby Home settings.
By following these steps, you can remove Bixby Home from your home screen, providing you with a clean and clutter-free interface. However, it’s important to note that other Bixby features like Bixby Voice and the Bixby button may still be active. In the following sections, we will explore how to disable these features if you want to completely remove or disable Bixby from your Samsung device.
Disabling Bixby Voice on your phone
If you want to turn off Bixby Voice and prevent it from responding to voice commands, follow these steps:
1. Open the Bixby app: Locate and open the Bixby app on your Samsung device. You can usually find it by swiping right on the home screen or by tapping the Bixby button on the side of your phone.
2. Access Bixby settings: Once you have the Bixby app open, tap on the three-dot menu icon in the upper-right corner of the screen. From the menu, select “Settings.”
3. Disable Bixby Voice: In the Bixby settings, find the option labeled “Bixby Voice” and tap on it. This will take you to the Bixby Voice settings page.
4. Turn off Bixby Voice: On the Bixby Voice settings page, you should see a toggle switch for “Bixby Voice.” Tap on the switch to turn it off and disable Bixby Voice.
5. Confirm the action: After turning off Bixby Voice, you may be prompted to confirm the action. Select “Confirm” to disable Bixby Voice and prevent it from responding to voice commands.
By following these steps, you can effectively disable Bixby Voice on your Samsung device. This means that Bixby will no longer listen or respond to voice commands, giving you more control over your interactions with the virtual assistant. However, keep in mind that other Bixby features like the Bixby button or Bixby Home may still be active. In the next section, we will explore how to uninstall or disable Bixby altogether if you want to completely remove it from your phone.
Uninstalling or disabling Bixby altogether
If you want to completely remove Bixby from your Samsung device, you have two options: uninstalling the Bixby app updates or disabling Bixby altogether. Here’s how you can do it:
1. Uninstall Bixby app updates: Open the “Settings” app on your Samsung device and navigate to “Apps” or “Applications.” Look for “Bixby” in the list of installed apps and tap on it. Select “Uninstall updates” to revert Bixby to its initial version. Keep in mind that this will not completely remove Bixby, but it will remove any updates and return it to its original state.
2. Disable Bixby: If you prefer not to uninstall the Bixby updates, you can disable Bixby altogether. To do this, open the “Settings” app and go to “Apps” or “Applications.” Find “Bixby” in the list and tap on it. From the app info screen, select “Disable” to turn off Bixby.
Disabling Bixby will prevent it from running in the background and restrict its functionalities. However, some system-level integration may still exist, and you may not be able to remove all traces of Bixby from your device.
Keep in mind that the steps to uninstall or disable Bixby may vary slightly based on the model and software version of your Samsung device. If you don’t see the exact options mentioned, explore the settings and app management options on your device to find the appropriate settings to manage Bixby.
By uninstalling Bixby app updates or disabling Bixby altogether, you can effectively remove or restrict Bixby’s presence on your device. This gives you the freedom to customize your smartphone experience and reclaim any resources that Bixby may have been utilizing. Enjoy the personalized smartphone experience without the interference of Bixby, tailored to your preferences.
Conclusion
Disabling or removing Bixby from your Samsung device can be a simple and effective way to customize your smartphone experience. Whether you prefer to use other virtual assistants, want to optimize resources, or prioritize your privacy, there are various methods available to disable or remove Bixby.
In this article, we explored different ways to stop Bixby on your phone, including disabling Bixby through the Bixby settings, turning off the Bixby button, disabling Bixby Home, and removing Bixby from the home screen. We also discussed how to disable Bixby Voice or completely uninstall Bixby from your device.
It’s important to note that the specific steps and options may vary depending on the model and software version of your Samsung device. However, the general principles remain the same, allowing you to take control of your device and customize it to your preferences.
By disabling Bixby, you can eliminate any unwanted activations, optimize your device’s performance, and create a streamlined and personalized user interface. Whether you’re seeking a clutter-free home screen or a seamless integration with your preferred virtual assistant, the methods discussed in this article offer you the flexibility and control you desire.
Remember that while disabling Bixby ensures that it won’t interfere with your smartphone experience, some system-level integration may still exist. Additionally, future software updates or changes from Samsung might reintroduce or modify Bixby’s functionality. However, you can always revisit the settings and customize your device accordingly.
We hope this guide has been helpful in guiding you through the process of stopping Bixby on your phone. By following the steps outlined in this article, you can enjoy a smartphone experience tailored to your needs and preferences.
Happy customizing!