Introduction
Welcome to our guide on how to disable the Bixby button on the S9 Plus! If you own a Samsung S9 Plus, you may be familiar with Bixby, the virtual assistant developed by Samsung. While Bixby offers some useful features, such as voice control and personalized recommendations, not everyone finds it to be a necessary or desirable addition to their smartphone experience.
In this article, we will explore different methods to disable the Bixby button on your S9 Plus. Whether you find it accidentally triggering when you don’t want it to or simply prefer to use alternative virtual assistants, we have you covered. We will walk you through the steps of disabling the Bixby button through the settings, using third-party apps, and even remapping the button to perform a different function entirely.
By the end of this guide, you will have the knowledge and tools to take control of your Bixby experience and customize your S9 Plus to better suit your preferences. So, let’s dive in and learn how to disable that Bixby button once and for all!
What is Bixby?
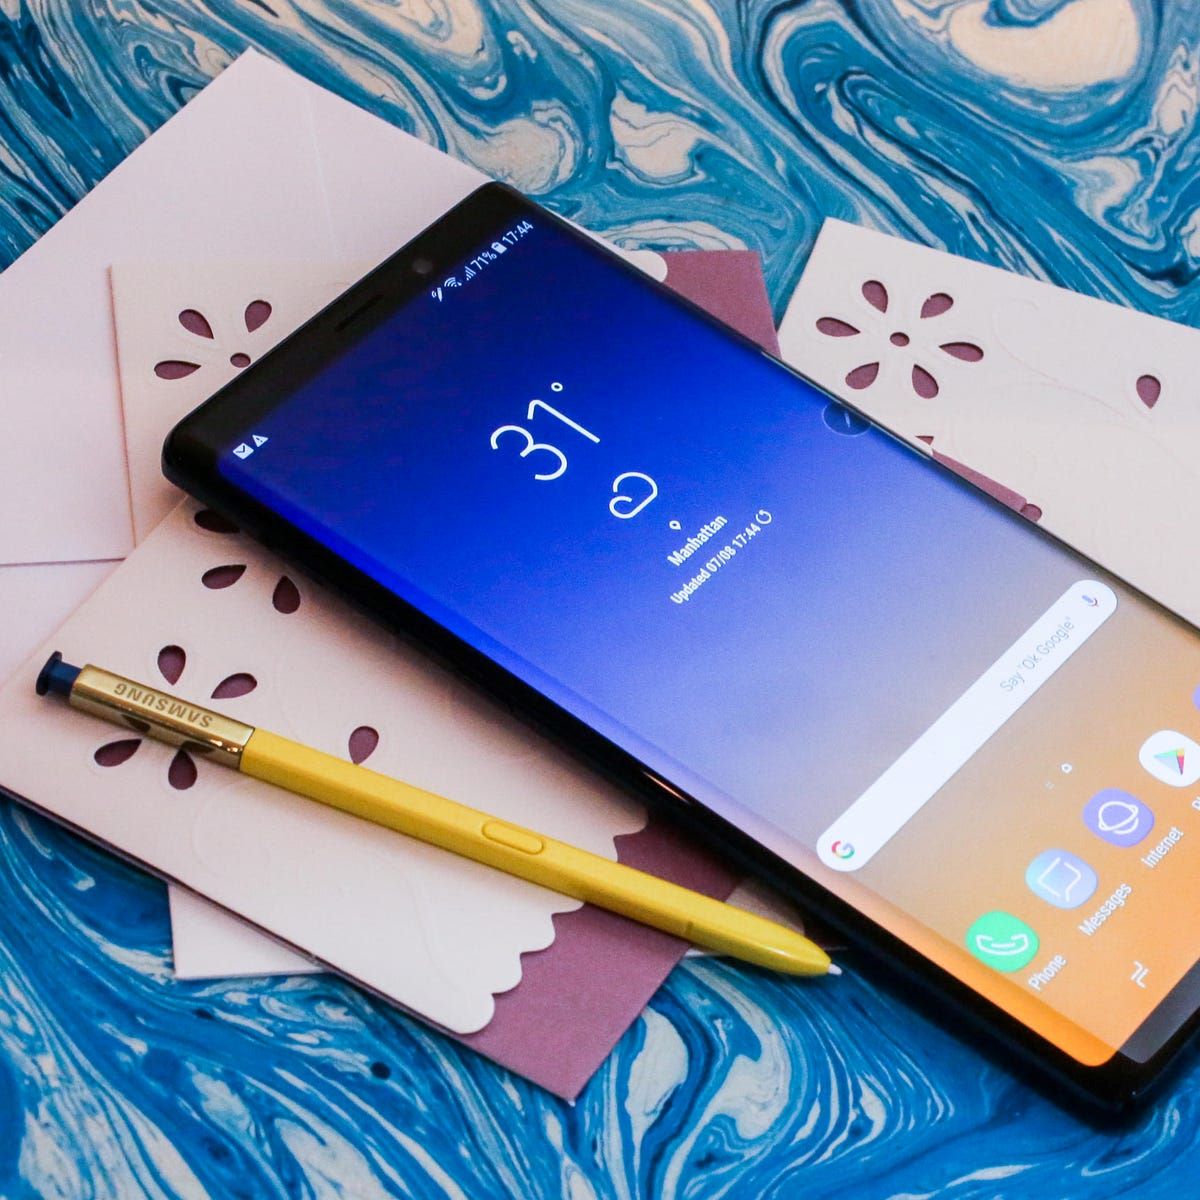
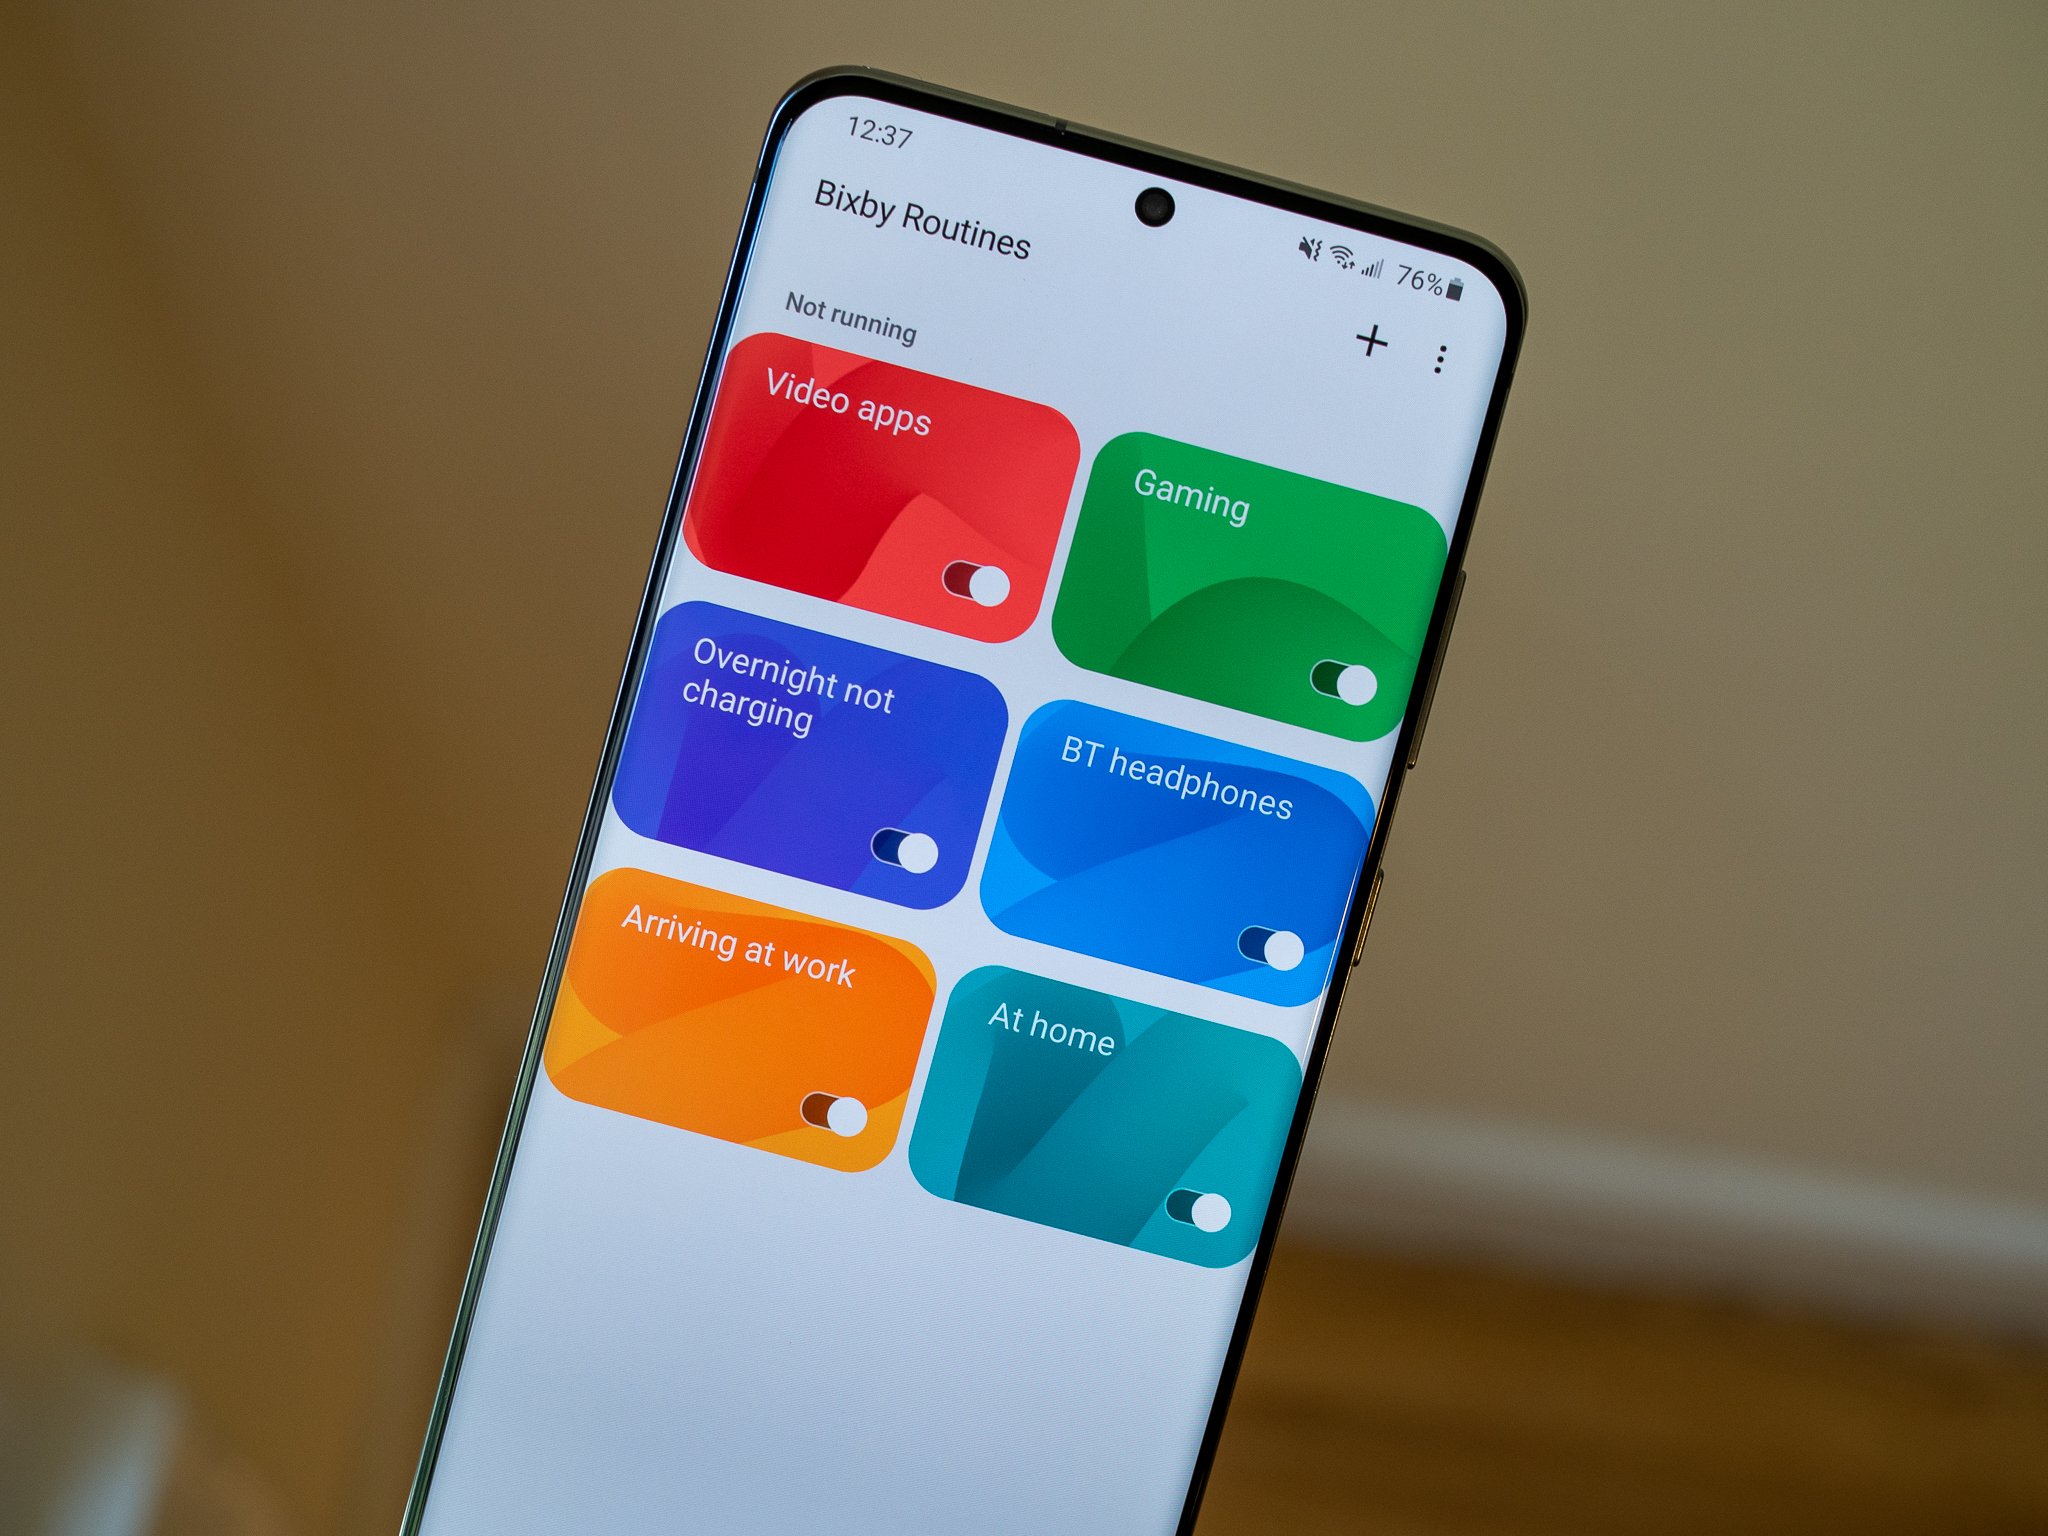
Bixby is the virtual assistant developed by Samsung for its line of smartphones and other smart devices. It was first introduced with the Galaxy S8 and has since been a standard feature on Samsung’s flagship devices, including the S9 Plus. Bixby aims to provide users with a seamless and intuitive way to interact with their devices using voice commands and gestures.
One of the standout features of Bixby is its ability to understand natural language, allowing users to have more conversational interactions with their devices. It can perform a wide range of tasks, such as setting reminders, composing messages, making phone calls, and even controlling compatible smart home devices.
Bixby also offers personalized recommendations based on your usage patterns and preferences, making it a potentially valuable tool for discovering new apps and content. It can suggest apps, news articles, and even offer restaurant recommendations based on your location and previous actions.
Furthermore, Bixby is tightly integrated with various Samsung apps and services, allowing for a seamless ecosystem that spans across multiple devices. For example, you can start a task on your smartphone and continue it on your tablet or Samsung Smart TV without any hassle. This integration adds a layer of convenience for users who own multiple Samsung devices.
However, while Bixby has its advantages, not all users find it to be a necessary or desirable addition to their smartphone experience. Some may prefer to use alternative virtual assistants like Google Assistant or Amazon Alexa, while others may find the Bixby button to be accidentally triggering when they don’t want it to. Fortunately, Samsung has provided options to disable or customize the Bixby button, giving users the flexibility to tailor their device to their own preferences.
Why Disable the Bixby Button?
While Bixby offers several useful features and functionalities, there are several reasons why you might want to disable the Bixby button on your S9 Plus. Here are a few common reasons:
- Accidental activation: Many users find that the Bixby button is easily triggered accidentally, especially when taking the phone out of a pocket or handling it with one hand. This can be frustrating and disruptive to your user experience, especially if you constantly find yourself in Bixby’s interface when you didn’t intend to.
- Preference for alternative virtual assistants: Some users may simply prefer to use alternative virtual assistants like Google Assistant or Amazon Alexa. These assistants may offer features and integrations that better suit their needs or align with other devices and services they use.
- Cleaning up the user interface: By disabling the Bixby button, you can declutter your device’s interface and remove a feature that you don’t frequently use or find unnecessary. This can create a cleaner and more customized user experience that better reflects your personal preferences.
- Remapping for a different function: Disabling the Bixby button allows you to repurpose it for another function. You can use third-party apps or even Samsung’s own remapping options to assign the button to perform tasks like opening another app, taking a screenshot, or activating a quick action.
Whatever your reasons may be, the good news is that Samsung has provided options to disable or customize the functionality of the Bixby button, giving you the freedom to tailor your device to your liking. In the next sections, we will explore different methods to disable the Bixby button on your S9 Plus and make it work the way you want it to.
Method 1: Disabling the Button through Settings
If you want a quick and straightforward way to disable the Bixby button on your S9 Plus, you can do it directly through the device settings. Here’s how to do it:
- Unlock your S9 Plus and swipe down from the top of the screen to access the notification panel. Then, tap on the gear icon to open the Settings app.
- In the Settings app, scroll down and select “Advanced features.”
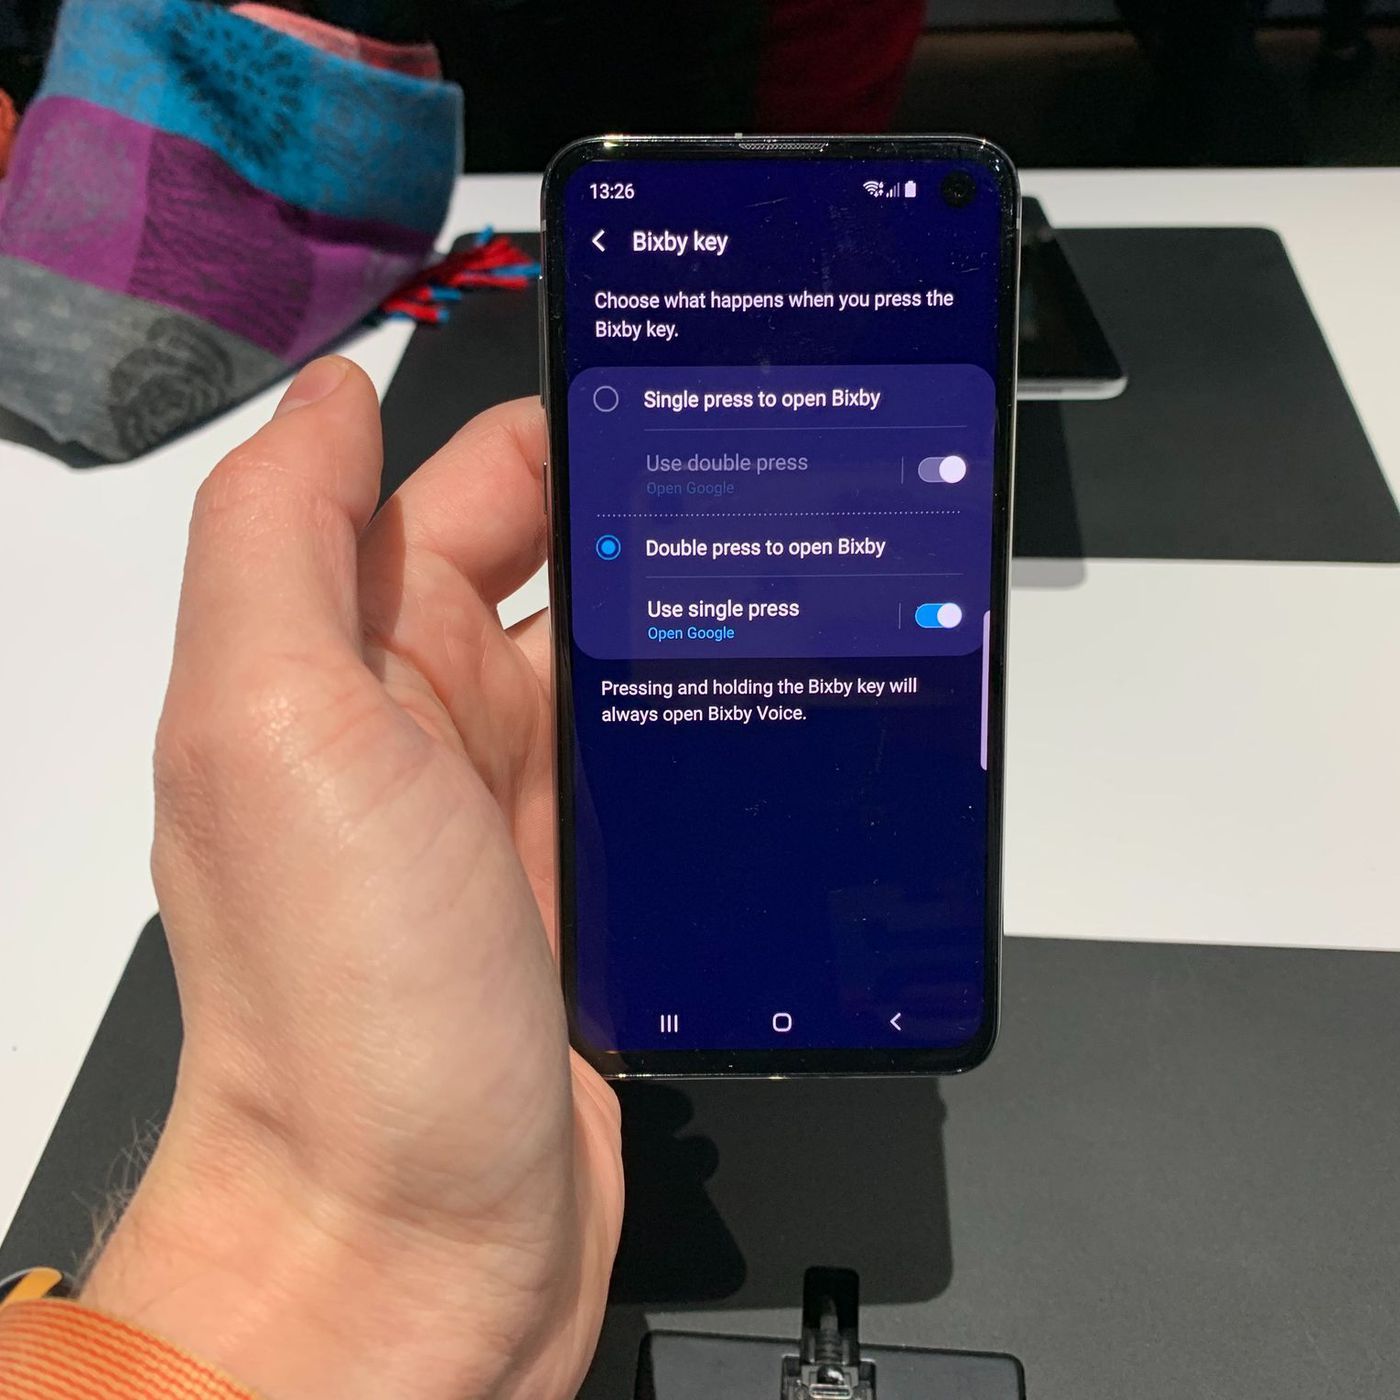
- Next, tap on “Bixby key.”
- You will see two options: “Single press” and “Double press.” By default, the Bixby button is set to launch Bixby when single-pressed. To disable the button, toggle off the “Single press” option.
- If you also want to disable the Bixby button from launching Bixby Home when double-pressed, toggle off the “Double press” option as well.
That’s it! The Bixby button on your S9 Plus will no longer launch Bixby when pressed. You can always re-enable it by following the same steps and toggling the options back on if you change your mind in the future.
Disabling the Bixby button through the settings is a built-in and hassle-free method. It doesn’t require any additional apps or modifications, making it a simple solution for those who just want to disable the button’s functionality. However, keep in mind that this method will not remap the button to perform a different function. If you’re interested in remapping the Bixby button, continue reading the next section.
Method 2: Using a Third-Party App
If you want more flexibility and customization options for disabling and remapping the Bixby button on your S9 Plus, you can utilize third-party apps specifically designed for this purpose. These apps offer additional features that allow you to remap the Bixby button to perform different tasks or launch other apps. Here’s how you can use a third-party app to disable the Bixby button:
- Go to the Google Play Store on your S9 Plus and search for “Bixby Button Remapper” or any other similar app that suits your preferences.
- Select a reliable and well-rated app from the search results, then tap on the “Install” button to download and install the app on your device.
- Once the app is installed, open it and grant the necessary permissions it requires to function properly.
- Depending on the specific app you choose, you will have various options to disable, remap, or customize the Bixby button. Follow the app’s instructions to disable the button’s functionality or assign it to perform a different action.
- After configuring the app’s settings, test the Bixby button to ensure that it now functions as desired.
Using a third-party app provides a more advanced level of control over the Bixby button. You can not only disable it but also remap it to perform tasks like launching your favorite apps, taking screenshots, or activating a quick action. These apps often come with a user-friendly interface, making it easy to customize the Bixby button according to your preferences.
However, keep in mind that third-party apps may not have the same level of integration and optimization as Samsung’s built-in options. Additionally, some apps may require a one-time purchase or offer additional features through in-app purchases. Therefore, make sure to research and choose a trustworthy app that suits your needs and preferences before proceeding with the installation.
Method 3: Remapping the Button
If you’re looking to go beyond simply disabling the Bixby button and want to fully customize its functionality, you can consider remapping the button to perform a different action on your S9 Plus. Remapping the button allows you to assign it to launch a specific app, activate a quick action, or perform any other task you prefer. Here’s how you can remap the Bixby button:
- Similar to method 2, you can start by downloading a third-party app from the Google Play Store that specializes in button remapping. Look for apps like “Button Mapper” or “bxActions” that offer customization options for the Bixby button.
- Install the selected app and grant the necessary permissions when prompted.
- Open the app and follow the on-screen instructions to set up the button remapping process. Each app may have a slightly different interface and options, so make sure to explore the available settings and features.
- Once you’re in the button remapping section of the app, you can choose the action you want the Bixby button to perform. This can be anything from launching a specific app to taking a screenshot, toggling the flashlight, or even triggering a voice command.
- After configuring the desired action, test the Bixby button to ensure that it now performs the assigned task.
By remapping the Bixby button, you can transform it into a more useful and personalized shortcut on your S9 Plus. This method provides a high level of customization, allowing you to streamline your smartphone experience and optimize your device to your liking.
However, bear in mind that remapping the Bixby button requires the use of a third-party app. As with any other app, make sure to choose a reputable and trusted app that suits your preferences. Additionally, keep in mind that remapping the button may affect certain functions or integrations that rely on the default Bixby functionality. So, be prepared to adjust your usage accordingly after remapping the button.
Conclusion
Having the ability to disable or customize the Bixby button on your S9 Plus gives you the freedom to tailor your device to your preferences. Whether you find the button’s functionality unnecessary, accidentally triggering, or simply prefer to use alternative virtual assistants, there are several methods you can employ to take control of the Bixby button.
We explored three methods in this guide. The first method involves disabling the Bixby button through the device settings, which provides a quick and hassle-free way to stop the button from launching Bixby. The second method involves using third-party apps specifically designed to remap the button, giving you more flexibility and customization options. Finally, the third method allows you to fully remap the button to perform a different action, allowing you to create a personalized shortcut that suits your needs.
When deciding which method to use, consider your specific requirements and preferences. If you simply want to disable the button, the built-in settings method may be sufficient. If you’re looking for more advanced customization options, utilizing a third-party app would be a better choice. And if you want complete control over the button’s functionality, remapping the button using a specialized app is the way to go.
Remember to choose reputable apps, read user reviews, and be aware of the potential impact on your device’s functionality when deciding on a specific method. With the right approach, you can disable or remap the Bixby button on your S9 Plus, creating a more tailored and personalized smartphone experience.