Introduction
Projectors are commonly used in classrooms, offices, and homes for presentations, movie nights, and various other purposes. While these devices provide a convenient and immersive visual experience, it is essential to know how to properly turn off a projector to ensure its longevity and prevent damage.
In this article, we will guide you through the steps to turn off a projector effectively. By following these instructions, you will be able to power down your projector safely and store it securely until its next use.
It is important to note that the specific steps may vary slightly depending on the model and brand of your projector. Therefore, we recommend consulting the user manual for your particular device for precise instructions. However, the general approach to turning off projectors remains largely consistent across different models.
So, whether you are a teacher wrapping up a presentation, an office employee concluding a meeting, or a movie enthusiast finishing a film session, read on to learn how to turn off a projector properly.
Steps to turn off a projector
Turning off a projector may seem like a simple task, but it is crucial to follow the correct steps to ensure that the device shuts down safely and is ready for its next use. Here are the key steps to follow:
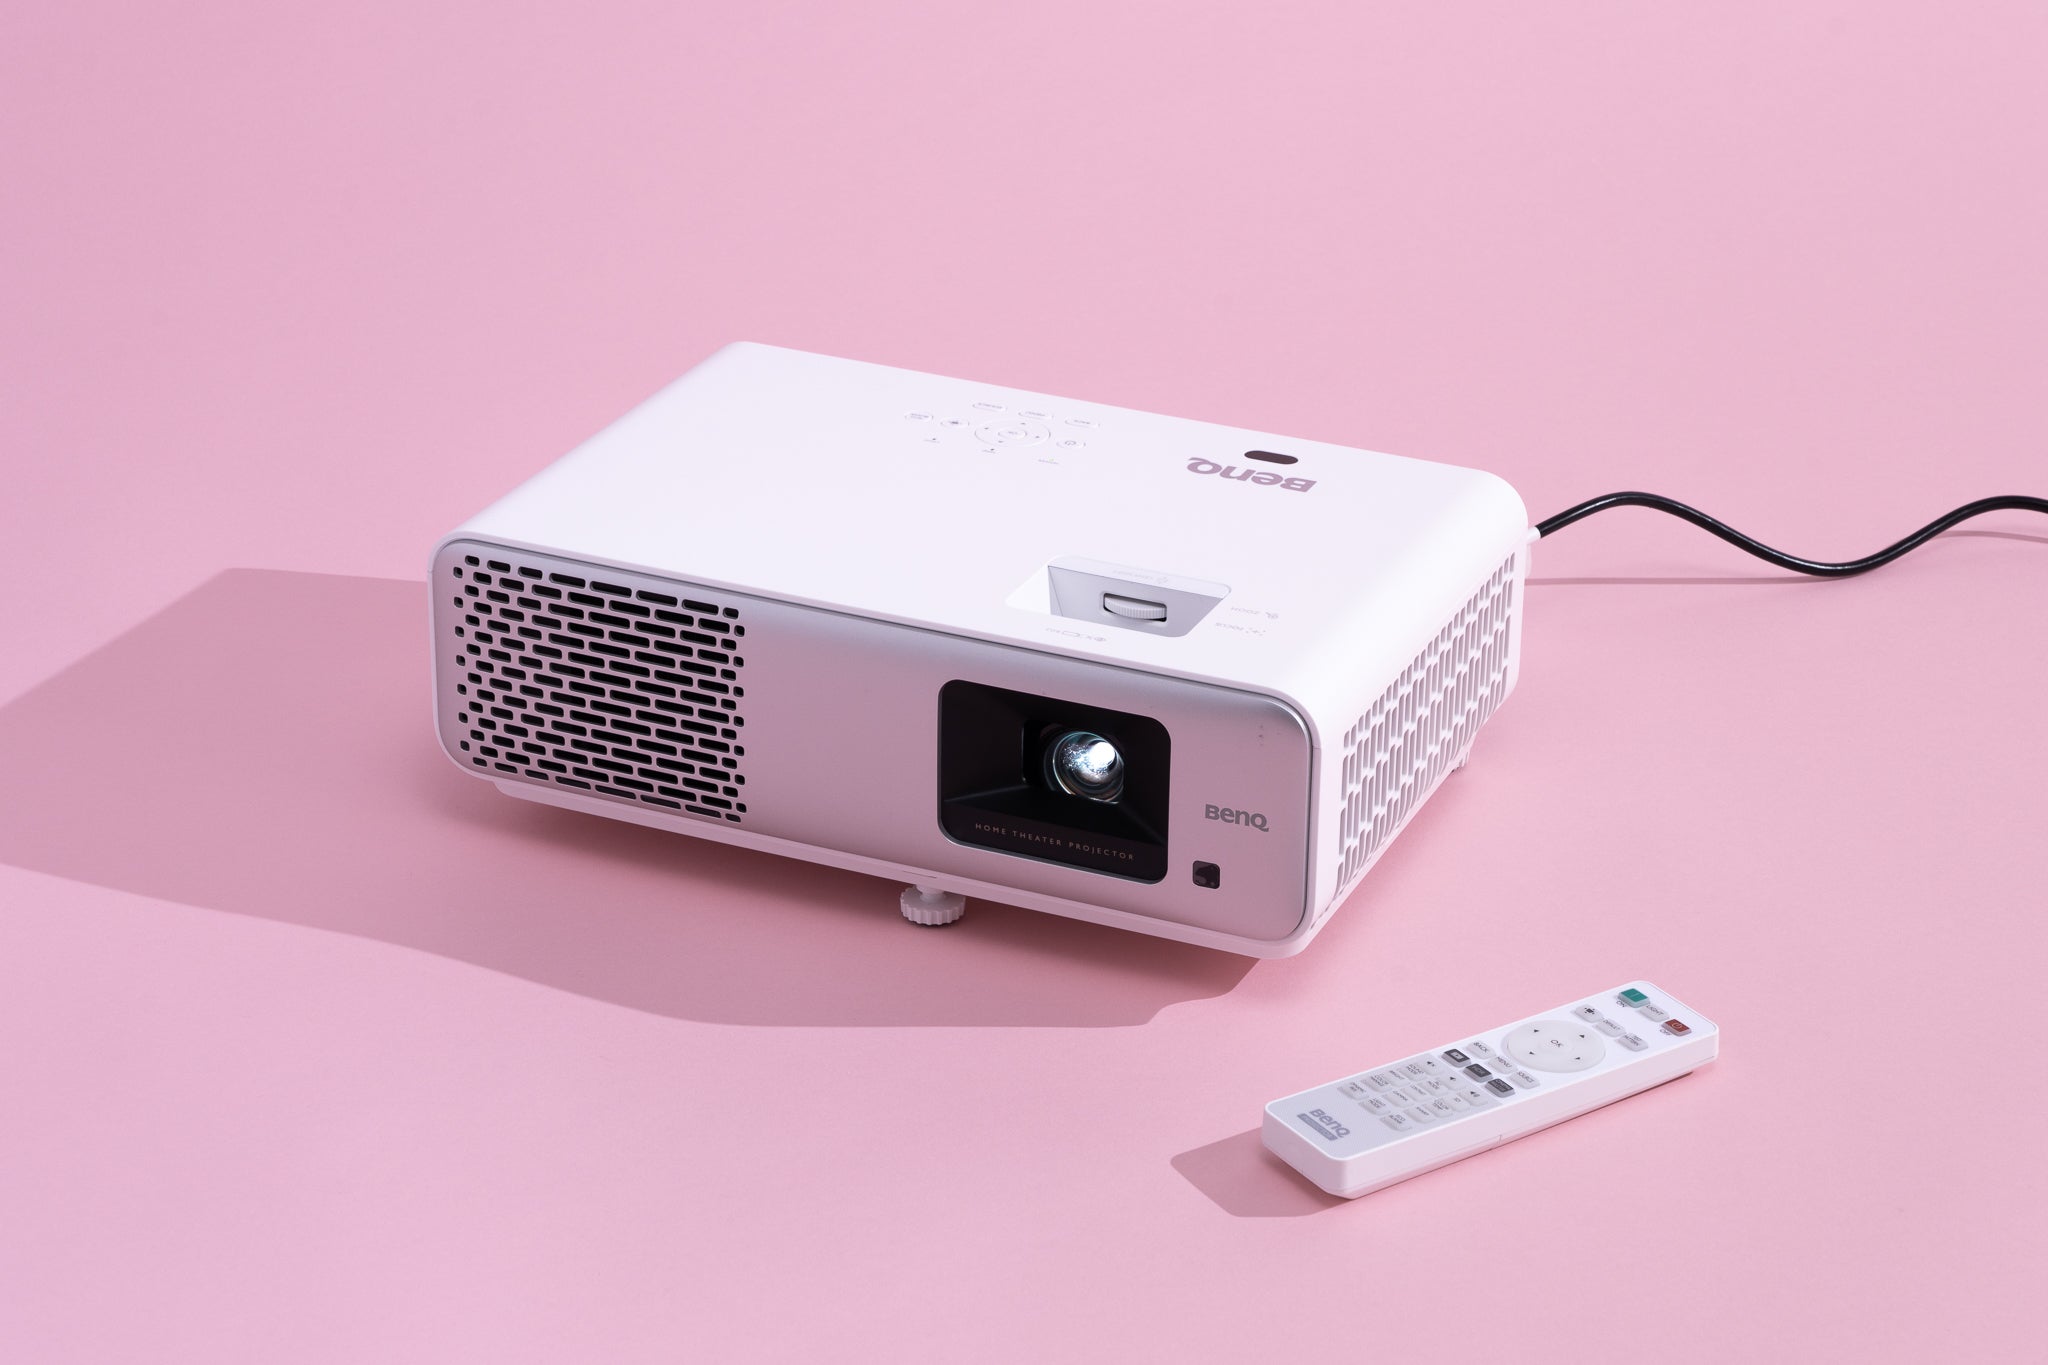
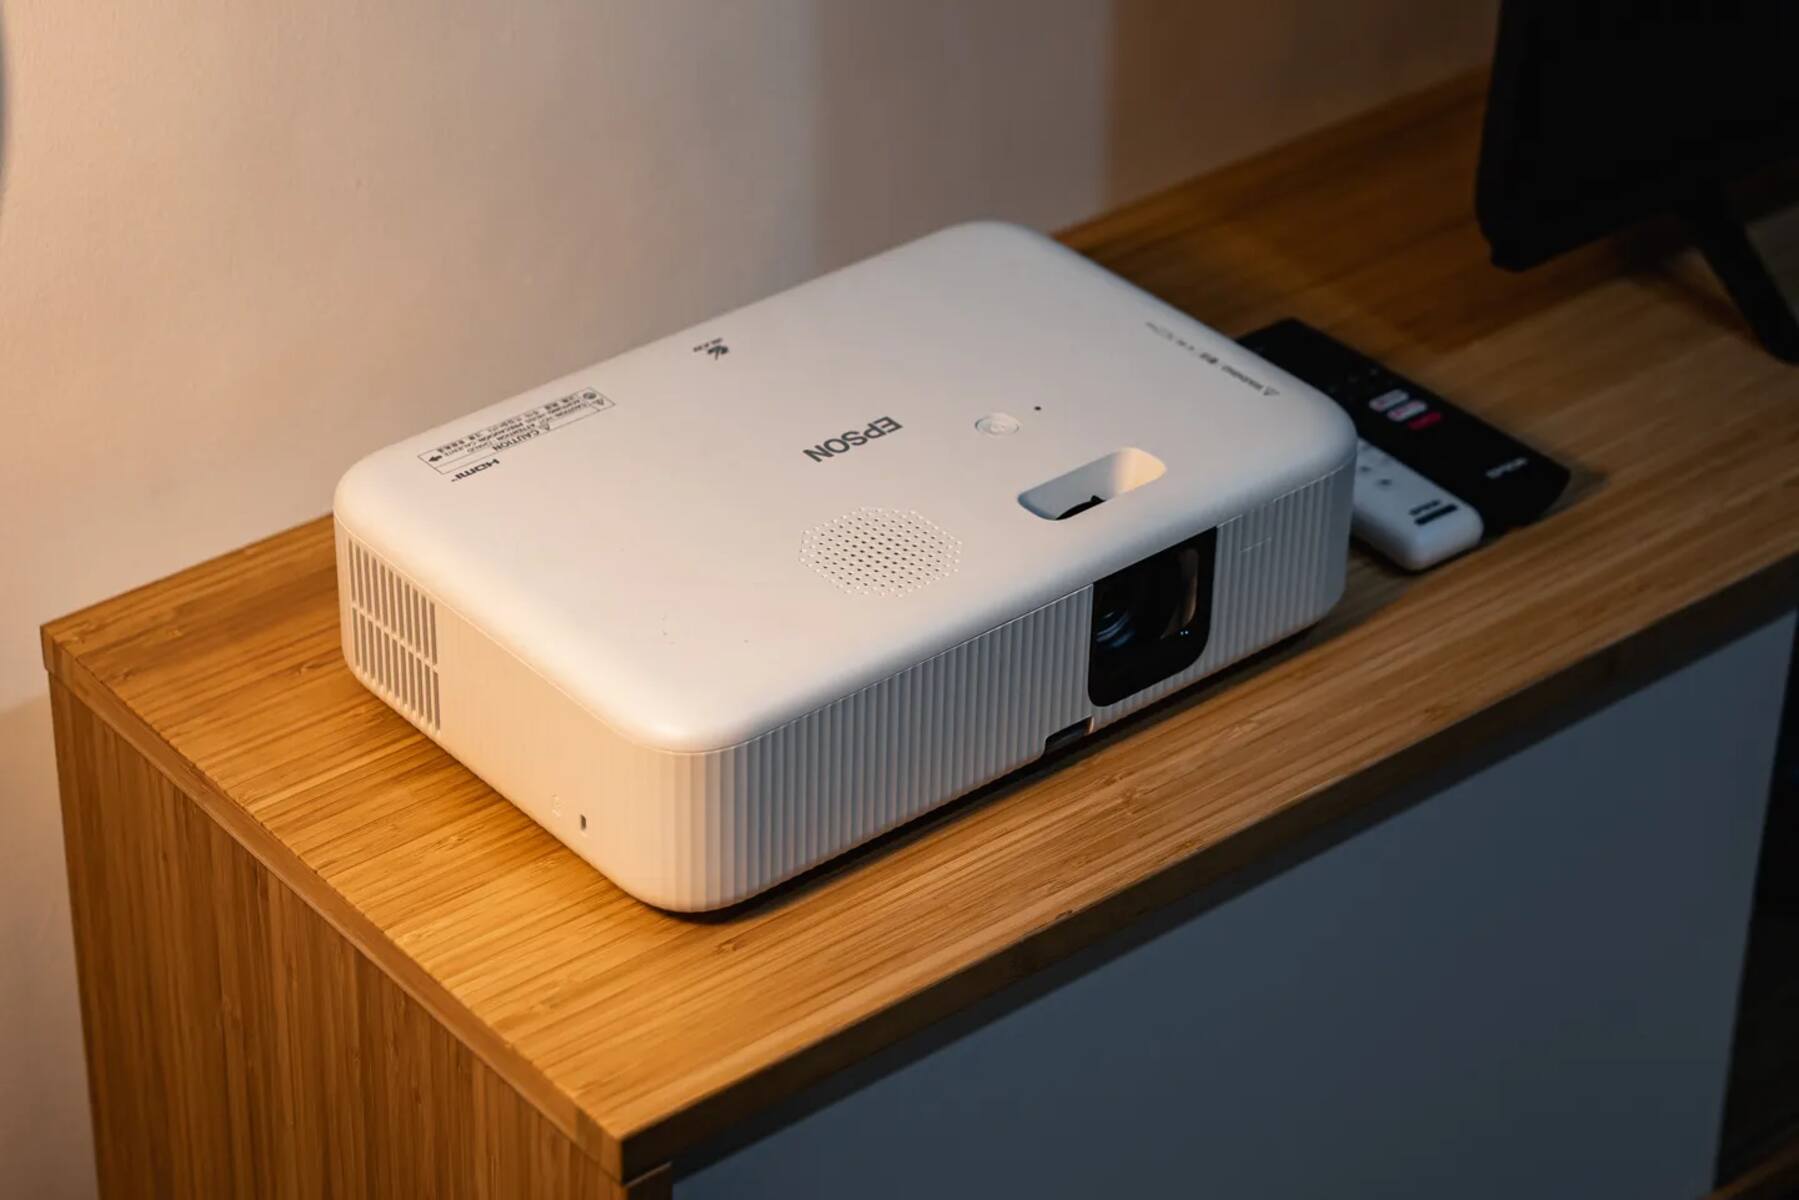
- Locate the power button: The first step is to locate the power button on your projector. It is typically located on the control panel or on the top or front of the device. Look for the universally recognized power symbol, which is usually an icon depicting a circle with a vertical line inside.
- Press and hold the power button: Once you have located the power button, press and hold it for a few seconds. This action initiates the shutdown process of the projector. Holding the button for a few seconds allows the device to go through its proper shutdown sequence, ensuring that all running processes are halted smoothly.
- Release the power button: After holding the power button for a few seconds, release it. This action confirms to the projector that you intend to turn it off. The device will start to power down, and you may notice indicators, such as lights or fan noise, gradually diminishing.
- Unplug the projector: Once the projector has powered down completely, it is recommended to unplug it from the power source. This step not only helps save energy but also protects the device from potential power surges or electrical damage. Gently pull out the power cord from the projector and the electrical outlet.
- Store the projector securely: To maintain the longevity and functionality of your projector, it is essential to store it properly. Avoid leaving the device exposed to dust, moisture, or extreme temperatures. Find a safe and dry location, such as a protective case or a dedicated shelf, to store the projector until its next use.
By following these steps, you can ensure that your projector is turned off correctly, saving energy, and prolonging its lifespan. It is important to note that some projectors may have additional features, such as standby mode or automatic power-off settings, which can be adjusted based on your preferences and usage patterns.
Now that you know how to turn off a projector, you can confidently wrap up your presentations, meetings, or movie nights, knowing that you are taking proper care of your device.
Locate the power button
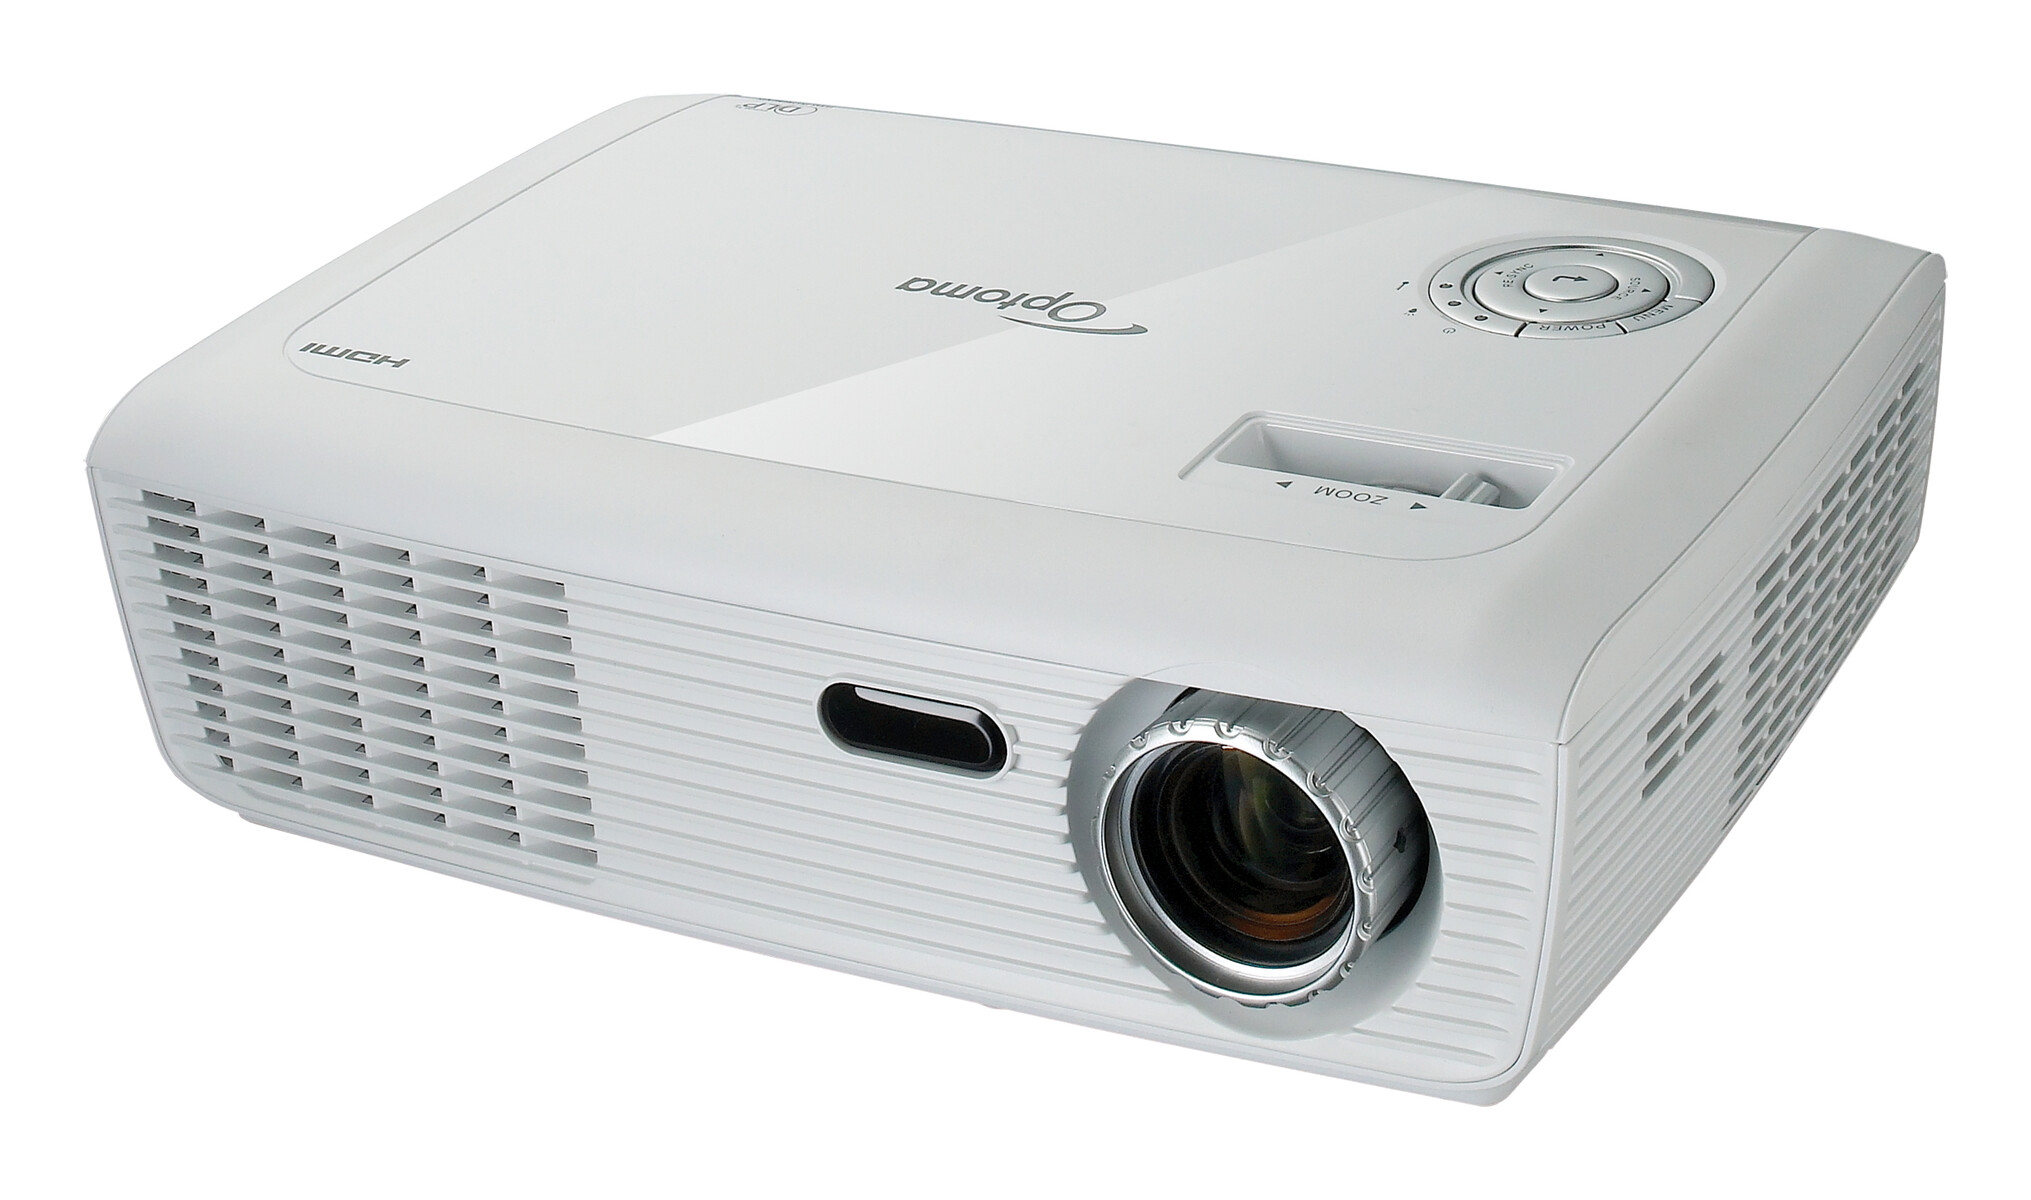
The power button is the key to turning off a projector. To begin the shutdown process, you need to locate this button on your specific projector model. While the exact placement may vary, it is typically found on the control panel or on the top or front of the device.
The power button is usually marked with the universally recognized power symbol, depicting a circle with a vertical line inside. Look for this symbol to identify the power button easily. Some projectors may have a separate power switch, which you need to toggle to the “Off” position.
If you are having trouble finding the power button, consult the user manual for your projector model. The manual will provide detailed instructions and illustrations to help you locate the button accurately.
Once you have located the power button, make sure to familiarize yourself with its position. It is essential to be able to locate and operate it confidently, especially when turning off the projector in dimly lit environments, such as movie theaters or conference rooms.
Keep in mind that some projectors may have additional buttons or controls nearby. These buttons could include functions like menu navigation, input selection, or volume adjustment. Be careful not to accidentally press any of these buttons instead of the power button, as they may trigger unintended actions and disrupt your shutdown process.
Remember, finding and becoming familiar with the location of the power button is the first step towards properly turning off your projector. By doing so, you will be ready to proceed with the subsequent steps to ensure a smooth and safe shutdown process.
Press and hold the power button
Once you have located the power button on your projector, the next step is to press and hold it to initiate the shutdown process. Pressing and holding the power button for a few seconds allows the projector to go through its proper shutdown sequence.
By holding the power button, you are signaling to the projector that you want to turn it off. It gives the device time to complete any ongoing processes and come to a complete stop before shutting down. This method ensures a smooth transition and helps prevent any potential damage to the internal components.
When you press and hold the power button, you may see some indicators on the projector, such as lights or fan noise, indicating that the device is starting to power down. The projector will gradually dim its display and begin the shutdown process.
It is important not to release the power button too quickly. Give the projector a few seconds to respond to the command and begin shutting down. Releasing the button too early may interrupt the shutdown sequence and leave the projector in an unstable state.
Please note that some projectors have a specific requirement, such as a longer or shorter duration for holding the power button. Refer to the user manual provided with your projector for any specific instructions regarding the duration of holding the power button.
Remember, by pressing and holding the power button, you are initiating the shutdown process of the projector. Allow the device sufficient time to complete its shutdown sequence before proceeding to the next step.
Release the power button
After holding the power button on your projector for a few seconds to initiate the shutdown process, the next step is to release the button.
Releasing the power button confirms to the projector that you want to turn it off and allows the device to proceed with the shutdown. As you let go of the button, you will notice the projector responding by powering down completely.
Once the power button is released, the projector will start to dim its display, and any indicators, such as lights or fan noise, will gradually diminish. These signs act as visual and auditory cues that the projector is in the process of shutting down.
It is essential to be patient during this step and not interrupt the shutdown process. Interrupting the process by pressing the power button again or performing any other actions may disrupt the proper shutdown sequence, potentially causing issues with the projector’s performance or longevity.
Give the projector a moment to complete the shutdown process and power down fully. The time it takes for the projector to shut down may vary depending on the specific model and its internal processes. In general, the device should power off within a few seconds after releasing the power button.
By releasing the power button properly, you are allowing the projector to conclude its shutdown sequence without any interruptions. This step ensures a smooth and safe transition to a powered-off state, preparing the projector for unplugging and storage.
Remember, once you have released the power button, the projector should be in a powered-off state, ready for the next step in the shutdown process.
Unplug the projector
After the projector has powered down completely, the next step is to unplug it from the power source. Unplugging the projector not only saves energy but also protects the device from potential power surges or electrical damage.
Gently pull out the power cord from both the projector itself and the electrical outlet. Take care not to yank or tug on the cord forcefully, as this could damage the cord or the connectors.
Before unplugging the projector, ensure that it has powered down completely. Check for any remaining indicators, such as lights or fan noise, to confirm that the device is no longer active. Unplugging the projector while it is still powered on could result in data loss or damage to the internal components.
Some projectors may have additional cables and connections, such as HDMI or VGA cables. If your projector is connected to any external devices, such as a laptop or DVD player, make sure to disconnect those cables as well. Gently remove each cable from its respective port, taking care not to bend or damage the connectors.
By unplugging the projector from the power source and disconnecting any additional cables, you are protecting the device from potential electrical issues and ensuring its safety during storage.
When unplugging the projector, it is a good practice to organize and tuck away the cables neatly. This helps minimize the risk of tangling or damage when storing the projector and makes it easier to set up the projector for its next use.
Remember to periodically inspect the power cord for any signs of damage, such as frayed wires or exposed insulation. If you notice any issues with the power cord, it is important to replace it to maintain the safety and functionality of the projector.
By properly unplugging the projector and taking care of the cables, you are ensuring the longevity and optimal performance of the device for future use.
Store the projector securely
Proper storage of your projector is essential for maintaining its functionality and protecting it from dust, moisture, and physical damage. Once you have unplugged the device, follow these steps to store it securely:
Select a suitable location: Find a safe and dry location to store your projector. Consider using a protective case specifically designed for projectors or a dedicated shelf that provides adequate support. Avoid areas that are prone to high humidity, extreme temperatures, or excessive dust accumulation.
Clean the projector: Before storing the projector, it is recommended to clean it gently. Use a soft, lint-free cloth to wipe away any dust or smudges on the exterior surface. Be cautious not to apply excessive pressure or use abrasive cleaning agents that could damage the projector’s finish.
Remove any accessories: If your projector came with any accessories, such as lenses, cables, or remote controls, remove them and store them separately. This will help keep everything organized and prevent any damage or loss of accessories during storage.
Protect the lens: If your projector has a removable lens, consider placing a lens cap or cover over it. This will protect the lens from dust and scratches while in storage. If the lens is not removable, ensure that the projector is stored in a position that minimizes the risk of the lens being accidentally bumped or scratched.
Avoid moisture: Moisture is the enemy of electronics. To prevent any moisture from causing damage, you can place a moisture-absorbing packet or silica gel inside the storage case or area where the projector is stored. These packets help absorb excess moisture and prevent condensation from building up inside the projector.
Label the storage location: If you have multiple projectors or storage areas, consider labeling them for easy identification. This will help you locate the projector quickly when it is needed for future use.
By following these steps, you can store your projector securely, ensuring its protection and longevity. When it comes time to use the projector again, remember to remove it from storage carefully and inspect it for any signs of damage or deterioration before reconnecting and powering it on.
Conclusion
Turning off a projector correctly is essential for maintaining its performance and prolonging its lifespan. By following the steps outlined in this article, you can ensure a safe and proper shutdown process for your projector.
First, locate the power button on your projector. Familiarize yourself with its position to facilitate easy access when turning off the device.
Next, press and hold the power button to initiate the shutdown sequence. Holding the button for a few seconds allows the projector to complete its processes before powering down.
Release the power button, confirming your intention to turn off the projector. Watch as the device begins to dim its display and gradually shuts down.
After the projector has fully powered down, unplug it from the power source. This step not only conserves energy but also protects the device from potential electrical issues.
Finally, store the projector securely in a cool and dry location. Clean the device, remove any accessories, and take precautions to prevent moisture and physical damage.
Remember, each projector model may have specific instructions, so it is always a good idea to consult the user manual provided with your device for accurate and detailed guidance.
By following these steps, you can ensure that your projector is turned off properly, prolonging its lifespan and preserving its optimal performance. Proper shutdown and storage practices will contribute to the longevity of your projector, allowing you to enjoy its capabilities for years to come.


