Introduction
Adjusting the brightness of your Windows 10 computer screen can greatly enhance your viewing experience, especially when working in dimly lit environments or during nighttime. Whether you want to decrease the brightness to reduce eye strain or increase it to enhance visibility, Windows 10 offers several methods to help you easily adjust the brightness settings.
In this article, we will guide you through various methods to turn down the brightness on Windows 10, allowing you to personalize your screen brightness according to your preference.
With these methods, you can adjust the brightness of your computer screen without relying on the manufacturer-specific function keys or buttons. Instead, we will explore different options available within the Windows 10 operating system, including the Settings menu, the Action Center, keyboard shortcuts, display settings, and the Control Panel.
By using these methods, you can find the one that suits you best and easily adjust the brightness of your screen with a few simple steps. So, whether you want to dim the screen for eye comfort, save battery power, or optimize your visual experience, let’s explore the different techniques to turn down the brightness on Windows 10.
Method 1: Using the Settings Menu
The Settings menu in Windows 10 provides a convenient and straightforward way to adjust various system preferences, including screen brightness. Here’s how you can turn down the brightness using the Settings menu:
- Click on the Start menu and select the Settings gear icon.
- In the Settings window, click on System to access system-related settings.
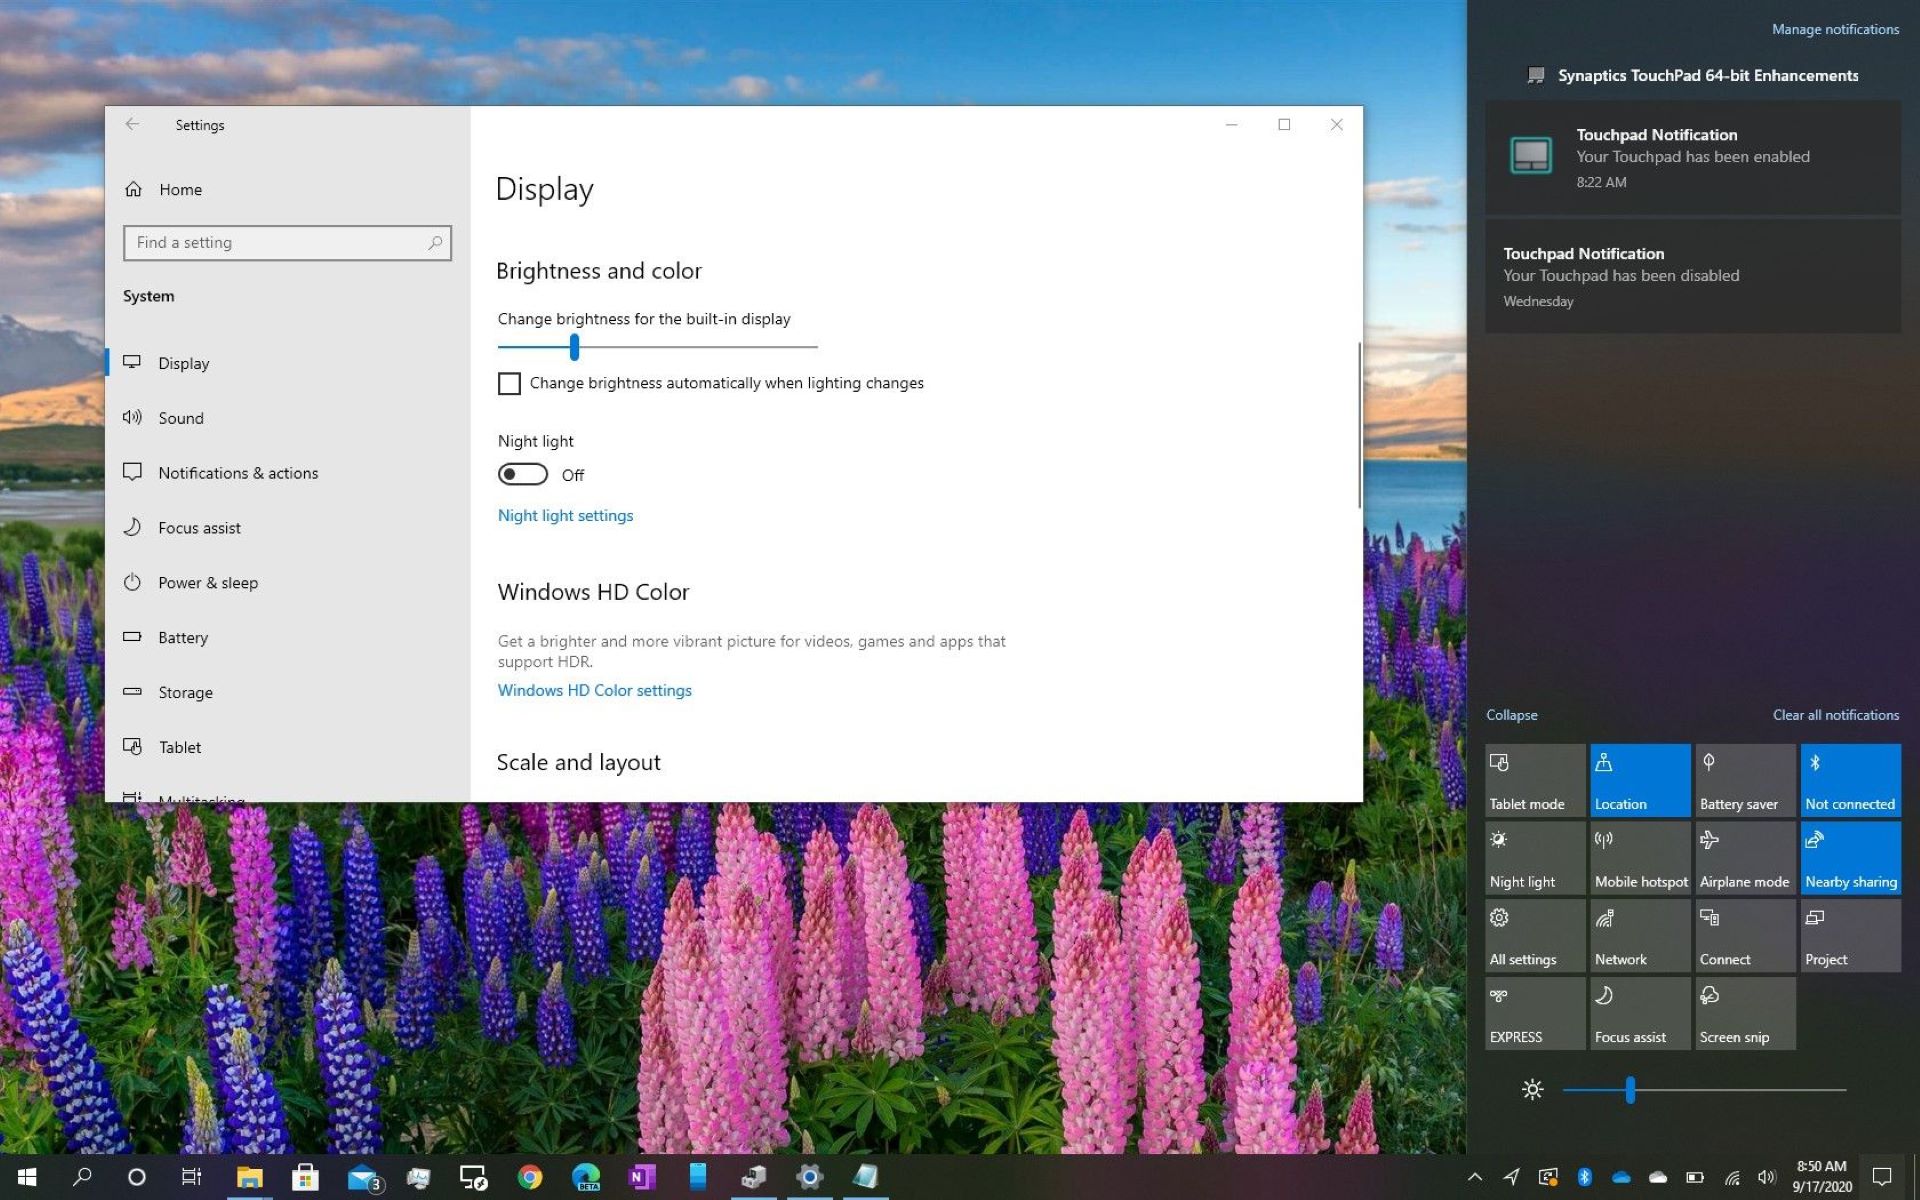
- Within the System settings, click on Display in the left sidebar.
- Scroll down to the Brightness and color section in the Display settings.
- Adjust the brightness level by moving the slider to the left to decrease the brightness, or to the right to increase it.
You can also enable the Change brightness automatically when lighting changes option to allow Windows 10 to automatically adjust your screen brightness according to ambient lighting conditions.
Once you have set the desired brightness level, you can close the Settings menu. The new brightness settings will take effect immediately, providing a comfortable viewing experience for longer durations.
Using the Settings menu to adjust screen brightness is a reliable method as it provides precise control over the brightness levels. Additionally, this method is suitable for all types of Windows 10 devices, whether it’s a laptop, desktop, or tablet.
Method 2: Using the Action Center
The Action Center in Windows 10 offers a quick and accessible way to adjust various system settings, including screen brightness. Here’s how you can turn down the brightness using the Action Center:
- Click on the Action Center icon on the right side of the taskbar. You can either click on the speech bubble icon or press the Windows key + A to open it.
- In the Action Center, locate the Brightness slider.
- Move the slider to the left to decrease the brightness or to the right to increase it.
You can also access additional display settings directly from the Action Center. Click on the All settings button to open the Settings menu, where you can fine-tune the brightness and other display preferences.
Using the Action Center to adjust screen brightness is a quick and convenient method, particularly for devices with touchscreen capability or tablets. It eliminates the need to navigate through multiple settings menus and provides instant control over the brightness levels.
Remember that the Action Center only provides a slider to adjust the brightness level, and you won’t have access to additional screen calibration options available in the Settings menu.
With the Action Center, you can easily toggle the brightness levels to match your environment or personal preferences, making it a handy method for quick adjustments on the go.
Method 3: Using the Keyboard Shortcut
Windows 10 allows you to use a keyboard shortcut to quickly adjust the screen brightness without going through any menus or settings. Here’s how you can turn down the brightness using the keyboard shortcut:
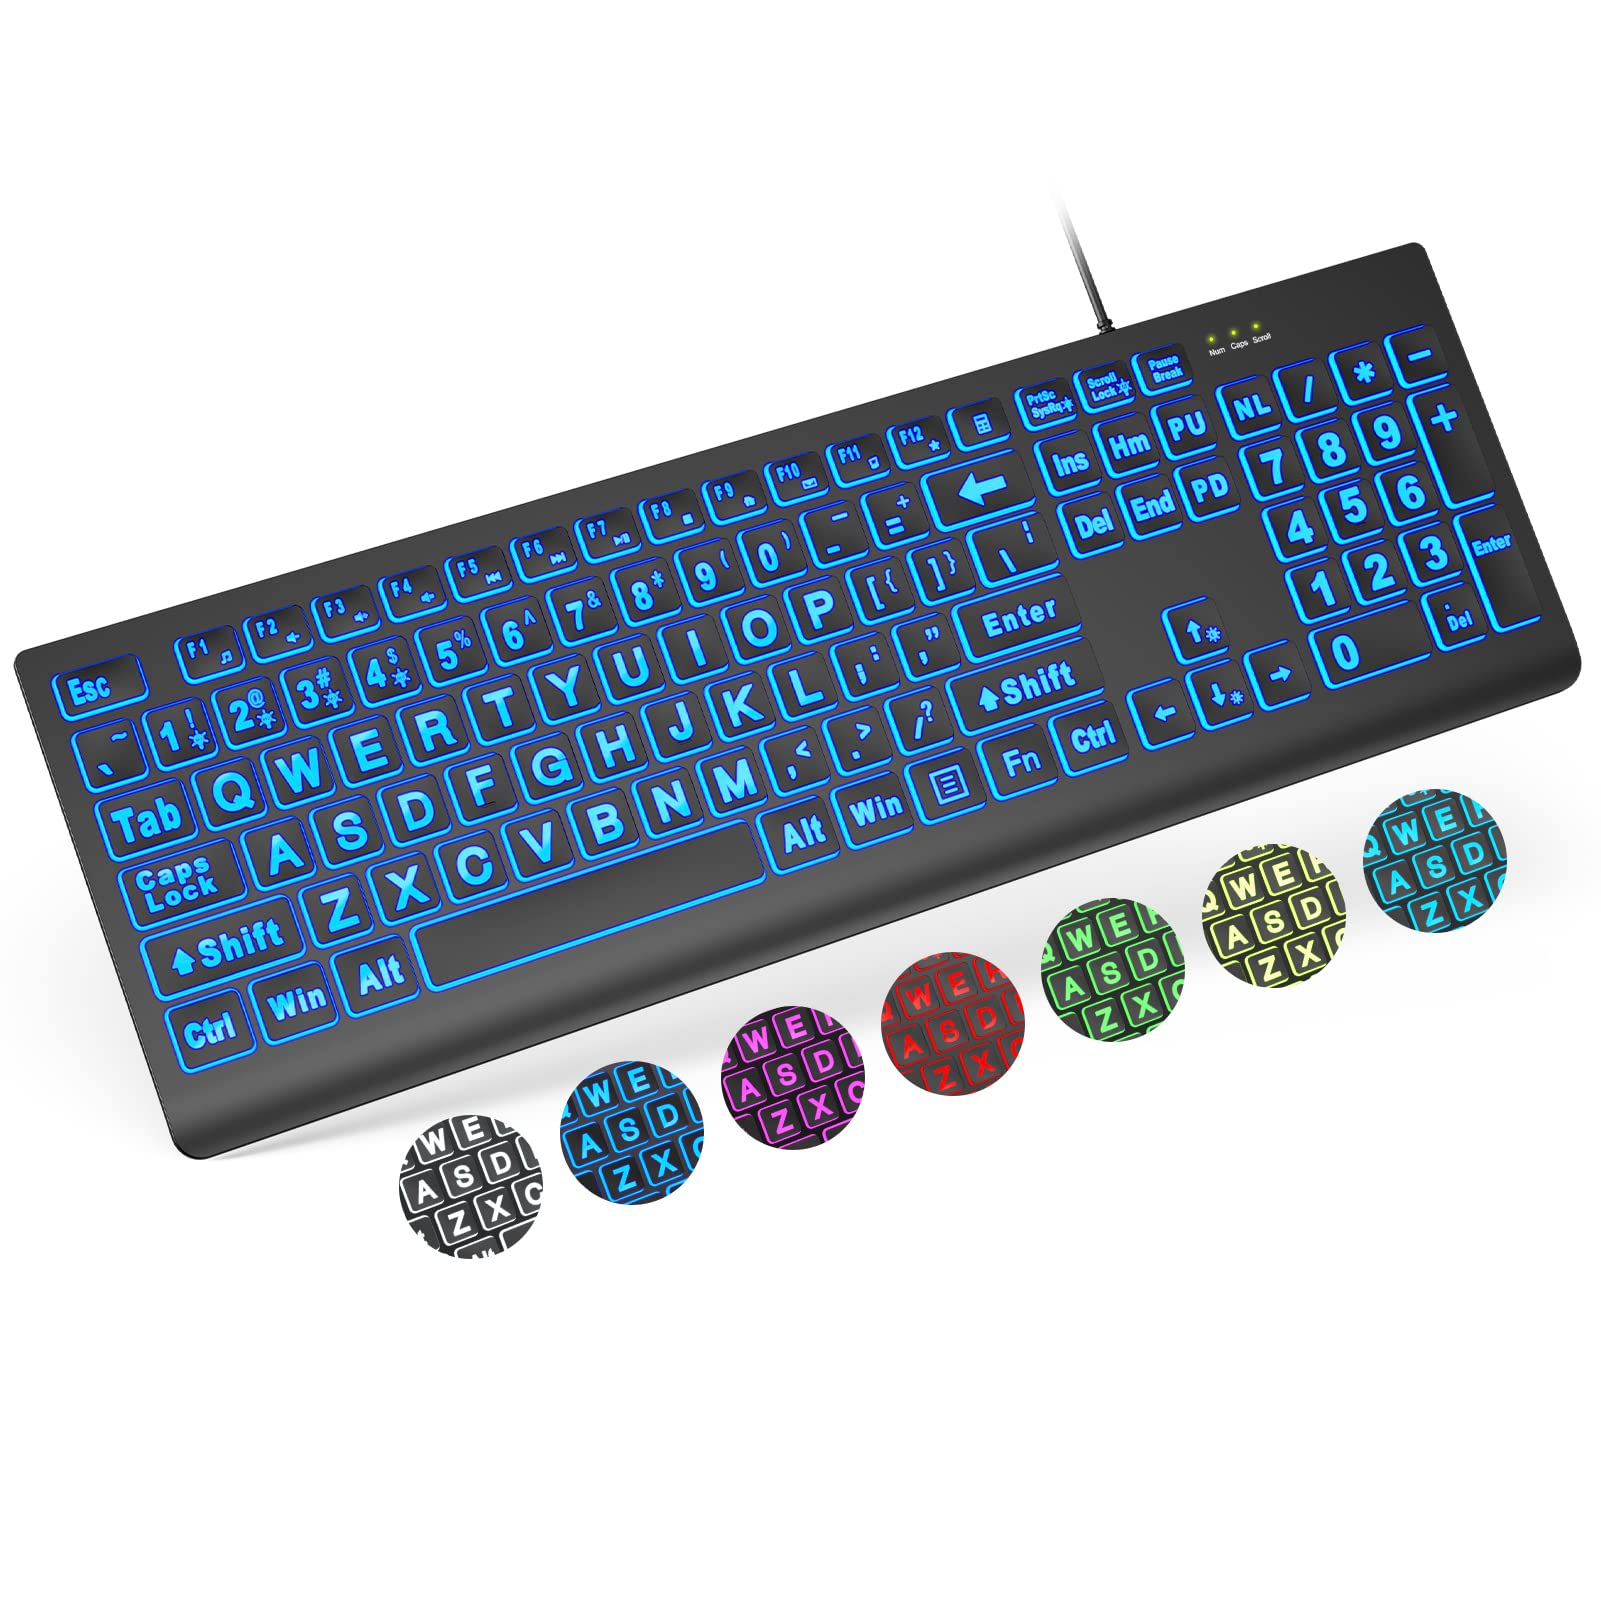
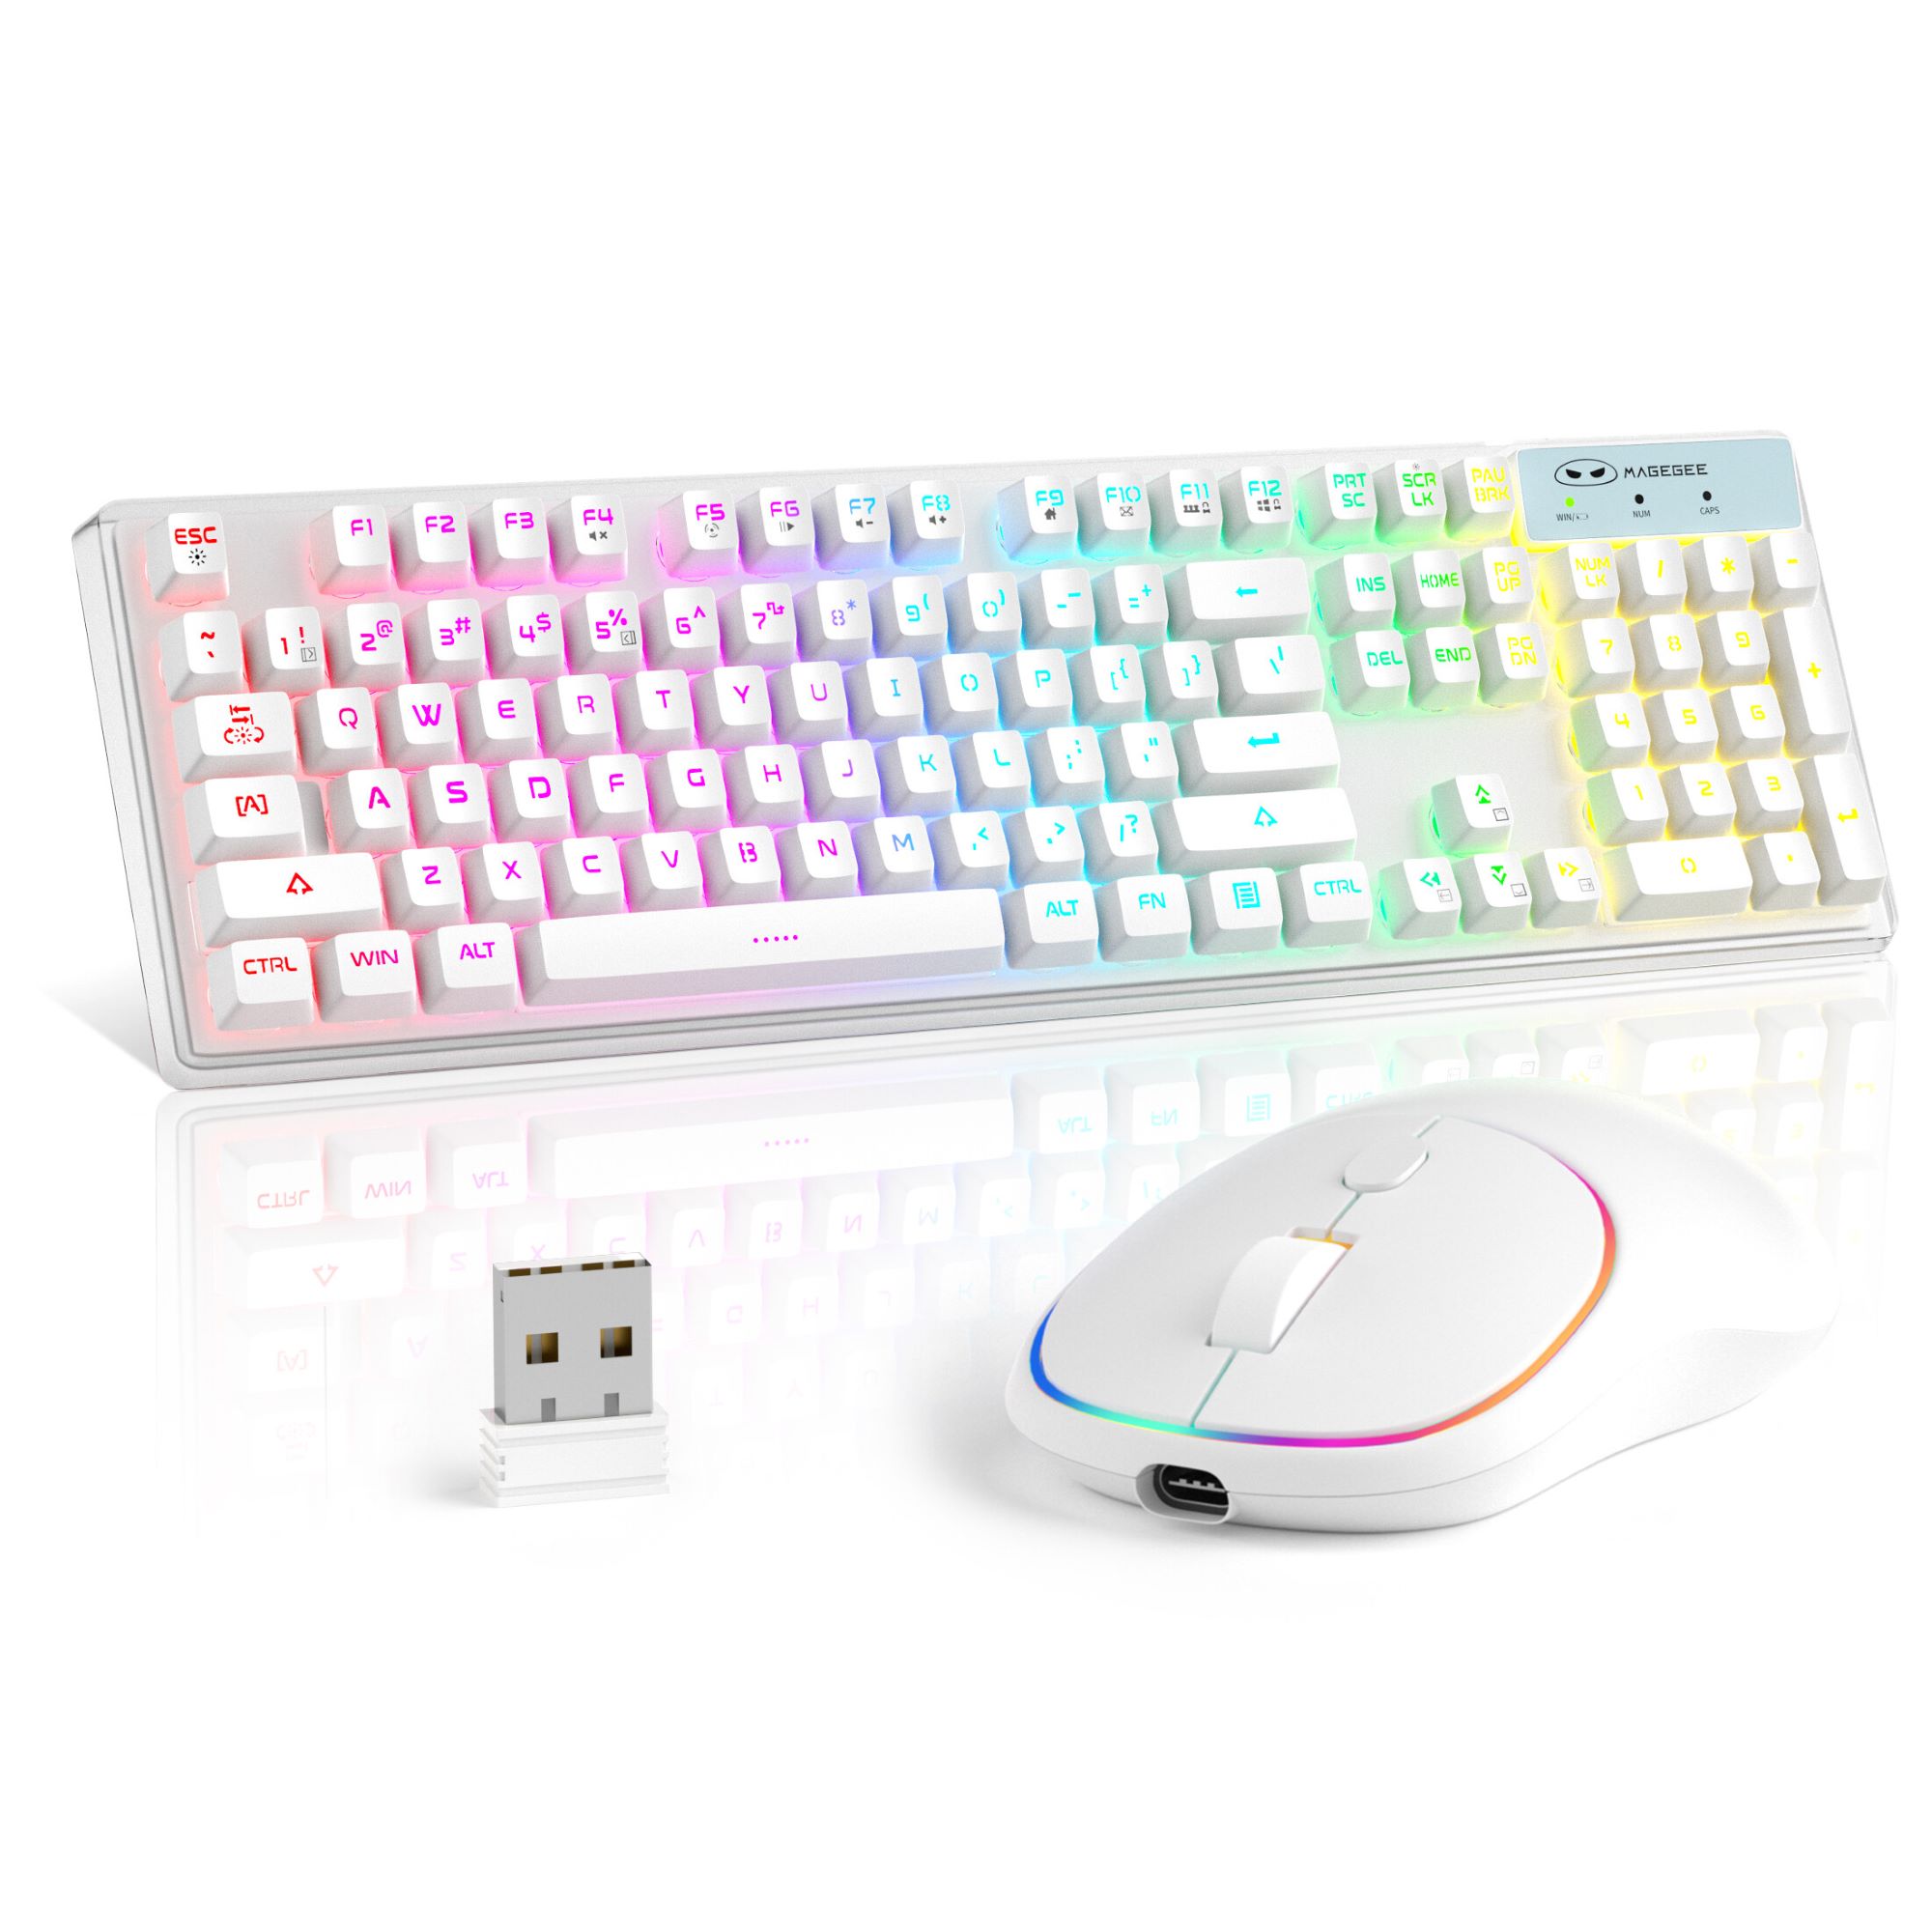
- Locate the Function (Fn) key on your keyboard, usually found near the bottom-left corner.
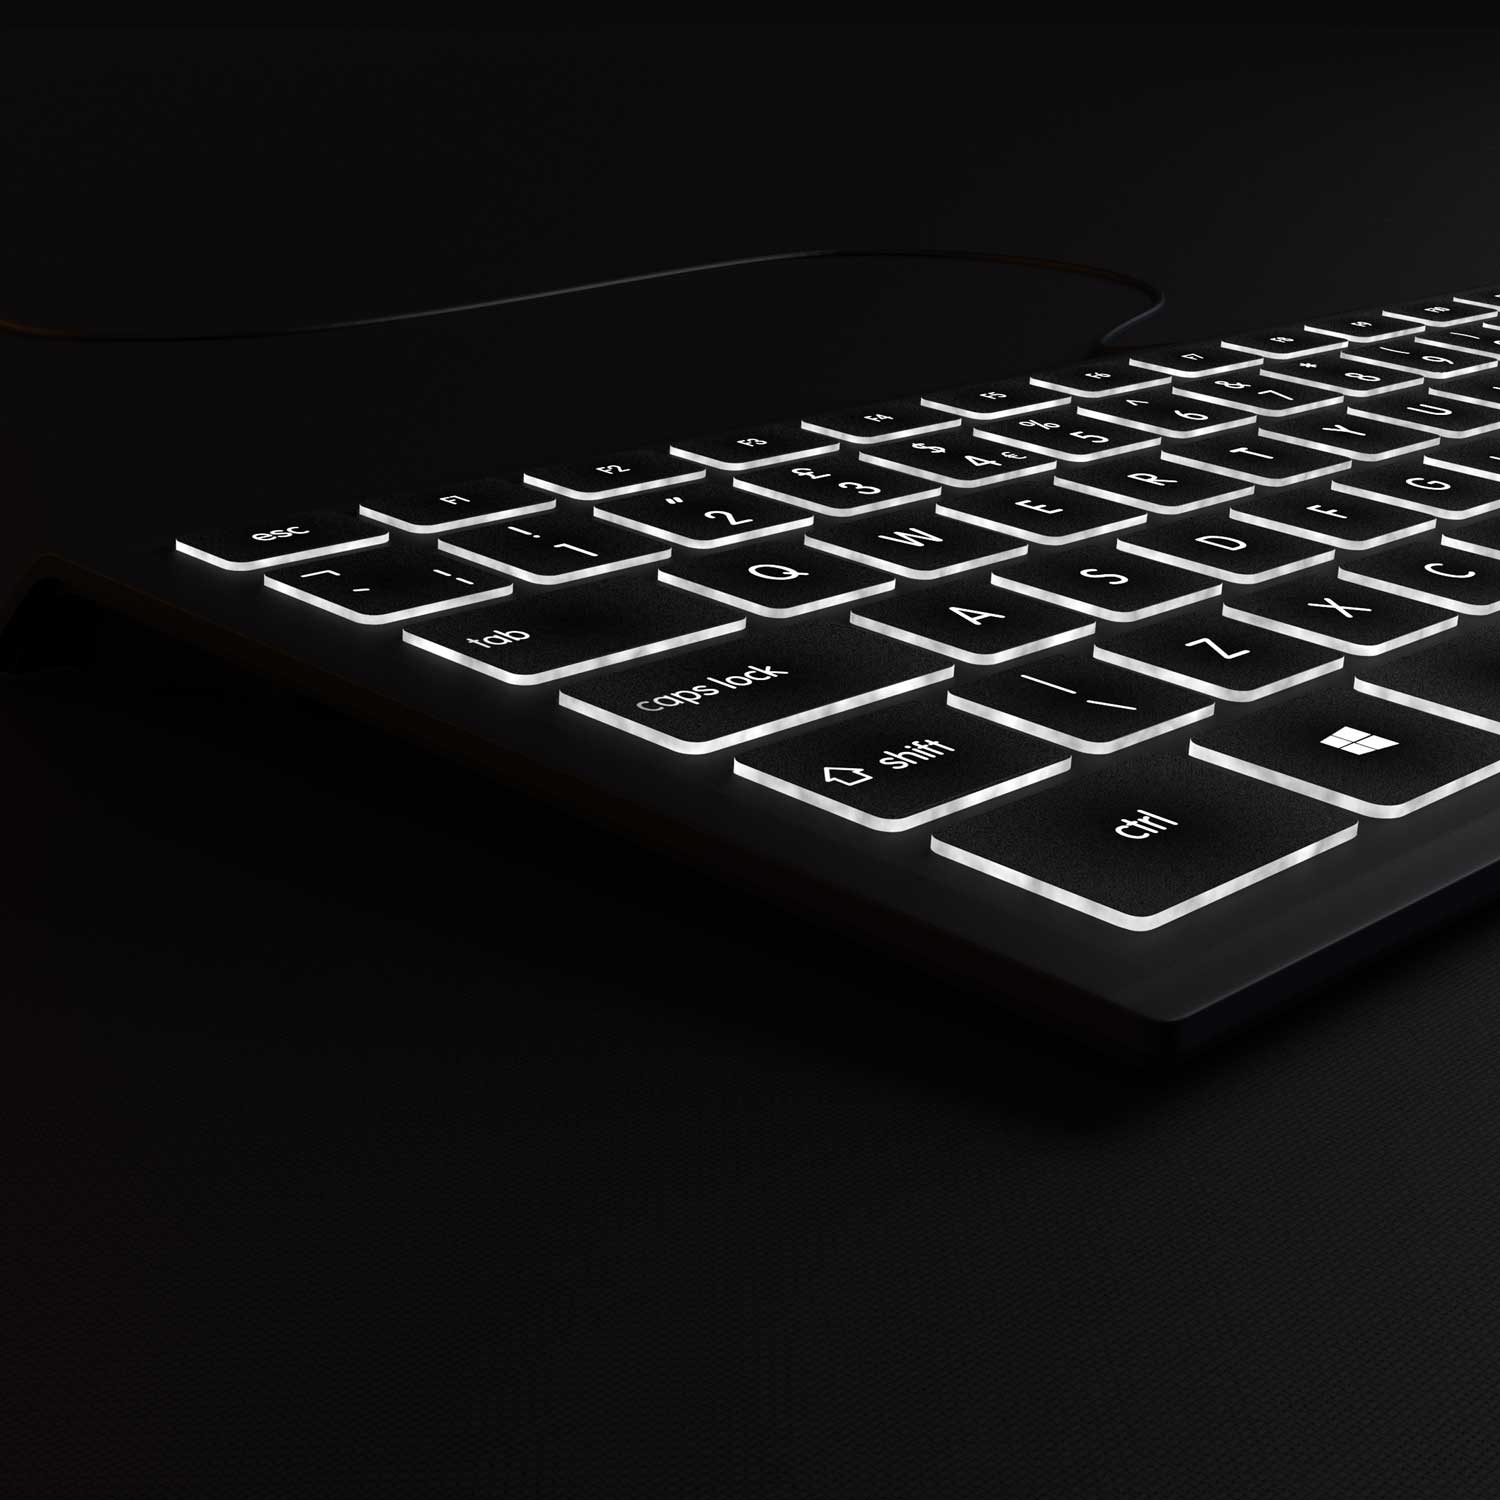
- Look for the dedicated brightness adjustment keys on your keyboard, which are commonly represented by icons resembling a small sun or a sun with up and down arrows.
- Press and hold the Fn key, then press the key with the sun icon downward or the key with the sun and down arrow icons simultaneously to decrease the brightness.
- Release the keys once you have achieved the desired brightness level.
Keyboard shortcuts vary depending on the manufacturer and keyboard layout, so make sure to refer to your device’s documentation for the specific key combination to adjust the brightness.
This method is suitable for devices like laptops that have dedicated brightness keys on the keyboard. It provides a quick and convenient way to adjust the brightness without interrupting your workflow or requiring navigation through settings menus.
Keep in mind that not all keyboards or laptops may have dedicated brightness keys. In such cases, you can try using the Fn key in combination with other function keys to adjust the brightness. Again, refer to your device’s documentation for the appropriate key combination.
Using the keyboard shortcut to adjust screen brightness is efficient, especially when you need to make quick changes on the fly. It offers a seamless method to decrease the brightness without taking your hands off the keyboard or disrupting your productivity.
Method 4: Using the Display Settings
The Display Settings in Windows 10 provide advanced options to customize and fine-tune your screen brightness. Here’s how you can turn down the brightness using the Display Settings:
- Right-click on an empty area of the desktop and select Display settings from the context menu.
- In the Display settings window, under the Display tab, find the Brightness and color section.
- Locate the Brightness slider and move it to the left to decrease the brightness level.
Beneath the Brightness slider, you will also find the Night light option. This feature reduces the blue light emitted from your screen, making it easier on the eyes, especially during nighttime or in low light conditions. Enabling Night light can further alleviate eye strain and enhance your viewing experience.
Additionally, you can click on the Advanced display settings link to access more detailed display options, such as color calibration, display resolution, and orientation.
The Display Settings method provides extensive control over screen brightness and other display-related aspects. It is particularly useful for users who require precise adjustments or have specific color calibration requirements.
After selecting your desired brightness level, click the Apply button to save the changes and exit the Display settings window. The new brightness settings will take effect immediately.
Whether you want to decrease the brightness for a comfortable viewing experience or calibrate the display to match your color preferences, the Display Settings offer a comprehensive range of options to personalize your screen brightness and improve visual quality.
Method 5: Using the Control Panel
If you prefer using the traditional Control Panel interface, you can also adjust the screen brightness through its settings. Here’s how you can turn down the brightness using the Control Panel:
- Open the Control Panel by searching for it in the Windows 10 taskbar search or by pressing the Windows key + X and selecting Control Panel from the menu.
- In the Control Panel window, change the View by option to Large icons or Small icons for easier navigation.
- Click on the Power Options icon to access the power settings.
- Next to your selected power plan, click on Change plan settings.
- In the following window, click on Change advanced power settings.
- In the Power Options window, scroll down until you find the Display category. Expand it by clicking on the arrow next to it.
- Once expanded, locate the Dimmed display brightness and Brightness settings.
- Modify the values of these settings to decrease or increase the screen brightness according to your preference.
Using the Control Panel to adjust screen brightness provides an alternative method for users who are more familiar with the classic Windows interface. It offers additional power options and advanced settings for more granular control over the brightness levels.
Once you have adjusted the brightness settings, click on Apply and then OK to save the changes.
By utilizing the Control Panel, you can easily adjust the brightness and access other power-related settings. This method is ideal for those who prefer a more comprehensive approach or require specific power customization options.
Conclusion
Adjusting the brightness of your Windows 10 computer screen is essential for a comfortable and enjoyable viewing experience. Whether you prefer a dimmer display for reduced eye strain or a brighter one for enhanced visibility, Windows 10 offers multiple methods to easily control the screen brightness.
In this article, we have explored five different methods to turn down the brightness on Windows 10. These methods include using the Settings menu, the Action Center, keyboard shortcuts, the Display Settings, and the Control Panel. Each method offers its own advantages and convenience, allowing you to choose the one that suits your preferences and workflow.
The Settings menu provides a simple and intuitive way to adjust the brightness, along with additional display options. The Action Center offers quick access to the brightness slider, making it ideal for touchscreen devices or for making on-the-fly adjustments. Keyboard shortcuts provide a convenient method for those who prefer using their keyboards to control the brightness. The Display Settings provide advanced customization options for precise brightness control, while the Control Panel offers a traditional interface with added power and advanced settings.
Regardless of which method you choose, adjusting the screen brightness on your Windows 10 computer is quick and easy. Just a few simple steps allow you to create a comfortable and visually pleasing environment for working, browsing, or watching content.
Remember to experiment with different brightness levels until you find the one that suits your needs and surroundings. Additionally, consider enabling the night light feature or using third-party software for further customization and reducing eye strain, especially during nighttime usage.
By taking advantage of these methods and adjustments, you can optimize your screen brightness on Windows 10 to enhance your overall computing experience.


