Introduction
Welcome to this step-by-step guide on how to lock a folder on Windows 10! If you have sensitive files or documents that you want to keep away from prying eyes, locking them inside a secure folder is a great solution. By adding an extra layer of protection, you can ensure that only authorized individuals can access the contents of the folder.
While Windows 10 doesn’t provide a built-in feature to password-protect folders, there are alternative methods you can use to achieve the same result. In this guide, we’ll walk you through the process of creating a locked folder on Windows 10 using compression and encryption techniques.
It’s important to note that the methods described in this guide will encrypt your files and make them inaccessible without the proper password. However, it’s always a good idea to have backups of your important files, just in case anything goes wrong during the locking process.
Before we begin, please keep in mind that this guide assumes you have basic knowledge of navigating through the Windows 10 operating system. So, let’s dive in and learn how to lock your folder securely!
Step 1: Create a New Folder
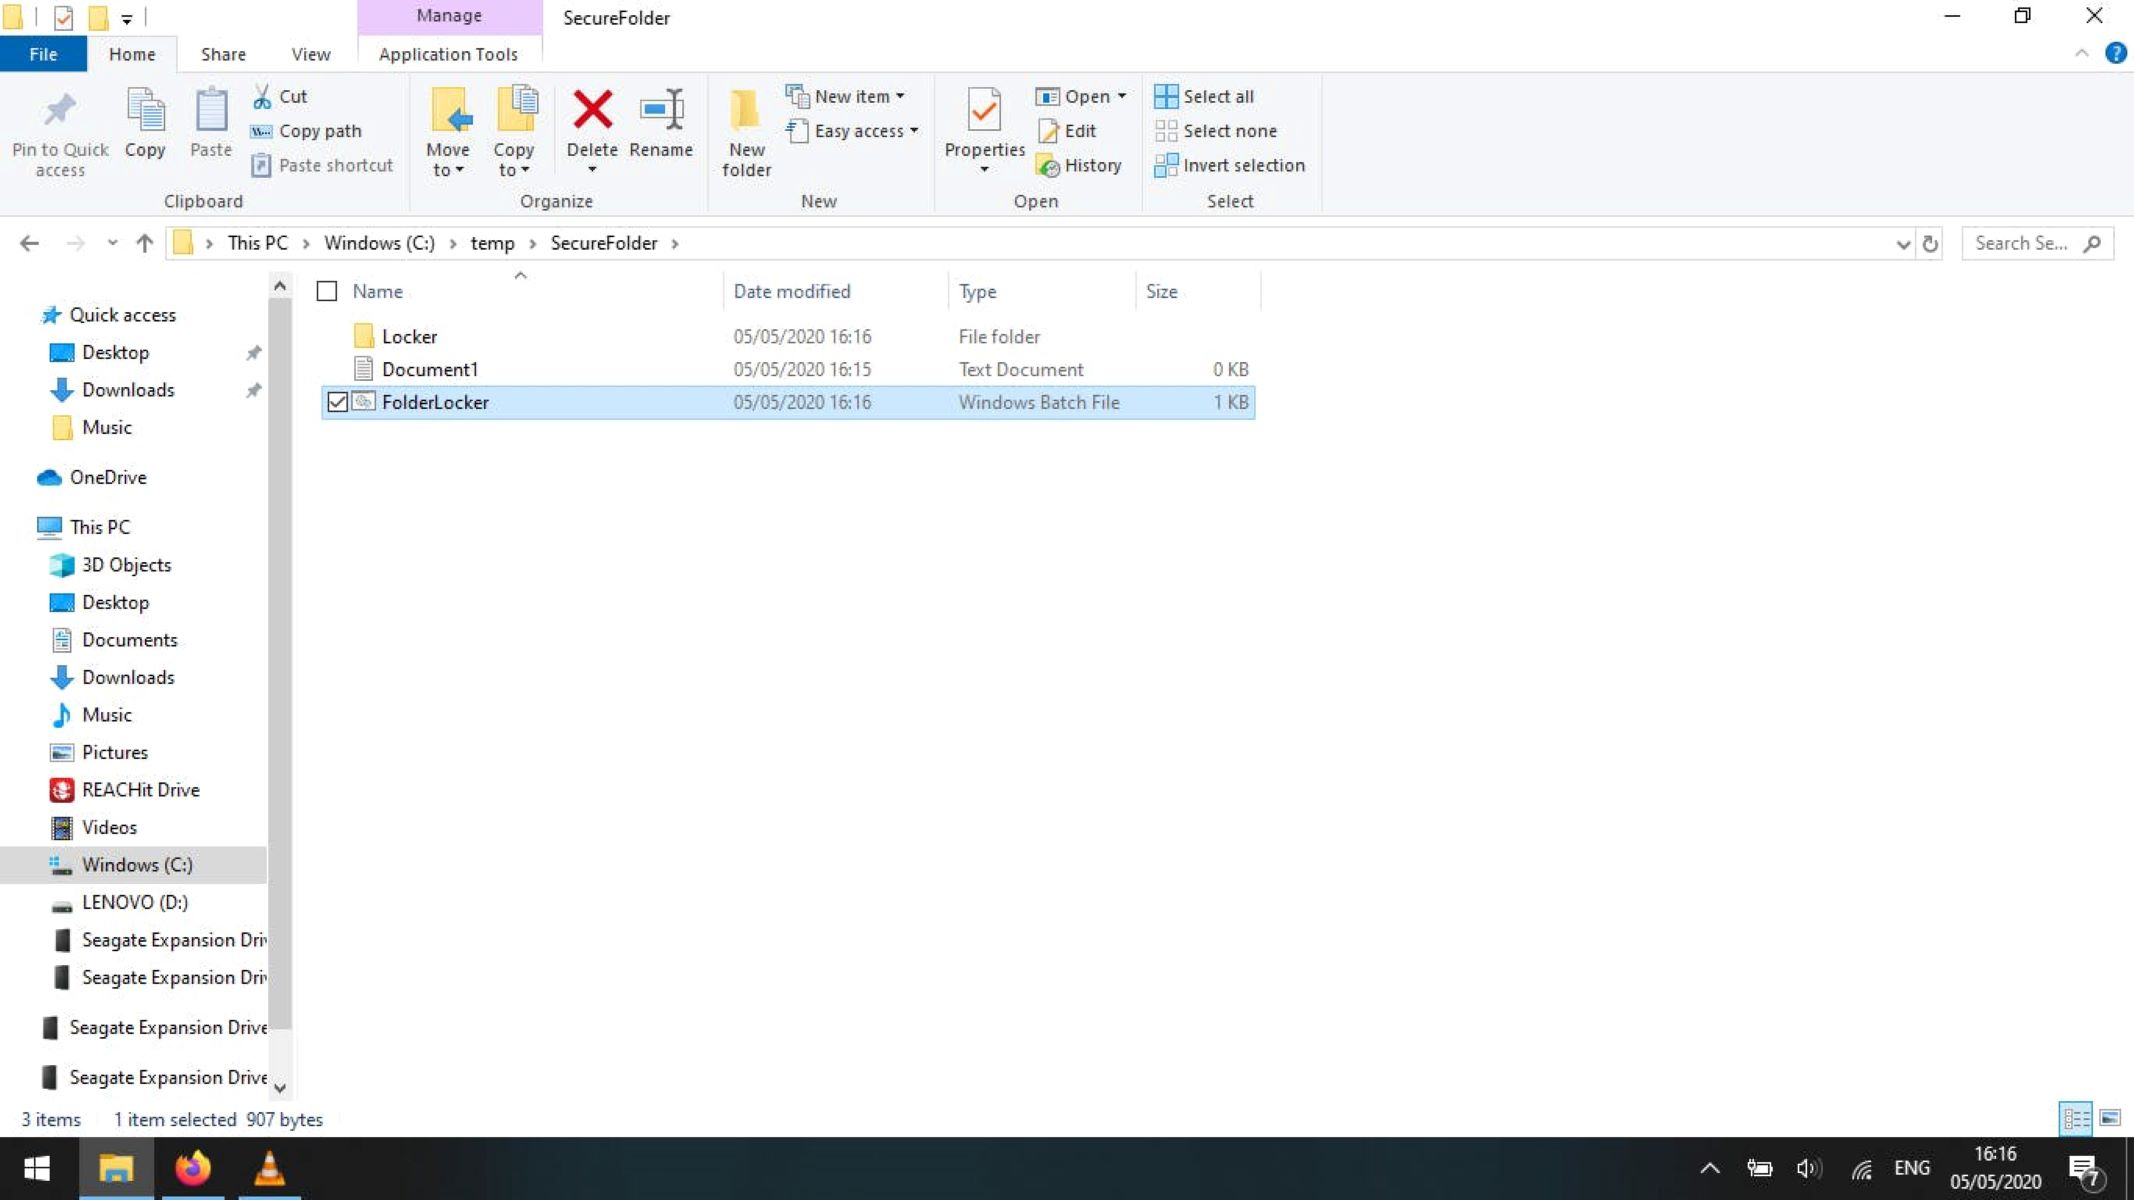
The first step in locking a folder on Windows 10 is to create a new folder. This will serve as the container for all the files and documents you want to protect.
To create a new folder, follow these simple steps:
- Find an empty location on your computer where you want to create the folder. This can be on the desktop, in your documents folder, or any other preferred location.
- Right-click on the empty space and select “New” from the context menu.
- Click on “Folder” to create a new folder.
- Give the folder a recognizable name. This will make it easier for you to locate and access it in the future.
That’s it! You have now created a new folder that will serve as the basis for locking your files.
It’s important to choose a descriptive name for the folder, as this will help you identify its contents later on. Additionally, consider placing the folder in a location that is easily accessible to you but not easily visible to others. This will help maintain the privacy and security of the locked files.
Now that you have created the base folder, it’s time to move on to the next step: choosing a strong password to protect your files.
Step 2: Choose a Strong Password
Choosing a strong password is crucial to the security of your locked folder. A strong password is one that is difficult for others to guess, making it more challenging for unauthorized individuals to gain access to your files.
Here are some tips to help you choose a strong password:
- Use a combination of uppercase and lowercase letters: Mixing both uppercase and lowercase letters in your password adds an extra layer of complexity.
- Include numbers and symbols: Incorporating numbers and symbols such as !, @, #, or $ can greatly increase the strength of your password.
- Make it lengthy: Aim for a password that is at least 8-12 characters long. The longer the password, the more difficult it will be to crack.
- Avoid obvious phrases or personal information: Steer clear of using common phrases, names, or dates that are easy to guess or associate with you.
- Do not reuse passwords: It’s important to use a unique password for your locked folder and avoid reusing it for other accounts or purposes.
Remember, the strength of your password is directly proportional to the security of your locked folder. Take your time to come up with a strong and memorable password to best protect your files.
Now that you have chosen a strong password, you’re ready to move on to the next step: compressing the folder to prepare it for encryption.
Step 3: Compress the Folder
Now that you have created the folder and chosen a strong password, the next step is to compress the folder. Compressing the folder will help consolidate the files into a single archive, making it easier to encrypt and secure.
Follow these steps to compress your folder:
- Right-click on the folder you want to lock and select “Send to” from the context menu.
- Choose “Compressed (zipped) folder” from the options. This will create a compressed version of your folder.
- Wait for the compression process to complete. The time it takes will depend on the size of the folder and the speed of your computer.
- Once the compression is finished, you will see a new file with the same name as your folder, but with a .zip extension.
By compressing the folder, you have successfully prepared it for encryption. The compressed folder serves as a single file that can be easily encrypted and decrypted using a password.
It is worth noting that the original folder still exists alongside the compressed folder. However, once the encryption process is complete and you have verified that the locked folder is functioning properly, you can safely delete the original folder to free up space and maintain a cleaner file structure.
Now that you have compressed the folder, it’s time to move on to the next step: encrypting the compressed folder to further enhance its security.
Step 4: Encrypt the Compressed Folder
Encrypting the compressed folder adds an additional layer of security, ensuring that only individuals with the correct password can access the locked files. In this step, we will encrypt the compressed folder to protect your sensitive information.
Follow these steps to encrypt the compressed folder:
- Right-click on the compressed folder and select “Properties” from the context menu.
- In the properties window, click on the “Advanced” button.
- Check the box next to “Encrypt contents to secure data” and click “OK”.
- Click “Apply” in the properties window and then click “OK” to close it.
- You will be prompted to choose whether to apply the encryption to the folder or to the folder and its contents. Select the option that best suits your needs.
- Wait for the encryption process to complete. This may take some time depending on the size of the folder and the speed of your computer.
Once the encryption process is finished, your compressed folder will be securely locked with the password you provided. This means that anyone attempting to access the locked folder will need to enter the correct password to decrypt and view its contents.
It’s important to remember your password and keep it in a safe place. Losing or forgetting the password could result in permanent data loss as the files will be inaccessible without it.
Now that you have successfully encrypted the compressed folder, you’re ready to move on to the next step: deleting the original folder.
Step 5: Delete the Original Folder
After encrypting the compressed folder and ensuring that the locked files are secure, it’s time to delete the original folder. By removing the original folder, you minimize the chances of accidentally accessing the files without entering the correct password.
Here are the steps to delete the original folder:
- Locate the original folder that you created in the earlier steps.
- Right-click on the folder and select “Delete” from the context menu.
- You will be prompted to confirm the deletion. Click “Yes” to proceed.
- The original folder will be moved to the Recycle Bin. If you want to permanently delete it, you can empty the Recycle Bin or use the “Shift + Delete” shortcut to bypass the Recycle Bin entirely.
Deleting the original folder is an important step to ensure that you are only working with the compressed and encrypted version of your files. By removing the original folder, you eliminate any potential security vulnerabilities and maintain a cleaner file structure.
However, it’s important to note that deleting the original folder does not affect the locked, encrypted folder. The locked folder, with all its contents, remains secure and accessible only with the correct password.
Now that you have deleted the original folder, it’s time to move on to the final step: opening and accessing the locked folder.
Step 6: Open and Access the Locked Folder
Now that you have successfully locked and secured your folder, it’s time to learn how to open and access the locked files whenever you need them. Follow these simple steps:
- Locate the encrypted, compressed folder that you have created.
- Double-click on the folder to open it.
- You will be prompted to enter the password you set during the encryption process.
- Type in the correct password and press “Enter” or click “OK”.
- The locked folder will now be open, and you can access all the files and documents stored inside.
Once you have entered the correct password, the encrypted folder will be temporarily decrypted, allowing you to view and work with the locked files. It is important to note that the folder will automatically re-lock and encrypt itself when you close it or log out of your computer.
Make sure to close the locked folder every time you have finished accessing the files to maintain the highest level of security. This will help prevent unauthorized access, even if someone gains physical access to your computer.
Remember to keep your password secure and confidential. Sharing your password with others compromises the security of your locked folder and increases the risk of unauthorized access.
With the ability to open and access the locked folder, you can now enjoy the peace of mind that comes with knowing your sensitive files are protected.
Congratulations! You have successfully completed all the steps to lock and secure a folder on Windows 10. By following this guide, you have added an additional layer of security to your confidential files and documents.
Remember, it is essential to maintain backups of your important files and regularly update your passwords to ensure the continued security of your data.
Conclusion
Locking a folder on Windows 10 is an effective way to protect your sensitive files and documents from unauthorized access. By following the steps outlined in this guide, you can ensure that only individuals with the correct password can view and access the contents of the locked folder.
Throughout this guide, we have covered the essential steps to create, secure, and access a locked folder:
- Create a new folder as the basis for your locked files.
- Choose a strong password to enhance the security of your locked folder.
- Compress the folder to prepare it for encryption.
- Encrypt the compressed folder to add an extra layer of protection.
- Delete the original folder to minimize security risks.
- Open and access the locked folder with the correct password.
Each step plays a crucial role in ensuring the privacy and security of your confidential information. By following these steps, you can have peace of mind knowing that your files are protected from unauthorized access, whether it’s on your personal computer or a shared system.
Remember to choose a strong and memorable password, as it is the key to unlocking the encrypted folder. Additionally, be cautious when entering your password and ensure that no one is watching or recording your keystrokes to maintain the integrity of your locked folder.
It’s also important to regularly update your password and backup your important files. This practice ensures that you can regain access to your files in case the password is forgotten or lost.
With the knowledge and skills gained from this guide, you can confidently lock and secure your folders on Windows 10, safeguarding your confidential information from prying eyes.
Thank you for following along this step-by-step guide. We hope it has been helpful in enhancing the security of your files and providing you with the necessary tools to protect your privacy on Windows 10.