Introduction
Welcome to the world of personalization! One of the great things about owning a PC is the ability to customize it according to your preferences and style.
One of the easiest ways to personalize your PC is by changing the background. Whether you’re tired of the default background that came with your computer or you just want to add a fresh touch, changing the background can instantly transform the look and feel of your PC.
In this article, we’ll guide you through the process of changing the background on your PC. We’ll cover everything from accessing the personalization settings to customizing the background fit and position. So, let’s dive in and give your PC a new lease on life!
Before we begin, it’s worth noting that the steps may vary slightly depending on the version of Windows you’re using. However, the basic principles remain the same, so don’t worry if your settings look slightly different.
Whether you’re using Windows 10, Windows 8, or even Windows 7, you’ll be able to follow along and make the changes that suit your preferences.
So, without further ado, let’s get started with step one: accessing the personalization settings.
Step 1: Accessing the Personalization Settings
Before you can change the background on your PC, you need to access the personalization settings. This is where you’ll find all the options to customize the look and feel of your PC.
To access the personalization settings, simply right-click on an empty area on your desktop. A drop-down menu will appear, and you’ll need to select “Personalize” from the options.
Alternatively, you can access the settings by going to the Windows Start menu and clicking on the “Settings” icon (represented by a gear icon). In the Settings menu, select “Personalization”
.
Once you’re in the Personalization settings, you’ll see a variety of options to customize your PC. These include changing the background, colors, lock screen, and more.
Now that you’ve accessed the personalization settings, you’re ready to move on to step two: choosing a background from the Windows default options.
Step 2: Choosing a Background from the Windows Default Options
Windows offers a variety of default options for backgrounds that you can choose from. These options range from beautiful landscapes to stunning artwork and captivating photographs. Here’s how you can select a background from the Windows default options:
- Within the Personalization settings, click on the “Background” option located on the left sidebar.
- Under the “Background” section, you’ll find several options to choose from, such as “Picture,” “Solid color,” “Slideshow,” and “Browse.”
- If you want to choose a specific picture from the default options, click on the “Picture” option.
- A drop-down menu will appear with a selection of pictures. You can scroll through the options and click on the image you want to set as your background.
- If you prefer a solid color background, select the “Solid color” option. Windows will display a range of colors for you to choose from. Simply click on the color you like, and it will be applied as your background.
Once you’ve chosen your preferred background option, Windows will automatically apply the changes. You can then close the Personalization settings window and enjoy your newly selected background.
Feel free to explore the different categories and options available within the default backgrounds section. You might find a background that perfectly complements your PC’s aesthetics and reflects your personal style.
Now that you’ve learned how to choose a background from the Windows default options, let’s move on to step three: setting an image as the background.
Step 3: Setting an Image as the Background
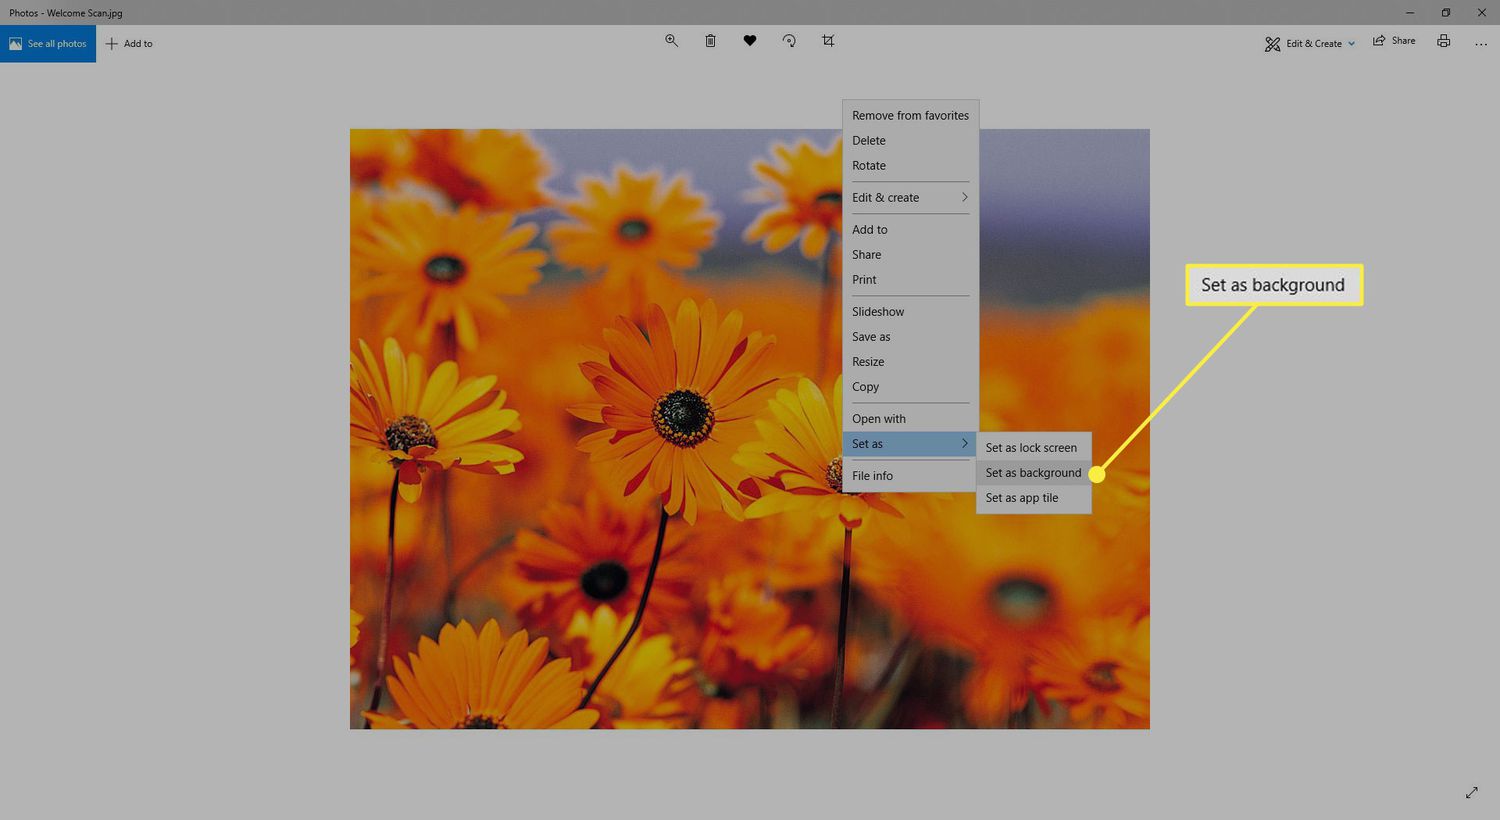
If none of the default options provided by Windows suit your taste, you can always set your own image as the background on your PC. Whether it’s a personal photo, a memorable moment, or an inspiring image, here’s how you can set it as your background:
- In the Personalization settings, click on the “Background” option in the left sidebar.
- Under the “Background” section, select the “Browse” option.
- A file explorer window will open, allowing you to navigate to the location where your desired image is saved.
- Select the image file and click on the “Choose picture” button.
- Windows will apply the selected image as your new background.
It’s important to note that Windows can automatically adjust the image to fit your screen size. If the image doesn’t fit properly or appears stretched, you can adjust the fit and position in the next step.
Setting your own image as the background gives you the opportunity to personalize your PC and add a touch of uniqueness. Whether it’s a picture of loved ones, a favorite vacation spot, or a stunning piece of artwork, your chosen image can bring joy and inspiration every time you use your computer.
Now that you’ve successfully set an image as your background, let’s move on to step four: customizing the background fit and position.
Step 4: Customizing the Background Fit and Position
After setting an image as your background, you may find that the default fit and position don’t quite suit your preferences. Fortunately, Windows allows you to customize the background fit and position to ensure the image looks just right. Here’s how you can do it:
- In the Personalization settings, click on the “Background” option in the left sidebar.
- Under the “Background” section, you’ll notice a drop-down menu with the label “Choose a fit.” Click on it to reveal the available options.
- The available fit options may include “Fill,” “Fit,” “Stretch,” “Tile,” and “Center.”
- If you select “Fill,” Windows will stretch the image to cover the entire screen, potentially distorting the image’s aspect ratio.
- The “Fit” option maintains the image’s aspect ratio and scales it to fit within the screen without cropping any parts of the image.
- The “Stretch” option stretches the image to fit the entire screen but can distort its resolution.
- “Tile” repeats the image across the screen, creating a patterned effect.
- And finally, “Center” positions the image in the center of the screen without scaling or cropping.
Choose the fit that best suits your desired look and feel for your background image. Windows will instantly apply the changes, allowing you to preview the new fit and position. If you’re not satisfied, feel free to experiment with different options until you achieve the desired result.
Customizing the background fit and position allows you to fine-tune your PC’s aesthetics and ensure that your chosen image is displayed exactly how you envision it. Now that you’ve personalized the fit and position, let’s move on to step five: changing the background color.
Step 5: Changing the Background Color
If you prefer a solid color background instead of an image, Windows makes it easy to change the background color. Whether you want a vibrant hue or a soothing tone, here’s how you can do it:
- In the Personalization settings, click on the “Background” option in the left sidebar.
- Under the “Background” section, select the “Solid color” option.
- Windows will display a range of pre-defined color options for you to choose from.
- Scroll through the colors and click on the one that appeals to you.
- Windows will instantly apply the selected color as your background.
By changing the background color, you can create a visually cohesive and personalized look for your PC. Whether you want a bold and eye-catching background or a subtle and calming tone, selecting the right color can greatly enhance your overall computing experience.
If none of the pre-defined color options suit your taste, you can also set a custom color by selecting the “Custom color” option within the color menu. This will open a color picker where you can choose a specific color using RGB or Hex values.
Now that you’ve changed the background color, let’s move on to step six: using slideshow as the background.
Step 6: Using Slideshow as the Background
If you’re looking to add some dynamic visuals to your PC, using a slideshow as the background is a fantastic option. Windows allows you to create a slideshow using a collection of your favorite images. Here’s how you can set up a slideshow as your background:
- In the Personalization settings, click on the “Background” option in the left sidebar.
- Under the “Background” section, select the “Slideshow” option.
- Click on the “+ Add a folder” button to choose the folder that contains the images you want to include in the slideshow.
- Browse through your folders and select the one containing the images you wish to use for the slideshow.
- Once you’ve added the folder, Windows will automatically start displaying images from the selected folder in a slideshow format.
- You can further customize the slideshow by adjusting the time interval between image transitions. Simply click on the “Change picture every” dropdown menu and select your preferred duration.
With a slideshow as your background, you can enjoy a rotating display of your favorite images. It’s a great way to showcase your personal photographs, stunning artwork, or even inspirational quotes.
To remove the slideshow background and return to a static image or color, navigate back to the Personalization settings, click on the “Background” option, and select either “Picture” or “Solid color” depending on your preference.
Now that you know how to use a slideshow as your background, let’s move on to step seven: adding multiple monitor backgrounds.
Step 7: Adding Multiple Monitors Backgrounds
If you have multiple monitors connected to your PC, you have the option to set a different background for each monitor. This can create a visually captivating and personalized setup. Here’s how you can add multiple monitor backgrounds:
- In the Personalization settings, click on the “Background” option in the left sidebar.
- Under the “Background” section, select the “Picture” or “Slideshow” option.
- Click on the “Browse” or “+ Add a folder” button to choose the desired images or folders for each monitor.
- Once you’ve selected the images or folders for each monitor, Windows will automatically apply them to the respective displays.
By setting different backgrounds for your multiple monitors, you can create a cohesive and harmonious visual experience. Whether you want a unified theme across all displays or prefer different images to suit each monitor’s purpose, the choice is yours.
If you want to rearrange the position of the monitors or change their order, you can do so in the Display settings of your PC. This will ensure that the backgrounds align correctly with the physical layout of your monitors.
Remember, to remove the multiple monitor backgrounds and revert to a single background, simply select the “Picture” or “Solid color” option within the Personalization settings.
Now that you’ve mastered the process of adding multiple monitor backgrounds, you have the freedom to create an immersive and visually stunning environment for your PC.
With these seven steps, you now have the knowledge to change the background on your PC, personalize it according to your taste, and elevate your computing experience. Whether you choose a default image, your own photo, a slideshow, or even different backgrounds for each monitor, the power to customize your PC is in your hands.
Conclusion
Changing the background on your PC is a simple yet effective way to personalize your computer and make it truly feel like your own. Whether you prefer a scenic landscape, a cherished photograph, or a vibrant color, customizing the background can instantly transform the look and feel of your PC.
In this article, we’ve guided you through the process of changing the background on your PC, step by step. From accessing the personalization settings to choosing from the Windows default options, setting your own image, customizing the fit and position, changing the background color, using a slideshow, and adding multiple monitor backgrounds, you now have the tools and knowledge to make your PC unique to you.
Remember to take advantage of Windows’ default options, but also feel free to unleash your creativity by setting your own images as backgrounds. Experiment with different fit and position settings to find the perfect display, and don’t hesitate to add a splash of color to suit your mood or style.
Whether you’re using Windows 10, Windows 8, or even Windows 7, the personalization options are at your fingertips. So, go ahead and make your PC reflect your personality, interests, and creative vision.
So, what are you waiting for? Dive into the Personalization settings, unleash your creativity, and give your PC a fresh, new look. Enjoy the personal touch you’ve added to your computer and immerse yourself in a visually captivating experience every time you use your PC.
Embrace the power of customization and let your background be a reflection of you!