Introduction
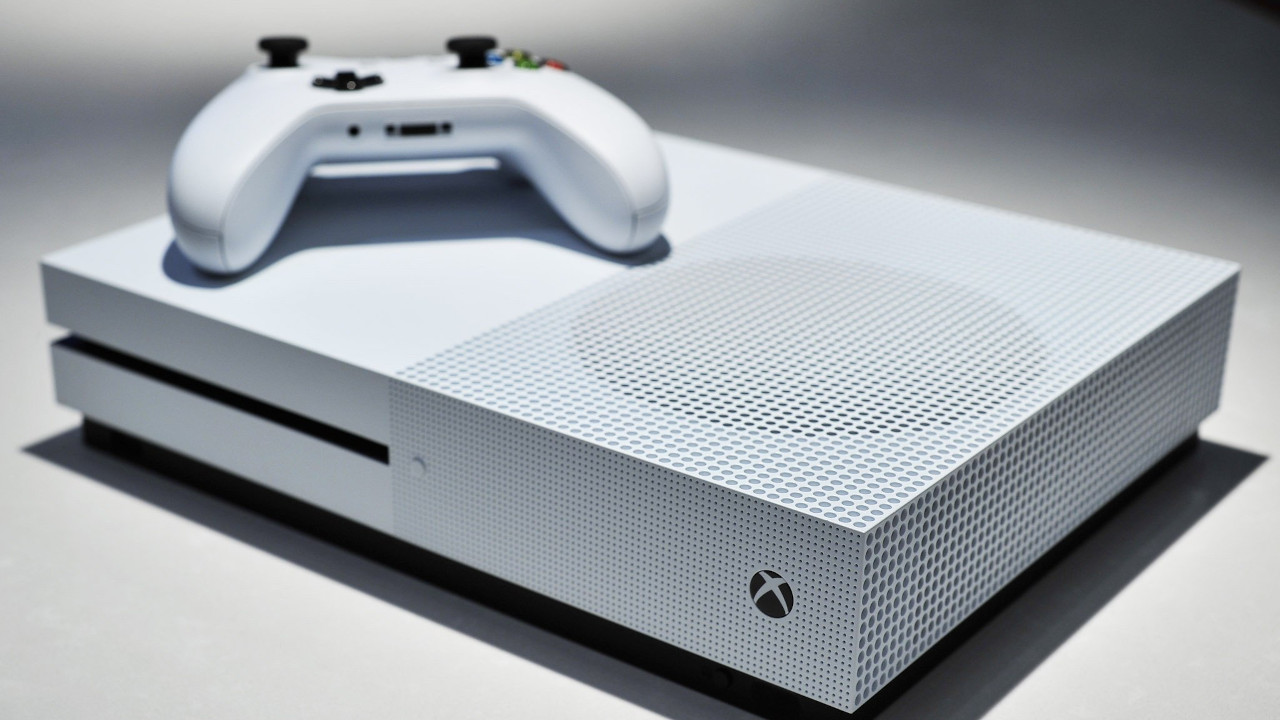
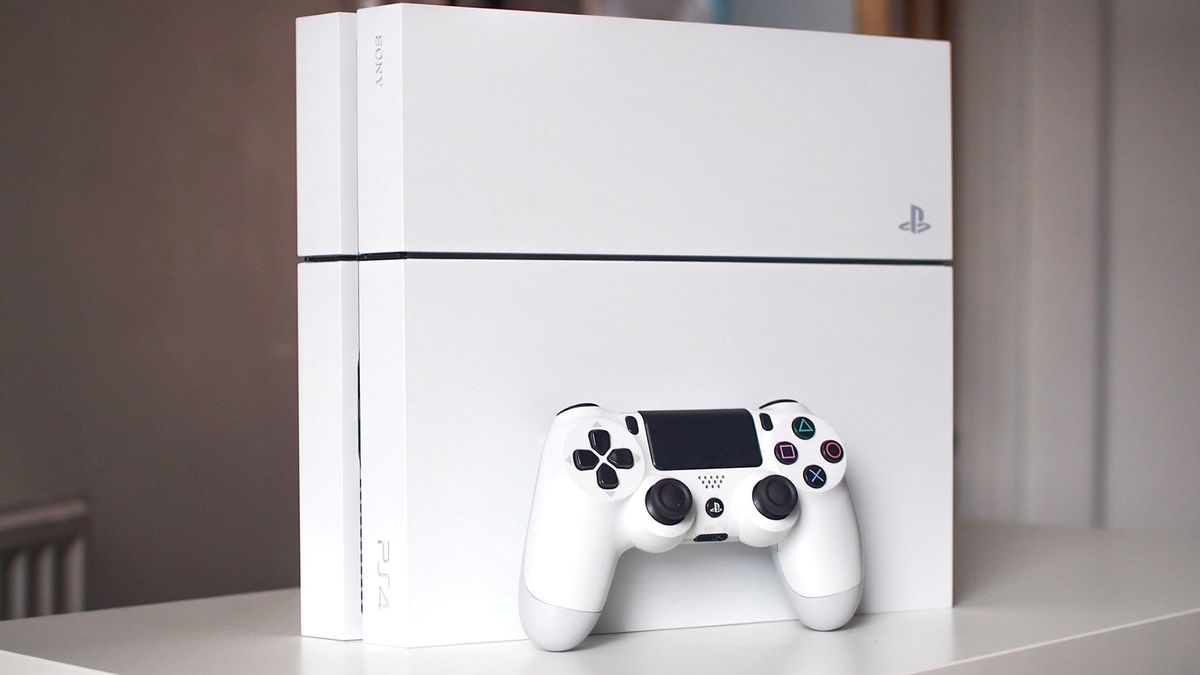
Welcome to the tutorial on how to change NAT type on your PC! If you are experiencing issues with online gaming, such as lag, disconnections, or difficulty joining multiplayer sessions, it’s likely that your NAT type is the culprit. Understanding and being able to change your NAT type can significantly improve your online gaming experience.
NAT (Network Address Translation) is a technology used by routers to translate private IP addresses on a local network to a public IP address that can access the internet. NAT type determines how your PC communicates with other devices on the internet, especially when it comes to online gaming.
There are three types of NAT: NAT Type 1 (Open), NAT Type 2 (Moderate), and NAT Type 3 (Strict). NAT Type 1 provides the best connectivity and allows for the smoothest online gaming experience, while NAT Type 3 can cause issues with connecting to other players, frequent disconnections, and limited functionality.
In this guide, we will walk you through the process of checking your current NAT type and provide several methods to change it if needed. These methods include port forwarding, enabling UPnP (Universal Plug and Play), utilizing the DMZ (Demilitarized Zone) feature on your router, or contacting your Internet Service Provider for assistance. By following these steps, you will be able to optimize your network settings and achieve a more stable and enjoyable online gaming experience.
Understanding NAT Type
Before we dive into the methods of changing your NAT type, it’s important to have a clear understanding of what NAT type is and how it affects your online gaming experience.
NAT (Network Address Translation) is a networking technology used by routers to allow multiple devices on a local network to share a single IP address provided by the Internet Service Provider (ISP). This helps conserve limited IPv4 addresses and allows for easier management of the network.
NAT types are categorized into three levels: NAT Type 1, NAT Type 2, and NAT Type 3. The NAT type determines how your PC communicates with other devices on the internet, which can have a significant impact on your online gaming experience.
NAT Type 1, also known as Open NAT, is the most desirable type for online gaming. With NAT Type 1, your PC has a directly accessible public IP address without any restrictions from the router. This allows for an optimal connection to other players and ensures smooth gameplay.
NAT Type 2, also known as Moderate NAT, is the most common type found on home networks. With NAT Type 2, the router creates a virtual firewall to protect devices on the local network. While this provides a certain level of security, it can also introduce some limitations when it comes to online gaming. Moderate NAT may result in longer matchmaking times, occasional connectivity issues, and increased latency, but it is still generally playable.
NAT Type 3, also known as Strict NAT, is the most restrictive type. With NAT Type 3, the router imposes more stringent limitations on the connection to other devices, prioritizing security over gaming performance. This can lead to severe connectivity issues, making it difficult to join multiplayer sessions, experience frequent disconnections, and encounter limited functionality within games.
Understanding your current NAT type is crucial for diagnosing and addressing any online gaming issues you may be experiencing. By changing your NAT type, you can optimize your network settings to improve connectivity, reduce lag, and enhance your overall gaming experience. In the following sections, we will explore various methods to change your NAT type on your PC, allowing you to enjoy seamless online gaming sessions with friends and opponents around the world.
Checking Your Current NAT Type
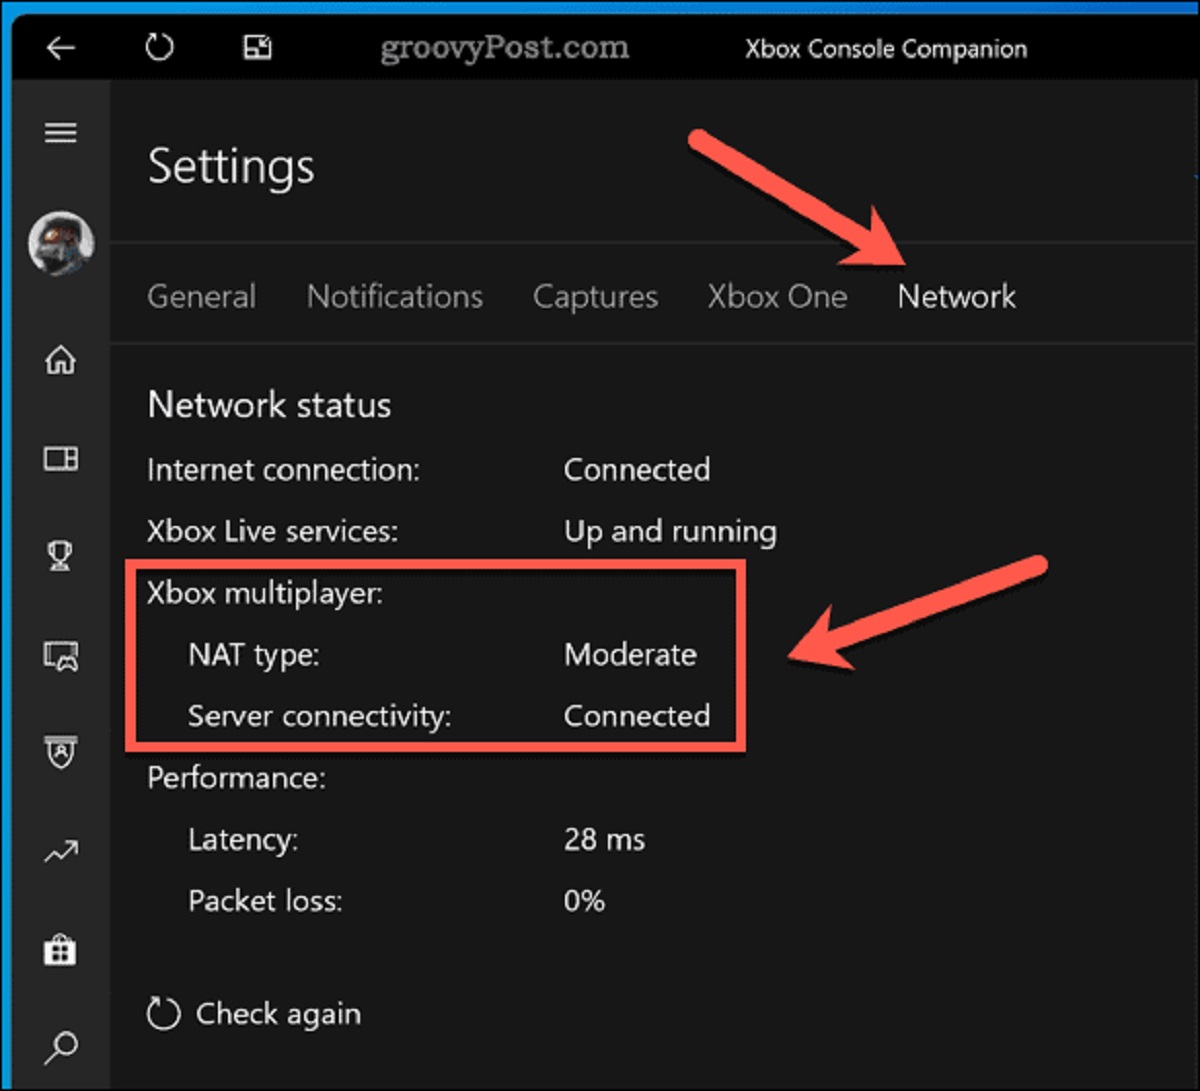
Before you can start changing your NAT type, it’s important to determine your current NAT type. This will help you understand the extent of the issues you may be experiencing and guide you in selecting the appropriate method for changing it.
To check your NAT type on your PC, follow these steps:
- Open your web browser and search for “NAT type test.”
- Select a reputable website that offers a NAT type test tool.
- Click on the “Check Now” or similar button to initiate the test.
- The tool will analyze your network connection and display your current NAT type.
Alternatively, you can also check your NAT type by accessing the settings of your gaming console or using the network settings on your PC. These platforms often provide information about your NAT type within their network configuration menus.
Once you have determined your NAT type, you can compare it to the descriptions provided earlier to understand the limitations and potential issues it may present for online gaming. If you find that you have a Strict (Type 3) NAT, it’s highly recommended to proceed with the methods outlined in the following sections to optimize your NAT type and improve your gaming experience.
Remember that different routers and ISPs may have slightly varying terminologies and settings for NAT type, so consult your router’s manual or contact your ISP if you need further assistance in determining your NAT type.
Now that you have identified your current NAT type, let’s move on to the methods you can use to change it and enhance your online gaming experience.
How to Change NAT Type on PC
Now that you understand your current NAT type and its implications, it’s time to explore the methods available to change it. There are several approaches you can take to modify your NAT type on your PC, and we’ll walk you through each one.
Method 1: Port Forwarding
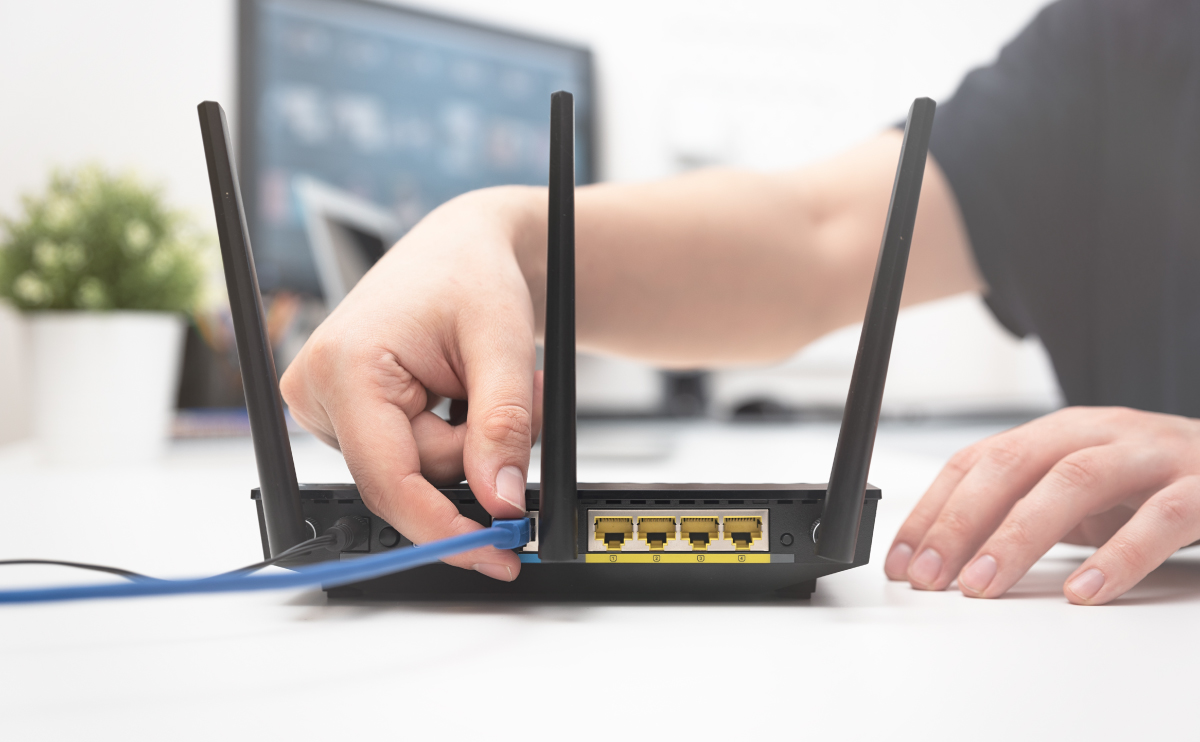
Port forwarding involves manually configuring your router to forward specific ports used by your PC for gaming. This ensures that incoming traffic is directed to your PC without any hindrance from the router’s firewall. To implement port forwarding, follow these general steps:
- Access your router’s admin interface by typing its IP address into a web browser.
- Locate the Port Forwarding or Virtual Server section.
- Add a new port forwarding rule, specifying the port numbers and your PC’s IP address.
- Save the changes and restart your router.
Note: The exact steps may vary depending on your router model. It is advisable to consult your router’s manual or the manufacturer’s website for detailed instructions specific to your device.
Method 2: Enabling UPnP
UPnP (Universal Plug and Play) is a network protocol that allows devices on a network to automatically discover and communicate with each other. Enabling UPnP on your router can help simplify the process of establishing connections and may improve your NAT type. To enable UPnP:
- Access your router’s admin interface and navigate to the UPnP settings.
- Enable UPnP if it’s not already enabled.
- Save the changes and restart your router.
Method 3: DMZ (Demilitarized Zone)
Enabling DMZ on your router will place your PC outside of the router’s firewall, essentially granting it unrestricted access to the internet. While this method can improve your NAT type, it also exposes your PC to potential security risks. To enable DMZ:
- Access your router’s admin interface and locate the DMZ settings.
- Specify your PC’s IP address to enable DMZ for that device.
- Save the changes and restart your router.
Method 4: Contacting Your Internet Service Provider
If the previous methods do not yield the desired results or you encounter difficulties in configuring your router, it may be beneficial to contact your Internet Service Provider (ISP) for assistance. They can provide personalized support and ensure that your network settings are optimized for online gaming.
By following these methods, you can change your NAT type on your PC and enhance your online gaming experience. Experiment with different methods and find the one that works best for you. Remember to test your new NAT type using the methods mentioned earlier to confirm the changes.
Method 1: Port Forwarding
Port forwarding is a method that involves manually configuring your router to forward specific ports used by your PC for gaming. By doing so, you ensure that incoming traffic related to gaming is directed straight to your PC without any hindrance from the router’s firewall.
To set up port forwarding, follow these general steps:
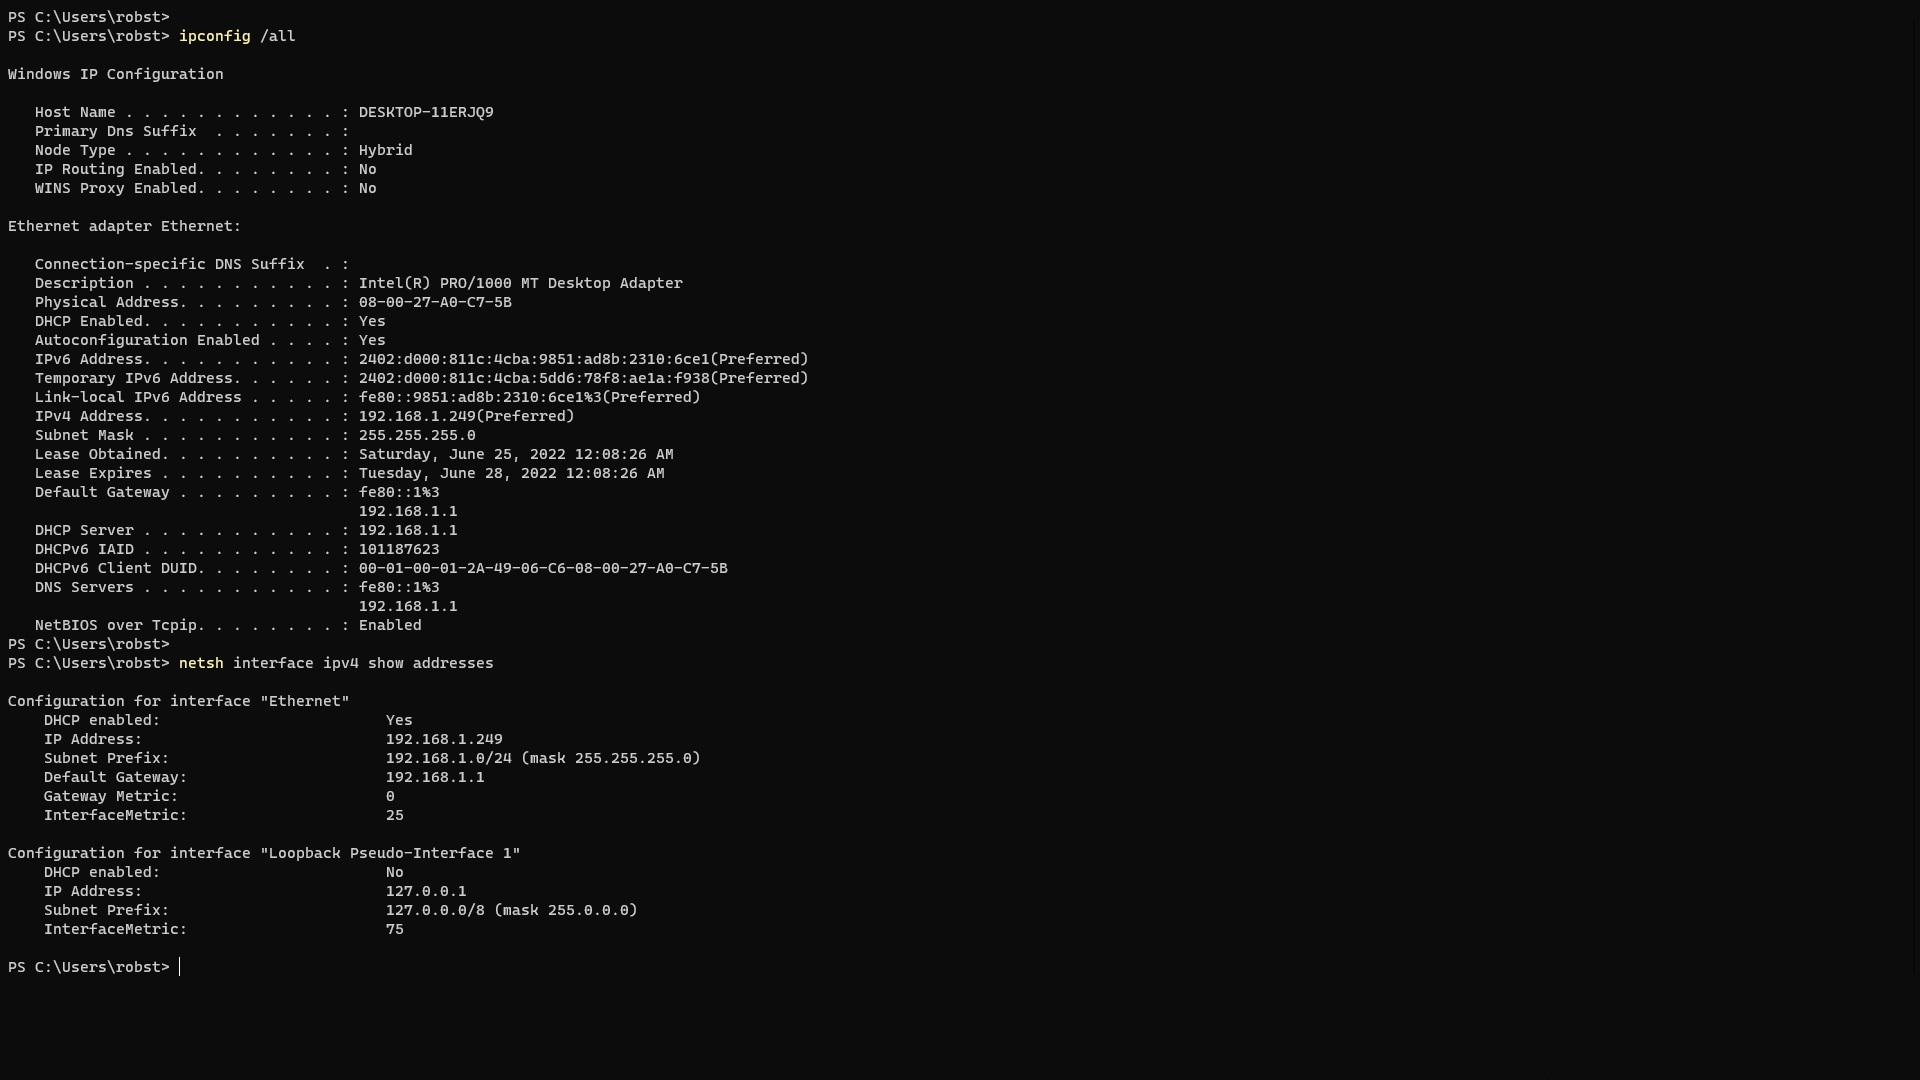
- Open a web browser and enter your router’s IP address in the address bar. Typically, the IP address is something like “192.168.0.1” or “192.168.1.1.” If you are unsure about the IP address, consult your router’s manual or check the manufacturer’s website.
- Once you access the router’s admin interface, look for the “Port Forwarding” or “Virtual Server” section. The location of this section may vary depending on your router’s brand and model.
- Add a new port forwarding rule. Specify the port numbers that your game requires for incoming connections, along with your PC’s IP address. You can find the specific ports required for your game by referring to the game’s documentation or doing a quick online search.
- Save the changes and restart your router to apply the port forwarding settings.
It’s important to note that the exact steps for port forwarding may differ based on your router’s firmware and user interface. Some routers have simplified interfaces with guided setups, while others may require more manual configuration. Refer to your router’s manual or the manufacturer’s website for specific instructions tailored to your device.
After setting up port forwarding, your NAT type should change to a more open status, allowing for improved connectivity and reduced latency in online gaming. Remember to test your new NAT type using the methods mentioned earlier to confirm the changes.
Port forwarding can be an effective solution for changing your NAT type, but it does require some technical knowledge and access to your router’s settings. If you are hesitant or unsure about making these changes, it’s recommended to seek assistance from someone familiar with router configuration or contact your router’s support team.
In the following sections, we will explore additional methods for changing your NAT type on your PC, providing you with alternative options to ensure an optimal gaming experience.
Method 2: Enabling UPnP
UPnP (Universal Plug and Play) is a network protocol that allows devices on a network to automatically discover and communicate with each other. Enabling UPnP on your router can simplify the process of establishing connections and may help improve your NAT type for online gaming.
To enable UPnP and potentially change your NAT type, follow these steps:
- Open a web browser and enter your router’s IP address in the address bar. The IP address is typically something like “192.168.0.1” or “192.168.1.1.” If you don’t know the exact IP address, consult your router’s manual or visit the manufacturer’s website.
- Access your router’s admin interface by entering the correct username and password. If you haven’t changed them before, check the default credentials included in the router’s manual or on the manufacturer’s website.
- Once you’re logged in, navigate to the UPnP settings. The location of this section may vary depending on your router’s brand and model.
- Enable UPnP if it’s not already enabled. This option might be found in a checkbox or toggle switch labeled “Enable UPnP” or something similar.
- Save the changes and restart your router to apply the UPnP settings.
Enabling UPnP allows your PC and the game you’re playing to communicate more effectively with the router, automatically configuring the necessary port forwarding rules for a smoother gaming experience. This can result in a more open NAT type and improved connectivity, especially for peer-to-peer connections in multiplayer gaming.
Keep in mind that not all routers support or have UPnP enabled by default. Additionally, some network security settings or firewall configurations may conflict with UPnP functionality. If you encounter any issues, consult your router’s manual or support resources for further guidance.
After enabling UPnP, remember to test your new NAT type using the methods mentioned earlier to confirm any changes. If the NAT type remains unchanged or you continue to experience connectivity problems, you may need to explore alternative methods for changing your NAT type.
In the next section, we will discuss another method, the DMZ (Demilitarized Zone), which can also be utilized to modify your NAT type on your PC for enhanced online gaming performance.
Method 3: DMZ (Demilitarized Zone)
Enabling the DMZ (Demilitarized Zone) feature on your router can be another effective method for changing your NAT type on your PC and improving your online gaming experience. However, it is important to note that enabling the DMZ exposes your PC to potential security risks, so proceed with caution and be aware of the potential consequences.
To enable the DMZ feature and potentially change your NAT type, follow these steps:
- Open a web browser and enter your router’s IP address in the address bar. The IP address is typically something like “192.168.0.1” or “192.168.1.1.” If you are unsure about the IP address, consult your router’s manual or visit the manufacturer’s website.
- Log in to your router’s admin interface using the appropriate username and password. If you have not changed these credentials before, refer to the default credentials provided in your router’s manual or on the manufacturer’s website.
- Locate the DMZ settings. This section can usually be found under the router’s advanced or security settings, but the exact location may vary depending on the brand and model of your router.
- Enable the DMZ feature and provide your PC’s IP address. This effectively places your PC outside of the router’s firewall, granting it unrestricted access to the internet.
- Save the changes and restart your router to apply the DMZ settings.
Enabling the DMZ feature essentially forwards all incoming connections to your PC, bypassing the router’s security measures and potentially resulting in a more open NAT type for improved connectivity in online gaming. However, it is essential to be aware of the security risks associated with this method. By placing your PC outside of the router’s firewall, you expose it to potential threats from the internet. Ensure that you have appropriate security measures in place, such as a reliable firewall and up-to-date antivirus software, to mitigate the associated risks.
After enabling the DMZ, check your NAT type using the methods mentioned earlier to verify any changes. If you find that the NAT type remains unchanged or you encounter any issues, consider exploring alternative methods or seeking assistance from knowledgeable sources.
In the following section, we will discuss the option of contacting your Internet Service Provider (ISP) to address your NAT type and potential connectivity issues.
Method 4: Contacting Your Internet Service Provider
If the previous methods do not yield the desired results or you encounter difficulties in changing your NAT type on your PC, it may be beneficial to contact your Internet Service Provider (ISP) for assistance. They can provide personalized support and help ensure that your network settings are optimized for online gaming.
When reaching out to your ISP, it’s important to explain the issues you are facing with your current NAT type and the impact it has on your online gaming experience. They may be able to offer specific guidance or suggestions tailored to your network setup. Here are some steps you can take when contacting your ISP:
- Find the customer support contact information for your ISP. This can usually be found on their website or on your monthly bill statement.
- Reach out to their support team via phone, email, or online chat. Explain the nature of your issue and specifically mention that you are experiencing problems with your NAT type for online gaming.
- Provide any relevant information that your ISP may require, such as your account details, the make and model of your router, and the current symptoms you are experiencing.
- Work with your ISP’s support team to troubleshoot the issue. They may guide you through additional steps or even make changes to your network configuration remotely.
Your ISP is uniquely positioned to provide assistance with network-related issues, as they can access and make adjustments to your internet connection. They may have specific settings or solutions available to enhance your NAT type and improve your online gaming performance.
Remember to test your NAT type after implementing any changes or recommendations provided by your ISP. This will help you confirm that your NAT type has been successfully modified and that you are experiencing the desired improvements in online gaming.
If you are still facing issues or are unsatisfied with the level of support provided by your ISP, consider consulting with a professional network technician or seeking advice from online forums and communities dedicated to networking and gaming. These resources can provide additional insights and potential solutions to help address your NAT type concerns.
By exploring the methods outlined in this guide and reaching out for support when needed, you can optimize your NAT type on your PC and enjoy a smoother and more enjoyable online gaming experience.
Conclusion
Changing your NAT type on your PC can significantly improve your online gaming experience by enhancing connectivity, reducing lag, and increasing the stability of your connections to other players. In this guide, we explored various methods to modify your NAT type, including port forwarding, enabling UPnP, utilizing the DMZ feature, and seeking assistance from your Internet Service Provider (ISP).
Port forwarding allows you to manually configure your router to forward specific ports used by your PC for gaming, while enabling UPnP simplifies the process by automatically configuring the necessary port forwarding rules. However, both methods require some technical knowledge and access to your router’s settings.
Enabling the DMZ feature places your PC outside of the router’s firewall and can result in a more open NAT type, but it also exposes your PC to potential security risks. Therefore, it’s essential to weigh the benefits against the potential consequences and take appropriate security measures.
If you encounter difficulties or the previous methods do not yield desired results, contacting your Internet Service Provider (ISP) can provide personalized support and guidance specific to your network setup. They may have additional solutions or settings to optimize your NAT type for online gaming.
Remember to test your NAT type using the methods described earlier to confirm any changes and ensure that you have successfully modified your NAT type. This will help you determine if the modifications have had the desired impact on your online gaming performance.
By employing the methods discussed in this guide and being proactive in optimizing your NAT type, you can create a more enjoyable and seamless online gaming experience. Experiment with different methods, seek assistance when needed, and fine-tune your network settings to achieve the best possible performance for your gaming sessions. Happy gaming!