Introduction
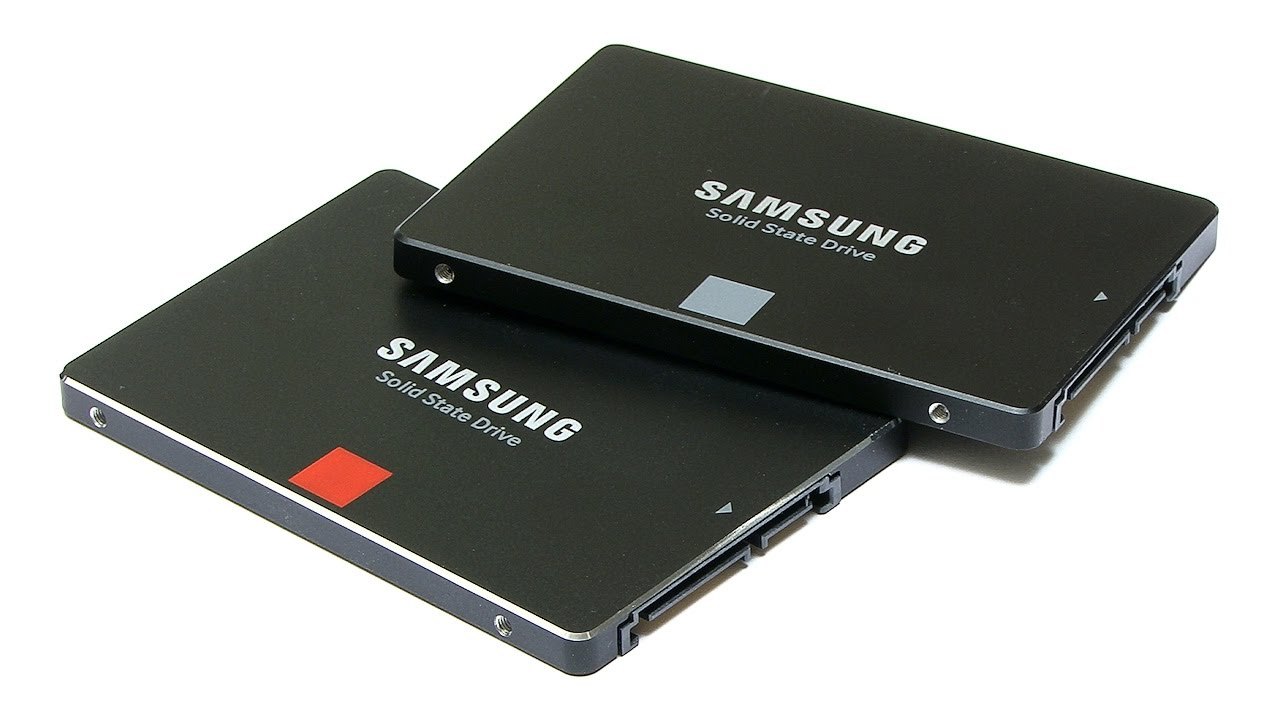
Welcome to our guide on how to transfer Windows 10 to an SSD! If you’re looking to boost the performance of your computer, upgrading to a solid-state drive (SSD) is a great choice. SSDs offer faster boot times, quicker program loading, and improved overall system responsiveness. In this article, we will walk you through the steps to successfully transfer your Windows 10 operating system to an SSD.
Upgrading your hard drive to an SSD can be a game-changer, but the process may seem daunting if you’ve never done it before. Rest assured, though, that with the right tools and instructions, it can be a straightforward and rewarding experience. By following these steps, you’ll be able to migrate your operating system to a faster and more efficient SSD.
Before we dive into the details, it’s important to note that transferring your Windows 10 installation to an SSD involves cloning your existing hard drive. This means that all your data and settings will be copied over to the new drive, ensuring that you don’t lose any valuable information during the process. Additionally, it’s crucial to back up all your important files and create a system restore point before proceeding with the SSD transfer to avoid any unforeseen issues.
Choosing the right SSD is also vital to ensure optimal performance. There are various types of SSDs available, such as SATA SSDs and NVMe SSDs, each with their own advantages. The decision will depend on your specific needs and budget. In this guide, we will provide recommendations on what to consider when selecting an SSD for your Windows 10 transfer.
Once you have your new SSD in hand, you’ll need to properly prepare it for the transfer process. This involves formatting the drive and ensuring that it’s compatible with your system. We will guide you through these steps to ensure a smooth transition.
Next, we’ll show you how to physically connect your SSD to your computer and clone your existing hard drive using reliable software. This will enable you to copy all your files, programs, and settings onto the SSD.
After the cloning process is complete, it’s essential to set your SSD as the boot drive to ensure that your system starts up from the SSD instead of the old hard drive. We will provide step-by-step instructions on how to do this.
Finally, we’ll guide you on how to verify that your SSD is functioning correctly and test its performance to confirm the successful transfer of your Windows 10 operating system. We’ll also offer some additional tips to optimize the performance of your SSD.
By the end of this guide, you’ll have successfully transferred your Windows 10 operating system to an SSD, resulting in improved speed and performance for your computer. So, let’s get started with backing up your files and settings!
Backup Your Files and Settings
Before you embark on the process of transferring your Windows 10 operating system to an SSD, it’s crucial to back up all your files and settings. This ensures that you have a copy of your important data in case anything goes wrong during the transfer process.
There are several ways to back up your files and settings, depending on your preferences and the tools available on your computer. Here are a few methods you can consider:
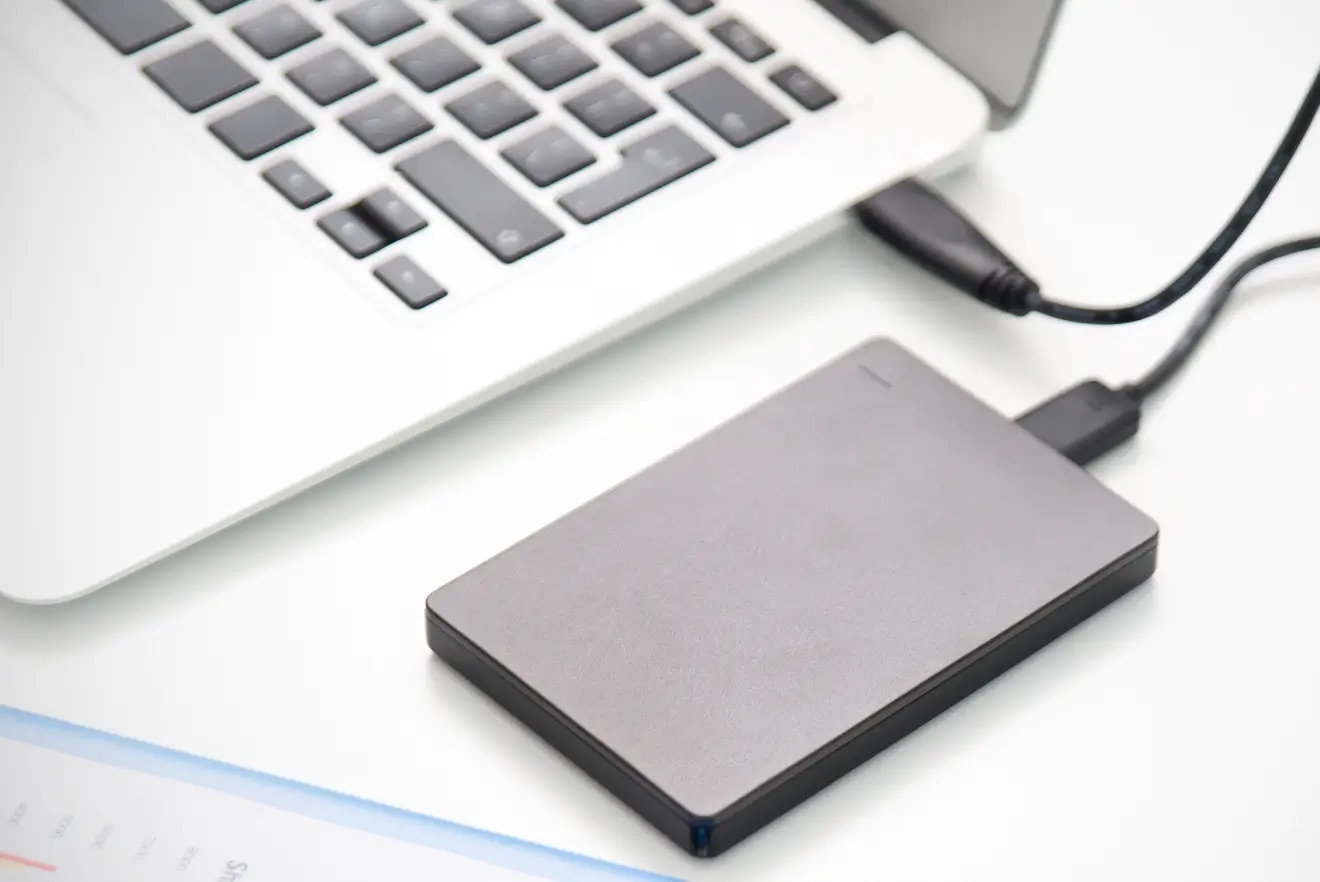
1. External Hard Drive: Connect an external hard drive to your computer and manually copy all your important files, folders, and documents onto it. Make sure to include your personal files, such as photos, videos, and documents, as well as any software installers or licenses you may need in the future.
2. Cloud Storage Services: If you prefer a more convenient and automated backup solution, consider utilizing cloud storage services like Google Drive, Dropbox, or Microsoft OneDrive. These services allow you to upload your files and access them from any device with an internet connection. Simply install the respective desktop applications and choose the files and folders you want to sync to the cloud.
3. Windows Backup and Restore: Windows 10 comes with a built-in backup feature that allows you to create a system image and backup your files. You can access this feature by going to the Control Panel and selecting “Backup and Restore (Windows 7)”. Follow the on-screen instructions to create a system image and select the files you want to back up.
Remember to also ensure that you have a copy of your important settings and configurations. While many settings will be transferred automatically during the cloning process, it’s a good idea to write down any custom settings and preferences you’ve made in your programs, browsers, or system settings.
Additionally, note down any software licenses or product keys you may need to reinstall your programs once the transfer is complete. It’s always better to be prepared and have everything you need at hand.
By backing up your files and settings, you can proceed with peace of mind knowing that your important data is safe. In the event that anything unexpected happens during the transfer process, you can simply restore your files from the backup and resume normal operations.
Once you have completed the backup process, you are ready to move on to the next step: choosing the right SSD for your Windows 10 transfer. So, let’s take a closer look at the factors to consider when selecting an SSD.
Choose the Right SSD
When it comes to selecting the right SSD for your Windows 10 transfer, there are a few factors to consider. The type of SSD, capacity, performance, and price are all important considerations that can impact your overall experience. Let’s dive into each of these factors to help you make an informed decision.
1. Type of SSD: There are primarily two types of SSDs: SATA SSDs and NVMe SSDs. SATA SSDs utilize the same interface as traditional hard drives, making them compatible with most computers. NVMe SSDs, on the other hand, use a faster interface and can deliver even higher speeds. However, NVMe SSDs may require a compatible motherboard to take full advantage of their capabilities.
2. Capacity: SSDs come in various capacities, ranging from 120GB to several terabytes. Consider your storage needs and budget when selecting the capacity. It’s a good idea to choose a capacity that allows you to transfer your entire operating system, along with your important files and applications, without running out of space.
3. Performance: SSD performance is typically measured by its read and write speeds. Higher read and write speeds result in faster data transfers and overall system responsiveness. Look for SSDs with high performance ratings to ensure a significant improvement in speed compared to your previous hard drive.
4. Price: SSD prices have become more affordable in recent years, but they can still vary depending on the brand, capacity, and performance. Set a budget and compare prices across different SSD models to find the one that offers the best value for your money. Remember, investing in a higher-quality SSD can provide greater long-term benefits.
5. Brand and Reliability: It’s recommended to choose SSDs from reputable brands known for their reliability and quality. Well-known brands often offer better warranties and customer support, which can be crucial in case you encounter any issues.
By considering these factors, you can find the right SSD that meets your specific needs and budget. Once you’ve selected your SSD, it’s time to prepare it for the Windows 10 transfer. In the next section, we’ll guide you through the necessary steps to get your SSD ready.
Prepare Your SSD
Before you start the Windows 10 transfer process to your new SSD, it’s essential to properly prepare the SSD to ensure a smooth and successful transition. Below are the steps to help you get your SSD ready:
1. Format the SSD: Before you can use the SSD, you’ll need to format it. Formatting will erase any existing data on the drive and prepare it for use. To format your SSD, connect it to your computer using a compatible cable or adapter. Then, open the Disk Management utility in Windows by right-clicking on the Start button and selecting “Disk Management”. Locate your SSD in the list of drives, right-click on it, and select “Format”. Follow the on-screen prompts to complete the formatting process.
2. Check for Firmware Updates: It’s always a good idea to check for firmware updates for your SSD. Firmware updates can improve performance, compatibility, and stability of your SSD. Visit the manufacturer’s website and look for any available firmware updates for your specific SSD model. Follow the manufacturer’s instructions to update the firmware if necessary.
3. Enable TRIM: TRIM is a feature that helps maintain the performance and lifespan of your SSD. It allows the operating system to inform the SSD which blocks of data are no longer in use, allowing the SSD to efficiently manage its storage. To enable TRIM, open the Command Prompt as an administrator and enter the command “fsutil behavior set DisableDeleteNotify 0”. Press Enter to execute the command, and TRIM will be enabled for your SSD.
4. Adjust Power Settings: It’s recommended to adjust your system’s power settings to optimize SSD performance. By default, Windows might be configured to save power, which can hamper the performance of your SSD. Go to the Control Panel and select “Power Options”. Choose the “High performance” power plan to ensure that the SSD operates at its maximum potential.
5. Plan Your Data Migration: Take some time to plan your data migration strategy. Decide which files, applications, and settings you want to transfer to your new SSD. This will help ensure that you only clone the essential data and avoid unnecessary redundancy. Make a list of the programs you want to reinstall on the SSD once the transfer is complete.
By following these steps, you’ll be prepared for a smooth Windows 10 transfer to your SSD. In the next section, we’ll guide you through the process of connecting your SSD and cloning your hard drive to complete the transfer.
Connect Your SSD and Clone the Hard Drive
Now that you have prepared your SSD, it’s time to connect it to your computer and clone your existing hard drive. Cloning allows you to create an exact copy of your hard drive, including your Windows 10 operating system, programs, files, and settings. Follow the steps below to connect your SSD and clone the hard drive:
1. Shut Down Your Computer: Before making any hardware connections, shut down your computer completely. Unplug the power cable and ensure that the system is turned off.
2. Connect the SSD: Open your computer case and locate an available slot for your SSD. Depending on the type of SSD and your computer’s setup, you may need to insert the SSD into a 2.5-inch or M.2 slot. Carefully connect the SSD to the slot, making sure it is securely attached.
3. Connect the Power and Data Cables: Once the SSD is inserted, connect the necessary power and data cables. Some SSDs use a SATA power cable, while others may require a Molex or PCIe power connector. Connect the appropriate power cable to the SSD. Then, connect the data cable (SATA or NVMe) from the SSD to an available SATA or M.2 port on your motherboard.
4. Boot Up Your Computer: After connecting the SSD, close your computer case and plug in the power cable. Power on your computer and enter the BIOS/UEFI settings by pressing the designated key during startup (usually F2, Del, or Esc). In the BIOS/UEFI settings, locate the boot order or boot priority options. Set the SSD as the first boot device to ensure that your computer starts from the SSD during the cloning process.
5. Clone Your Hard Drive: There are various software options available for cloning your hard drive. Some SSD manufacturers offer their own cloning software, while third-party applications like Macrium Reflect, Acronis True Image, or Clonezilla can also be used. Choose a cloning software that suits your needs and follow the instructions provided to start the cloning process. Select the source drive (your existing hard drive) and the destination drive (your SSD) and confirm the settings. The software will copy all the data from your hard drive to the SSD.
6. Verify the Cloning Process: After the cloning process is complete, it’s important to verify that everything has been copied successfully. Restart your computer and enter the BIOS/UEFI settings again. Make sure that the SSD is recognized as the primary boot device. Once in Windows 10, check that all your files, applications, and settings are intact on the SSD.
By following these steps, you’ll be able to connect your SSD and clone your hard drive, ensuring that your Windows 10 operating system and data are successfully transferred. In the next section, we’ll guide you through the process of setting your SSD as the boot drive.
Set Your SSD as the Boot Drive
After cloning your hard drive to the SSD, it’s essential to set the SSD as the boot drive in your computer’s BIOS/UEFI settings. By doing so, you ensure that your system starts up from the SSD, allowing you to fully benefit from its improved speed and performance. Follow the steps below to set your SSD as the boot drive:
1. Restart Your Computer: Save any ongoing work and restart your computer. During the startup process, pay attention to the screen for a message that indicates which key to press to enter the BIOS/UEFI settings. Common keys to access the settings are F2, Del, or Esc, but it may vary depending on your computer manufacturer.
2. Enter the BIOS/UEFI Settings: Once you’ve identified the correct key, press it repeatedly as soon as your computer starts up. This will take you to the BIOS/UEFI settings menu. If you see the Windows logo instead, it means you missed the timing and need to restart and try again.
3. Navigate to the Boot Order or Boot Priority: In the BIOS/UEFI settings menu, look for a tab or section related to the boot options. It may be labeled as “Boot”, “Boot Order”, “Boot Priority”, or something similar. Use the arrow keys on your keyboard to navigate to this tab.
4. Change the Boot Priority: Once you’ve accessed the boot options, you’ll see a list of available boot devices. Look for your SSD in the list – it may be labeled with its model name or a generic label like “SATA”. Use the designated key (usually +/- or F5/F6) to move the SSD to the top of the boot priority list. This ensures that your computer will boot from the SSD first.
5. Save Changes and Exit: Once you’ve changed the boot priority, navigate to the exit menu in the BIOS/UEFI settings. Look for an option to save the changes and exit – it may be labeled as “Save and Exit”, “Exit and Save Changes”, or similar. Select this option, and your computer will restart.
6. Verify the Boot Drive: After your computer restarts, it should now boot from the SSD as the primary drive. Once in Windows 10, double-check that the SSD is indeed the boot drive by opening “System Information” in the Control Panel. Look for the “Boot Device” or “System Drive” information – it should indicate your SSD as the primary drive.
By setting your SSD as the boot drive, you ensure that your computer starts up quickly and operates with improved speed and performance. In the next section, we’ll guide you on how to verify that your SSD is working correctly and provide some additional tips for optimizing its performance.
Verify the SSD is Working
After setting your SSD as the boot drive and successfully transferring your Windows 10 operating system, it’s important to verify that the SSD is functioning correctly. By conducting a few simple tests, you can ensure that your SSD is working as intended and benefiting your computer’s performance. Follow the steps below to verify the SSD:
1. Check Drive Recognition: Open “Disk Management” in Windows by right-clicking on the Start button and selecting “Disk Management”. Look for your SSD in the list of drives. It should be labeled with the correct capacity and a healthy status. This confirms that your computer recognizes the SSD correctly.
2. Perform a Speed Test: Use a benchmarking tool like CrystalDiskMark or AS SSD Benchmark to test the read and write speeds of your SSD. These tools provide detailed information about the performance of your SSD, including sequential and random read/write speeds. Compare the results with the manufacturer’s specifications to ensure your SSD is performing as expected.
3. Run Diagnostic Software: Most SSD manufacturers offer diagnostic software that allows you to perform comprehensive tests on your SSD. These tools can detect any potential issues and provide recommendations for optimizing performance. Check the manufacturer’s website for any available diagnostic software and follow the instructions to perform the tests.
4. Monitor Health and Life: Consider using SSD-specific monitoring software, such as CrystalDiskInfo or Samsung Magician, to keep track of your SSD’s health and remaining lifespan. These tools provide real-time information about key metrics like temperature, wear level, and estimated lifespan. Regularly monitoring your SSD’s health can help you identify any early signs of issues and take necessary actions.
5. Optimize SSD Performance: To ensure the best performance from your SSD, consider implementing a few optimization practices. Enable TRIM support (if not already enabled) to enhance the SSD’s efficiency and maintain its performance over time. Keep your SSD firmware up to date by visiting the manufacturer’s website regularly. Additionally, avoid filling your SSD to its maximum capacity, as it can affect performance. Aim to leave around 10-20% of free space on the drive to ensure optimal performance.
By following these steps, you can verify that your SSD is working correctly and maximizing your computer’s performance. Enjoy the improved speed and responsiveness that your new SSD brings to your Windows 10 system. In the next section, we’ll conclude our guide with some final thoughts and tips for maintaining your SSD’s performance in the long run.
Conclusion
Congratulations! You have successfully transferred your Windows 10 operating system to an SSD, unlocking its full potential for improved speed and performance. By following the steps outlined in this guide, you have backed up your files and settings, chosen the right SSD, prepared the SSD for the transfer, connected it to your computer, cloned your hard drive, set the SSD as the boot drive, and verified that the SSD is working correctly.
With your new SSD in place, you can now enjoy faster boot times, quicker program loading, and enhanced overall system responsiveness. The seamless transition to the SSD ensures that you haven’t lost any valuable data during the process.
Remember to periodically monitor your SSD’s health and performance using monitoring software provided by the manufacturer. This will help you identify any issues early on and take appropriate actions to maintain the optimal performance of your SSD.
Additionally, it’s essential to implement optimization practices such as enabling TRIM support, keeping your firmware up to date, and leaving a reasonable amount of free space on the SSD to ensure longevity and sustained performance.
By upgrading to an SSD and transferring your Windows 10 operating system, you’ve taken a significant step towards enhancing your computer’s performance and improving your overall computing experience.
Thank you for following our guide, and we hope you enjoy the benefits of your newly transferred Windows 10 system on your SSD!


