Introduction
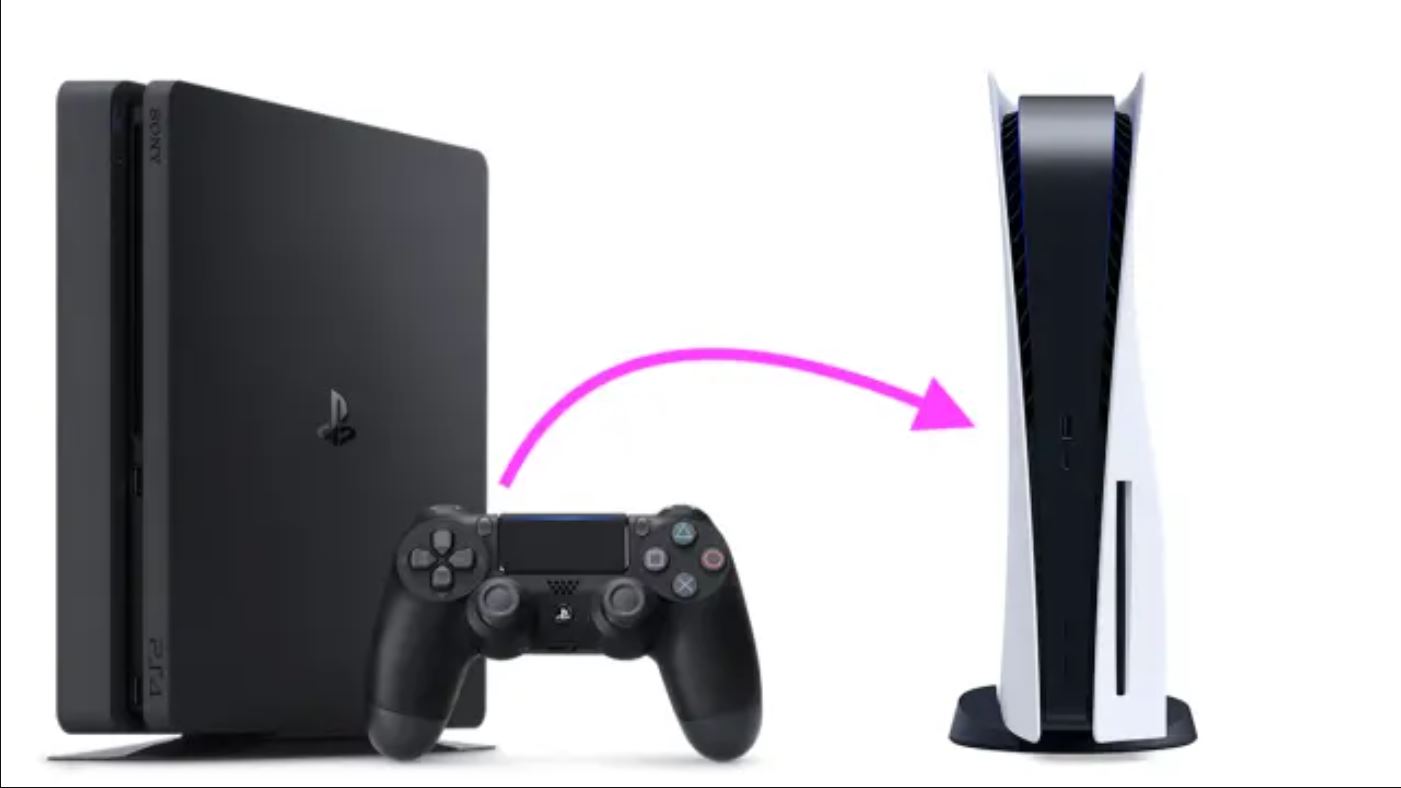
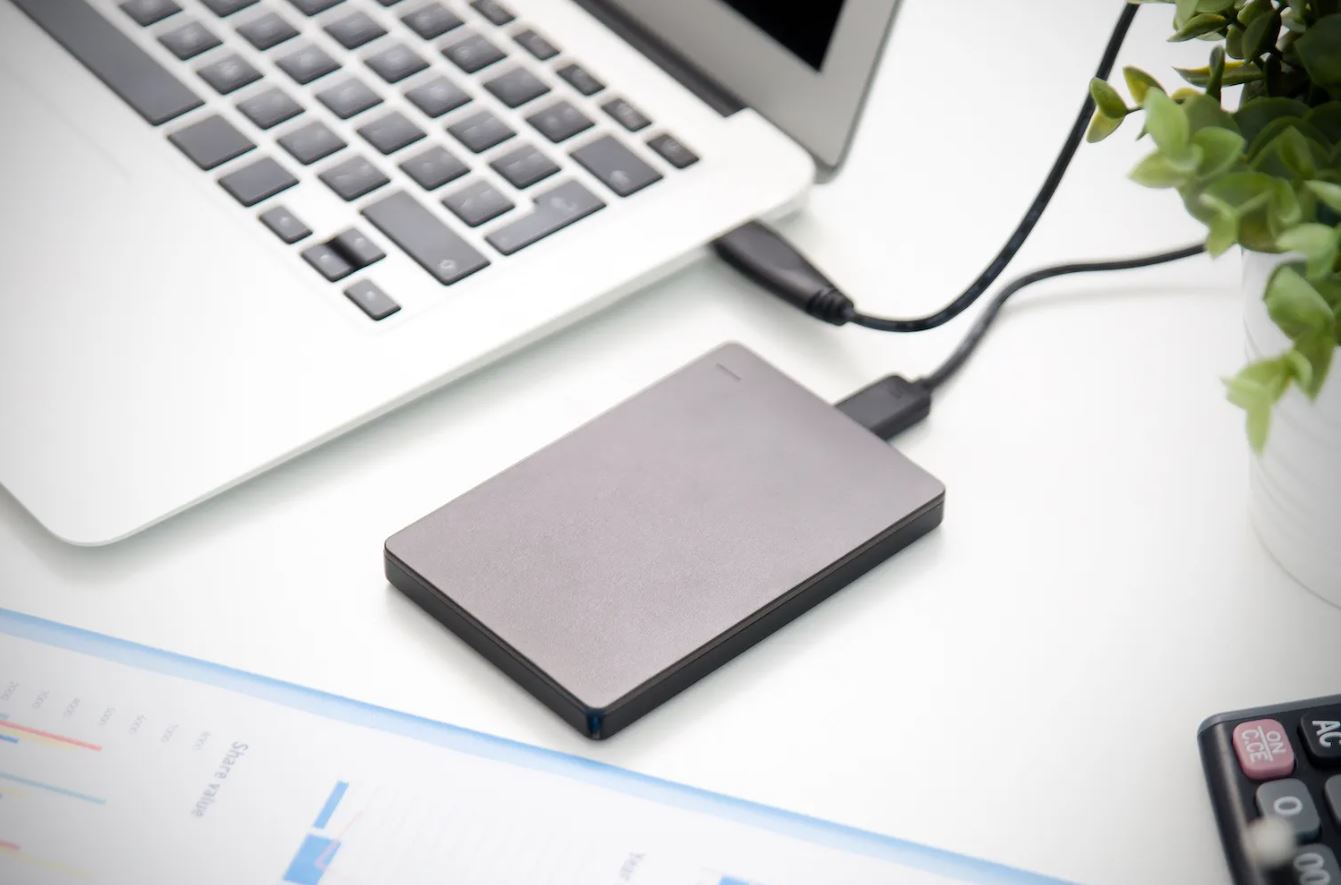
With the release of the new PlayStation 5, many gamers are eager to upgrade from their trusty PlayStation 4. As part of this transition, transferring game data and settings from the old console to the new one can be a bit of a challenge. One common concern is how to transfer an external hard drive from the PS4 to the PS5, especially if you have a significant collection of games and save data stored on it.
Fortunately, Sony has made it possible to transfer your external hard drive from the PS4 to the PS5, allowing you to seamlessly continue playing your favorite games without losing progress or having to redownload them. In this guide, we will walk you through the step-by-step process of transferring your external hard drive and ensuring a smooth transition to the new console.
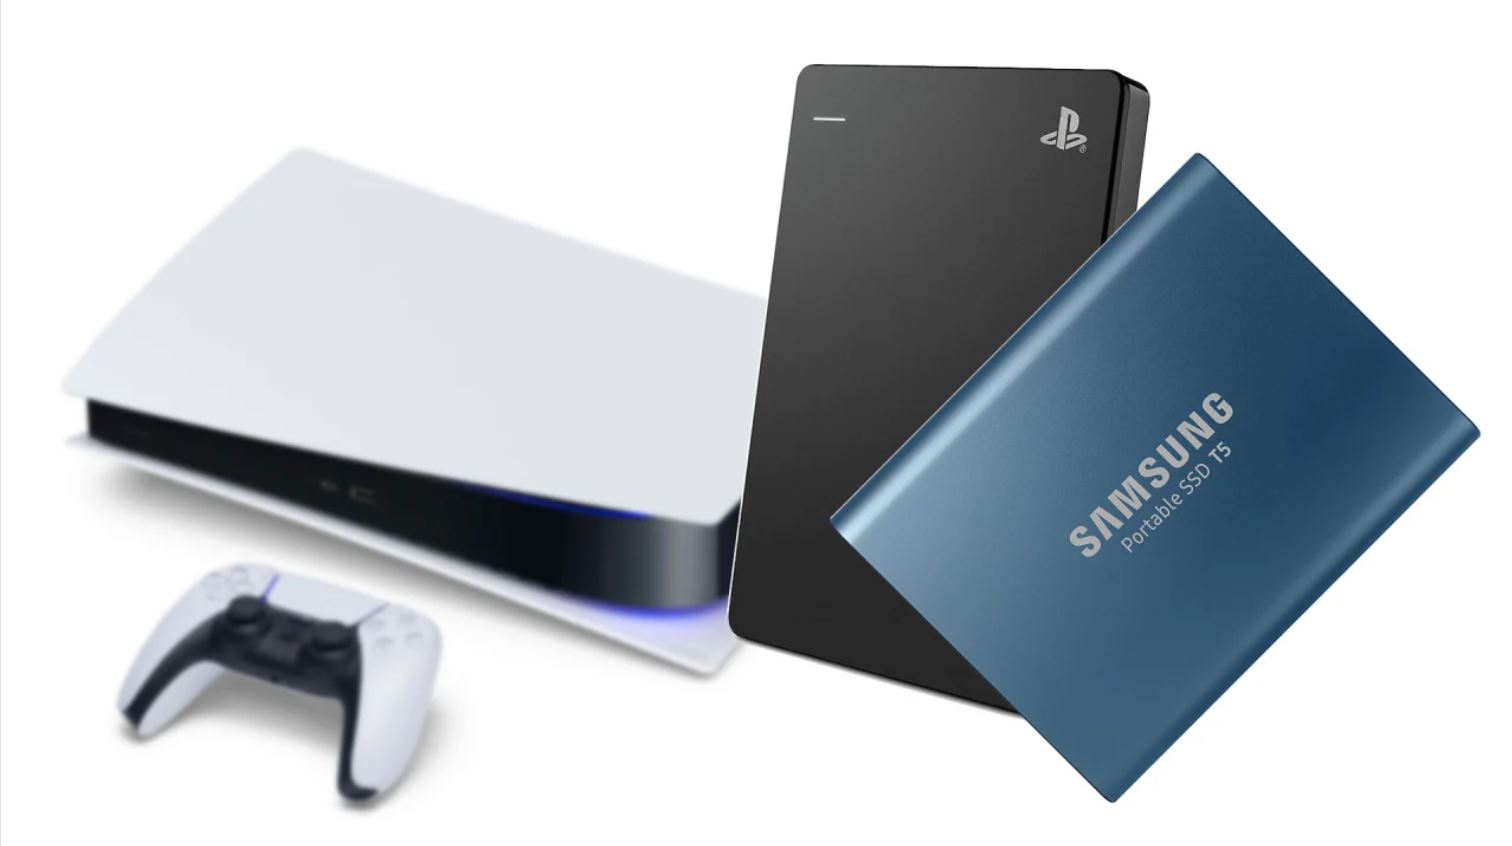
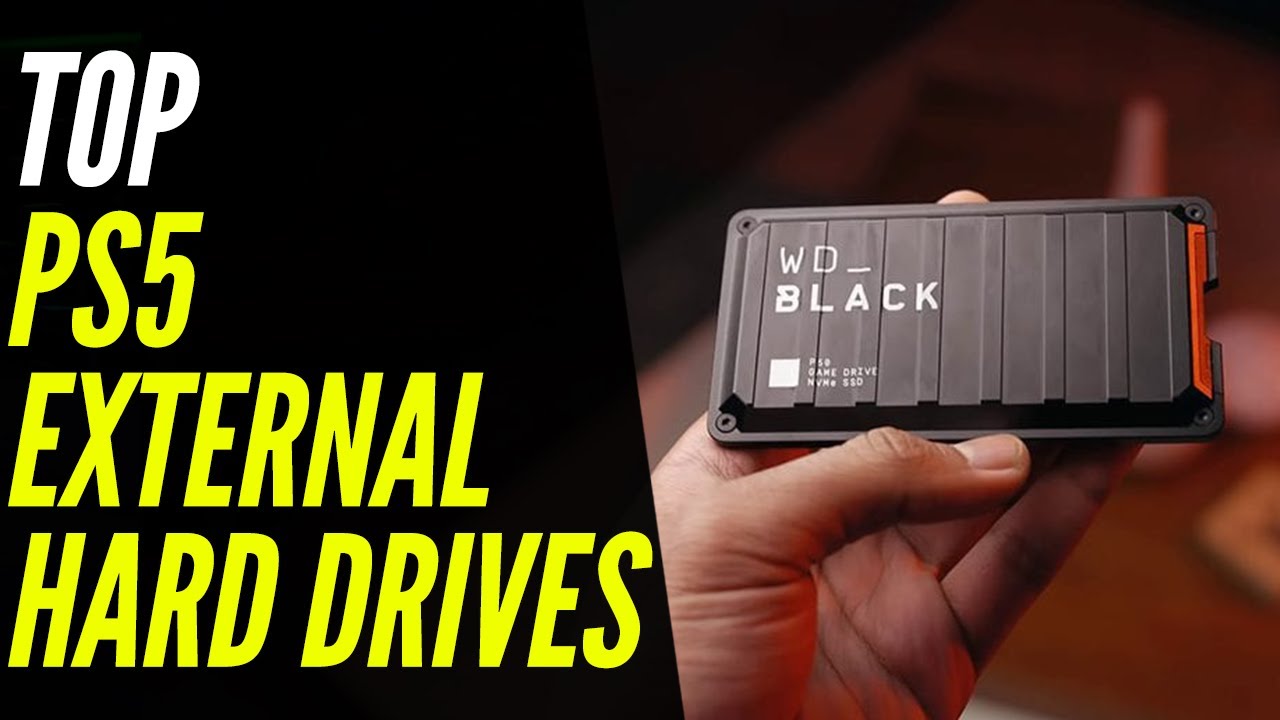
It’s important to note that not all external hard drives are compatible with the PS5. So before you begin the transfer process, it’s essential to check if your external hard drive meets the system requirements. Additionally, it’s highly recommended to back up your game data from the PS4 to ensure that no progress or settings are lost during the transfer.
So if you’re ready to embark on your gaming journey with the PS5 and want to keep your existing game library and data intact, let’s get started on transferring your external hard drive from the PS4 to the PS5.
Step 1: Check if Your External Hard Drive is Compatible with the PS5
Before you can start transferring your external hard drive from the PS4 to the PS5, it’s crucial to ensure that it is compatible with the new console. The PS5 supports external storage through USB connections, but not all external drives may meet the necessary requirements.
To check the compatibility of your external hard drive, follow these steps:
- Make sure your PS5 is powered off and disconnected from any power source.
- Locate the USB cable that connects your external hard drive to the PS4. Unplug it from the PS4.
- Inspect the USB connector on the end of the cable. The PS5 supports USB 3.0 and USB 3.1 (Gen 1 and Gen 2) connections. These ports are usually blue in color. If your external hard drive uses a different USB standard, it may not be compatible.
- If your external hard drive has a separate power source, make sure it is also compatible with the power requirements of the PS5.
- Once you have verified the compatibility of the USB connection and power source, you can proceed to the next step.
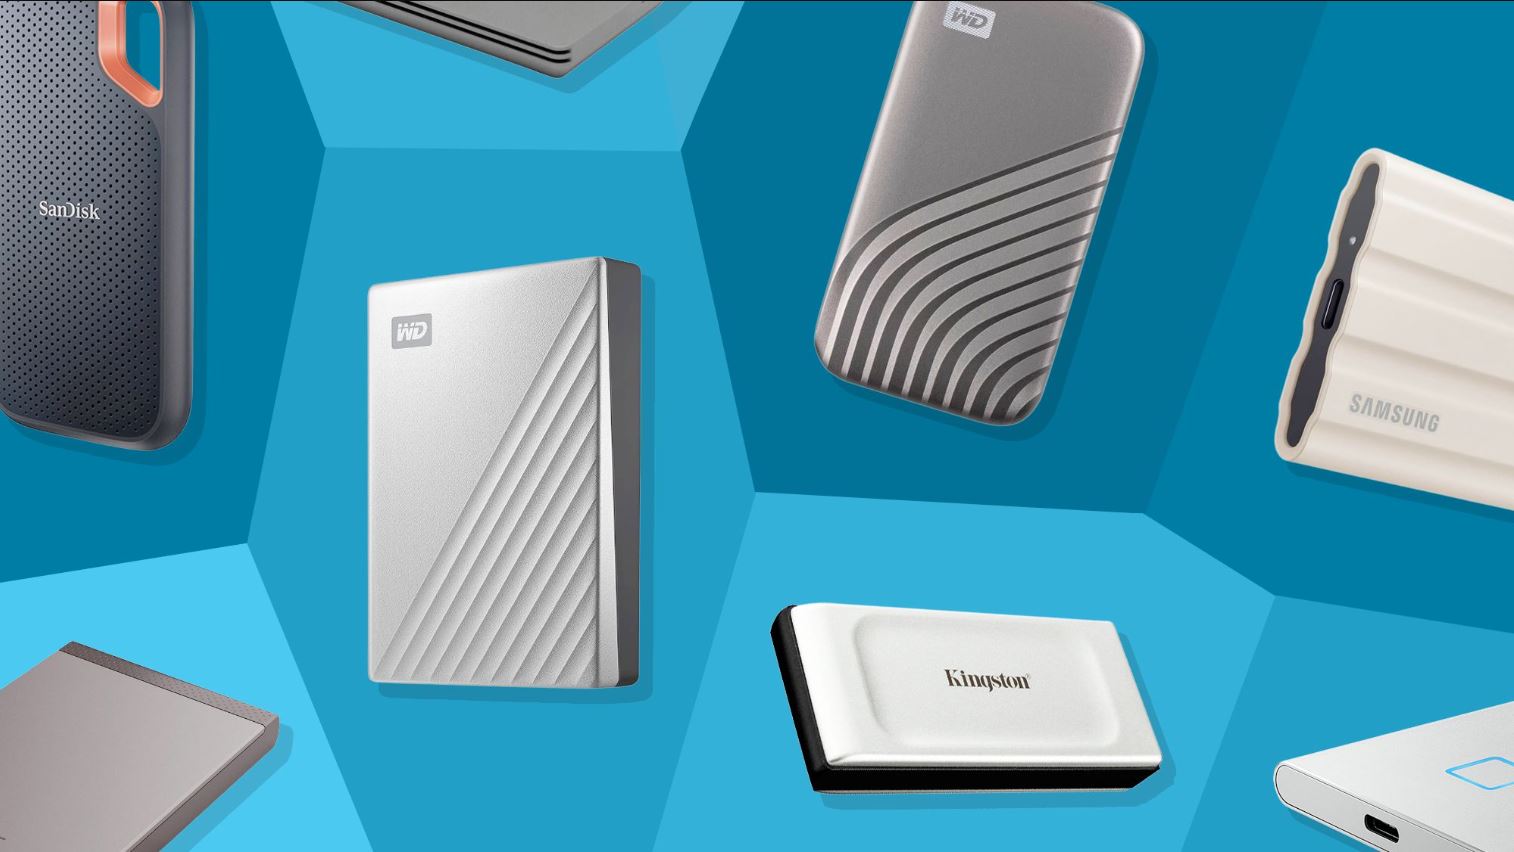
If your external hard drive is not compatible with the PS5, you have a couple of options. You can either transfer your game data to the PS5’s internal storage or consider purchasing a compatible external hard drive that meets the system requirements.
It’s important to note that even if your external hard drive meets the compatibility criteria, you will still need to format it for the PS5 before you can use it on the new console. Formatting will erase all existing data on the drive, so make sure you have backed up any important files before proceeding with the transfer.
Now that you have verified the compatibility of your external hard drive, let’s move on to the next step: backing up your game data on the PS4.
Step 2: Back Up Your Game Data on the PS4
Before transferring your external hard drive from the PS4 to the PS5, it’s important to back up your game data to ensure that no progress or settings are lost during the process. Sony provides a built-in feature on the PS4 that allows you to easily backup your game data to an external device or the cloud.
Here’s how you can back up your game data on the PS4:
- Ensure that your PS4 is connected to the internet and has enough available storage space for the backup.
- Power on your PS4 and sign in to your account.
- From the home screen, navigate to the “Settings” menu.
- Scroll down and select “System” from the list of options.
- In the System menu, choose “Back Up and Restore.”
- Select “Back Up PS4” to begin the backup process.
- Choose whether to back up your applications (games) and/or your saved data. We recommend selecting both to ensure a complete backup.
- Connect an external storage device, such as a USB flash drive or an external hard drive, to your PS4. You can also choose to back up to the cloud if you have a PlayStation Plus subscription.
- Follow the on-screen prompts to complete the backup process. It may take some time depending on the size of your game data.
- Once the backup is complete, disconnect the external storage device from the PS4.
By following these steps, you will have successfully created a backup of your game data on the PS4. This backup will come in handy when transferring your data to the PS5, as it ensures the preservation of your progress, settings, and game installations.
Now that you have backed up your game data on the PS4, you are ready to move on to the next step: disconnecting the external hard drive from the PS4.
Step 3: Disconnect the External Hard Drive from the PS4
Now that you have successfully backed up your game data on the PS4, it’s time to disconnect the external hard drive from the console. By disconnecting it properly, you ensure that the data remains intact and ready for transfer to the PS5.
Follow these steps to disconnect the external hard drive from the PS4:
- Make sure your PS4 is powered off and disconnected from any power source.
- Locate the USB cable that connects your external hard drive to the PS4.
- Gently unplug the USB cable from the PS4’s USB port. Be cautious not to pull it out forcefully to avoid damaging the port or the cable.
- Ensure that the external hard drive is safely disconnected from the console.
- If your external hard drive has a separate power source, disconnect it as well.
- You have now successfully disconnected the external hard drive from the PS4.
It’s important to handle the external hard drive with care during the disconnection process to avoid any potential damage. By following these steps, you can be confident that your data will remain intact and ready for the next step: connecting the external hard drive to the PS5.
Now that you have safely disconnected the external hard drive from the PS4, let’s proceed to the next step: connecting the external hard drive to the PS5.
Step 4: Connect the External Hard Drive to the PS5
Now that you have disconnected the external hard drive from the PS4, it’s time to connect it to the PS5. This step is essential to ensure the smooth transfer of your game data and settings from the old console to the new one.
Follow these steps to connect the external hard drive to the PS5:
- Ensure that your PS5 is powered off and disconnected from any power source.
- Position your PS5 console in a convenient location, preferably near your gaming setup.
- Locate the USB cable that you used to connect the external hard drive to the PS4.
- Plug the USB cable into one of the USB ports on the front or back panel of the PS5. The PS5 supports USB 3.0 and USB 3.1 (Gen 1 and Gen 2) connections, so make sure you choose a compatible port.
- Ensure that the USB cable is securely plugged into the USB port.
- If your external hard drive has a separate power source, connect it to a power outlet.
- Power on your PS5 by pressing the power button or using the controller.
Once you have followed these steps, your external hard drive will be successfully connected to the PS5. The console will detect the drive and prompt you to format it for use with the PS5.
It’s important to note that formatting the external hard drive for the PS5 will erase all existing data. Therefore, make sure you have backed up any important files before proceeding with the next step.
Now that you have connected the external hard drive to the PS5, it’s time to move on to the next step: formatting the external hard drive for PS5.
Step 5: Format the External Hard Drive for PS5
After connecting the external hard drive to the PS5, the next step is to format it for use with the new console. Formatting the drive is necessary to ensure compatibility and optimal performance on the PS5. However, please keep in mind that formatting the external hard drive will erase all existing data, so it’s crucial to have backup copies if necessary.
Follow these steps to format the external hard drive for the PS5:
- Ensure that your PS5 is powered on and connected to a display.
- Using the controller, navigate to the home screen of the PS5.
- Go to the “Settings” menu by selecting the gear icon in the top-right corner of the screen.
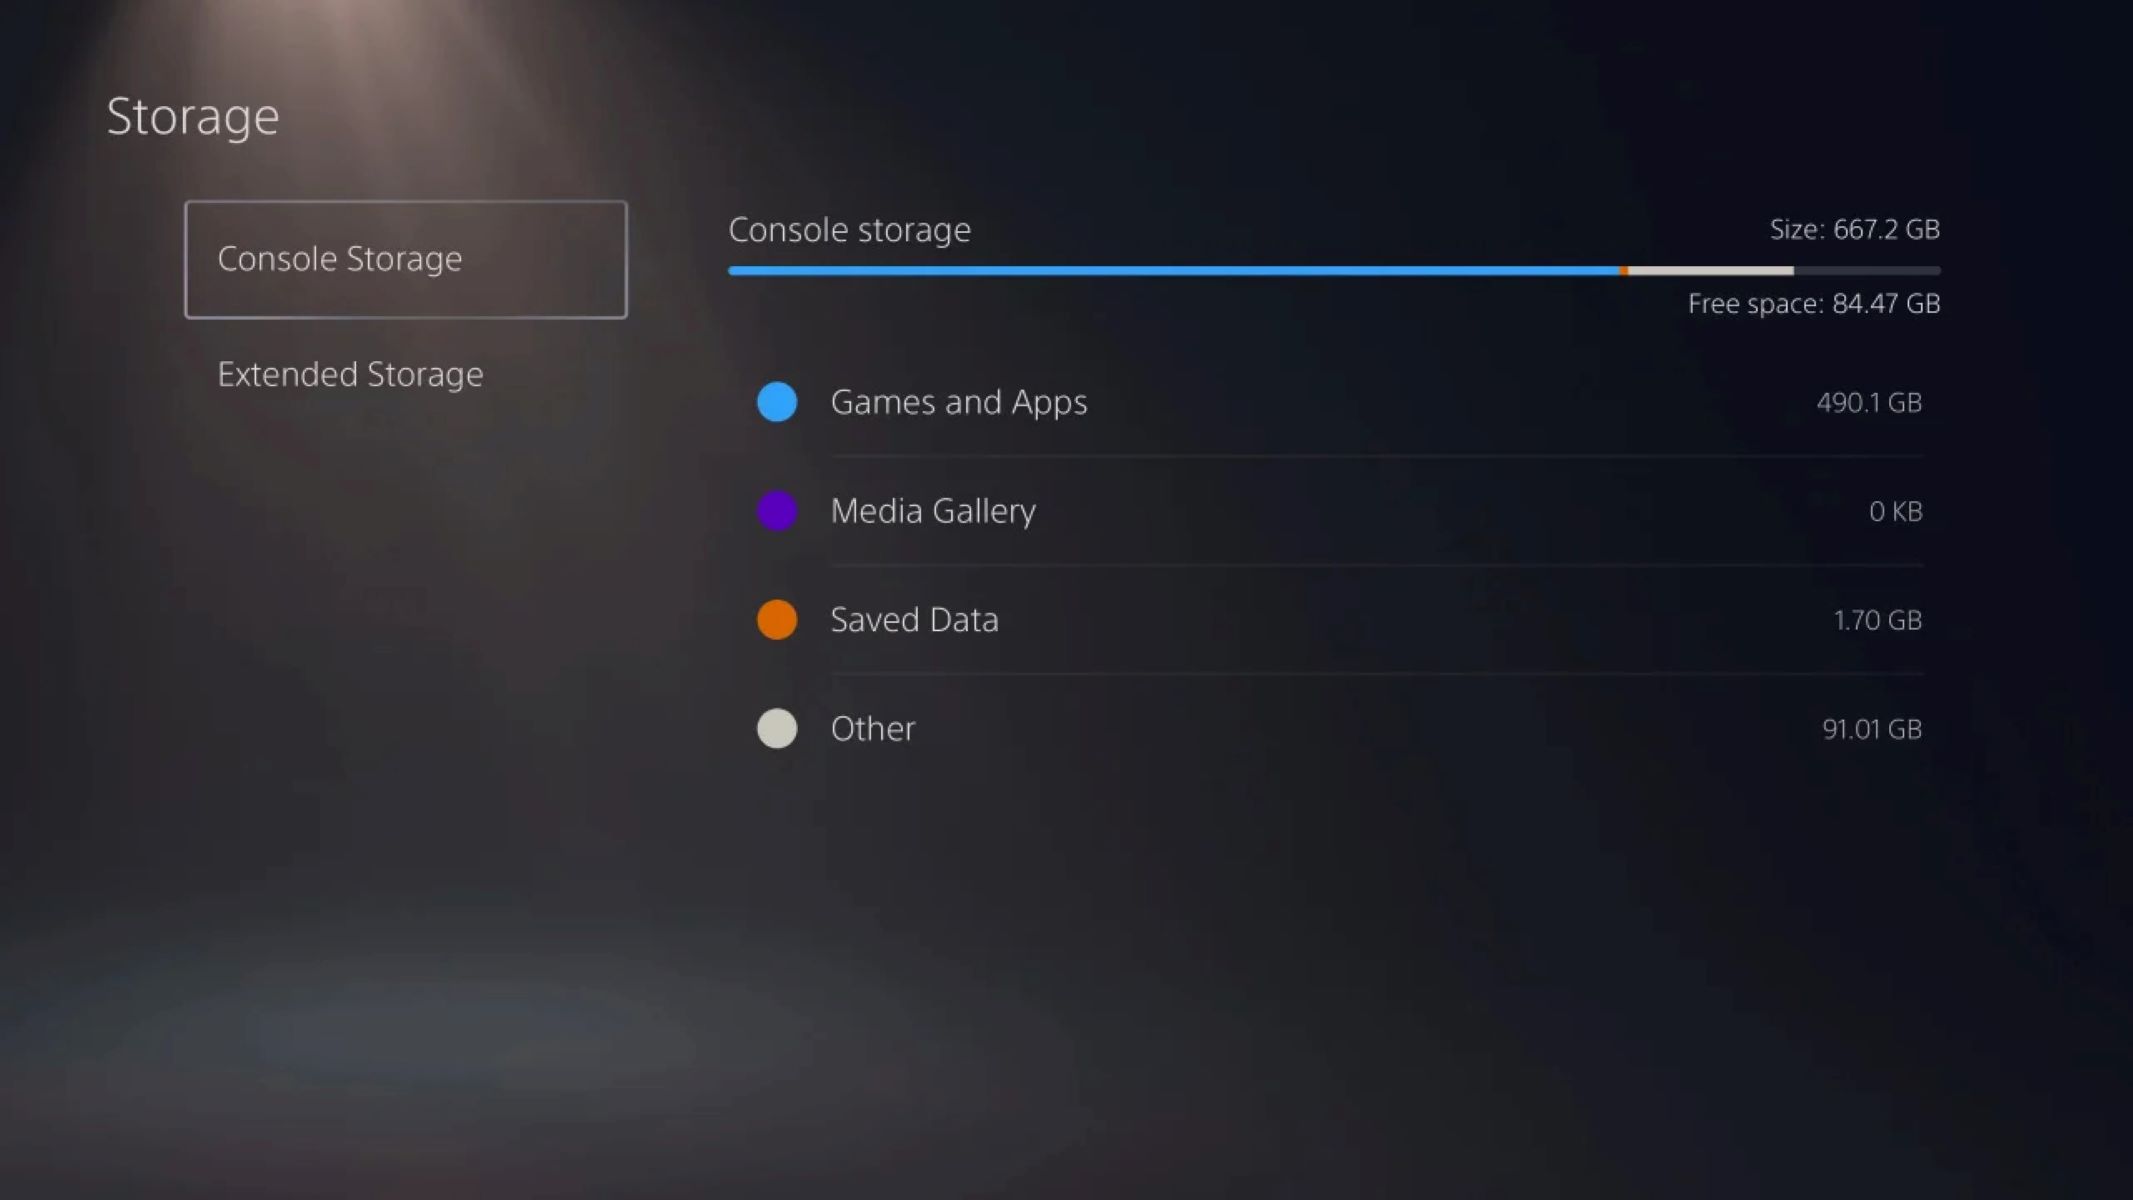
- In the Settings menu, scroll down and select “Storage.”
- Choose “USB Extended Storage” from the list of storage options.
- Locate your external hard drive from the available storage devices.
- Select the external hard drive and choose “Format as Extended Storage.”
- Read the warning message that appears and make sure you have backed up any important data.
- Confirm the formatting process by selecting “Format” on the screen.
- Wait for the PS5 to format the external hard drive. The duration may vary depending on the size of the drive.
- Once the formatting process is complete, you will see a confirmation message.
By following these steps, you will have successfully formatted your external hard drive for use with the PS5. The drive will now be recognized as extended storage by the console, and you will be able to transfer your games and data to it in the next step.
Now that you have formatted the external hard drive for the PS5, let’s move on to the next step: transferring games and data from the PS4 to the PS5.
Step 6: Transfer Games and Data from PS4 to PS5
Now that you have successfully formatted the external hard drive for the PS5, it’s time to transfer your games and data from the PS4 to the new console. Sony provides a convenient and straightforward method for transferring your game library and save files, ensuring that you can pick up right where you left off on your PS4.
Follow these steps to transfer games and data from the PS4 to the PS5:
- Ensure that your PS5 is powered on and connected to the internet.
- Using the controller, navigate to the home screen of the PS5.
- Go to the “Settings” menu by selecting the gear icon in the top-right corner of the screen.
- In the Settings menu, scroll down and select “System.”
- Choose “System Software” from the list of options.
- Enable the “Data Transfer” option by selecting it.
- Follow the on-screen instructions to connect your PS4 to the PS5 using a LAN cable.
- Once the connection is established, select “Transfer Games and Saved Data” on the PS5.
- The PS5 will detect your PS4 and display a list of games and data available for transfer.
- Select the games and data you want to transfer to the PS5. You can choose individual games or select “Select All” to transfer everything.
- Begin the transfer process and wait for it to complete. The duration may vary depending on the size and number of games being transferred.
- Once the transfer is finished, you will see a confirmation message on the PS5.
By following these steps, you will have successfully transferred your games and data from the PS4 to the PS5. The transferred games will appear in your PS5 library, and you can start playing them right away. Your save files and progress will also be retained, allowing you to seamlessly continue your gaming journey on the new console.
Now that you have transferred your games and data to the PS5, let’s move on to the final step: verifying the game data on the PS5.
Step 7: Verify Game Data on the PS5
After successfully transferring your games and data from the PS4 to the PS5, it’s crucial to verify that the game data was transferred correctly. This step ensures that all your game installations, save files, and settings are intact, allowing for a seamless gaming experience on the new console.
Follow these steps to verify your game data on the PS5:
- Ensure that your PS5 is powered on and connected to a display.
- Using the controller, navigate to the home screen of the PS5.
- Go to the “Game Library” by selecting the game controller icon at the top of the screen.
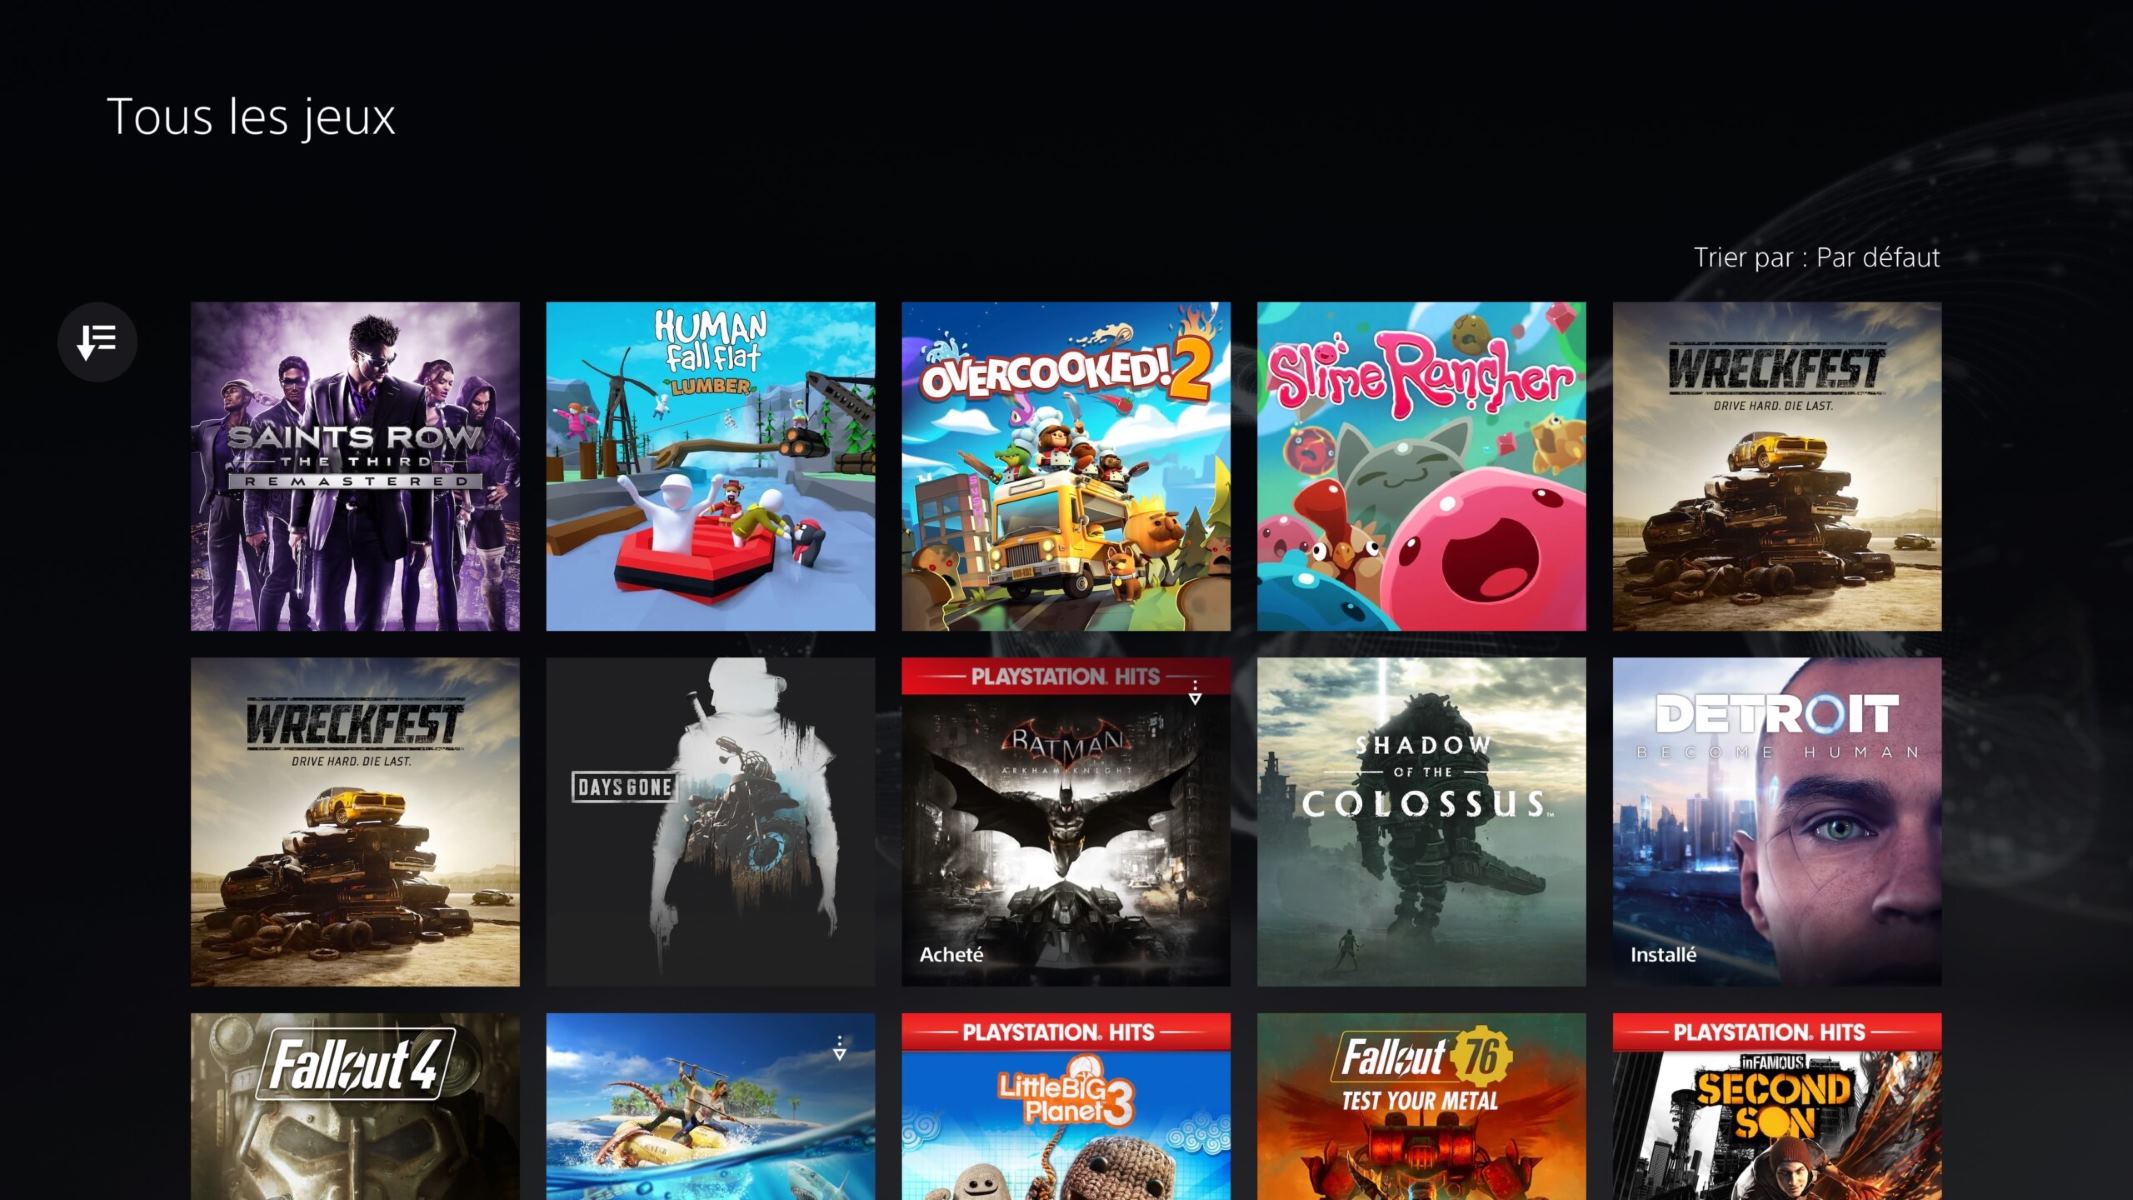
- In the Game Library, you will find a list of all the games transferred from the PS4.
- Select a game from the list that you want to verify.
- The game’s overview screen will appear, showing the game’s details and available options.
- Start the game to ensure that it launches correctly and any previously saved progress is accessible.
- Play the game for a few minutes to confirm that your saved data, settings, and any additional content are working as expected.
- If you encounter any issues or missing data, double-check that all the necessary game files were transferred during the transfer process.
- Repeat the verification process for each game you transferred from the PS4 to the PS5.
By following these steps and verifying your game data on the PS5, you can be confident that your transferred games and data are ready to be enjoyed. This step ensures that any potential issues or missing data are identified early on, allowing you to address them and prevent any disruption to your gaming experience.
Now that you have verified your game data on the PS5, you are ready to embark on your gaming journey and enjoy your favorite games on the new console.
Conclusion
Transferring an external hard drive from the PS4 to the PS5 is a crucial step in ensuring a seamless transition to the new console. By following the step-by-step guide outlined in this article, you can easily transfer your game data, settings, and progress from the old console to the new one.
We started by checking the compatibility of the external hard drive with the PS5, ensuring that it meets the necessary requirements for a successful transfer. Then, we backed up the game data on the PS4 to preserve progress and settings during the process.
After disconnecting the external hard drive from the PS4, we connected it to the PS5 and formatted it to make it compatible with the new console. This step prepared the drive for transferring games and data from the PS4.
Transferring games and data from the PS4 to the PS5 was made easy through the system’s built-in data transfer feature. We followed the instructions to transfer games, ensuring that all game installations, save files, and settings were successfully carried over.
To wrap up the transfer process, we verified the game data on the PS5, guaranteeing the correct installation of games and the accessibility of saved progress and settings.
By following these steps, you can confidently transfer your external hard drive from the PS4 to the PS5, allowing for a seamless transition and uninterrupted gaming experience on the new console.
Now, with your games and data successfully transferred to the PS5, you can explore the enhanced features and capabilities of the new console, enjoying an exciting gaming experience with improved graphics, performance, and functionality.
We hope this guide has been helpful in assisting you with transferring your external hard drive to the PS5. Enjoy your gaming journey on the next generation of PlayStation gaming!


