Introduction
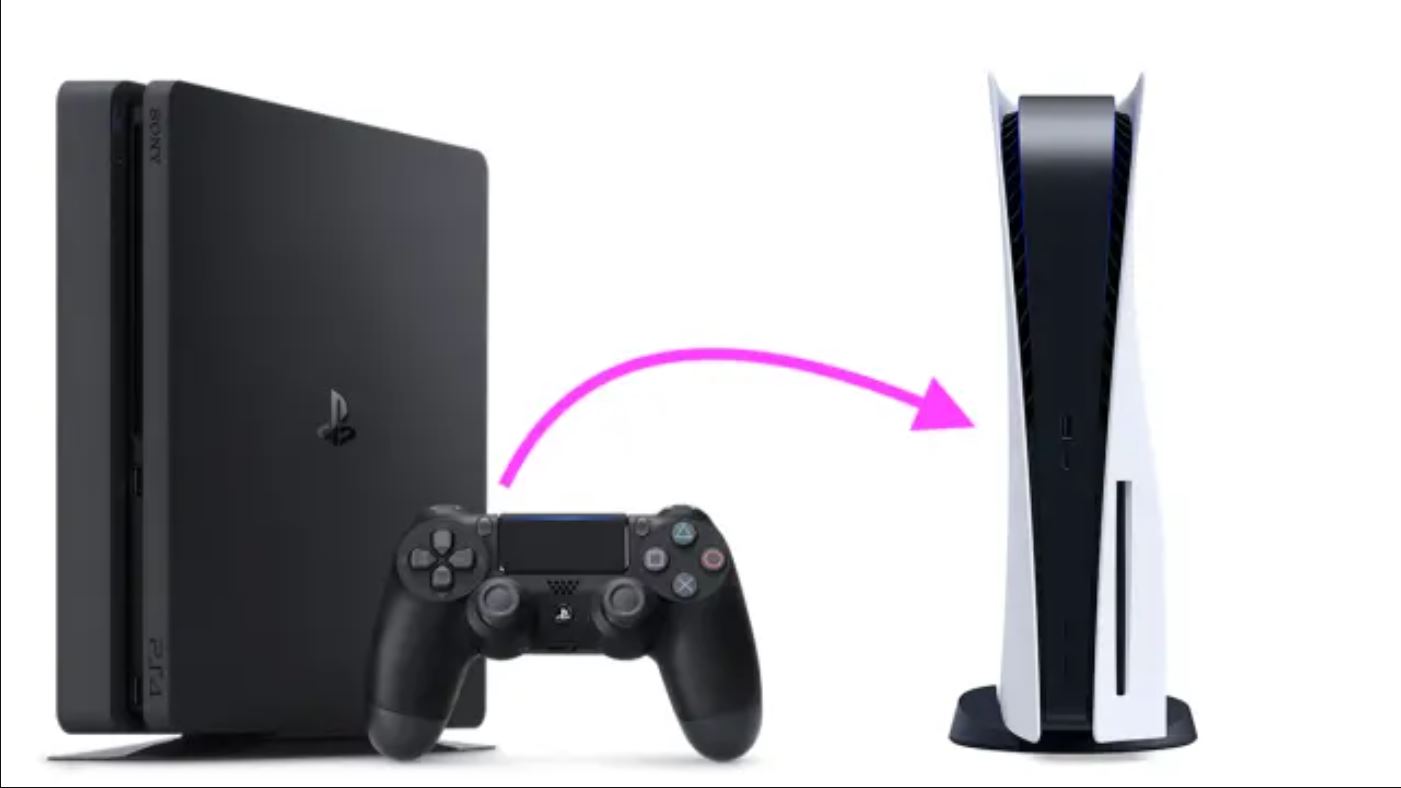
Welcome to the world of next-gen gaming! If you’ve recently upgraded from a PlayStation 4 (PS4) to a PlayStation 5 (PS5), you may be wondering how to transfer your saved data from your old console to the new one. Don’t worry, we’ve got you covered!
This step-by-step guide will walk you through the process of downloading saved data from your PS4 to your shiny new PS5, ensuring that you can pick up where you left off in your favorite games without missing a beat.
Transferring your saved data is essential as it allows you to continue your gaming progress and carry over all your achievements, unlocked levels, and in-game items to your new console. This way, you won’t have to start over and can seamlessly transition to the next generation of gaming.
So, let’s dive in and learn how to download saved data from your PS4 to your PS5!
Step 1: Prep Your PS4
Before you begin transferring your saved data from your PS4 to your PS5, you need to ensure that your PS4 is properly prepared for the process. Here are the steps to follow:
- Update your PS4 software: Make sure that your PS4 is running on the latest system software. To do this, go to the settings menu, select “System Software Update,” and follow the on-screen instructions to download and install any available updates. This will ensure that your PS4 is optimized for the transfer process.
- Connect to the internet: Ensure that your PS4 is connected to the internet. You can do this either via Wi-Fi or by connecting an Ethernet cable directly to your console. A stable internet connection is necessary for downloading and transferring data.
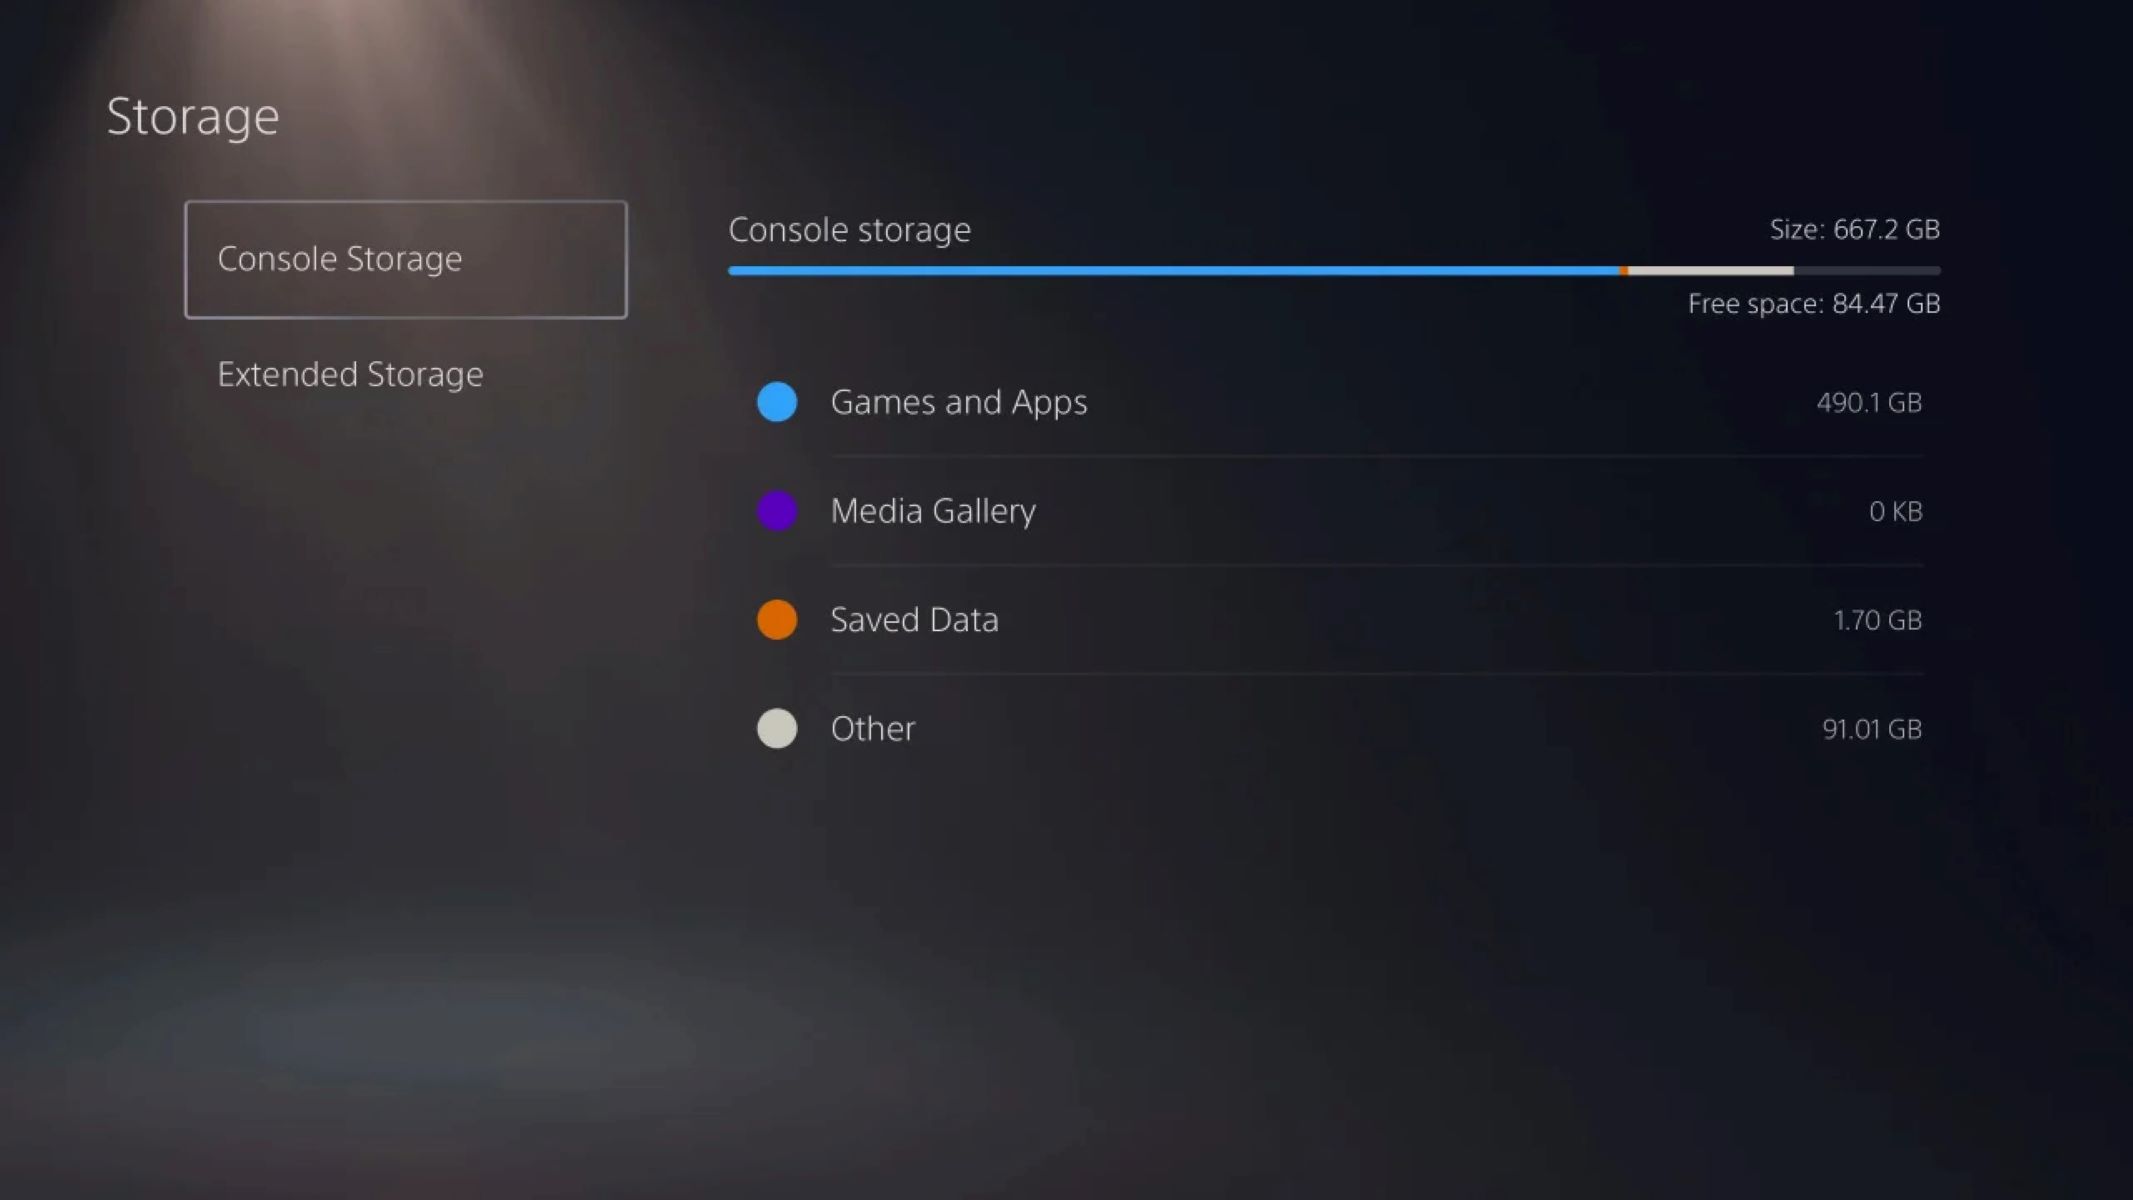
- Free up storage space: Check the storage space on your PS4 and make sure you have enough available to accommodate the saved data you want to transfer. You can manage your storage by going to the settings menu and selecting “Storage.” Delete any unnecessary games, apps, or files to free up space.
- Prepare an external storage device: To perform a backup of your saved data, you will need an external storage device such as a USB flash drive or an external hard drive. Make sure the device is formatted to the proper file system (exFAT or FAT32) and has enough storage capacity to accommodate your saved data.
- Check your PlayStation Plus subscription: If you have an active PlayStation Plus subscription, your saved data may already be backed up to the cloud. Verify that your subscription is active and ensure that your saved data is being automatically uploaded to the cloud storage.
Following these steps will ensure that your PS4 is ready to transfer your saved data smoothly and without any issues. Once you have prepped your PS4, you are now ready to move on to the next step of the process.
Step 2: Install the PS4 System Software Update
Now that you have prepped your PS4, the next step is to install the latest system software update. This ensures that your PS4 is running on the most up-to-date software, providing a smooth and reliable transfer process. Follow these steps:
- Go to the settings menu: Turn on your PS4 and navigate to the settings menu. You can access it by scrolling to the far right on the home screen and selecting the settings icon.
- Select system software update: Within the settings menu, scroll down and select “System Software Update.” This will prompt your PS4 to check for any available updates.
- Download and install updates: If there is a new system software update available, your PS4 will display it on the screen. Follow the on-screen instructions to download and install the update. It may take a while, so be patient and ensure that your PS4 remains connected to the internet throughout the process.
- Restart your PS4: Once the update has been successfully installed, your PS4 will automatically restart to finalize the process. Allow your console to restart and ensure that it boots back up to the home screen.
By installing the latest system software update, you are guaranteeing that your PS4 has all the necessary optimizations and updates to facilitate a smooth transfer of your saved data. This will ensure that your data is transferred accurately and securely to your new PS5.
Now that you have installed the latest system software update on your PS4, you can proceed to the next step of creating a backup of your saved data.
Step 3: Create a Backup of Your PS4 Saved Data
Creating a backup of your PS4 saved data is crucial to ensure that your precious game progress and settings are preserved before transitioning to your new PS5. Follow these steps to create a backup:
- Connect your external storage device: Plug in your external storage device (USB flash drive or external hard drive) into one of the USB ports on your PS4.
- Access the backup and restore menu: On your PS4, go to the settings menu and scroll down to select “System,” then “Backup and Restore.”
- Create a backup: Within the backup and restore menu, select “Back Up PS4.” You will be prompted to select the storage device you want to use for the backup. Choose your connected external storage device.
- Select data to back up: You will then be shown a list of data categories to back up, such as saved data, screenshots, and videos. Choose the data categories you wish to include in the backup. Keep in mind that the more data you include, the larger the backup file size will be.
- Initiate the backup: Once you have selected the data categories, confirm your choices and select “Next” to begin the backup process. Your PS4 will start copying the selected data to your external storage device. This may take some time, depending on the amount of data being backed up.
- Verify the backup: After the backup process is complete, you can verify its success by going to the settings menu, then “System,” and selecting “Backup and Restore.” Choose “Restore PS4” and select the backup file on your external storage device. If the backup is listed, it means the process was successful and your data is safely backed up.
Creating a backup of your PS4 saved data gives you peace of mind, knowing that your progress and settings are securely stored. With your data safely backed up, you can confidently move on to the next steps in transferring and installing your games on your new PS5.
Step 4: Transfer and Install Your Games on PS5
Now that you have created a backup of your PS4 saved data, it’s time to transfer and install your games on your new PS5. Follow these steps to seamlessly continue your gaming experience:
- Connect your external storage device to the PS5: Take the external storage device that contains your PS4 game data and connect it to one of the USB ports on your PS5.
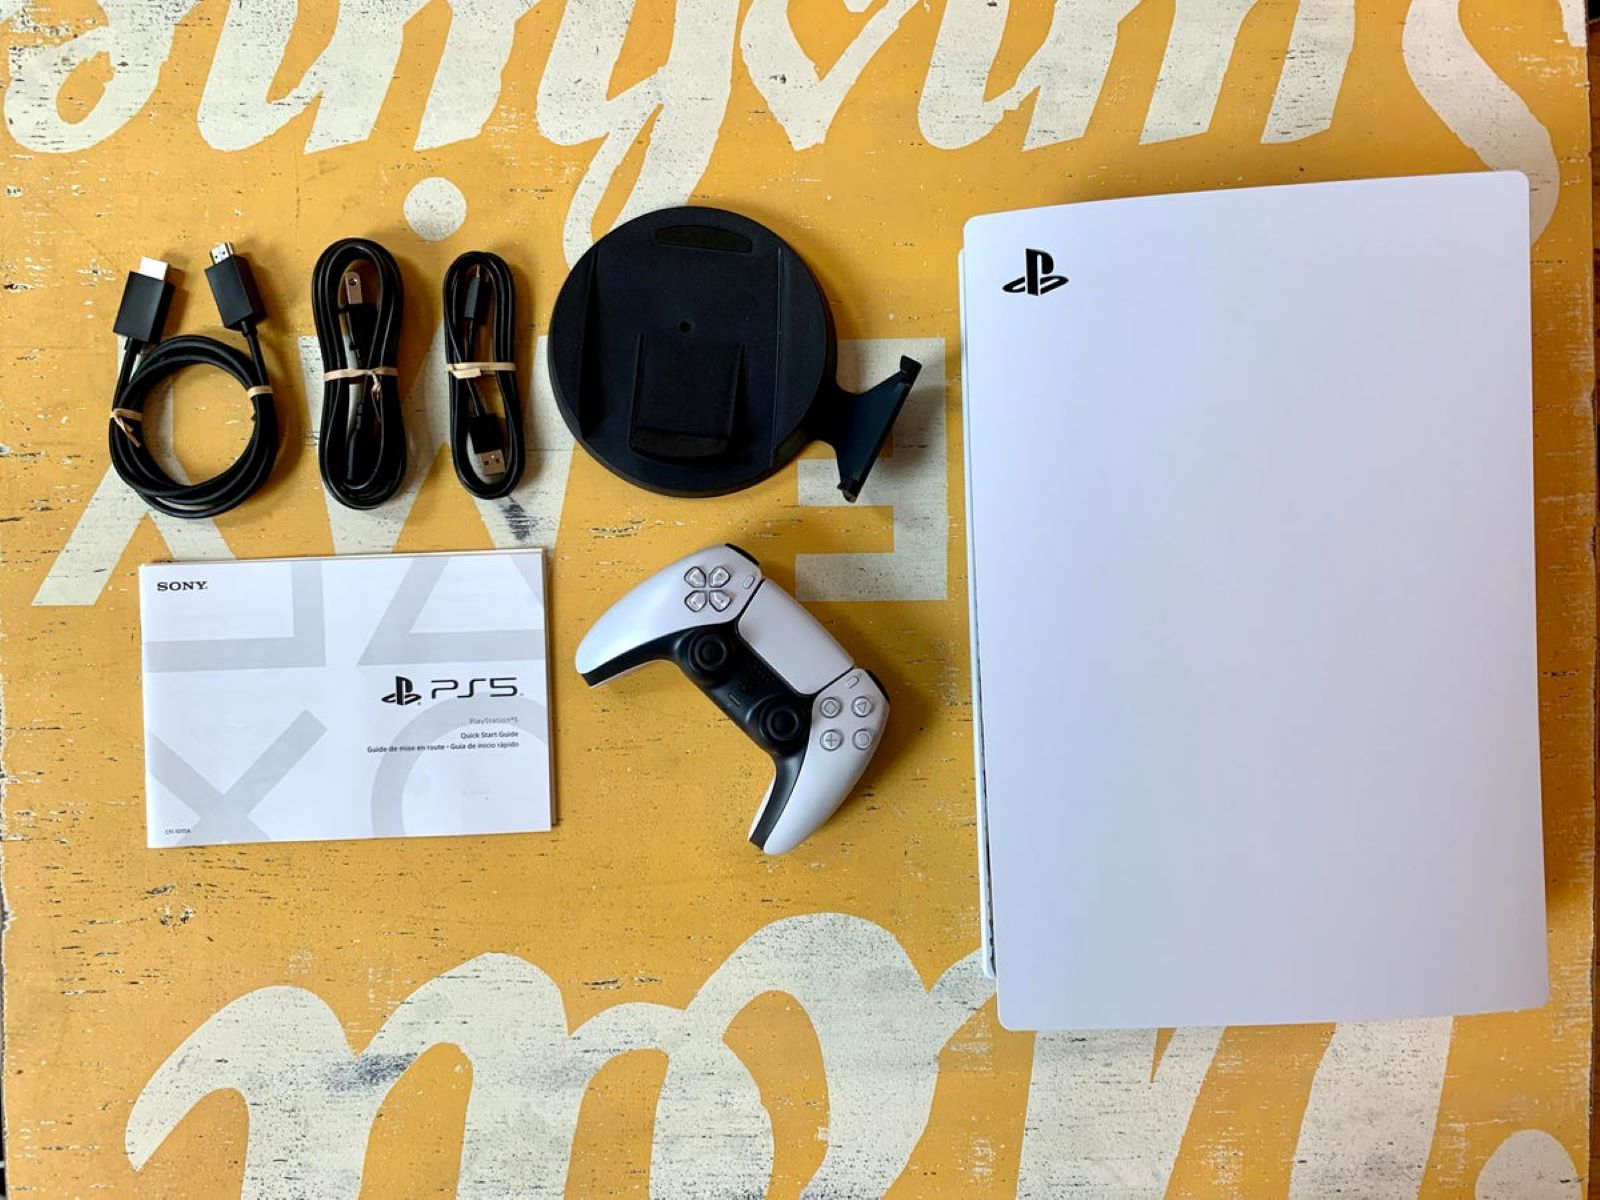
- Power on your PS5: Turn on your PS5 and follow the on-screen instructions to set up your new console.
- Access game library: Once you’re on the PS5 home screen, navigate to the game library. You can find it on the top row of icons.
- Select the installed games: In your game library, locate the games you want to transfer and install on your PS5. These will have a cloud icon indicating that they are installed on your PS4.
- Initiate game transfer: Select a game and press the Options button on your PS5 controller. Choose “Move/ Copy.” Select your external storage device as the destination to transfer the game.
- Monitor the transfer: The game transfer process will begin, and you will see a progress bar indicating the status of the transfer. The time taken for the transfer will depend on the size of the game and the speed of your storage device.
- Install the transferred game: Once the transfer is complete, the game will appear in your PS5 game library. Select the game and choose “Install” to start the installation process on your PS5.
- Repeat for other games: Repeat the same steps for the remaining games that you want to transfer and install on your PS5.
Transferring and installing your games on the PS5 allows you to pick up exactly where you left off on your PS4. You can enjoy your favorite games with improved graphics, faster load times, and the exciting new features of the PS5.
Now that your games are transferred and installed on your PS5, it’s time to connect your PS4 and PS5 to prepare for the final steps in transferring your saved data. Let’s move on to the next step!
Step 5: Connect Your PS4 and PS5
To transfer your saved data from your PS4 to your PS5, you’ll need to establish a connection between the two consoles. Follow these steps to connect your PS4 and PS5:
- Power off both consoles: Make sure both your PS4 and PS5 are turned off before proceeding with the connection.
- Prepare an Ethernet cable: Get an Ethernet cable, which is essential for a stable and reliable connection between the two consoles.
- Locate the LAN ports: On both consoles, locate the LAN ports. They are usually found on the rear of the consoles.
- Connect the Ethernet cable: Connect one end of the Ethernet cable into the LAN port of your PS4 and the other end into the LAN port of your PS5.
- Turn on both consoles: Power on both your PS4 and PS5 consoles. They should now be connected via the Ethernet cable.
Establishing a direct connection between your PS4 and PS5 using an Ethernet cable ensures a faster and more stable data transfer. This will allow for a smooth transition of your saved data from your PS4 to your brand new PS5.
Now that your PS4 and PS5 are connected, let’s move on to the next step: using the Ethernet cable to transfer your saved data to your PS5!
Step 6: Use the Ethernet Cable
Now that your PS4 and PS5 are connected via an Ethernet cable, you are ready to leverage this connection to transfer your saved data. Follow these steps to utilize the Ethernet cable for a fast and efficient data transfer:
- Access the System Software menu on your PS5: Turn on your PS5 and navigate to the home screen. Select the settings gear icon on the top right corner, then choose “System” from the menu.
- Select System Software: Within the System menu, select “System Software.”
- Choose the Transfer Data from Another PS4 option: In the System Software menu, locate and select “Transfer Data from Another PS4.”
- Enter the confirmation code: A screen will appear with a confirmation code. Take note of this code as you will need it in the next step.
- On your PS4, go to the PS5 Data Transfer menu: Power on your PS4 and navigate to the home screen. Go to the settings menu and select “System.” From there, choose “PS5 Data Transfer.”
- Select the Transfer from PS4 option: In the PS5 Data Transfer menu, select “Transfer from PS4.”
- Enter the confirmation code: You will be prompted to enter the confirmation code displayed on your PS5. Type in the code and confirm your selection.
- Initiate the data transfer: Once the code is confirmed, your PS4 and PS5 will establish a direct connection using the Ethernet cable. The data transfer process will begin automatically, and you’ll see a progress bar indicating the transfer status.
- Wait for the transfer to complete: The time it takes for the transfer to finish depends on the size of the data being transferred. It’s important to be patient and allow the process to complete.
Using the Ethernet cable for data transfer ensures a fast and stable connection between your PS4 and PS5. This method allows for a seamless transfer of your saved data, ensuring that you can continue your gaming journey on your new console without losing any progress.
Now that the transfer process is underway, let’s move on to the next step of verifying your saved data on your PS5!
Step 7: Transfer Your Saved Data to PS5
With your PS4 and PS5 connected and the data transfer process initiated, it’s time to transfer your saved data from your old console to your new PS5. Follow these steps to transfer your saved data:
- Let the transfer process complete: Allow the transfer process to run its course. The time it takes for the transfer to complete will depend on the size of the data being transferred.
- Double-check the transfer progress: You can monitor the transfer progress on your PS5 by navigating to the home screen and selecting the notifications icon on the top right corner. This will show you the status of the data transfer.
- Ensure both consoles remain powered on and connected: It’s important to keep both your PS4 and PS5 powered on and connected via the Ethernet cable until the transfer is complete. Interrupting the transfer prematurely may result in incomplete or corrupted data on your PS5.
- Wait for the “Transfer Complete” message: Once the transfer is finished, you will receive a “Transfer Complete” message on your PS5. This indicates that your saved data has been successfully transferred from your PS4 to your PS5.
Transferring your saved data to your PS5 allows you to pick up right where you left off in your favorite games. You’ll be able to continue your progress, collectibles, achievements, and everything else you’ve worked hard to achieve on your PS4.
Now that your data has been transferred, it’s time to move on to the final step: verifying your saved data on your PS5 to ensure a successful transfer.
Step 8: Verify Your Saved Data on PS5
After transferring your saved data from your PS4 to your PS5, it’s crucial to verify that the transfer was successful and that all your game progress and settings are intact. Follow these steps to verify your saved data on your PS5:
- Access the game library: Navigate to the game library on your PS5. You can find it on the home screen or by selecting the game icon on the bottom row.
- Locate the transferred games: In your game library, look for the games that you transferred from your PS4. They should now be available to play on your PS5.
- Select a game: Choose one of the transferred games and start the game. This will allow you to check if your saved data has been successfully transferred.
- Check for existing progress: Once the game is loaded, check if all your progress, unlocked items, and settings are present. Verify if your game saves, achievements, and other data are successfully carried over to your PS5.
- Test gameplay functionality: Play the game for a few minutes to ensure that everything is functioning as expected. Check if your settings, control configurations, and any customization options are retained.
- Repeat for other transferred games: Repeat the verification process for all the transferred games to ensure that all your saved data has been successfully transferred.
- Contact customer support if necessary: If you encounter any issues with the transferred saved data or notice any discrepancies, contact PlayStation customer support for assistance in troubleshooting the problem.
Verifying your saved data on your PS5 is a crucial step to ensure that your game progress and settings have been successfully transferred from your PS4. By confirming the accuracy of the transferred data, you can confidently continue your gaming journey on your new console.
Congratulations! You have successfully completed the process of downloading saved data from your PS4 to your PS5. Now, you can enjoy all your favorite games and continue your gaming adventures on the next-gen console.
Conclusion
Congratulations! You have reached the end of this step-by-step guide on how to download saved data from your PS4 to your PS5. By following each of the outlined steps, you have successfully transferred your game progress, achievements, and settings from your old console to your new one.
Throughout this process, you prepped your PS4 by updating the system software and ensuring a stable internet connection. You created a backup of your saved data to safeguard your progress. You connected your PS4 and PS5 using an Ethernet cable for a fast and reliable transfer. Lastly, you verified your transferred data on your PS5 to ensure everything was transferred accurately.
With your saved data securely transferred, you can now dive into the world of next-gen gaming on your PS5 and continue your gaming adventures right where you left off. Take advantage of the enhanced graphics, improved performance, and exciting new features of your new console.
If you encounter any issues during the transfer process or need further assistance, don’t hesitate to reach out to PlayStation customer support for guidance and troubleshooting.
Thank you for choosing PlayStation and enjoy your gaming experience on your new PS5!