Introduction
If you’re a computer enthusiast or a gamer, you probably understand the importance of keeping your computer’s components cool. One key component in maintaining optimal temperatures is the case fan. It circulates air and helps to dissipate heat, ensuring that your computer runs smoothly and efficiently. However, many case fans come with stickers attached, which can not only be an eyesore but also disrupt the airflow.
Removing a sticker from a case fan might seem like a simple task, but if done incorrectly, it could cause damage to the fan or affect its performance. That’s why it’s essential to follow the proper steps and use the right tools to remove the sticker without any negative consequences. In this guide, we’ll walk you through the process of safely and effectively removing the sticker from your case fan.
Before we begin, it’s important to note that different case fans may have varying methods of attachment for their stickers. Some stickers may peel off easily, while others may require more effort. It’s crucial to be patient and gentle during the removal process to avoid any mishaps. Moreover, make sure to gather all the necessary materials beforehand to ensure a smooth and successful sticker removal.
Ready to give your case fan a sticker-free makeover? Let’s get started!
Gather your materials
Before you begin removing the sticker from your case fan, it’s important to gather all the necessary materials. Having the right tools on hand will make the process easier and help prevent any accidental damage. Here’s a list of items you’ll need:
1. Isopropyl alcohol: This is a commonly used cleaning agent that can effectively remove sticker residue and adhesive without causing damage.
2. Cotton swabs or soft cloth: These will be used to apply the isopropyl alcohol and clean the fan surface.
3. Plastic card or credit card: A plastic card can be used to gently scrape and pry off the sticker without scratching the fan.
4. Hairdryer or heat gun (optional): If the sticker is stubbornly clinging to the fan, applying heat can help loosen the adhesive and make removal easier.
5. Non-abrasive cleaning solution: In case there are any stubborn residue or stains, having a non-abrasive cleaning solution can come in handy.
6. Gloves (optional): If you’re concerned about getting your hands dirty, wearing gloves can protect your skin and make it easier to handle the fan.
Make sure all these materials are readily available before you start, as they will be vital in ensuring a successful sticker removal process. Having everything prepared will save you time and help prevent any unnecessary frustrations along the way.
Now that you have gathered all the necessary materials let’s move on to the next step: understanding the fan and its construction.
Step 1: Understand the fan
Before you dive into removing the sticker from your case fan, it’s important to familiarize yourself with the fan and its construction. This step will give you a better understanding of how the sticker is attached and help you devise the most effective removal strategy.
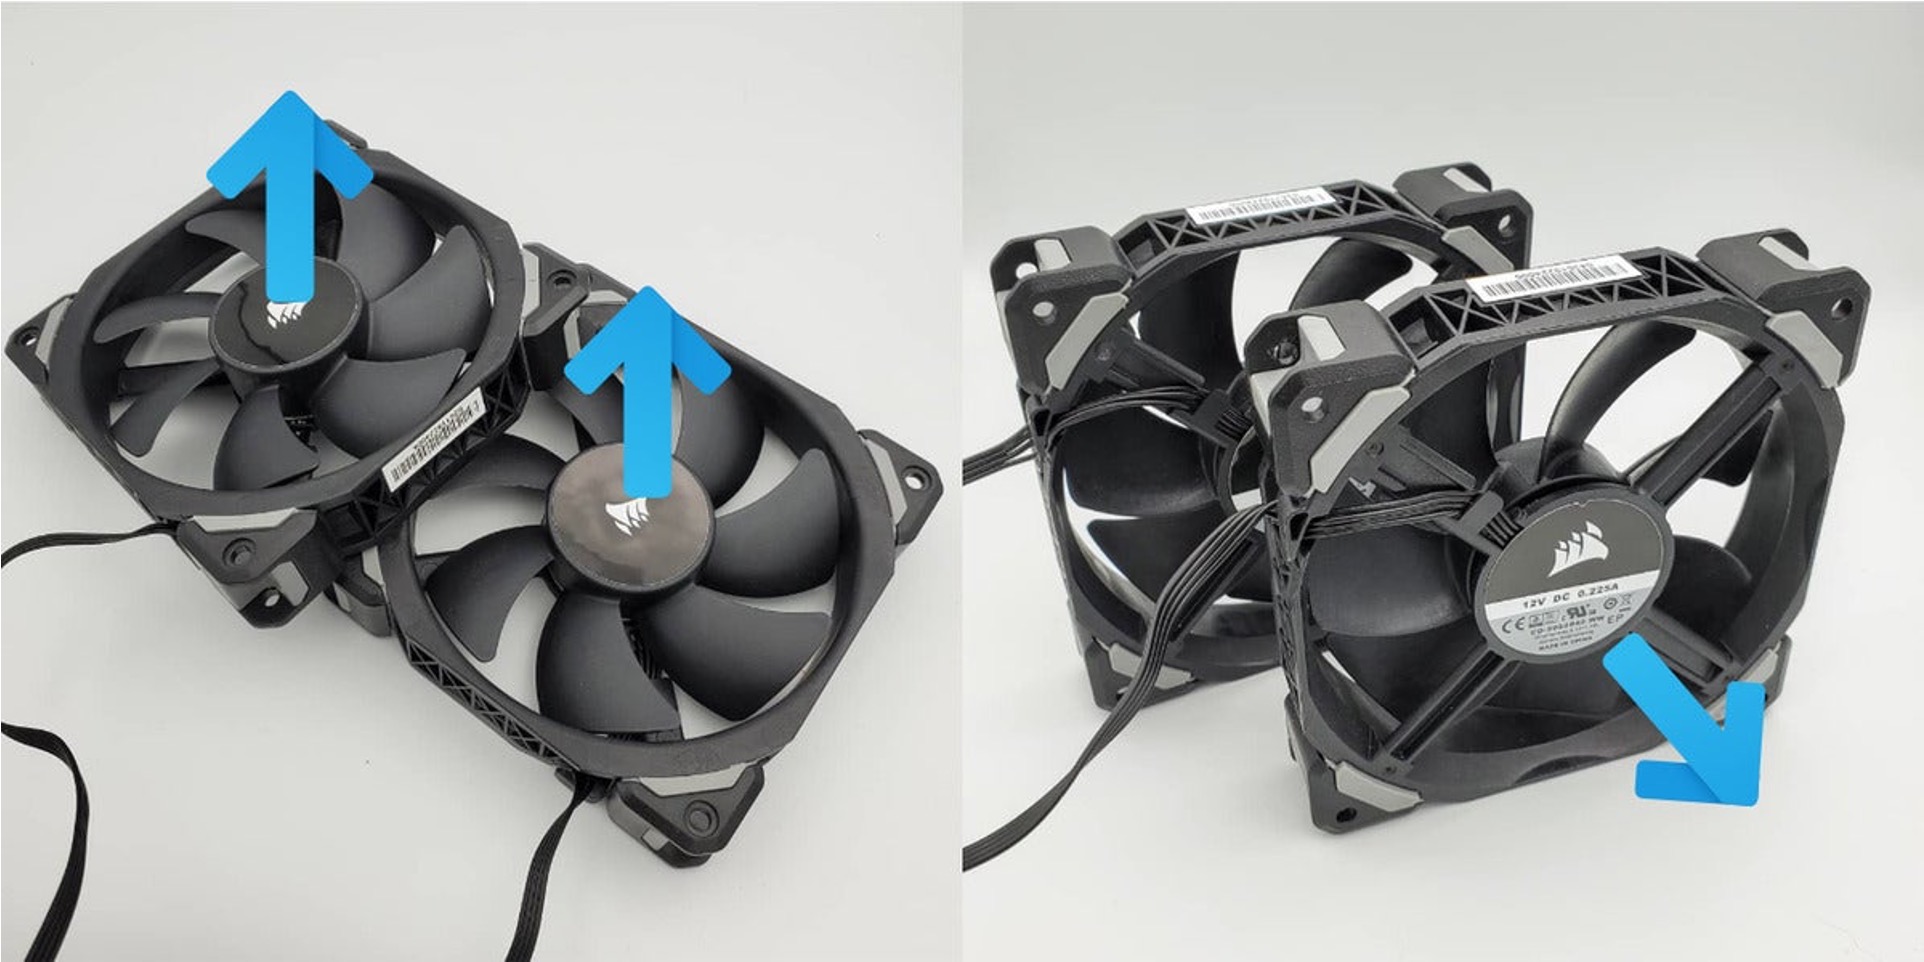
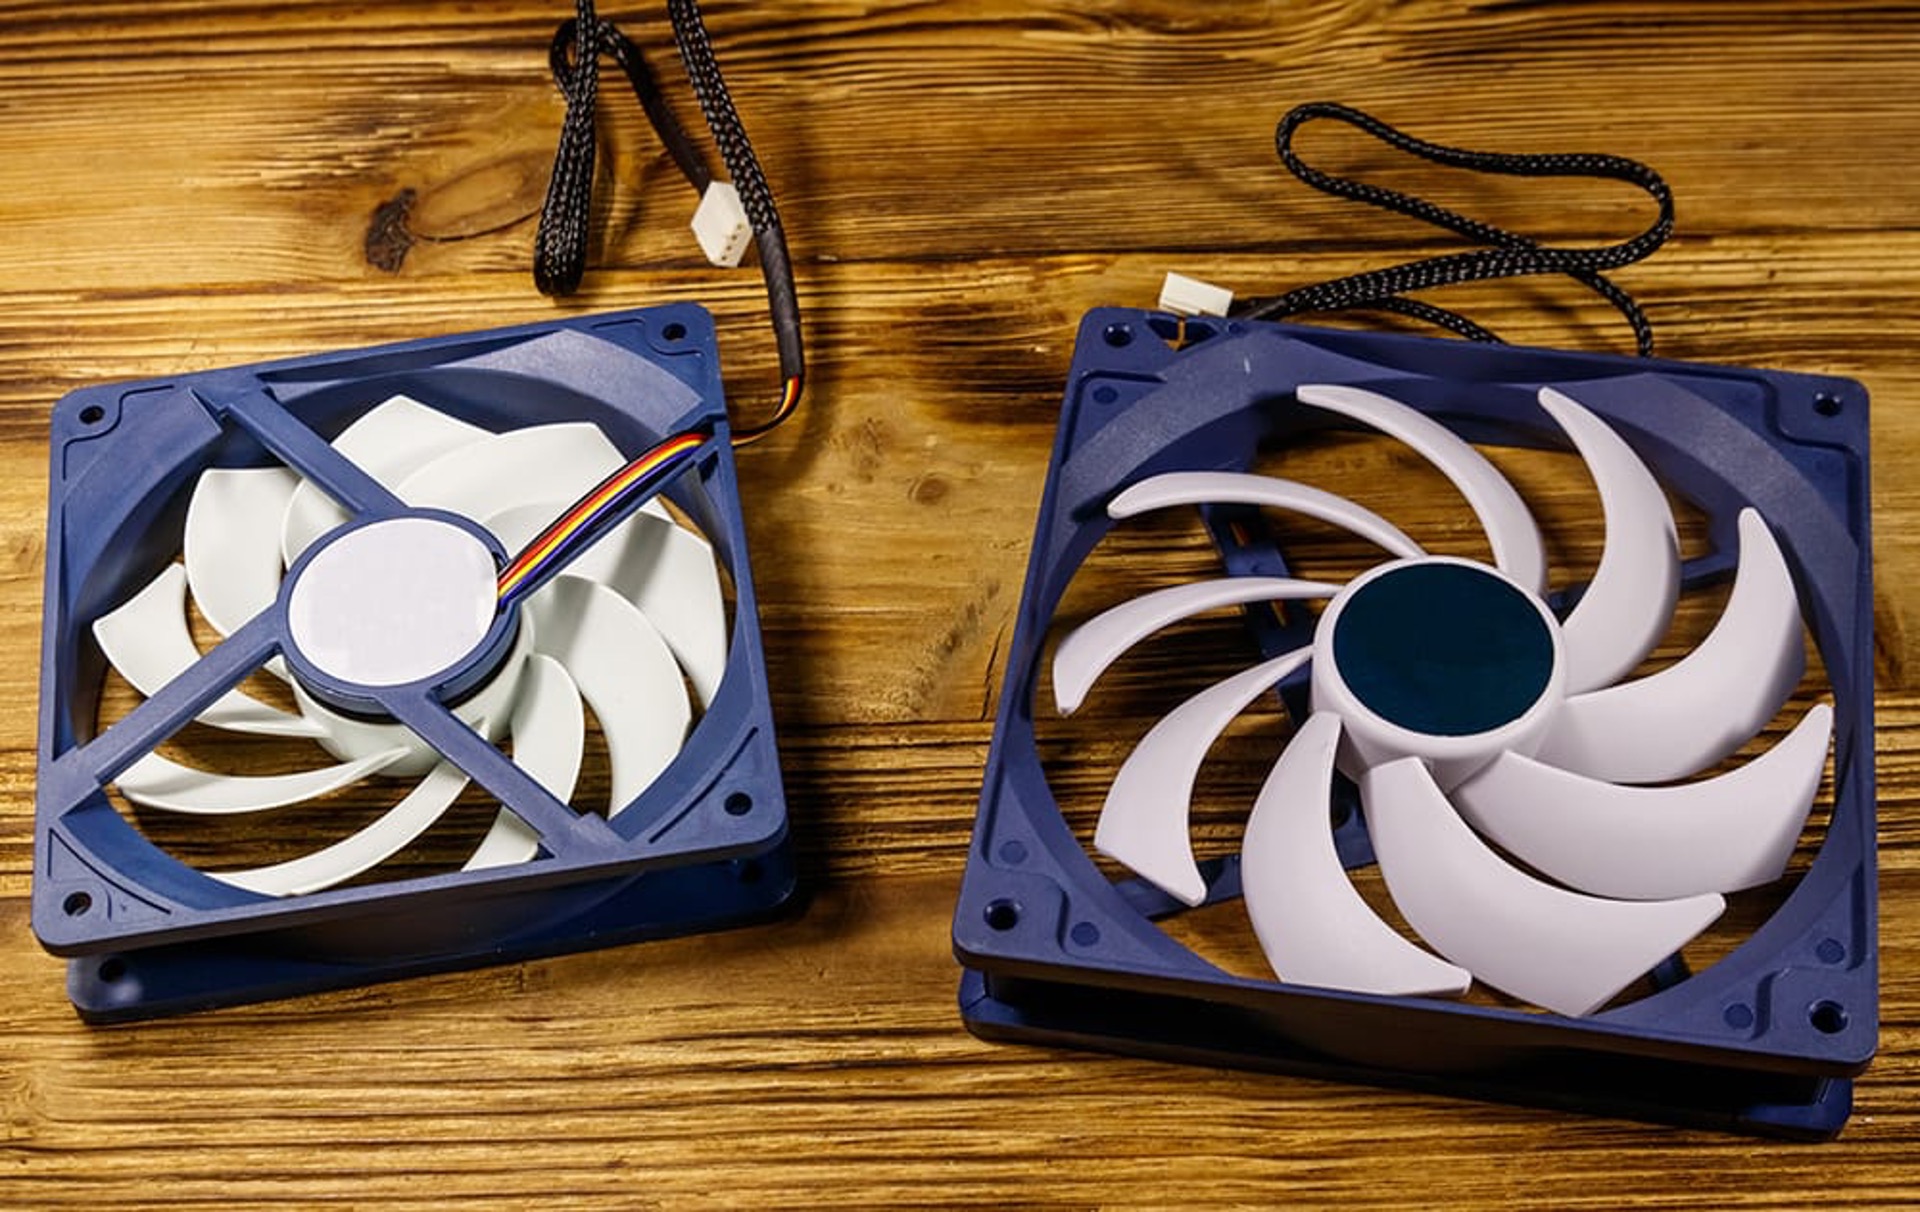
Take a close look at the fan and identify the location of the sticker. Note how it is attached to the fan surface. In most cases, stickers are placed on the outer surface of the fan hub or blades. Some fans may have stickers that cover the entire hub, while others might only have a small sticker on one side.
Pay attention to any clips, screws, or retaining mechanisms that hold the sticker in place. These details will give you an idea of how to approach the removal process without causing any damage.
Additionally, check if there are any gaps or grooves between the sticker and the fan surface. These areas can accumulate dirt and make the sticker removal process more challenging. Identifying these potential trouble spots in advance will help you prepare and choose the right cleaning tools.
Understanding the fan’s materials is also crucial. Most case fans are made of plastic, which is generally resilient but can still be susceptible to scratches if not handled properly. Keep this in mind as you proceed with the removal process to avoid any unintentional damages.
By taking the time to understand your case fan’s construction, sticker placement, and the materials it’s made of, you’ll be better equipped to remove the sticker effectively and safely.
Step 2: Remove the sticker
Now that you have familiarized yourself with the fan and its construction, it’s time to remove the sticker. Follow these steps to safely peel off the sticker without damaging the fan:
1. Start by applying a gentle amount of pressure to one corner of the sticker. If the sticker is already peeling or loose, use your fingers to carefully lift it.
2. If the sticker is firmly attached, use a plastic card or credit card to gently pry up one corner. Be careful not to scratch the fan surface.
3. Once you have lifted a corner, slowly and delicately peel the sticker off, applying even pressure. Pull gradually to avoid tearing the sticker or leaving behind any residue.
4. If the adhesive residue remains on the fan after removing the sticker, do not worry. We will address that in the next step.
5. If the sticker is stubborn and does not come off easily, you can try applying gentle heat using a hairdryer or heat gun. Warm the sticker for a few seconds, then try peeling it off again. Be cautious not to overheat the fan or hold the heat source too close to it, as excessive heat can damage the fan.
6. Continue peeling off the sticker bit by bit until it is completely removed from the fan surface.
Remember, patience is key during this process. Take your time and proceed slowly to avoid any mishaps or damage to the fan. If the sticker seems particularly stubborn, apply additional heat and continue peeling gradually.
Once you have successfully removed the sticker, move on to the next step: cleaning the residue left behind on the fan surface.
Step 3: Clean the residue
After removing the sticker, you may notice some adhesive residue left behind on the fan surface. This residue can be unsightly and may affect the fan’s performance if left unaddressed. Follow these steps to effectively clean the residue from your case fan:
1. Dampen a cotton swab or soft cloth with isopropyl alcohol. Ensure it is not dripping wet but moist enough to dissolve the adhesive.
2. Gently rub the dampened cotton swab or cloth over the adhesive residue. Apply light pressure and work in small circular motions. The isopropyl alcohol will help break down the adhesive, making it easier to remove.
3. Continue rubbing until all the residue is dissolved and lifted from the fan surface. If necessary, replace the cotton swab or cloth with a fresh one to maintain effectiveness.
4. If the residue is particularly stubborn, you can try using a non-abrasive cleaning solution. Apply a small amount of the solution to a clean cloth and gently rub over the remaining residue. Be cautious not to use any abrasive materials or strong chemicals that could damage the fan.
5. Once all the residue is removed, use a dry cloth or paper towel to wipe away any excess moisture. Ensure the fan surface is completely dry before proceeding to the next step.
Cleaning the residue is vital not only for aesthetic purposes but also for maintaining optimal fan performance. Any leftover adhesive can attract dust and impede the fan’s rotation, potentially causing overheating.
With the residue cleaned and the fan surface dry, it’s time to move on to the final step: reinstalling the fan.
Step 4: Reinstall the fan
Now that you have successfully removed the sticker and cleaned the residue from the fan, it’s time to reinstall it. Follow these steps to ensure a proper and secure reinstallation:
1. Carefully position the fan back into its original slot or mounting position in the computer case. Align the screw holes or clips with the corresponding slots or brackets.
2. Gently press the fan into place, making sure it fits snugly and securely.
3. If your fan requires screws for attachment, use the appropriate screws to secure it in place. Be careful not to overtighten the screws, as this could damage the fan or the case.
4. If your fan uses clips or other fastening mechanisms, make sure they are securely fastened according to the manufacturer’s instructions.
5. Double-check that the fan is properly seated and aligned. Ensure there is no obstruction to its rotation or airflow.
Once the fan is securely reinstalled, power on your computer and monitor its performance. Listen for any unusual noises or vibrations that could indicate a problem with fan installation. Additionally, ensure that the fan is spinning properly and providing adequate airflow.
Congratulations! You have successfully removed the sticker from your case fan and reinstalled it. Enjoy your sticker-free fan and the improved aesthetics of your computer case.
Remember, regular cleaning and maintenance of your fans are essential for optimal performance and longevity. Keep an eye on your case fans and clean them periodically to ensure they remain free of dust and debris.
By following these steps and taking proper care of your fans, you can maintain a cool and efficient computer system for smoother computing and gaming experiences.
Conclusion
Removing a sticker from a case fan may seem like a simple task, but it requires attention to detail and patience. By following the steps outlined in this guide, you can safely and effectively remove the sticker from your case fan without causing any damage.
Remember to gather all the necessary materials before starting the sticker removal process. Understanding your fan’s construction and sticker placement will help you devise the best approach to remove the sticker. Take your time and be gentle when peeling off the sticker, using a plastic card if necessary. If residue remains, use isopropyl alcohol and a soft cloth to clean it off. Finally, ensure the fan is securely reinstalled before powering on your computer.
Regular fan maintenance is essential to keep your computer running efficiently and prevent overheating. Periodically check your fans for any dirt or debris and clean them accordingly. Maintaining a clean and sticker-free fan will not only improve the airflow but also enhance the overall aesthetic appeal of your computer case.
Now that you have mastered the art of sticker removal from a case fan, you can confidently keep your computer components cool and well-maintained. Enjoy a more efficient computer system and a visually pleasing setup with your sticker-free case fan.
Happy computing!


