Introduction
Welcome to the world of PC building and maintenance! As a PC enthusiast, it’s important to understand the ins and outs of your computer case, including how to remove the top panel. Whether you’re looking to upgrade your system, clean out dust and debris, or simply explore the inner workings of your PC, taking off the top panel is a crucial step.
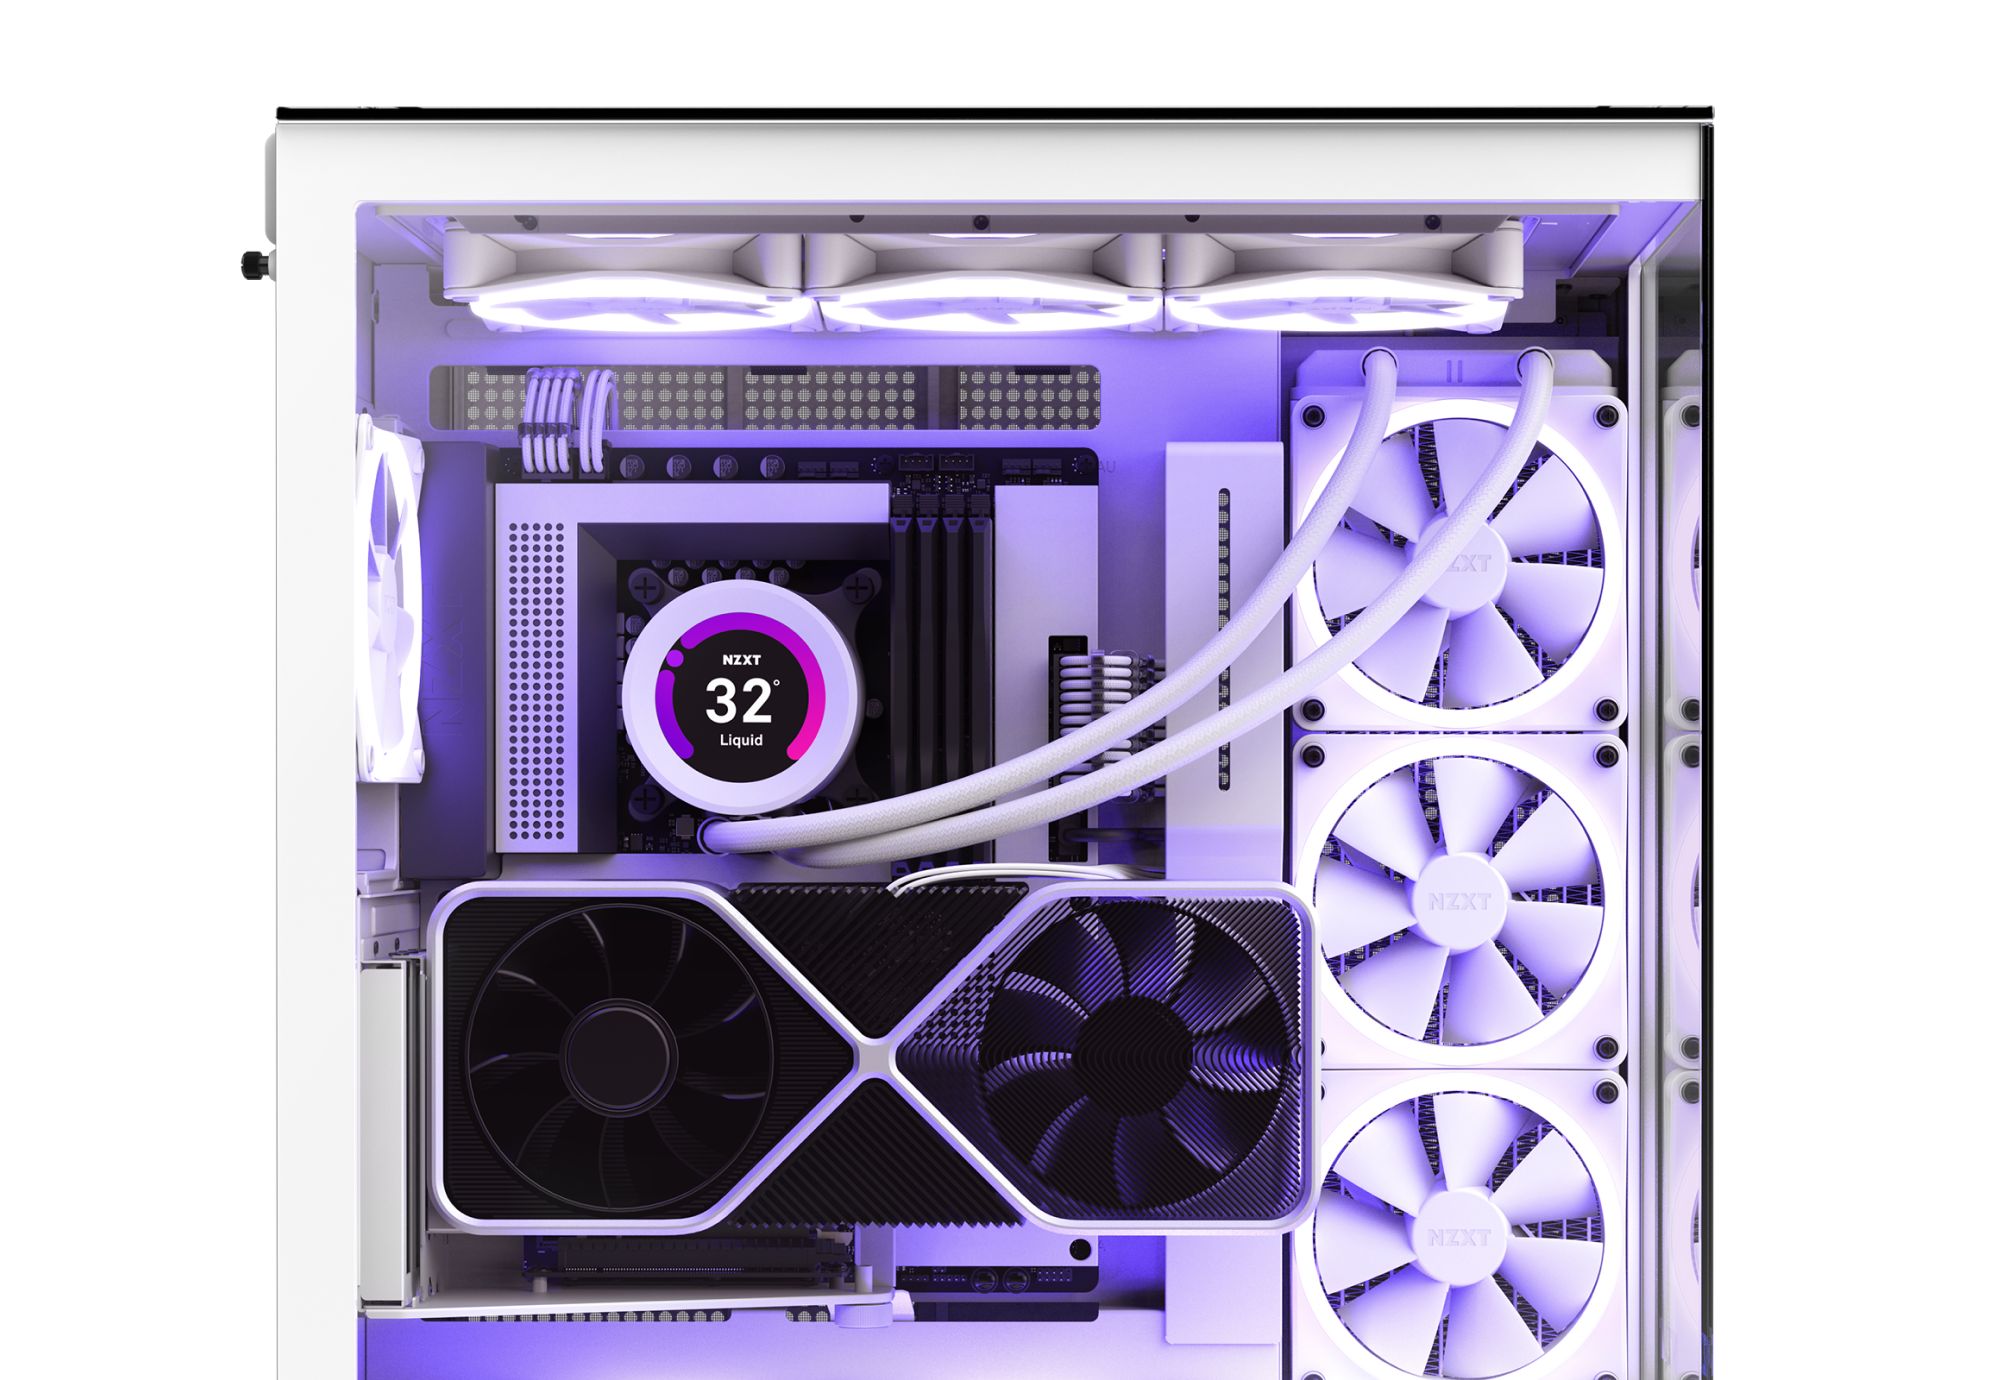
Removing the top panel allows for easy access to various components inside the case, such as fans, CPU coolers, and radiators. It also provides a convenient way to clean out any accumulated dust, which can hinder your PC’s performance and cause overheating. However, it’s essential to approach this process with caution to prevent any damage to your PC components.
In this guide, we’ll walk you through the steps required to safely remove the top panel of your PC case. We’ll cover the tools you’ll need, how to power off and disconnect your PC, locating the screws or latches, removing the top panel, handling cables and components with care, cleaning and maintenance tips, and finally, reassembling the top panel.
Without further ado, let’s dive into the world of PC case maintenance and learn how to take off the top panel effectively and safely.
Collecting the necessary tools
Before you begin, it’s important to gather the right tools for the task. Having the proper tools on hand will make the process of removing the top panel much easier and ensure that you don’t accidentally damage any components. Here are the essential tools you’ll need:
- Screwdriver: Most PC cases use screws to secure the top panel. Make sure to have a screwdriver that fits the screws on your case. It’s recommended to use a magnetic tip screwdriver to prevent any accidental dropping of screws.
- Anti-static wrist strap: This tool is optional but highly recommended. It helps protect the sensitive internal components of your PC from potential electrostatic discharge (ESD) damage. If you don’t have an anti-static wrist strap, make sure to regularly ground yourself by touching a metal object to discharge any static electricity.
- Compressed air can or an air blower: Dust accumulates over time, and it’s essential to clean it out before removing the top panel. Having a can of compressed air or an air blower will help you effectively remove dust from the components and fans.
- Microfiber cloth: A microfiber cloth is ideal for wiping down surfaces and removing any fingerprints or smudges that may occur during the process.
- Plastic pry tools or spudger: In some cases, the top panel may have clips or latches that require gentle prying to release. Plastic pry tools or a spudger can be helpful in safely removing the panel without causing any damage to the case.
Having these tools ready and easily accessible will streamline the process of removing the top panel and ensure that you have everything you need to complete the task efficiently and safely.
Powering off and disconnecting your PC
Before you start removing the top panel of your PC case, it’s crucial to power off your computer and disconnect it from all power sources. This step is essential to ensure your safety and prevent any damage to the components.
Follow these steps to power off and disconnect your PC:
- Save and close any open programs or files on your computer.
- Shut down your PC through the operating system. If you’re using Windows, click on the Start button, select the Power option, and choose Shut down. On a Mac, click on the Apple menu and select Shut Down.
- Once your PC is fully powered down, unplug the power cord from the electrical outlet.
- Next, locate the power switch on the back of the PC case. Flip the switch to the off position to ensure that no power is flowing to the system.
- If you have a desktop PC, you may also need to remove the side panel to gain access to the internal components.
- Whether you’re working with a desktop or laptop, it’s a good idea to press and hold the power button for a few seconds to discharge any remaining electrical charge.
- Finally, if you’re using a laptop, remove the battery to completely disconnect the power source.
By following these steps, you’ll ensure that your PC is powered off and disconnected from any power sources, minimizing the risk of electrical shock or damage to your computer components.
Locating the screws or latches
Now that you’ve powered off and disconnected your PC, it’s time to locate the screws or latches that secure the top panel of your case. The exact method of securing the top panel varies depending on the case design, so it’s important to familiarize yourself with your specific case.
Here are a few common methods of securing the top panel:
- Screwed Panel: In many cases, the top panel is secured using screws. Look for small screws along the edges or corners of the panel. These screws may be Phillips head or flathead screws, depending on the manufacturer. Use the appropriate screwdriver to carefully unscrew and remove the screws.
- Latched Panel: Some cases feature latches or spring-loaded clips to secure the top panel. These latches may be located on the sides or at the front or back of the case. Check for release buttons or switches that allow you to unlatch or release the panel. Gently press or slide the latch mechanism to undo the latches and lift off the top panel.
- Tool-less Panel: Certain PC cases use a tool-less design that allows for easy removal of the top panel without screws or latches. Look for release mechanisms, such as quick-release buttons or thumbscrews, that allow you to easily remove the panel by hand.
Every case is unique, so refer to the user manual or manufacturer’s instructions for specifics on how to remove the top panel. Take note of any additional instructions, such as removing other panels or components before accessing the top panel.
Remember to exert gentle but firm pressure when removing the top panel to avoid damaging any delicate components underneath. If you encounter any resistance or need assistance, consult the user manual or reach out to the manufacturer’s support for guidance.
Now that you’ve located the screws or latches, you’re ready to proceed with removing the top panel of your PC case.
Removing the top panel
With the screws or latches located, it’s time to remove the top panel of your PC case. Follow these steps to safely detach the panel:
- If your case has screws securing the top panel, use the appropriate screwdriver to carefully unscrew each screw. Place the screws aside in a safe place to prevent loss.
- If your case uses latches, gently press or slide the latch mechanisms to release the panel. Be mindful of any buttons, switches, or release mechanisms that need to be engaged to unlatch the top panel.
- If you have a tool-less design, look for any quick-release buttons or thumbscrews. Press the release buttons or loosen the thumbscrews to free the panel from its secured position.
Once the top panel is detached, lift it straight up or slide it slightly forward and then lift, depending on the case design. Take care not to force anything or apply excessive pressure that could potentially damage any delicate components inside.
Set the top panel aside in a safe location. Avoid placing it on any surfaces that may scratch or damage it.
At this point, you have successfully removed the top panel of your PC case, providing easy access to the internal components for maintenance, upgrades, or cleaning.
Remember to handle the top panel with care and keep track of any screws or latch mechanisms that were removed. These components will need to be reattached when you are ready to reassemble your PC case.
Taking caution with cables and components
When the top panel is removed, it’s crucial to exercise caution when handling cables and components inside your PC case. Mishandling or accidentally disconnecting cables can lead to system malfunctions or damage. Here are some tips to help you navigate this process safely:
- Observe the cable connections: Take note of the cables that are connected to the top panel or nearby components. Pay close attention to where they are connected and their orientation. This will help you ensure that you properly reconnect them later on.
- Secure cables out of the way: Utilize cable management techniques, such as zip ties or velcro straps, to keep cables neatly organized and out of the way. This will prevent them from getting tangled or interfering with other components when you’re working inside the case.
- Handle components with care: Avoid touching any sensitive components, such as the motherboard, CPU, or RAM modules, unnecessarily. Only touch them when necessary and be gentle to prevent any accidental damage.
- Avoid pulling on cables: When moving cables to access other parts of your PC, avoid tugging or pulling on them. Use gentle, firm pressure to guide them out of the way, taking care not to strain or disconnect them.
- Take pictures or label cables: If you’re concerned about reconnecting cables correctly, take pictures or label them with tape or markers. This visual reference will help you reconnect them accurately, ensuring proper functionality.
- Be mindful of static electricity: Before touching any internal components, ground yourself by touching a metal object or wearing an anti-static wrist strap. Static electricity can damage sensitive components, so it’s important to discharge any static buildup to protect your PC.
By following these precautions, you’ll minimize the risk of accidentally damaging any cables or components during the removal of the top panel. This attention to detail will make the reassembly process smoother and keep your PC running smoothly.
Cleaning and maintenance
With the top panel removed, it’s an opportune time to perform some cleaning and maintenance on your PC case. Dust and debris can accumulate over time, affecting airflow and potentially causing overheating. Follow these steps to effectively clean and maintain your PC:
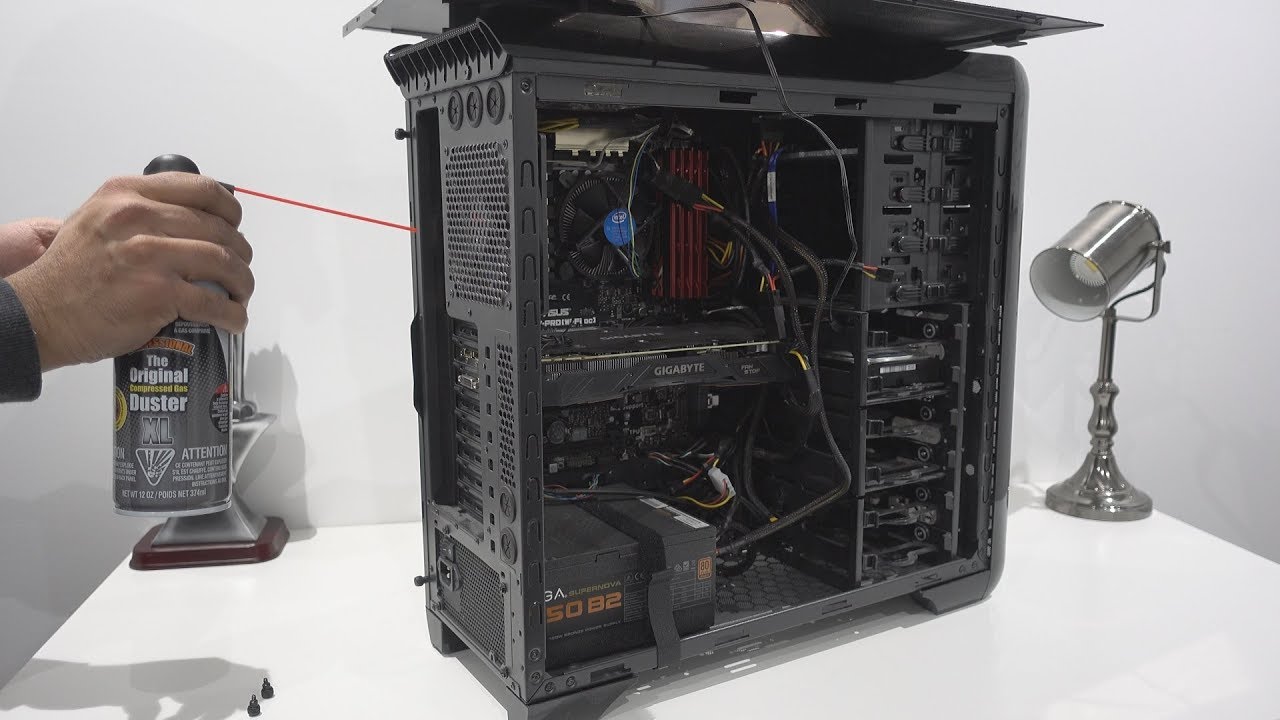
- Use compressed air or air blower: With the top panel removed, carefully blow compressed air into the case, targeting fans, vents, and hard-to-reach areas. This will help dislodge dust and debris, effectively cleaning out your PC. Ensure that you hold the fans steady to prevent them from spinning uncontrollably.
- Wipe down surfaces: Using a microfiber cloth, gently wipe down the surfaces inside the case, including the top panel, motherboard, and other components. This will remove any fingerprints, smudges, or loose particles.
- Clean fans and filters: Take the opportunity to clean the fans and filters in your PC case. Detach the fans if necessary and gently clean them using compressed air or a soft brush. If your case has removable filters, rinse them with water or use compressed air to remove dust. Let the filters air dry before reattaching them.
- Inspect for damage: While cleaning, inspect the components for any signs of damage or wear. Look for loose cables, bent pins, or any abnormalities. Address any issues as necessary to maintain optimal functionality.
- Consider thermal paste: If you’re removing components like the CPU cooler, it may be beneficial to replace the thermal paste. Thermal paste helps in transferring heat between the CPU and cooler, ensuring efficient cooling. Follow the manufacturer’s instructions to properly clean and apply new thermal paste.
Regular cleaning and maintenance will prolong the lifespan of your PC components and ensure optimal performance. Make it a routine to clean your PC every few months or whenever you notice a buildup of dust or decrease in performance.
Once the cleaning and maintenance tasks are completed, you’re ready to reassemble your PC case.
Reassembling the top panel
Now that you have completed the necessary cleaning and maintenance tasks, it’s time to reassemble the top panel of your PC case. Follow these steps to ensure a secure and proper reinstallation:
- Align the top panel: Carefully align the top panel with the corresponding slots or screw holes on the case. Ensure that it sits evenly and properly in place.
- Reattach screws: If your case uses screws to secure the top panel, locate the screw holes on the case and align them with the holes on the panel. Insert the screws and tighten them using the appropriate screwdriver. Be cautious not to overtighten, as this can potentially damage the case or strip the threads.
- Latch or lock the panel: If your case utilizes latches or locking mechanisms, engage them to secure the top panel in place. Follow the manufacturer’s instructions or guidelines to ensure a proper fit.
- Test the panel: Before fully reassembling your PC, give the top panel a gentle push or press to ensure that it is securely in place. Check for any movement or looseness. If everything feels stable, you’re ready to proceed.
- Reattach side panels (if applicable): If you had to remove the side panel to access the internal components, make sure to reattach it securely. Slide it back into position and fasten any screws or clips as required.
Double-check that all screws are tightened properly and that any latches or locks are engaged before moving on. Once you are confident that the top panel is securely reassembled, you can proceed to reconnecting any cables or components that were disconnected earlier.
Take your time to reconnect each cable to its appropriate port, referring to any labels or pictures you took during the disassembly process. Ensure that all connections are secure and snug, but be gentle to avoid causing any damage.
Once all connections are reestablished, you can proceed with reconnecting the power cord and powering on your system. Enjoy your freshly cleaned and maintained PC, knowing that you’ve taken the necessary steps to keep it running smoothly and efficiently.
Conclusion
Congratulations! You have successfully learned how to remove and reassemble the top panel of your PC case. Taking off the top panel provides easy access to components for maintenance, upgrades, and cleaning, ensuring optimal performance and longevity for your system.
By collecting the necessary tools, powering off and disconnecting your PC, locating the screws or latches, removing the top panel with caution, and performing regular cleaning and maintenance, you can keep your PC running smoothly and efficiently.
Remember to always exercise caution when handling cables and components, avoiding unnecessary force or tugging. Taking the time to properly clean your PC and inspect for any damage will prevent issues arising from dust accumulation and worn-out components.
When reassembling the top panel, align it carefully with the case, ensuring a secure fit. Follow the manufacturer’s instructions for securing the panel using screws or latches. Double-check all connections and reattach any side panels that were removed.
By following these steps and taking proper care of your PC case, you can optimize performance, reduce the risk of overheating, and extend the lifespan of your components.
Now that you’re equipped with the knowledge to safely take off and reassemble the top panel, you can confidently embark on PC maintenance and customization adventures. Enjoy exploring the inner workings of your PC and making necessary upgrades or improvements whenever needed!