Introduction
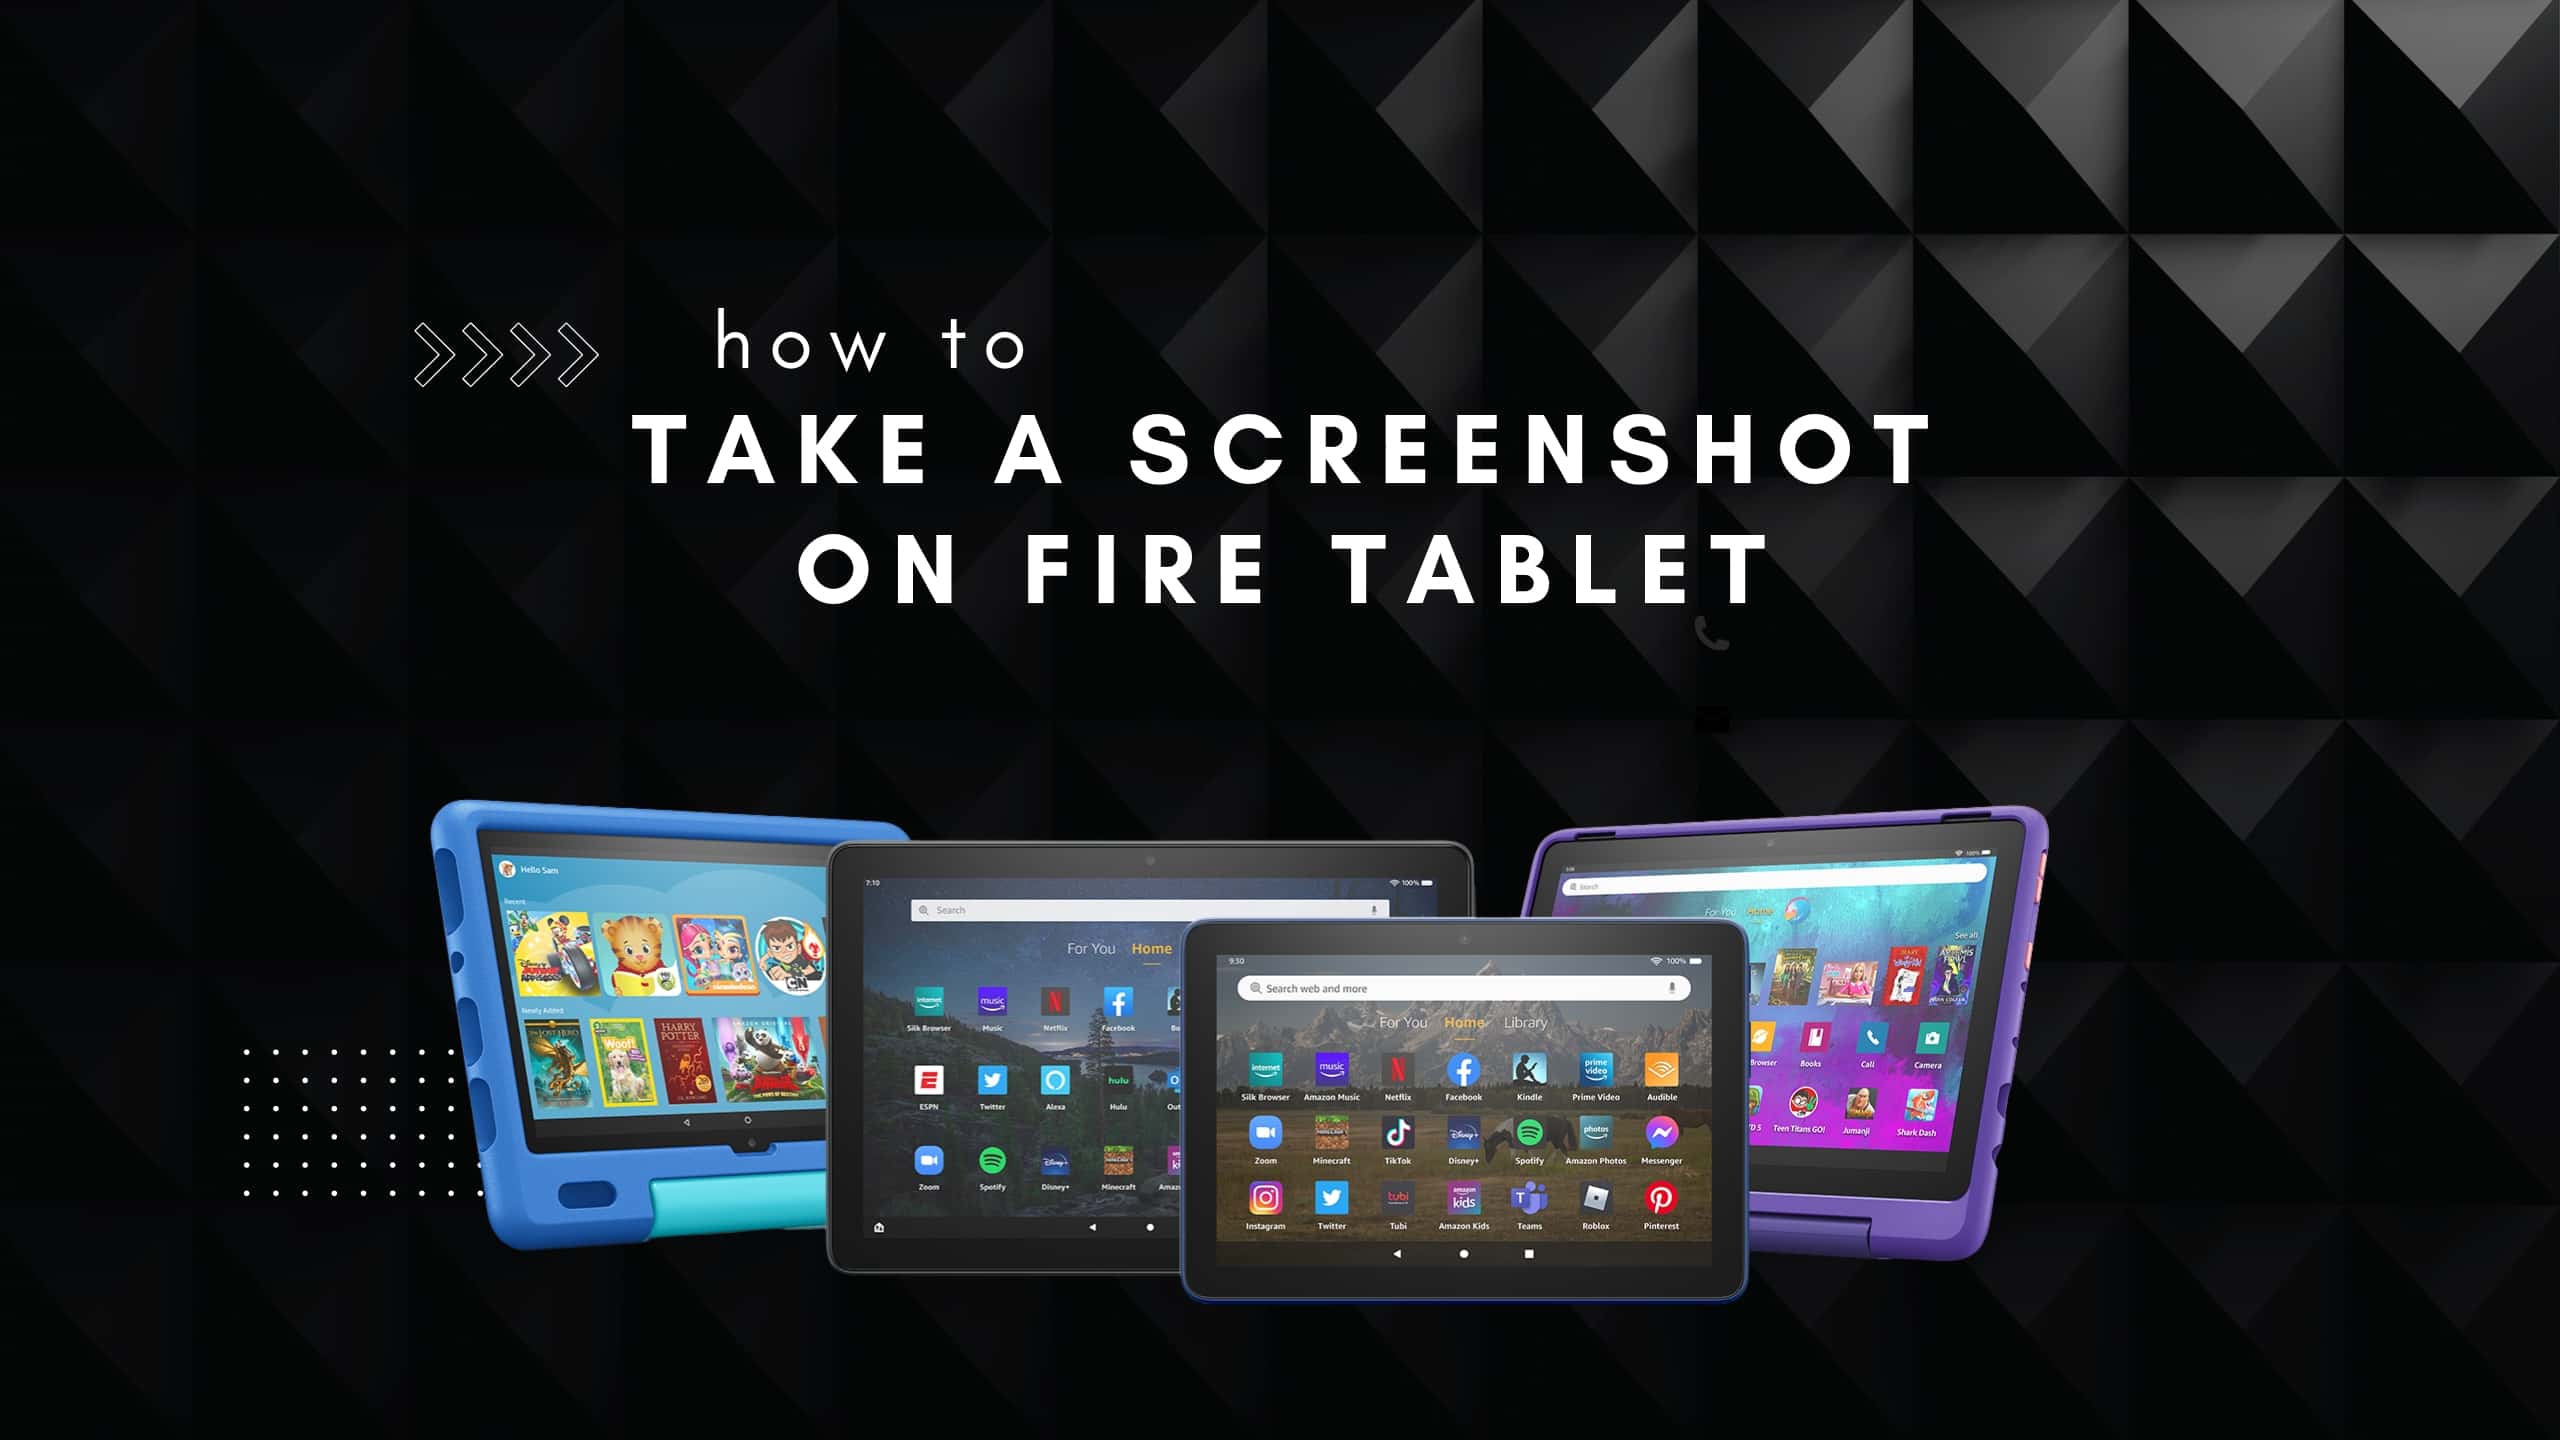
Welcome to the world of Fire Tablets! Whether you’re a casual user, a tech enthusiast, or a productivity guru, knowing how to take a screenshot can be incredibly useful. As an SEO writer, I’m here to guide you through the various methods of capturing screenshots on your Fire Tablet, catering to different models.
From documenting a funny conversation, capturing a memorable moment in a game, or saving important information, screenshots offer a quick and efficient way to preserve content on your device. In this article, we’ll explore four easy methods to take a screenshot on your Fire Tablet.
But before we dive into the different methods, it’s important to note that the steps may vary slightly depending on the specific Fire Tablet model you have. Don’t worry, though—I will provide instructions for each method so that you can easily follow along, regardless of your device.
Now, without further ado, let’s explore these methods and see which one works best for you!
Method 1: Using the Power and Volume Down Buttons
One of the most common and straightforward methods to take a screenshot on your Fire Tablet is by using the hardware buttons—specifically, the Power and Volume Down buttons.
To get started, locate the Power button and the Volume Down button on your Fire Tablet. The Power button is usually located on the top or side of the device, while the Volume Down button is typically found on the opposite side.
Once you’ve located the buttons, follow these simple steps:
- Open the screen or app that you want to capture.
- Using one hand, press and hold the Power button and the Volume Down button simultaneously. Make sure to press them at the same time and hold them for a few seconds.
- You may hear a camera shutter sound or see a quick screen animation, indicating that the screenshot has been taken.
- The screenshot will be saved in your device’s storage, typically in the Screenshots folder.
That’s it! You’ve successfully captured a screenshot using the Power and Volume Down buttons. It’s a quick and effective method that works across various Fire Tablet models.
Keep in mind that if it’s your first time taking a screenshot, you might need to grant permission for your Fire Tablet to save and access media files. Follow the prompts that appear on your screen to enable this feature.
Now that you know how to use the Power and Volume Down buttons to take a screenshot on your Fire Tablet let’s explore another method in the next section.
Method 2: Using the Quick Actions Menu
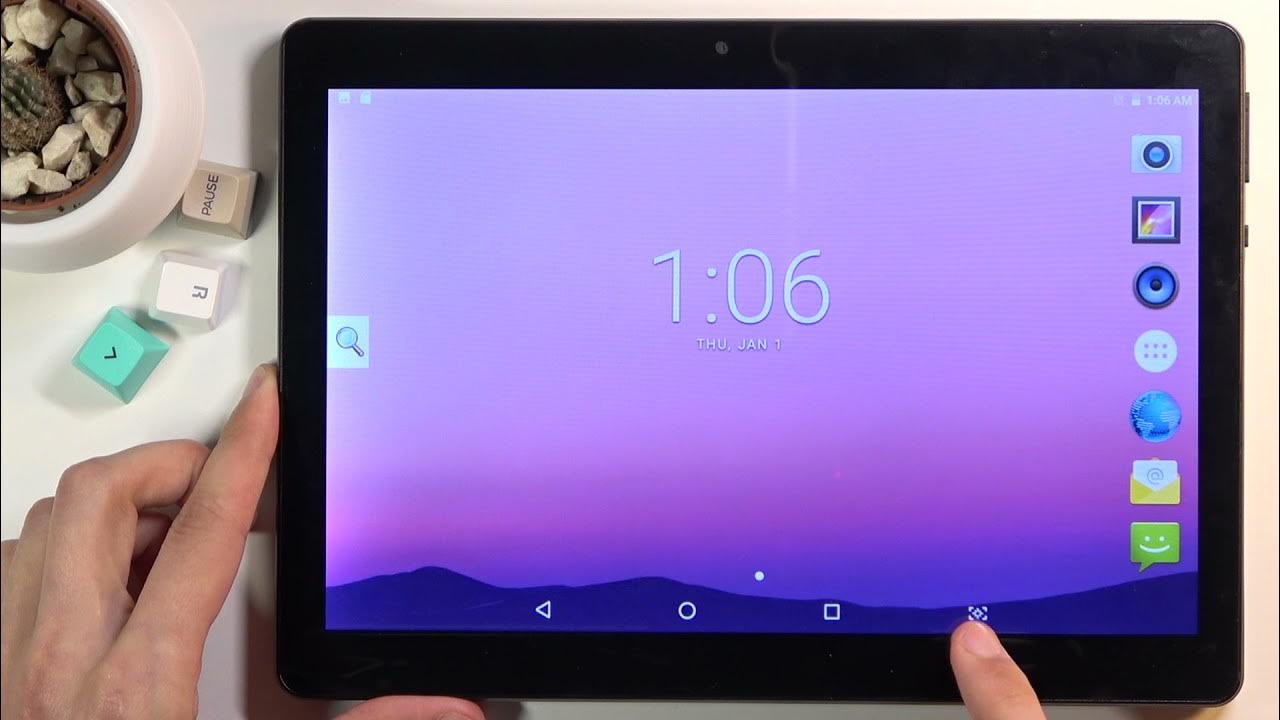
If you prefer a more convenient and touch-friendly method, using the Quick Actions menu is a great option for taking screenshots on your Fire Tablet. This method allows you to take screenshots with just a few taps on your device’s screen.
Follow these steps to capture a screenshot using the Quick Actions menu:
- Open the screen or app that you want to capture.
- Swipe down from the top of the screen to open the Quick Actions menu.
- In the menu, look for the “Screenshot” option. It is usually represented by a camera icon.
- Tap on the “Screenshot” option.
- You may see a brief animation or hear a confirmation sound indicating that the screenshot has been taken.
- The screenshot will be saved in your device’s storage in the Screenshots folder.
That’s it! You’ve successfully taken a screenshot using the Quick Actions menu on your Fire Tablet. This method is ideal for those who prefer a more intuitive and touch-based approach.
It’s worth noting that the availability of the Quick Actions menu and the placement of certain options may vary depending on the Fire Tablet model and software version you are using. However, the general concept of accessing the Quick Actions menu remains the same.
Now that you’re familiar with the Quick Actions menu method, let’s move on to another method in the next section to learn more ways to take screenshots on your Fire Tablet.
Method 3: Using Alexa Voice Command
If you’re a fan of hands-free control and enjoy using voice commands on your Fire Tablet, you’ll be glad to know that Alexa can help you capture screenshots effortlessly. By simply using your voice, you can take a screenshot without touching any buttons or menus.
Follow these steps to take a screenshot using Alexa voice command:
- Open the screen or app that you want to capture.
- Ensure that your Fire Tablet is connected to the internet, as Alexa requires an internet connection to function.
- Activate Alexa by either saying the wake word (e.g., “Alexa”) or by holding down the home button.
- Once Alexa is active, simply say, “Alexa, take a screenshot.”
- Alexa will confirm that a screenshot has been taken, and the image will be saved in your device’s storage in the Screenshots folder.
It’s as simple as that! With just a voice command, you can now capture screenshots using your Fire Tablet and Alexa. Keep in mind that using this method requires a reliable internet connection and that Alexa commands may vary slightly depending on your device’s language settings.
Now that you know how to use Alexa to take screenshots, let’s proceed to the next section, where we’ll explore yet another method to capture screenshots on your Fire Tablet.
Method 4: Using Third-party Apps
If you’re looking for additional features or customization options when it comes to taking screenshots on your Fire Tablet, using third-party apps can provide you with a variety of options. These apps offer enhanced functionality and flexibility to capture screenshots with advanced editing tools, instant sharing options, and more.
Here are the steps to take a screenshot using third-party apps:
- Visit the Amazon Appstore on your Fire Tablet and search for “screenshot apps.”
- Browse through the available apps and read the descriptions or reviews to find the one that suits your needs. Some popular options include Screenshot Easy, Screen Master, and Screenshot UX.
- Once you’ve chosen and installed the app of your choice, open it.
- Follow the app’s on-screen instructions to set it up.
- Once the app is set up, open the screen or app that you want to capture.
- Launch the screenshot app and use the provided capture button or method to take a screenshot.
- The screenshot will be saved within the app or in your device’s storage, depending on the app’s settings.
Using third-party apps allows you to unlock additional functionality and customization options for capturing screenshots on your Fire Tablet. Whether you need advanced editing tools, quick sharing options, or specific features tailored to your preferences, these apps can offer a solution.
However, keep in mind that downloading apps from the Amazon Appstore or other platforms is subject to your own discretion. Always ensure that you’re downloading from trusted sources and read the reviews and permissions carefully before installation.
Now that you’re familiar with using third-party apps to take screenshots, let’s move on to the concluding section to summarize what we’ve learned.
Conclusion
So there you have it—a comprehensive guide on how to take a screenshot on your Fire Tablet. We explored four different methods to capture screenshots, catering to various preferences and device models.
We started by using the Power and Volume Down buttons, a classic method that works on almost all Fire Tablet models. Then, we moved on to the Quick Actions menu, which offers a convenient and touch-friendly way to take screenshots with just a few taps.
Next, we discovered how Alexa can be your hands-free assistant when it comes to capturing screenshots with voice commands. And finally, we explored the option of using third-party apps to unlock additional features and customization options.
Remember, when taking a screenshot, it’s essential to consider the specific model and software version of your Fire Tablet, as the steps may vary slightly. Additionally, ensure that you have sufficient storage space to save your screenshots.
Now that you have the knowledge and tools to take screenshots, you can easily capture and save moments, important information, or anything else you wish to preserve on your Fire Tablet.
Feel free to experiment with different methods and find the one that suits your needs the best. Whether you prefer the simplicity of hardware buttons, the convenience of touch-based menus, the hands-free experience with Alexa, or the added functionality of third-party apps, the choice is yours!
Remember to have fun while exploring and utilizing your Fire Tablet’s features. Happy screenshotting!


