Introduction
Google Photos is a popular platform for storing and organizing your digital memories. Whether it’s your family vacation pictures or a collection of memorable moments with friends, Google Photos makes it easy to search for and find specific photos. One useful feature of Google Photos is the ability to tag people in your photos. This allows you to quickly identify and locate pictures of specific individuals, making it easier to relive those special moments.
In this article, we will guide you through the process of tagging someone in Google Photos. Whether you want to tag a family member, a friend, or even yourself, we will provide step-by-step instructions to help you navigate the tagging process effortlessly.
By tagging people in your Google Photos, you can create a personalized and organized collection of images based on individuals. It’s a great way to keep track of precious moments and quickly access photos featuring your loved ones. So let’s dive into the steps and learn how to effectively tag someone in Google Photos.
Step 1: Open Google Photos
The first step in tagging someone in Google Photos is to open the Google Photos app on your device. Google Photos is available for both Android and iOS devices, so make sure you have it installed on your smartphone or tablet.
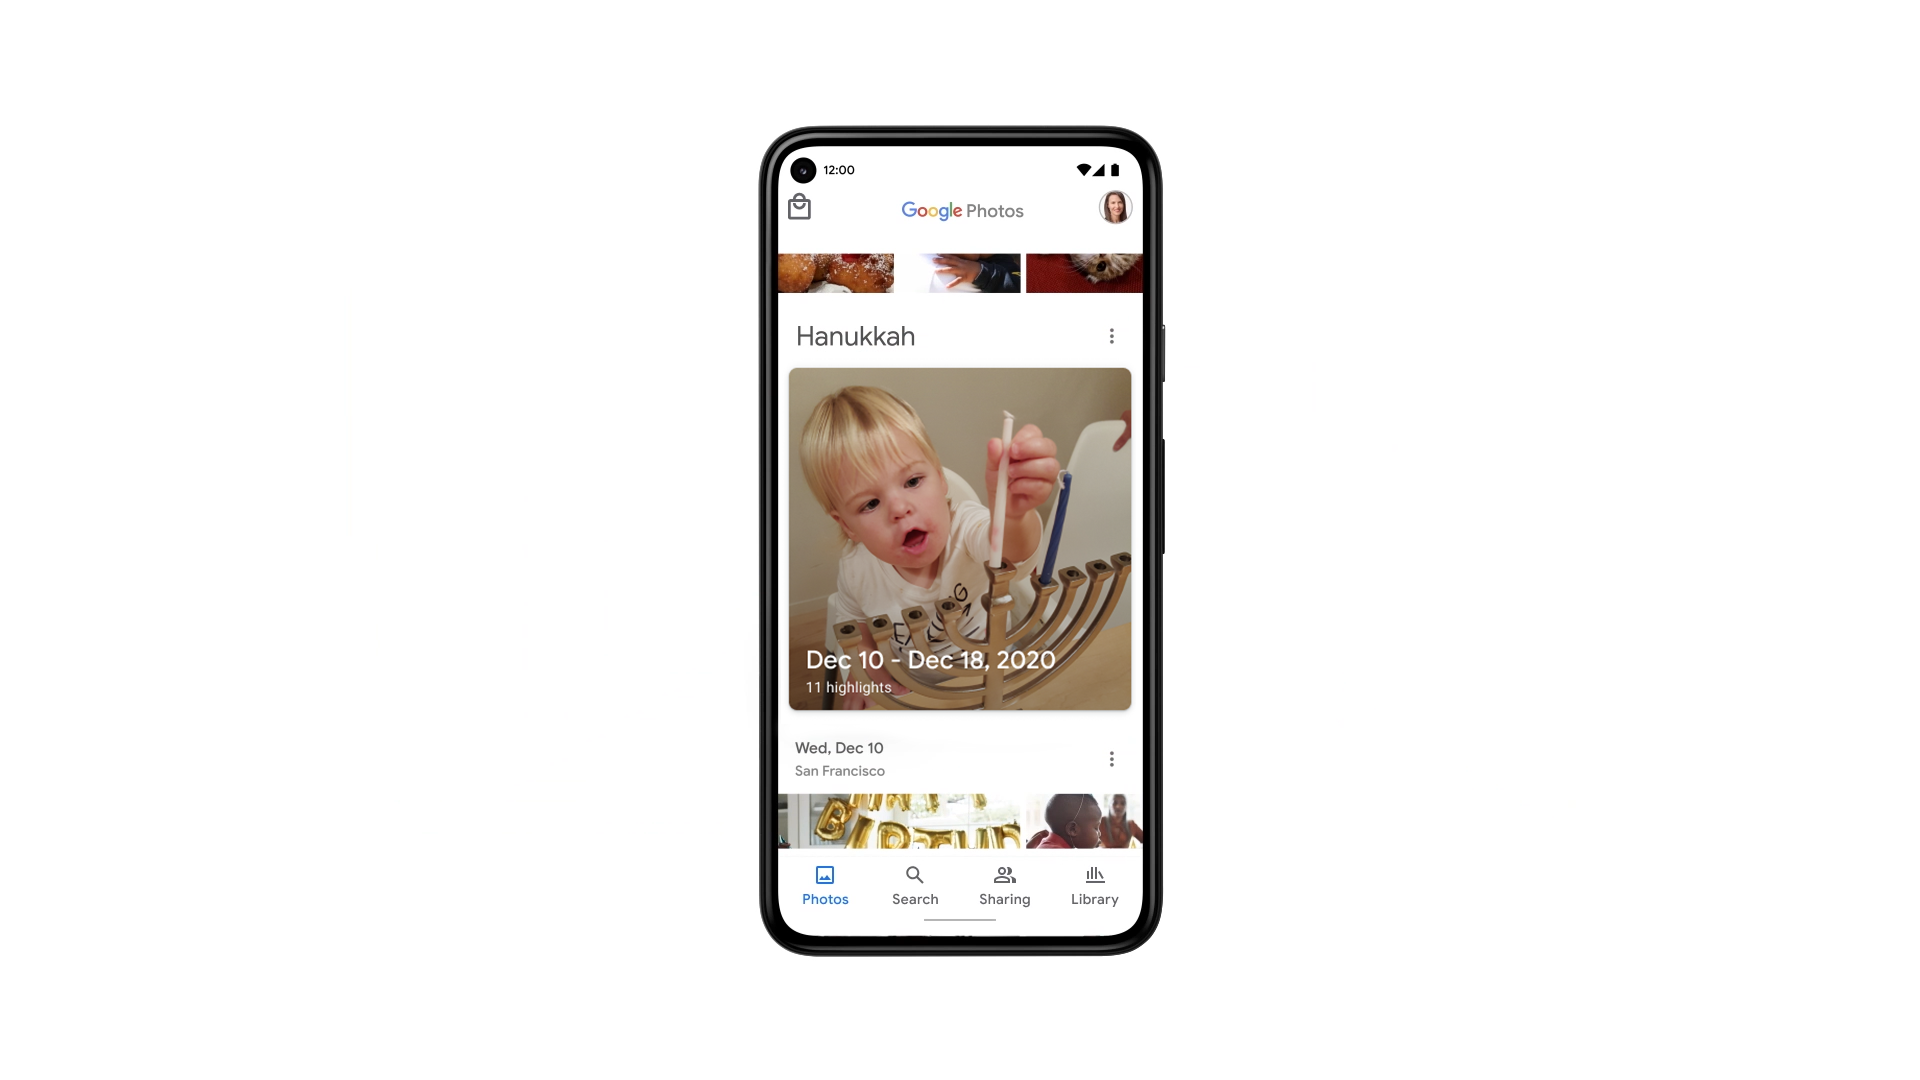
To open Google Photos, locate the app icon on your home screen or app drawer and tap on it. The app icon is usually a colored pinwheel or a multi-colored square with rounded corners, representing the Google Photos logo.
Once you open the app, it will take you to the main interface where you can view all your photos and albums. You can also access additional features and settings from this screen.
If you haven’t signed in to Google Photos, you will be prompted to sign in to your Google account. Simply enter your email address and password, or use your preferred sign-in method, such as fingerprint or face recognition.
Once you are signed in, you are ready to move on to the next step and start tagging someone in your photos!
Step 2: Search for the Photo
Now that you have opened Google Photos, the next step is to search for the specific photo that you want to tag someone in. Google Photos provides a powerful search feature that allows you to find photos based on various criteria, including date, location, and even objects in the photo.
To search for a photo, look for the search bar at the top of the screen. Tap on the search bar to activate it and start typing a keyword related to the photo you want to tag someone in. For example, if you want to tag a friend in a photo at the beach, you can type “beach” or your friend’s name.
As you start typing, Google Photos will dynamically display suggestions based on your search query. These suggestions can help you quickly find what you are looking for. Tap on the relevant suggestion or continue typing if you don’t see the desired result.
Google Photos will instantly filter your photo library based on your search query, displaying the relevant photos. You can scroll through the search results to locate the specific photo you want to tag someone in.
If you have organized your photos into albums, you can also select a specific album and search within that album to narrow down your search. Simply tap on the “Albums” tab at the bottom of the screen and select the desired album. Then, follow the previous steps to search for the photo within that album.
Once you have located the photo you want to tag someone in, you are ready to move on to the next step and initiate the tagging process.
Step 3: Tap on the Photo
After searching for the specific photo you want to tag someone in, the next step is to tap on the photo to open it in full view. This will allow you to access the options and features related to that specific photo in Google Photos.
When you see the photo in the search results, simply tap on it to open it in a larger view. The photo will expand and fill the screen, allowing you to examine it in detail. You can zoom in or out by pinching or spreading your fingers on the screen.
Once the photo is opened in full view, you will see various icons and options displayed on the screen. These options enable you to perform different actions such as editing, sharing, and, of course, tagging someone in the photo.
Take a moment to familiarize yourself with the layout of the photo view screen. You may see options like a pencil icon for editing, a share icon for sharing the photo, and a heart icon for marking it as a favorite. The exact layout may vary slightly depending on the version of Google Photos you are using.
Now that you have the photo open in full view, you are ready to proceed to the next step and access the tagging options in Google Photos.
Step 4: Tap on the Three Dots
Once you have the photo opened in full view, the next step is to tap on the three dots icon. This will reveal a menu of options and settings related to the photo in Google Photos.
Look for the three dots icon, which is typically located in the top-right corner of the screen. It may appear as three vertical dots, or as a horizontal ellipse with three dots, depending on your device and the version of Google Photos you are using.
Tap on the three dots icon to open the menu. A dropdown list will appear, displaying several options that you can choose from to interact with the photo. These options may include editing, sharing, deleting, and more.
Scroll through the list of options and look for the option that allows you to tag someone in the photo. In some versions of Google Photos, this option may be labeled as “Tag people,” “Add person,” or similar. The exact wording may vary, so keep an eye out for any mention of tagging or adding people.
Once you have located the tagging option, proceed to the next step to select the person you want to tag from your contacts.
Step 5: Select “Add Partner Account”
After tapping on the three dots icon and opening the menu, look for the option that allows you to tag someone in the photo. In some versions of Google Photos, this option may be labeled as “Tag people,” “Add person,” or similar.
Once you have located this option, tap on it to proceed to the next step. Depending on your device and version of Google Photos, you may be presented with a list of suggestions from your contacts or prompted to add a partner account.
If you see a list of suggestions from your contacts, simply scroll through the list and select the person you want to tag in the photo. Alternatively, you can also search for the person by typing their name in the search bar provided.
However, if you are prompted to add a partner account, follow the instructions to connect your Google Photos with another user’s Google account. This option is useful if you want to share photos and albums with a partner or family member who also has a Google Photos account.
By adding a partner account, you can easily tag and share photos with that person, creating a collaborative experience in organizing and reliving memories together.
Once you have selected the person from your contacts or added a partner account, proceed to the next step to confirm the tag and associate the person with the photo.
Step 6: Choose the Person’s Contact
After selecting the “Add Partner Account” option in the previous step, you will now have the opportunity to choose the person’s contact you want to tag in the photo. This step allows you to associate the specific individual with the photo in Google Photos.
First, if you see a list of suggestions from your contacts, scroll through the list to find the person you want to tag. The list may include names, profile pictures, or any other identifying information you have saved for your contacts.
If the person you want to tag is not in the suggested list, you can tap on the search bar at the top of the screen and manually type their name to search for them. Google Photos will provide you with relevant search results based on the name you entered, allowing you to select the correct person.
Once you have located the person you want to tag, tap on their name or profile picture to select them. The selected contact will now be associated with the photo, and their name will appear as a tag or label on the photo in Google Photos.
It’s important to ensure that you choose the correct contact to avoid tagging the wrong person. Double-check the name and any other identifying information to ensure accuracy.
After choosing the person’s contact, proceed to the next step to confirm the tag and finalize the association between the person and the photo.
Step 7: Confirm the Tag
Once you have selected the person’s contact in the previous step, the next step is to confirm the tag and associate the person with the photo in Google Photos. This ensures that the photo will be properly organized and connected to the individual you want to tag.
After selecting the person’s contact, you will usually see a confirmation prompt or screen. This prompt will display the person’s name and a preview of the photo, allowing you to verify the accuracy of the tag.
Take a moment to review the information and ensure that you have selected the correct person for the tag. If everything looks correct, tap on the “Confirm” or “Tag” button to finalize the association.
Once you confirm the tag, Google Photos will update the photo with the person’s name as a tag or label. This makes it easier for you to identify and search for photos of that person within your Google Photos library.
It’s important to note that the confirmation process may vary slightly depending on the version of Google Photos and the device you are using. However, the general idea remains the same – to verify and confirm the tag before it is applied to the photo.
With the tag confirmed, you can now move on to the next step and learn how to manage and access photos of tagged individuals in Google Photos.
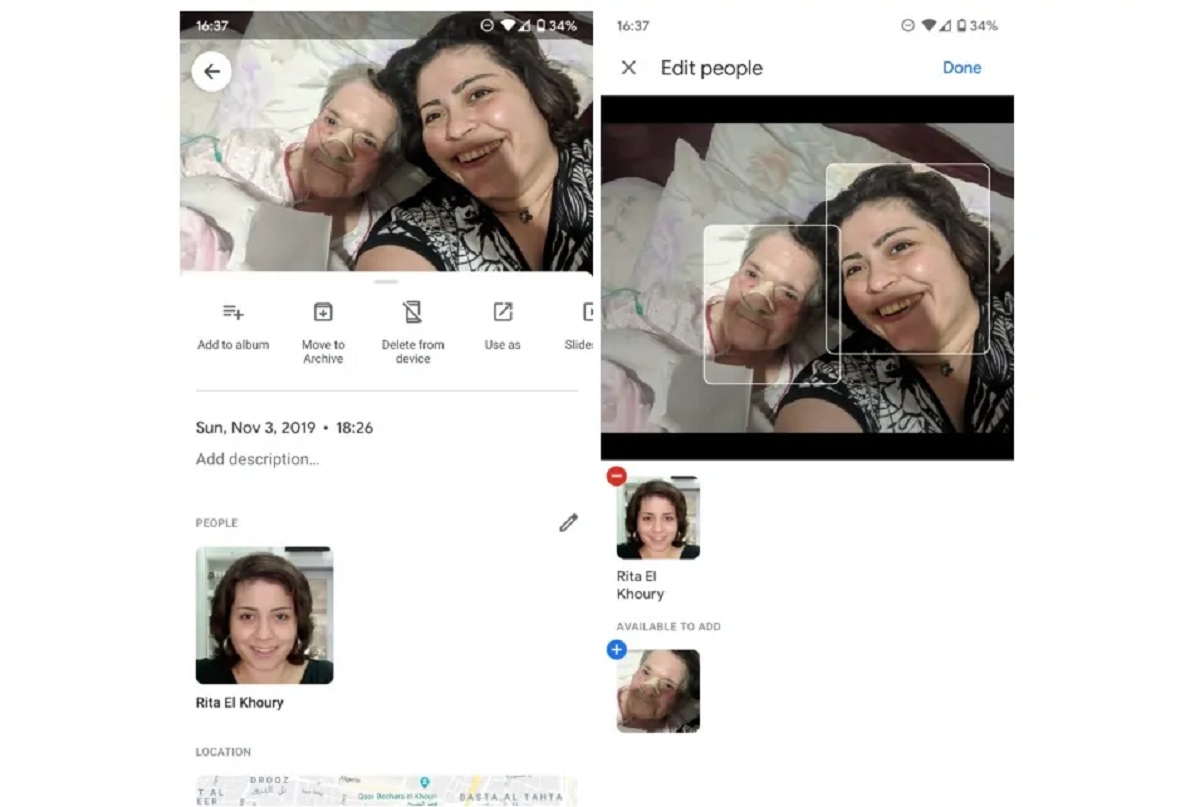
Step 8: Managing Tagged People
After successfully tagging someone in a photo, it’s important to know how to manage and access the photos of tagged individuals in Google Photos. This allows you to easily find and navigate through your collection of photos featuring specific people.
To view and manage tagged people in Google Photos, follow these steps:
- Open the Google Photos app on your device.
- Tap on the search bar at the top of the screen.
- In the search suggestions that appear, you should see an option for “People.”
- Tap on “People” to access the list of individuals you have tagged in your photos.
Here, you will find a collection of all the people you have tagged in your Google Photos. Tap on a person’s name or profile picture to view all the photos in which they have been tagged.
You can also search for a specific person by typing their name in the search bar. This will filter the search results to show only the photos featuring that particular individual.
Additionally, Google Photos uses advanced facial recognition technology to automatically group photos of the same person together. This means that even if you have not manually tagged someone in a photo, Google Photos may still recognize them and group their pictures in the “People” section.
If you ever want to remove a tag from a photo or edit the tags associated with an individual, you can do so by opening the photo and tapping on the three dots icon. From there, you can select the “Tag people” option and make any necessary changes.
By effectively managing tagged people in Google Photos, you can easily navigate and organize your collection of photos based on individuals. It’s a convenient way to quickly find and relive precious moments with your loved ones.
Conclusion
Tagging someone in Google Photos is a powerful feature that allows you to easily organize and find photos featuring specific individuals. Whether you want to tag family members, friends, or even yourself, following the steps outlined in this guide will help you navigate the tagging process seamlessly.
From opening Google Photos and searching for the desired photo to tapping on the photo, selecting the person’s contact, confirming the tag, and managing tagged people, each step plays a vital role in ensuring a meaningful and organized photo collection.
By tagging people in your photos, you can create a personalized and easily accessible archive of precious memories. It enables you to relive special moments with just a few taps on your device.
Remember, Google Photos provides various additional features to enhance your overall experience, such as editing, sharing, and collaborating with partner accounts. Explore these options to further customize and optimize your photo collection.
Now that you have a good understanding of how to tag someone in Google Photos, it’s time to start organizing your photos and enjoying quick access to cherished memories. So grab your device, open Google Photos, and get started on building your personalized photo library!