Introduction
Welcome to our comprehensive guide on how to set up your Apple TV! Whether you’re a tech enthusiast or a casual user, setting up your Apple TV is a straightforward process that will enable you to unlock a world of entertainment and convenience. In this article, we will walk you through each step to ensure a smooth and hassle-free setup experience.
Apple TV is a versatile streaming media player that allows you to enjoy your favorite movies, TV shows, music, and more on your big screen television. It also offers a wide range of apps and features that can enhance your entertainment experience, such as video streaming services, gaming, and home automation integration.
Before we dive into the setup process, let’s take a moment to ensure you have everything you need. Firstly, you will need an Apple TV device, whether it’s the latest model or an older version. Secondly, make sure you have a stable internet connection available, as Apple TV relies on internet access to stream content and access various features. Lastly, you will also need an HDMI cable to connect your Apple TV to your television.
Once you have gathered all the necessary equipment, you’re ready to begin the setup process. Follow along as we guide you through each step, from unboxing and connecting your Apple TV to customizing its settings and installing apps. Whether you’re a tech-savvy user or a beginner, you’ll find this guide helpful in getting your Apple TV up and running in no time.
So, without further ado, let’s dive into the exciting world of Apple TV setup and explore all the incredible features and possibilities that await!
Step 1: Unboxing and Connecting Apple TV
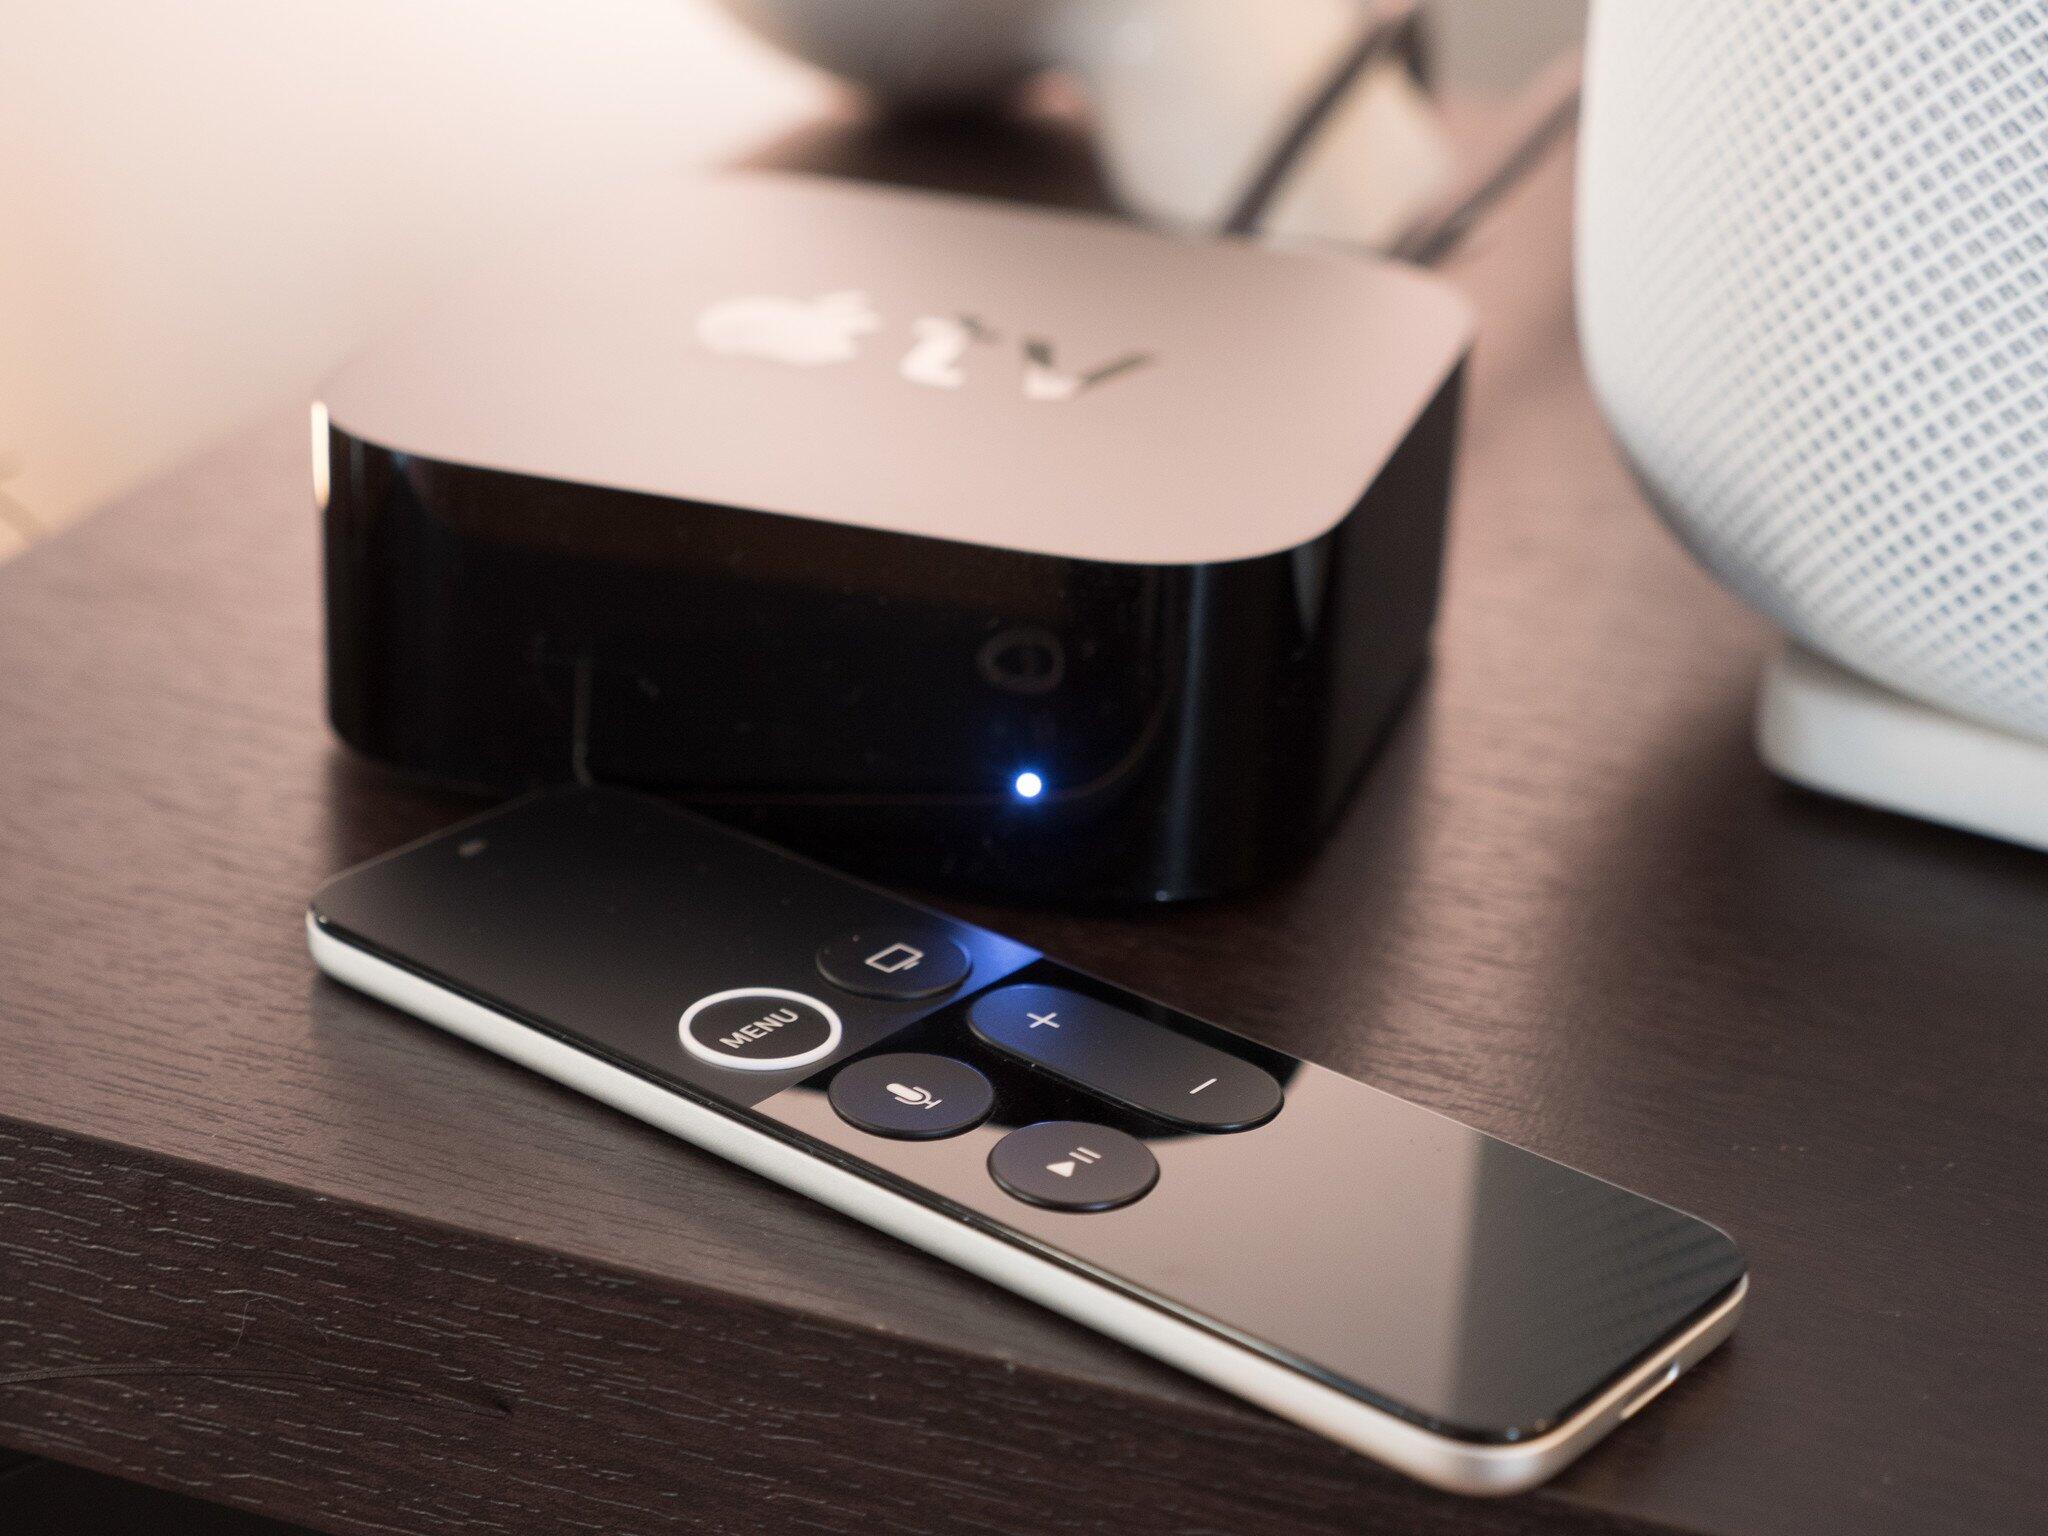
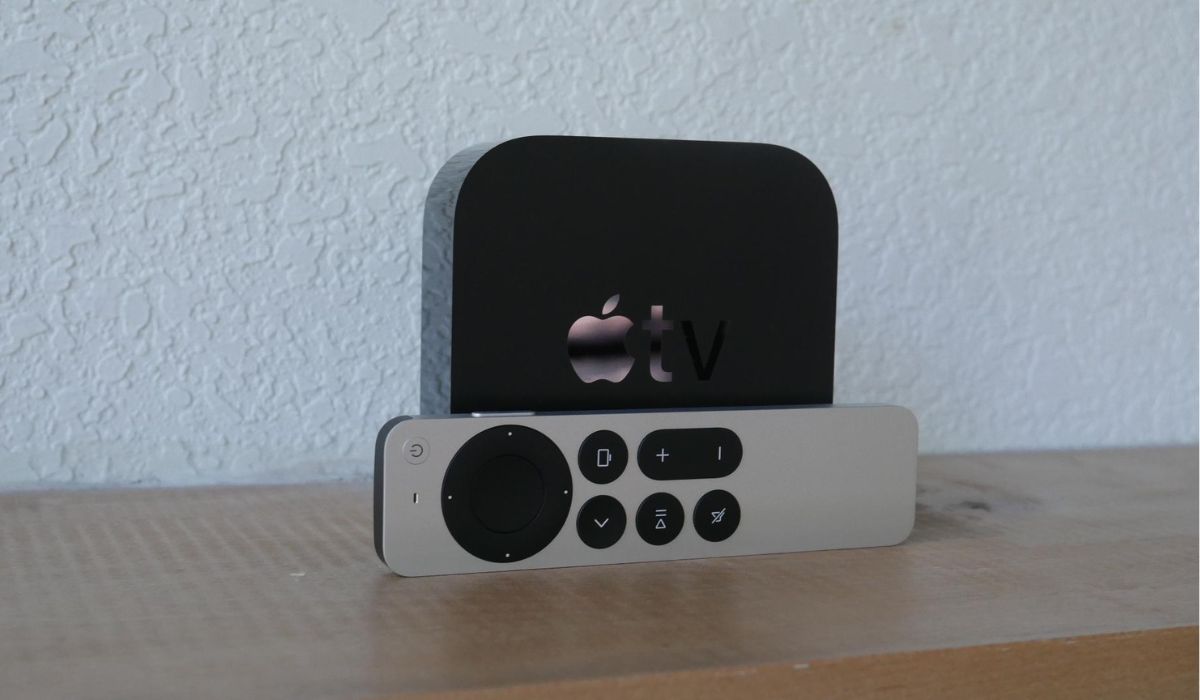
The first step in setting up your Apple TV is to unbox the device and connect it to your television. Upon unboxing, you will find the Apple TV device, the Siri Remote, a power cord, and an HDMI cable.
To begin, locate an available HDMI port on your television. Connect one end of the HDMI cable to the back of your Apple TV device and the other end to the HDMI port on your TV. Make sure the cable is securely plugged in.
Next, connect the power cord to the Apple TV device and plug the other end into a power outlet. Once the device is connected to power, it will turn on automatically. Alternatively, if your Apple TV comes with a remote that uses a button battery, make sure to install the battery before powering on the device.
Using the remote, select the appropriate HDMI input on your television to display the Apple TV setup screen. It may take a few moments for the setup screen to appear, so be patient.
Now that you have successfully connected your Apple TV to your television, it’s time to move on to the next step and complete the initial setup process.
Make sure to keep the remote in a safe place, as you will need it for the remaining setup steps and future use. The Siri Remote provides convenient access to various features, including voice control, navigation, and playback control.
With the unboxing and initial connection completed, you are one step closer to enjoying all the entertainment and convenience that Apple TV has to offer. Let’s proceed to the next step and power on the device for the initial setup process.
Step 2: Powering On and Initial Setup
Now that you have successfully connected your Apple TV to your television, it’s time to power on the device and complete the initial setup process. Follow these simple steps to get started:
- Locate the power button on the Apple TV remote. Press and hold the button until the Apple logo appears on your television screen. This indicates that the device is powering on.
- Once the device is powered on, you will be greeted with the language selection screen. Use the remote’s touchpad or directional buttons to navigate and select your preferred language.
- After selecting your language, the setup process will prompt you to choose your country or region. Again, navigate using the remote and select the appropriate option.
- Next, you will be presented with the option to enable or disable VoiceOver. VoiceOver provides spoken descriptions of onscreen elements for visually impaired users. Choose the desired option based on your preference.
- The setup process will then ask you to connect to a Wi-Fi network. Select your network from the available options and enter the password, if required. Make sure to choose a stable Wi-Fi connection for smooth streaming and access to online features.
- Once connected to Wi-Fi, your Apple TV will check for software updates. If any updates are available, follow the onscreen prompts to install them. It’s essential to keep your Apple TV up to date to ensure optimal performance and access to the latest features.
- After the software update, you will be prompted to sign in with your Apple ID. If you have an existing Apple ID, select “Sign in” and enter your credentials. If you don’t have an Apple ID, you can create one by selecting “Create Apple ID” and following the onscreen instructions.
- If you have two-factor authentication enabled for your Apple ID, follow the prompts to complete the verification process. This adds an extra layer of security to your account.
- Once signed in or after creating your Apple ID, you will be given the option to set up iCloud services on your Apple TV. Decide whether you want to enable iCloud or skip this step for now.
Congratulations! You have successfully powered on your Apple TV and completed the initial setup process. Now it’s time to move on to the next steps and configure additional settings, such as Home Sharing and app installations.
Stay tuned for the upcoming sections of this guide, where we will provide detailed instructions on how to customize your Apple TV and make the most out of its features.
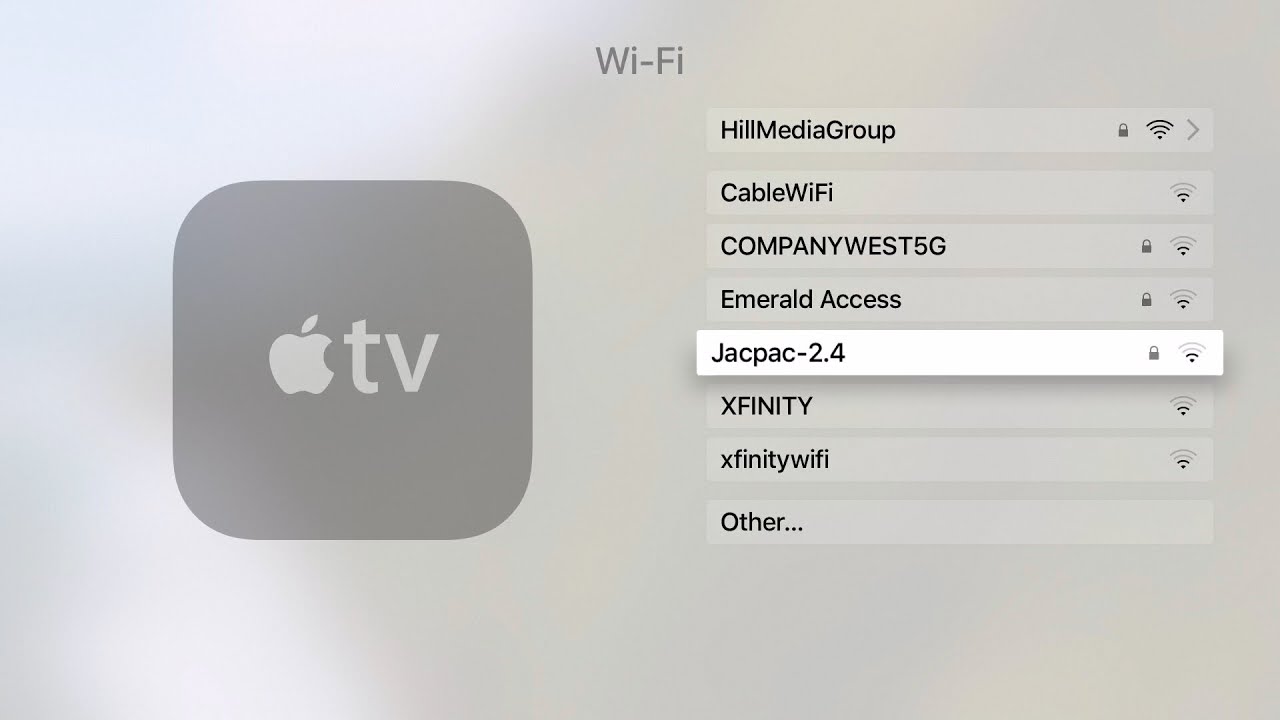
Step 3: Connecting Apple TV to Wi-Fi Network
In order to access online content and utilize the full range of features available on your Apple TV, you need to connect it to a Wi-Fi network. Follow these steps to connect your Apple TV to Wi-Fi:
- Make sure your Apple TV is powered on and that you can see the home screen on your TV.
- Using the Apple TV remote, navigate to the “Settings” app, which is represented by the gear icon.
- In the Settings menu, select “Network” to open the network settings.
- Choose the option “Wi-Fi” to initiate the Wi-Fi setup process.
- A list of available Wi-Fi networks will appear on the screen. Select your Wi-Fi network from the list.
- If your Wi-Fi network is secured with a password, a prompt will appear asking for the password. Use the remote to enter the password using the onscreen keyboard.
- Once you have entered the password, select “Join” or press the “Play/Pause” button to confirm.
Your Apple TV will now attempt to connect to the selected Wi-Fi network. If the credentials you entered are correct, your Apple TV will successfully connect to the Wi-Fi network. You may see a loading screen while the connection is established.
It’s important to ensure that you have a stable and reliable Wi-Fi connection for optimal performance. If you experience any issues with the connection, make sure your Wi-Fi router is functioning correctly and try restarting both your Apple TV and the router. Additionally, ensure that you are within range of the Wi-Fi signal and that there are no obstructions causing interference.
Once your Apple TV is connected to the Wi-Fi network, you can start enjoying a wide variety of online content, including streaming movies, TV shows, music, and more.
In the next section of this guide, we will explore how to configure your Apple ID and iCloud on your Apple TV, allowing you to personalize your experience and access content across your devices.
Step 4: Configuring Apple ID and iCloud
Configuring your Apple ID and iCloud on your Apple TV will enable you to access personalized content, sync data across devices, and enjoy a seamless experience across the Apple ecosystem. Follow these steps to set up your Apple ID and iCloud:
- From the Apple TV home screen, navigate to the “Settings” app using the Apple TV remote.
- In the Settings menu, select “Accounts” to access your account settings.
- Choose “iCloud” to begin the setup process.
- Sign in with your Apple ID by selecting “Sign In” and entering your credentials using the onscreen keyboard. If you don’t have an Apple ID, select “Create Apple ID” and follow the prompts to set up a new account.
- If you have two-factor authentication enabled for your Apple ID, you will be prompted to complete the verification process by entering a verification code that is sent to your trusted device.
- Once signed in, you can customize the iCloud settings according to your preferences. You can choose to enable iCloud Drive, Photos, Siri, HomeKit, and more.
- By enabling iCloud Drive, you can access your files and documents from any Apple device that is signed in to the same Apple ID.
- The iCloud Photos feature allows you to store, view, and sync your photos and videos across devices. You can also use shared albums to collaborate and share memories with friends and family.
- Enabling Siri on your Apple TV allows you to use voice commands for searching, playing content, and controlling your TV using the Siri Remote.
- HomeKit integration lets you control and automate your smart home devices directly from your Apple TV.
Configuring your Apple ID and iCloud on your Apple TV ensures that your settings, preferences, and data are synced across your devices, providing a seamless user experience. It also allows you to access and enjoy your personalized content from various apps and services.
In the next section, we will explore how to set up Home Sharing on your Apple TV, which allows you to stream and share media files from your computer or other compatible devices.
Step 5: Setting Up Home Sharing
Home Sharing is a useful feature that allows you to stream and share media files, such as movies, TV shows, music, and photos, from your computer or other compatible devices to your Apple TV. Follow these steps to set up Home Sharing:
- On your Apple TV, navigate to the “Settings” app from the home screen.
- Select “Accounts” from the Settings menu.
- Choose “Home Sharing” to begin the setup process.
- Sign in with your Apple ID if prompted. This is the same Apple ID used for iTunes, App Store, and iCloud.
- Once signed in, select “Turn On Home Sharing.”
- You will see a message confirming that Home Sharing has been enabled and that your Apple TV is linked to your Apple ID.
- Next, go to your computer or compatible device and open iTunes.
- In iTunes, sign in with the same Apple ID used on your Apple TV.
- In the menu bar, click on “File” and select “Home Sharing” from the drop-down menu.
- Choose “Turn On Home Sharing” and enter your Apple ID and password if prompted.
- Your computer or device is now connected to your Apple TV through Home Sharing.
You can now access your media library from your computer or compatible devices on your Apple TV. Simply navigate to the relevant app, such as “Movies,” “Music,” or “Photos,” and select the “Computers” option to browse and stream your media files.
Home Sharing provides a convenient way to enjoy your favorite content on the big screen without the need for additional storage or transferring files. It also allows you to easily share media with family and friends who use Apple devices and are connected to your Home Sharing network.
In the next step, we will explore how to customize your Apple TV settings according to your preferences.
Step 6: Customizing Apple TV Settings
Customizing the settings on your Apple TV allows you to personalize your experience and tailor it to your preferences. Follow these steps to customize your Apple TV settings:
- From the Apple TV home screen, navigate to the “Settings” app using the Apple TV remote.
- In the Settings menu, you will find various settings categories to choose from, such as “General,” “Apps,” “Video and Audio,” “Remotes and Devices,” and more.
- Within each category, you can adjust individual settings to suit your preferences. For example:
- Under the “General” category, you can customize settings such as language, time zone, screensaver, and sleep mode.
- In the “Apps” category, you can manage your installed apps, organize them into folders, and customize the app layout on the home screen.
- The “Video and Audio” category allows you to adjust settings related to display, sound, and accessibility features.
- Under “Remotes and Devices,” you can pair additional remotes, manage Bluetooth devices, and configure other hardware settings.
- Navigate through the different settings categories and select the specific setting you want to customize.
- Use the Apple TV remote’s touchpad or directional buttons to make changes to the selected settings. Follow the onscreen instructions and prompts as needed.
- Once you have made the desired changes, navigate back to the main Settings menu or press the Menu button on the remote to exit the settings interface.
Customizing your Apple TV settings allows you to optimize your viewing experience, fine-tune audio and video preferences, and adjust various options to better suit your needs and preferences. Take some time to explore the available settings and make adjustments according to your preferences.
With your settings customized, you’re now ready to explore the wide range of apps available for your Apple TV. In the next section, we will guide you through the process of installing and organizing apps on your device.
Step 7: Installing and Organizing Apps
Installing and organizing apps on your Apple TV is a great way to access a wide range of content and features. Follow these steps to install and organize apps on your Apple TV:
- On the Apple TV home screen, navigate to the App Store app using the Apple TV remote.
- In the App Store, you can browse through various app categories or use the search function to find specific apps.
- Select the app you want to install by pressing the touchpad on the Apple TV remote.
- On the app page, you can view screenshots, read descriptions, and check user ratings and reviews.
- To install the app, select the “Get” or “Buy” button. If the app is free, it will display the “Get” button; otherwise, it will show the price.
- Enter your Apple ID password if prompted and wait for the app to download and install.
- Once the app is installed, it will appear on your home screen. You can access it by navigating to the home screen and selecting the app’s icon.
- To organize your apps, navigate to the home screen and use the remote to navigate to the app you want to move or rearrange.
- Press and hold the touchpad on the remote until the app icon starts to jiggle.
- Use the touchpad or directional buttons to move the app to the desired position on the home screen.
- Press the touchpad again to confirm the app’s new position.
- You can create folders to group similar apps together. To create a folder, drag one app icon on top of another and release the touchpad. Give the folder a name and add more apps to it by dragging them onto the folder icon.
Installing and organizing apps on your Apple TV allows you to easily access your favorite content and services. Take advantage of the broad range of apps available to enhance your entertainment experience, from streaming services and games to productivity tools and fitness apps.
Now that you have installed and organized your apps, it’s time to pair your Apple TV remote to ensure seamless control. In the next step, we will guide you through the process of pairing your Apple TV remote.
Step 8: Pairing Apple TV Remote
Pairing your Apple TV remote is essential for seamless control and navigation of your Apple TV. Follow these steps to pair your Apple TV remote:
- Make sure your Apple TV remote has a charged battery or a functioning button cell.
- Ensure that your Apple TV is powered on and on the home screen.
- Hold the remote close to your Apple TV and point it towards the front of the device.
- Press and hold the Menu and Volume Up buttons simultaneously on the remote for about five seconds.
- If the pairing is successful, a notification will appear on your TV screen confirming that the remote is paired with the Apple TV.
Alternatively, if you have an Apple TV 4K or an Apple TV HD, your remote may have a different pairing method. Follow these steps:
- Ensure that your Apple TV is powered on and on the home screen.
- Hold your remote close to the Apple TV and point it towards the front of the device.
- Press and hold the Menu and Volume Up buttons simultaneously for one to two seconds.
- If the pairing is successful, a notification will appear on your TV screen confirming that the remote is paired with the Apple TV.
Pairing your Apple TV remote ensures that it is effectively communicating with your Apple TV, allowing you to control all the features and navigate through the interface smoothly.
With your Apple TV remote paired and ready to go, you can now enjoy all the benefits and features that your Apple TV has to offer. Take your time to explore the various apps, stream your favorite movies and TV shows, listen to music, and customize your viewing experience to suit your preferences.
Thank you for following this comprehensive guide on how to set up your Apple TV. We hope you found it helpful and that you now feel confident in using your Apple TV to its full potential. Enjoy your entertainment and have a great time with your Apple TV!
Conclusion
Congratulations! You have successfully set up your Apple TV and are ready to delve into a world of entertainment and convenience. In this comprehensive guide, we walked you through each step, from unboxing and connecting your Apple TV to configuring settings, installing apps, and pairing the remote. By following these steps, you have ensured a smooth and hassle-free setup experience.
Your Apple TV allows you to enjoy a wide range of streaming content, access apps, listen to music, and even control your smart home devices. With features like Home Sharing, you can easily share media files from your computer or other devices. Customizing settings and organizing apps further enhance your experience and make it personal to your preferences.
As you continue to explore your Apple TV, don’t forget to check for regular software updates to ensure optimal performance and access to new features. Stay updated with the latest apps and enjoy the ever-expanding collection of content available to you.
We hope this guide has provided you with the knowledge and confidence to make the most out of your Apple TV. If you have any further questions or need additional assistance, refer to the Apple TV support resources or reach out to Apple’s customer support team for help.
Thank you for choosing Apple TV and happy streaming!