Choosing the Right Projector
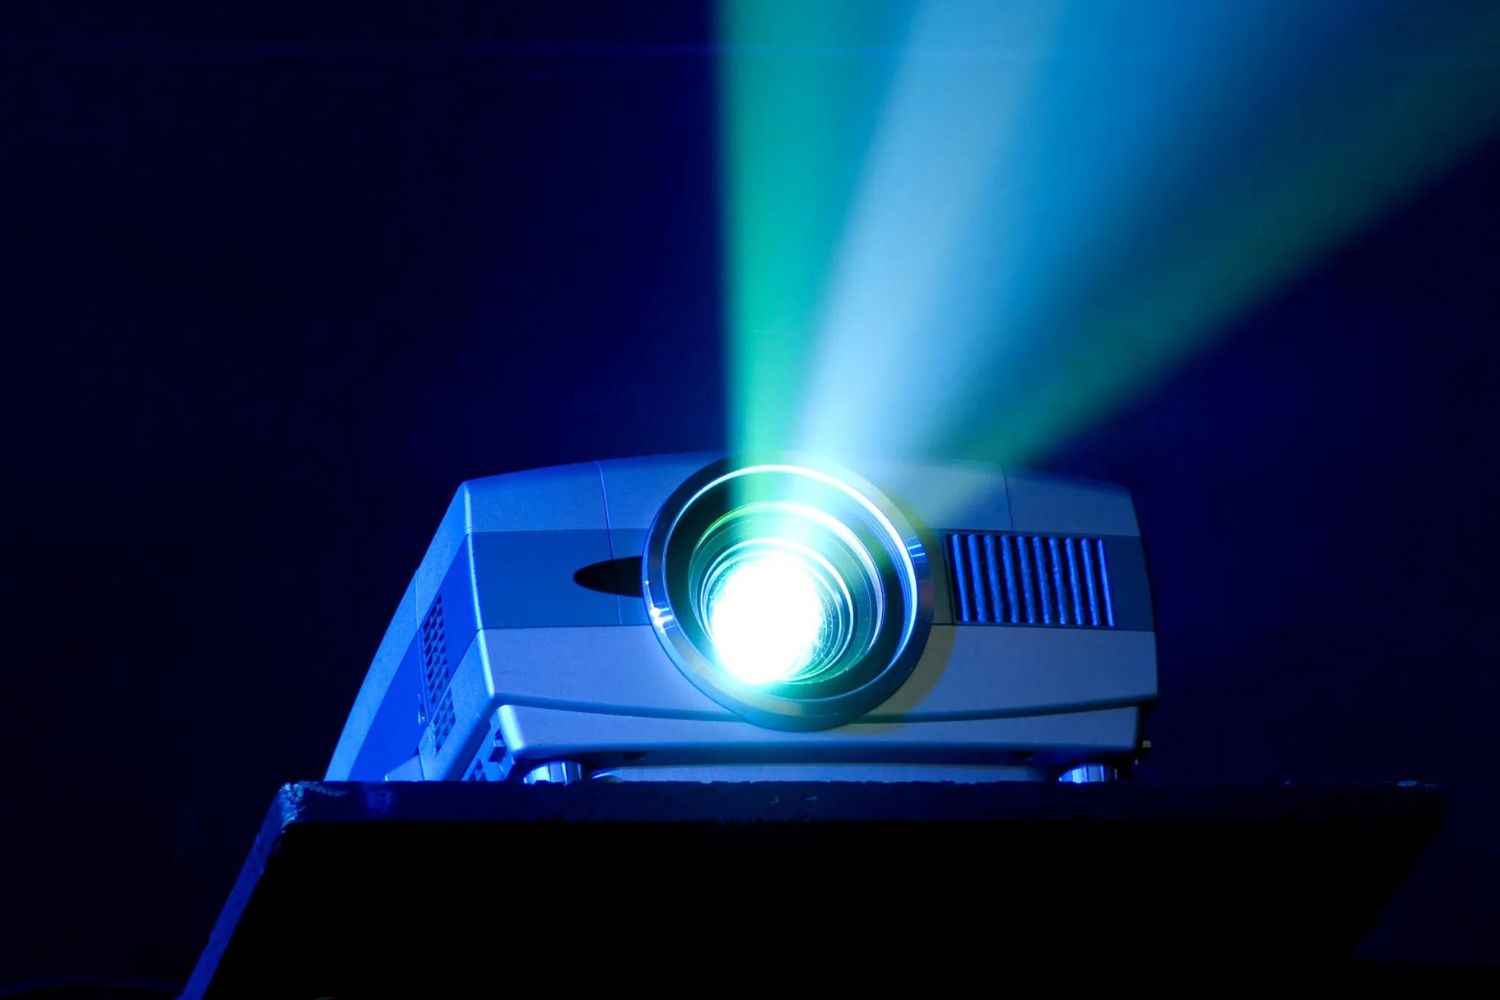
Setting up a projector in your living room begins with choosing the right one for your needs. With a wide range of options available on the market, it’s important to consider a few key factors before making your decision.
Firstly, you should assess the size of your living room and determine the optimal projection size. Larger rooms may require projectors with higher brightness and contrast capabilities to produce clear and vibrant images. On the other hand, smaller rooms might benefit from more compact and lightweight projectors that can easily be mounted or placed on a tabletop.
The resolution of the projector is another important consideration. HD (High Definition) projectors offer a resolution of 1920×1080 pixels, providing sharp and detailed images. If you’re looking for even crisper visuals, consider an Ultra HD or 4K projector with a resolution of 3840×2160 pixels.
Think about the type of content you’ll be watching as well. If you’re primarily interested in movies and gaming, a projector with a high refresh rate and low input lag will ensure smooth motion and responsive gameplay. Professionals who plan to use the projector for presentations or meetings may want to look for a model with advanced connectivity options and built-in speakers.
Consider the throw distance and zoom capabilities of the projector. The throw distance refers to the distance between the projector and the screen, while the zoom feature allows you to adjust the image size without moving the projector. Ensure that the projector you choose can accommodate the available space in your living room.
Lastly, don’t forget to consider your budget. Projectors vary in price, and it’s important to find one that fits within your financial means without compromising on quality. Research different models, read customer reviews, and compare prices to find the best projector for your living room setup.
By carefully considering these factors, you can choose the right projector that will meet your needs and provide an immersive viewing experience in your living room.
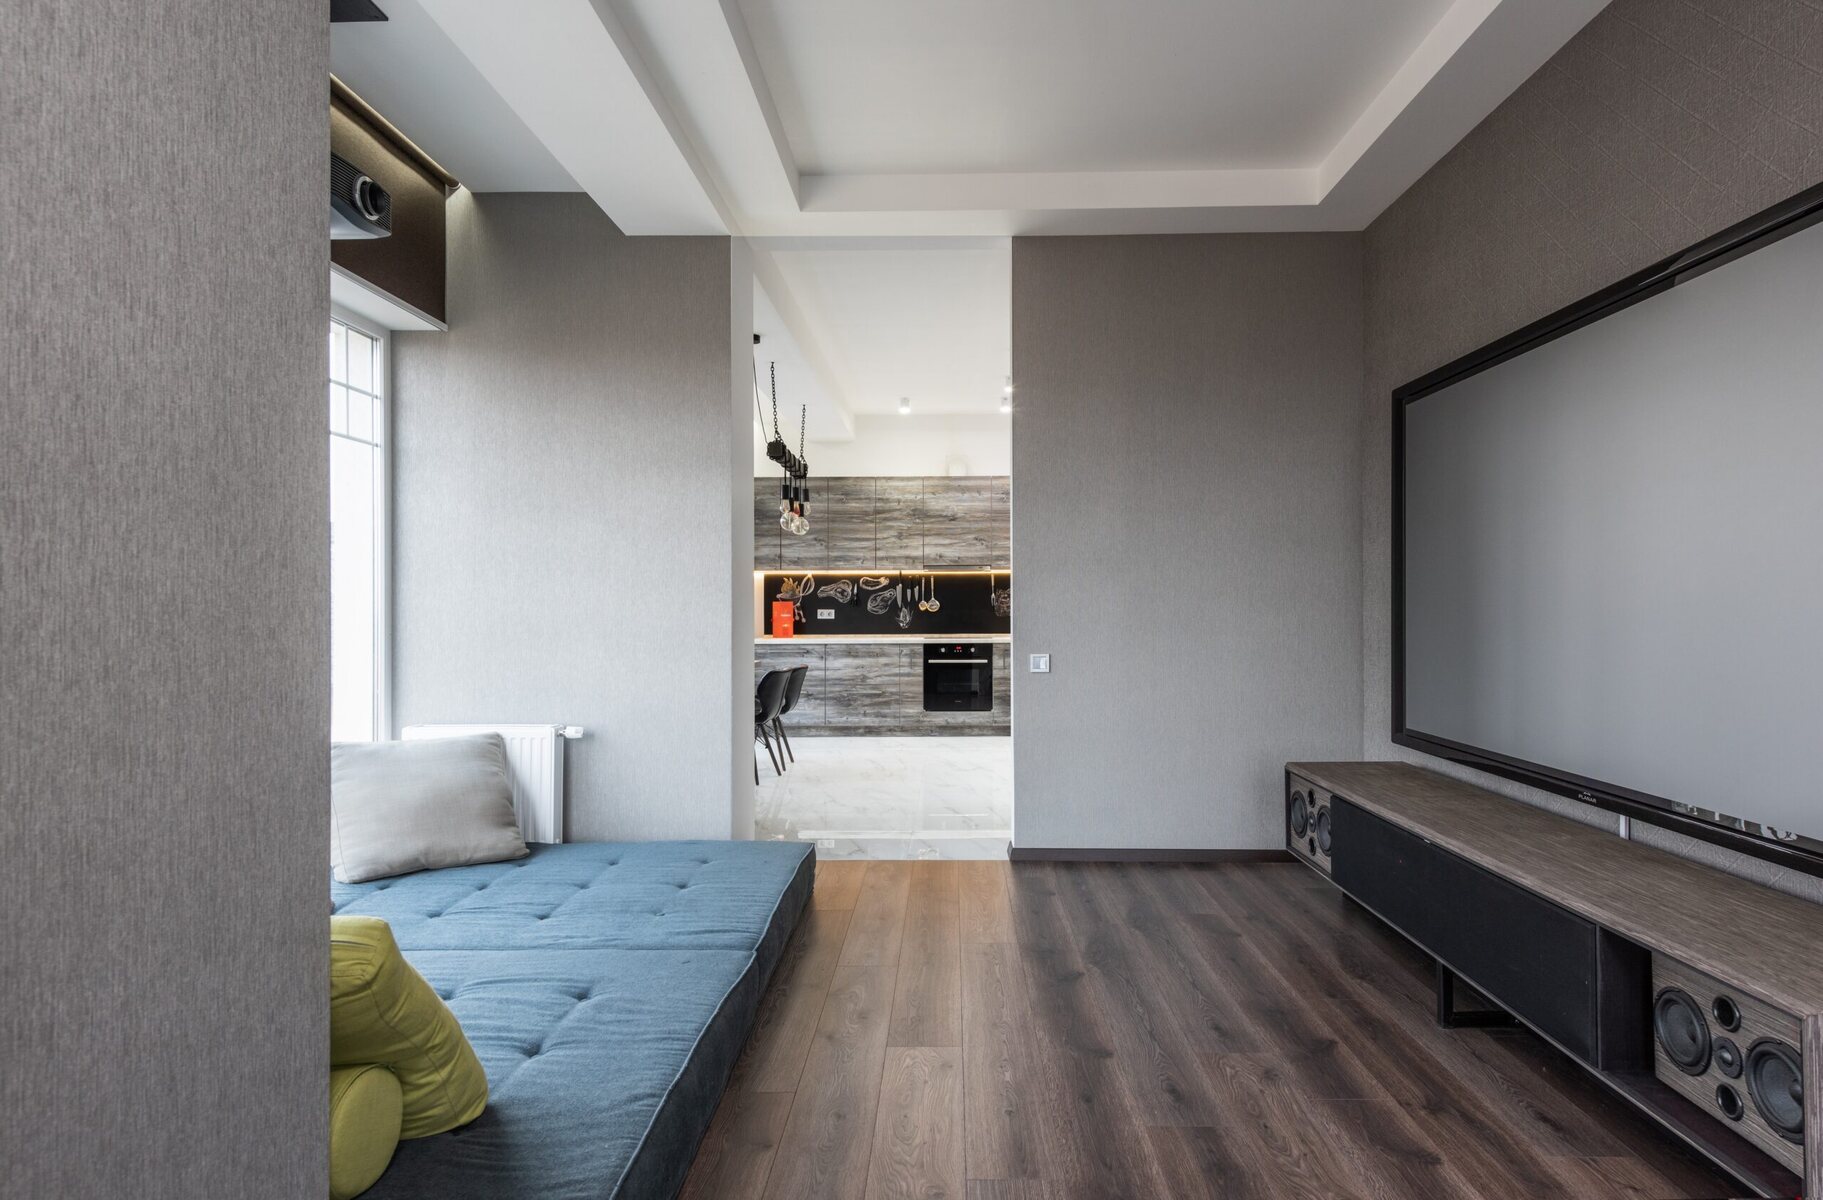
Selecting the Ideal Location
The location of your projector plays a crucial role in optimizing your viewing experience. Here are some key factors to consider when selecting the ideal location for your projector in the living room.
First and foremost, assess the availability of space in your living room. Look for areas where the projector can be positioned without obstructing furniture or causing a safety hazard. Consider the distance between the seating area and the projector to ensure optimal viewing comfort.
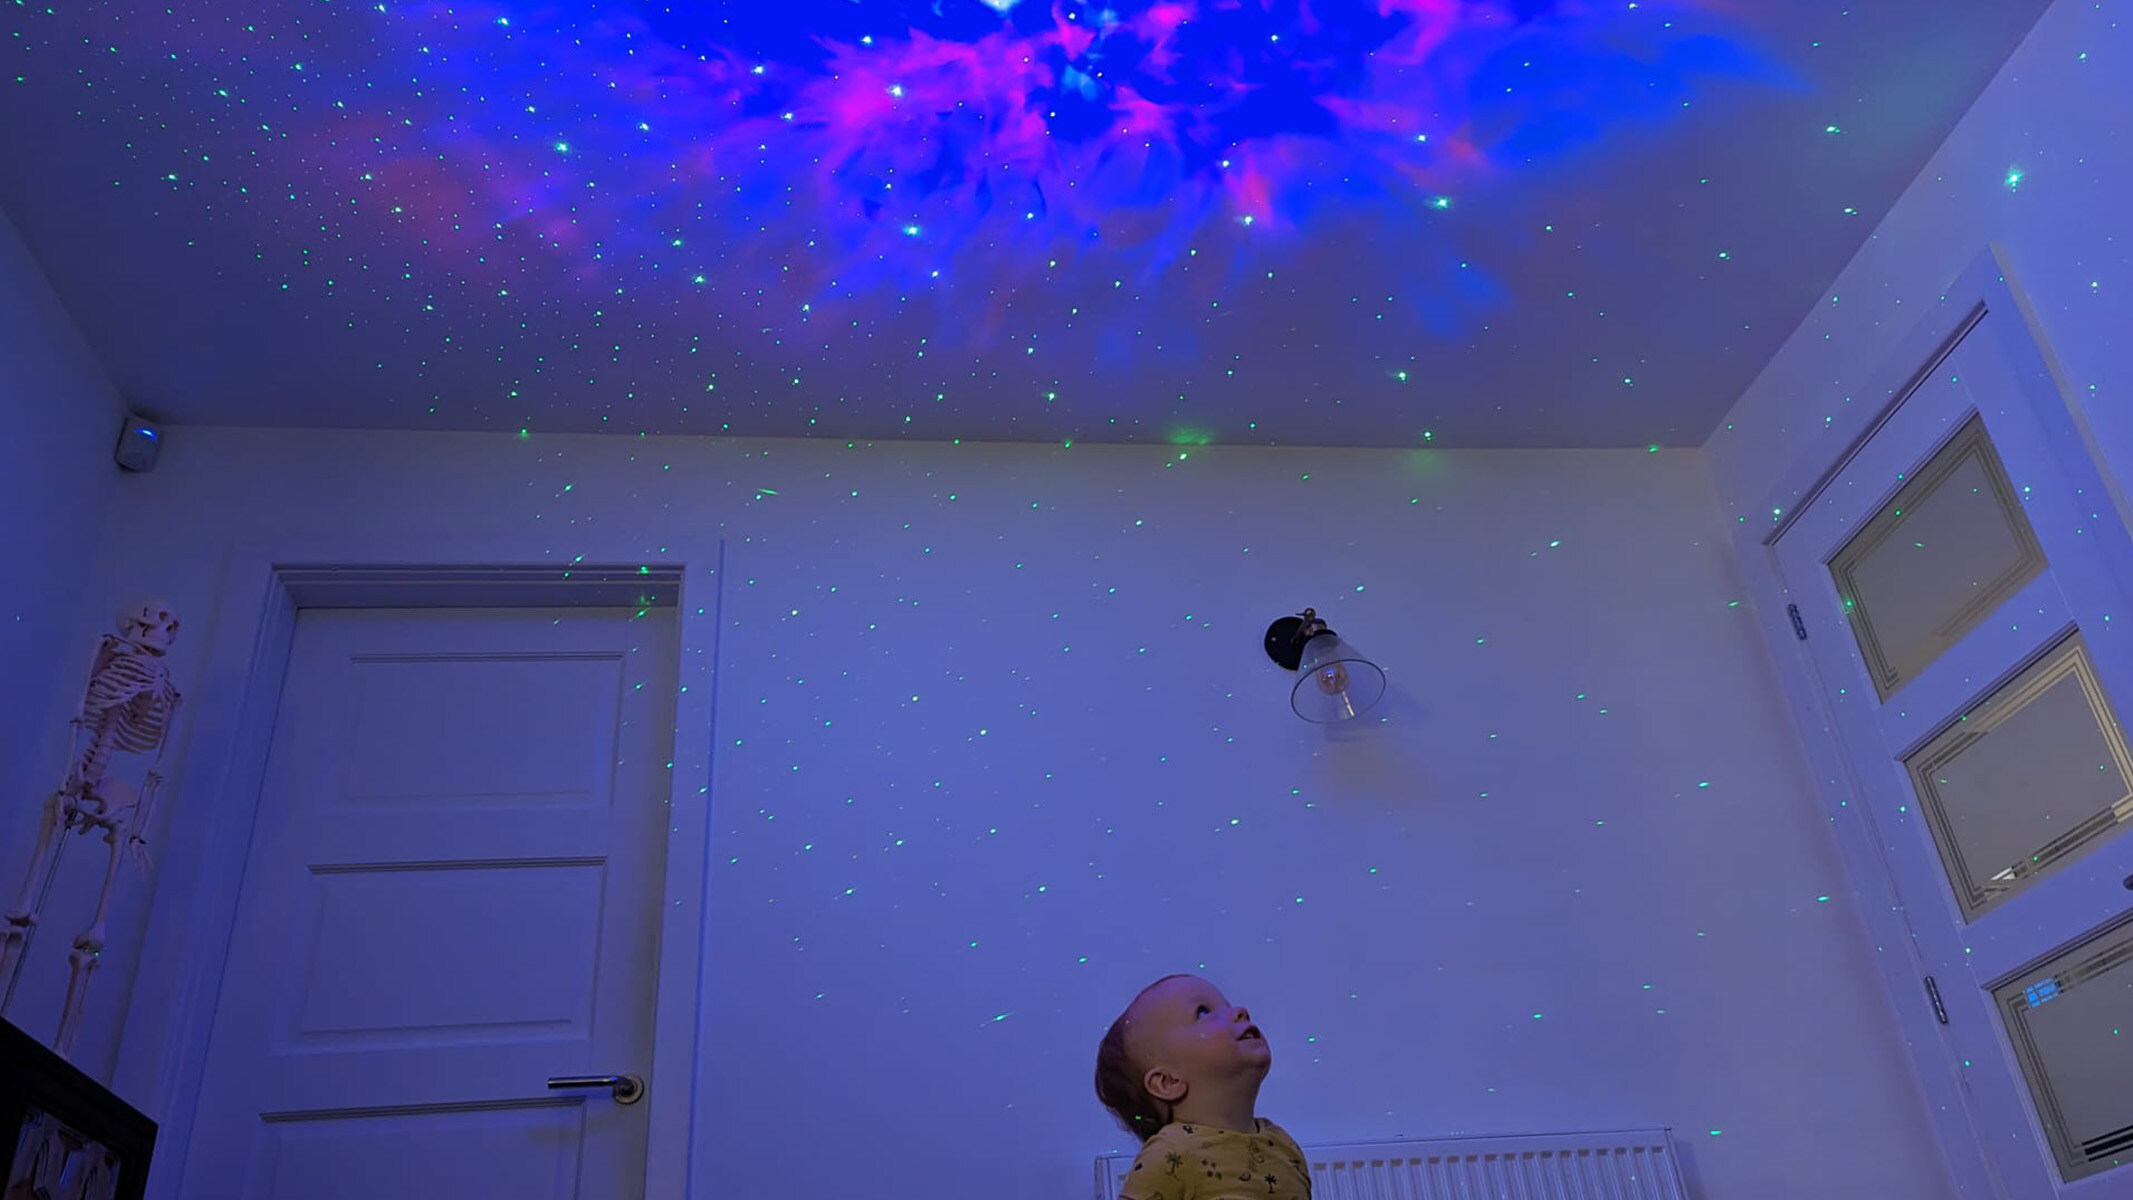
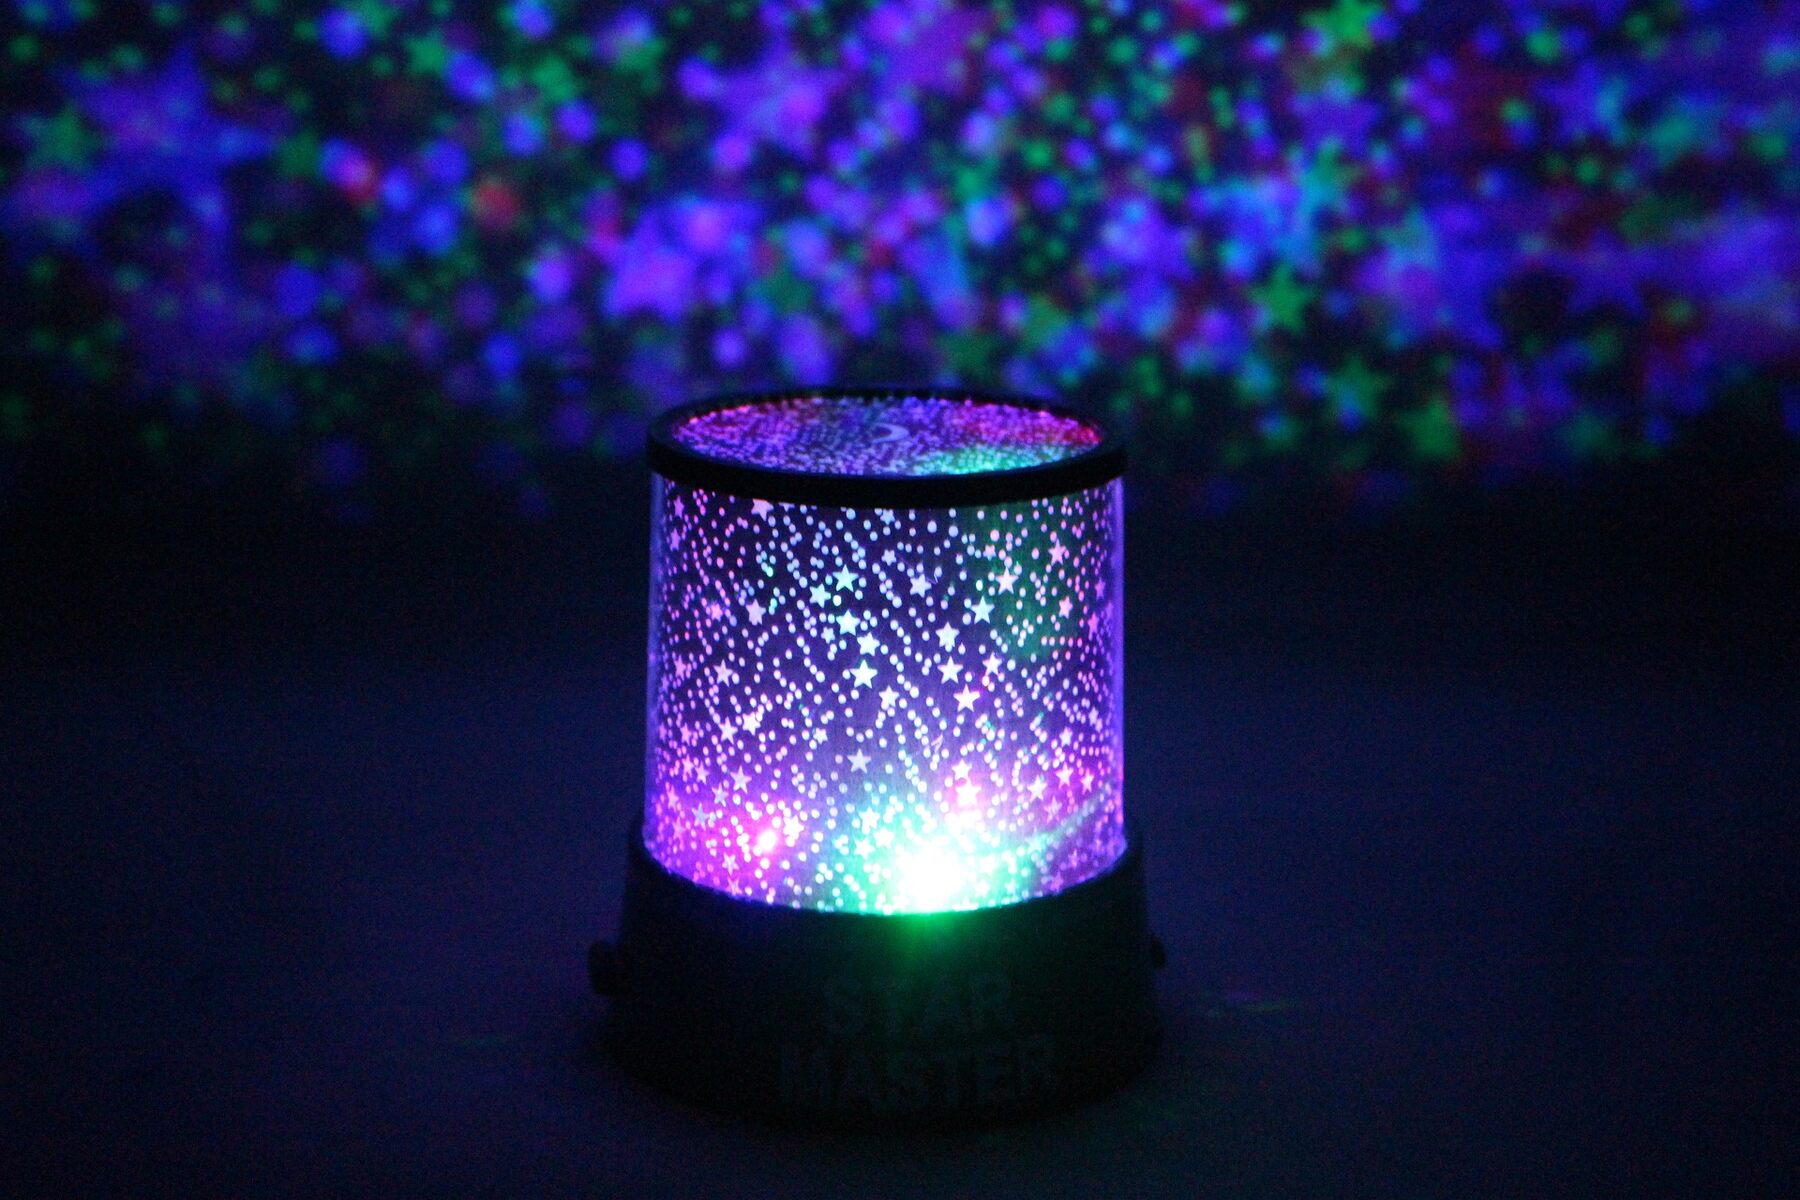
Also, take into account the ambient light in the room. Natural light can wash out the images and affect the clarity of the projection. Identify the areas with the least amount of light and position the projector accordingly. If you have windows or sources of light in your living room, consider installing blackout curtains or blinds to create a darker environment.
The projection surface is another crucial aspect. You can either use a dedicated projection screen or project onto a blank wall. If you choose the latter option, make sure the wall surface is smooth, white, and free from any imperfections that may impact the image quality. Consider painting a dedicated projector screen on the wall for a professional and seamless viewing experience.
When positioning the projector, ensure that it is level and aligned with the center of the screen. Adjust the vertical and horizontal keystone settings to correct any distortion caused by the projector’s angle. Use a tripod or ceiling mount for added stability and flexibility in positioning the projector.
Take into account the ventilation requirements of the projector. Ensure that there is sufficient space around it for proper airflow and cooling. This will prevent overheating and prolong the lifespan of the projector.
Consider the accessibility of power outlets and audio connections when selecting the location. Ensure that there are nearby power sources to connect the projector and any additional audio equipment you may use for a complete home theater setup.
Keep in mind the convenience of cable management. Plan the positioning of the projector in relation to the audio and video sources to minimize cable clutter. Use cable channels, wall-mounted cable covers, or wireless options to keep the area organized and safe.
By carefully selecting the ideal location for your projector in the living room, you can ensure optimal viewing conditions and create an immersive home theater experience for yourself and your guests.
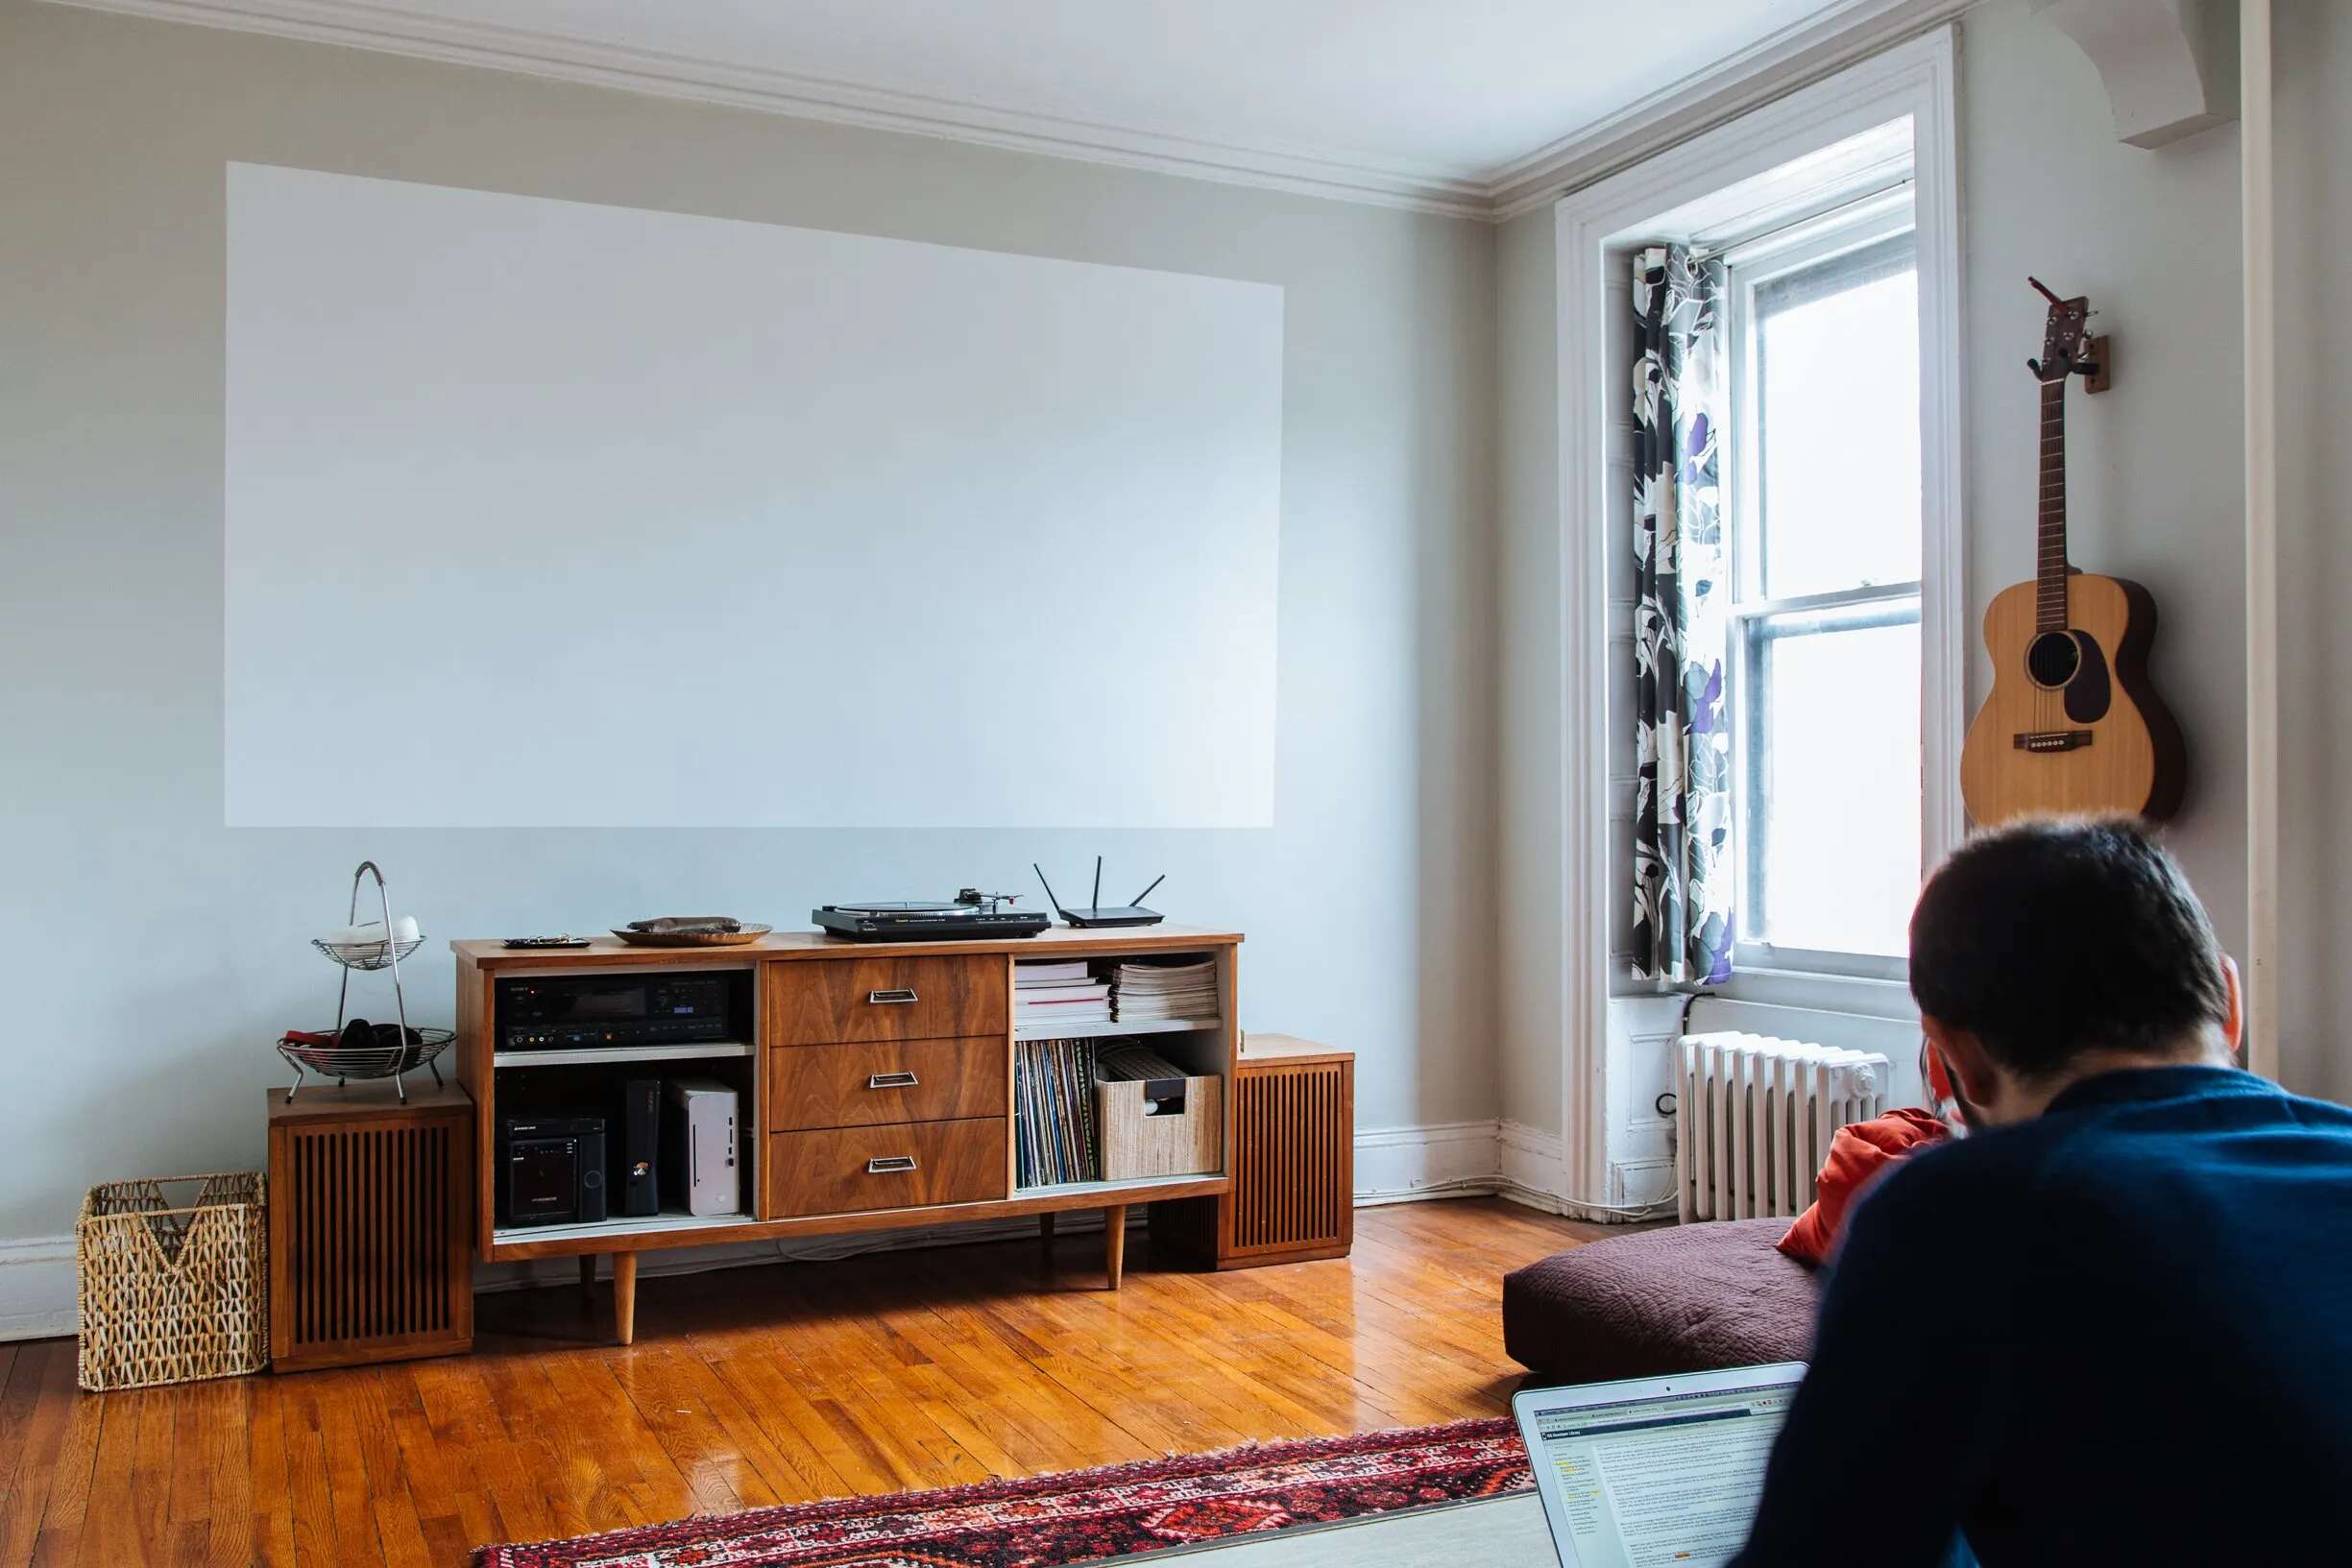
Preparing the Room
Before setting up your projector in the living room, it’s important to prepare the space to ensure the best possible viewing experience. Here are some essential steps to follow in preparing the room.
Firstly, declutter the space. Remove any unnecessary furniture or objects that may obstruct the projector’s beam or impact the viewing angles. Clearing the room will also create a more spacious and comfortable environment for you and your guests.
Next, address the lighting in the room. Ideally, you want to achieve a dark and controlled environment to enhance the projection quality. Turn off any ambient lighting, such as ceiling lights or lamps, and ensure that there are no bright light sources facing the screen area. If needed, install dimmer switches or use floor lamps with adjustable brightness to create the desired atmosphere.
If you have windows in your living room, consider using blackout curtains or blinds to block out external light. This will prevent the projection from being washed out and maximize the contrast and colors of the displayed images. If blackout curtains are not an option, you can also use heavy curtains or blinds to minimize incoming light.
Pay attention to the room’s acoustics. Sound plays a significant role in creating an immersive experience. Assess the echo or reverberation in the room and make adjustments as needed. You can use acoustic panels or curtains to improve sound absorption and reduce unwanted audio reflections.
Consider the seating arrangement in relation to the projector and screen. Arrange the furniture in a way that provides a clear line of sight for all viewers. Ensure that the seating is at an appropriate distance from the screen to avoid any visual strain or distortion.
Take note of the room’s temperature and ventilation. Electronics, including projectors, can generate heat when in use. Ensure that the room is adequately ventilated to prevent the projector from overheating. If needed, install a fan or air conditioner to regulate the temperature and maintain a comfortable viewing environment.
Lastly, if you have a dedicated media console, ensure that all the necessary audio and video devices are properly connected and organized. Use cable management solutions, such as cable ties or sleeves, to keep wires neat and prevent tripping hazards.
By following these steps to prepare the room, you can create an optimal environment for setting up your projector in the living room and enhance your home entertainment experience.
Connecting the Projector
Once you have chosen the perfect location for your projector and prepared the room, it’s time to connect the necessary cables and devices. Here are the steps to connect your projector in the living room:
1. Start by identifying the necessary cables for your specific projector model. Common connections include HDMI, VGA, and USB. Check the user manual or manufacturer’s website for the exact cable requirements.
2. Connect one end of the HDMI or VGA cable (depending on the available ports on your projector) to the corresponding port on the projector. The ports are usually located on the back or side panel of the projector. Make sure the connection is secure.
3. Connect the other end of the cable to the HDMI or VGA output port on your video source device, such as a laptop, Blu-ray player, or gaming console. Again, ensure the connection is properly seated.
4. If your projector requires an audio connection, connect an audio cable from the audio output on your video source device to the audio input on the projector or an external audio system. This will ensure that the sound from your content is also transmitted through the projector’s speakers or connected audio system.
5. If your projector has a USB port, connect a USB cable from the USB output of your video source device to the USB input of the projector. This will allow you to control the projector using the device’s remote or send multimedia files for playback directly to the projector.
6. If you are using additional audio equipment, such as an AV receiver or soundbar, connect the necessary audio cables from the video source device to the audio system. This will ensure that the audio output is properly routed to your preferred audio setup.
7. Once all the cables are securely connected, power on the projector and the video source device. The projector should detect the input signal and display it on the screen. If the image does not appear, ensure that the projector and video source are correctly set to the appropriate input or source.
8. Adjust the projector’s settings, such as brightness, contrast, and aspect ratio, to achieve the desired image quality. Refer to the projector’s user manual for specific instructions on accessing and adjusting these settings.
9. Test the audio output by playing a video or audio file. Adjust the volume on the projector or connected audio system to ensure that the sound is clear and at an appropriate level.
By following these steps, you can easily connect your projector in the living room and enjoy your favorite movies, shows, or games on the big screen. Ensure that all connections are secure and properly configured to achieve the best possible viewing and audio experience.
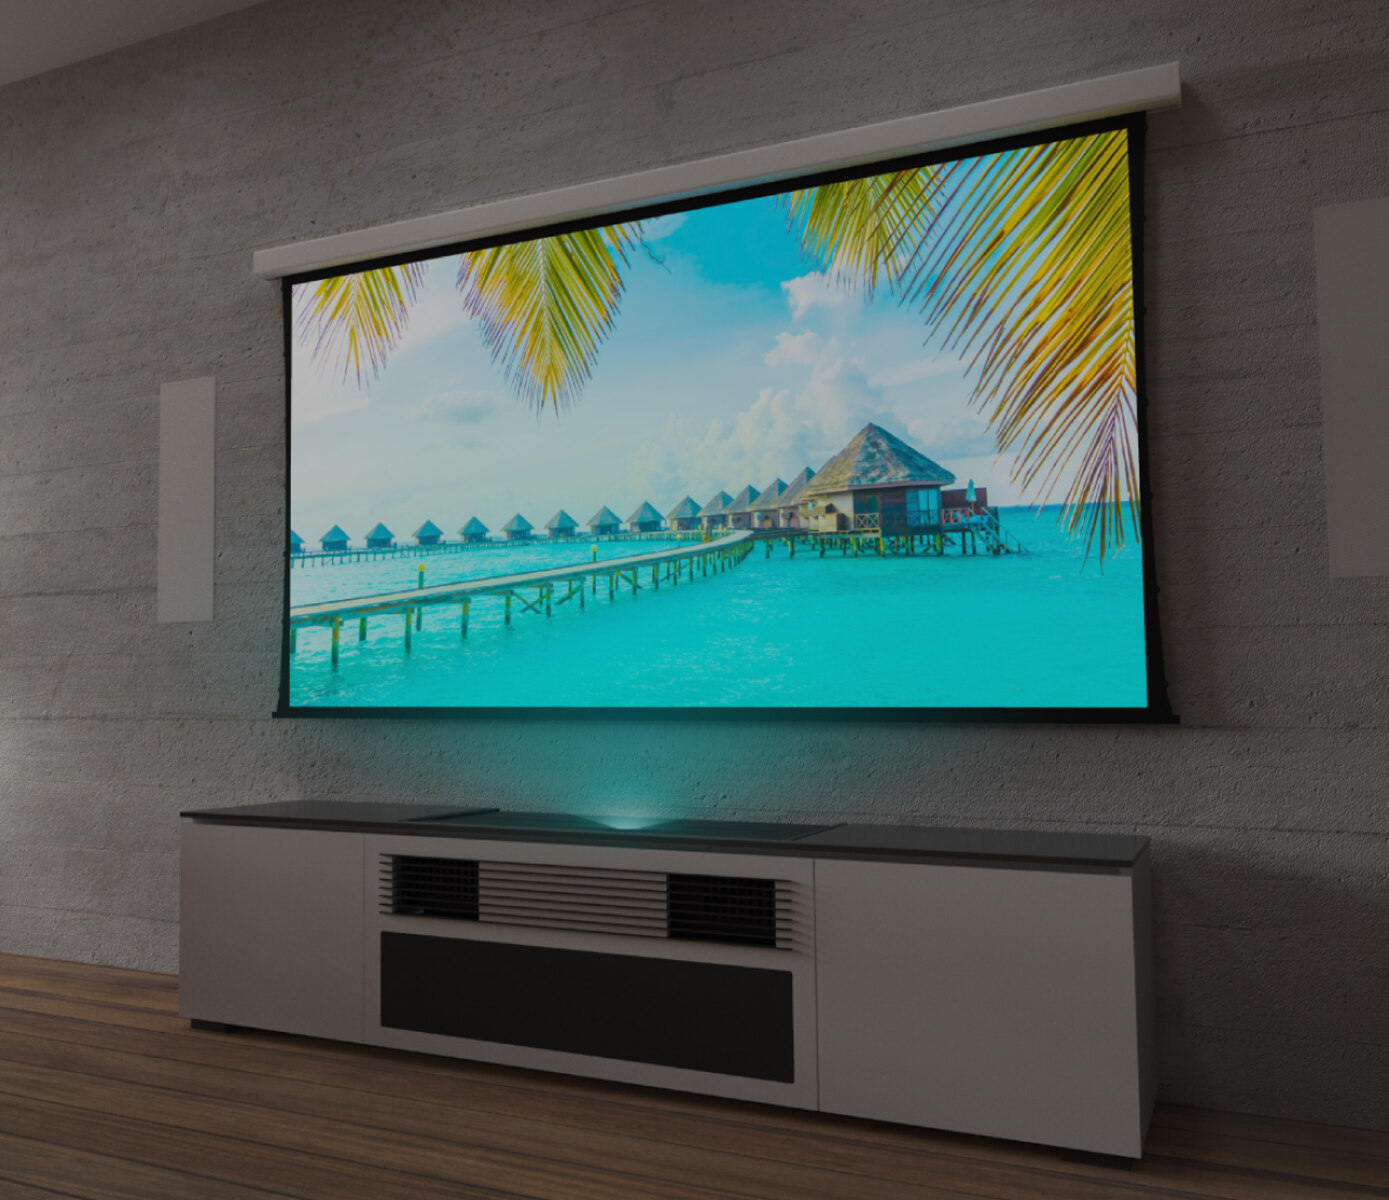
Adjusting the Screen Size and Position
After connecting your projector in the living room, the next step is to adjust the screen size and position for optimal viewing. Here’s how to do it:
1. Start by determining the desired screen size. Measure the available space in your living room and consider the seating distance. Use a tape measure and mark the appropriate height and width on the wall or projection surface.
2. Adjust the distance between the projector and the screen to achieve the desired screen size. Refer to the projector’s user manual for the recommended throw distance for your specific model. Use a zoom feature or move the projector closer or farther to adjust the image size accordingly.
3. Ensure that the projector is level and aligned with the center of the screen. Use a tripod or ceiling mount to securely position the projector. Adjust the vertical and horizontal keystone settings if needed to eliminate any distortion caused by the projector’s angle.
4. To achieve a perfectly rectangular image, use the projector’s built-in keystone correction feature or manually adjust the screen shape if necessary. Most projectors offer keystone correction capabilities to correct the trapezoidal distortion caused by projecting the image at an angle.
5. Fine-tune the focus of the image by adjusting the projector’s focus ring. Start with a slightly blurred image and rotate the focus ring slowly until the image becomes sharp and clear. Take into account that minor adjustments may be required when changing the screen size or distance between the projector and the screen.
6. Test the screen size and position by projecting a test pattern or some content onto the screen. Step back and evaluate the visibility, clarity, and sharpness of the image from different seating positions. Make any necessary adjustments to improve the viewing experience.
7. If you’re using a retractable or motorized screen, ensure that it operates smoothly and fully extends or retracts without any issues. Lubricate the screen mechanism if needed to ensure it moves effortlessly.
8. Consider the aspect ratio of the screen in relation to the content you’ll be watching. For movies and most video content, a widescreen 16:9 aspect ratio is typically used. However, if you plan on watching older movies or playing games with a different aspect ratio, adjust the screen size to match the content’s native aspect ratio for the best viewing experience.
By following these steps to adjust the screen size and position, you can ensure that your projector displays a clear and properly proportioned image for an immersive home theater experience in your living room.
Adjusting the Projector Settings
Once you have set up your projector and positioned the screen, the next step is to adjust the projector settings to optimize the image quality. Here are the key settings to consider:
1. Brightness and Contrast: Adjust the brightness and contrast settings of the projector to achieve the desired level of image clarity and detail. Brightness controls the overall luminosity of the image, while contrast determines the difference between light and dark areas. Find the right balance that suits your preferences and the viewing environment in your living room.
2. Color Temperature and Saturation: Configure the color temperature and saturation settings to achieve accurate and vibrant colors. Color temperature determines whether the image appears warm or cool, while saturation controls the intensity of colors. Experiment with these settings to find the optimal balance that delivers natural-looking and vibrant visuals.
3. Sharpness and Detail Enhancement: Adjust the sharpness and detail enhancement settings to enhance the clarity and sharpness of the projected image. Be careful not to over-sharpen, as it can lead to unnatural-looking artifacts. Fine-tune these settings until you achieve a crisp and detailed image that suits your preferences.
4. Aspect Ratio and Screen Fit: Set the projector’s aspect ratio to match the native aspect ratio of the content you’ll be watching. This ensures that the image is correctly proportioned and avoids any stretching or distortion. Additionally, use the screen fit or resizing options to ensure the projected image perfectly fits the screen or projection surface without any overscan or underscan.
5. Noise Reduction: If your projector has a noise reduction feature, activate it to minimize any visual noise or artifacts in the image. Noise reduction algorithms analyze the video signal and reduce any random fluctuations or pixelated patterns. Experiment with the level of noise reduction to strike the right balance between removing unwanted noise and preserving image details.
6. Keystone Correction: Adjust the keystone correction settings to correct any trapezoidal distortion caused by projecting the image from an angle. Most projectors offer both vertical and horizontal keystone correction, allowing you to correct the image’s shape and maintain a rectangular projection. Use this feature to ensure a properly aligned and visually pleasing image.
7. Input Source and Picture Modes: Select the correct input source that matches the device connected to the projector, such as HDMI, VGA, or USB. Additionally, projectors often include different picture modes optimized for various content types like movies, presentations, or sports. Experiment with these modes to find the one that best suits your content and personal preferences.
8. Firmware Updates: Keep your projector’s firmware up to date by checking the manufacturer’s website for any available updates. Firmware updates can bring improvements in performance, features, and compatibility, ensuring an optimal viewing experience with your projector.
Take the time to adjust these settings to suit your preferences and the viewing conditions in your living room. Fine-tuning the projector settings will significantly enhance the image quality and deliver a more immersive and enjoyable home theater experience.
Mounting the Projector (Optional)
If you prefer a more permanent and streamlined setup, you may consider mounting your projector in the living room. Here are some steps to help you mount the projector:
1. Determine the ideal location for mounting the projector. It should be a spot that provides a clear line of sight to the screen and is easily accessible for maintenance or adjustments. Consider factors such as the throw distance, projector’s mounting capabilities, and the available mounting options in the room.
2. Use a stud finder or a similar tool to locate the studs or ceiling joists in the desired mounting area. Mounting the projector on a sturdy surface ensures stability and reduces the risk of it falling or shifting over time.
3. Once you have identified the studs, mark their positions on the wall or ceiling using a pencil or tape. Measure the distance between the mounting holes on the projector and transfer those measurements to the wall, ensuring they align with the marked studs or ceiling joists.
4. Use a drill and appropriate screws to securely mount a ceiling mount or wall bracket at the marked locations. Make sure the mount or bracket is level and aligned with the desired projection angle. Follow the manufacturer’s instructions for the specific mount or bracket you are using.
5. Attach the mounting plate or bracket to the projector using the appropriate screws or mounting mechanism provided with the projector. Ensure that it is securely fastened to prevent any movement or accidents.
6. Carefully lift the projector and align the mounting holes on the projector with the corresponding holes on the mounting plate or bracket. Attach the projector to the mount by tightening the screws or engaging the locking mechanism, depending on the specific mount design.
7. After mounting the projector, double-check its position and alignment with the screen. Make any necessary adjustments to ensure that the projected image is correctly centered and level. Use the keystone correction feature if needed to eliminate any image distortion caused by the projector’s angle or position.
8. Once the projector is securely mounted, connect the necessary cables to the projector following the steps outlined in the previous section on connecting the projector. Ensure that the cables are neatly routed and are not pulling or putting strain on the projector or the mount.
Remember, if you are unsure about or uncomfortable with mounting the projector yourself, consult a professional to ensure a safe and proper installation. A professional can help guide you through the process or handle the mounting for you.
Mounting your projector in the living room can offer a clean and uncluttered look, freeing up space and providing a more professional and robust setup for your home theater experience.
Setting Up Audio System
Creating a well-rounded home theater experience in your living room involves setting up an audio system to complement your projector. Here’s how to set up an audio system for optimal sound:
1. Determine the audio sources you plan to use with your projector, such as a Blu-ray player, gaming console, or streaming device. Ensure that these devices are compatible with your preferred audio setup, whether it’s a soundbar, AV receiver, or a surround sound system.
2. Choose the right audio equipment for your living room. Soundbars are a popular choice for their simplicity and space-saving design, while AV receivers offer more advanced features and multiple audio channels for a surround sound experience. Evaluate your preferences, budget, and the size of your living room when selecting your audio system.
3. Position the audio equipment appropriately. If you’re using a soundbar, place it directly below or above your projector screen for optimal sound projection. For an AV receiver or surround sound system, position the speakers strategically around the room to create an immersive audio experience.
4. Connect the audio output of your video source device (such as the Blu-ray player or gaming console) to the audio input on your chosen audio system. Use the appropriate cables, such as HDMI, optical, or analog audio cables, to ensure a proper connection.
5. If you’re using a soundbar, connect it directly to your projector or TV using an HDMI ARC (Audio Return Channel) or optical cable. This allows the audio from the projector to be routed to the soundbar for improved sound quality.
6. Configure the audio settings on your video source device to ensure that the audio signal is correctly outputting to the connected audio system. Check the device’s settings menu or consult the user manual for instructions on selecting the appropriate audio output options.
7. Adjust the audio system’s settings to suit your preference and the size of your living room. This may include adjusting the volume levels, equalizer settings, or selecting specific sound modes offered by your audio system. Experiment with different settings to find the desired balance between clarity, depth, and immersion.
8. Consider wireless options if you prefer a cleaner and cable-free setup. Many audio systems and speakers offer wireless connectivity options such as Bluetooth, Wi-Fi, or dedicated wireless protocols, allowing you to stream audio wirelessly from compatible devices.
9. Test the audio system by playing various types of content, such as movies, music, or games. Make sure that the sound is balanced, dialogues are clear, and the audio is synchronized with the visuals on the screen.
10. Arrange the seating in your living room to optimize the audio experience. Position the seating at an equal distance from all speakers to ensure an immersive and well-balanced soundstage.
By following these steps, you can set up an audio system that complements your projector and creates a more immersive and enjoyable home theater experience in your living room.
Testing and Calibrating the Projector
After setting up your projector, it’s crucial to test and calibrate it to ensure optimal image quality. Here are the steps to follow:
1. Start by displaying a test pattern on the screen. This can be found in the projector’s menu or can be downloaded from the manufacturer’s website. The test pattern helps identify any issues with the image, such as pixel alignment, color accuracy, or focus.
2. Check for any visible distortions or misalignments in the test pattern. Look for straight lines that appear curved or any visible pixelation. Adjust the keystone correction or lens shift if needed to correct any trapezoidal distortion or image skewing.
3. Next, assess the color accuracy and saturation of the projected image. Use color calibration tools such as a color chart or the built-in color calibration settings on the projector. Adjust the color temperature, tint, and saturation levels to achieve natural and vibrant colors.
4. Evaluate the sharpness and detail of the projected image. Use the test pattern or high-resolution content to assess fine details and text clarity. Adjust the focus settings on the projector until the projected image appears sharp and well-defined.
5. Examine the image’s brightness and contrast levels. Ensure that the blacks appear deep and dark, and the whites appear bright without losing detail. Adjust the brightness and contrast settings on the projector menu to achieve a balanced and visually pleasing image.
6. Test the projector with various types of content, such as movies, photos, and games. Pay attention to how the projector handles motion, fast-paced action, and different color palettes. Make any necessary adjustments to optimize the image quality for the content you frequently watch.
7. Consider using projector calibration software or hiring a professional calibrator for a more precise and accurate calibration. Calibration tools can help fine-tune the color accuracy, gamma, and other advanced settings that might not be available through the projector’s standard menu options.
8. Regularly clean the projector’s lens and filters to maintain optimal image quality. Dust or dirt accumulation can impact the brightness and clarity of the projected image. Use a soft, lint-free cloth to gently clean the lens and follow the manufacturer’s instructions for cleaning or replacing filters.
9. Keep a record of your calibration settings for future reference. If you make any adjustments to the projector settings, note down the changes so that you can easily restore or fine-tune the settings later if needed.
10. Repeat the testing and calibration process periodically, especially after moving or adjusting the projector. Over time, environmental factors or changes in the projector’s position may require re-calibration to maintain optimum performance.
By thoroughly testing and calibrating your projector, you can ensure that it delivers the best possible image quality and a satisfying viewing experience in your living room.
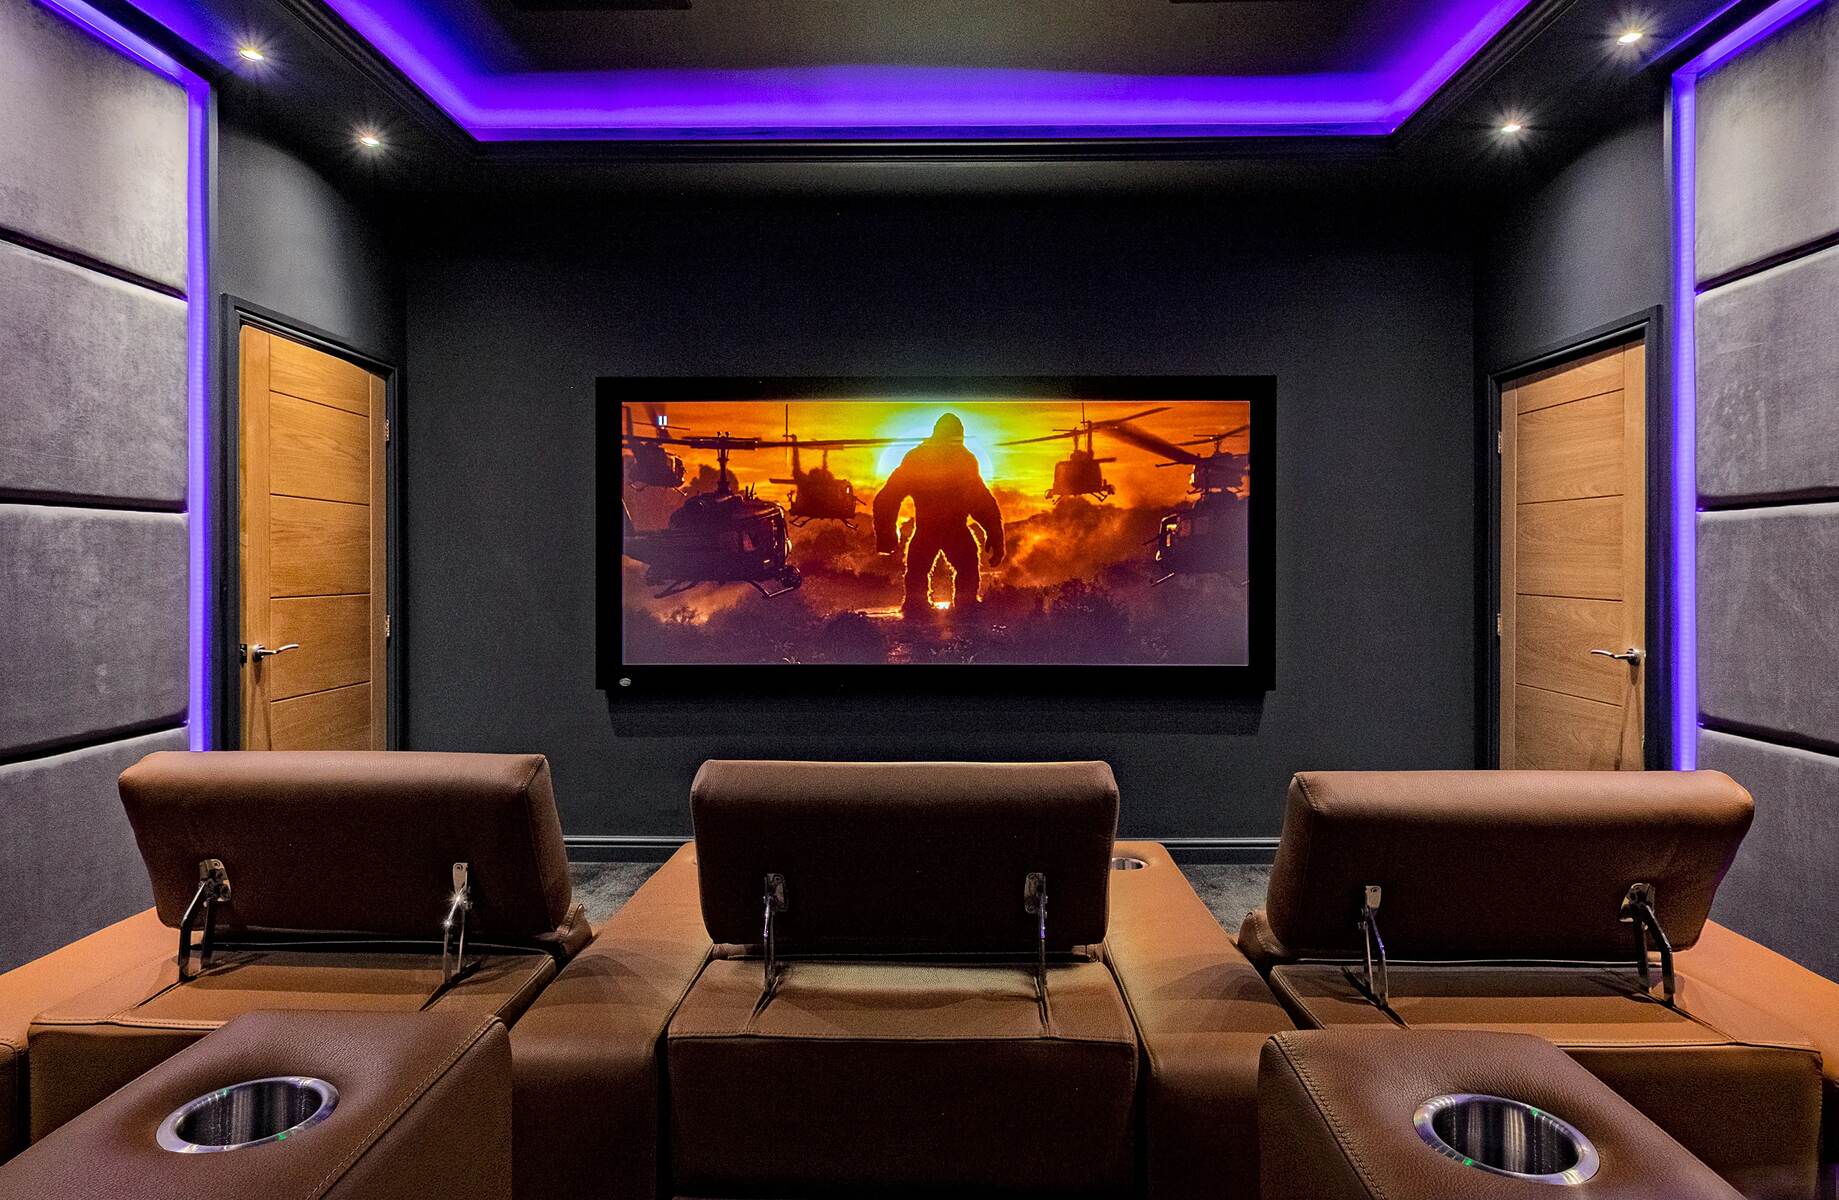
Enjoying Your Home Theater Experience
Now that you have set up your projector and fine-tuned the settings, it’s time to sit back, relax, and enjoy your home theater experience in the comfort of your living room. Here are some tips to make the most out of your setup:
1. Create a comfortable viewing environment. Ensure that your seating is ergonomic and provides a clear line of sight to the screen. Consider investing in comfortable seating options, such as recliners or cozy sofas, to enhance your viewing comfort.
2. Dim the lights and create a conducive atmosphere for immersive viewing. Lowering the ambient light in the room will reduce distractions and enhance the contrast and color accuracy of the projected image. Install dimmer switches or blackout curtains to achieve the desired lighting level.
3. Organize your media collection and have a wide variety of content at your fingertips. Build a library of movies, TV shows, and documentaries to suit your different moods and preferences. Subscribe to streaming services or invest in a media server to access a vast array of entertainment options.
4. Experiment with different soundtracks and audio settings. Adjust the volume levels and equalizer settings to ensure that the sound complements the on-screen action. Consider exploring surround sound formats or enabling virtual surround sound modes to create a more immersive audio experience.
5. Make it a social occasion by inviting friends or family over for movie nights or gaming sessions. Create a cozy and welcoming ambiance with popcorn, drinks, and comfortable seating arrangements. Sharing the experience with loved ones adds to the enjoyment of your home theater setup.
6. Take advantage of the additional features and functionalities of your projector. Some projectors offer built-in smart features, such as Wi-Fi connectivity, app compatibility, or voice control. Explore these options to expand your entertainment possibilities and simplify your viewing experience.
7. Keep up with technology advancements and updates. As technology evolves, new features and enhancements may become available for your projector. Regularly check for firmware updates or new accessories that can further enhance your home theater setup.
8. Experiment and personalize your setup. Test different picture settings, sound modes, or even projection surfaces to find the combination that suits your preferences. Adjust the projector’s settings to optimize performance and fine-tune the image to your liking.
9. Continue to maintain your equipment. Regularly clean the projector lens, replace filters, and check for any signs of wear or malfunction. Proper maintenance ensures optimum performance and extends the lifespan of your projector.
10. Enjoy the magic of the big screen in the comfort of your own home. Immerse yourself in captivating storylines, stunning visuals, and captivating audio. Let your imagination soar and lose yourself in the world of movies, TV shows, and games.
By following these tips, you can fully embrace and enjoy the immersive home theater experience you’ve created in your living room.