Introduction
Welcome to the world of home entertainment where you can transform your living room into a captivating cinematic experience with a home theater system and projector. Gone are the days when you had to settle for a small screen and mediocre sound quality. With advancements in technology, setting up a home theater system with a projector has become more accessible and affordable.
A home theater system with a projector allows you to immerse yourself in a larger-than-life viewing experience right in the comfort of your own home. Imagine the thrill of watching your favorite movies, sports events, or playing video games on a massive screen with stunning picture quality and powerful sound.
In this guide, we will take you through the process of setting up a home theater system with a projector. We will discuss the benefits, guide you in choosing the right projector, help you select the ideal screen, assist in setting up the audio components and sound system, provide tips on positioning and mounting the projector, guide you in connecting your devices, offer calibration and fine-tuning techniques for optimum performance, and troubleshoot common issues that may arise during the setup process.
Whether you’re a movie enthusiast, a sports fan, or a gaming aficionado, a home theater system with a projector is the ultimate way to elevate your entertainment experience. Get ready to be blown away by the immersive visuals and crystal-clear sound that will transport you to another world.
So, let’s dive in and embark on this exciting journey of creating your very own home theater system with a projector. Get ready to bring the thrill and magic of the cinema into your living room!
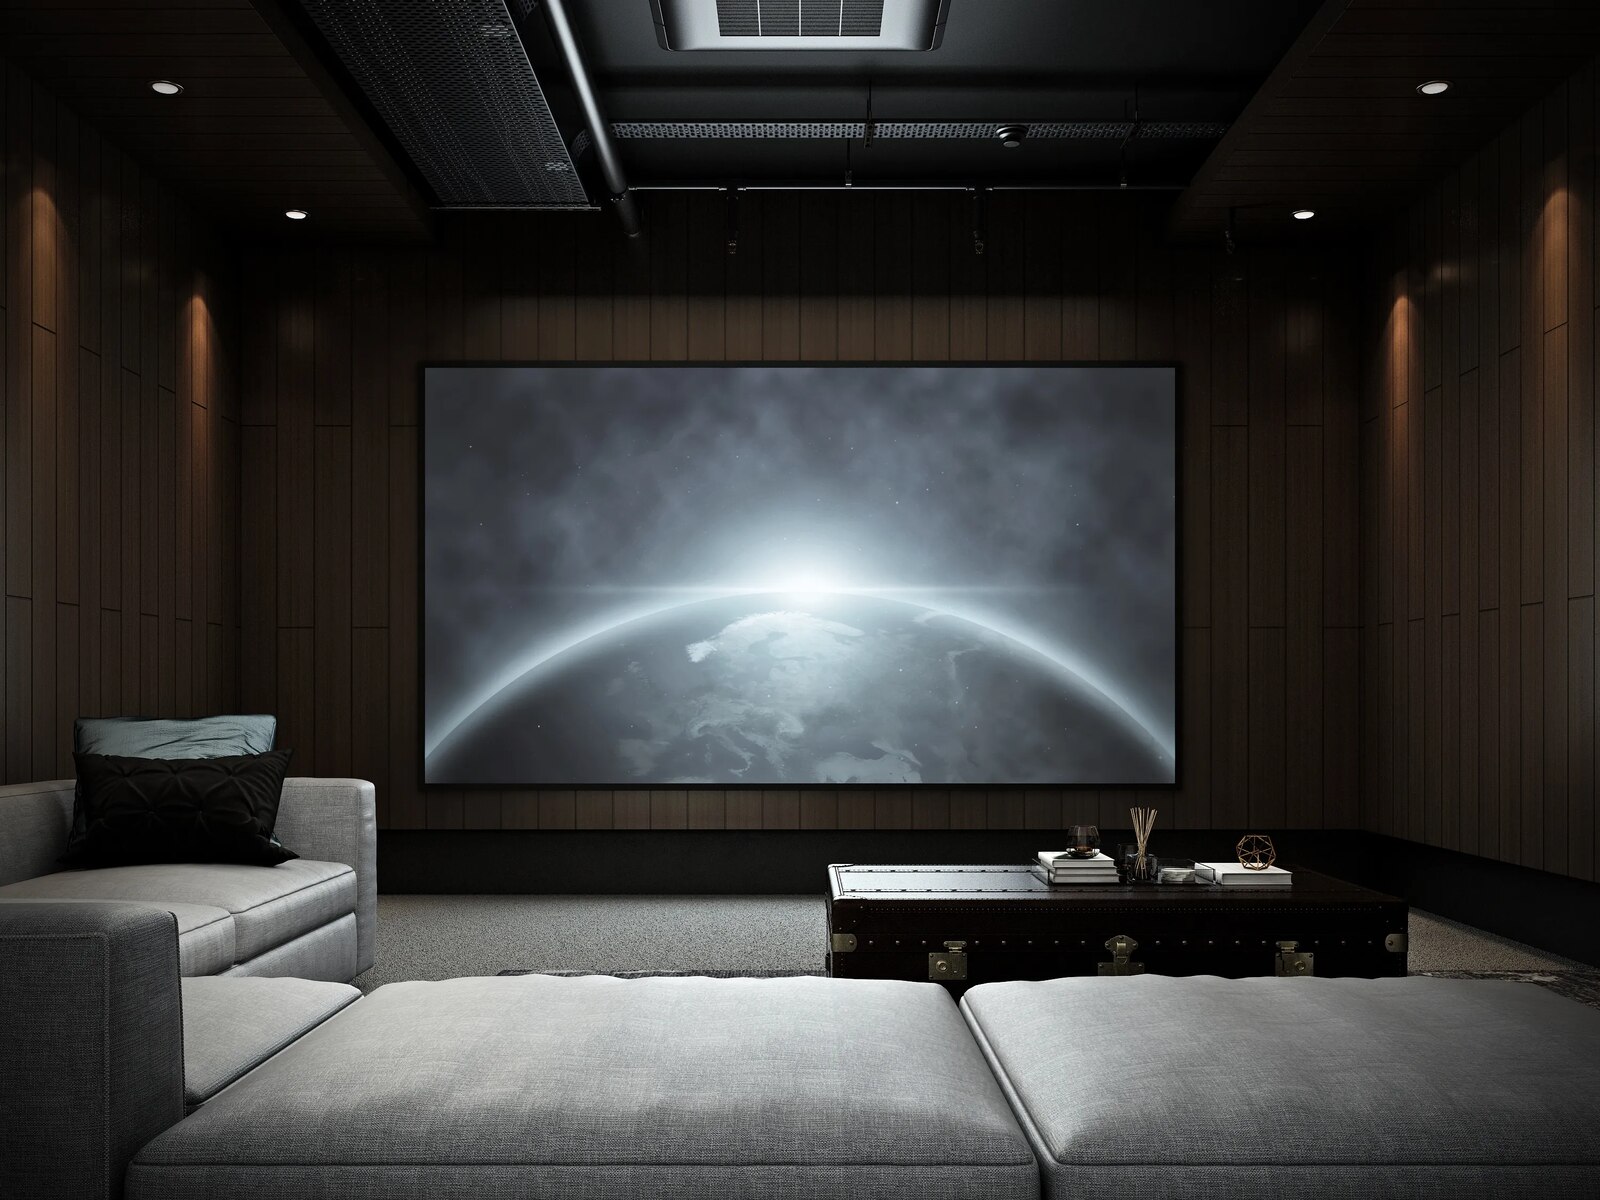
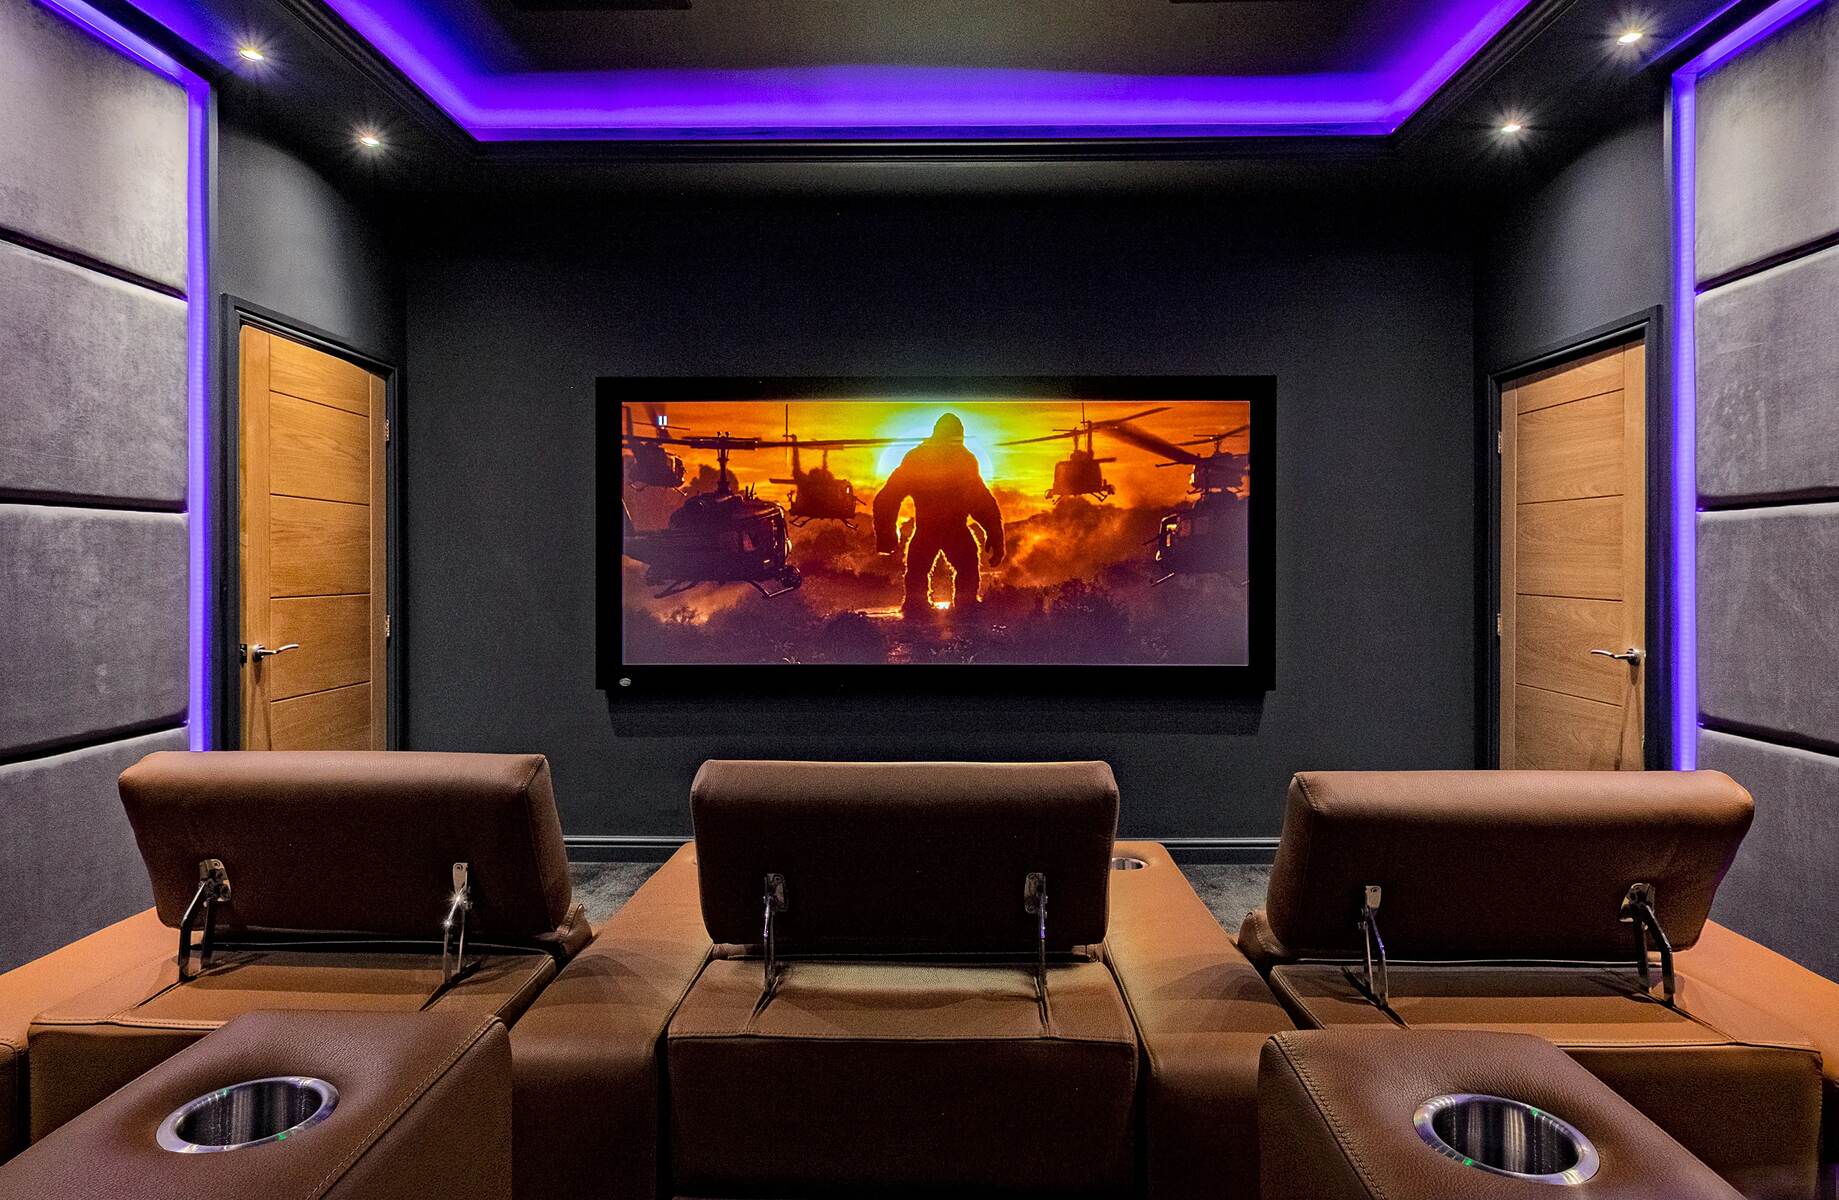
Benefits of a Home Theater System with Projector
Investing in a home theater system with a projector offers a plethora of benefits that can enhance your entertainment experience. Here are some of the key advantages:
- Immersive Cinematic Experience: One of the biggest advantages of a home theater system with a projector is the ability to create a truly immersive cinematic experience. With a large projection screen and high-quality visuals, you can enjoy movies, TV shows, and sports events as if you are sitting in a theater.
- Enhanced Picture Quality: Projectors are known for their superior picture quality. They offer larger screen sizes and better color accuracy compared to traditional televisions. High-definition and even 4K projectors are now available, allowing you to enjoy your favorite content in stunning detail.
- Versatile Screen Sizes: Projectors offer the flexibility to adjust the screen size based on your preferences and available space. Whether you want a massive screen for a true cinema experience or a smaller screen for a cozy setup, projectors can accommodate your needs.
- Space-saving Solution: Projectors eliminate the need for a bulky television, making them a great space-saving solution. With a projector, you can mount it on the ceiling or place it on a portable stand, freeing up valuable space in your living room.
- Customization Options: Projectors offer a wide range of customization options to suit your specific preferences. You can adjust aspects such as brightness, contrast, and color settings to achieve the perfect picture quality for your viewing environment.
- Expandable Audio Options: Alongside visuals, audio is a crucial component of a home theater experience. Projectors can be easily paired with a surround sound system or soundbar to create a truly immersive soundstage, allowing you to feel every thumping bass and dialogue detail.
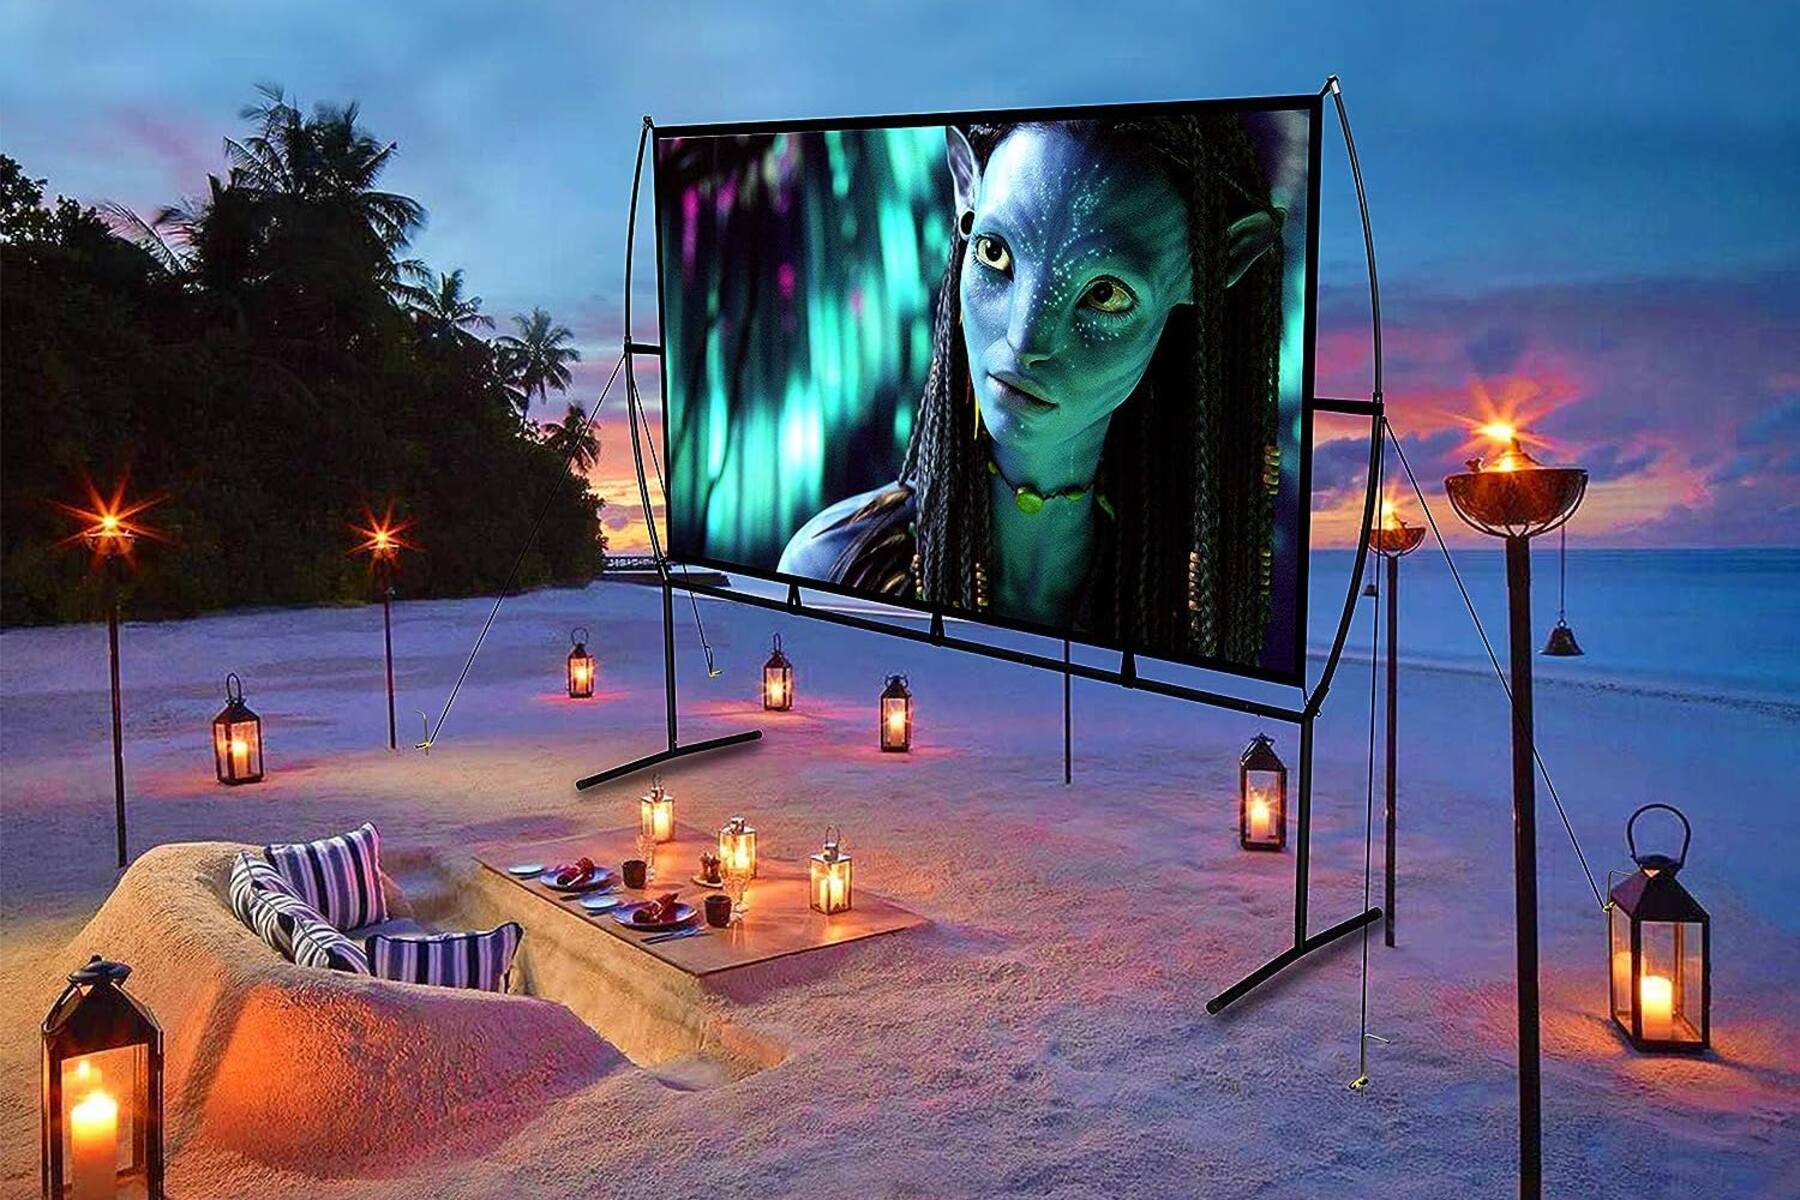
- Multi-purpose Functionality: Projectors are not just limited to movies and TV shows. They can also be used for gaming, presentations, and even outdoor movie nights. The versatility of projectors makes them a practical investment that can serve multiple purposes.
- Cost-effectiveness: While high-end projectors can come with a hefty price tag, they are generally more cost-effective than purchasing a large-sized television with similar picture quality. Additionally, projectors can be upgraded or replaced more easily, allowing you to keep up with the latest technology trends.
With the numerous benefits offered by a home theater system with a projector, it’s no wonder that they have become a popular choice for entertainment enthusiasts. Now that we’ve explored the advantages, let’s move on to choosing the right projector for your setup.
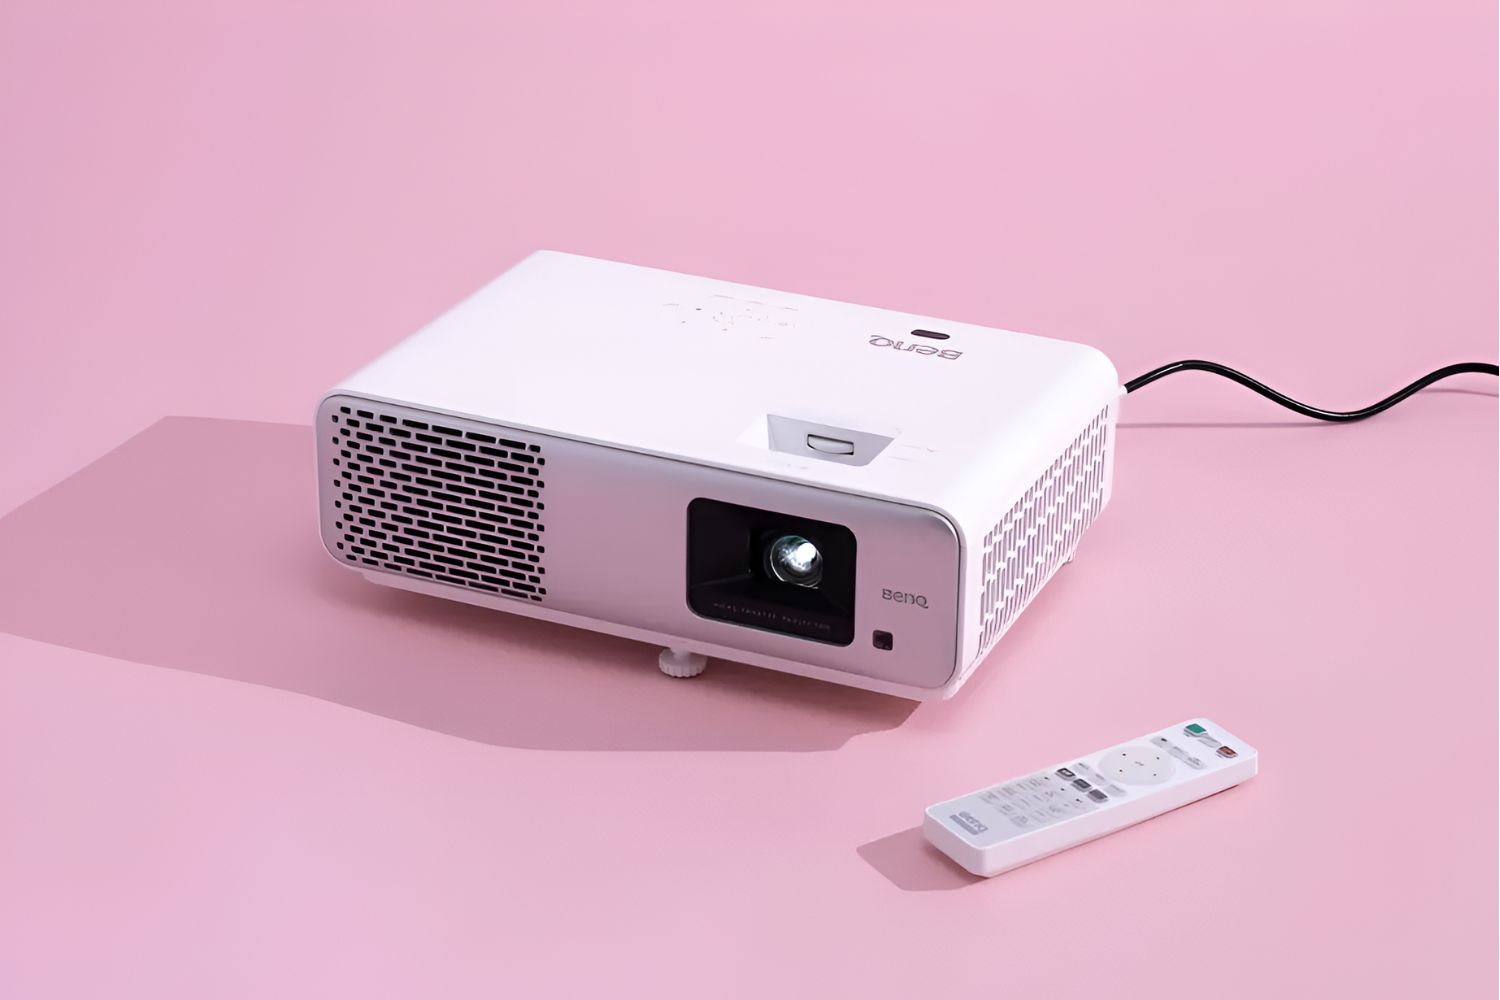
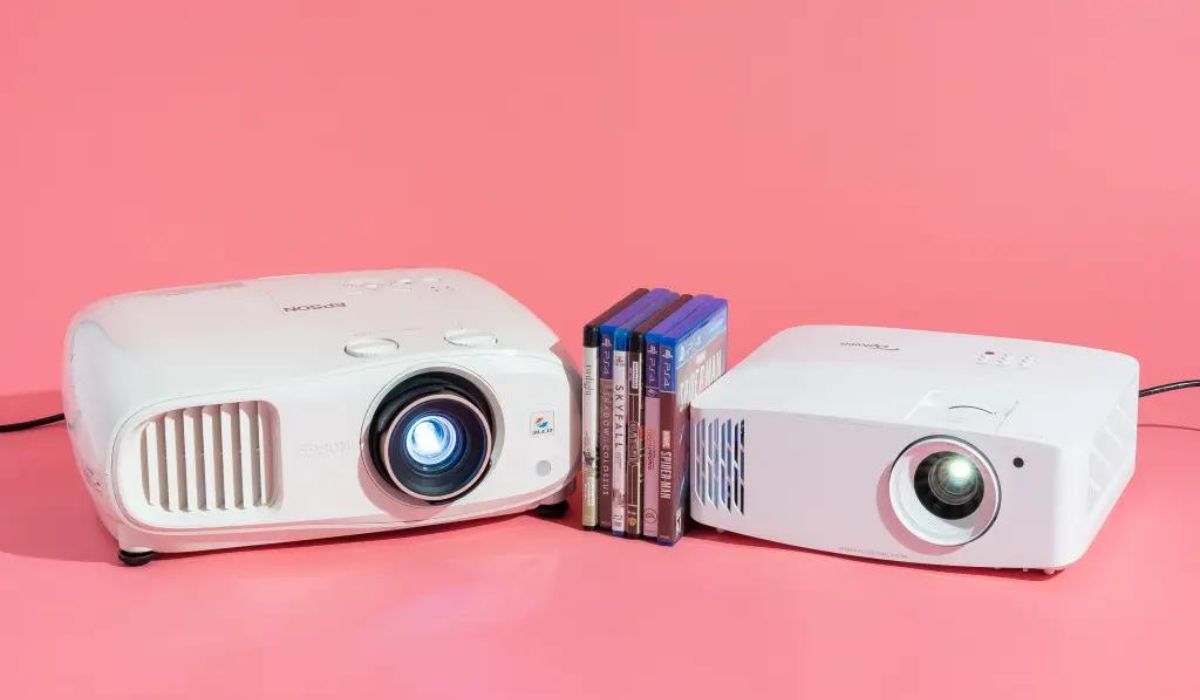
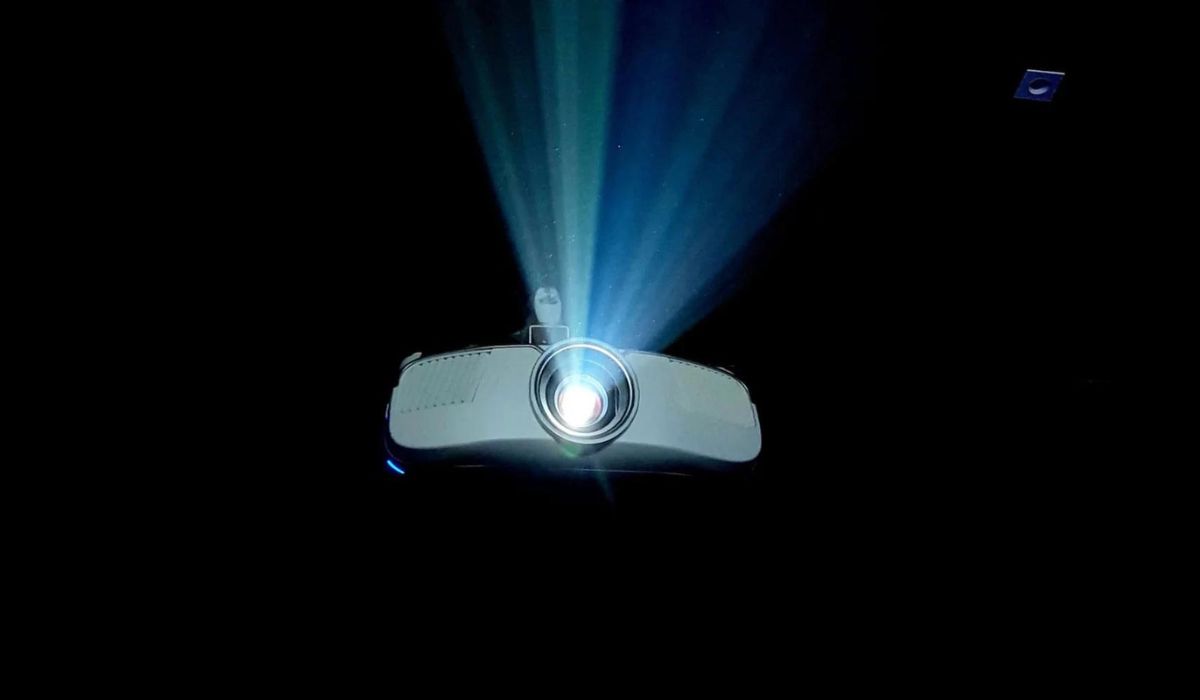
Choosing the Right Projector
When it comes to choosing the right projector for your home theater system, there are several factors to consider. Here are some key points to keep in mind:
- Resolution: The resolution of a projector determines the clarity and detail of the image. Common resolutions include 1080p (Full HD) and 4K Ultra HD. Consider the content you will be watching and your budget when choosing the projector resolution.
- Brightness: Projector brightness is measured in lumens. For a dedicated home theater room, a higher brightness level is recommended. However, if you have ambient light in the room, consider a brighter projector to ensure clear and vibrant images.
- Contrast Ratio: The contrast ratio determines the difference between the brightest and darkest parts of an image. A higher contrast ratio provides more depth, detail, and realistic visuals. Look for projectors with a high contrast ratio for an enhanced viewing experience.
- Throw Distance: The throw distance is the distance between the projector and the screen. Measure the available space in your room to determine the throw distance required for your desired screen size. Consider whether you have enough flexibility to adjust the projector placement as needed.
- Connectivity Options: Ensure that the projector has the necessary connectivity options to connect your devices, such as HDMI, USB, and audio ports. This will allow you to easily connect Blu-ray players, gaming consoles, streaming devices, and sound systems.
- Projector Type: There are different types of projectors available, including DLP (Digital Light Processing), LCD (Liquid Crystal Display), and LED (Light Emitting Diode). Each has its own advantages and considerations, such as color reproduction, brightness, and lamp life.
- Budget: Determine your budget before exploring projector options. Remember to consider the long-term costs, such as replacement lamps and maintenance. It’s important to strike a balance between your desired features and your available budget.
Take the time to research different projector models, read reviews, and compare specifications to find the projector that best matches your needs and preferences. Don’t hesitate to seek expert advice or visit local showrooms to see the projectors in action.
Once you’ve selected the right projector, the next step is to choose the ideal screen for your home theater system. Let’s explore screen options and considerations in the next section.
Selecting the Ideal Screen
Choosing the right screen is just as important as selecting the projector for your home theater system. The screen plays a crucial role in maximizing the image quality and overall viewing experience. Here are some factors to consider when selecting the ideal screen:
- Screen Material: Various screen materials are available, each offering different characteristics. Some common options include matte white, high-gain, and ambient light-rejecting screens. Consider factors such as ambient light in the room, viewing angles, and desired image reflection when choosing a screen material.
- Screen Size: Determine the appropriate screen size based on your viewing preferences and the available space in your room. Consider factors such as the throw distance of your projector and the viewing distance from the screen to ensure an immersive and comfortable viewing experience.
- Aspect Ratio: The aspect ratio of the screen determines the width and height ratio of the displayed image. Common aspect ratios include 16:9 (widescreen) and 4:3 (standard). Choose an aspect ratio that is compatible with the content you will be watching most frequently.
- Fixed or Motorized: Decide whether you want a fixed screen that is permanently mounted on a wall or a motorized screen that can be raised or lowered as needed. Fixed screens provide a seamless and professional look, while motorized screens offer convenience and flexibility.
- Screen Gain: Screen gain refers to the amount of light reflected by the screen. A higher screen gain increases brightness, allowing for better visibility in rooms with ambient light. However, higher gain screens may suffer from narrower viewing angles.
- Screen Installation: Consider the installation process and requirements for the screen. Some screens may require professional installation, while others can be easily set up by following the manufacturer’s instructions. Ensure that the screen installation aligns with your comfort level and available resources.
- Budget: Set a budget for your screen and consider the features and quality you prioritize. Screens come in a wide range of prices, so finding one that fits your budget is feasible.
It’s important to strike a balance between screen size, screen material, and the capabilities of your projector to achieve the best possible image quality. Take into account your room’s lighting conditions, seating arrangement, and personal preferences when making your final decision.
Now that you’ve selected the perfect screen for your home theater system, it’s time to move on to the audio components and sound system setup. We’ll explore these crucial elements in the next section.
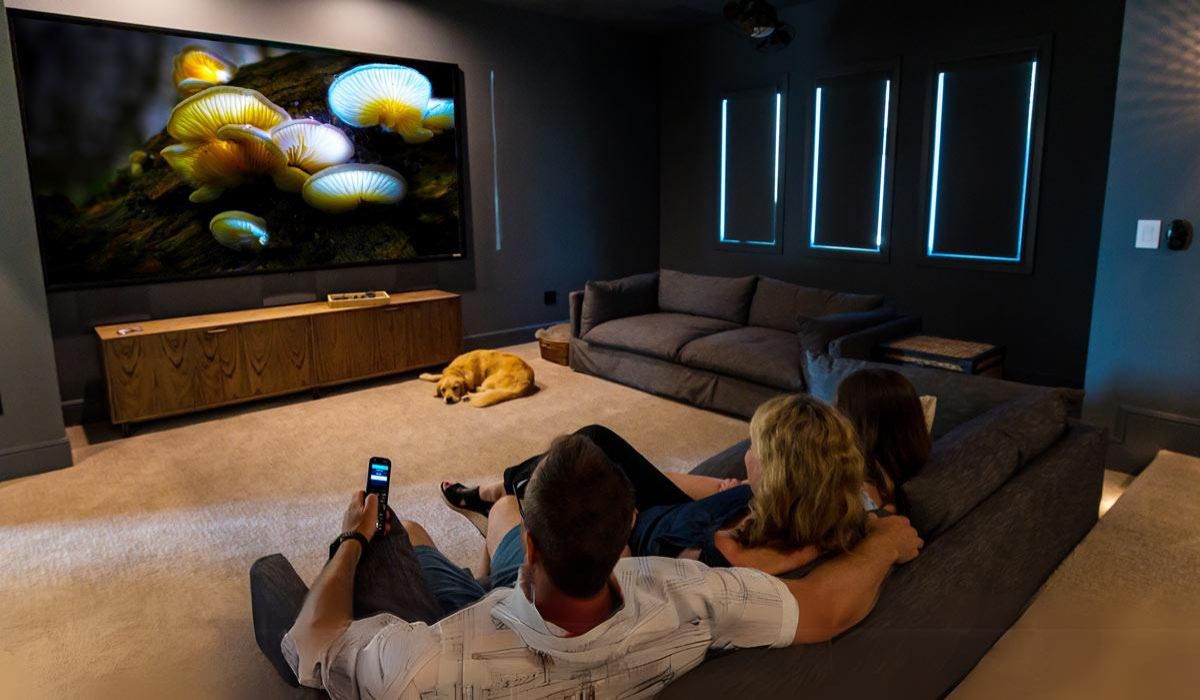
Audio Components and Sound System Setup
Alongside stunning visuals, a high-quality sound system is essential for an immersive home theater experience. The audio components and sound system setup play a significant role in creating a realistic and captivating audio environment. Consider the following factors when selecting and setting up your home theater sound system:
- Receiver: A receiver serves as the central hub of your sound system. Choose a receiver that supports the audio formats you desire, such as Dolby Atmos or DTS:X. Ensure it has enough HDMI inputs to accommodate all your devices.
- Speakers: Speakers reproduce the audio and contribute to the overall surround sound experience. Opt for a speaker system that matches your room size and personal preferences. A common setup includes front speakers (left, center, right), surround speakers, and a subwoofer for enhanced bass response.
- Placement: Proper speaker placement is crucial for optimal sound distribution. Follow the guidelines provided by the speaker manufacturer for the best results. Experiment with speaker positioning to achieve balanced sound throughout the room.
- Wiring and Cables: Ensure you have the necessary speaker wires and cables of the appropriate length to connect your speakers to the receiver. Use high-quality cables for better signal transmission and avoid cable clutter by planning the wire routes in advance.
- Sound Calibration: Most receivers come with built-in calibration systems or include calibration tools. Use these features to fine-tune the sound settings and optimize the audio performance in your specific room environment.
- Subwoofer Setup: To achieve deep and impactful bass, position your subwoofer in the optimum location within the room. Experiment with subwoofer placement to find the spot that provides the best bass response, taking room acoustics into consideration.
- Streaming and Connectivity: Consider the streaming capabilities of your sound system. If you prefer wireless connectivity, ensure your receiver supports Bluetooth or Wi-Fi streaming. This allows you to play music wirelessly from your mobile devices or stream audio from online services.
- Remote Control and Accessibility: Choose a sound system that provides an easy-to-use remote control or offers smartphone app integration for convenient control of your audio settings. Accessibility features such as voice control or audio presets can enhance the user experience.
- Expandability: Plan for future expandability of your sound system. Consider if you may want to add additional speakers or upgrade components in the future. Ensure your receiver has enough power and compatibility for potential expansions.
- Budget: Set a budget for your sound system and prioritize components based on your preferences. Balance your spending on speakers, receiver, and other audio equipment to achieve the best audio quality within your price range.
With careful consideration of these factors, you can create a powerful and immersive audio experience that complements the visuals provided by your projector. Once your sound system is set up, it’s time to move on to the positioning and mounting of the projector, which we’ll explore in the next section.
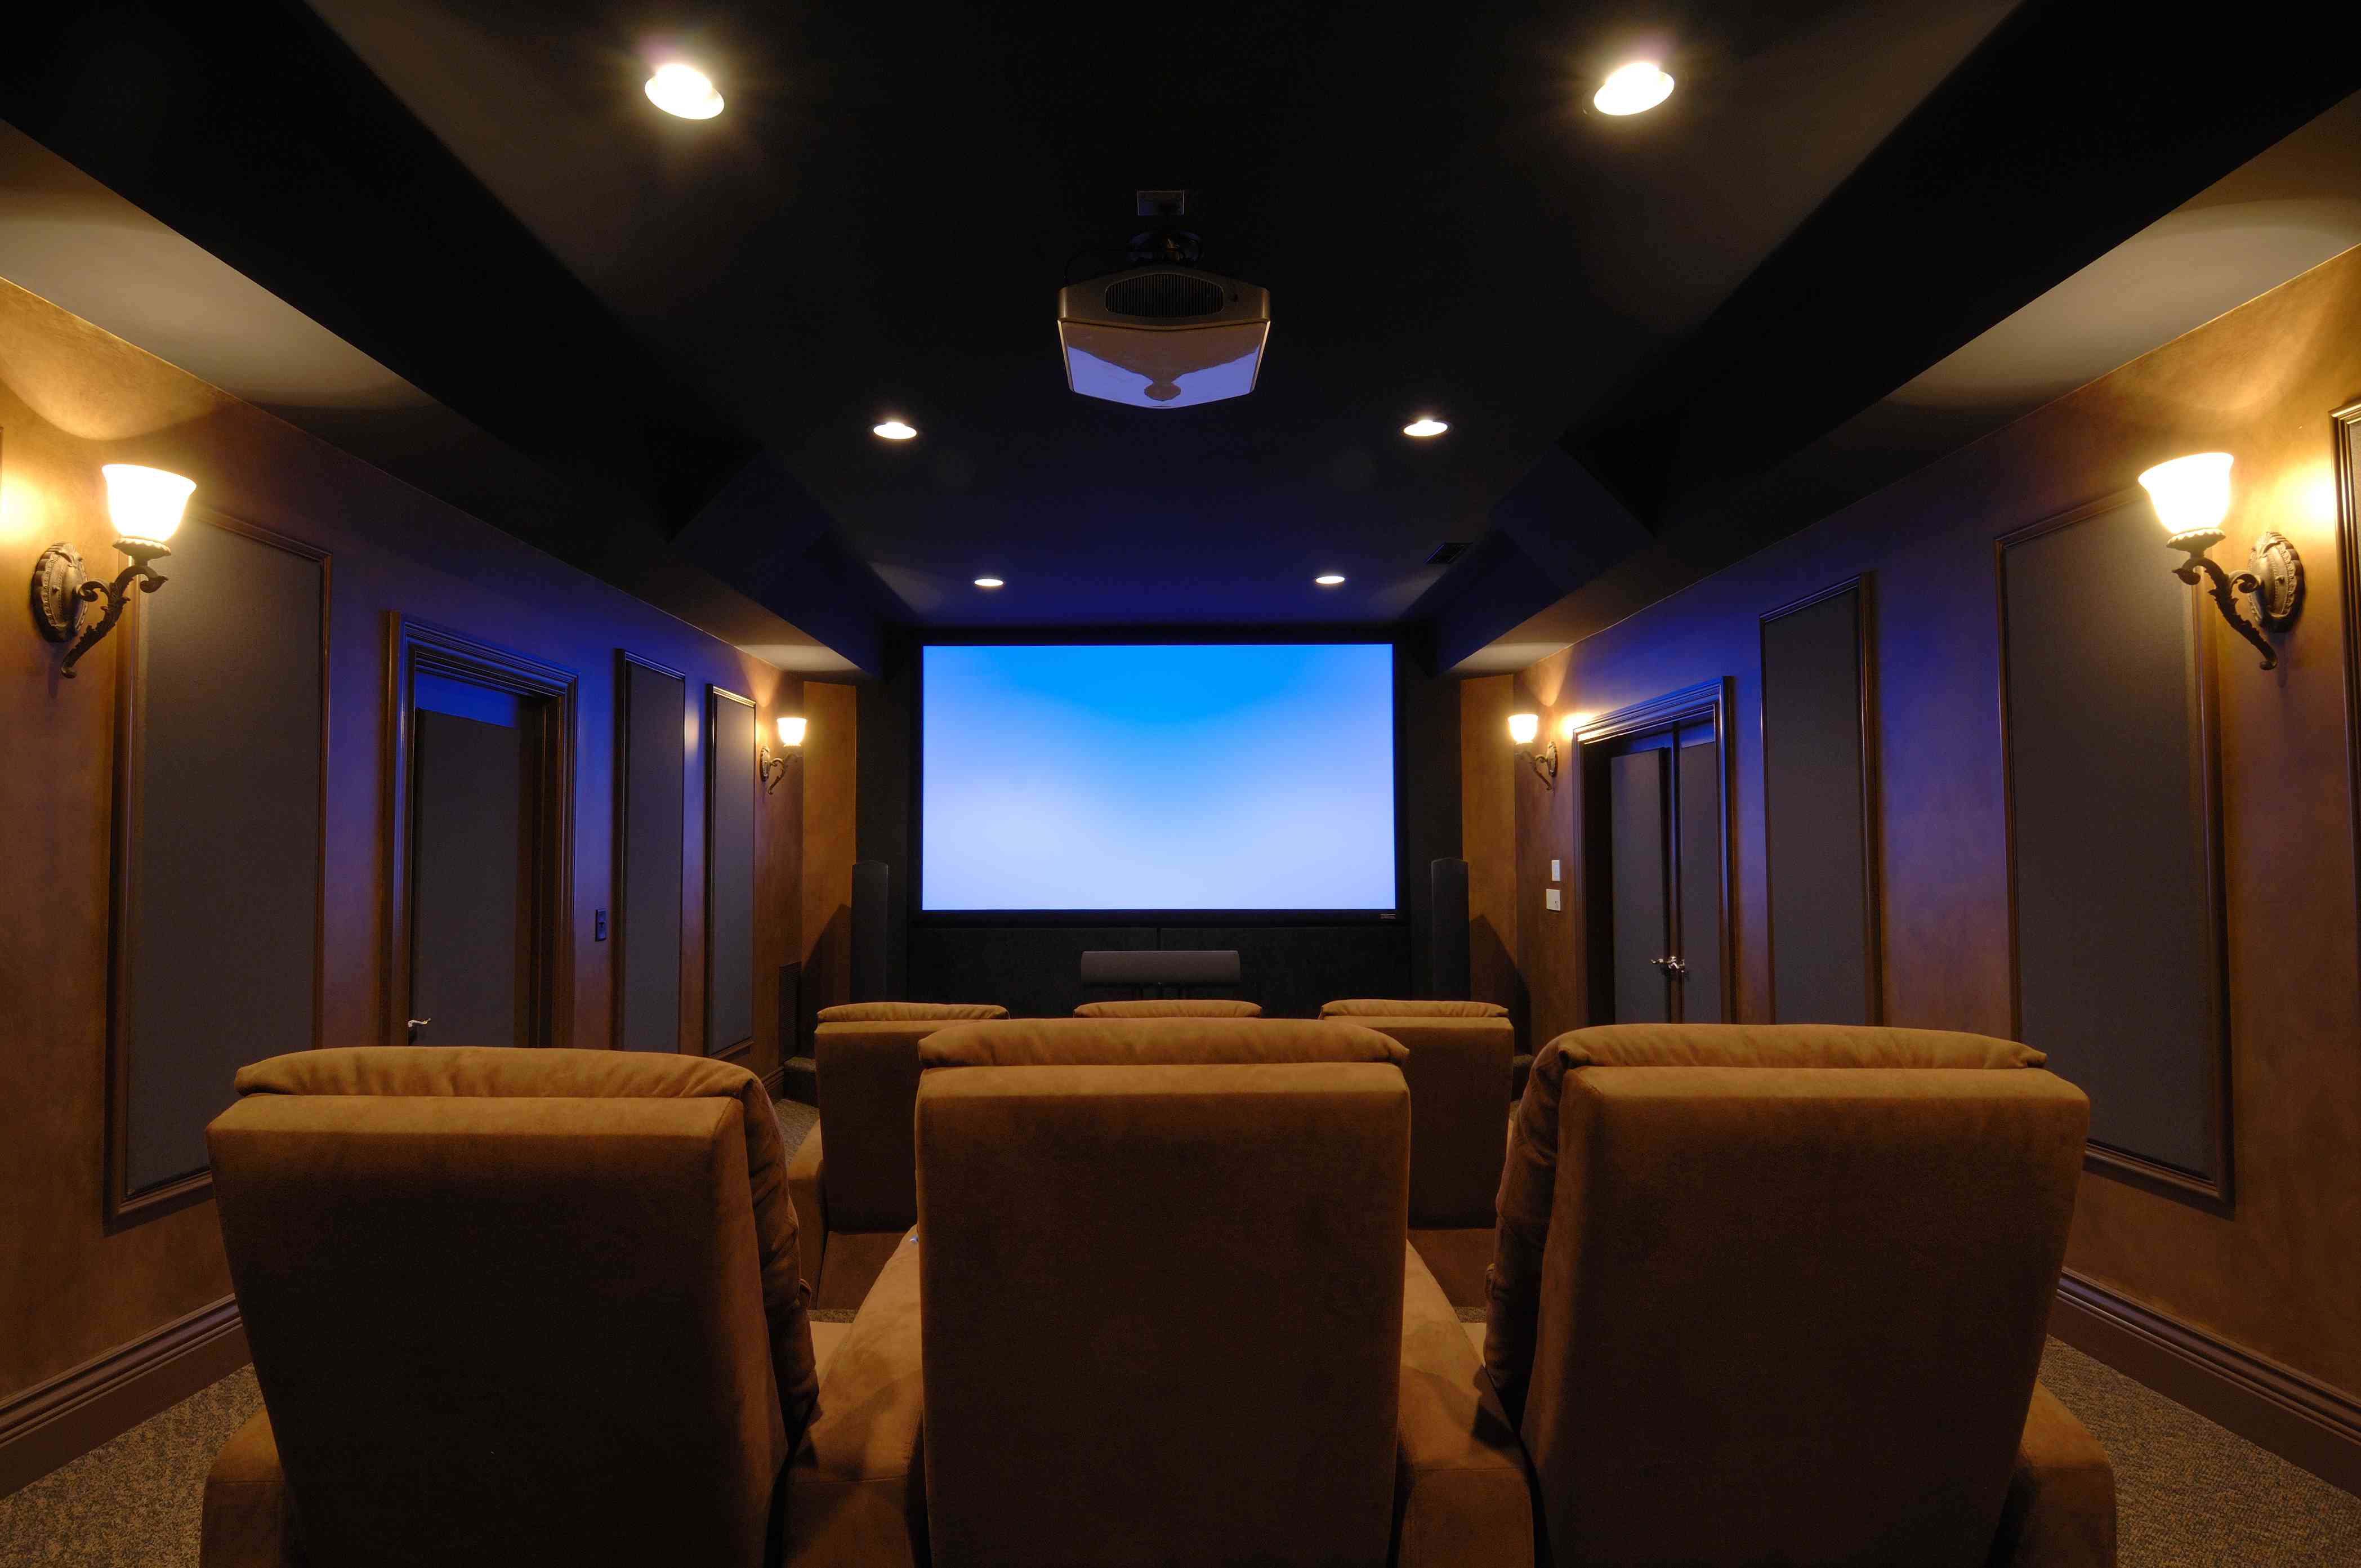
Positioning and Mounting the Projector
The positioning and mounting of your projector are critical for achieving optimal image quality and ensuring a seamless viewing experience. Here are some key considerations when positioning and mounting your projector:
- Projection Distance: Determine the ideal projection distance based on the specifications of your projector and the desired screen size. Refer to the manufacturer’s guidelines for the recommended distance range. Consider factors such as the throw ratio of your projector and the available space in your room.
- Projector Angle: Ensure that the projector is positioned at the correct angle to project a rectangular image onto the screen. Use keystone correction or lens shift features, if available, to correct any distortion caused by the projection angle.
- Ceiling Mount vs. Tabletop Mount: Decide whether you want to mount the projector on the ceiling or opt for a tabletop mount. Ceiling mounts are ideal for a clean and clutter-free setup, while tabletop mounts offer flexibility and ease of adjustment.
- Mounting Hardware: Use high-quality mounting hardware to secure the projector in place. Follow the manufacturer’s instructions and guidelines for proper installation. Ensure that the mounting hardware can support the weight of your projector.
- Room Layout: Take into account the layout of your room when positioning the projector. Consider factors such as the location of furniture, windows, and other potential obstructions. Ensure that the projected image is clear and unobstructed.
- Cable Management: Plan your cable management strategy while positioning the projector. Conceal cables by running them through walls, using cable raceways, or utilizing wireless connectivity options. A clean and organized setup will enhance the aesthetic appeal of your home theater system.
- Ventilation: Ensure that the projector is adequately ventilated to prevent overheating. Leave sufficient space around the projector for proper airflow. Follow the manufacturer’s recommendations for ventilation requirements.
- Screen Alignment: Adjust the projector height, tilt, and lens shift (if available) to align the projected image perfectly with the screen. Use the projector’s built-in test patterns or calibration tools to fine-tune the screen alignment for optimal picture quality.
- Power and Connectivity: Ensure that the projector is positioned near power outlets and has easy access to your audio and video sources. Use cable management techniques to keep the power cords and cables organized and hidden from view.
- Testing and Adjustment: After mounting the projector, perform a thorough testing process by projecting various content onto the screen. Check for sharpness, color accuracy, and overall image quality. Make necessary adjustments to the projector settings to achieve the best performance.
Take your time to carefully position and mount your projector to create an immersive and visually stunning home theater setup. Once the projector is securely in place, it’s time to connect your devices and ensure a seamless integration, which we’ll explore in the next section.
Connecting Your Devices to the Home Theater System
Once you have your projector and sound system set up, it’s time to connect your devices to create a seamless home theater experience. Here are some steps to connect your devices to the home theater system:
- HDMI Connections: HDMI cables provide high-quality audio and video transmission. Connect your devices, such as Blu-ray players, gaming consoles, streaming devices, and cable/satellite boxes, to the HDMI inputs of your receiver or directly to your projector if it has HDMI ports.
- Audio Connections: If your devices have audio outputs other than HDMI, such as optical or RCA, ensure they are connected to corresponding audio inputs on your receiver. This allows you to enjoy audio from sources that may not utilize HDMI connections.
- Speaker Connections: Connect the speaker wires from your speakers to the corresponding speaker terminals on your receiver. Take care to connect the positive and negative terminals correctly to ensure proper audio channeling.
- Subwoofer Connection: If you have a dedicated subwoofer, connect it to the subwoofer output on your receiver using an RCA cable. Adjust the subwoofer settings on your receiver to achieve the desired level of bass.
- Network Connection: Connect your receiver to your home network either via Ethernet or through built-in Wi-Fi capabilities. This allows you to access streaming services, firmware updates, and control your system remotely using smartphone apps or voice control assistant devices.
- Additional Connections: Depending on your setup, you may have additional devices to connect, such as a projector screen motor or other control systems. Follow the manufacturer’s instructions for these devices to ensure proper integration.
- Power On and Source Selection: Power on your devices and your home theater system in the correct order, following the manufacturer’s guidelines. Use your receiver’s remote control or smartphone app to select the desired input source for audio and video playback.
- Testing and Troubleshooting: Test each connected device to ensure proper functionality. Check for audio and video synchronization, image quality, and any potential audio or video issues. Troubleshoot any problems that may arise, such as faulty cables or incorrect settings.
- Organize Cables: As you connect your devices, take the time to organize and manage your cables to avoid a tangled mess. Use cable ties, cable management channels, or labels to keep things organized and maintain a clean and professional appearance.
- System Calibration: Once everything is connected, utilize the calibration features of your receiver and projector to fine-tune the audio and video settings. Follow the on-screen instructions or refer to the user manuals for guidance on calibrating your specific devices.
By carefully connecting your devices to your home theater system, you can enjoy seamless audio and video playback, providing an immersive and enjoyable home theater experience. Now that your devices are connected, it’s time to fine-tune the system for optimum performance, which we’ll explore in the next section.
Calibration and Fine-Tuning for Optimum Performance
Calibrating and fine-tuning your home theater system ensures that you get the best possible audio and video performance. By adjusting settings and optimizing the output of your devices, you can achieve a more immersive and accurate home theater experience. Here are some steps to calibrate and fine-tune your system:
- Video Calibration: Use the calibration tools available on your projector or AV receiver to adjust the video settings. This includes brightness, contrast, color balance, and sharpness. Refer to the manufacturer’s instructions or seek professional calibration services for more precise adjustments.
- Audio Calibration: Many AV receivers come with built-in audio calibration systems. Utilize these tools to measure your room’s acoustics and automatically adjust speaker levels, speaker distances, and room EQ settings. Follow the on-screen instructions or refer to the receiver’s manual for guidance.
- Speaker Level Adjustment: Fine-tune the volume levels of each speaker to achieve balanced audio throughout the listening area. Use test tones or an audio calibration disc to help you set the appropriate volume for each speaker relative to the central listening position.
- Bass Management: Configure the bass management settings on your receiver to ensure proper crossover frequencies and routing of low-frequency sounds to the subwoofer. Adjust the crossover point based on the capabilities of your speakers and subwoofer, and your personal preferences for bass response.
- Room Acoustics: Take into account the acoustic properties of your room and make adjustments accordingly. Consider adding acoustic treatments, such as absorptive panels or diffusers, to minimize echoes, standing waves, and other room anomalies. Experiment with speaker placement to optimize sound dispersion and imaging.
- Source Settings: Adjust the audio and video settings on your source devices, such as Blu-ray players or gaming consoles, to match your home theater system. Enable settings like bitstream audio output, deep color, or HDR pass-through that are supported by your devices and receiver for optimal performance.
- Smartphone Apps and Software: Explore the smartphone apps or software provided by your devices and receivers. Some manufacturers offer additional calibration features, remote control functionality, and room correction software that can further enhance the performance of your home theater.
- Regular Maintenance: Maintain your home theater system by periodically cleaning the projector’s filter, ensuring proper ventilation, and performing firmware updates on your devices. This helps maintain optimal performance and ensures compatibility with new technologies and formats.
- Professional Calibration: Consider hiring a professional calibration service to fine-tune your home theater system. Professionals have specialized knowledge and tools to measure and optimize audio and video performance in your specific environment. This can further enhance the accuracy and immersive quality of your system.
- Continued Evaluation: Regularly assess the performance of your home theater system and make adjustments as necessary. Experiment with different settings, speaker placements, or audio/video sources to find the configuration that provides the best results for your preferences and viewing environment.
By calibrating and fine-tuning your home theater system, you can unlock its full potential and enjoy the ultimate audio and visual experience. Now that your system is calibrated, let’s address common issues that may arise and how to troubleshoot them effectively in the next section.
Troubleshooting Common Issues
While setting up and fine-tuning your home theater system, it’s not uncommon to encounter a few challenges along the way. Here are some common issues that may arise and how to troubleshoot them effectively:
- No Picture or No Signal: If you’re not getting a picture on your projector screen, check the connections to ensure all cables are securely connected. Verify that the correct input source is selected on your projector or receiver. If using HDMI, ensure that all devices in the signal chain support the same HDMI version.
- No Sound or Low Volume: If you’re experiencing no sound or low volume, ensure that the speaker connections are secure and correctly wired. Check the receiver’s audio settings to verify that the correct audio input source, audio format, and speaker configurations are selected. Adjust the volume levels for each speaker as needed.
- Audio/Video Sync Issues: If you notice a delay between the audio and video, adjust the audio delay settings in your receiver. Fine-tune the syncing manually by adjusting the delay settings until audio and video are in perfect sync. Some receivers also offer automatic audio delay adjustment features to alleviate this issue.
- Poor Image Quality: If the image quality on your projector is not satisfactory, check the settings on both the projector and the source device. Ensure that the projector’s keystone correction and image settings are properly adjusted. Verify that your source device is outputting the correct resolution and color settings for your projector.
- Distorted or Unbalanced Audio: In the case of distorted or unbalanced audio, check the speaker connections and ensure that wires are securely attached. Verify that the speaker placement is correct and that each speaker is set to the appropriate crossover frequency. Adjust the speaker levels and subwoofer settings to achieve balanced audio.
- Remote Control Issues: If your remote control is not working properly, ensure that the batteries are correctly inserted and have sufficient power. Clean the remote control’s infrared sensor and ensure that it is not obstructed by any objects. If necessary, try resetting the remote or using a universal remote control as an alternative.
- Overheating or Shutdown: If your projector or receiver is overheating and shutting down, check for adequate ventilation around the devices. Ensure that air vents are not blocked and that the devices are not placed in enclosed spaces. Consider using cooling pads or fans to improve airflow and prevent overheating.
- Wireless Connectivity Issues: If you’re experiencing wireless connectivity issues, ensure that your devices are connected to the same Wi-Fi network. Check that the network signal is strong and stable. Restart your router and devices if necessary. Consider moving your wireless router closer to your home theater system for a better signal.
- Intermittent Audio or Video Dropout: If you’re experiencing intermittent audio or video dropout, check your cables for any damage or loose connections. Consider using higher-quality HDMI cables that are certified for the specific HDMI version you’re using. Additionally, try rebooting the connected devices and receiver to re-establish a stable connection.
- Unresponsive Devices: If your devices are unresponsive, try power cycling them by turning off and unplugging them for a few minutes. Reconnect and power them back on. If the issue persists, check for firmware updates for your devices and update them if available. Factory reset the devices as a last resort, but be aware that this will erase any customized settings.
If you encounter any persistent issues that you cannot resolve on your own, consult the user manuals provided with your devices or seek assistance from the manufacturer’s customer support. Remember to document any troubleshooting steps you’ve taken to help facilitate a resolution.
With troubleshooting knowledge and perseverance, you can overcome common issues and ensure a smooth and enjoyable home theater experience. Now that we’ve covered troubleshooting, let’s wrap up this guide and summarize the key takeaways.
Conclusion
Setting up a home theater system with a projector can truly transform your entertainment experience. Whether you’re a movie lover, sports enthusiast, or gaming aficionado, a well-designed home theater system can bring the magic of the cinema right into your living room.
Throughout this guide, we have discussed the benefits of a home theater system with a projector, guiding you through the process of choosing the right projector, selecting the ideal screen, setting up the audio components and sound system, positioning and mounting the projector, connecting your devices, calibrating for optimum performance, troubleshooting common issues, and fine-tuning your system.
By carefully considering factors such as resolution, brightness, screen size, speaker placement, and connectivity options, you can create a personalized home theater system that suits your preferences and delivers a truly immersive viewing experience.
Remember to regularly evaluate and maintain your system to ensure optimal performance. Experiment with different settings, configurations, and device placements to find the setup that best suits your room and personal preferences.
Whether you’re enjoying the latest blockbuster, cheering for your favorite team, or delving into the digital realms of gaming, a home theater system with a projector can transport you to another world of sights and sounds.
So, start exploring the possibilities, unleash your creativity, and bring the excitement and enchantment of the cinematic experience to life in your own home. Your home theater journey awaits!